Fluffy basic bread recipe
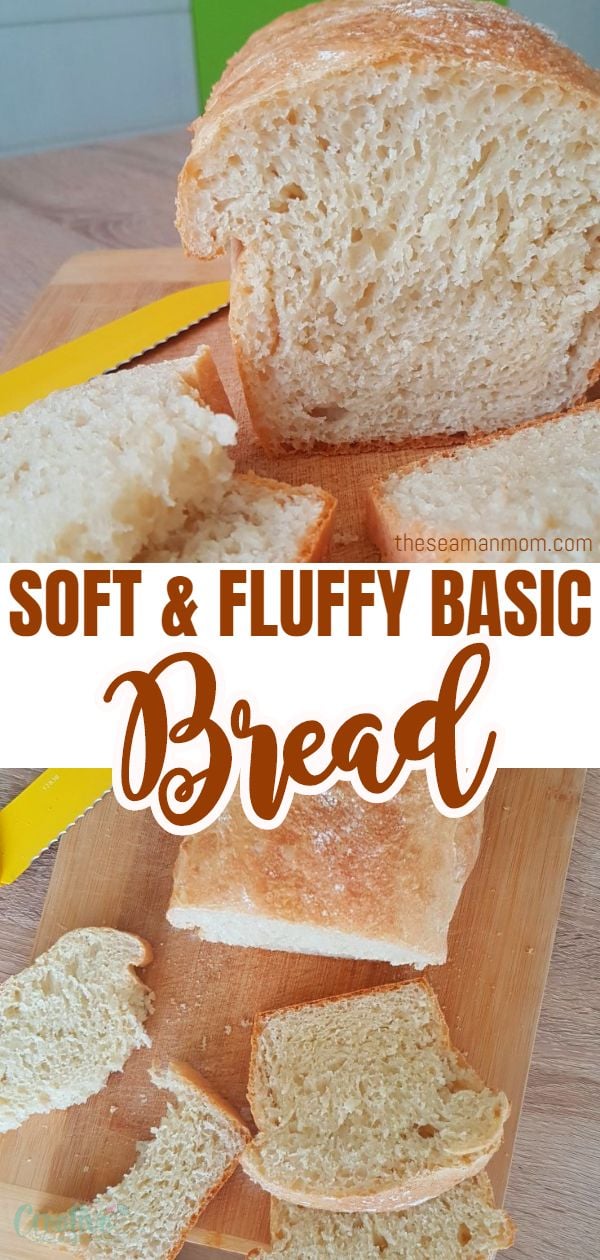
Soft, fluffy and delicious, this basic bread recipe is easy to make with very simple ingredients! The perfect easy homemade bread!
Basic bread recipe
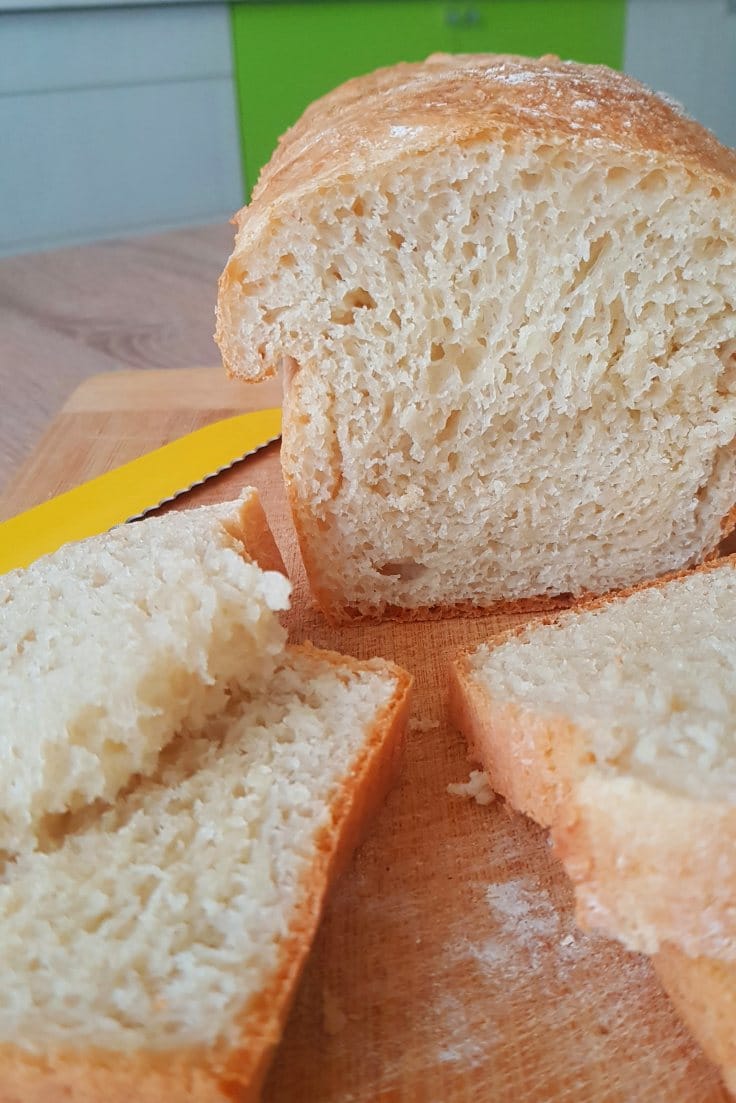
We are so addicted to homemade bread, we bake bread almost every day! In fact as I’m writing this recipe a yummy loaf of this basic bread recipe is baking in the oven! There’s nothing like a simple bread recipe that you can make at home and enjoy fresh bread on your table every day! I absolutely adore the smell of freshly baked bread!
I wasn’t a fan of homemade bread until recently when I was forced to bake my own bread as none was available in the sores! We never truly liked the store bought bread so I embraced this new experience with open arms. I wanted a fluffy bread recipe and I had to experiment with the ingredients a but for a few batches but I think I eventually got the hang of it, we are sticking with this version I’ll be sharing below.
More bread recipes:
- No yeast herb & cheese bread
- Homemade sandwich bread
- Simple soft bread rolls
- Fluffy basic bread recipe
- Cranberry brie pull apart bread
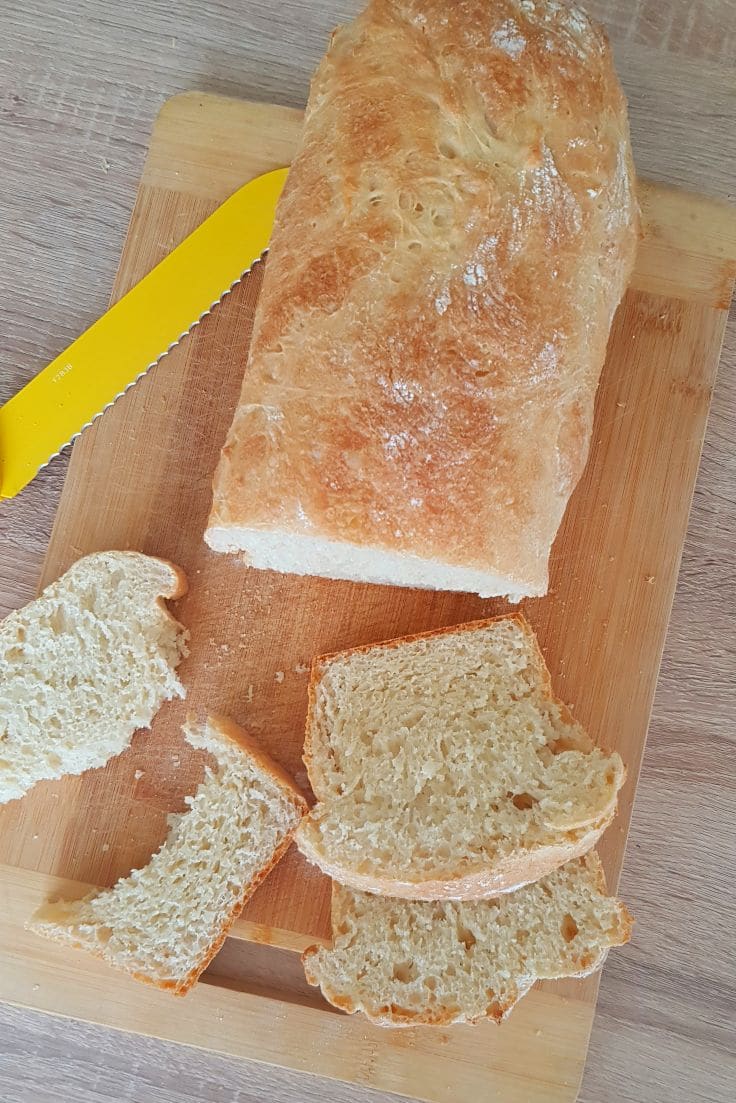
Why you should make your own bread?
- There’s nothing like fresh bread on the table and with this simple and basic bread recipe you get to enjoy this wonderful feeling every day!
- It’s super easy to make and fuss free, there’s not much you can mess up with this recipe.
- It used simple ingredients you most likely already have on hand.
- It’s free of all those preservatives and high sodium found in store bought bread.
- This basic bread recipe is so soft and fluffy and tastes amazing!
What are the basic ingredients of bread?
When it comes to bread, there are so many variations, people get creative in so many delicious and eye pleasing ways. But ultimately, what goes into those delicious breads is just a handful of simple ingredients:
- yeast
- flour
- sugar
- salt
- oil
- water
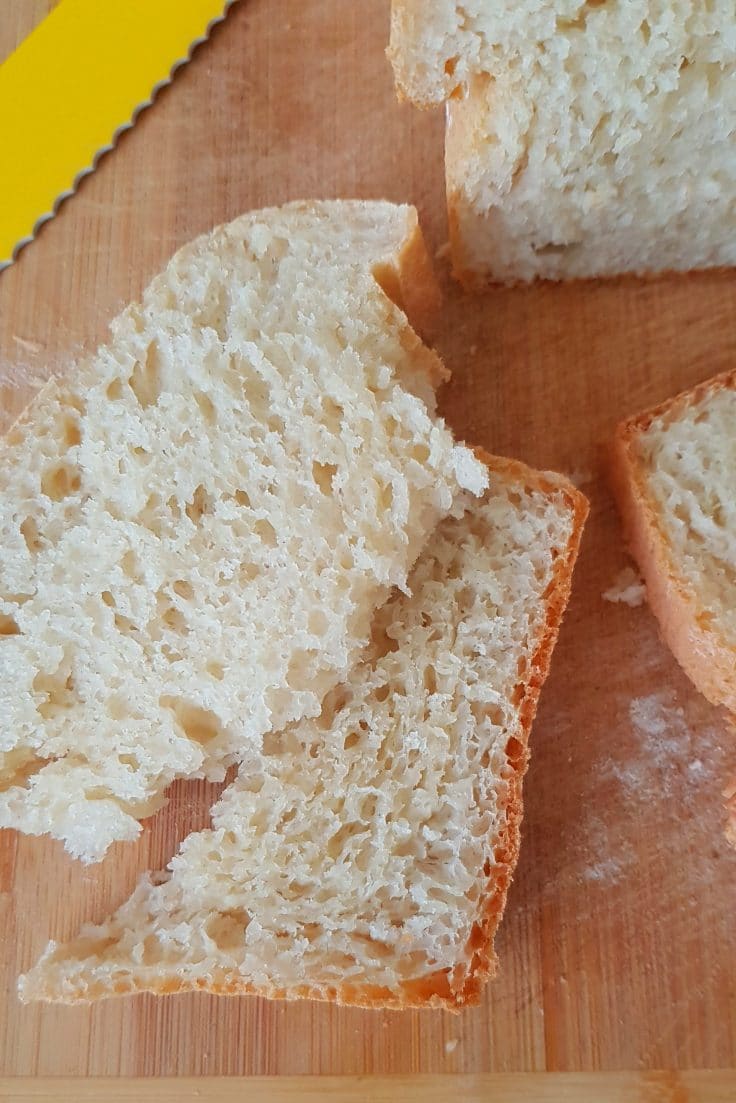
What makes bread soft and fluffy?
I’m not an expert but I come from a family of long time bread makers so I’ve learned a few tricks along the way, even though I never got to put them in practice until the recent events forced me to. My grandmother used to bake 4-5 breads a day and she loved sharing her tips with us.
- The first secret is the quality of the yeast. You need yeast that is “active” not dead or your dough won’t rise and your bread will be flat. Experts say there’s no difference between dry years and fresh yeast but we’ve learned fresh yeast works best for us so that’s what we use every time we make this basic bread recipe.
- “Feed” the yeast some sugar and let it “enjoy it” before mixing it with the rest of the ingredients. The yeast will show its appreciation by starting to bubble; that’s the sign your yeast is good quality. Sometimes it doesn’t bubble a lot but even small bubbles are a good sign so watch for those bubbles.
- Kneading the dough real good is probably the most important step in the process of bread making and getting a fluffy bread. My grandmother used to knead her dough for about an hour (fair enough, she was baking for an army lol) and always made sure we understand the importance of this step.
- Let the dough rise twice! After kneading let the dough rise in a warm place until it’s double in size. This could take up to an hour if your house is not warm enough. Here’s a little trick: turn the oven on and place the bowl on the stove top. Then put the dough in a loaf pan and let it rise again. Put it in the oven only when the dough almost goes over the top of the loaf pan.
- While the bread is baking, do not open the oven for the first 15 minutes so you won’t let the steam escape. This helps bake the bread fluffy & soft.
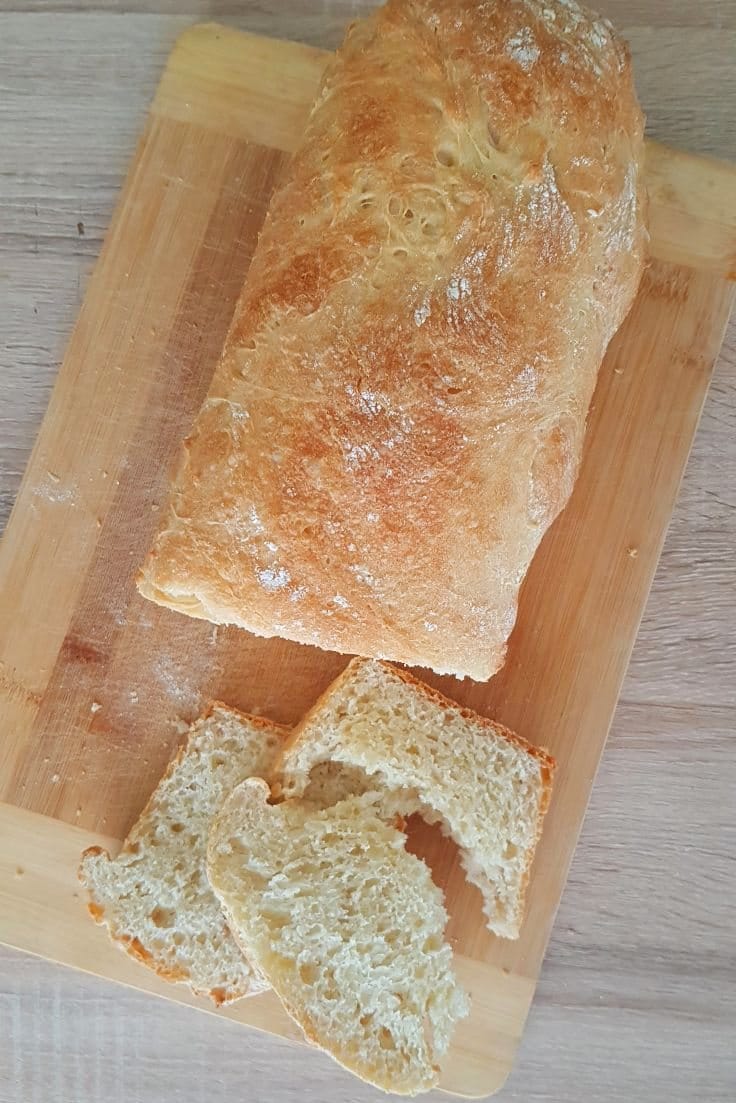
Can you use regular flour instead of bread flour?
Yes, you can! I use any flour I have on hand. I just make sure I sift it very well before using it. Every type of bread worked just great for me and that’s another reason why I love making bread so much!
Most popular recipes:
- 6 Ingredients taco soup
- Easy French cream puffs
- Crispy buttermilk fried chicken
- Spiced herb roasted sweet potato wedges
How do you make bread from scratch?
I’ll be getting through the ingredients and step by step instructions in the recipe card but here’s the summary of bread making:
- In a small bowl, dissolve the fresh yeast in water.
- Add sugar and mix.
- Transfer the yeast mix to a large bowl and add salt, oil and flour.
- Knead real well until you get a smooth dough.
- Let the dough rise until it doubles in size.
- Roll the dough on the table and place in a loaf pan.
- Let the dough rise until it doubles in size.
- Bake until lightly golden on top.
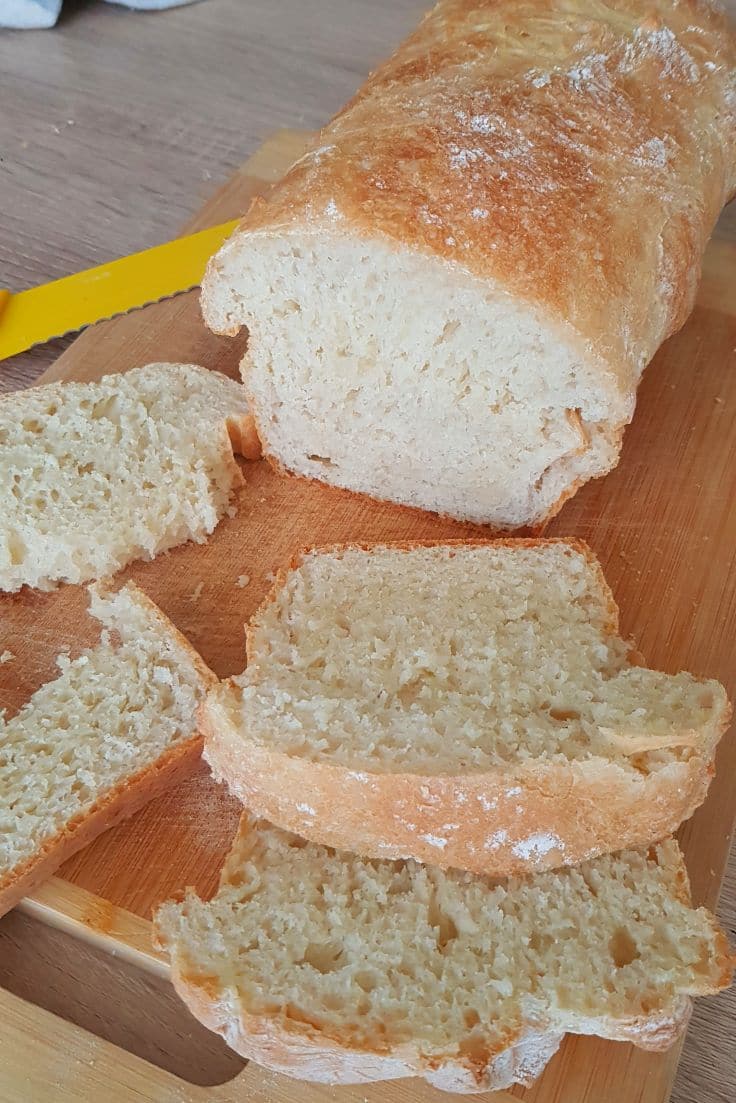
How do I substitute fresh yeast for dry yeast?
Typically, if using dry yeast, you need to use half the amount of fresh yeast recommended in a recipe.
For instant yeast you need to use 1/4 of the quantity of fresh yeast.
I.e. : if the recipe calls for 2 tablespoons fresh yeast, you’ll use 1 tablespoon dry yeast or 1/2 tablespoons instant yeast.
Tips: I always use a little bit more yeast, even if it’s just a pinch.
How to store homemade bread
To retain freshness homemade bread needs to be stored at room temperature. Some store it in paper bags, some in plastic bags and some in air tight containers.
What I do is let the bread cool until easy to touch, wrap the bread in a kitchen towel made with 100% cotton and let it cool completely on the table. When cooled completely I store the wrapped bread in a large zip bag and keep it in my pantry. We’ve kept bread stored like this for a maximum of 5 days.
Are you ready to make your own basic bread recipe? Below are the ingredients and the detailed step by step. This recipe makes 1 loaf of bread baked in a 10″ by 4.5″ loaf pan.
Basic white bread recipe
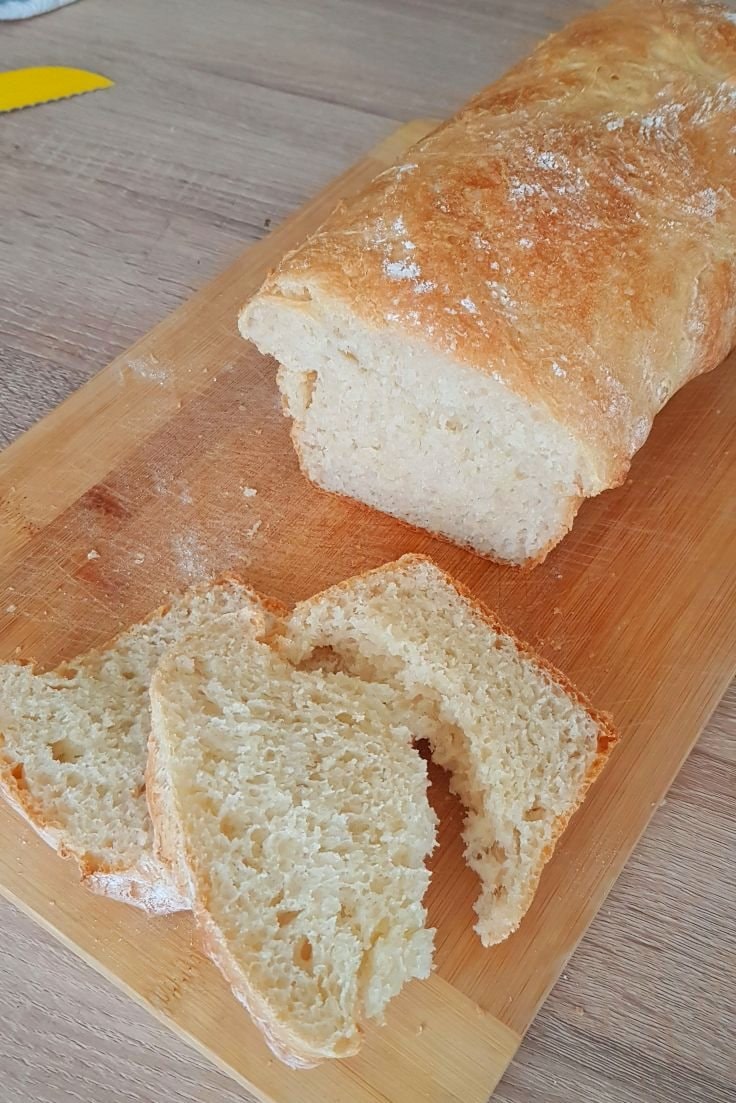
Equipment and tools I used for this basic bread recipe:
- Bread maker
- 10″ by 4.5″ loaf pan
- Measuring cup
- Measuring spoon
- Mixing bowls
- Plastic wrap
- Baking paper
Print the recipe
Basic bread recipe
Ingredients
- 2 tbsp Fresh yeast plus a pinch more
- 1 1/4 cup water warm (not hot)
- 1/8 cup sugar
- 1 tsp salt
- 1 tbsp vegetable oil
- 3-3 1/2 cups Flour
Equipment
- large bowl
- plastic wrap
- baking paper
Instructions
- Place the yeast and water in a small mixing bowl and mix until dissolved.
- Add the sugar and mix well until the sugar is completely dissolved.
- Allow the yeast to bubble a little before moving to the next step.
- Move the yeast mixture to a large mixing bowl or a bread maker.
- Add the salt, oil and flour and mix well. If using a bread maker, choose the kneading program. If using a bowl, mix until the ingredients are incorporated then move the dough to the table and knead there.
- Knead the dough until it's smooth, elastic and a little sticky but not too much so that you are not able to work with it. If it sticks to the bowl or bread maker, it's to wet. Add a little more flour if this happens.
- Clean the large mixing bowl, dry and lightly oil it.
- Move the dough back to the large mixing bowl and cover with plastic wrap. This prevents the dough from getting dry.
- Let the dough rise in a warm place until it doubles in size (it could take up to an hour in colder kitchens)
- Pre heat the oven to 350 F.
- Remove the wrap and gently punch the dough to remove air bubbles.
- Move the dough to the table and roll it. Alternatively you can spread it into a rectangles then fold the sides in until you get a smaller, narrower rectangle that fits into the loaf pan.
- Add a strip of baking paper to the bottom of the loaf pan and the ends. This will help you remove the bread when done.
- Move the roll/rectangle to the loaf pan, with the seams down.
- Cover the loaf with plastic wrap and let the dough rise again until it doubles in size.
- Place a rack in the middle of the oven, add the loaf pan and bake for 15-20 minutes or until the bread is lightly golden. It should sound hollow when tapped on top. If you want an extra crispy crust, keep baking for additional 5 minutes.
- Remove the loaf pan from the oven and take the bread out using the baking paper strip.
- Allow the bread to cool on a rack or cutting board until safe to touch.
- Wrap the bread in a dry kitchen towel made from 100% cotton. Allow to completely cool then it's ready to serve
- Store wrapped in the kitchen towel, in large a zip bag, at room temperature for up to 5 days.
Pin to save for later
Article may contain Amazon & affiliate links. As an Amazon Associate I earn from qualifying purchases at no additional cost to you.



Hi. I have just one question, how much sugar am I supposed to use in the making of this bread? U have the amounts for all other ingredients but I call for sugar twice?
Hi, Amber! Thanks for the heads up and apologies for the oversight! I have corrected the recipe, it should all be be clear now :)