Artificial wisteria wall decor
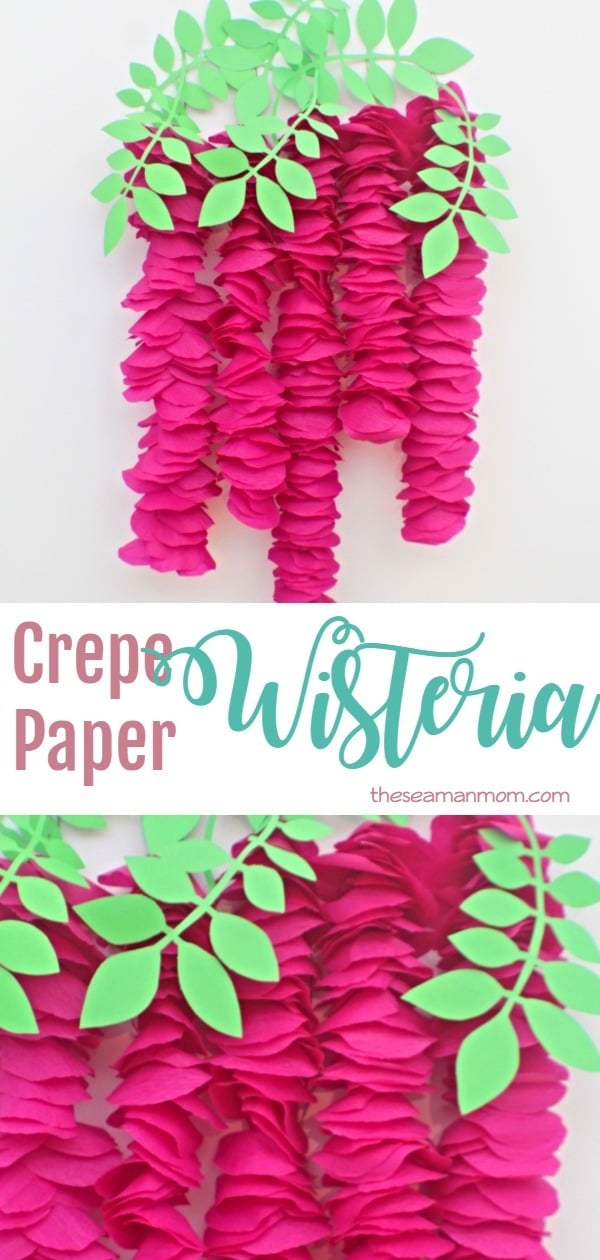
Need an easy idea for hanging paper flowers? A wisteria home decor is the perfect romantic touch! And this artificial wisteria wall hanging looks fabulous, is inexpensive and so easy to make!
Crepe paper wisteria
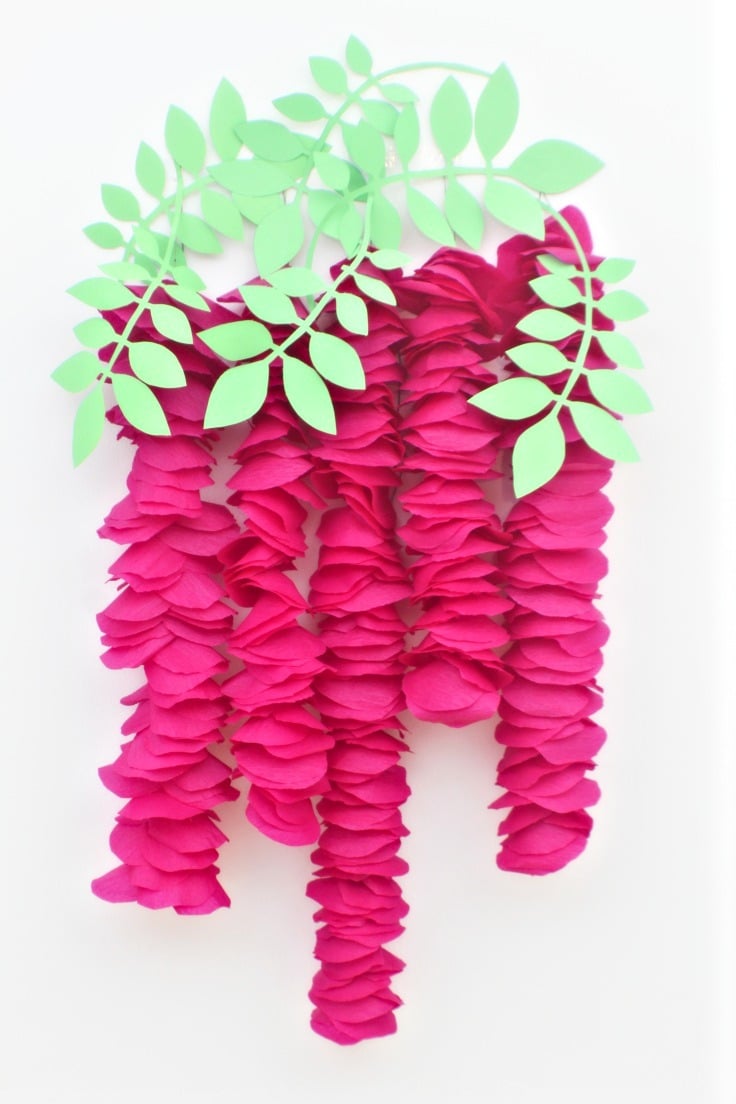
This adorable artificial wisteria is one of those fabulous crafts that seems a lot more complicated than it really is! I honestly had double thoughts about starting to work on this crepe paper wisteria. But as soon as I did, I realized this is probably one of the easiest, mindless projects I’ve made to this point!
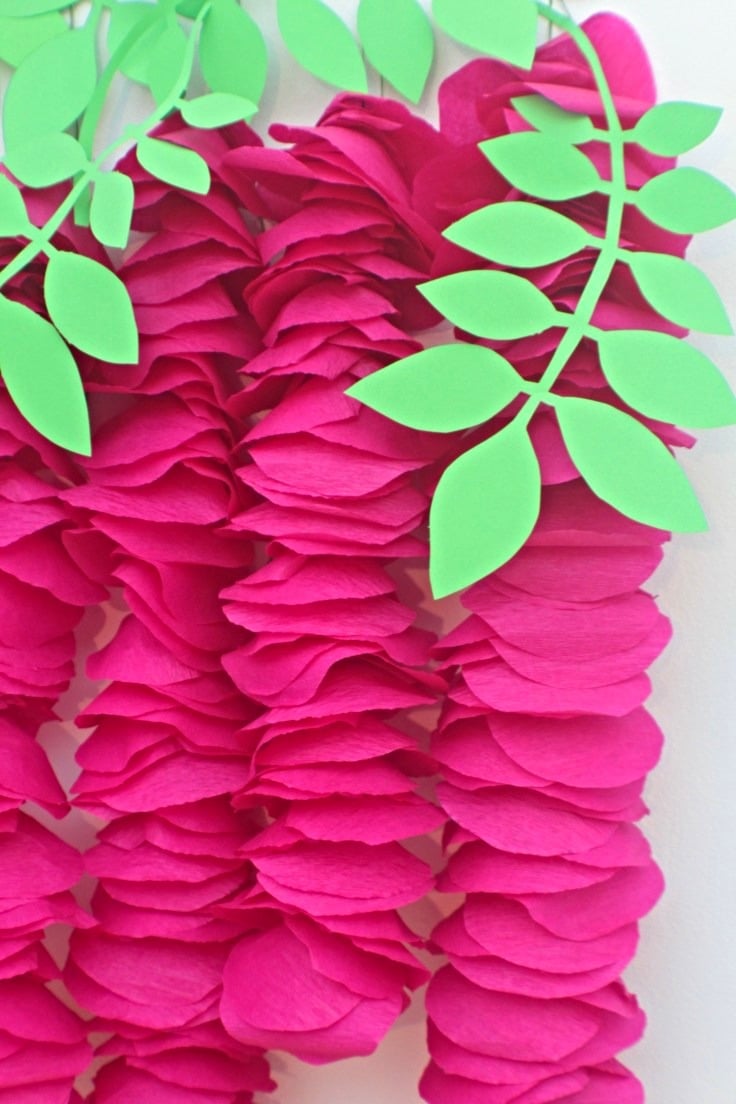
I’m not gonna lie to you, this artificial wisteria takes time, it’s quite tedious and requires a lot of patience! So if you’ve got no time or patience, this fake wisteria project is not for you so you’d better move on. Making the first wisteria garland took about 20 minutes, after that I lost count. But I don’t regret any minute spent on this lovely artificial wisteria, it’s worth its weight in gold (which is not much because we’re talking paper here but you get the idea, right?)
Want more paper flower projects?
- Paper flowers for kids with toilet paper rolls
- Tissue paper flowers
- Painted coffee filter flowers
- DIY crepe paper peonies
- Paper hyacinth flowers
Although I’ve made a few items in the past, I must admit I’m not crazy about wall decors. But I do love wisteria (I even got one in my garden, just planted it last year) and I’m absolutely in love with paper crafts. So I decided to combine my two loves into one fabulous project that I ended up hanging on the wall above my bed. It’s such a nice pop of color in the beige and gray decor of my bedroom! My artificial wisteria instantly draws your eye to the area above the bed and makes it look a lot more cheerful and bright, it puts me in a good mood at bed time.
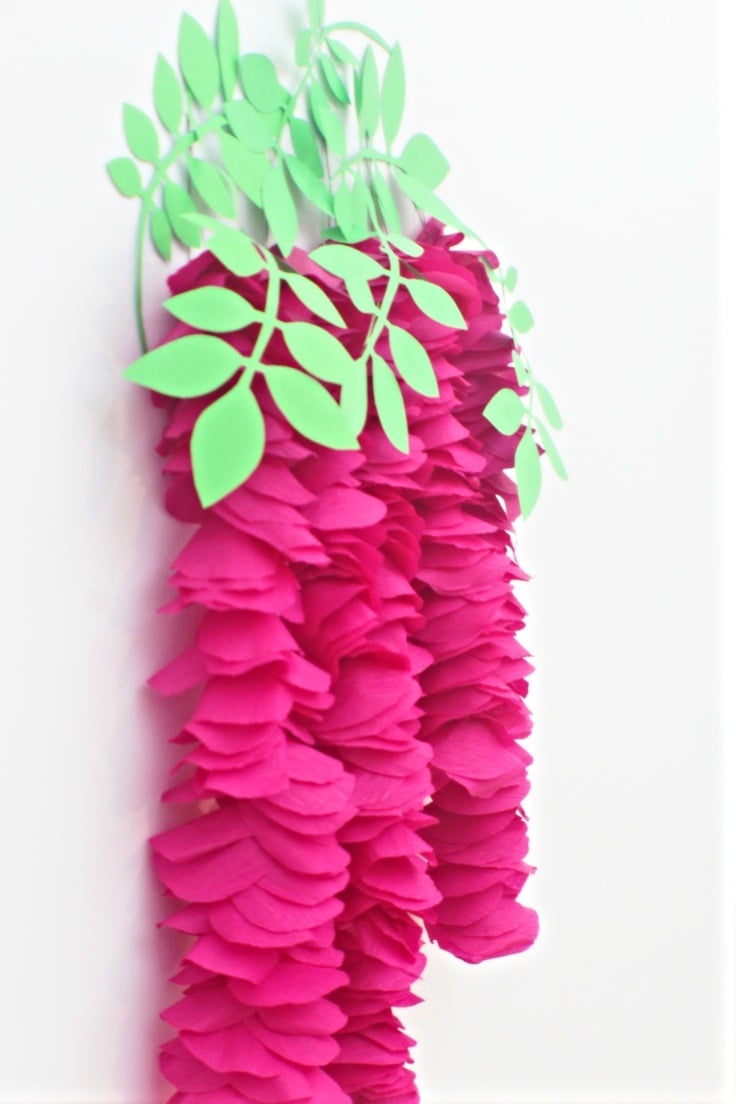
These adorable hanging paper flowers are such a nice Spring addition to your home decor, it adds such a happy vibe. I’ve arranged my garlands as wall decor but there are other options to display yours if wall decor is not your thing. You could place them in a vase (and they’ll look so fabulous and pretty hanging off the vase!), or stick them at the top of a window, or hanging from the ceiling or a chandelier etc
I made mine in just one color as I didn’t have any other options available at this time. But I think gradient garlands would look a lot nicer and would have a stronger impact on your home decor. Pastels colors are perfect for romantic decors such as weddings while stronger colors are more suitable for parties or birthdays or to add a pop of color to a neutral decor.
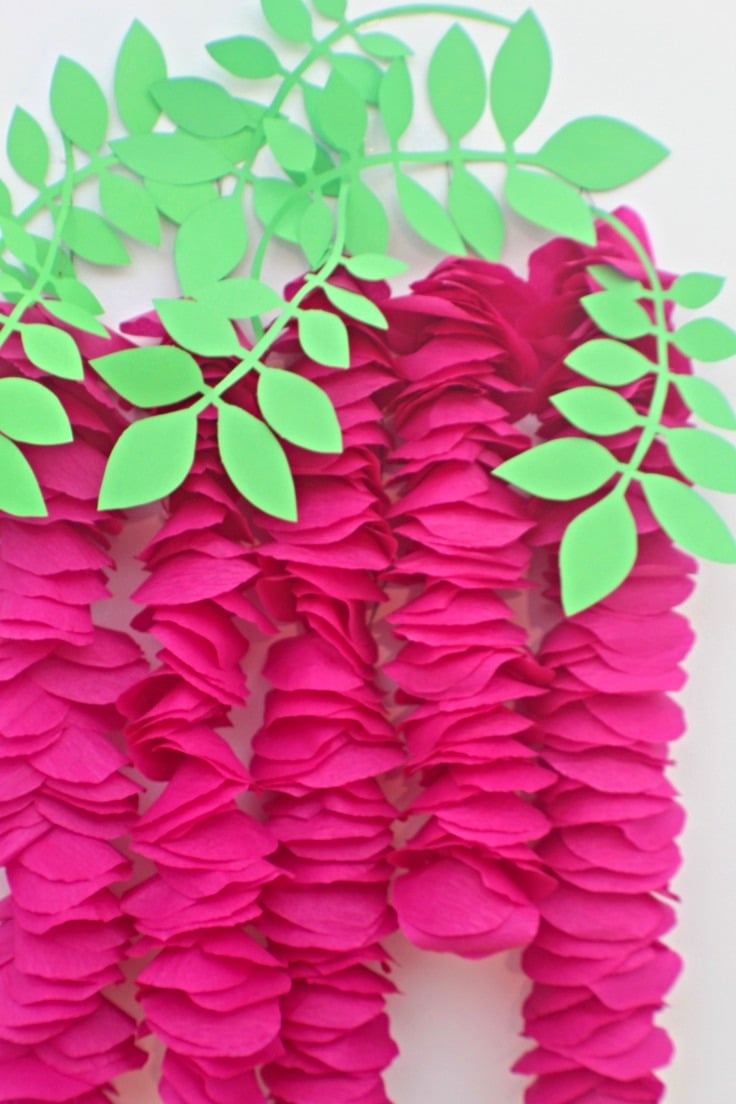
My flowers are medium large. If you want your smaller, trim the template to the desired size. I’ve made a template for both the flower and the leaf and they’re available to purchase here or get them free when you join my craft newsletter.
Artificial wisteria
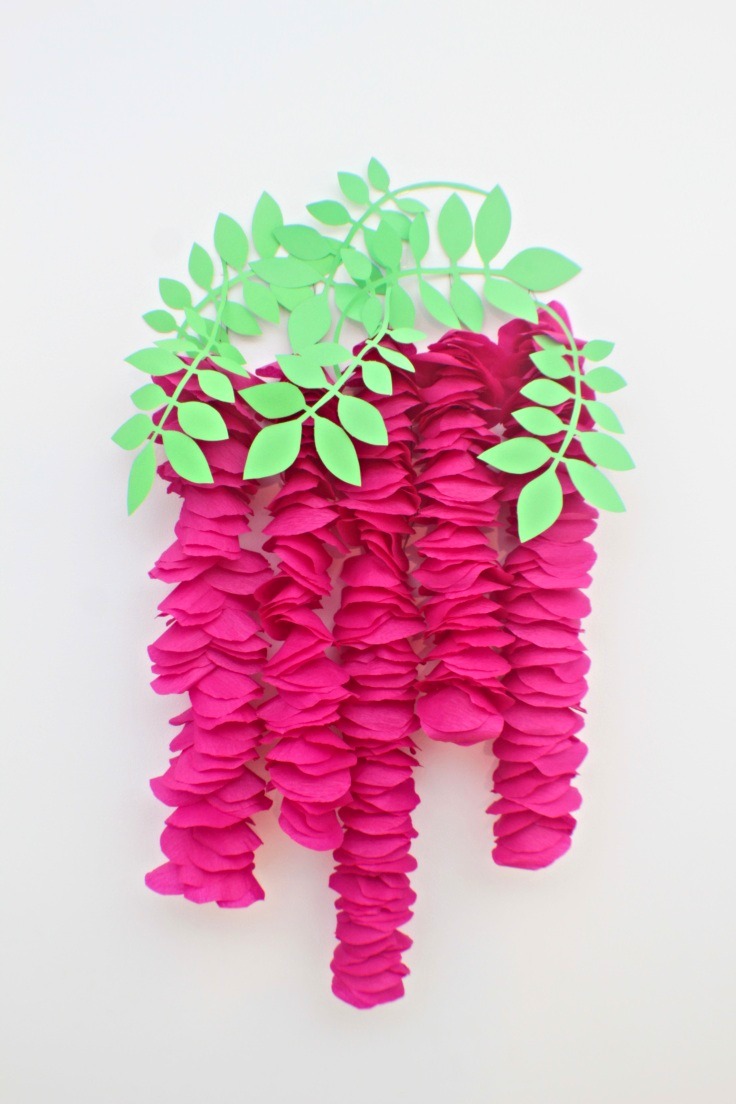
Materials:
- wisteria templates
- crepe paper (I used 4 rolls of 8″ x 20 ft)
- scissors
- exacto knife
- pen or marker
- jeans or embroidery thread in green
- large hand needle
- tape
- double sided tape
Directions:
- Print the templates.
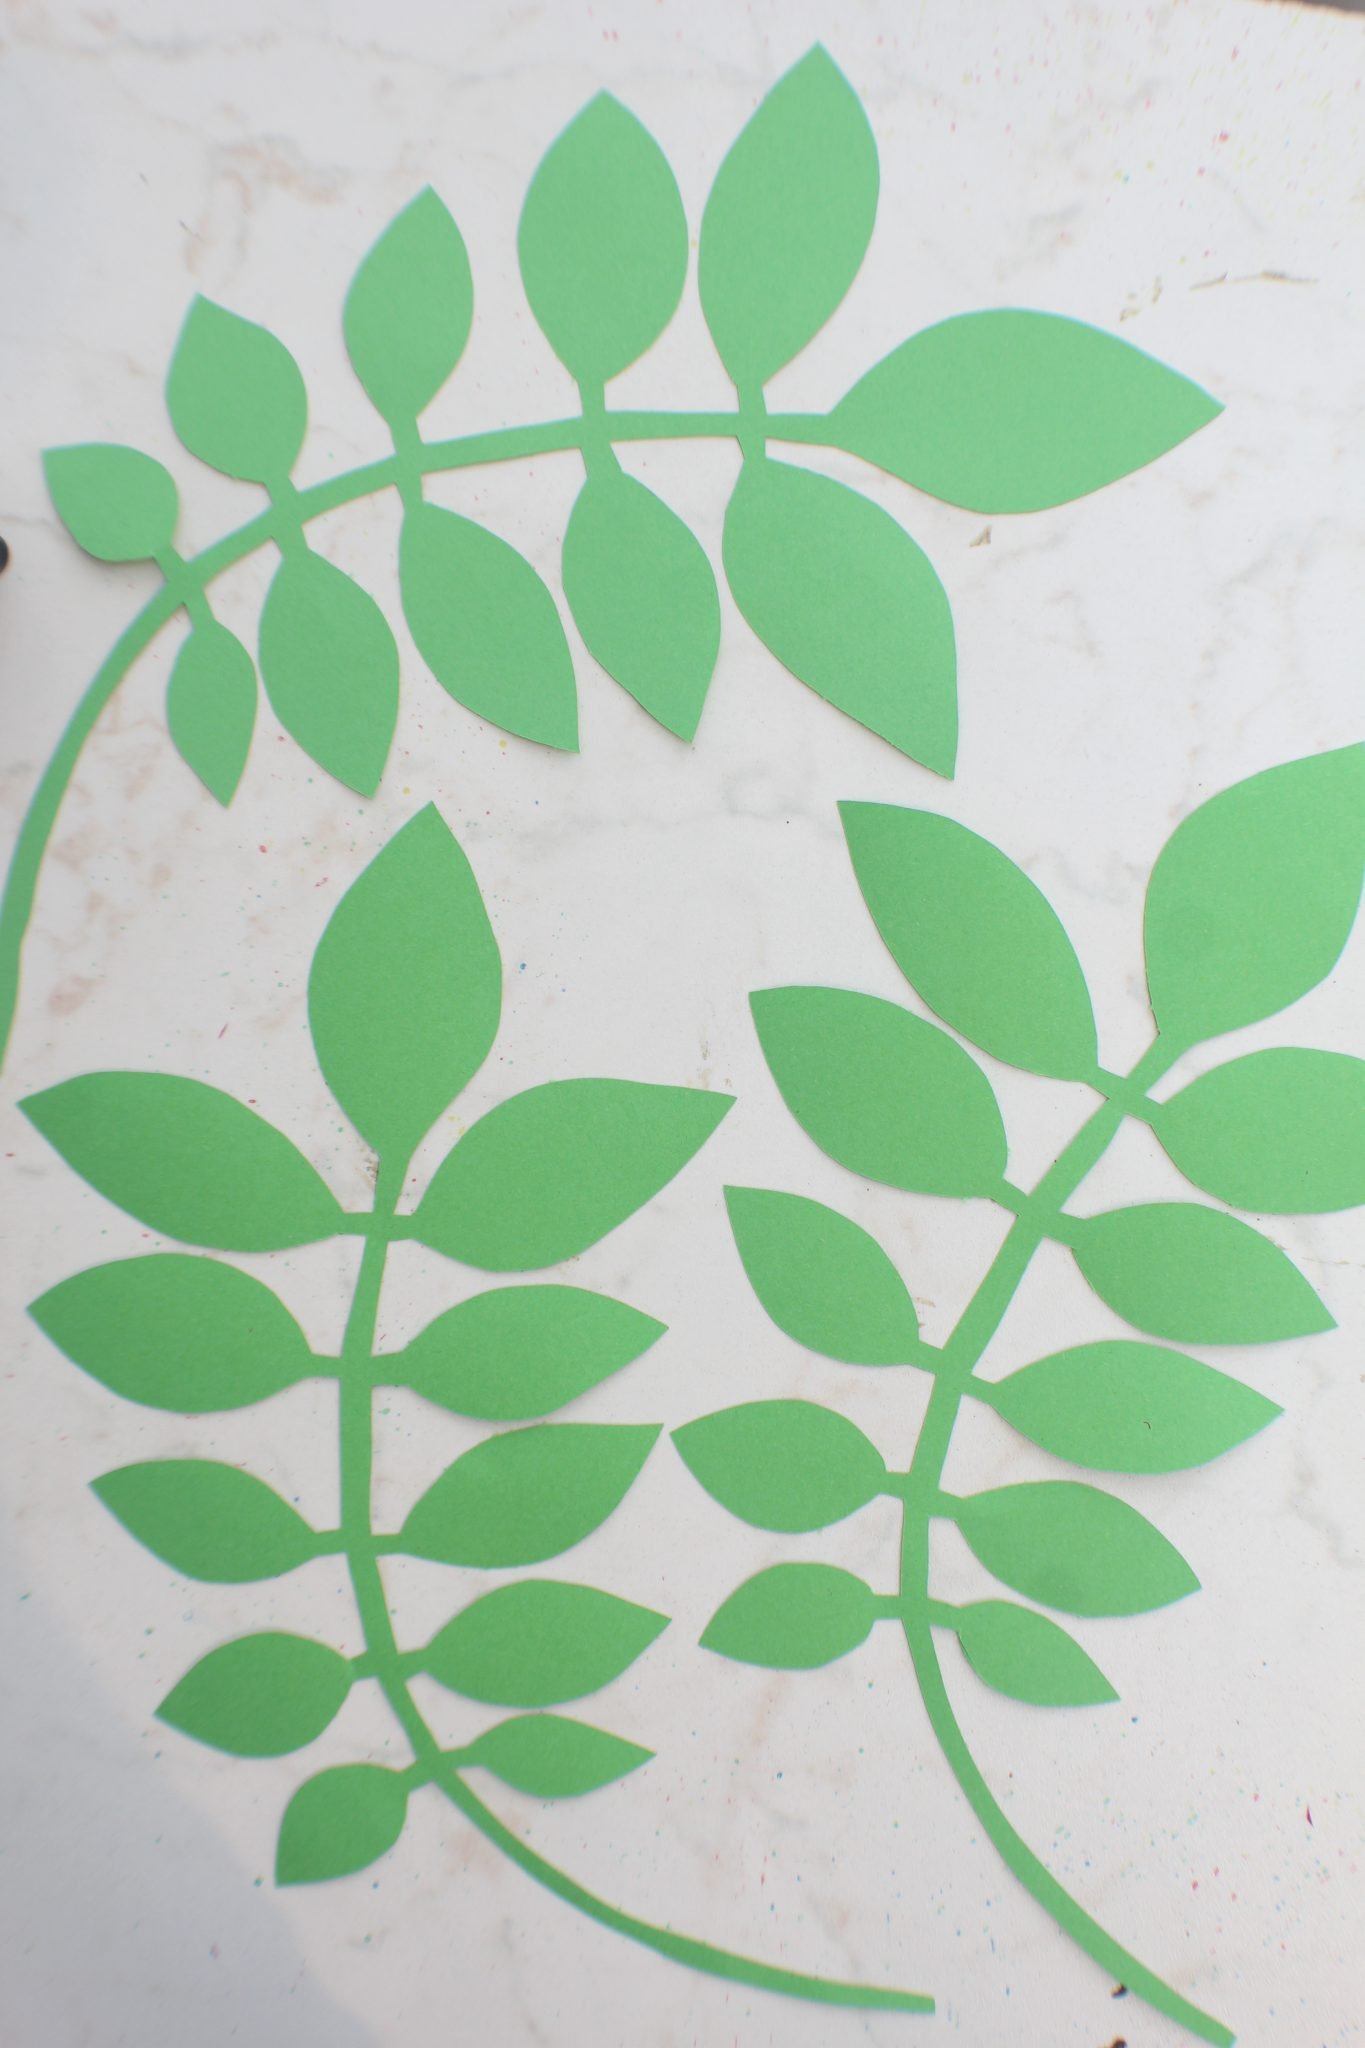
- Cut out the leaves using an exacto knife. I’ve cut 6 leaves for my project.
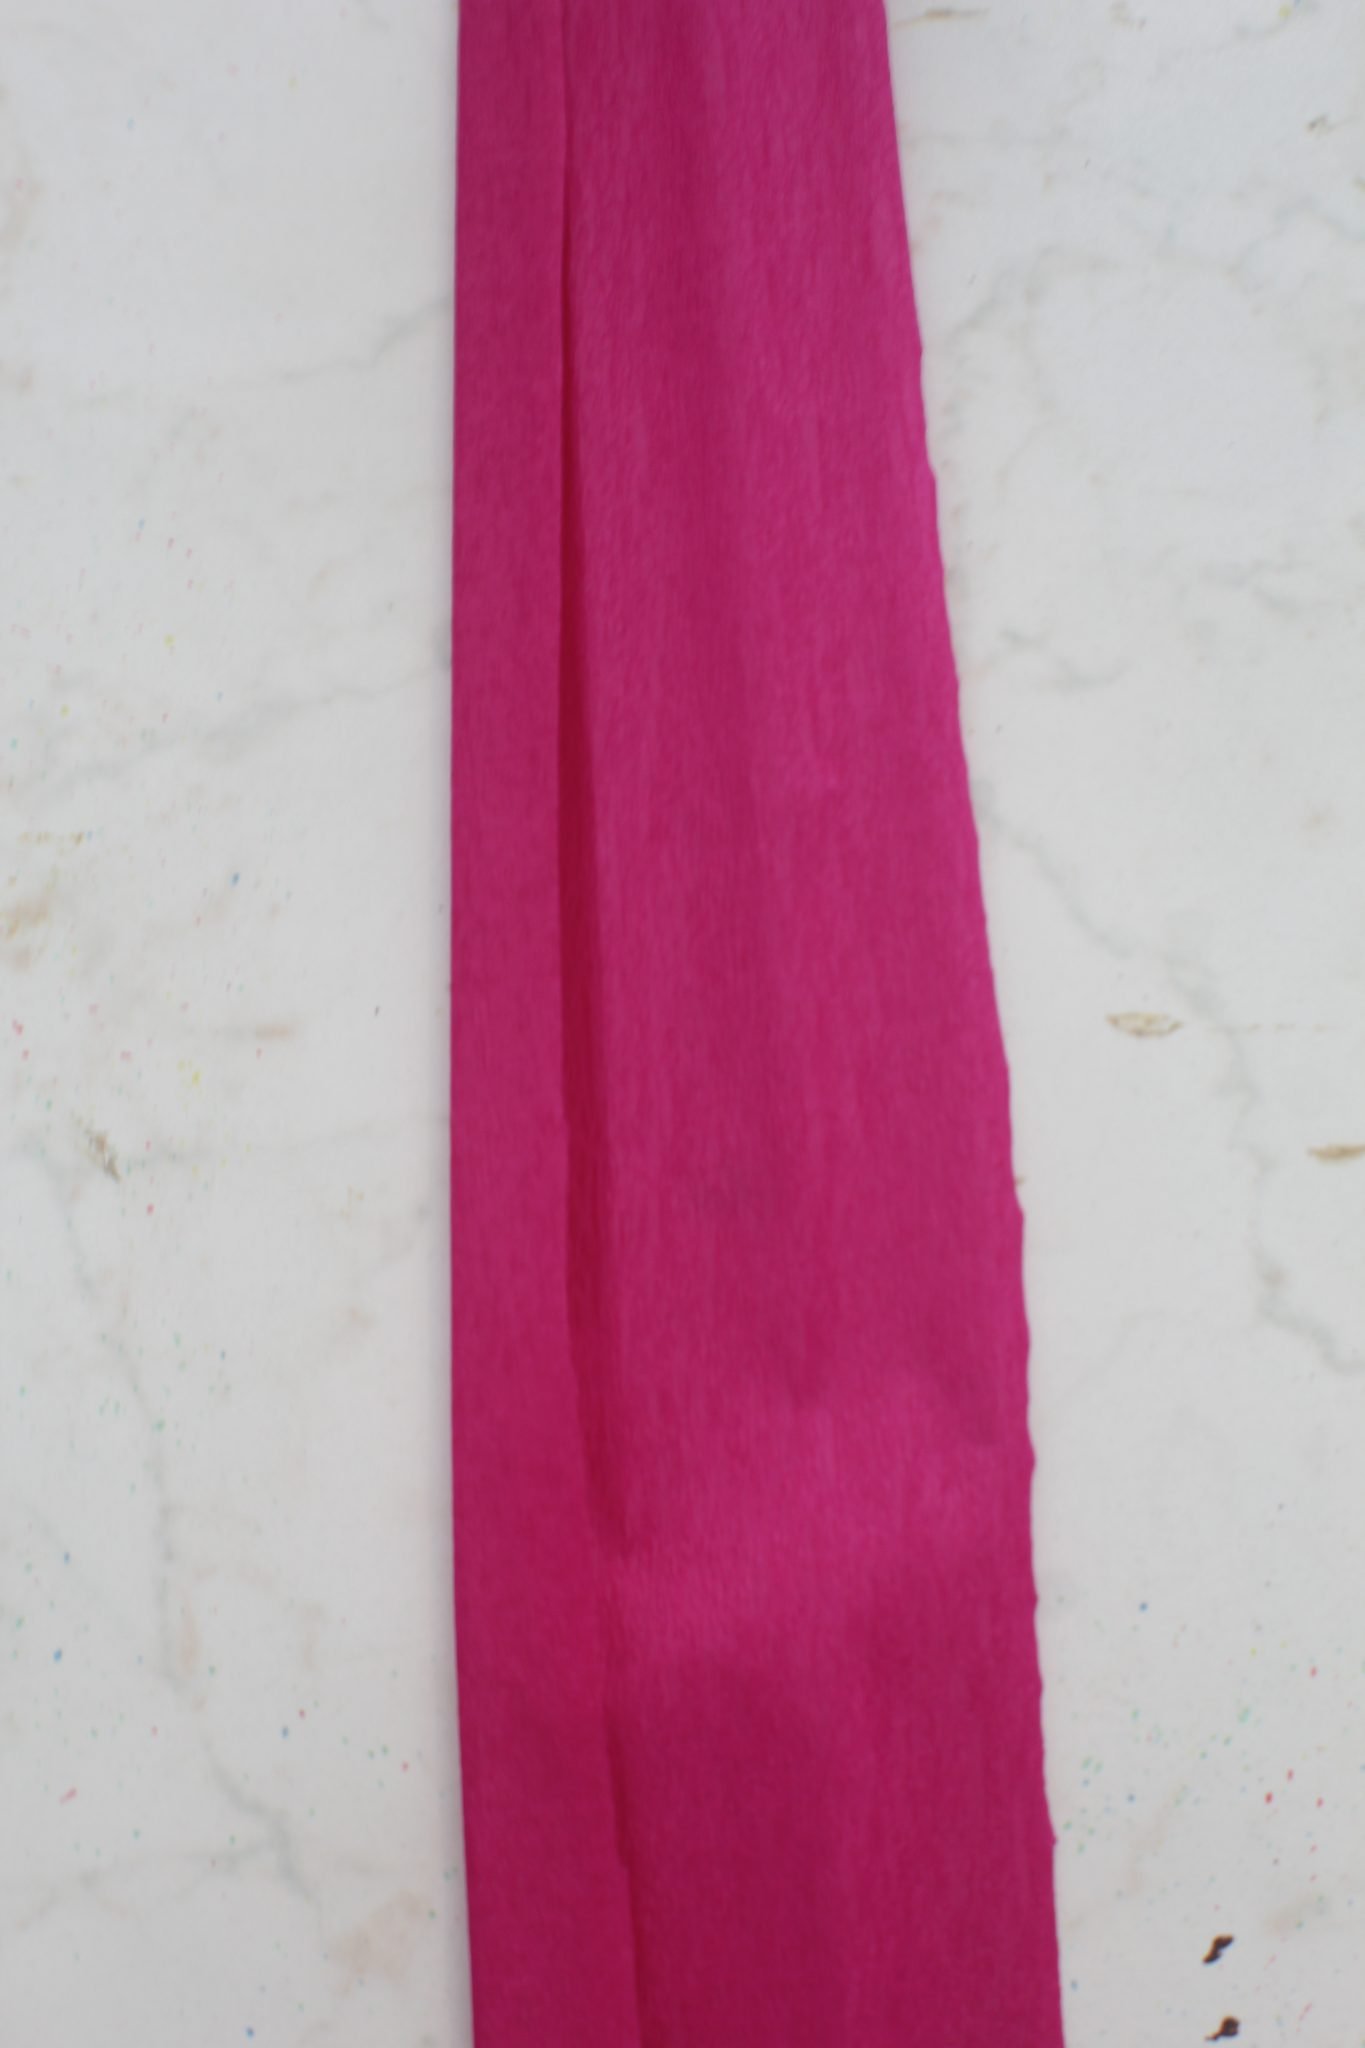
- Get a strip of crepe paper that is wider than the petal template and fold it in half (twice or thrice, depending on the length of the crepe paper strip).
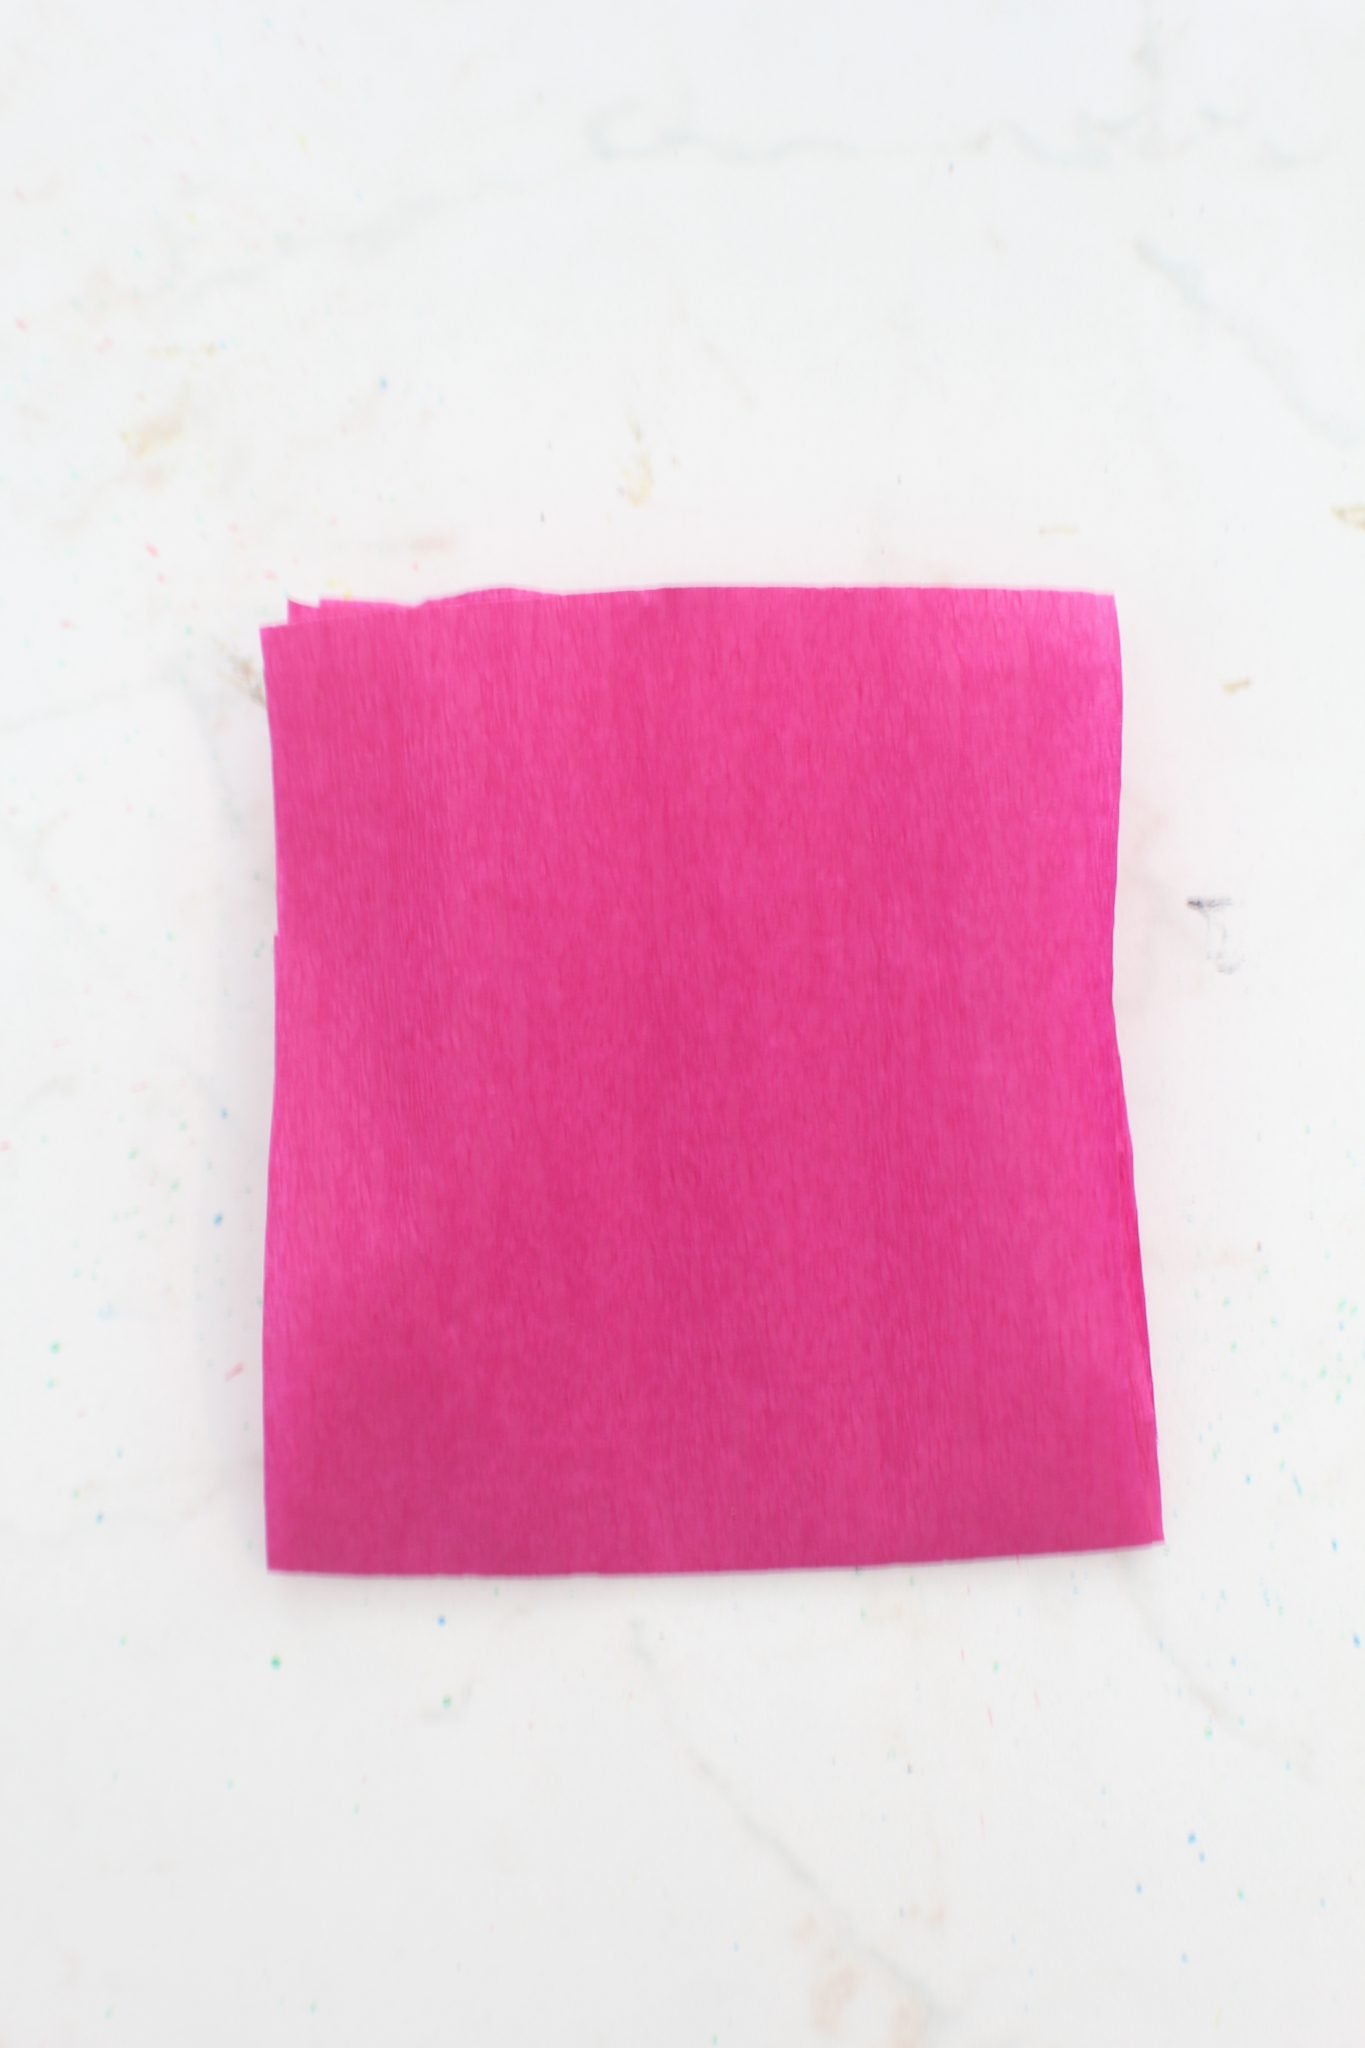
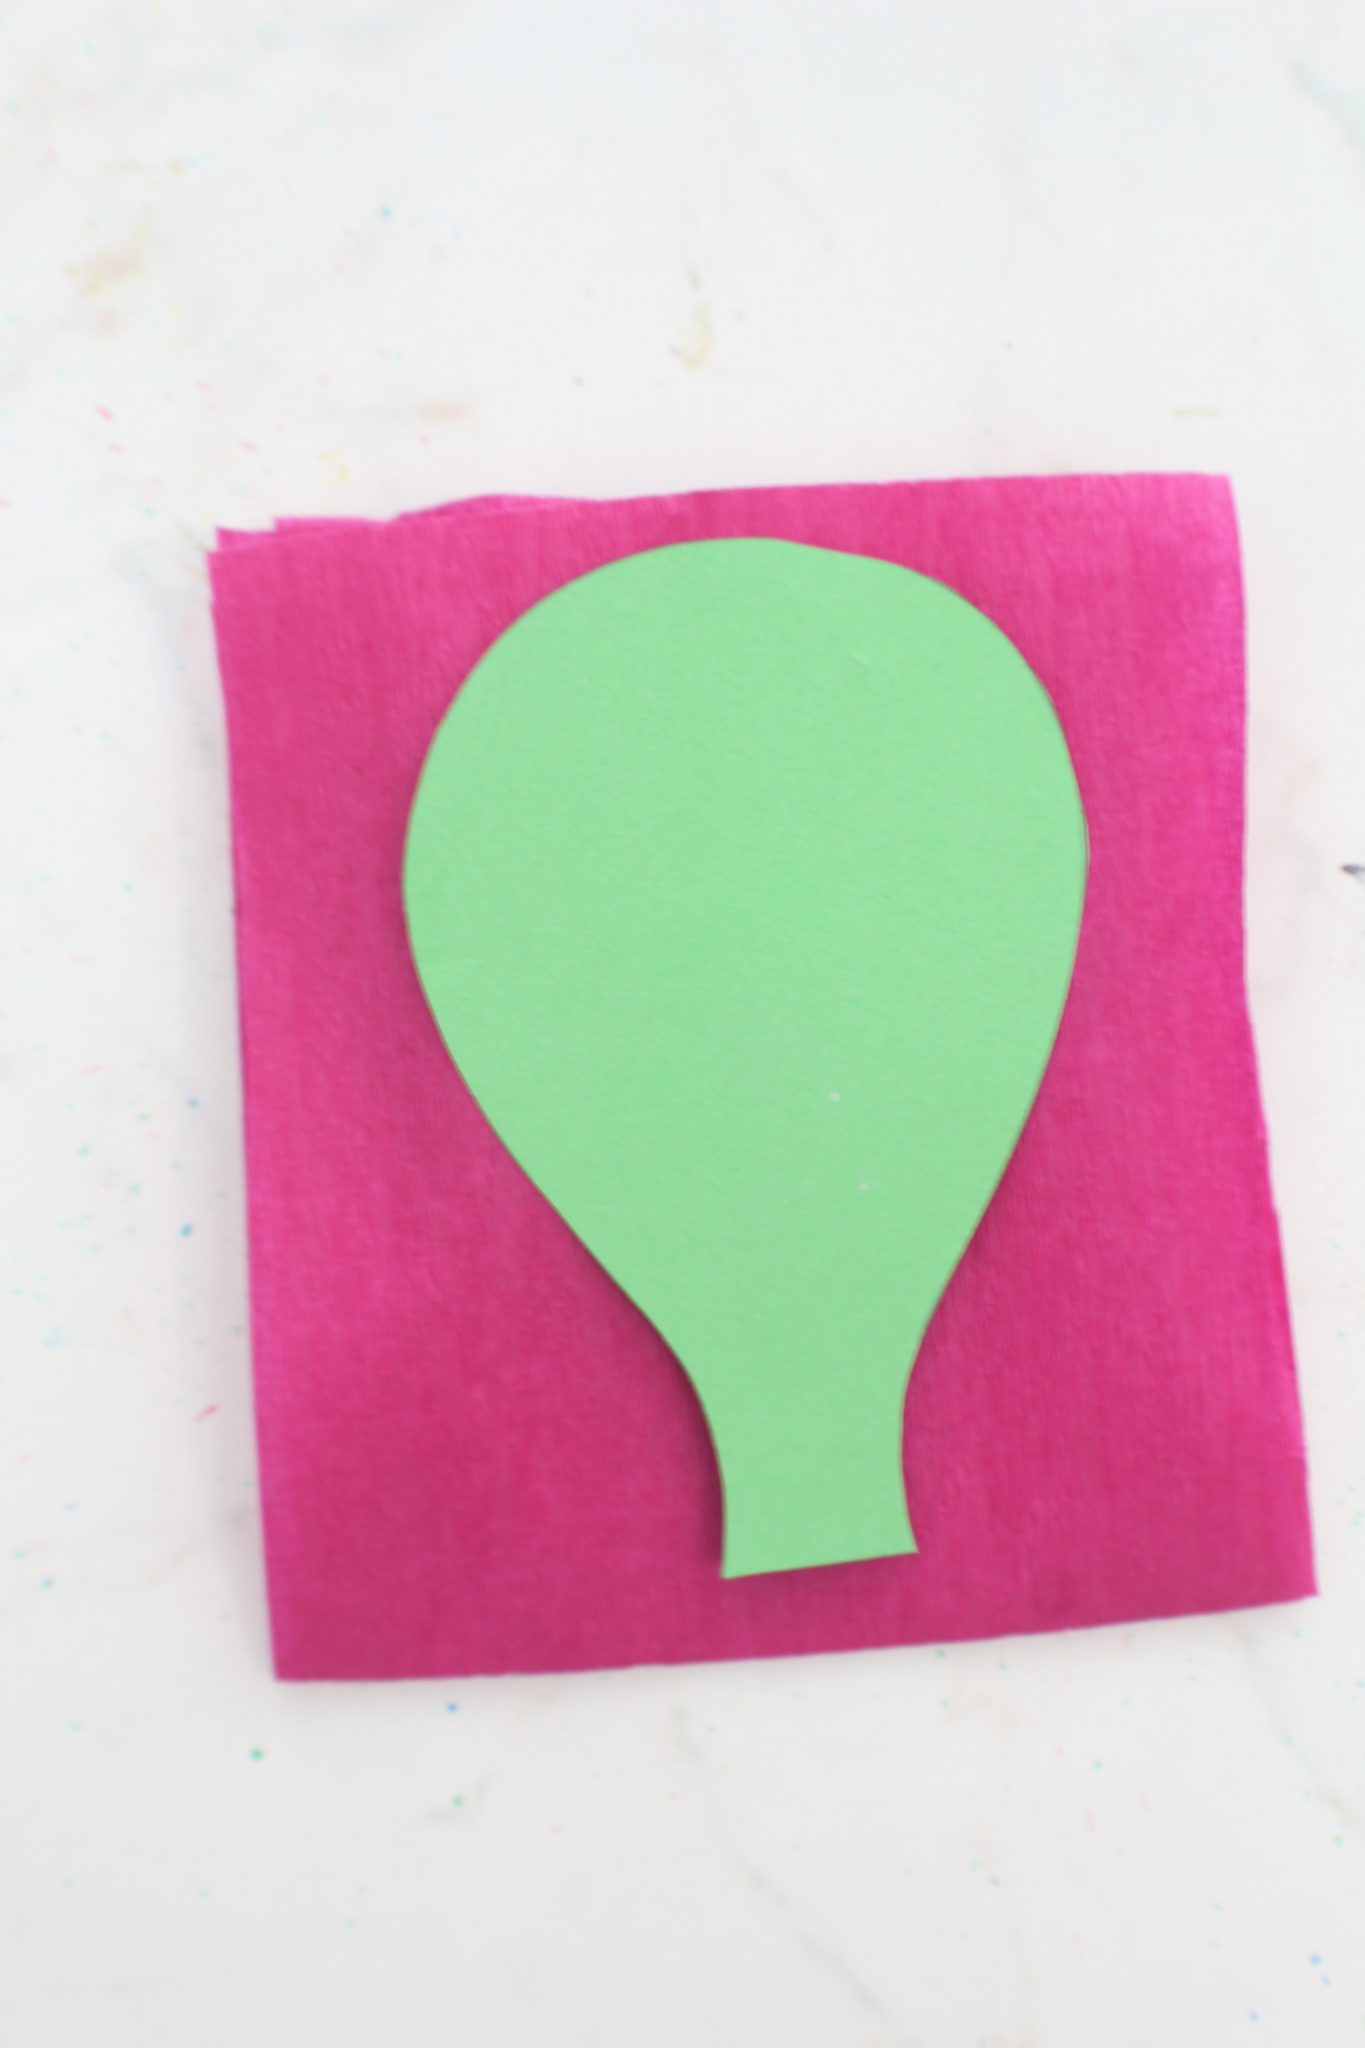
- Place the petal template on and trace it onto the crepe papers using a marker or a pen.
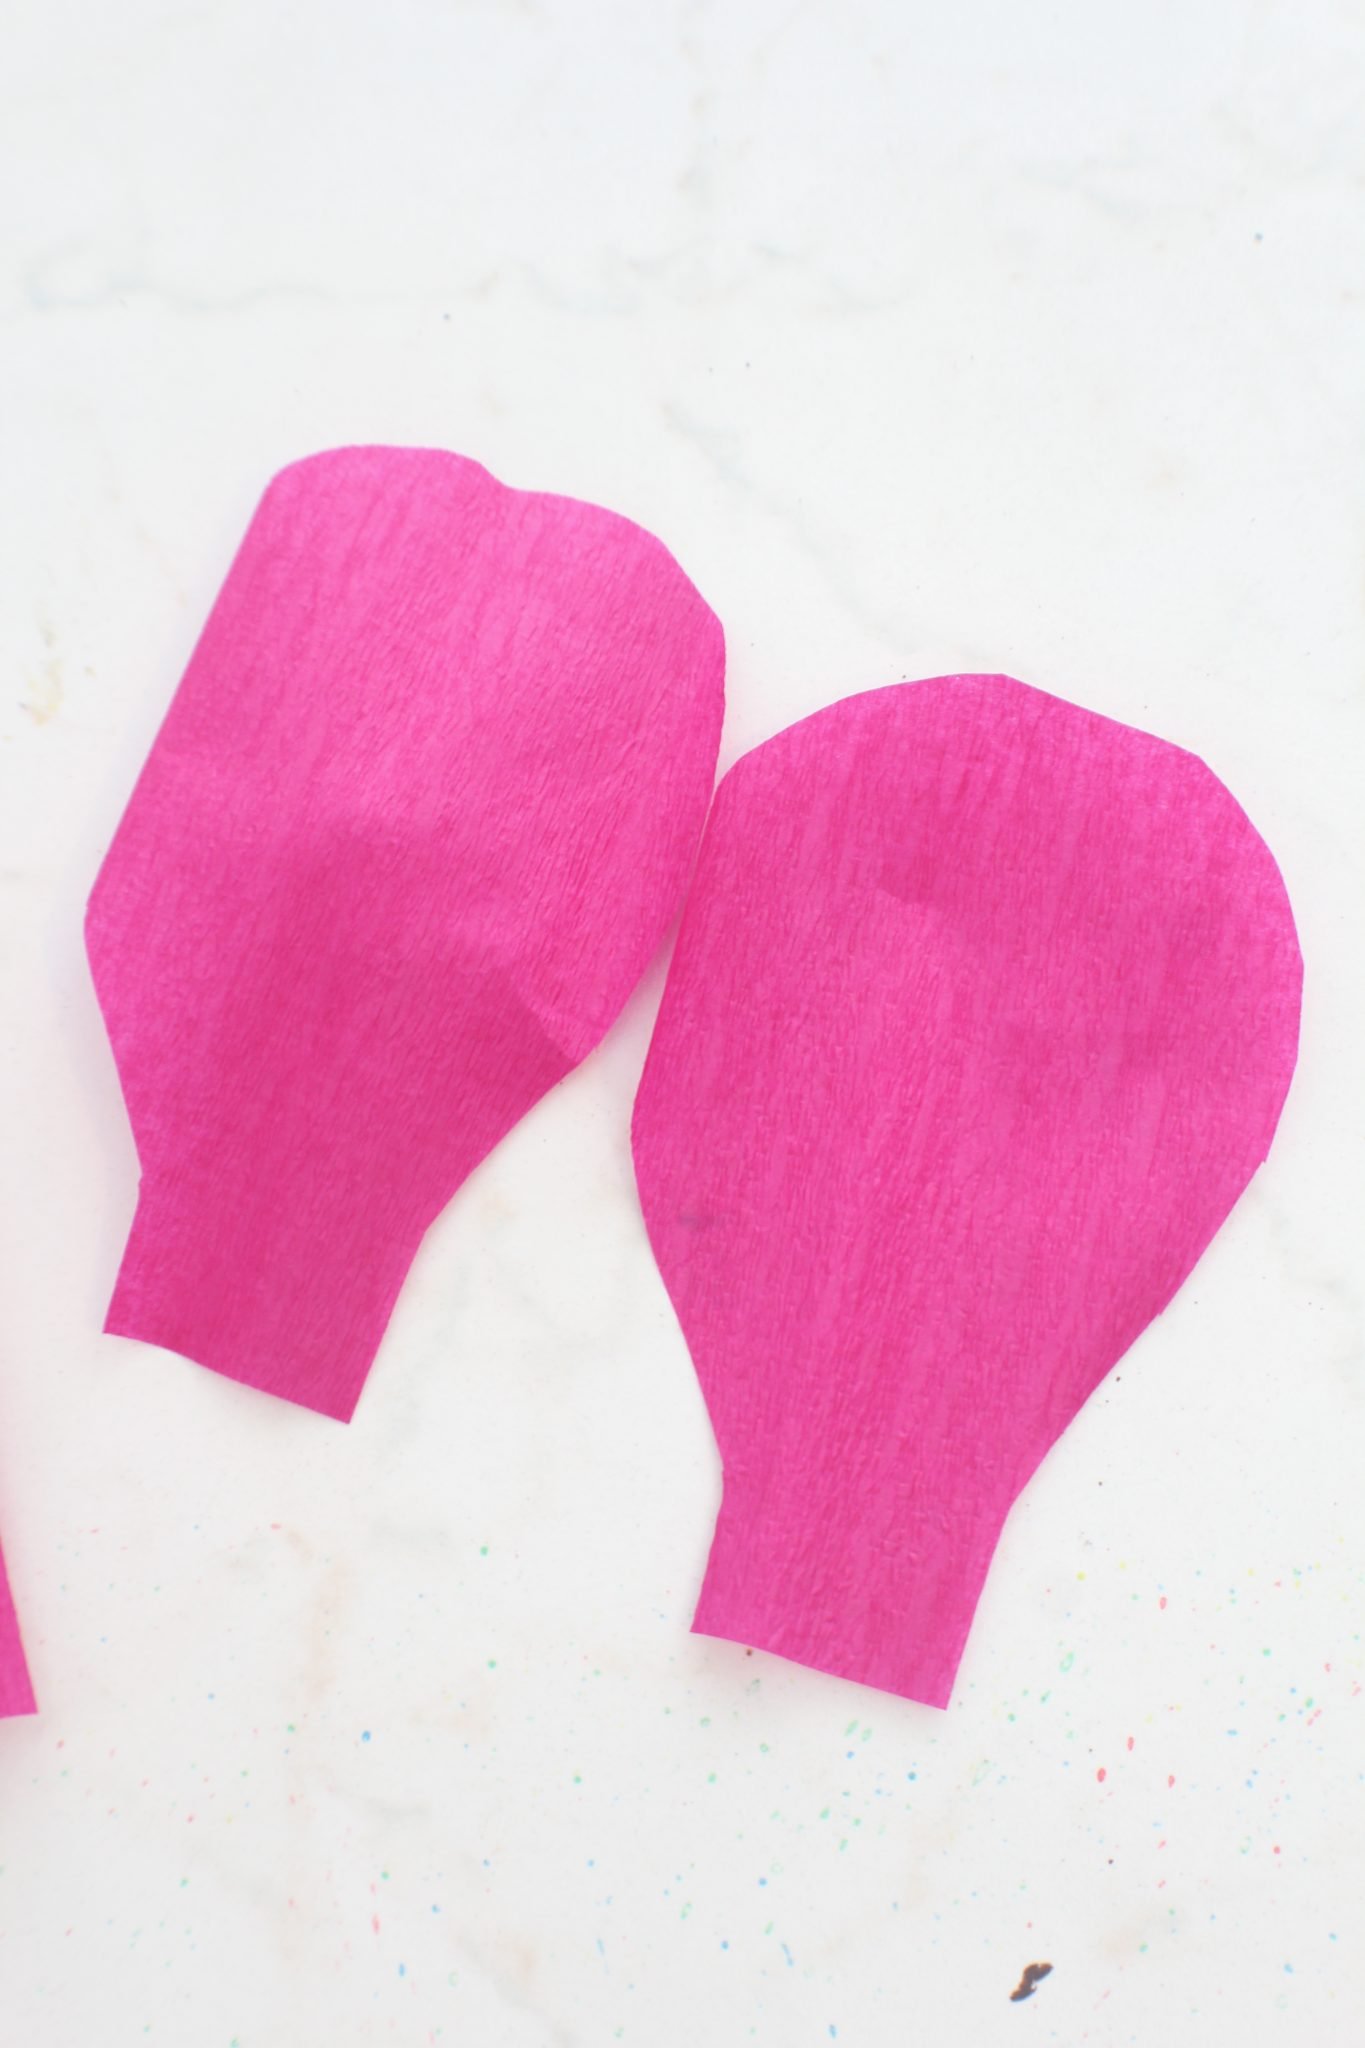
- Cut out with craft scissors.
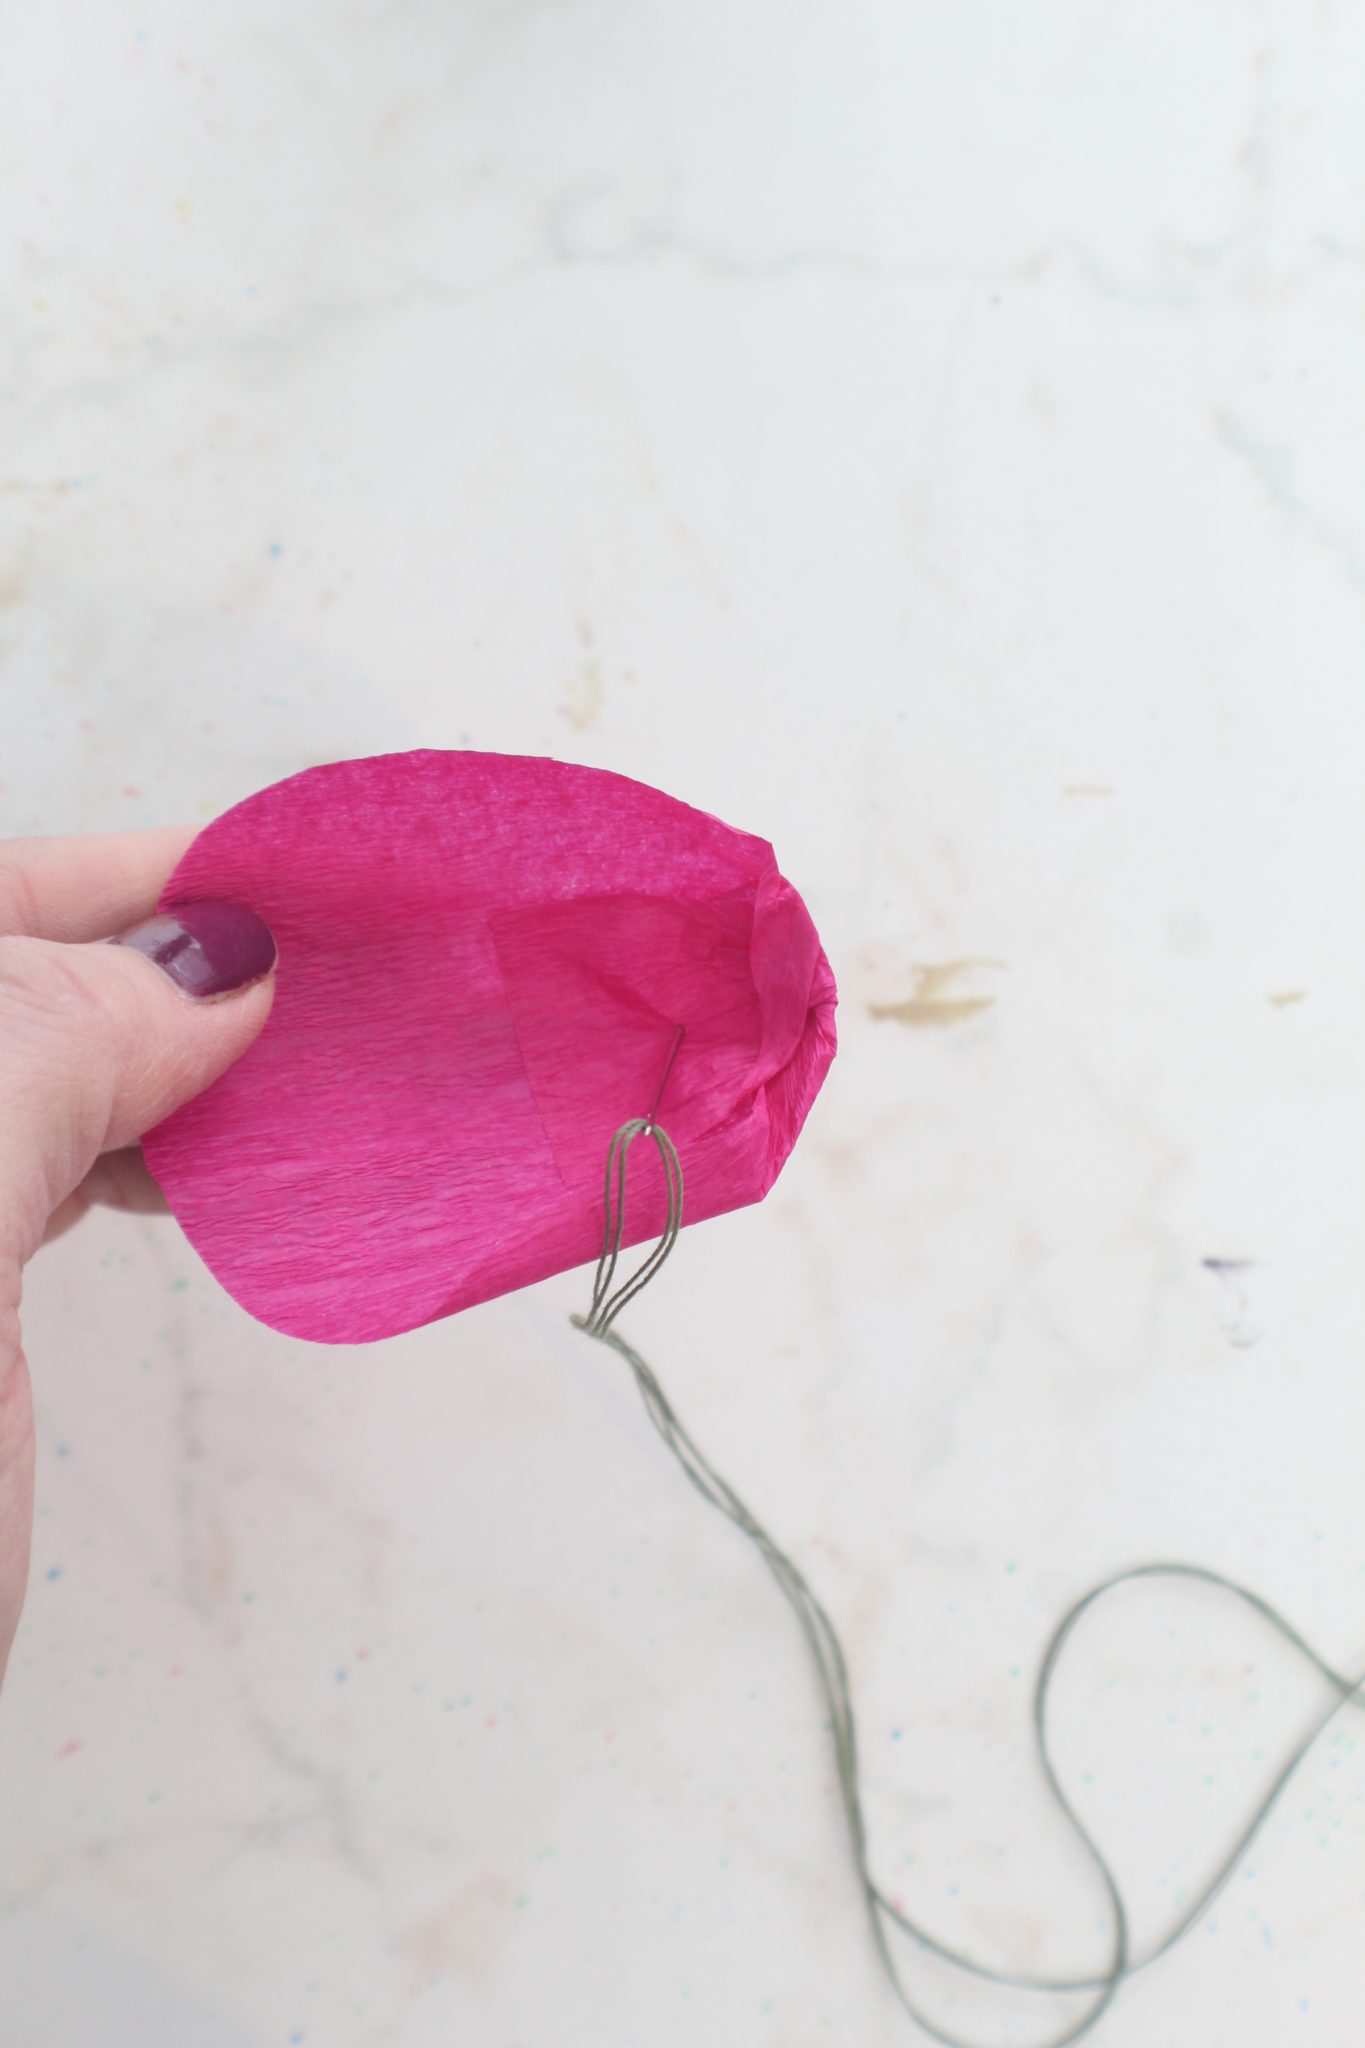
- Working with one petal at a time, twist the bottom once, and form a knot, as pictured.
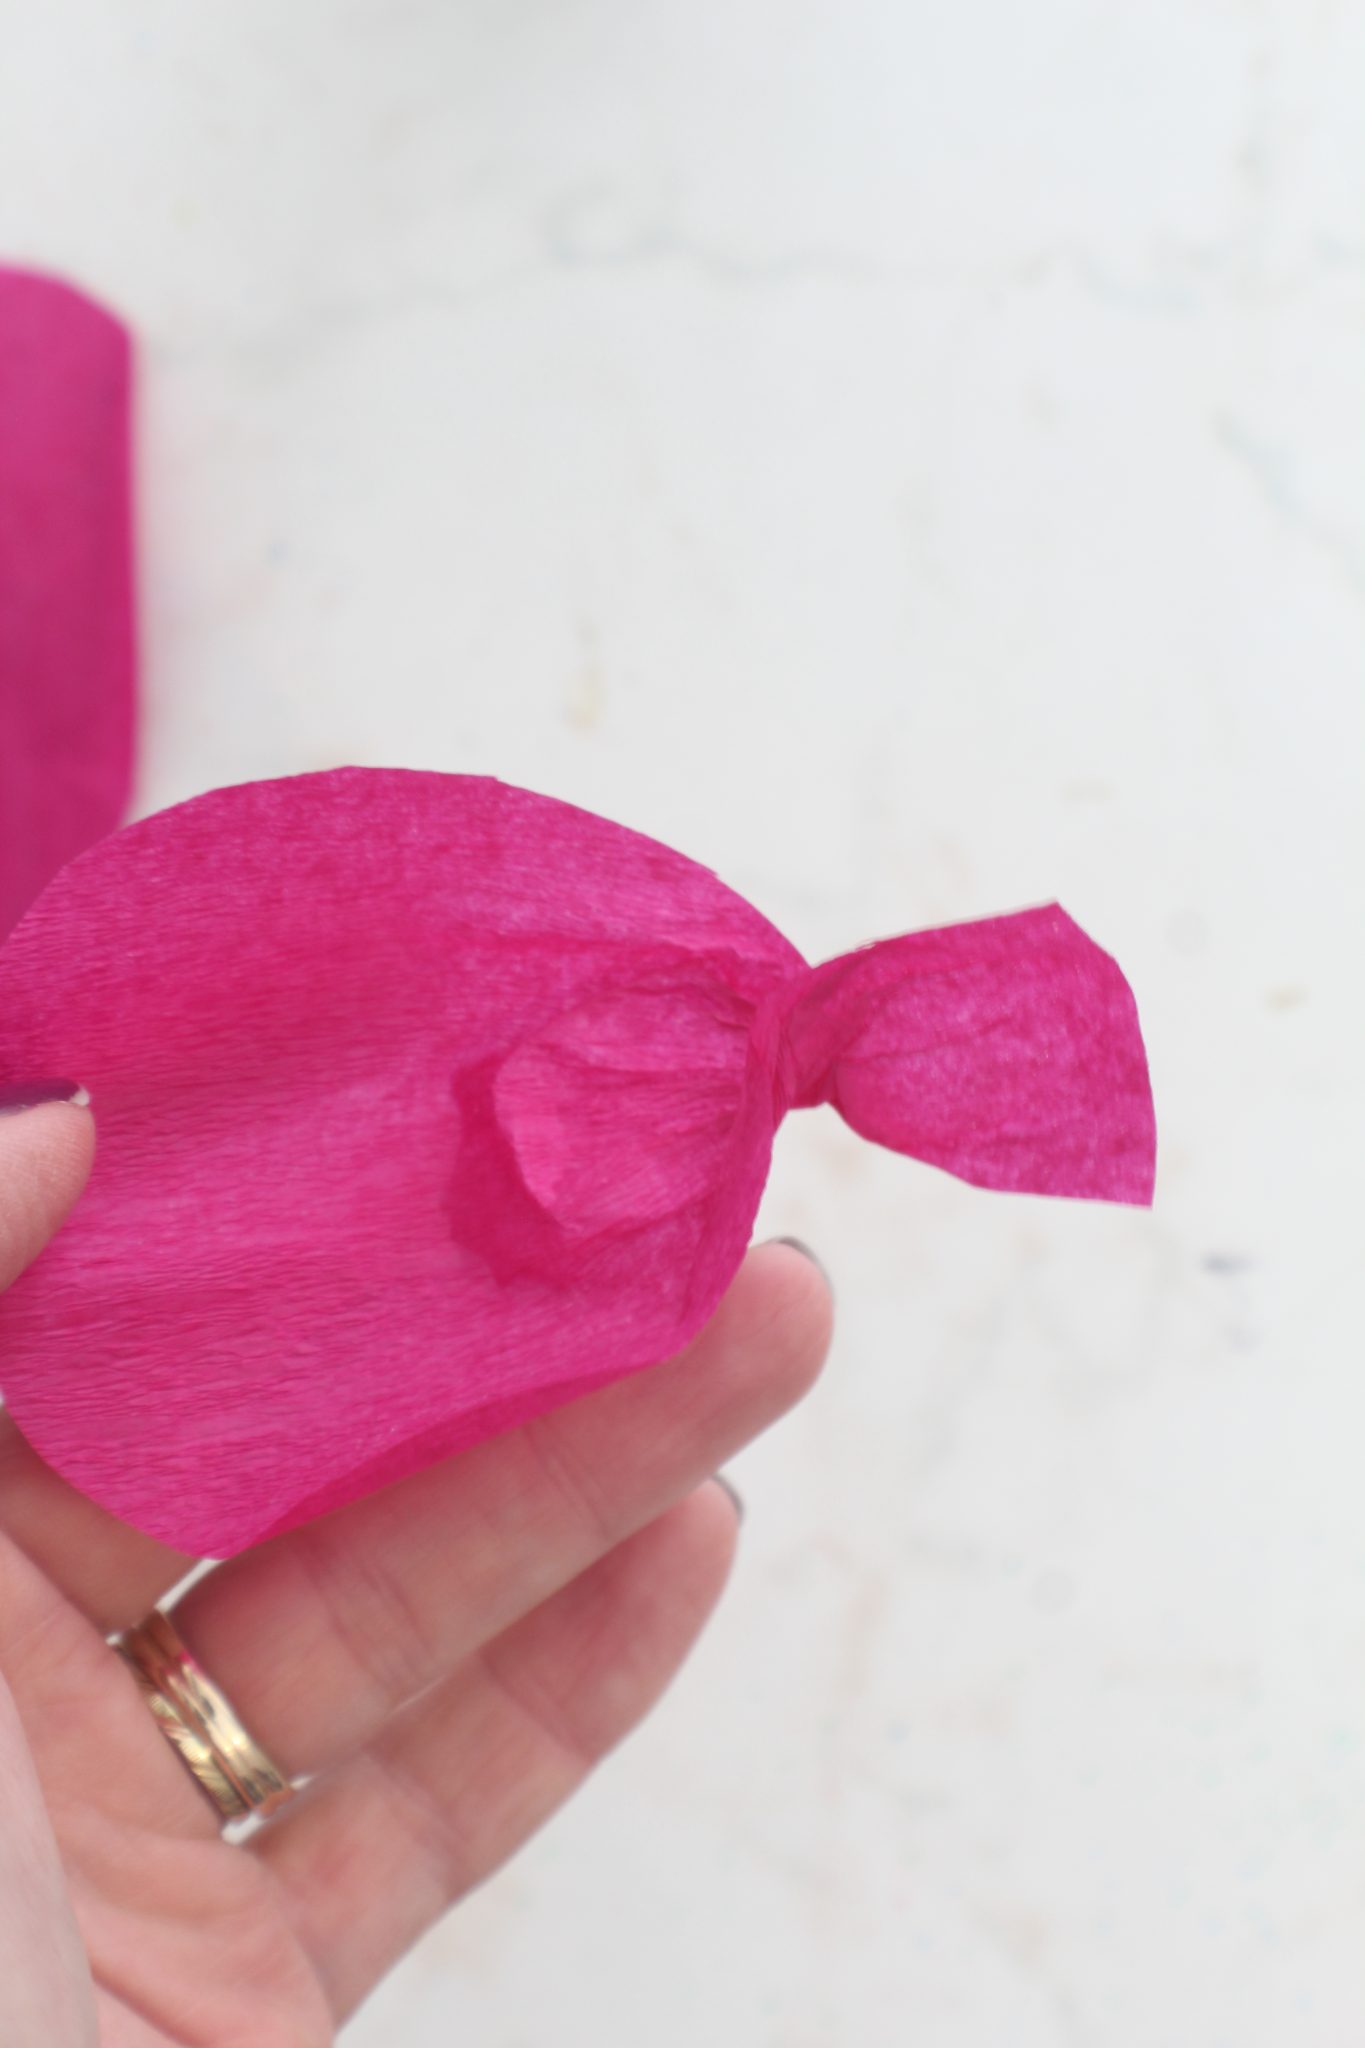
- Press the twisted bottom onto the flower.
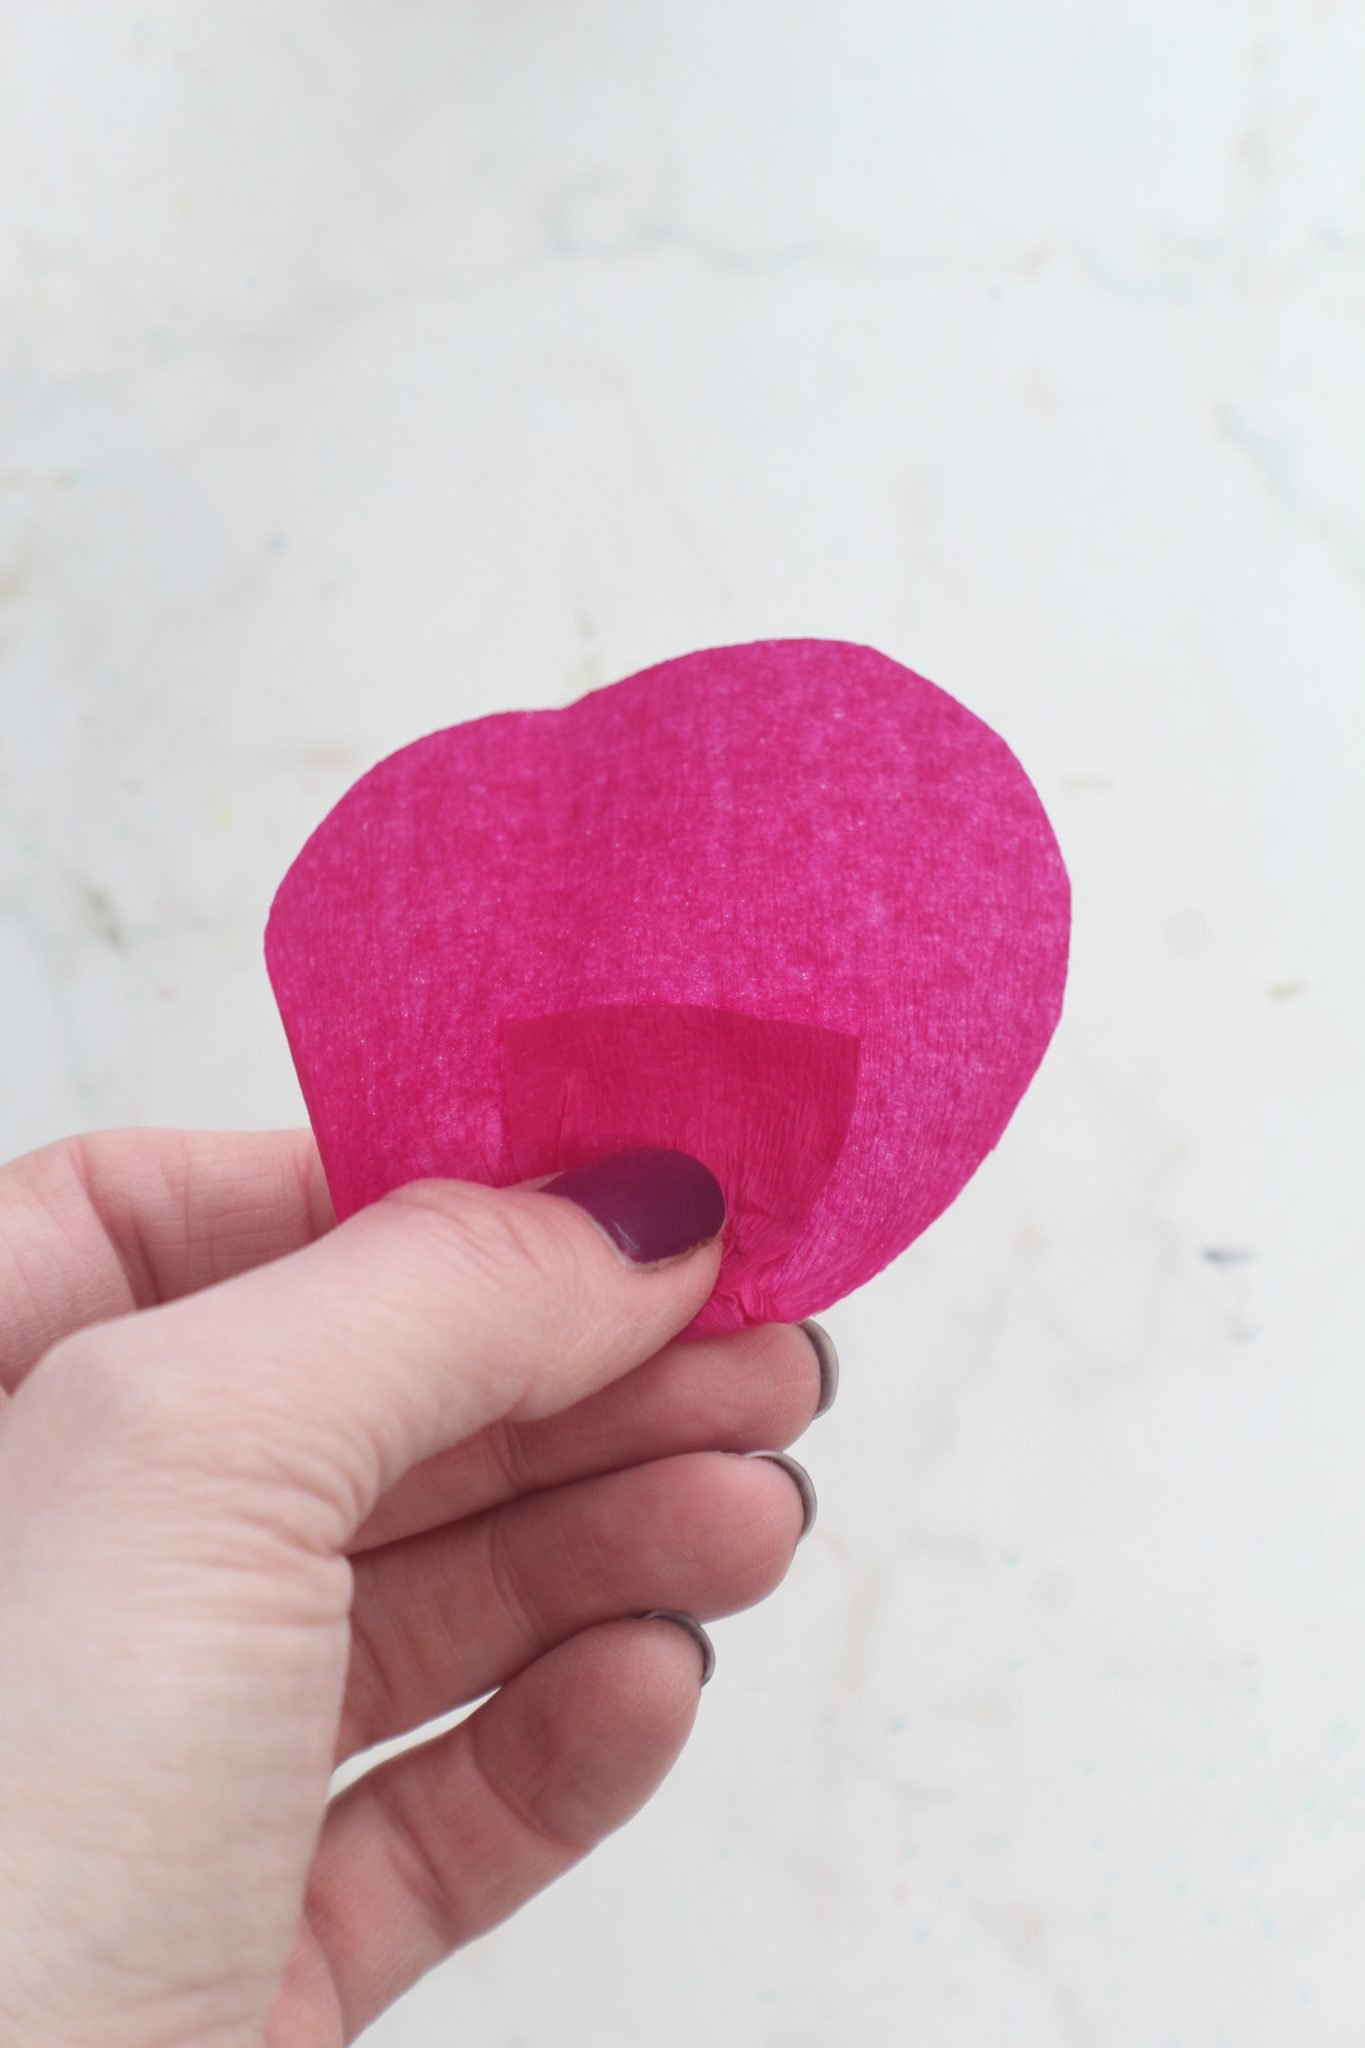
- Arrange the flower to form a little cup.
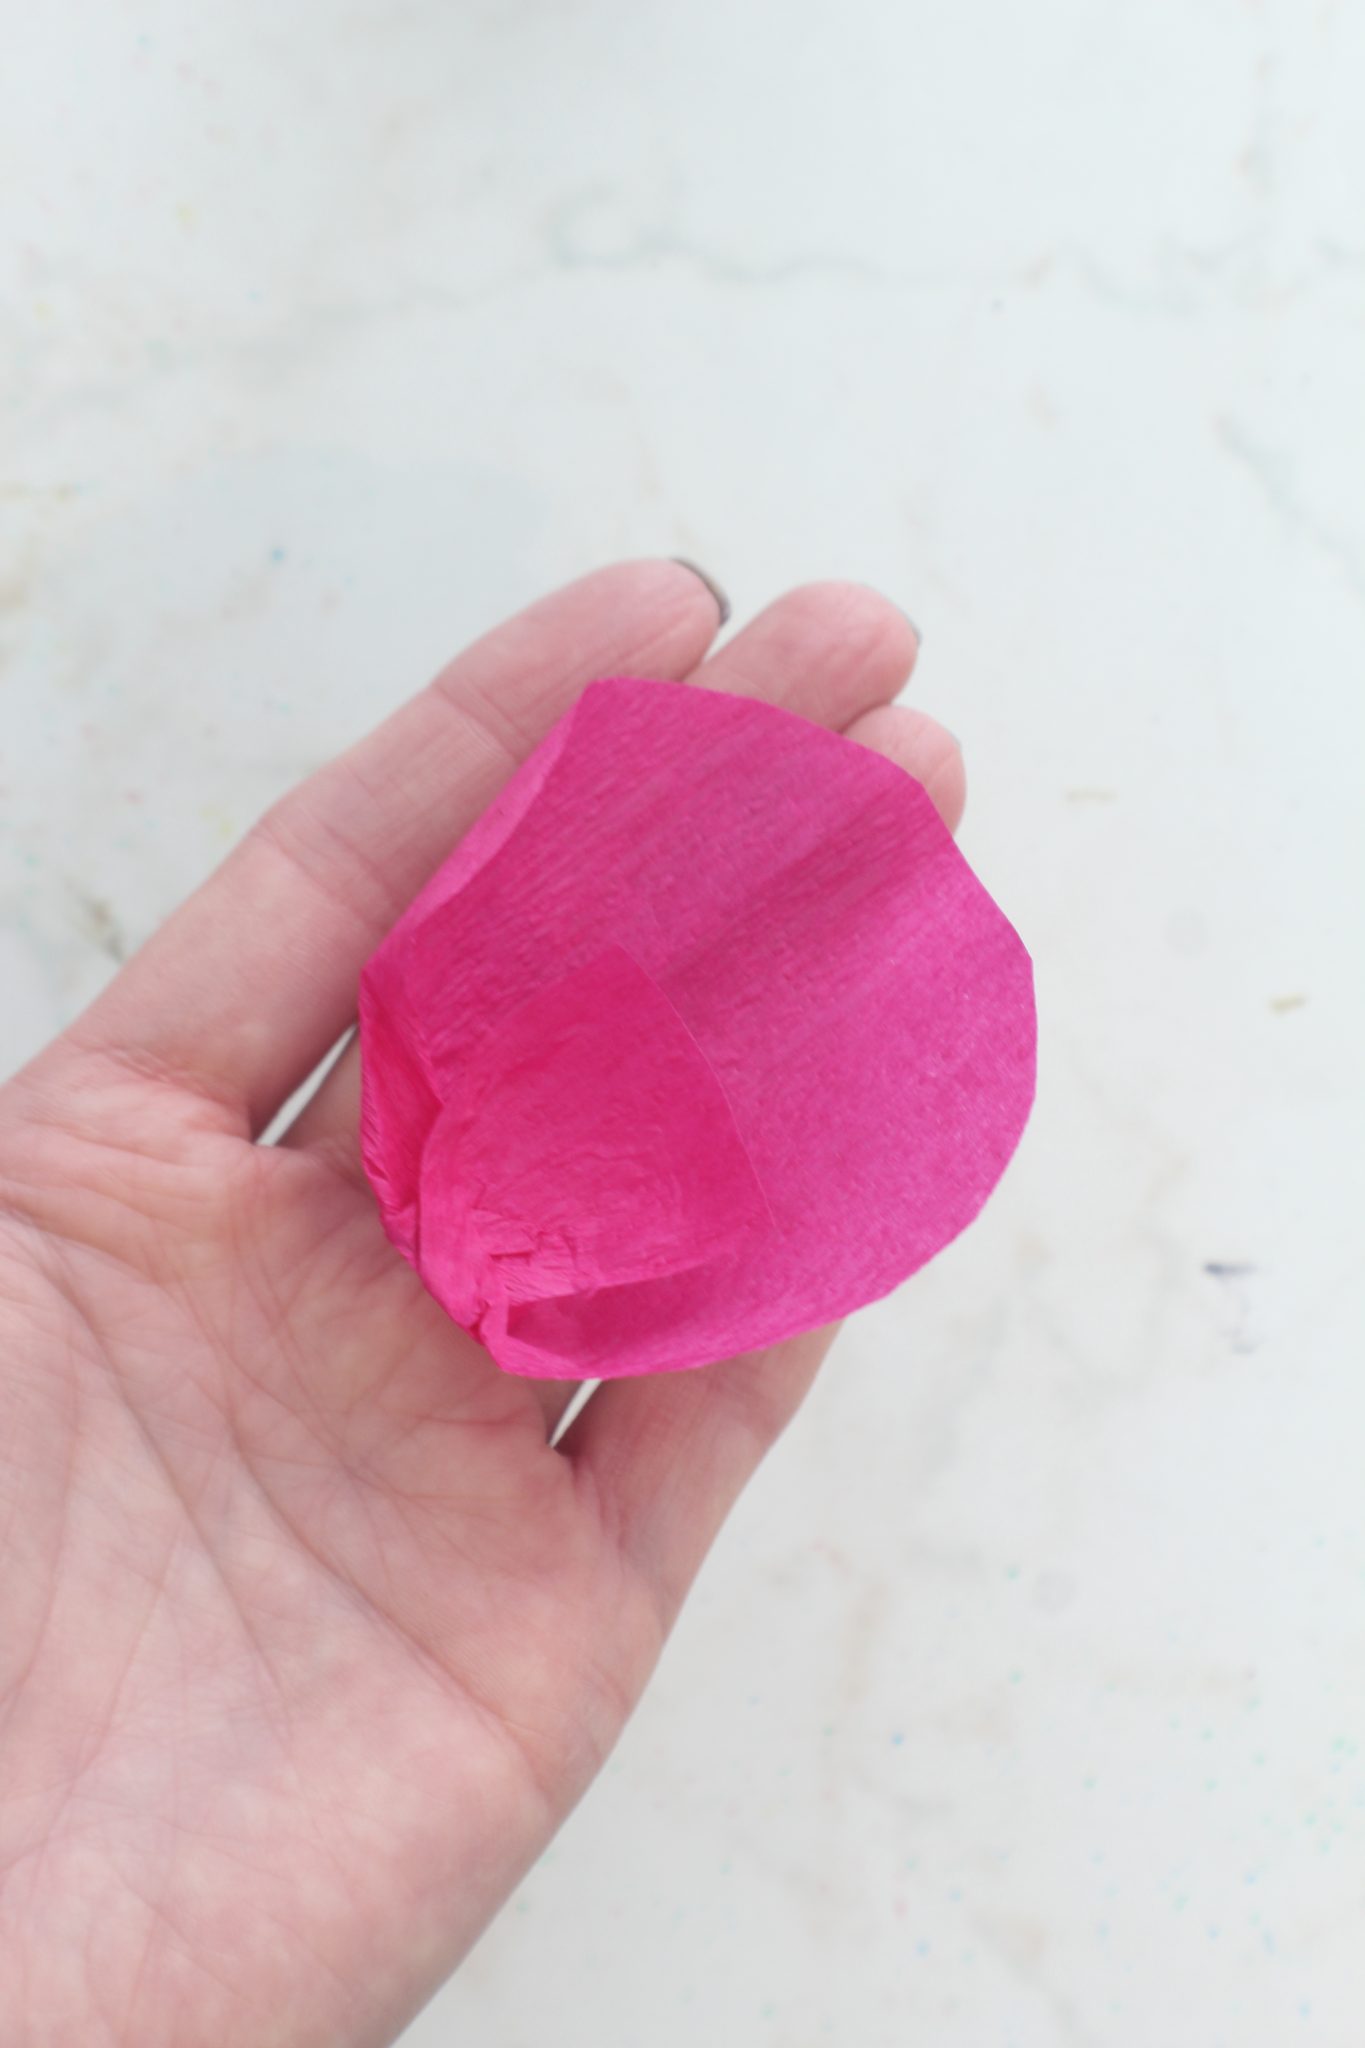
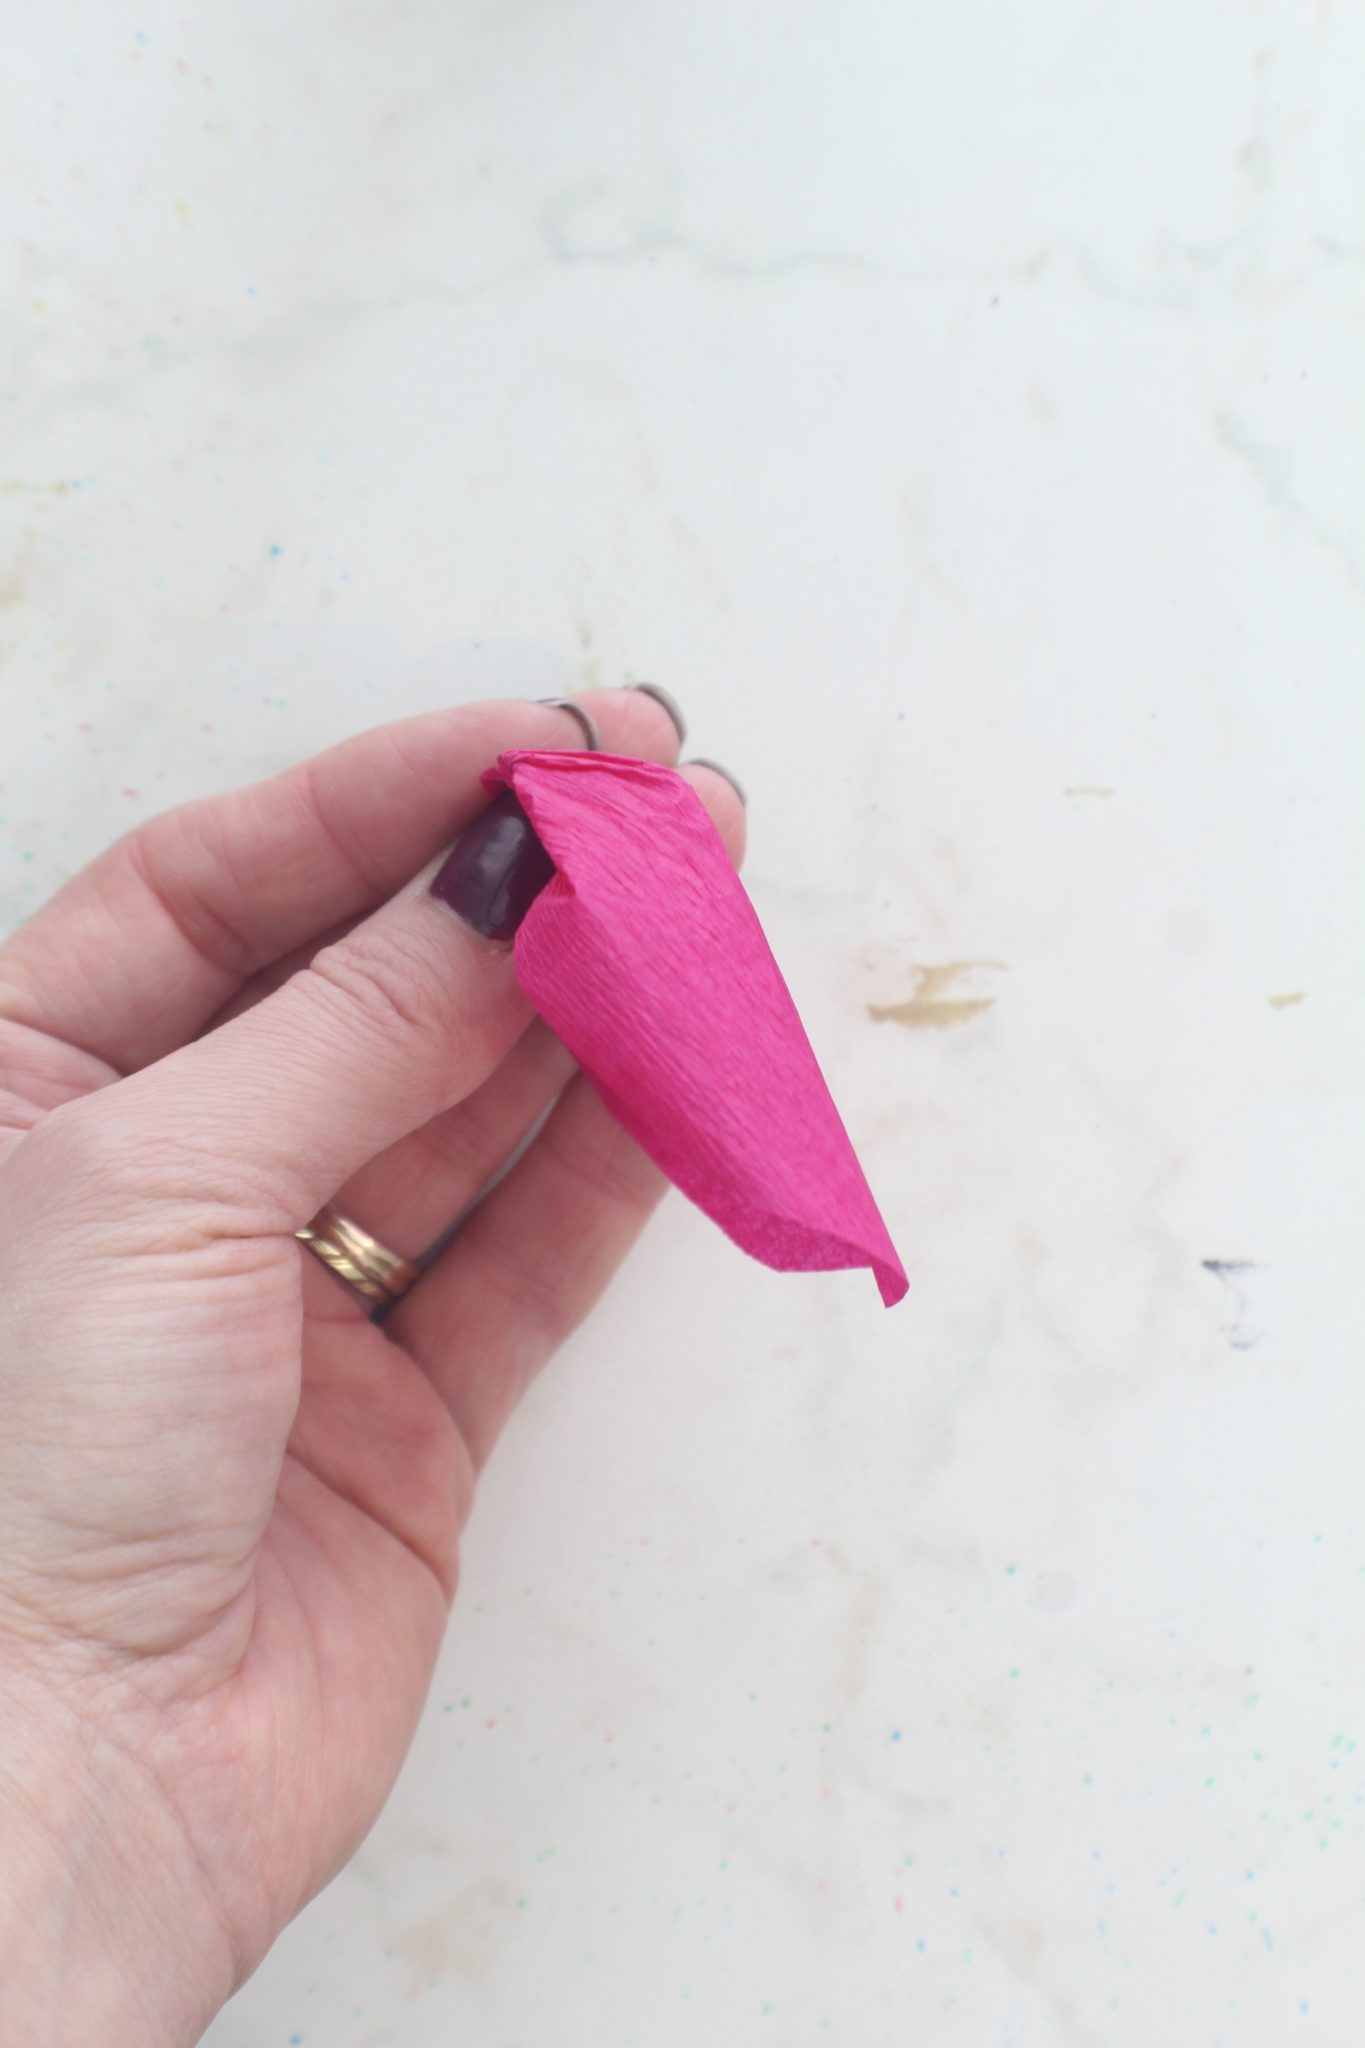
- Continue until you finish the crepe paper.
- Thread a needle with jeans or embroidery thread (I used a double thread of jeans thread) and make a large knot.
- Pass the needle through the knot of each of the petals, with the petals facing downwards.
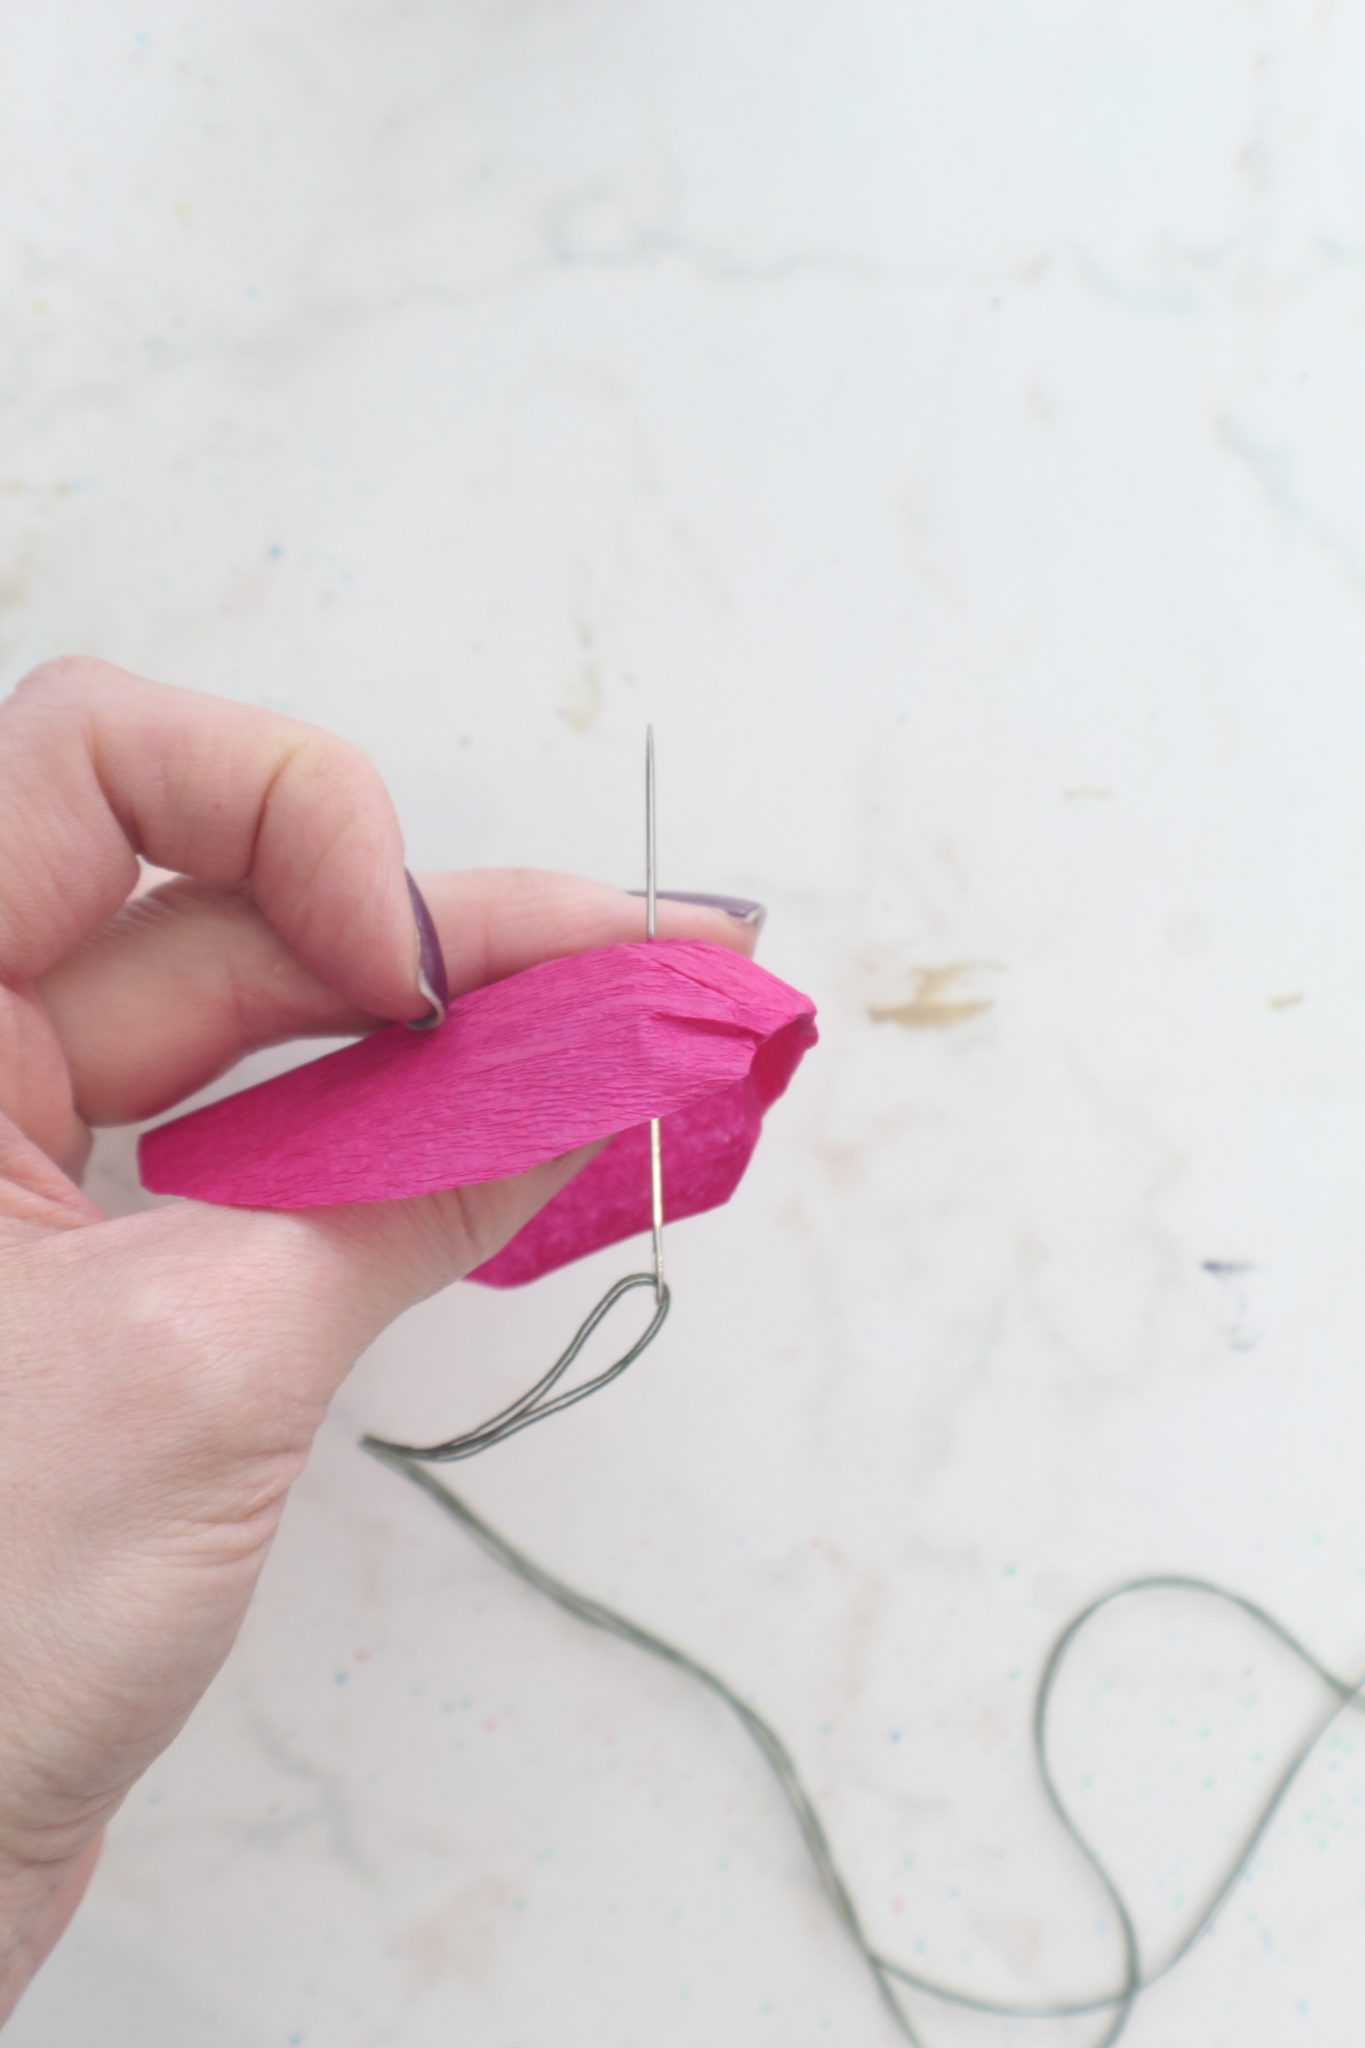
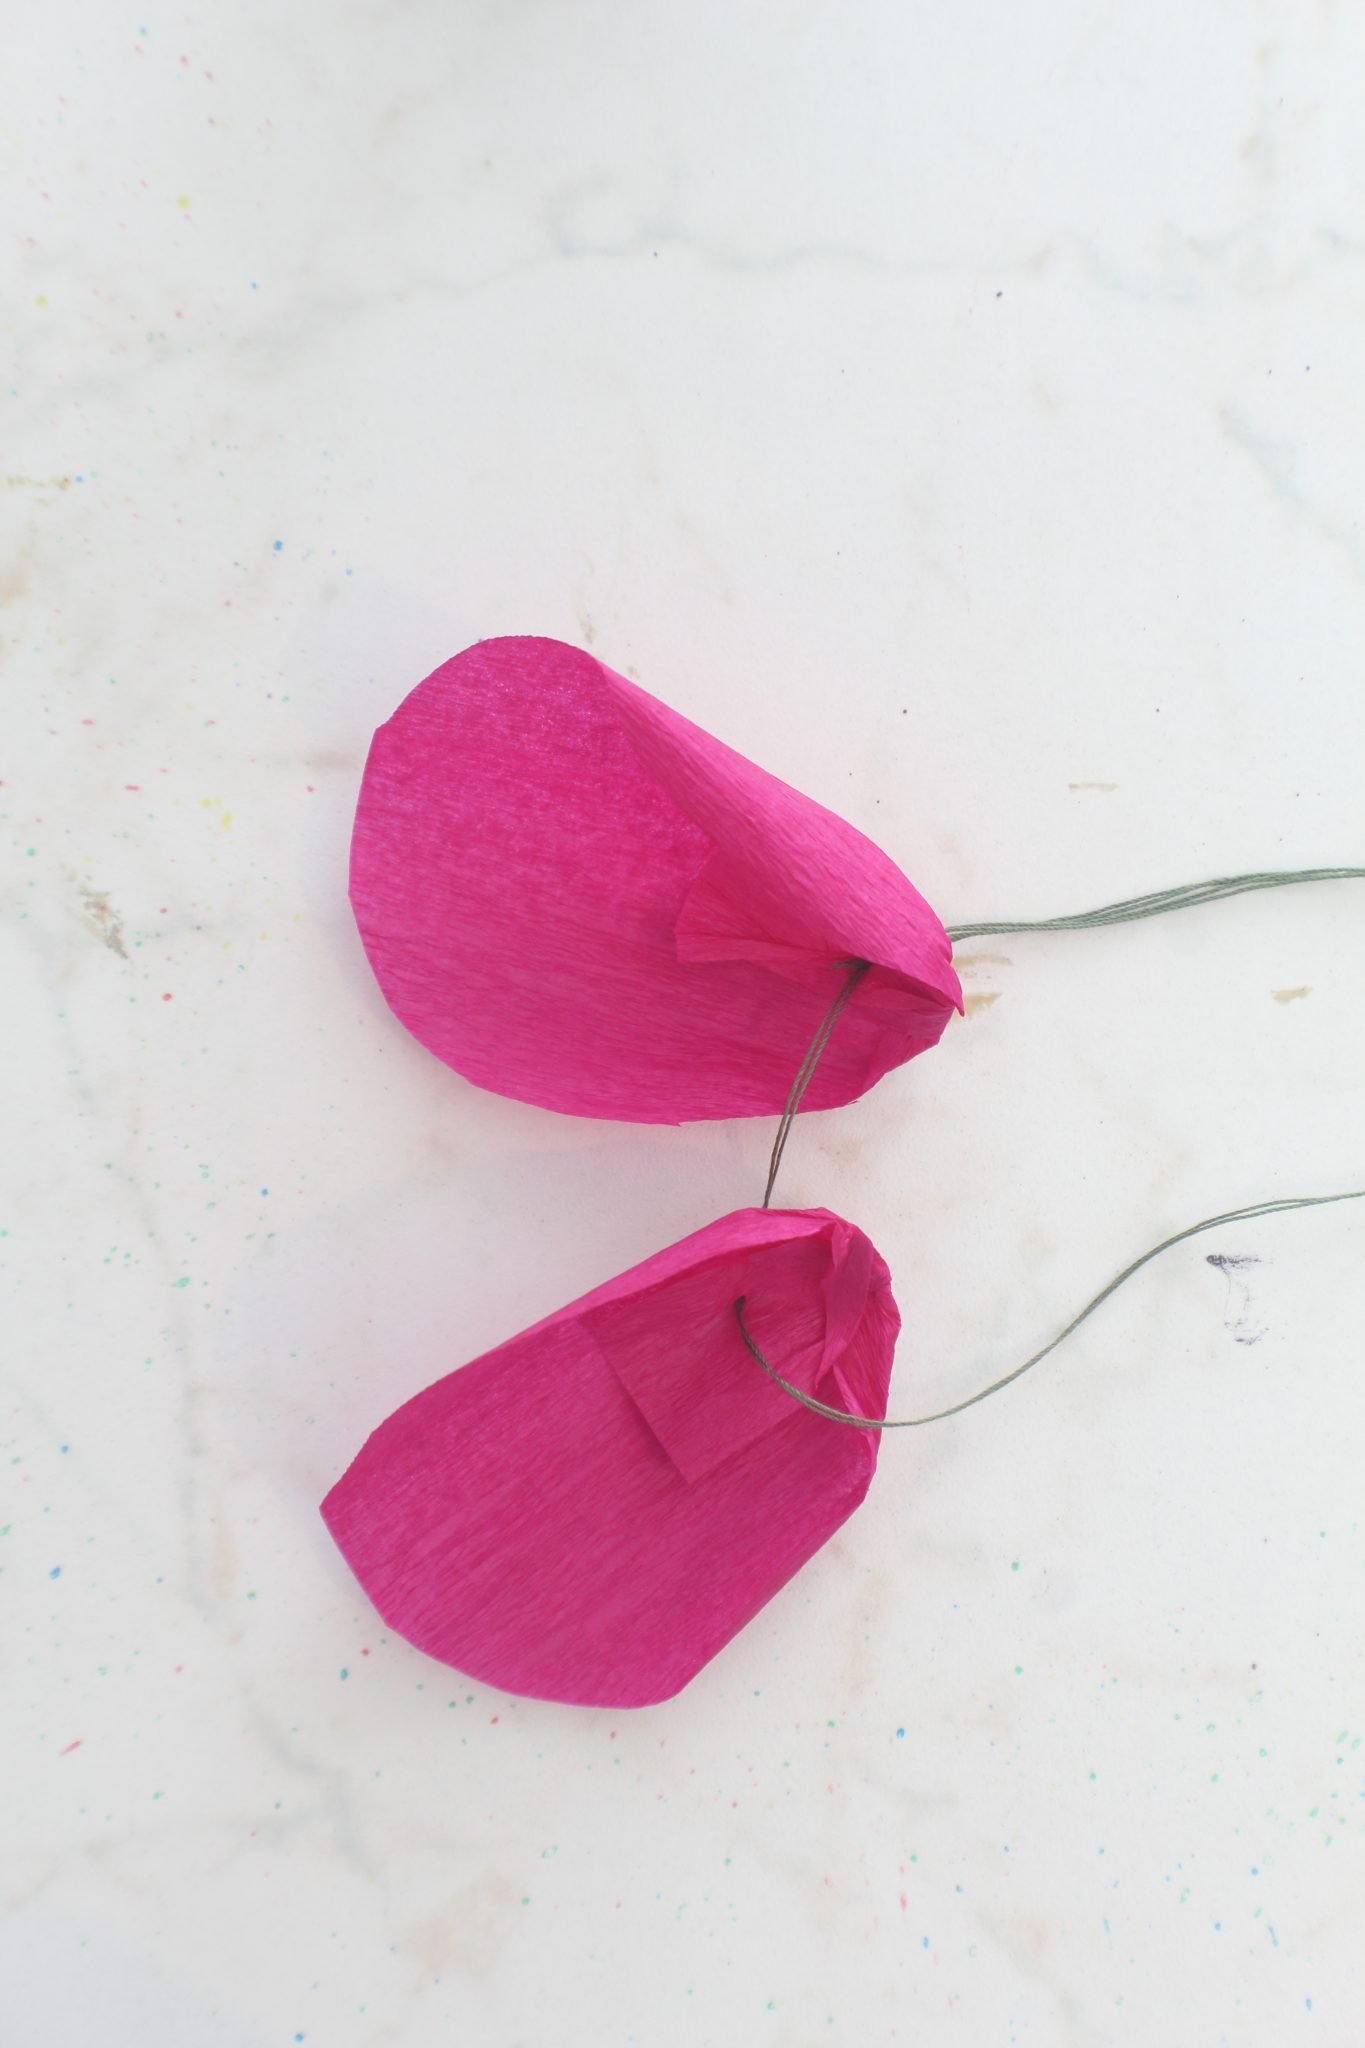
- Arrange petals in opposite directions every time you add a new petal to the thread.
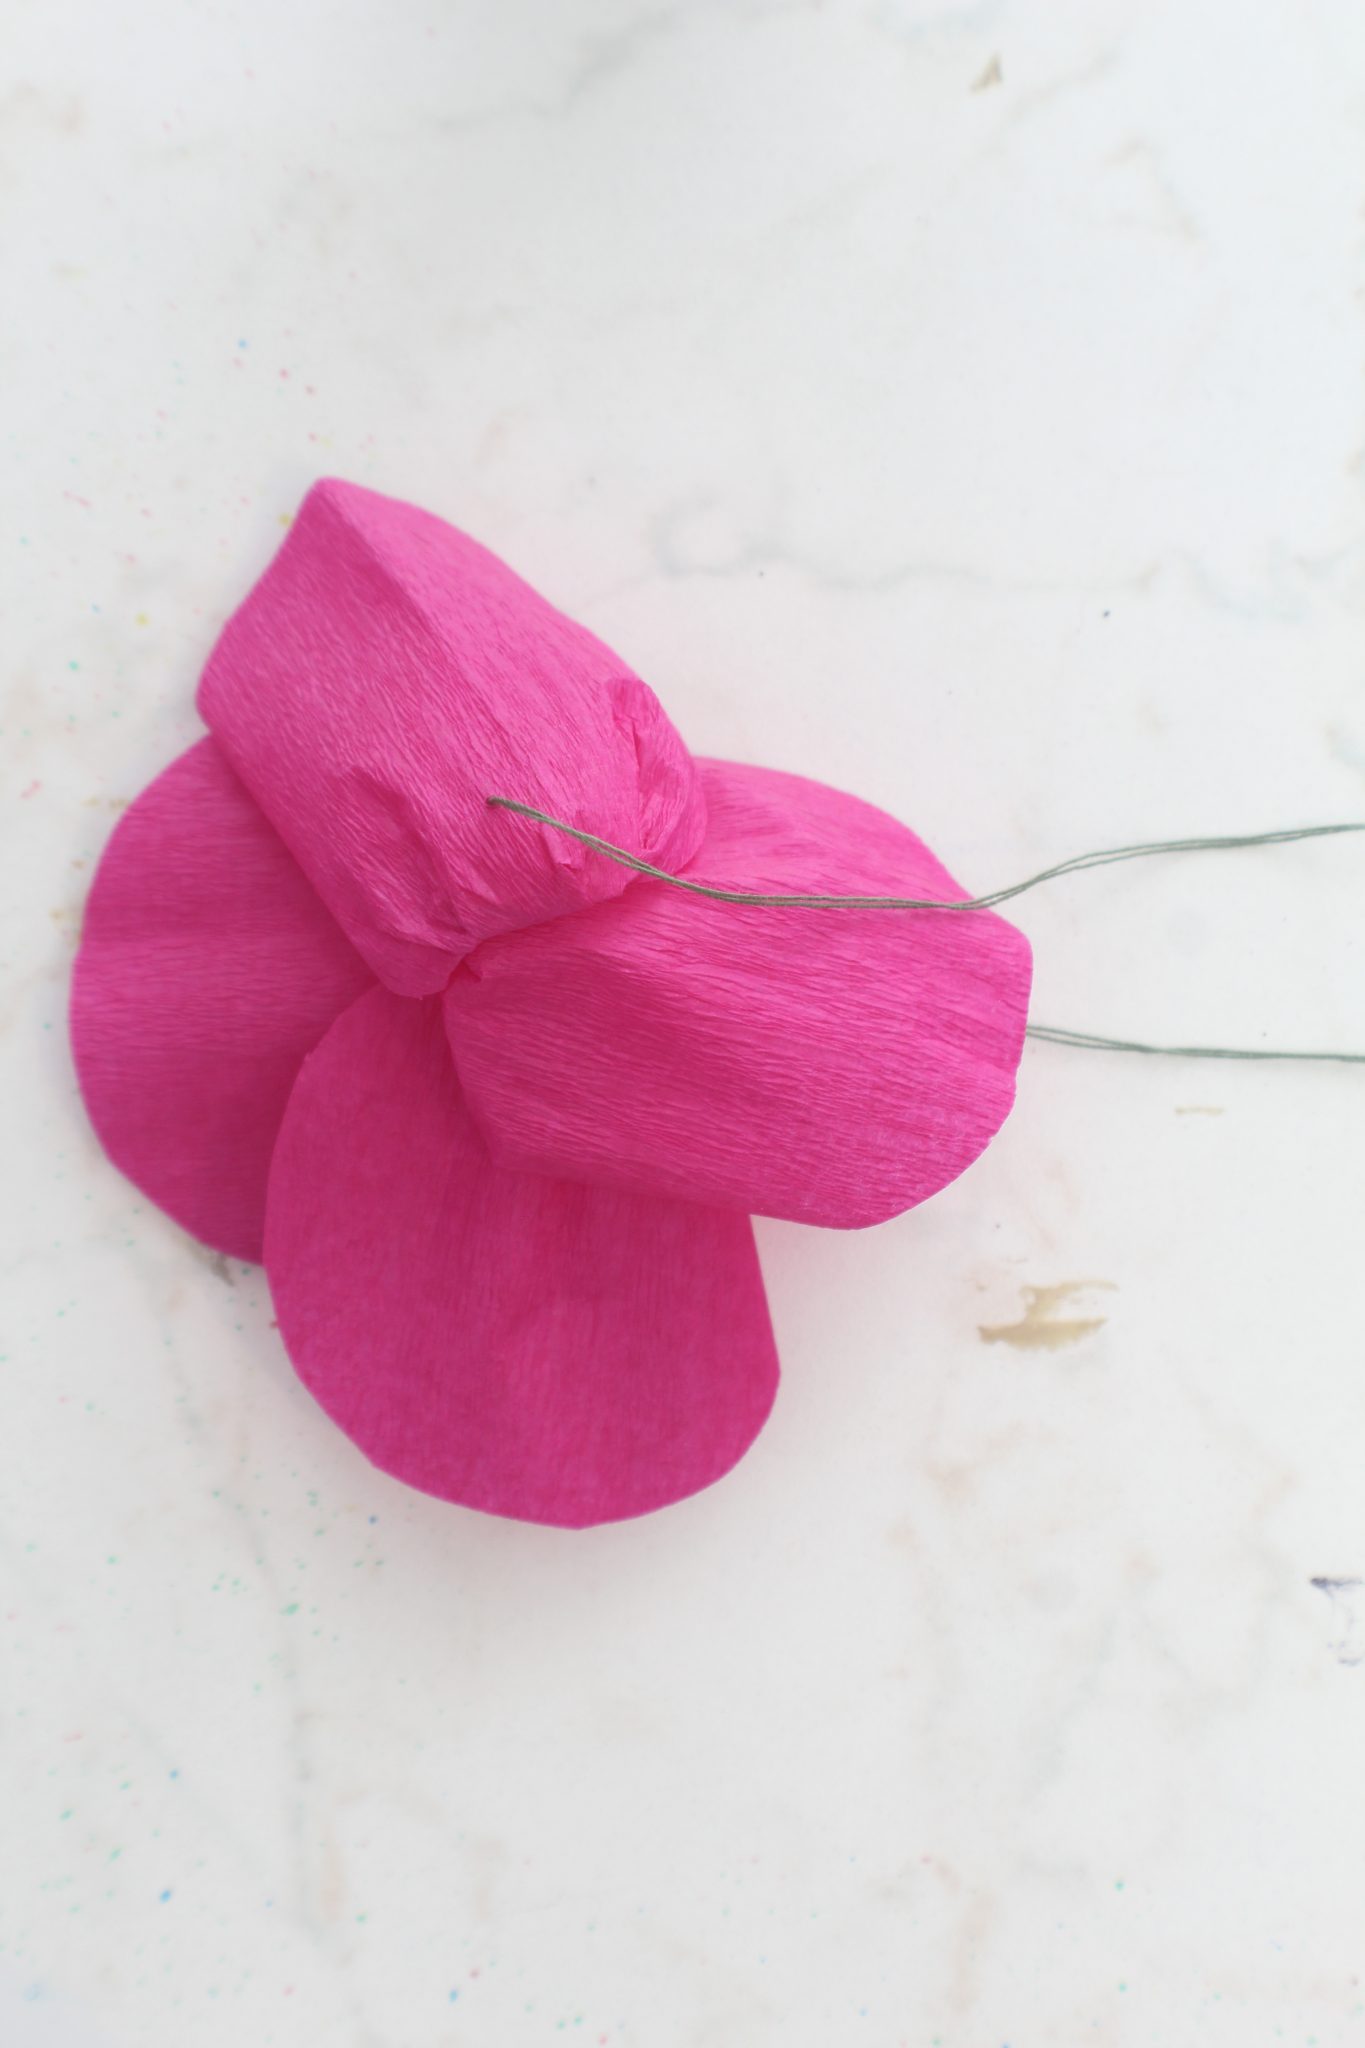
- When finishing a garland, make a knot then leave a little extra thread so you can hang the garland. If you plan on displaying these in a vase, no need for extra thread.
- Make a few garlands and stop when you have a nice cluster.
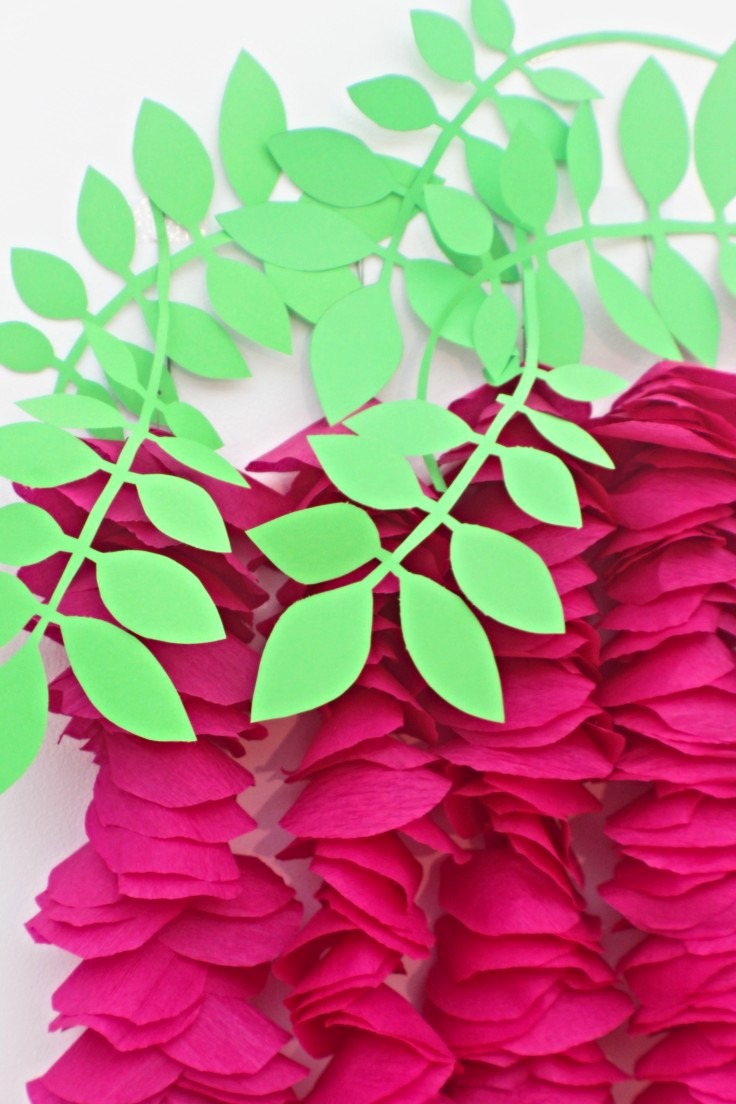
- Hang the garlands on a wall attaching them with tape. Attach the leaves to the wall, at the top of the garlands, using double sided tape.
If you liked this tutorial I’d love to know it so please leave a comment and don’t forget to rate it! Thanks!
Pin to save for later
Most popular craft:
Article may contain Amazon & affiliate links. As an Amazon Associate I earn from qualifying purchases at no additional cost to you.


ABOUT PETRO
Hi, I’m Petro, author and founder of Easy Peasy Creative Ideas. Sewist, crafter, avid DIY-er, foodie, photographer, homemaker and mommy to one. I’m an expert at coming up with quick, clever sewing tips, recycling crafts and simple, easy recipes! You can find my ideas featured in reputable publications such as Country Living, Good House Keeping, Yahoo News, WikiHow, Shutterfly, Parade, Brit & Co and more. Thanks for stopping by and hope you’ll stay for a while, get to know me better and come back another time. Stick around for real fun projects! Read more…