Adorable sock snowman craft
If you love upcycling, a sock snowman is perfect to use some socks and create fun, adorable Christmas ornaments! This sock snowman craft is insanely easy to make and looks so darn cute in any home décor!
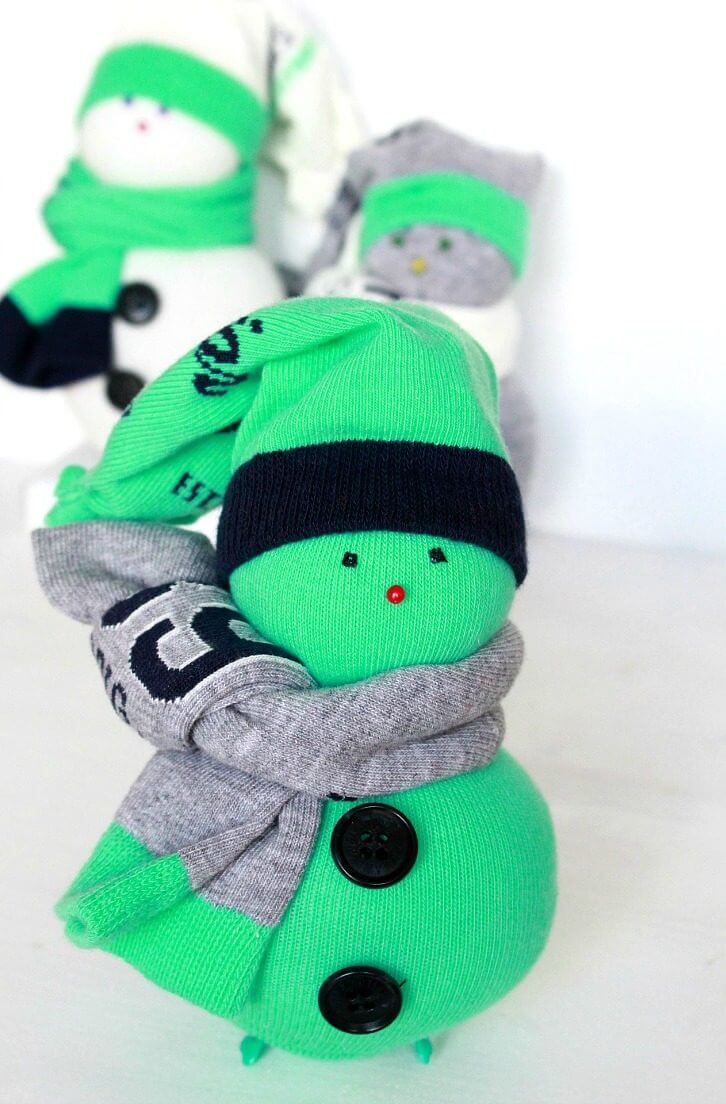
I am so excited because today I have a super cute project to share with you, a super easy and super quick sock snowman! These no sew sock crafts are probably your best choice if you need to put together some last minute Christmas ornaments as these adorable sock snowman ideas take minutes to make, literally! And the result is absolutely fabulous! So next time you want to build a snowman, there’s no need to venture out into the snow, you can bring the winter indoors with this brilliant craft idea!
You don’t need fancy materials to make your own sock snowman! You can use really cute socks, in all kinds of colors or socks in “Christmasy” themes. And you can make these little sock crafts in various sizes. If you don’t have poly-fill for the filling you can use rice and use these as nice little fabric or paper weights. How cool is that? Also rice would make these more stable if you plan to put the snowman on display on a table or your mantle.
You could also add a few drops of your favorite essential oils to the rice filling and use your sock snowman as a deodorizer for the home or your car.
How to make a sock snowman
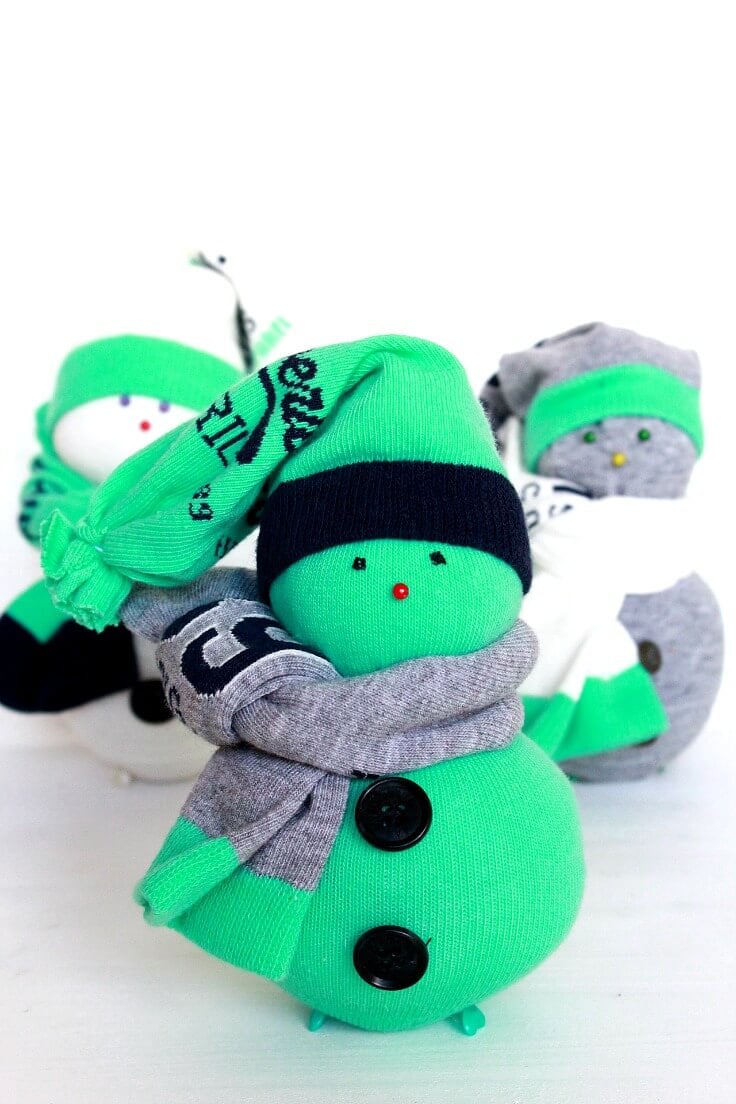
Materials:
- socks (I used 3 pairs for 3 snowmen)
- scissors
- thread
- polyfill or rice
- needle (or glue for smaller kids)
- buttons
- pins
Directions:
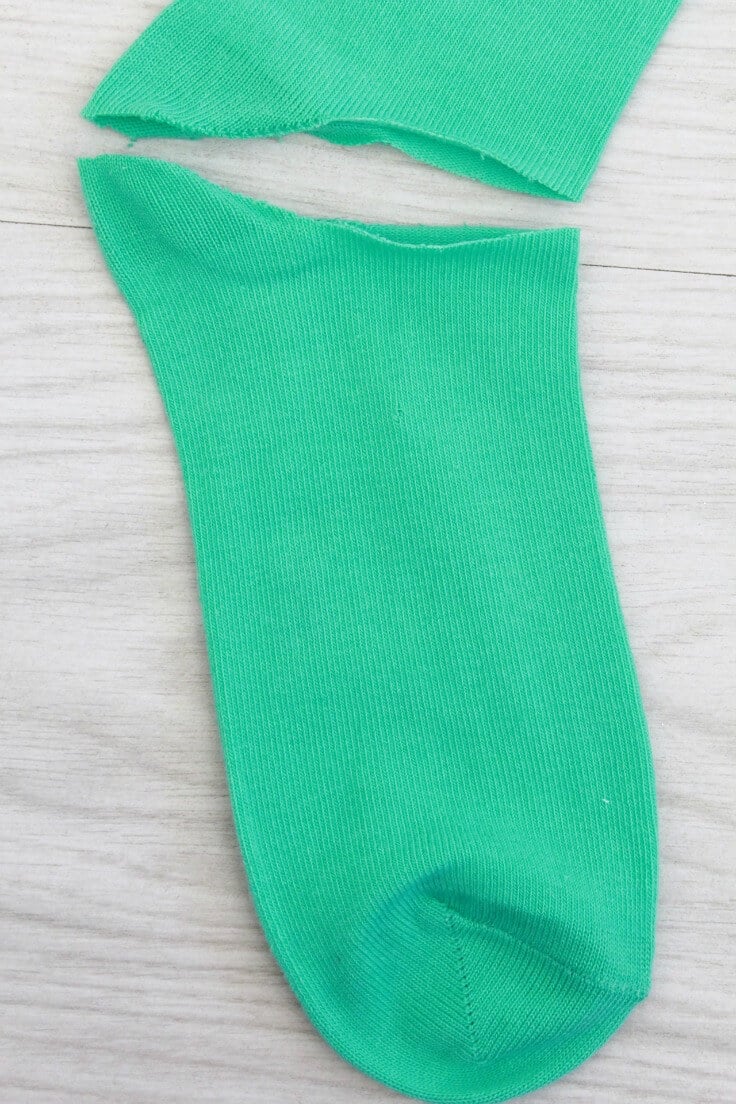
- Cut one sock at the heel.
- Fill the “foot” part with polyfill to the top.
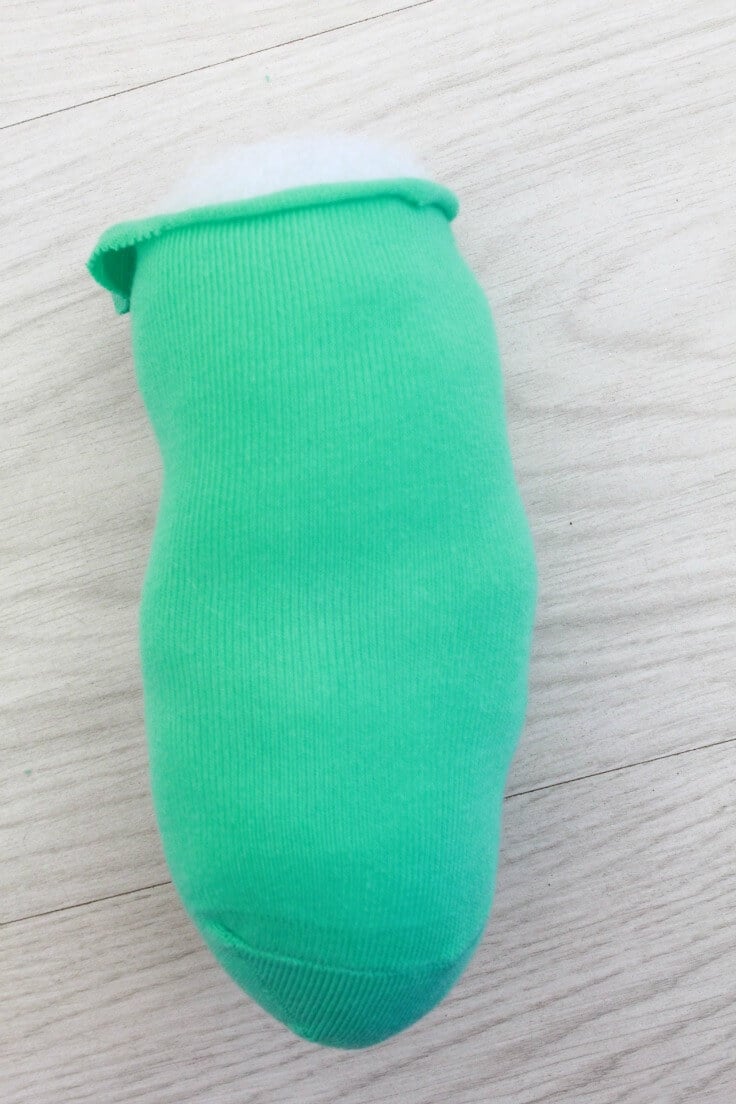
- Grab some thread and wrap around the top to close the sock.
- Decide how big the body will be and separate the head from the body with thread.
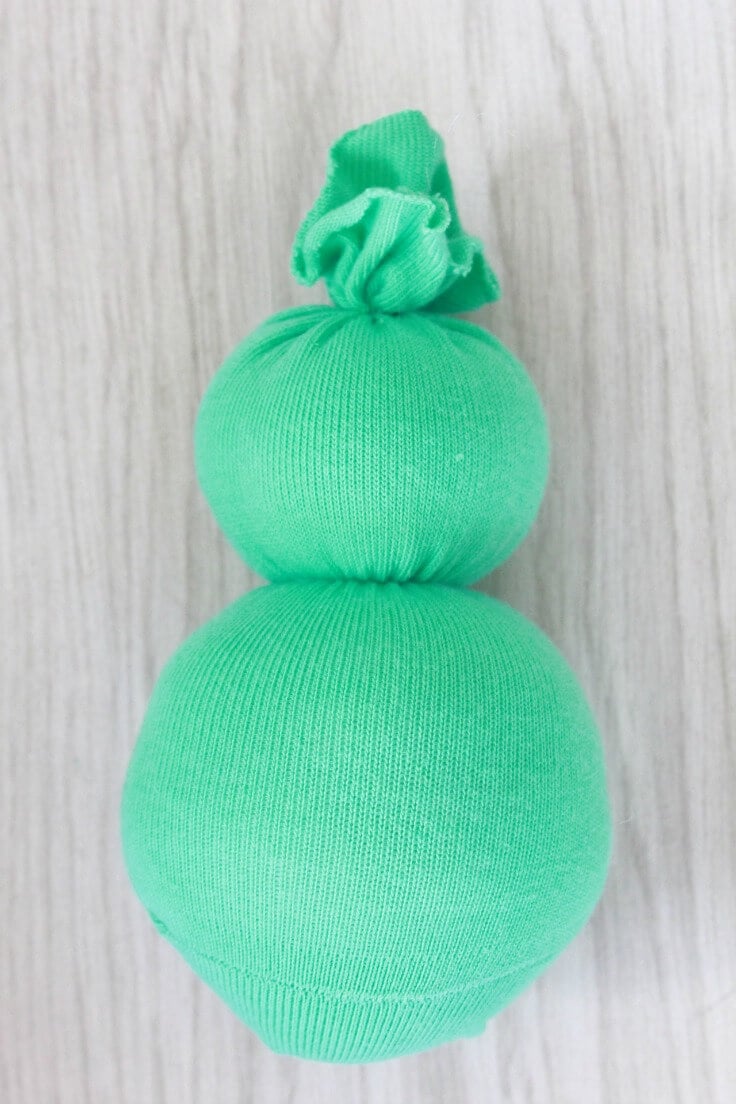
- Hand stitch the buttons onto the body (if smaller kids are making this, use glue instead)
- Add pins as eyes and nose (or hand stitch with colored thread; I didn’t have black pins so I used thread).
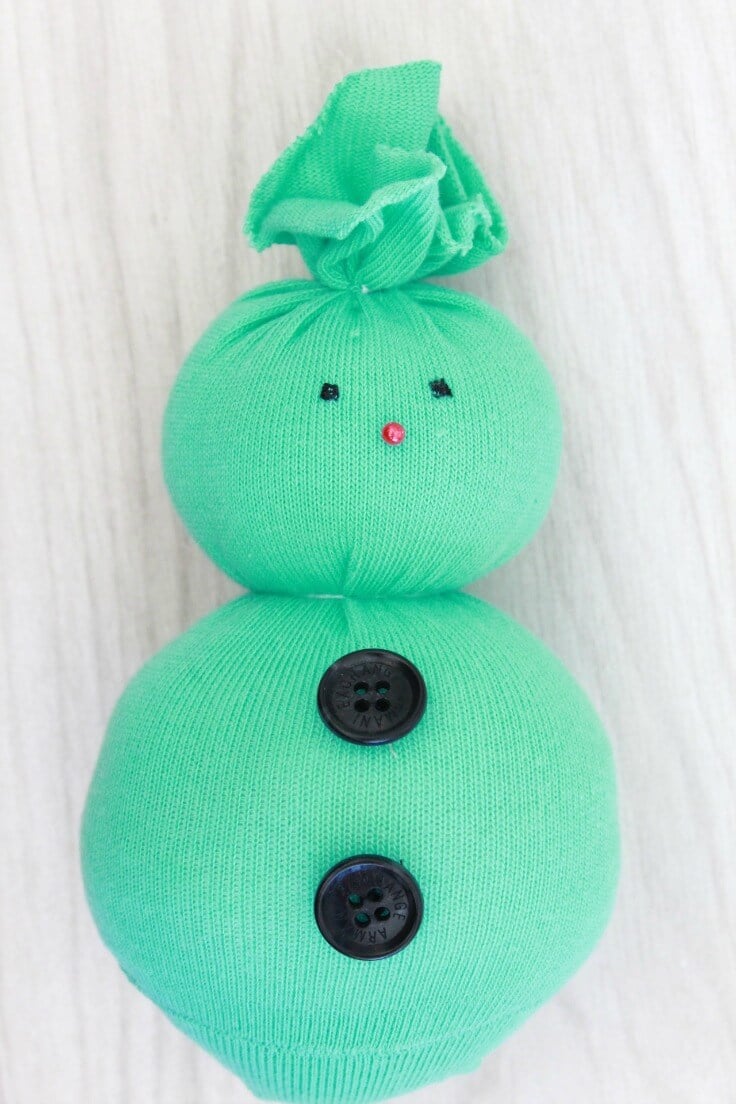
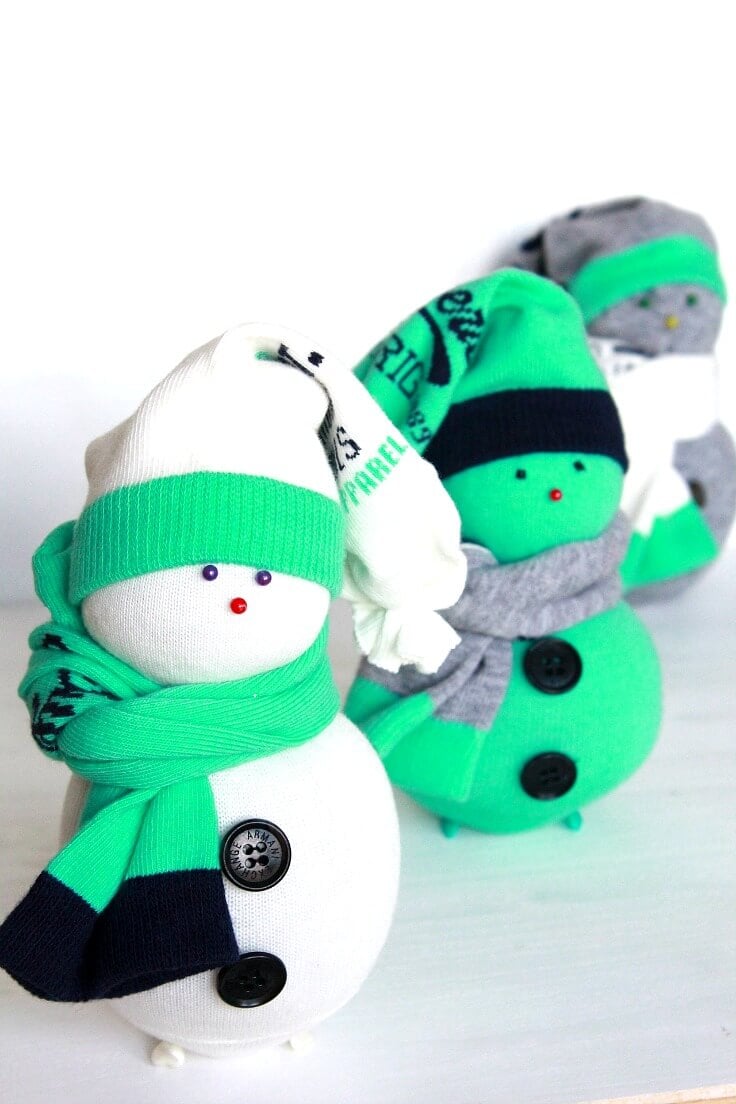
- Use the rest of the sock to make the hat. Wrap some thread around the cut end and pull the other end over the head.
- Use a full sock as a scarf.
- If using polyfill, your snowman might have troubles standing so use 4 pins as “legs”. Or here’s an idea that occured to me after I’ve finished my snowmen: right before filling with polyfill, turn the sock wrong side out and wrap some thread around the tip, then turn the sock right side out and proceed as indicated above.
- And you’re done! Your DIY sock snowman is ready!
Tips
- If using rice for filling, make sure to fill the sock only halfway to allow room for the rice to move around and give your snowman a nice shape.
- Customize your sock snowman by using different colored socks or adding additional accessories such as a scarf, hat, or even tiny mittens.
- Use essential oils in the rice filling for added benefits and a fresh scent in your home. Lavender oil is known for its calming properties while peppermint oil can help with energy and focus.
- Get creative with your decorations! Instead of buttons, try using small pom poms or googly eyes for the eyes and nose. Use ribbon or fabric scraps for a unique scarf or hat design.
More Christmas ideas you will enjoy
- Wire Snowman decorations
- DIY plywood Christmas tree
- Simple paper Christmas trees
- Tinsel garland wreath
- Scarf Christmas wreath
Frequently asked questions
Can I use any type of socks for this craft?
Absolutely! This is a great way to repurpose old socks or mismatched pairs. You can also use holiday-themed socks for a festive touch.
Is this a suitable craft for kids?
Yes, with adult supervision and assistance, this is a fun and easy craft for kids of all ages. Younger children may need help with the cutting and stitching, but they can have fun decorating their snowman with buttons and pins.
How long does it take to make a sock snowman?
It only takes minutes to create one sock snowman, making it the perfect last-minute Christmas ornament or gift idea. Kids and adults alike can enjoy crafting these adorable and personalized decorations with minimal time and effort.
Can I wash the sock snowman if it gets dirty?
It’s best to spot clean your sock snowman gently with a damp cloth when needed. Full immersion in water might damage the structure and any accessories attached.
What other items can be used instead of polyfill or rice?
Besides polyfill and rice, you could use dried beans or lentils as an alternative filling. These materials will also provide weight and structure, helping your snowman stand upright.
This simple sock snowman requires no sewing so it’s a great project for kids or people who don’t sew and it’s an awesome way to put old socks to a better use. This snowman sock craft could also be a great homemade Christmas gift for a Frozen lover in your life. So many amazing uses for such a simple, easy and quick craft! So go ahead and give it a try and have fun! Happy crafting!
Sock snowman Christmas craft idea
Materials
- socks I used 3 pairs for 3 snowmen
- thread
- polyfill or rice
- buttons
Instructions
- Cut one sock at the heel.
- Fill the "foot" part with polyfill to the top.
- Grab some thread and wrap around the top to close the sock.
- Decide how big the body will be and separate the head from the body with thread.
- Hand stitch the buttons onto the body (if smaller kids are making this, use glue instead)
- Add pins as eyes and nose (or hand stitch with colored thread; I didn't have black pins so I used thread).
- Use the rest of the sock to make the hat. Wrap some thread around the cut end and pull the other end over the head.
- Use a full sock as a scarf.
- If using polyfill, your snowman might have troubles standing so use 4 pins as "legs". Or here's an idea that occured to me after I've finished my snowmen: right before filling with polyfill, turn the sock wrong side out and wrap some thread around the tip, then turn the sock right side out and proceed as indicated above.
- And you're done! Your DIY sock snowman is ready!
Article may contain Amazon & affiliate links. As an Amazon Associate I earn from qualifying purchases at no additional cost to you.


ABOUT PETRO
Hi, I’m Petro, author and founder of Easy Peasy Creative Ideas. Sewist, crafter, avid DIY-er, foodie, photographer, homemaker and mommy to one. I’m an expert at coming up with quick, clever sewing tips, recycling crafts and simple, easy recipes! You can find my ideas featured in reputable publications such as Country Living, Good House Keeping, Yahoo News, WikiHow, Shutterfly, Parade, Brit & Co and more. Thanks for stopping by and hope you’ll stay for a while, get to know me better and come back another time. Stick around for real fun projects! Read more…