Frame key holder
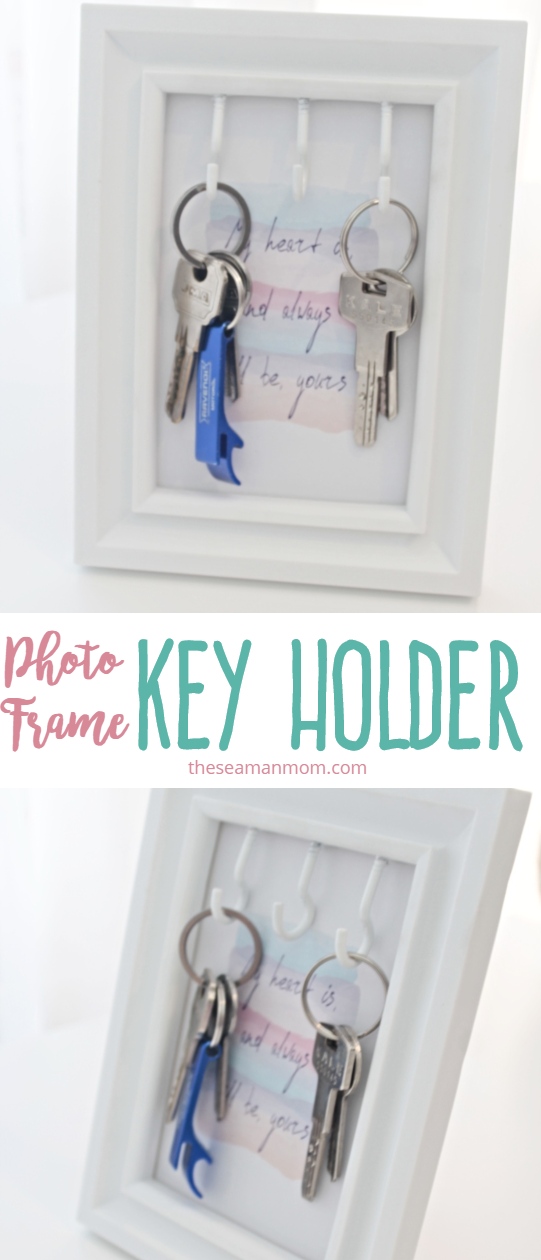
Looking for an easy peasy DIY key holder? Or maybe you’re into unique key storage ideas? No matter your reason, this 2 minutes frame key holder will help you keep the clutter at bay in a cute, original way!
Key hanger for wall
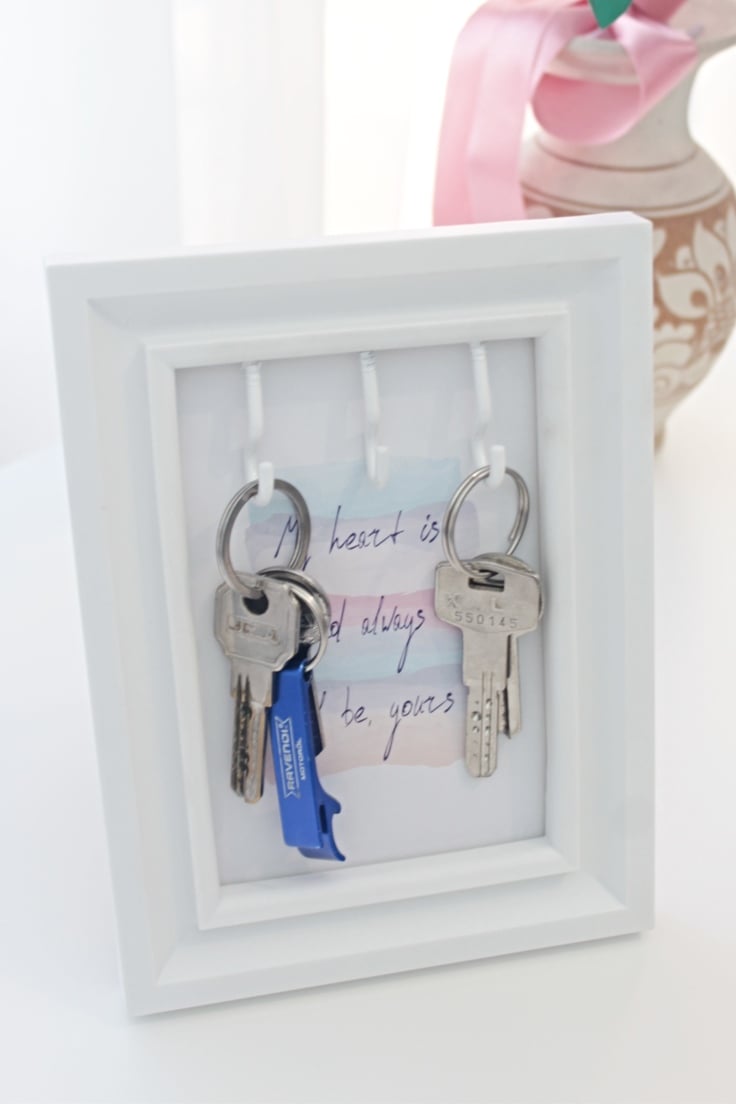
If you’re one of those people who constantly have to go on a hunt after their misplaced keys only to find them a few hours later hidden in the back pocket of the jacket you’re wearing or even worse, in your own hands, then this frame key holder is perfect for you!
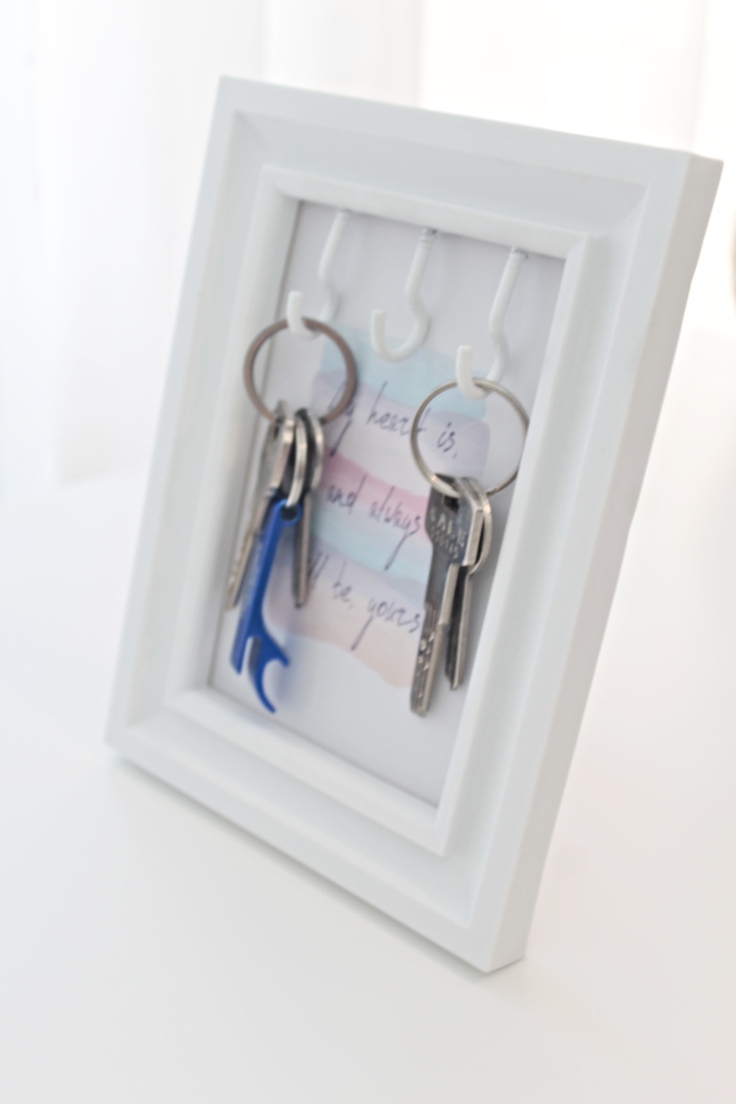
My beloved husband is the messiest klutz ever, to say the least and he can never find his keys (or sunglasses, or phone, wallet, driving licence etc (I could probably go on like this forever!) I can’t do much to help him better manage most of his belongings, I certainly can do something about those darn keys! I decided to make a hanging key holder and place it close to the entrance so he can store the keys and pick them up from the same place every time.
Want more frame craft ideas?
- DIY frame pincushion
- Rustic photo frame made with twigs
- DIY cork frame
- Floral picture frame craft
- Fun straw frame DIY
I made this frame key holder out of an old white plastic frame and stuck it to the closet we keep next to the entrance. He finds this place very convenient and for some reason it helps him remember to drop the keys there every time so he now knows exactly where they are.
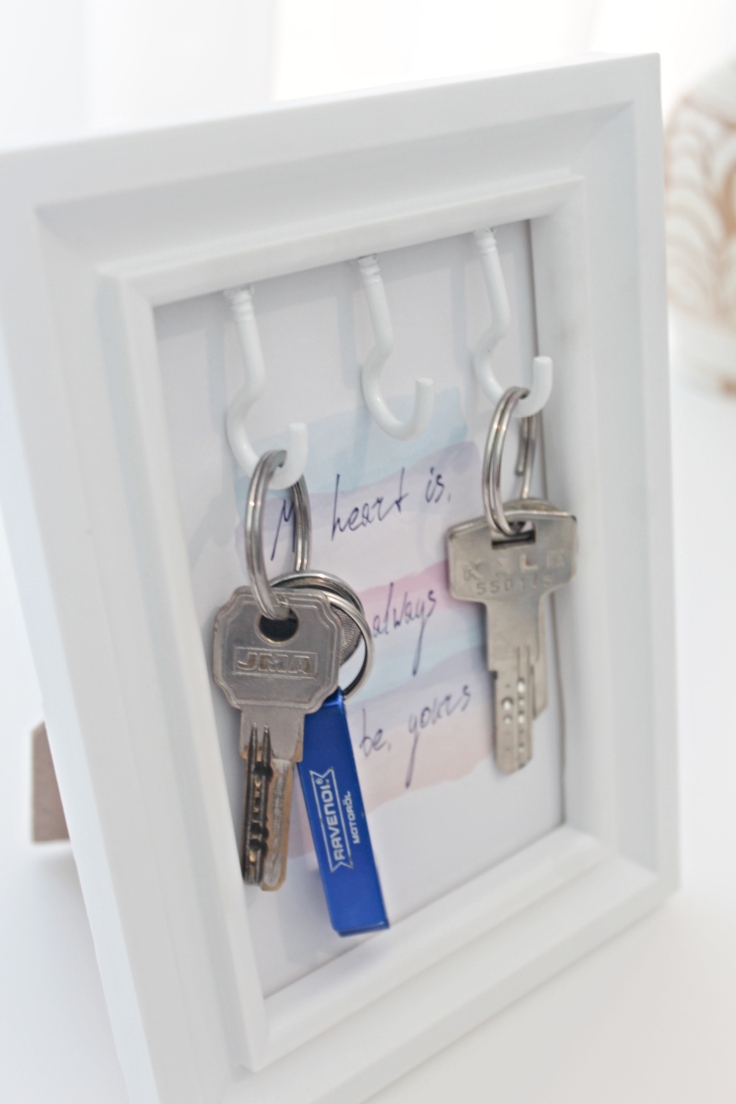
He says this DIY key holder was such an unique and adorable idea which had a big visual impact on his mind and because of that he always remembers to use it. Unless you’ve been in my place, you cannot ever imagine how happy I am to see him walking out the door the moment he’s all dressed up and ready to go, instead of frantically looking for his keys!
You might be interested in this too:
Making this lovely frame key holder was incredibly easy and it literally took two minutes to make! If you already have a photo frame and some hooks the job is 90% done! All you have to do is remove the glass and backing from the photo frame, screw the hooks into the top edge and glue or hang the holder some place convenient!
Frame key holder
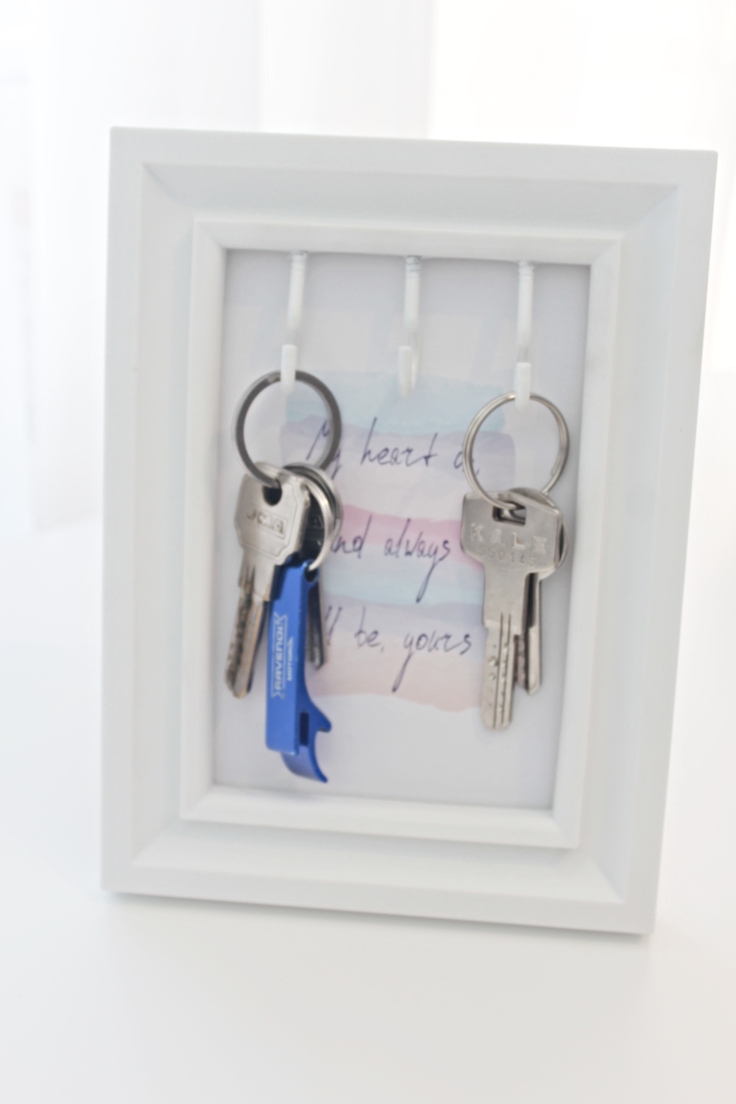
Materials:
- plastic or wooden photo frame
- screw in hooks that match the size of your frame
- ruler
- pencil
- double sided tape (if you stick the frame key holder onto a piece of furniture)
Directions:
- Turn the frame upside down and open the little feet in the back.
- Remove the backing and the glass.
- Calculate the distance between hooks and using a pencil make tiny marks in the top edge of the frame, on the inside where the screws will be inserted.
- Screw the screw in hooks using these marks. You should be able to do this with your hands. You might find that you need both hands, one to hold the bottom of the hook in place until the tip of the hook penetrates the frame; and the other hand to screw the hook.
- Once the hook is about 1/3 in you can stop and check if it seems stable enough to hold the keys. If not, screw it on a little more but make sure you leave enough space between the frame and the hook so you’re able to hang the keys onto the hook later on.
- Return the backing and the glass to their place and close the little feet in the back of the frame.
- Apply double sided tape to the back and stick the frame to a wall or furniture. If you’re hanging this to a nail, no need to apply double sided tape.
- Enjoy your cook frame key holder!
Pin to save for later
Most popular craft:
Article may contain Amazon & affiliate links. As an Amazon Associate I earn from qualifying purchases at no additional cost to you.


ABOUT PETRO
Hi, I’m Petro, author and founder of Easy Peasy Creative Ideas. Sewist, crafter, avid DIY-er, foodie, photographer, homemaker and mommy to one. I’m an expert at coming up with quick, clever sewing tips, recycling crafts and simple, easy recipes! You can find my ideas featured in reputable publications such as Country Living, Good House Keeping, Yahoo News, WikiHow, Shutterfly, Parade, Brit & Co and more. Thanks for stopping by and hope you’ll stay for a while, get to know me better and come back another time. Stick around for real fun projects! Read more…