

Cheapest print on wood DIY
Printing on wood has never been easier, more fun and affordable! Whether you’re trying to transfer letters to wood, a special design or a beloved photo, this simple and quick print on wood DIY will teach you how to transfer designs to wood the most affordable way!
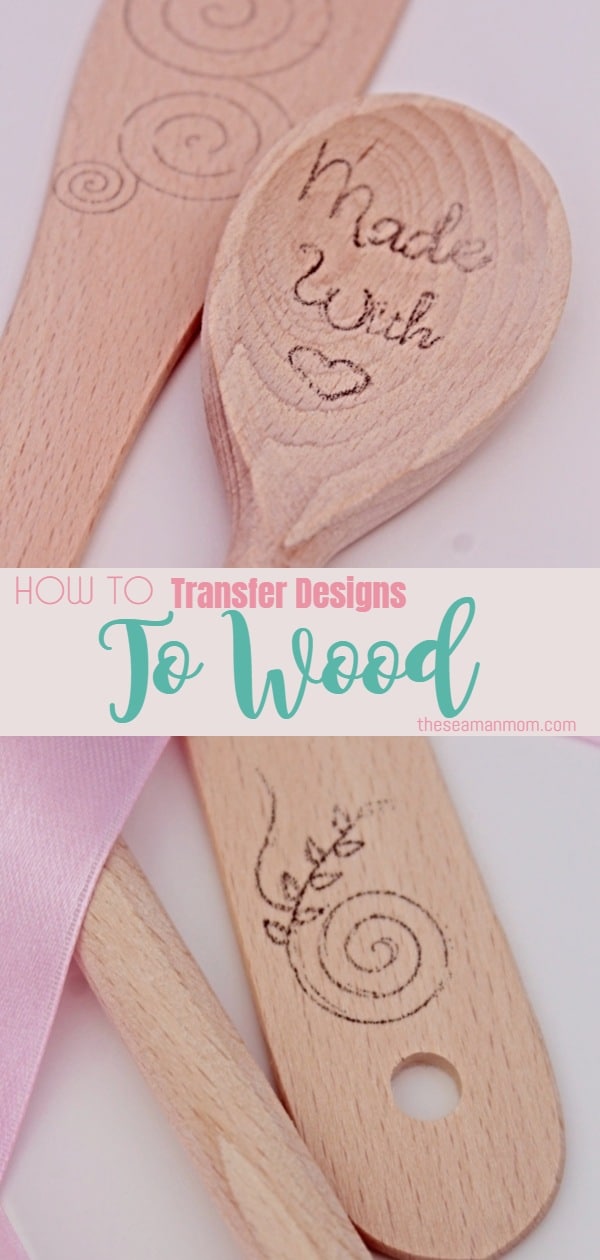
Print on wood
Ever wanted to apply a beautiful design, letters or a family photo to a piece of wood? Now you can transfer print to wood in a super cheap, super simple and super quick way with this super duper print on wood DIY!
I always admired those tutorials where people get to transfer all sorts of designs or photos to wood to make displays for their home decor. But to me those were quite a hassle! You either need to purchase transfer paper or apply layers of modge podge and then wait for hours to dry. Call me lazy if you will but I’m always looking for ideas that are not time consuming and stressful! Since I don’t have a lot of free time, I want to be able to do my crafts easy, fast and cheap!

Other craft ideas you might like:
- Frame key holder DIY
- Artificial wisteria wall decor
- Bottle lamps party idea
- Rustic photo frame with twigs
- Wine bottle art home decor
- How to print on fabric at home
There are a few print on wood DIY which seem a little simpler where the design is transferred to wood via the old fashion way: rubbing chalk or a pencil onto the back of the design then trace the design very carefully using a ballpoint pen. Honestly, I tried them all and they all failed miserably! The designs weren’t transferring properly and there was sooo much work involved it simply took the fun away!
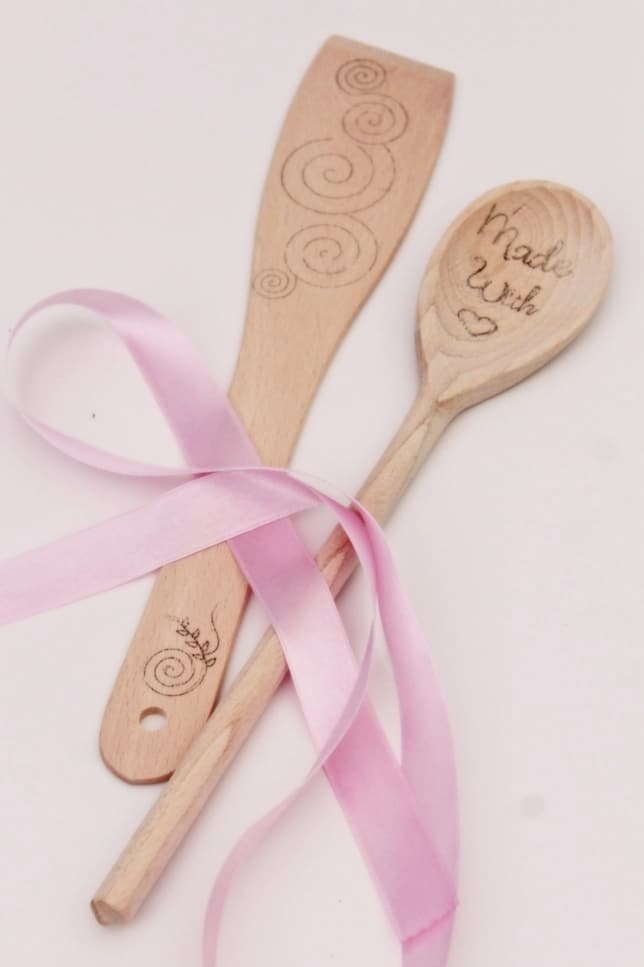
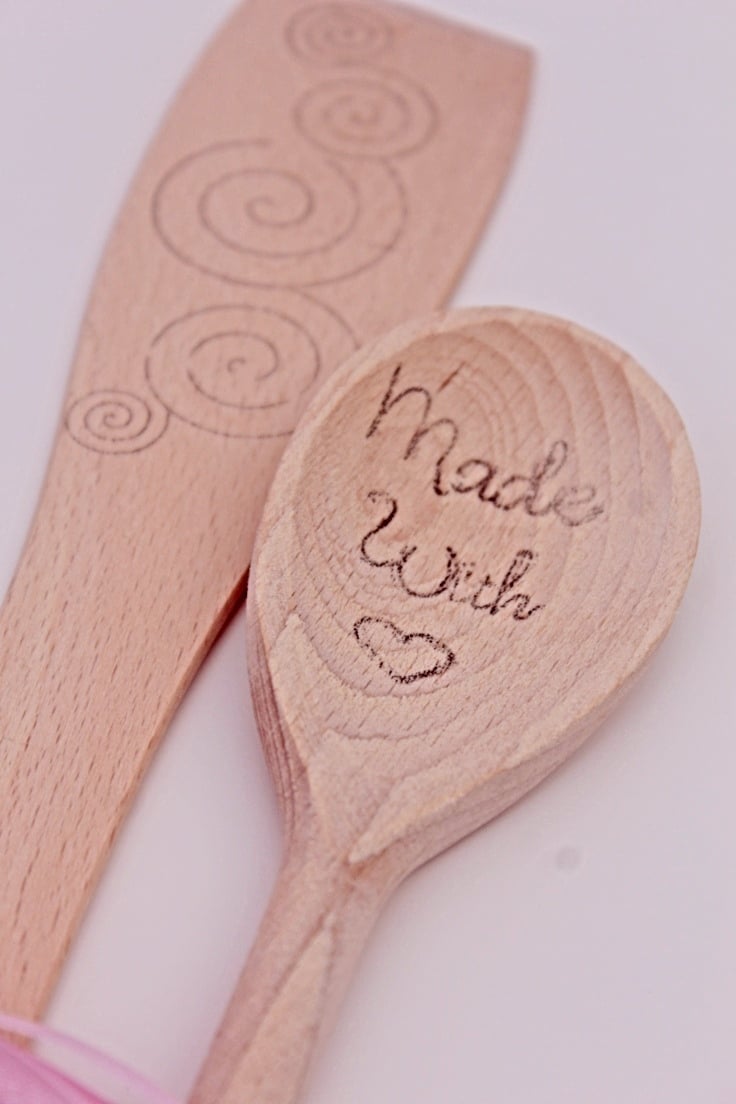
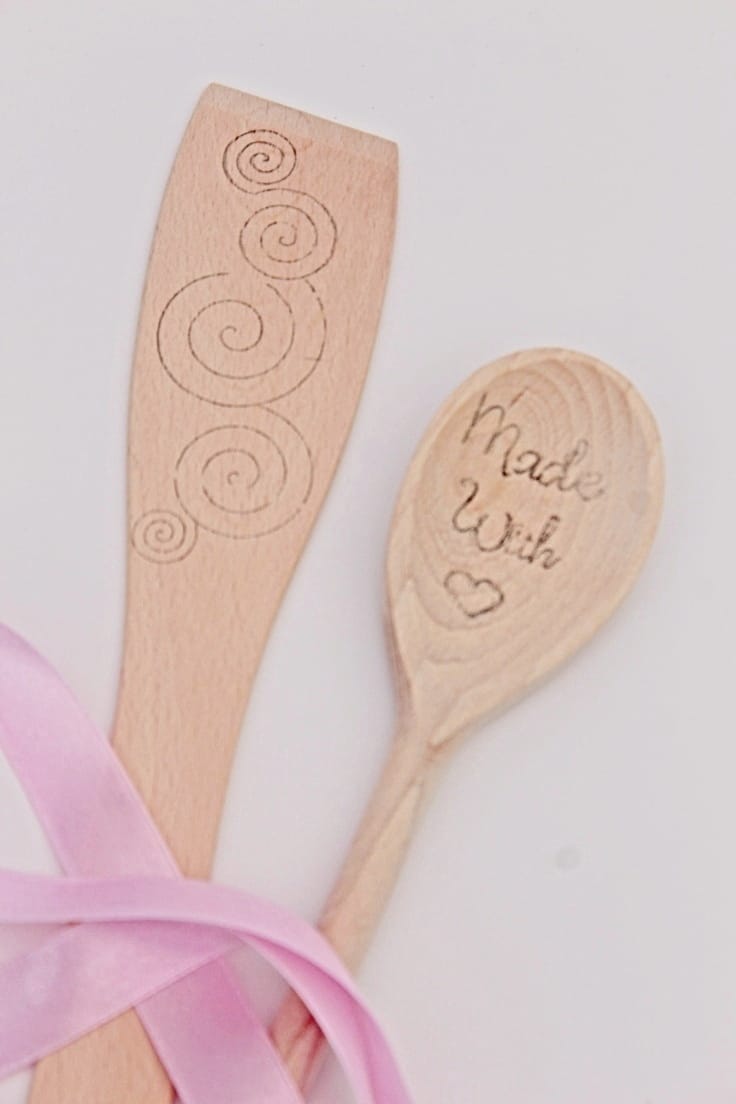
So I decided it’s time to put my creative brain to work and come up with my own print on wood DIY method! I’m proud to say this was a huge success and I’m so excited with the outcome that I can’t wait for more opportunities to print on wood. I used this method to transfer some cute designs to a bunch of wood spatulas for another fun project which I’ll be sharing soon so stay in touch for that tutorial (update – find the tutorial here). Meanwhile, here’s how to transfer print to wood through the simplest, fastest and cheapest method!
Print on wood DIY
Materials:
- clear packing tape
- printing paper
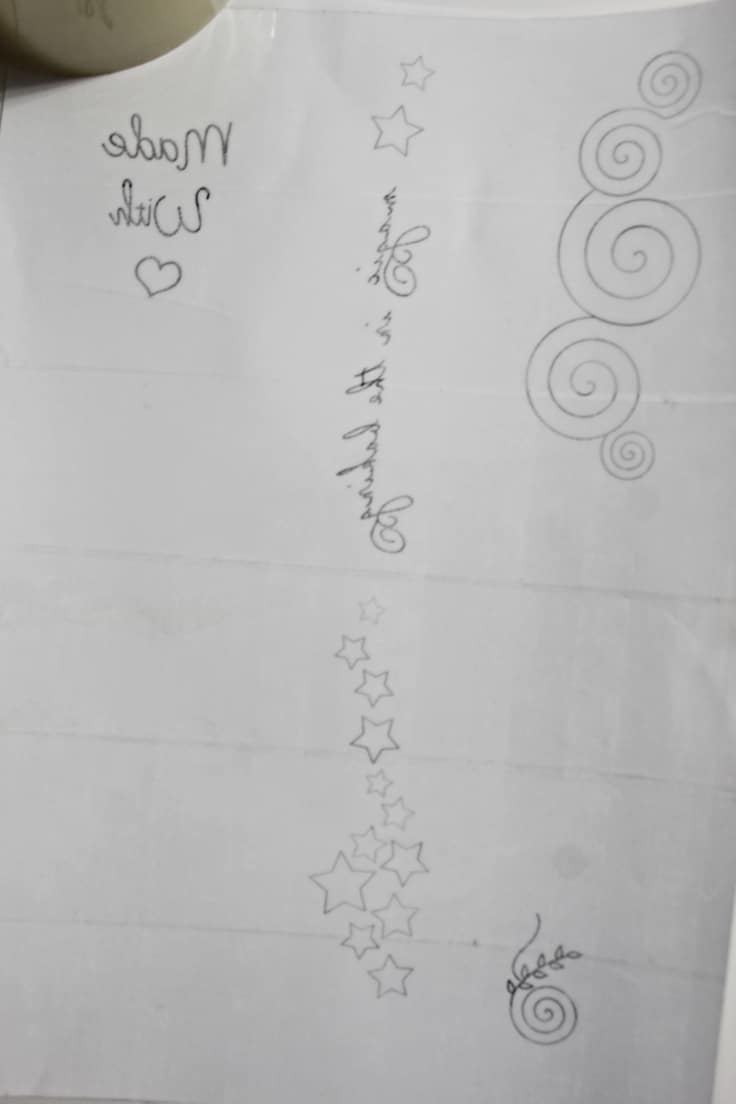
- your favorite design
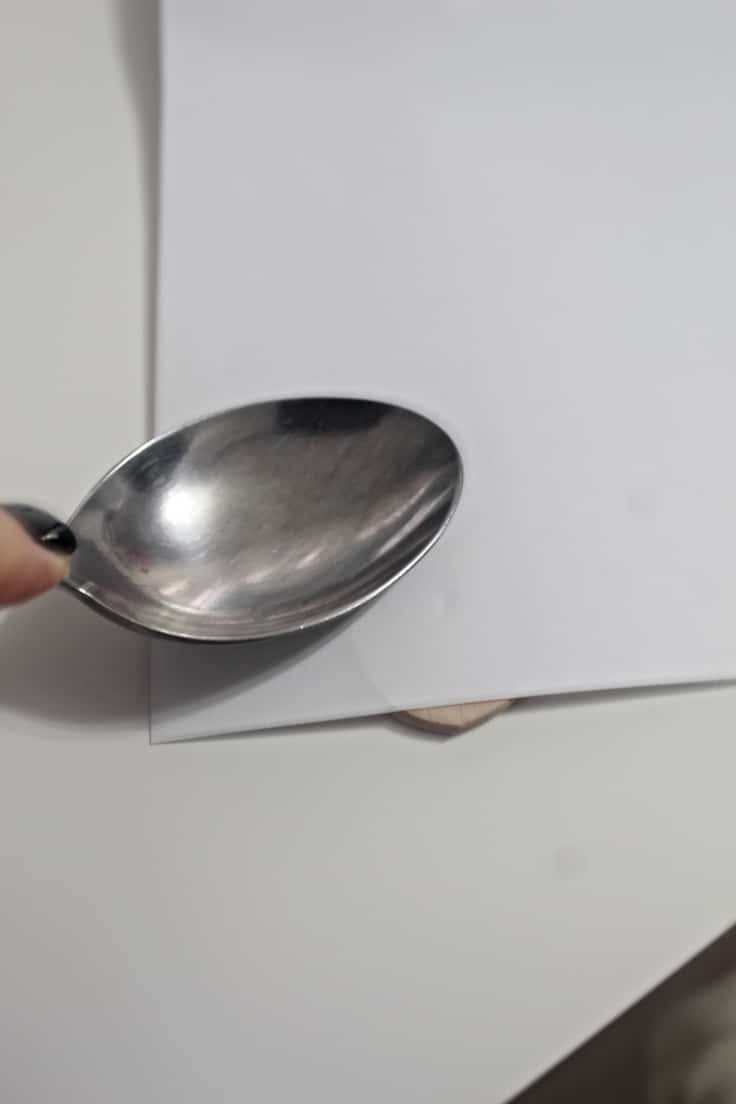
- metal spoon
- wood of choice
- optional – sanding paper
Directions:
- If your wood is not super smooth, do a little sanding to make the surface as smooth as possible. This will help the design transfer successfully and evenly.
- Wipe the wood with a damp cloth and allow it to dry completely before using in your project.
- Apply clear tape over a sheet of printing paper, making sure to cover it completely and smoothly as possible, with no lumps. This will ensure the design will transfer evenly.
- Trim the excess tape around edges.
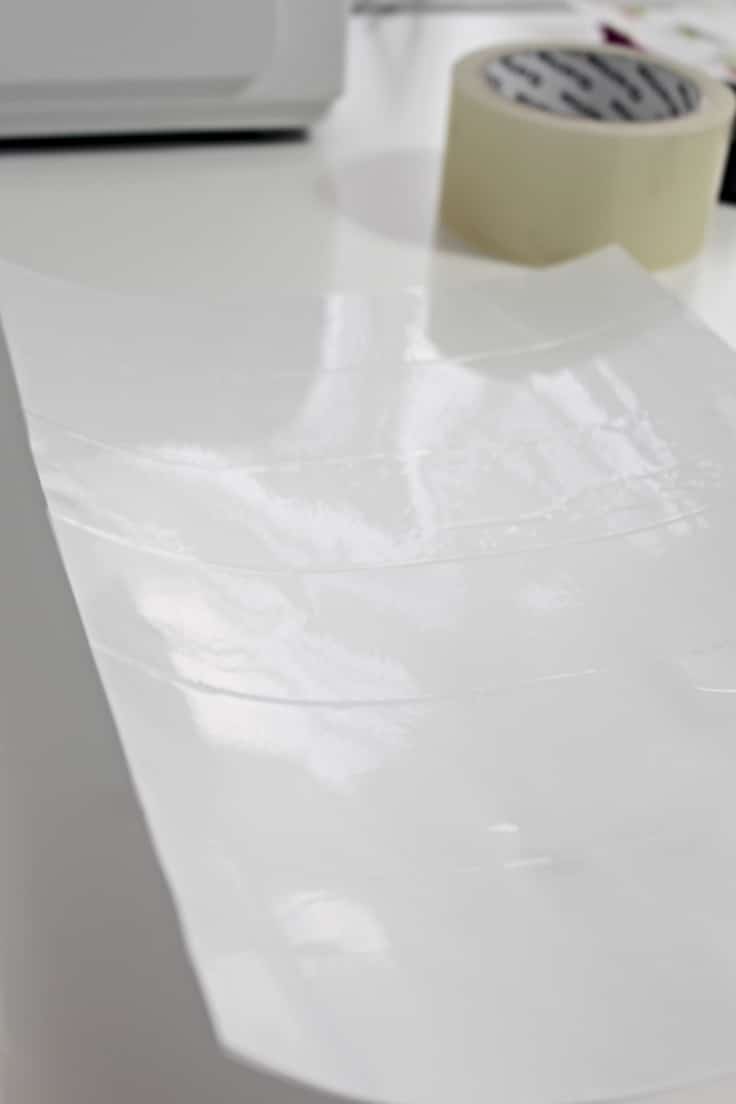
- Place the taped paper into your printer.
- In the program you used for creating the design, flip the design so that when it prints, it comes up the right way. If you don’t flip it the design will be printed backwards.
- Print the design.
- Carefully remove the taped paper from the printer without touching the ink and immediately place it over the wood.
- While holding the paper in place with one hand, grab the spoon with the opposite hand and start rubbing the back of the paper over the design. Rub vigorously but make sure the paper does’t move so the design doesn’t smudge. Start from one end and slowly move towards the other end of the design making sure to thoroughly cover each spot.
- Remove the taped paper and allow the ink to dry on wood.
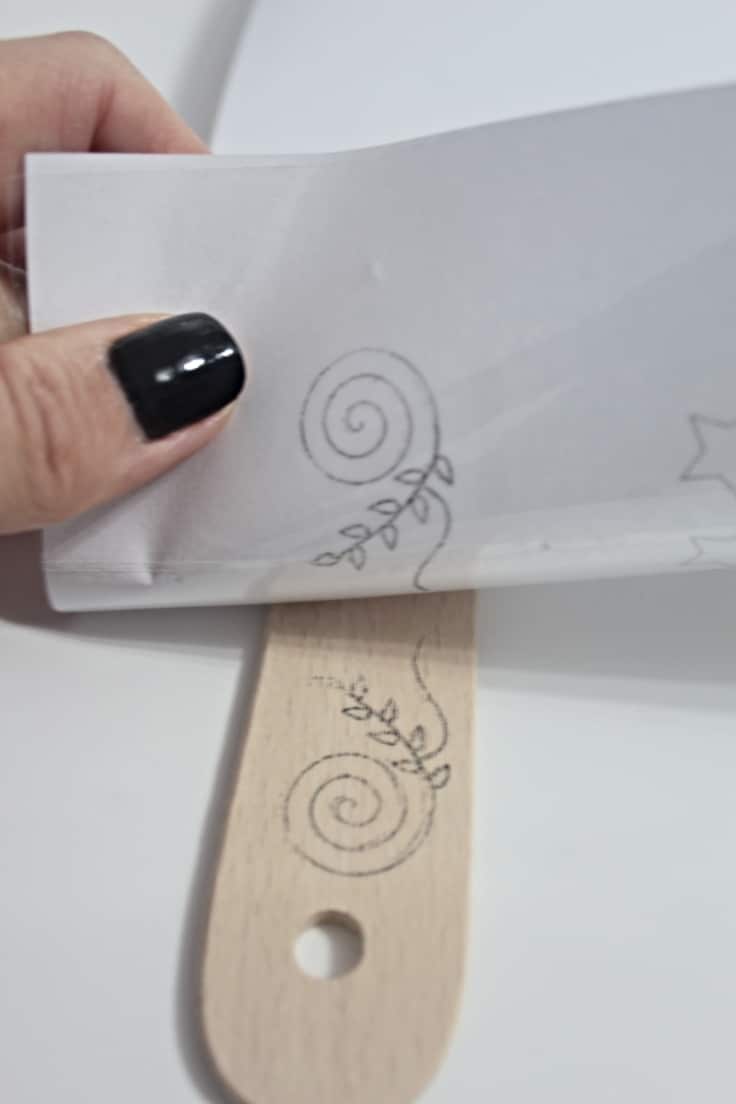
- If you’re happy with how the design transferred onto wood you can simply leave it as is. Or use a permanent marker or paint to trace over the design until you get the desired look. I left mine unpainted as I was using this design for other purposes I’ll be highlighting in a future tutorial.
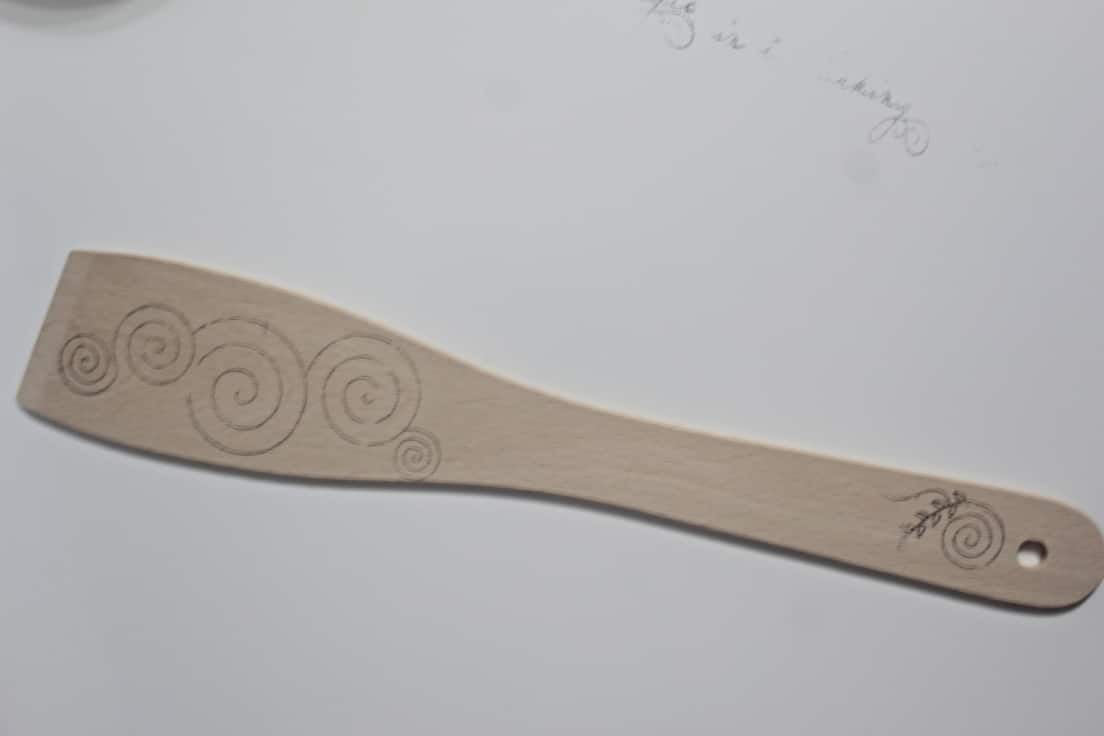
- Leave the design as is or seal it with a layer of modge podge.
If you liked this tutorial and found it useful, I’d love to know it so please comment below and don’t forget to rate it! Thanks!
Pin to save for later
Most popular craft:
Article may contain Amazon & affiliate links. As an Amazon Associate I earn from qualifying purchases at no additional cost to you.

Very cool idea. I am wondering how intricate the design can be? I now have a new project to think over. Thanks for the clear instructions and photos. Karen
Thanks Karen! It can be as intricate as you feel comfortable with. The transfer is pretty much the same, you just need to spend alittle more time on an intricate design to make sure all the details are transferred.