

Ghost coasters sewing pattern
Turn your home into a boo-tiful haven with some ghost coasters! Say goodbye to ordinary décor and embrace the supernatural allure of the ghost coasters sewing pattern!
Ghost Coasters
Are you ready to transform your home into a spine-tingling, boo-tiful haven? Discover how to infuse charm and spookiness into your home with these adorable coasters.
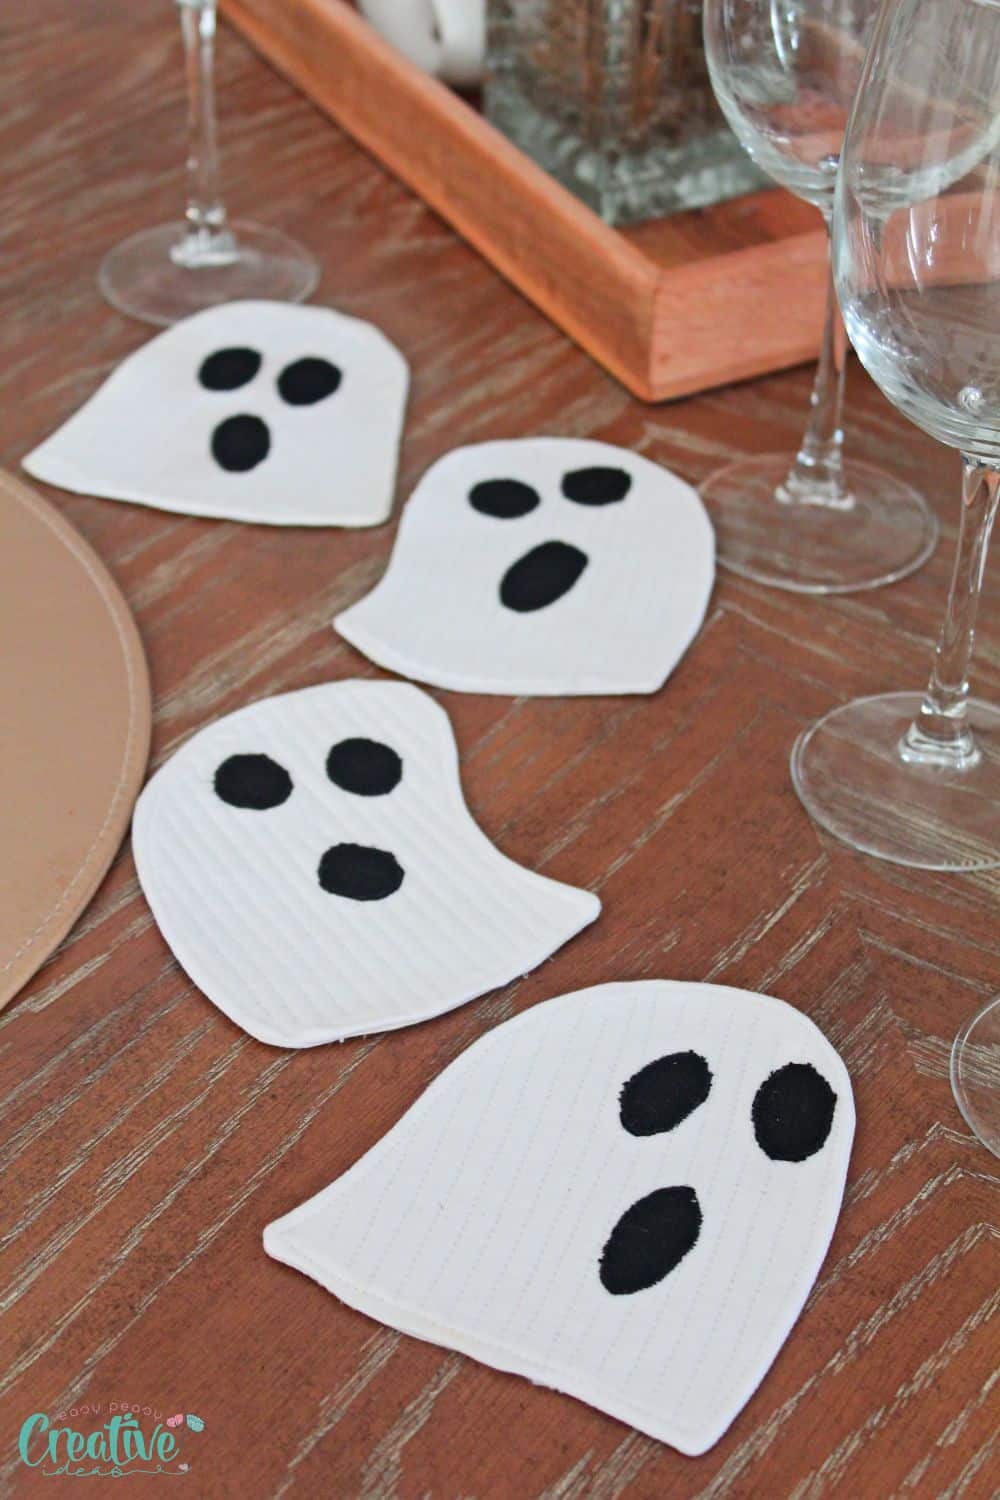
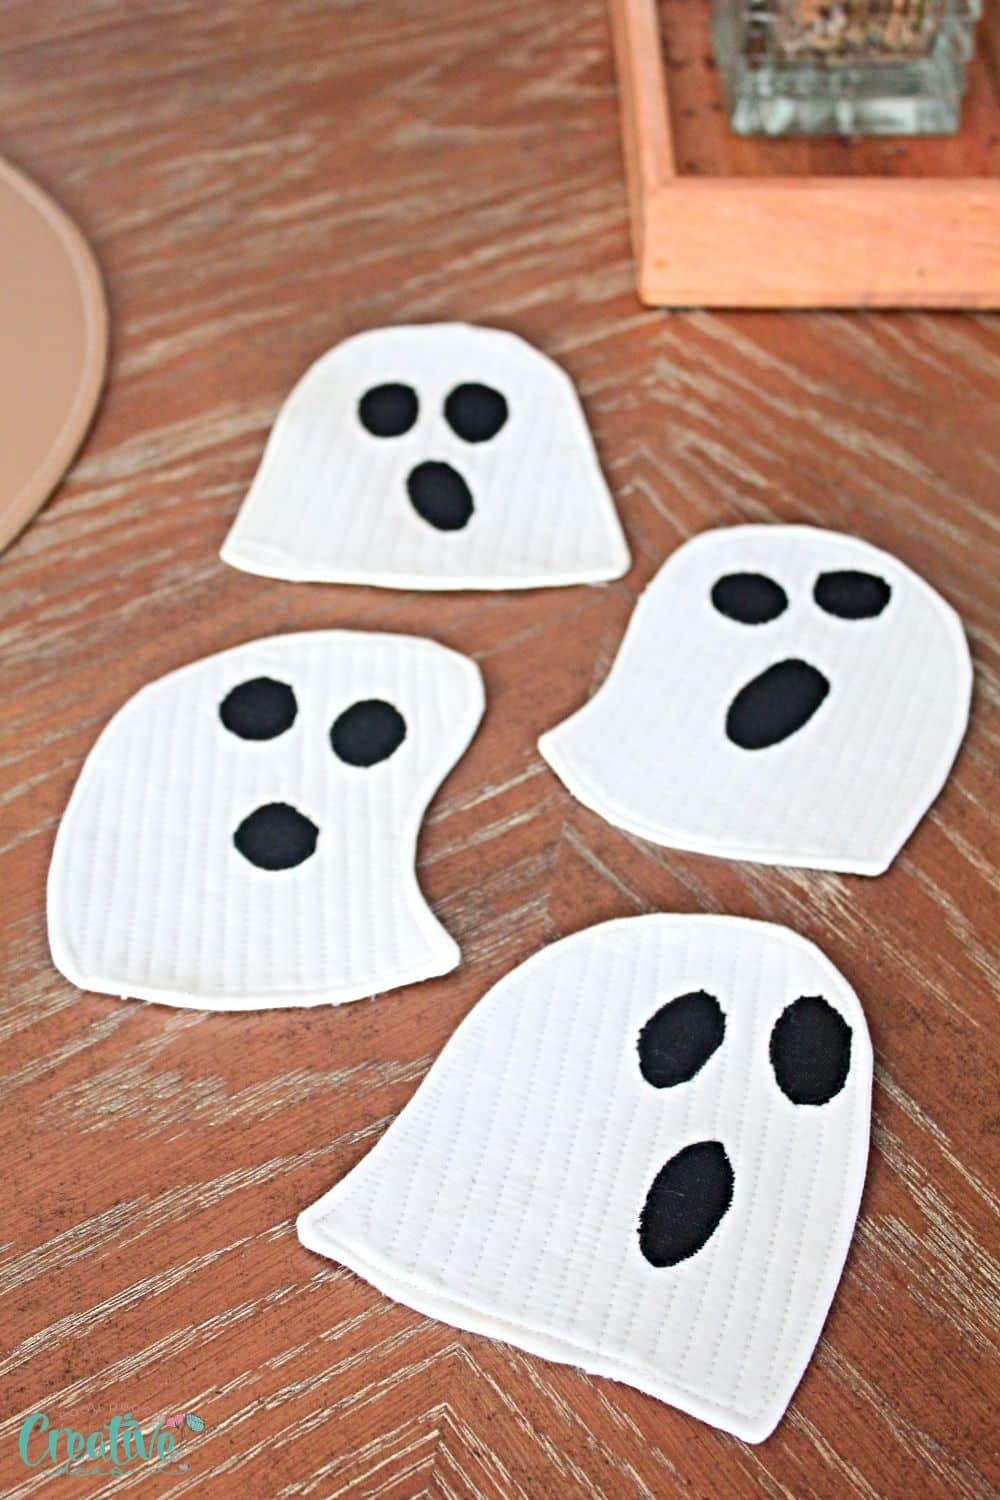
Imagine the enchantment of ghostly DIY decor, floating through your living room and casting a spell of delight. From the hauntingly adorable ghost coaster sewing pattern to the bewitching charm it brings, this pattern featuring four different ghost templates is your gateway to a world of supernatural allure.
Whether you’re a seasoned sewing enthusiast or just starting out, this article will inspire and guide you to infuse your home with charm and spookiness. So, grab your needle and thread and prepare to elevate your home decor to the ghostly realm. It’s time to say goodbye to the ordinary and embrace the extraordinary. Let’s begin creating your own boo-tiful ghoster coaster decor today!
Similar ideas you will love:
- Fabric wine glass “slippers”
- Reverse applique pumpkin coasters
- Pumpkin applique mug rug
- Halloween jar for treats
- Round quilted coasters
Customize Your Ghost Coasters for a Spooky Touch
With a few simple tips and tricks, you can transform these already delightful ghost coasters into truly mesmerizing pieces of home decor.
To begin, consider the materials you’ll be using to craft your ghost coasters. While my sewing pattern provides a great starting point, don’t be afraid to mix it up with different fabric patterns, colors, and textures. Play around with spooky-themed fabrics like black and white polka dots, stripes, or even glow-in-the-dark prints for an extra eerie effect.
Once you’ve chosen your fabrics, think about personalizing your ghost coasters with special embellishments. You can add tiny felt hats or bows to give your ghosts some character, or even sew on small buttons for eyes instead of the applique. These small details can make each coaster truly unique and add an extra touch of whimsy to your home decor.
Another way to customize your ghost coasters is through embroidery. Consider adding spooky phrases like “Boo!” or “Trick or Treat” using embroidery floss. You can also get creative by stitching on little spiderwebs or bats for a more intricate design. Embroidery not only enhances the overall look of the coasters but also adds a handmade touch that will impress your guests.
Tips and Tricks for a Boo-tiful Finish
If you want to take your coasters to the next level, consider adding a layer of interfacing in addition to the batting between the fabric layers before sewing. This will give your coasters some extra padding and make them more substantial, while also adding a touch of luxury to their appearance.
Don’t forget about the finishing touches! Once you’ve sewn your ghost coasters together, take some time to trim any excess threads and give them a good press to make sure they lay flat. This attention to detail will elevate the overall appearance of your coasters and give them that professional, polished finish.
To achieve a beautifully finished look, consider using a decorative stitch to quilt your coasters or to decorate the edges. Experiment with different stitch patterns and thread colors to find the perfect combination that suits your personal style.
Lastly, consider finishing off your ghost coasters with some decorative trim or edging. Whether it’s a delicate lace trim, a colorful bias tape, or even some tassel fringe, these small embellishments will add an extra dose of charm and personality to your coasters. Just make sure to sew them securely so they withstand regular use.
Showcase Your Ghost Coasters
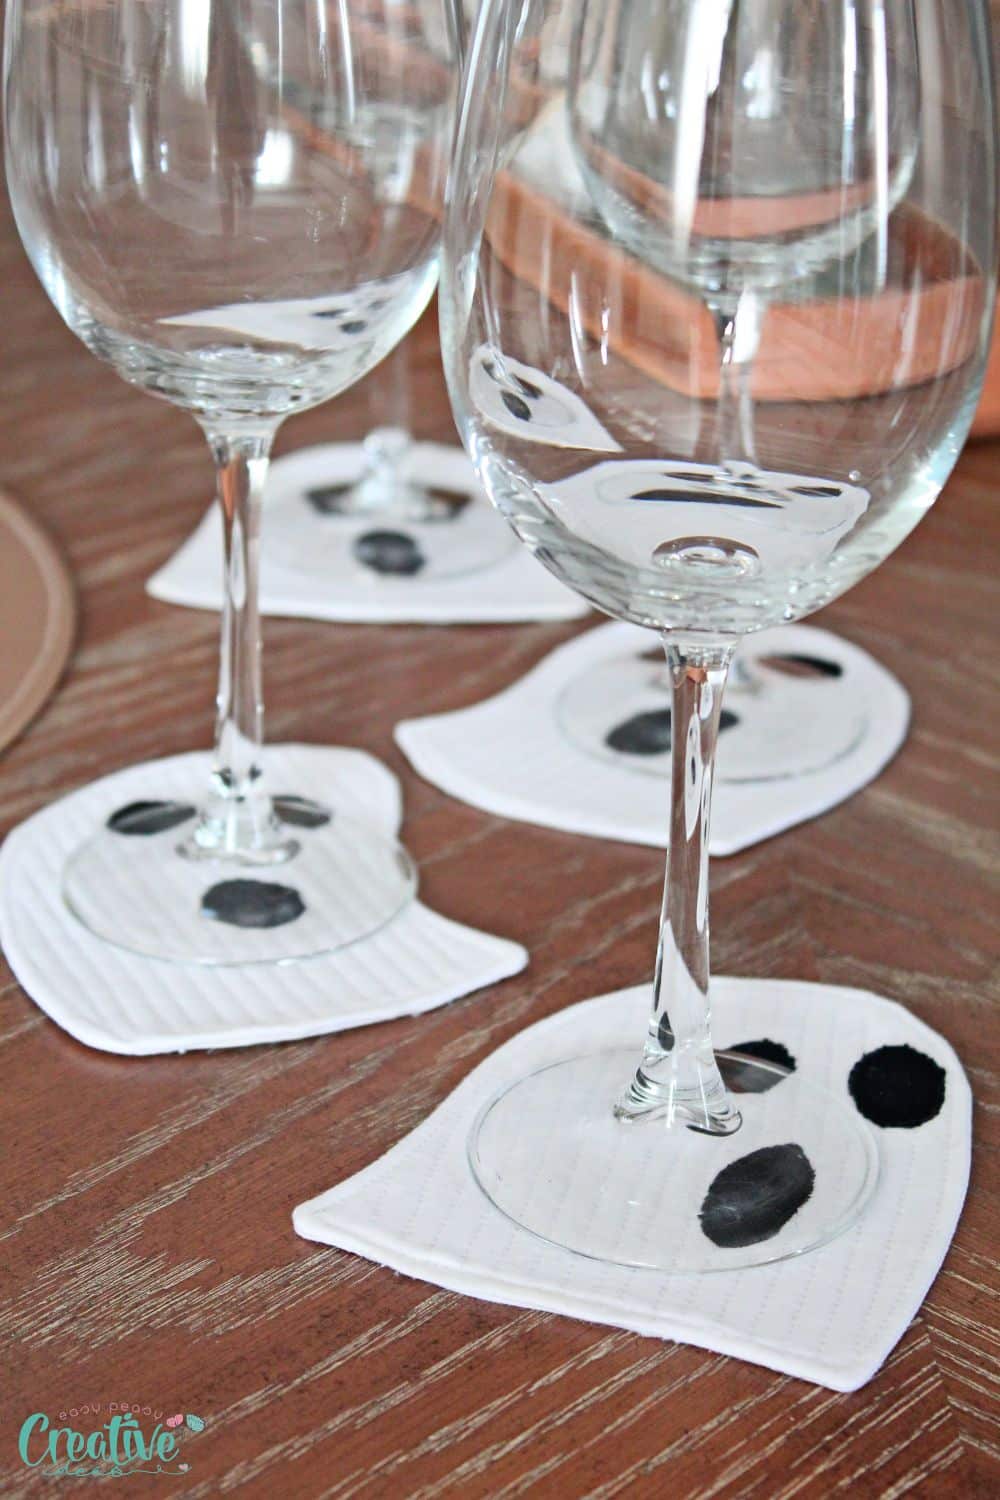
Proudly display your handiwork and share your creations with the world. These ghost coasters not only serve a practical purpose but also make a delightful addition to your Halloween décor.
Consider setting up a small Halloween-themed corner in your living room or kitchen, where your ghost coasters can take center stage. Arrange them on a festive tray or a cute Halloween-themed placemat to create an eye-catching display. This will not only showcase your coasters but also add a touch of spooky charm to your home.
If you’re feeling particularly adventurous, consider organizing a Halloween crafting party with friends or family. Put your sewing skills to the test and guide others in creating their own set of ghost coasters. This not only allows you to showcase your talents but also fosters a fun and creative environment where everyone can learn from each other.
How do I waterproof my ghost coasters?
It’s a good idea to waterproof the coasters especially if you plan on using them for drinks that stain. This will not only protect the fabric from any spills but also make cleaning them easier.
To waterproof your coasters, you can use a sealant spray specifically designed for fabric or a clear acrylic sealer. Follow the instructions on the chosen product and apply multiple coats for maximum protection. Make sure to let the sealant dry completely before using your coasters.
How to clean the ghost coasters?
To keep your ghost coasters looking like new, make sure to clean them regularly. You can spot clean any spills with a damp cloth or wash them by hand in cold water using a gentle detergent. Hang them to dry and give them a good press with an iron if needed.
I found that using a small brush and soap to gently scrub away any stains on the fabric helps to keep the coasters looking pristine and maintains their shape. As a precaution, avoid using bleach or harsh chemicals on the fabric.
What materials do I need to create these ghost coasters?
A handful of basic quilting and sewing supplies will help you make these beautiful creations in no time. You’ll need:
- Ghost coaster patterns (Free PDF pattern available here in four designs, with their corresponding patterns for batting).
- Cotton fabric for the ghosts (scraps in any color you like if you don’t want to use your fabric stash).
- Cotton fabric scraps for the eyes and mouth appliques.
- Batting
- Optional – medium fusible interfacing
- Matching thread
- Pins
- Hem tape
- Seamstress shears
- Craft scissors
- Sewing machine
- Point turner or a blunt tool to push corners out
- Pressing iron with steam
Step-by-Step Guide to Sewing Ghost Coasters
Here’s how to bring these cute and spooky decorations to life.
Prepare the fabric pieces
- Begin by printing out the PDF sewing pattern for the ghosts and the batting/interfacing and cutting them out.
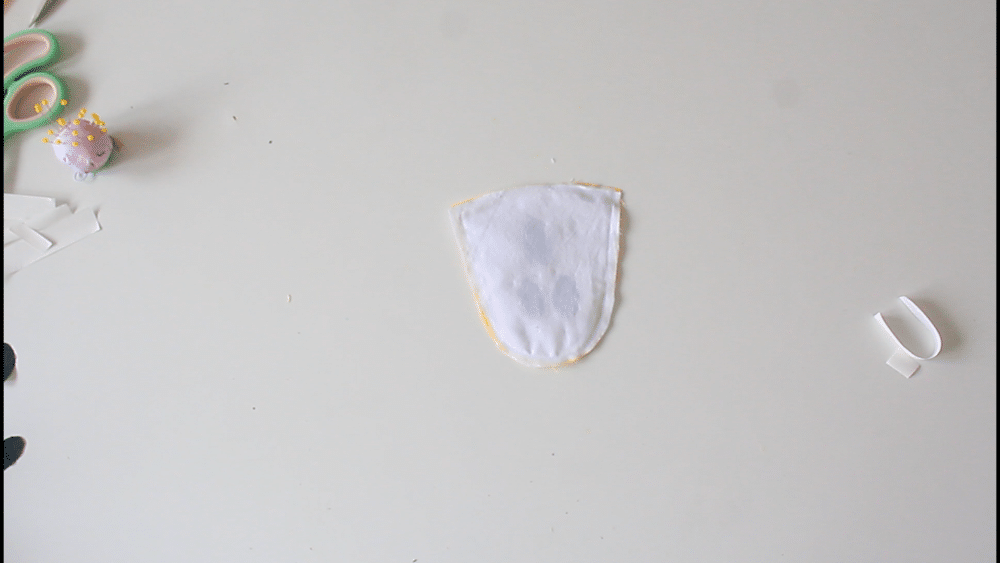
- Then, place the ghost pattern on top of the white fabric, two layers together, and secure it with pins. Carefully cut out the ghost shape, ensuring that you stay within the lines of the pattern. Repeat this step until you have cut out the desired number of ghost shapes.

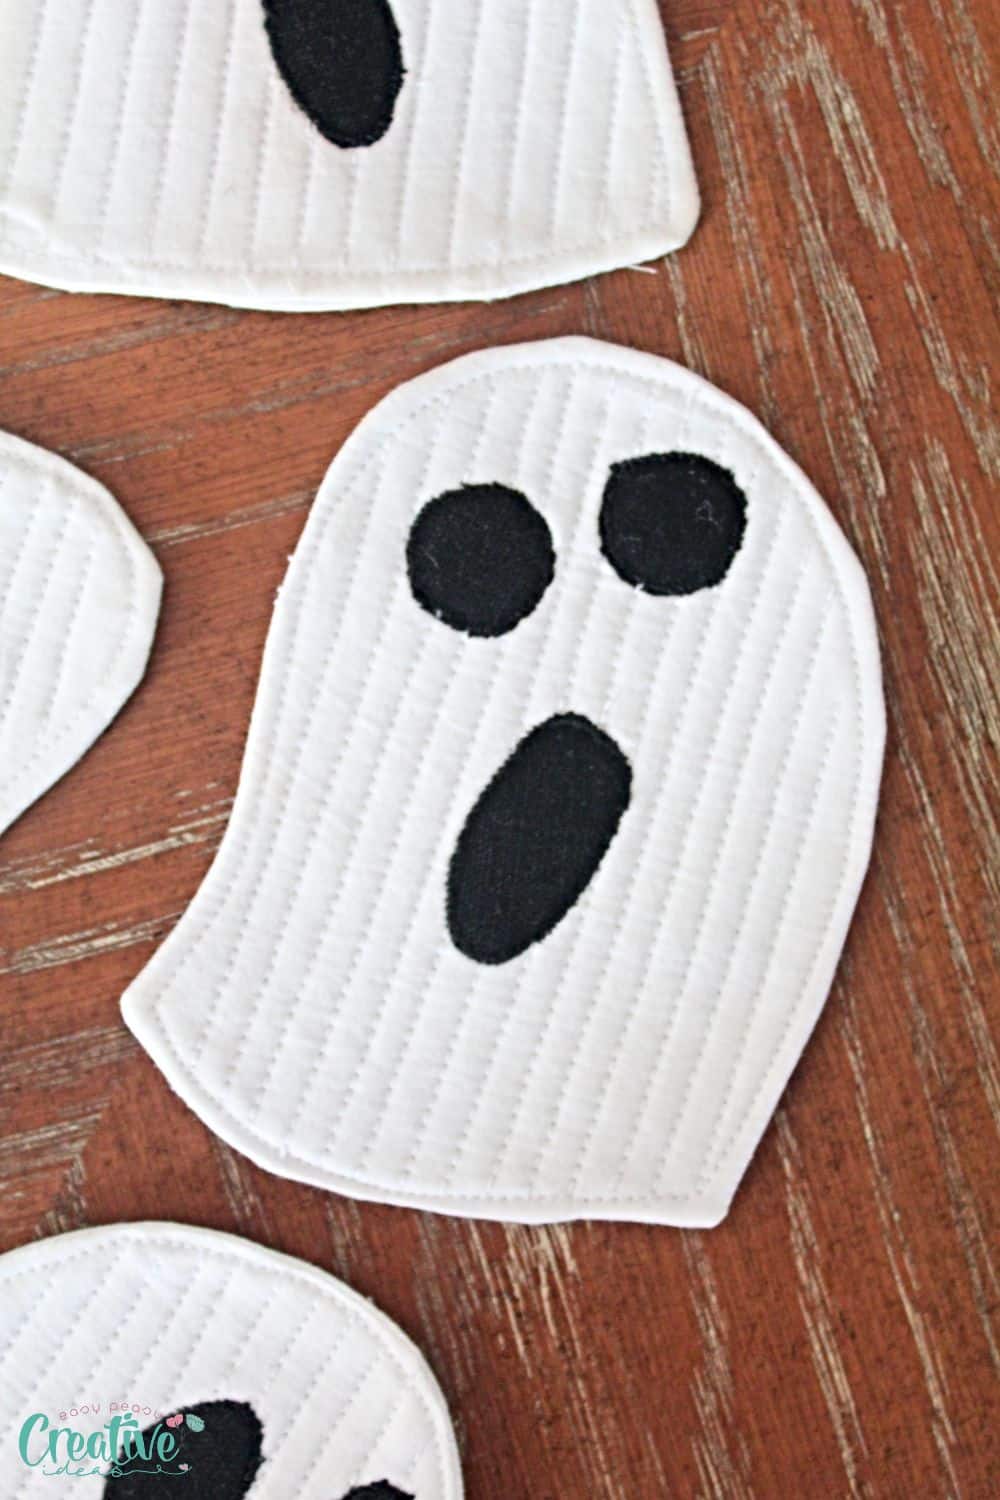
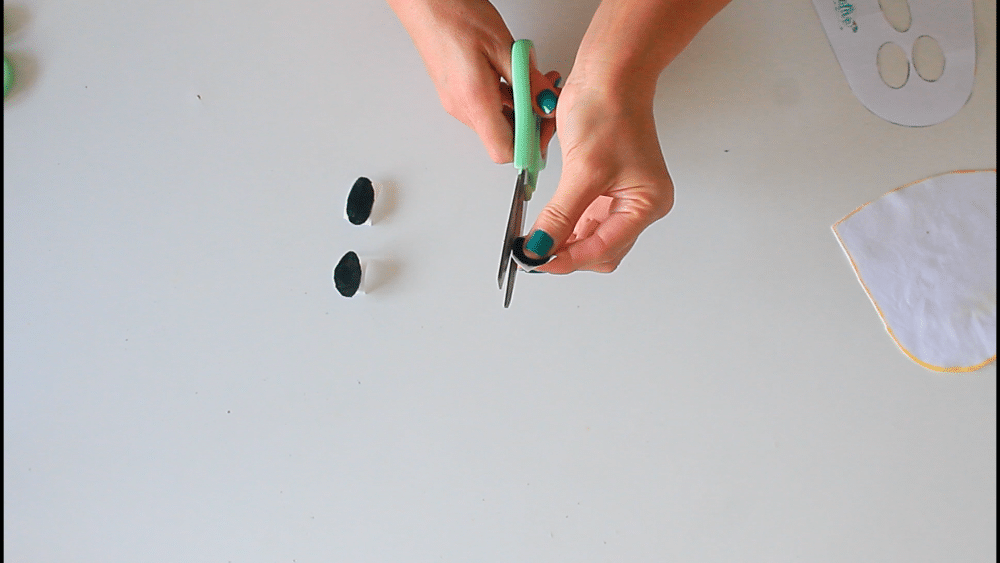
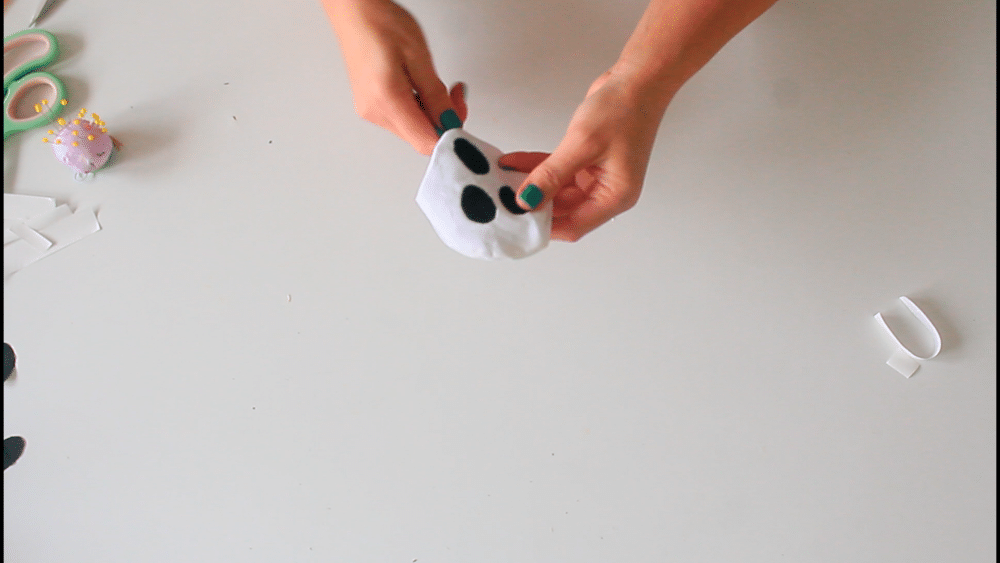
- Next, it’s time to add the ghost’s eyes and mouth. Take the ghost pattern and cut out the eyes and mouth.
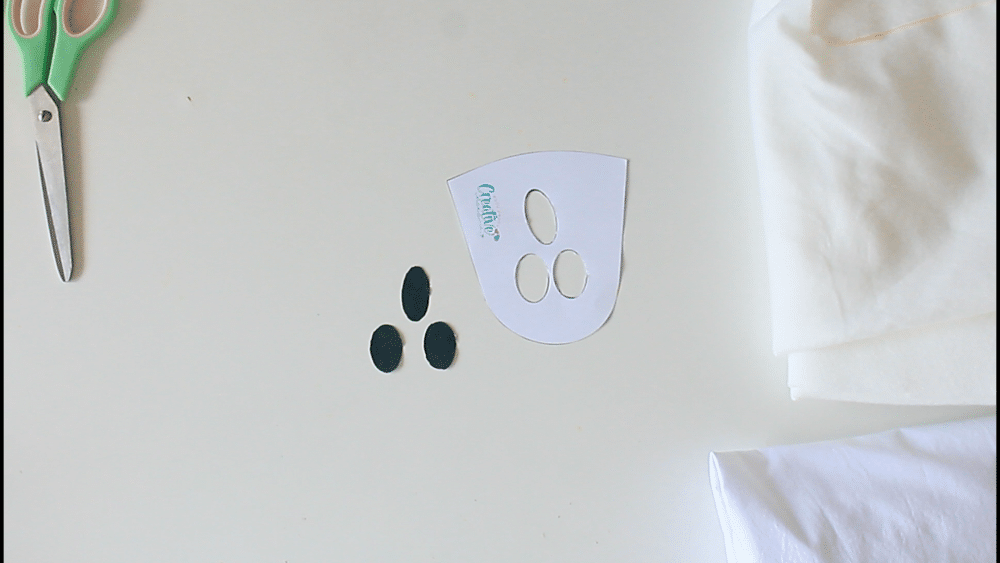
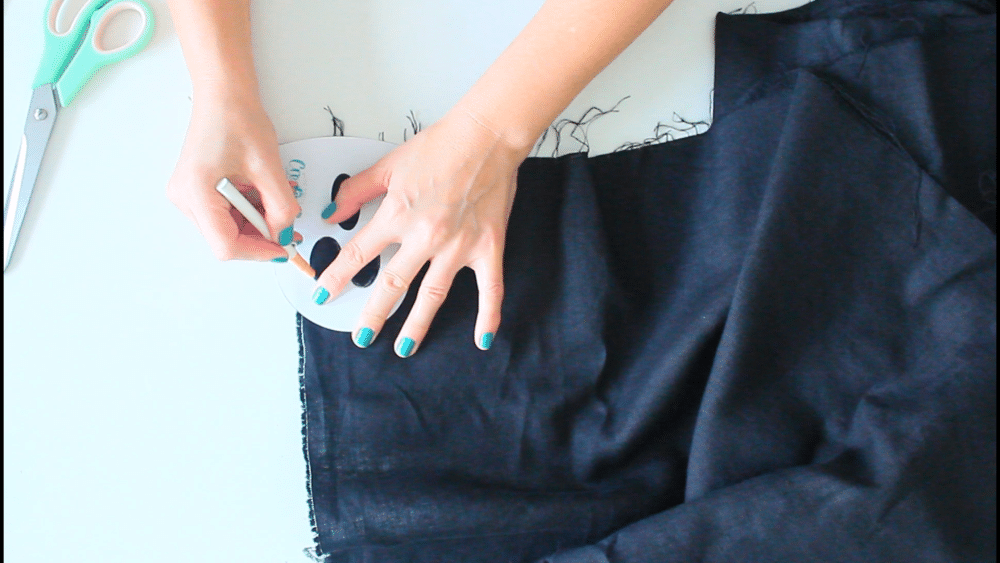
- Then take the black fabric and cut out small pieces of fabric for the eyes and mouth shape. You can use a pencil or fabric marker to lightly trace these shapes onto the black fabric before cutting them out.
- Once you have the eyes and mouth shapes ready, cut out double sided tape in the same shapes.
Attach the appliques and batting
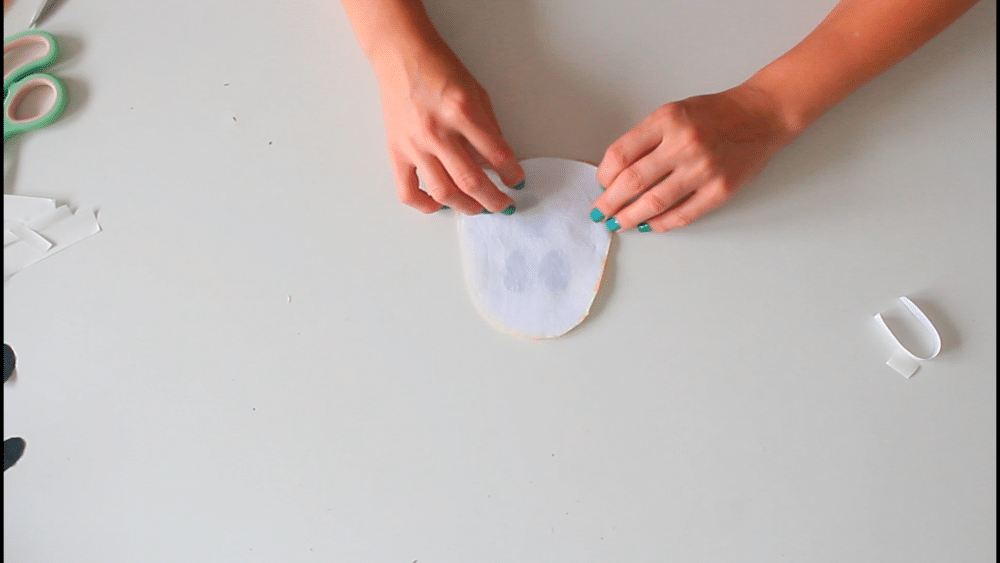
- Then fuse the eyes and mouth in place on the white fabric.
- Secure the batting to the back of the front fabric piece with hem tape or basting spray.
- Optional step – Interface the other fabric piece.
- Secure the eyes and the mouth to the fabric by sewing around them with your favorite applique stitch.

- Set up your sewing machine with white thread and select a straight stitch.
Sew the coasters
- Place the fabric pieces right sides together and pin.
- Sew with 1/4″ allowance, leaving a gap in the bottom for turning.
- Clip the corners and notch the curves.
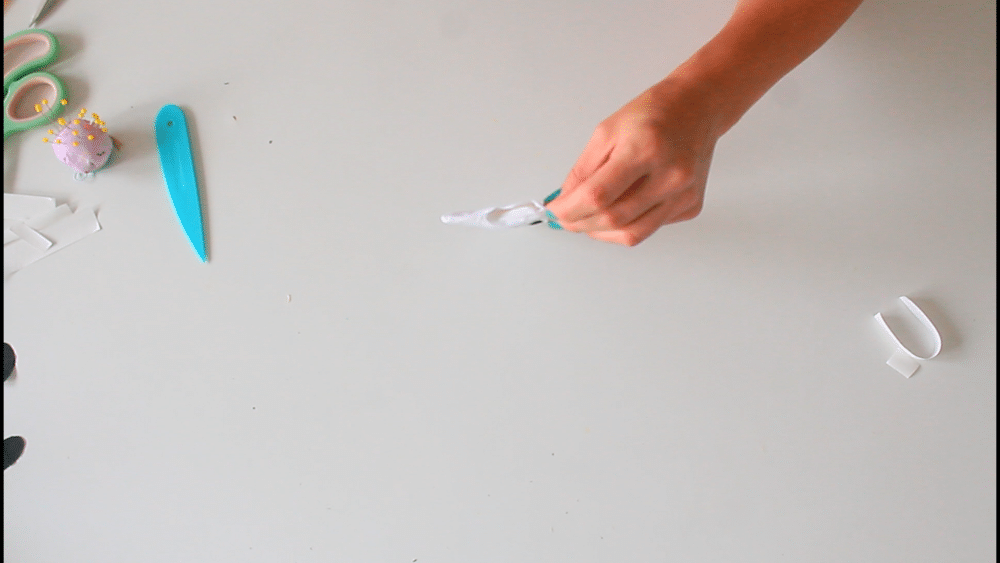
- Turn the fabrics right side out, smooth out the seams and push the corners out with a blunt tool.
- Push the gap inside and press the entire ghost coaster.
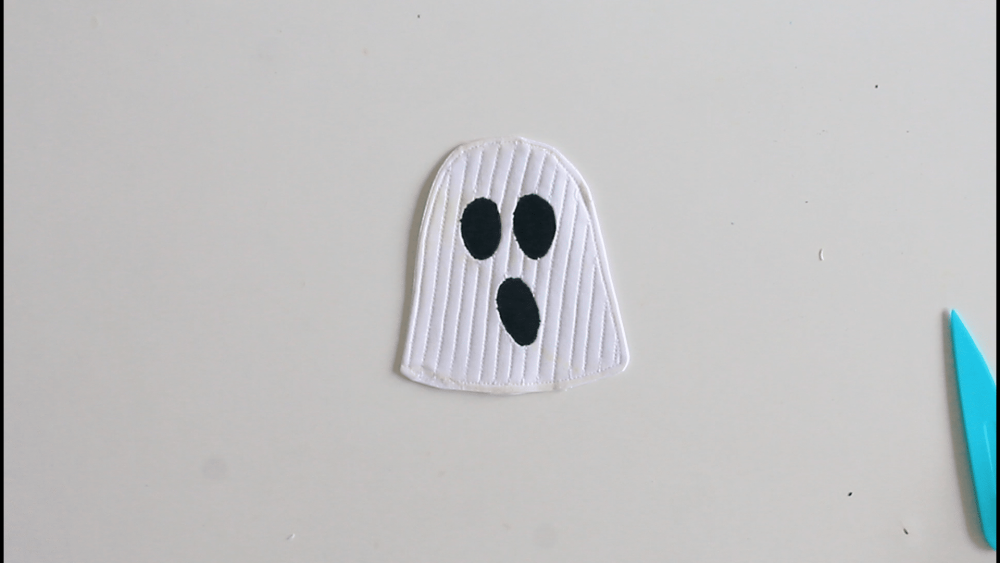
- Topstitch all around the coaster.
- Finish quilting the coasters by sewing parallel lines about 1/2″ apart, skipping the black appliques.
And there you have it—the step-by-step guide to sewing ghost coasters! With this knowledge, you’re now ready to embark on your ghostly sewing adventure and create a delightful set of ghost coasters that will surely impress the Halloween lovers! So gather your supplies, embrace your creativity, and happy sewing!
Pin to save for later

Most popular sewing projects:
- Tips for sewing a round hem
- Corded bag handles
- Flutter sleeve dress pattern
- How to laminate cotton fabric


Article may contain Amazon & affiliate links. As an Amazon Associate I earn from qualifying purchases at no additional cost to you.
ABOUT PETRO
Hi, I’m Petro, author and founder of Easy Peasy Creative Ideas. Sewist, crafter, avid DIY-er, foodie, photographer, homemaker and mommy to one. I’m an expert at coming up with quick, clever sewing tips, recycling crafts and simple, easy recipes! You can find my ideas featured in reputable publications such as Country Living, Good House Keeping, Yahoo News, WikiHow, Shutterfly, Parade, Brit & Co and more. Thanks for stopping by and hope you’ll stay for a while, get to know me better and come back another time. Stick around for real fun projects! Read more…