

Reverse Applique Pumpkin Coasters sewing tutorial
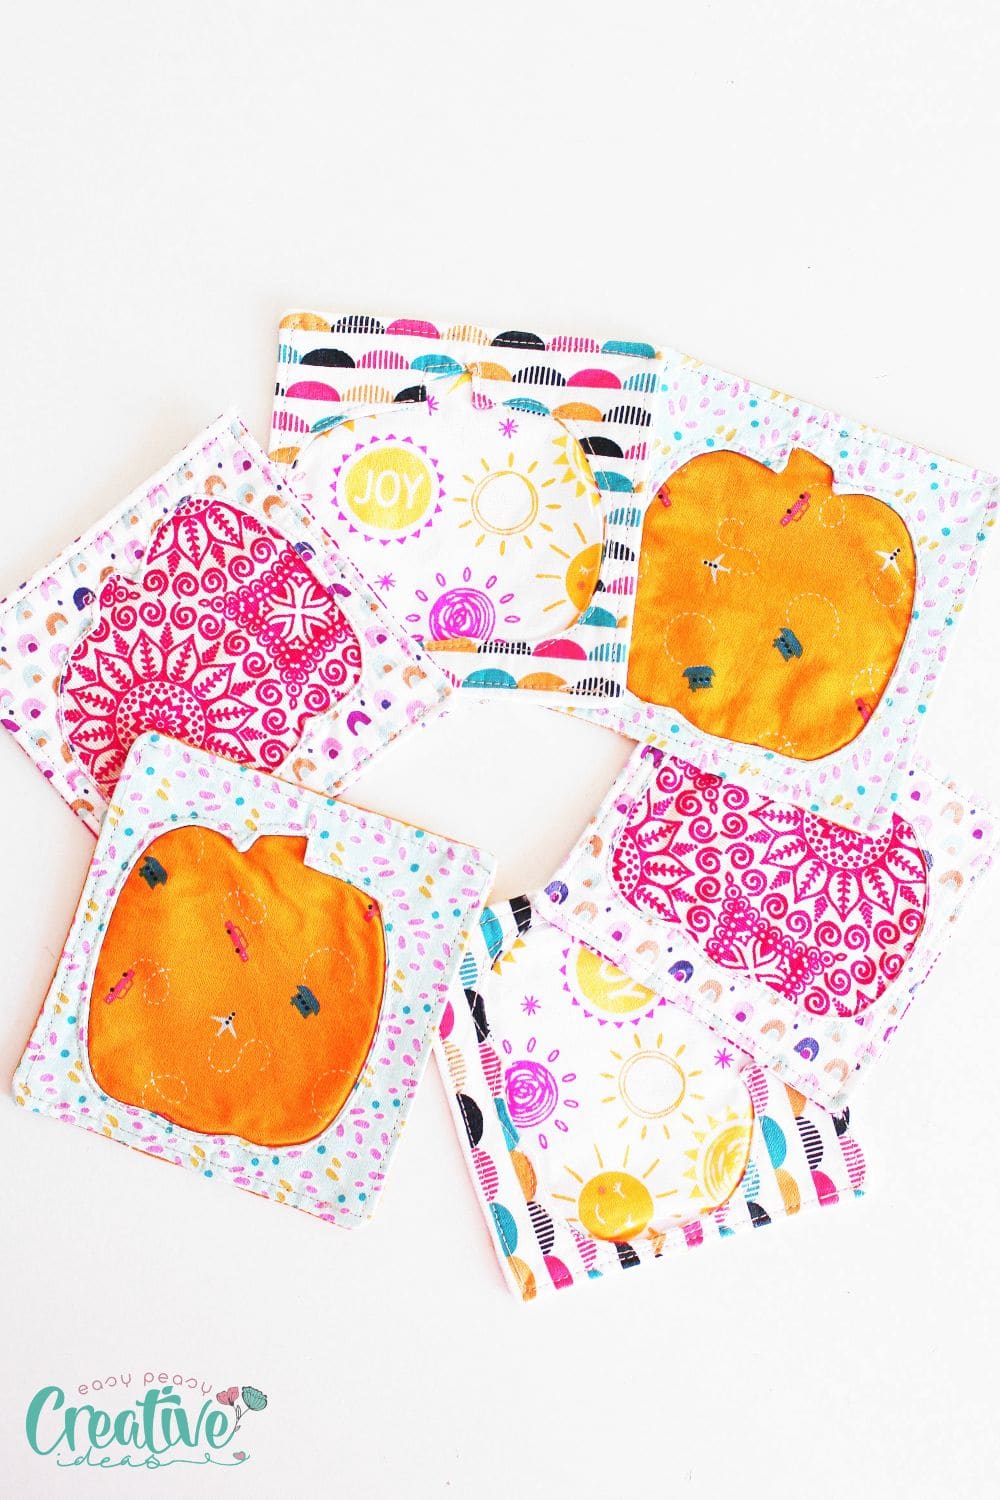
This fun reverse applique sewing tutorial will show you how to make some cute pumpkin coasters for your fall table décor. This easy applique technique is a great way to add a little bit of color and pattern to your home for the autumn season. Plus, they make a great gift for any hostess or pumpkin lover in your life! Great project for scraps, these cute fabric coasters would make a lovely addition to a fall party!
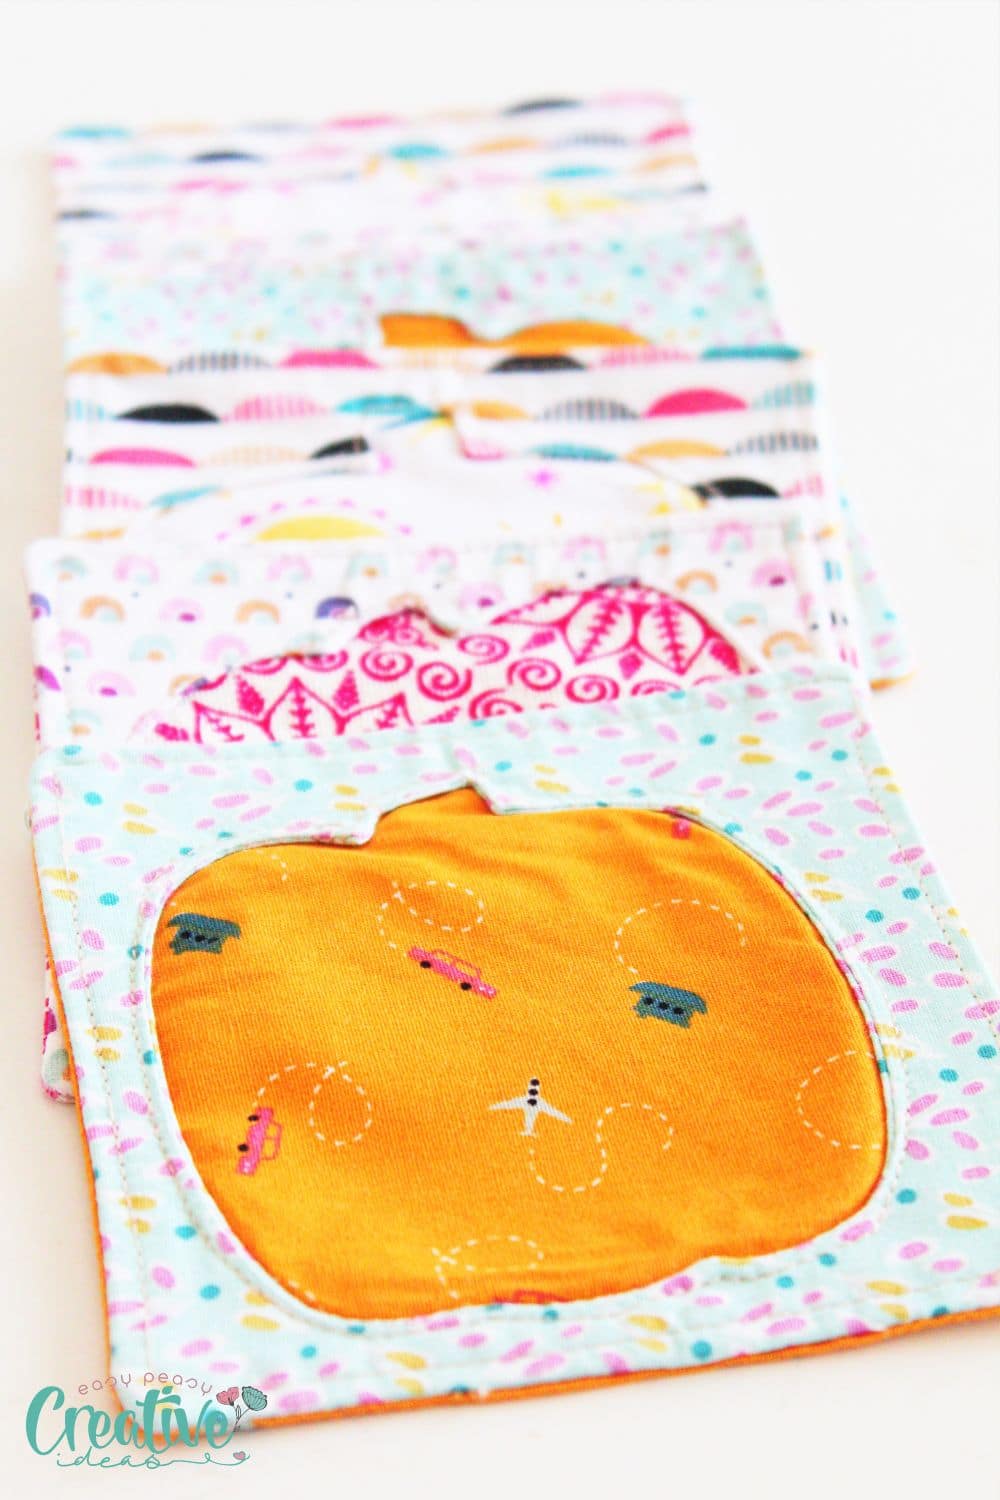
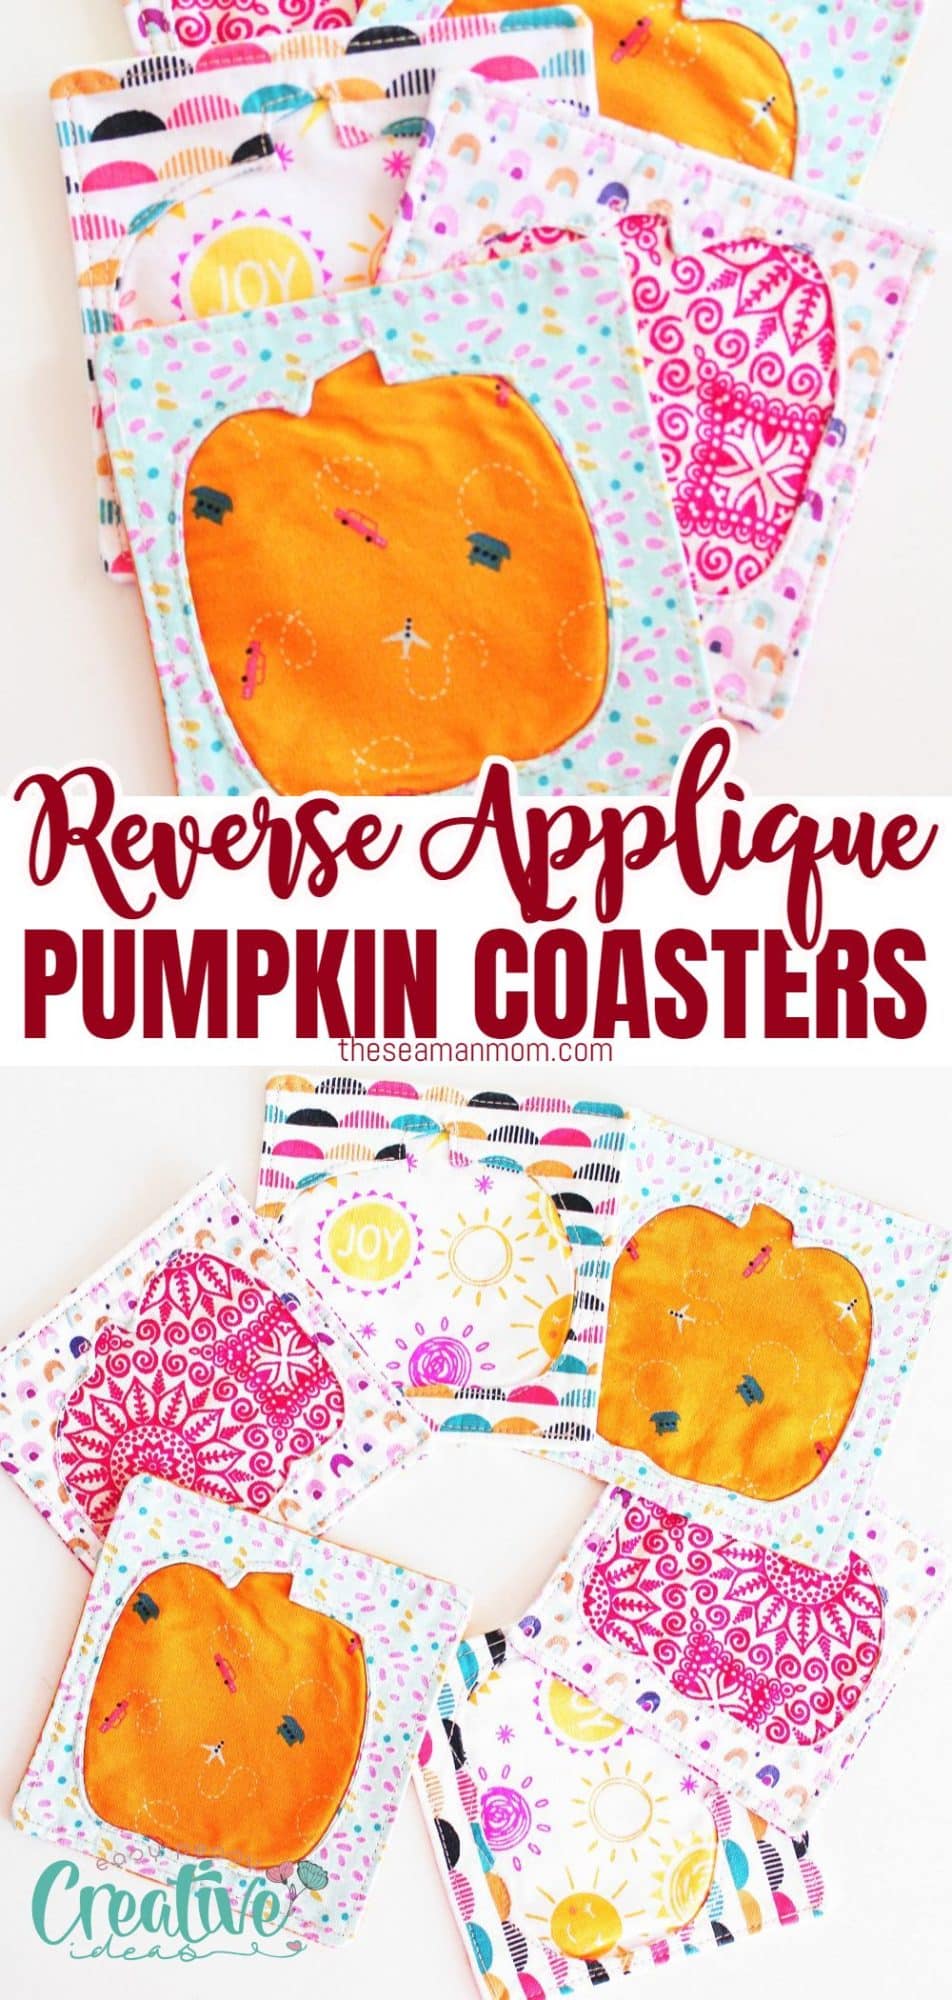
Reverse applique Pumpkin Coasters
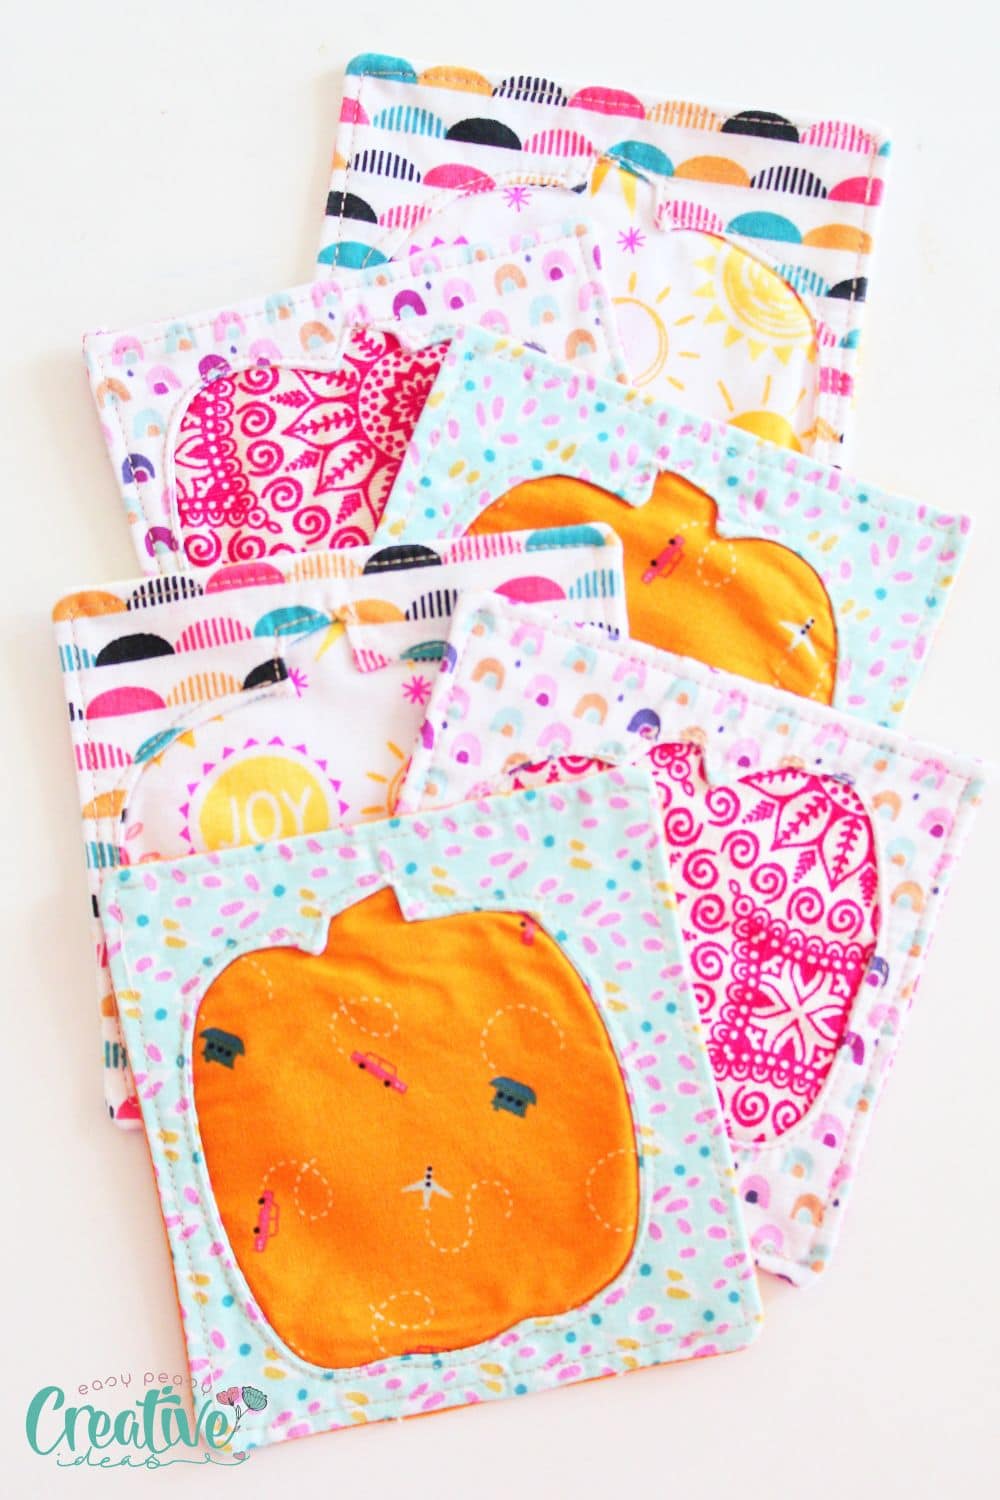
If you’re looking for a fun and easy sewing project to add a little bit of fall flair to your home, then you need to try reverse applique! These pumpkin coasters are the perfect way to spruce up your coffee table or dining room table for the autumn season.
Made with some simple fabric scraps and a little bit of batting or interfacing (totally optional) , these coasters come together in no time at all. These fabric coasters would make a perfect fall gift for family or a friend and they’d also be a great hostess gift this time of the year!
More scraps projects you will love:
- DIY fabric twine from fabric scraps
- French braid mini quilt
- Sewing machine needle pincushion with chart
- Easy cutlery holders
- Wine glass fabric coasters
- Ghost coasters sewing pattern in 4 designs
What is reverse applique?
Reverse applique is a sewing technique where you essentially sew two or more pieces of fabric together, and then cut away the top layer of fabric to reveal the layer underneath. It’s a great way to add a pop of color or pattern to any project, and it’s actually a lot easier than it looks!
Where did reverse applique originate from?
The reverse applique technique actually has a long history and can be traced back to ancient Egypt! This sewing technique was popularized in America during the colonial period, when it was used as a way to recycle old clothing. Reverse applique continued to be popular throughout the 19th century and was often seen on quilts and other home décor items.
What is the difference between appliqué and reverse appliqué?
Regular applique is a sewing technique where you sew a small piece of fabric onto a larger piece of fabric. Reverse applique is the opposite – you sew two pieces of fabric together (or more, like in this coasters tutorial) and then cut away the top layer to reveal the layer underneath.
Why is reverse appliqué used?
Reverse appliqué is often used as a way to add color or pattern to a project. It’s also a great way to recycle old fabric and a fun, interesting alternative to traditional appliqué.
What are the disadvantages of reverse applique?
There really aren’t any disadvantages to reverse applique, although it can be a bit time consuming if you’re doing a lot of cutting. It can also get a little complicated if you’re making a small reverse applique or are sewing small curves and narrow points. But other than that, it’s a great way to add interest and detail to any project!
What type of fabric is best for appliqué?
For appliqué, you want to use a medium to light-weight fabric that will fray less. Cotton is always a good choice, but you can also use linen or even some types of wool. Avoid using silk, satin or knit fabric, as they are more difficult to work with or can fray more easily.
What type of needle is best for appliqué?
For appliqué, you want to use a sharp needle that is the right size for your fabric. A smaller needle will be easier to maneuver and will create less bulk.
What is the best thread for appliqué?
For appliqué, you want to use a thread that is ideally the same color as your fabric or a color that will blend in. This will help prevent the thread from showing through the fabric. I like to use cotton as it’s strong and doesn’t break as easily as other types of thread. As a general rule always match the thread type to the fabric you’re using.
Do I need to interface my fabric when I do a reverse applique?
Interfacing is not necessary, but it can help to stabilize the fabric and prevent it from stretching or distorting. I like to use a lightweight interfacing when I do reverse applique, but you can also use batting or even some types of fusible webbing.
How to add even more interest to my reverse applique coasters?
- Hand stitch a blanket stitch around the edge of the coaster.
- Using some contrast embroidery thread add a few lines of running stitch to the inside of the coaster, across the pumpkin.
- Use two different colors or fabrics for the reverse applique to create a more interesting design.
- Try different shaped coasters like circles or triangles.
- You can also add embellishments like buttons or beads to the center of the coaster for an extra pop of color or texture.
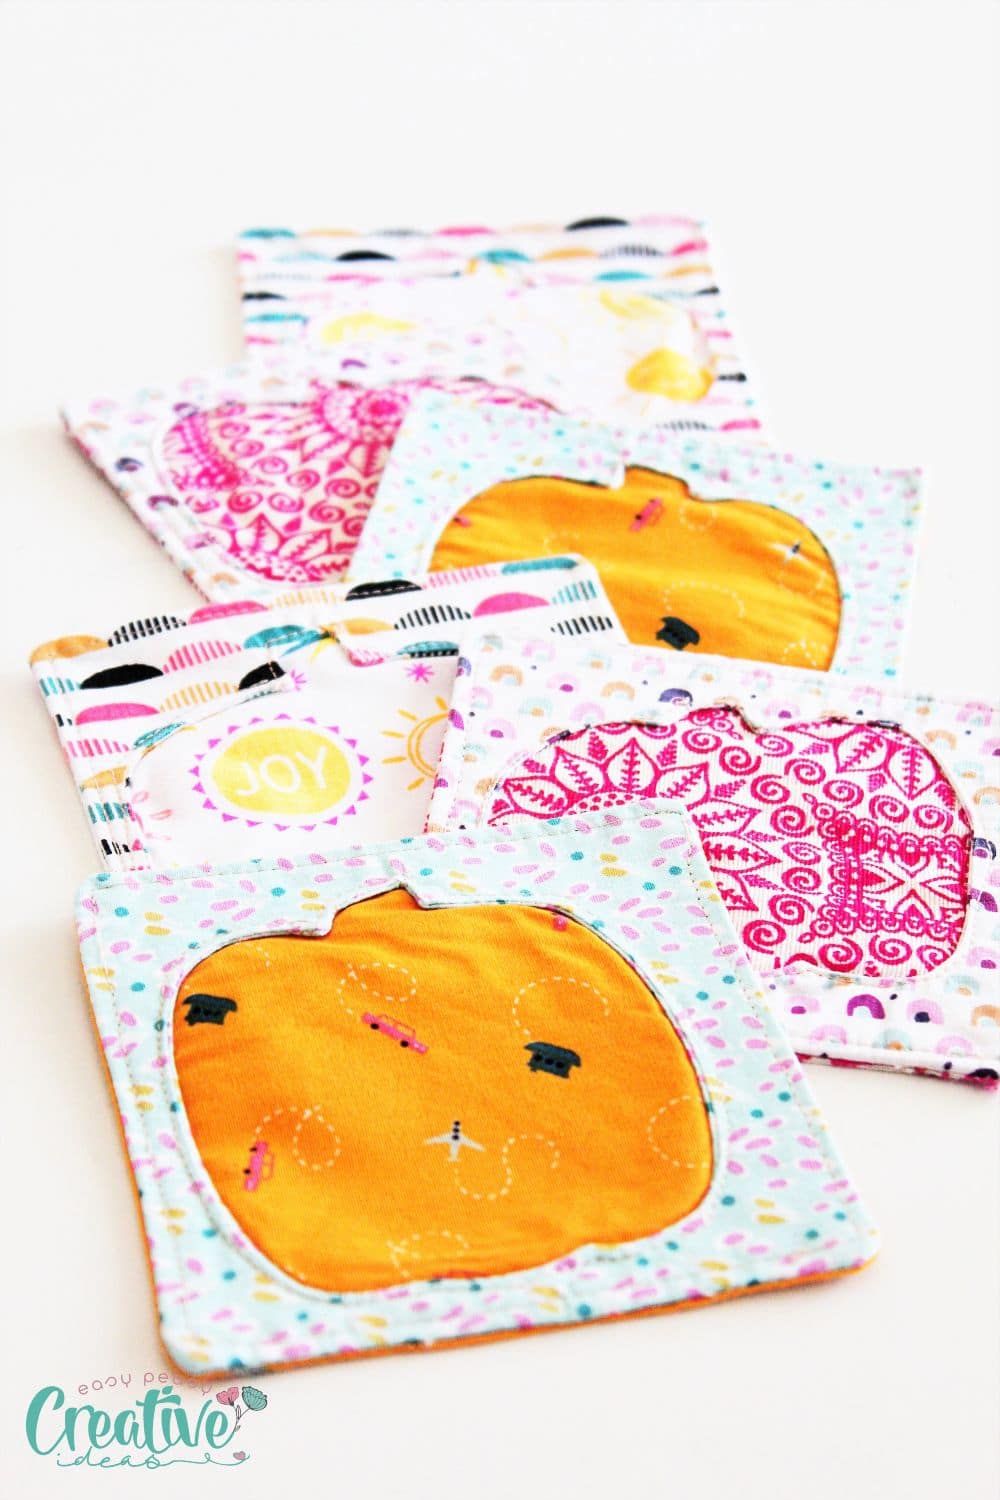
These pumpkin coasters are pretty practical and an awesome way to put your fabric scraps to good use while learning a new technique like the reverse applique. If you’re new to reverse applique or appliqué in general, don’t worry! I’ll walk you through the entire process step-by-step so that you can make your own pretty coasters.
Pumpkin coaster pattern is available HERE in 3 different templates. The pattern includes the SVG file as well so you can modify the size and shape of the pumpkins if you need to.
How to make Reverse Applique coasters step by step
Materials:
- 3 squares of main fabric per coaster, cut into 6″x 6″. These can be the same color and pattern or different. I like to use a different material for the top fabric, the background fabric (pumpkin fabric in our case) and the back fabric.
- 1 square of fabric per coaster, for the “pumpkin”, cut into 6″ x 6″
- matching thread
- optional – batting or fusible interfacing. If using any, I suggest you add it to the back fabric and cut it smaller by 1/4″ than the fabric. This will help you with turning the coaster right side out and also when topstitching it.
- fabric marker
- sharp scissors or rotary cutter
- iron
- optional – turning tool
- sewing machine
What are the steps of reverse applique?
Note: this is not a suitable project for beginners due to the complexity of sewing, clipping and notching small curves and narrow points and corners which require some experience and practice. If you are a beginner and want to learn and practice this kind of applique please choose a different shape to work with such as a larger circle, a square or a rectangle.
To make the pumpkin panel
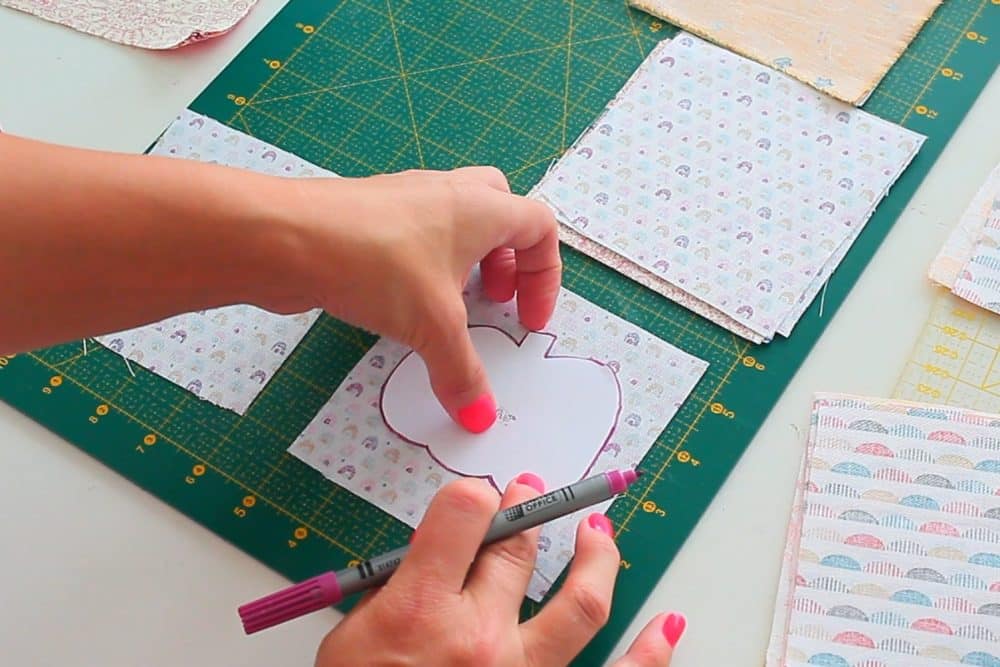
- Print out the pumpkin templates and cut out one or more to use. Center the template onto the fabric that you use as main fabric (for the front of the coaster).
- Using your fabric marker, trace the pumpkin in the middle of the fabric square, onto the wrong side of one of the fabric squares for the front panel.
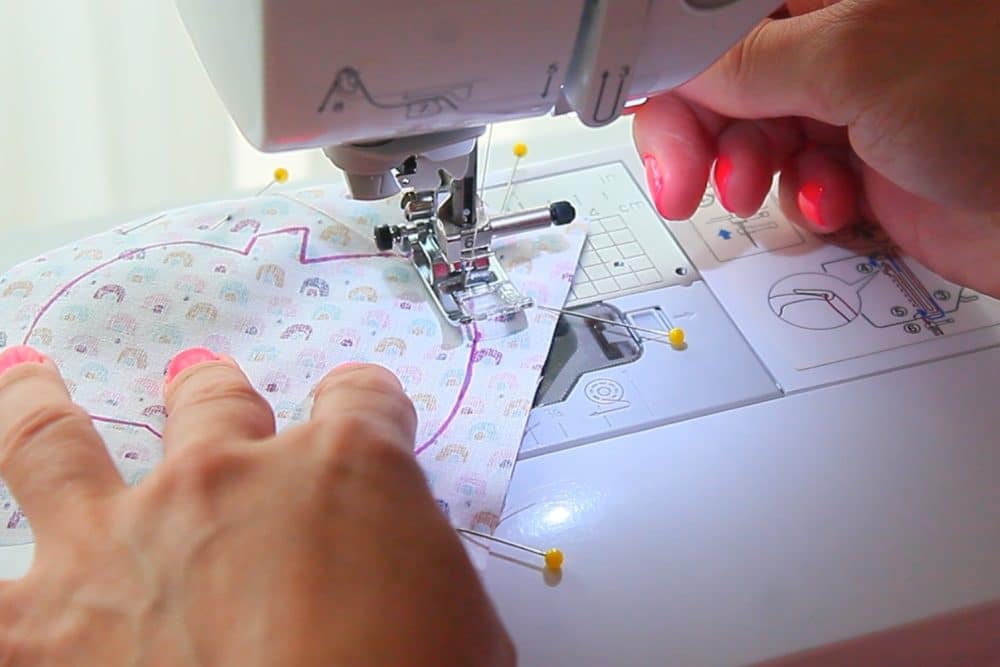
- Take another square of fabric and place it right side up. Top it with the first square (the one with the template on) so the fabrics are right sides together.

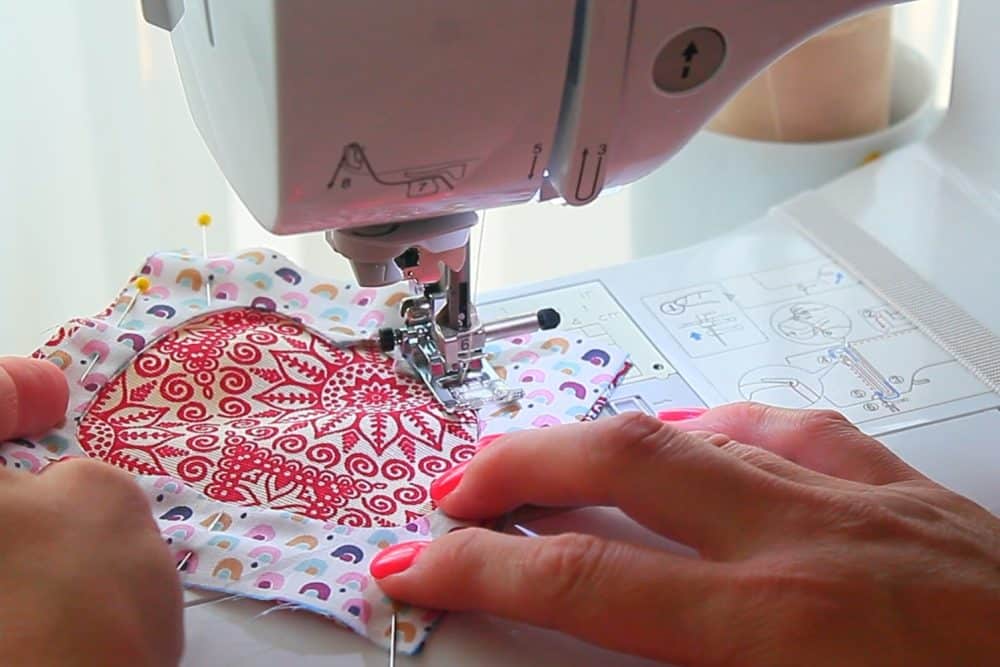
- Sew the pumpkin shape you traced and back stitch at the start and at the end. Set your stitch to a short length as it makes it easier to handle all those curves and points in your pumpkin. On the curves, sew a few stitches, leave the needle down, lift your presser foot, and slightly turn the fabric until the needle is pointing in the right direction. Repeat until you finish sewing the whole pumpkin.
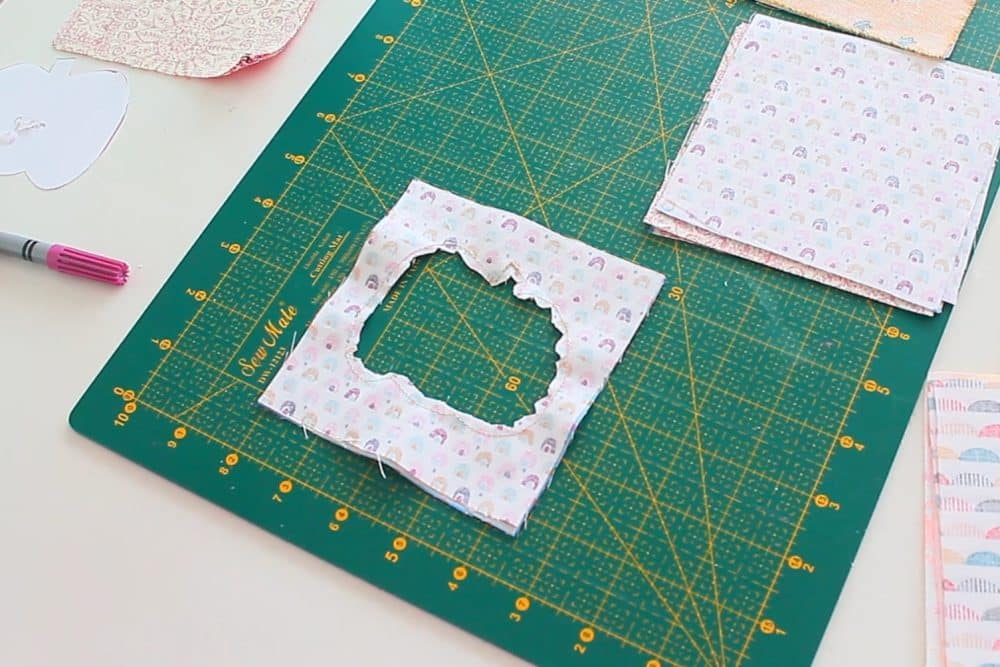
- Cut out the center of the pumpkin leaving a small seam allowance of about 1/8″.
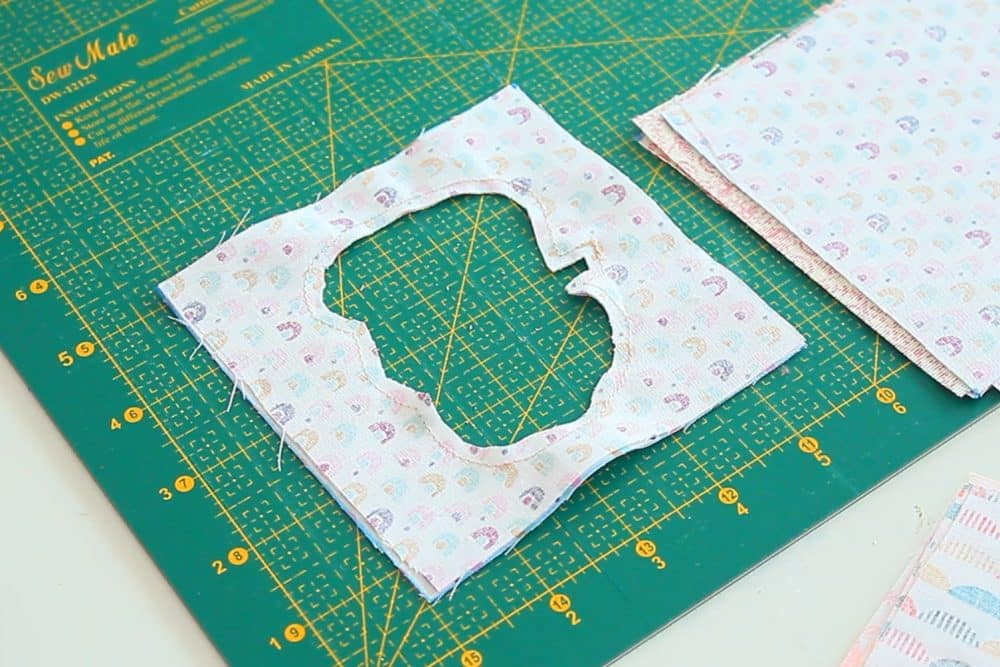
- Use small sharp scissors to notch the curves and clip a small snip into the points making sure you don’t clip through the seam. Here’s a tutorial on clipping and notching seams if you’re not familiar with the technique.
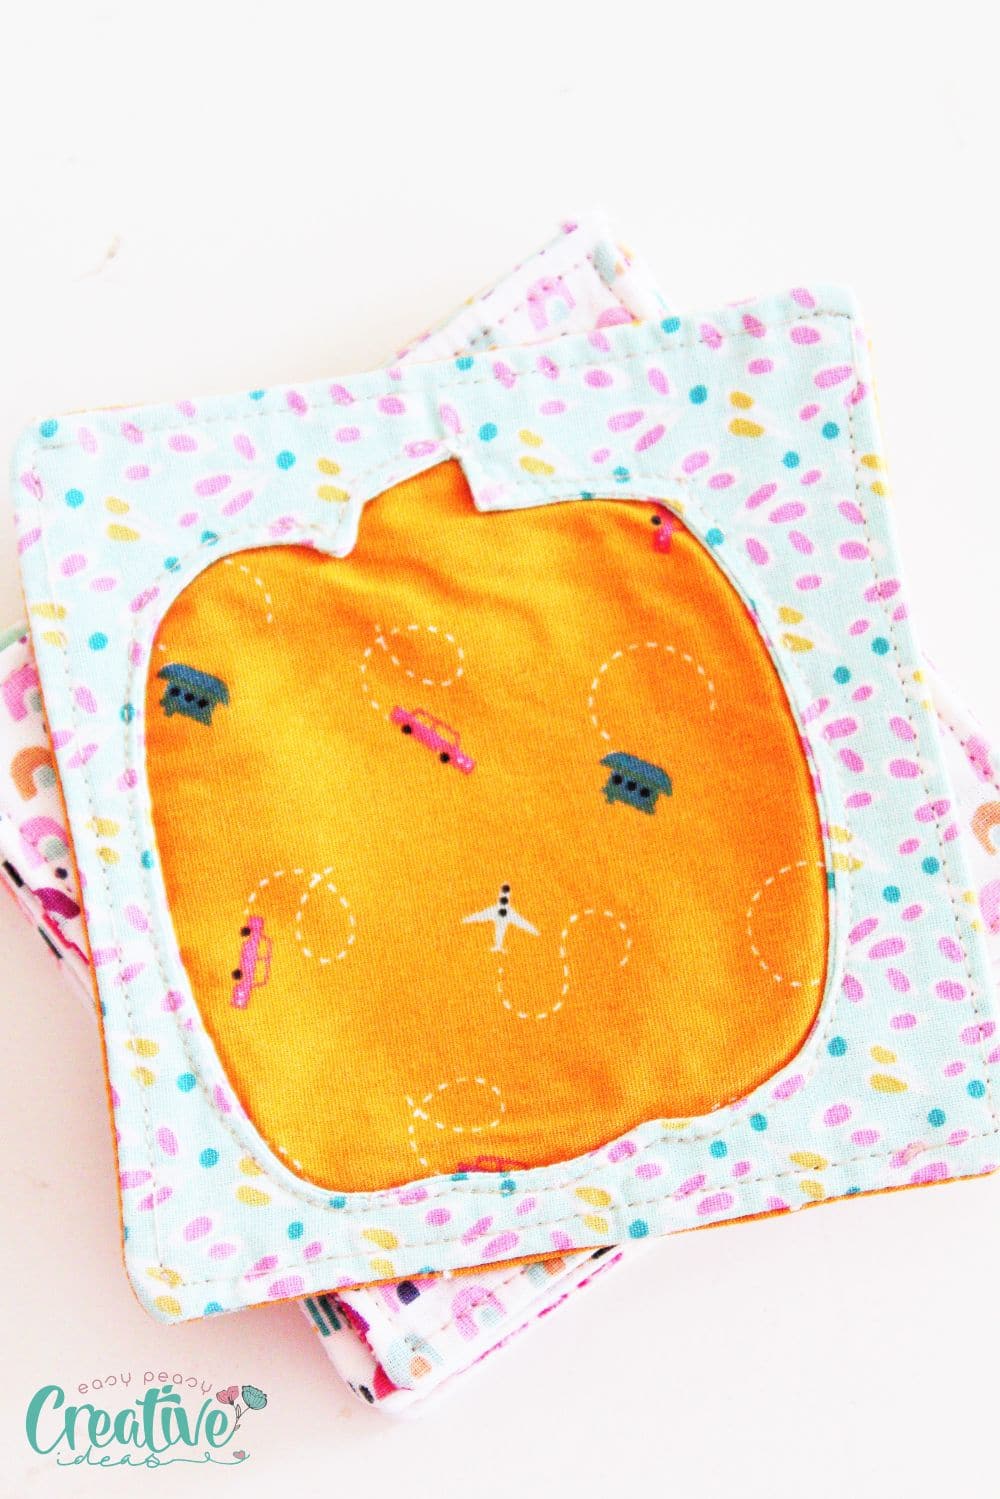
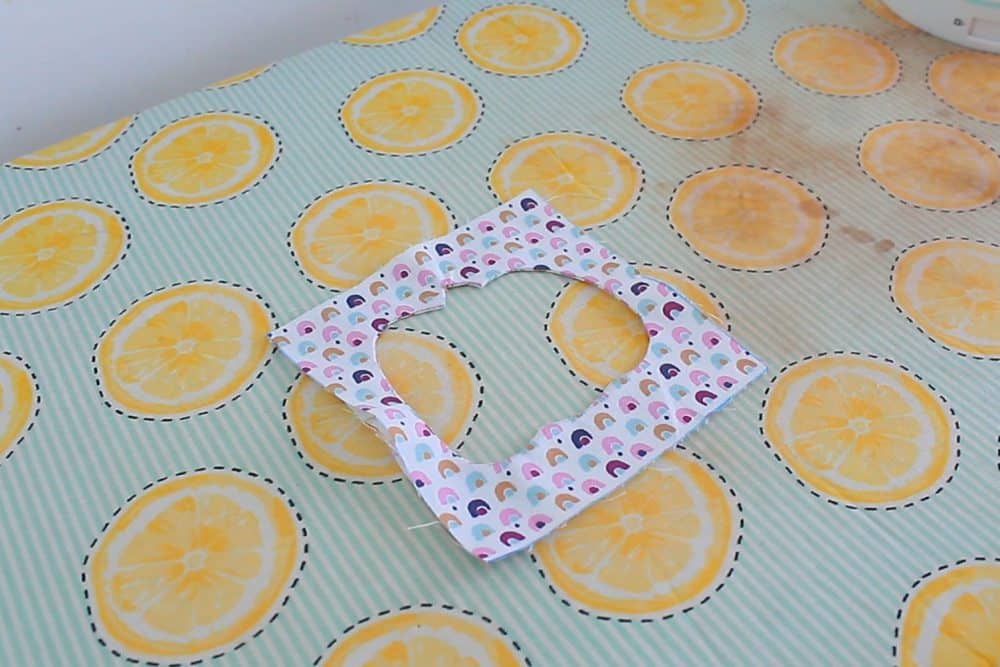
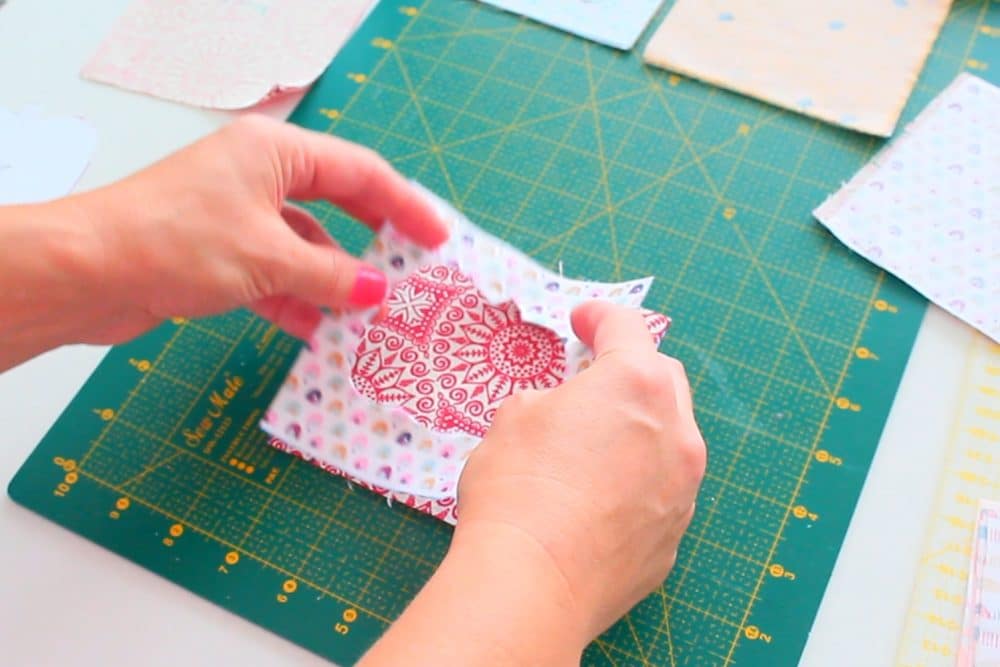
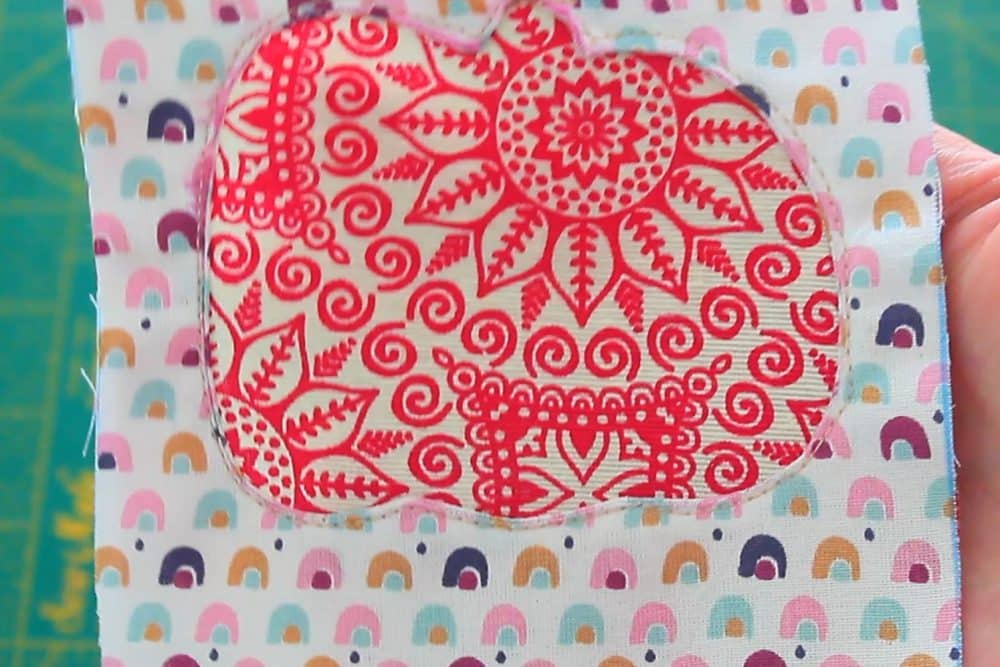
- Push one of the layers of fabric inside the other and then turn it out completely so that the seam is hidden and the fabrics are wrong sides together. Use a turning tool or blunt pencil to poke out the points in your pumpkin then press. Smooth out the seam with your fingers. You just finished the first layer of your coaster.
To make the front panel
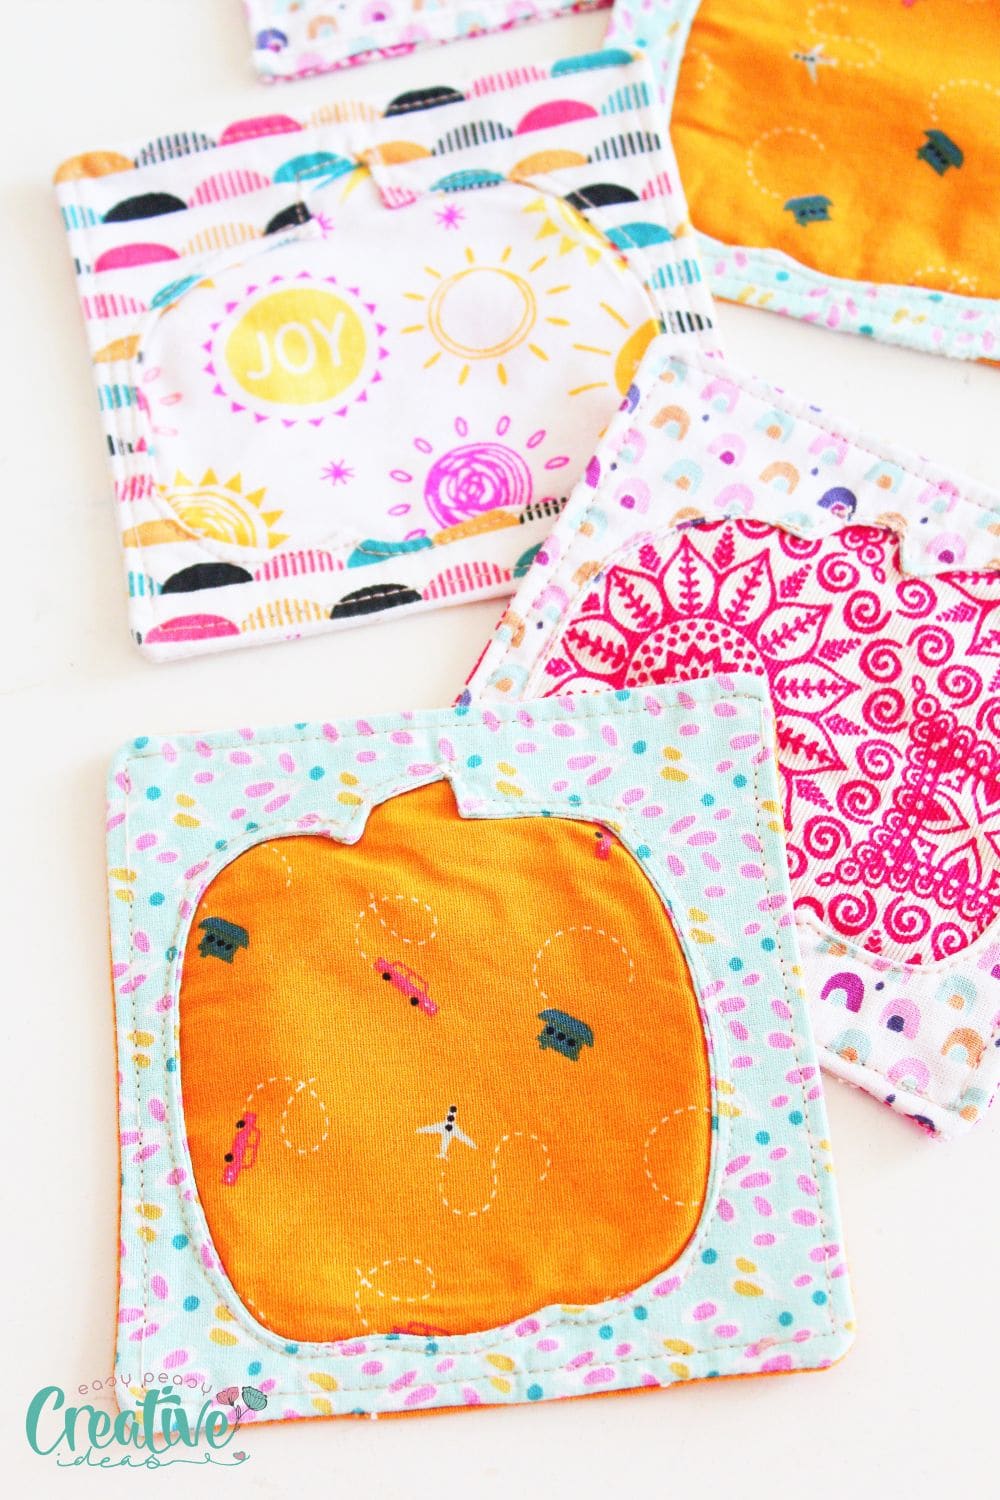
- Place the “pumpkin fabric square” right side out and top it with the first layer you made above. Top stitch around the pumpkin outline. This is the front side of your coaster.
Assembling the coaster
- Now you have the option to use some interfacing for the back fabric square or add some batting between all the layers. I chose none as my fabric was pretty sturdy and thick enough to work with as is.
- Place the front side of the coaster and the back fabric right sides together and pin.
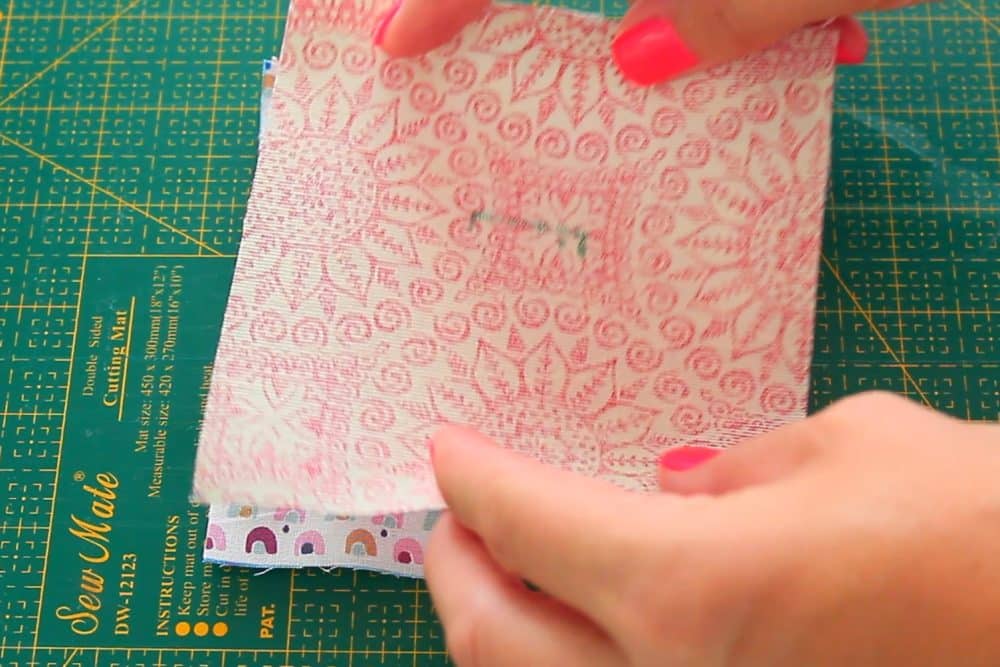
- Sew around the raw edge with a 1/4″ seam and make sure to back stitch at start and end, leaving a 2″ opening for turning the coaster inside out.

- Clip the excess fabric in the corners to remove bulk.
- Turn the whole piece inside out and use a turning tool or blunt pencil to poke out the corners. Or you can use my method here.
- Turn the ends under where the opening is and press well.
- Top stitch the coaster around all 4 edges and you’re done!
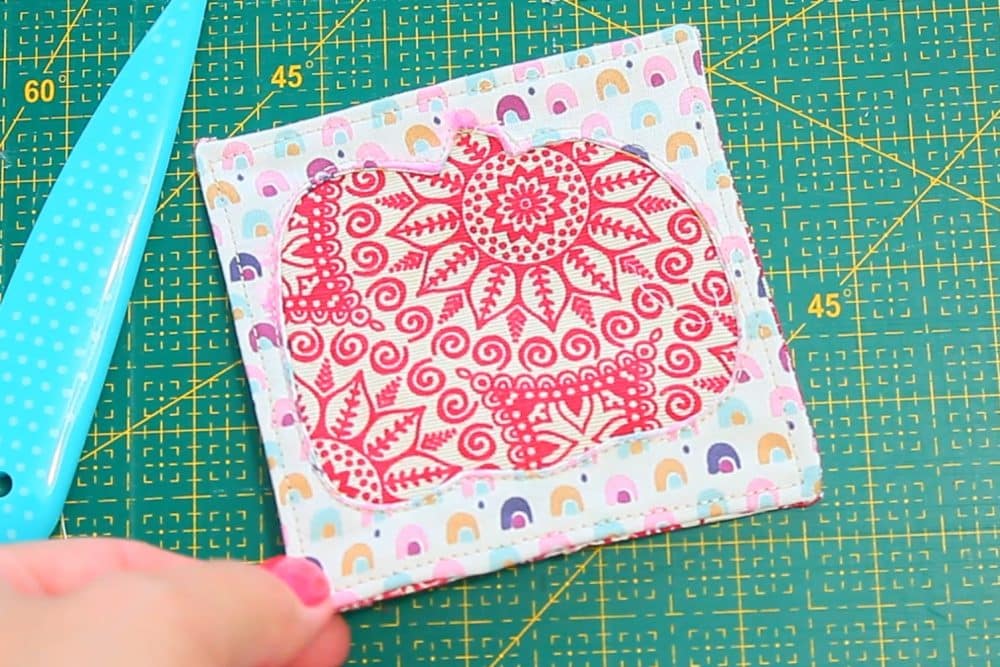
Done! Enjoy your new reverse applique pumpkin coasters! Once you get the hang of it, you’ll whip up a batch of these cuties in no time!
I hope you found this helpful and that you’ll give reverse applique a try. If you do, I’d love to see what you create! Feel free to share your photos in the comments below or tag me on social media.
Pin to save for later
Most popular sewing projects:
- Tips for sewing a round hem
- Corded bag handles
- Flutter sleeve dress pattern
- How to laminate cotton fabric


Article may contain Amazon & affiliate links. As an Amazon Associate I earn from qualifying purchases at no additional cost to you.

I am making these coasters now but I’m gonna turn it into a throw for my small table in the living room for Halloween. I’m going to post pictures on here tomorrow and lll keep on posting as I do this step by step! thanks for this idea! I’m having fun (and I’m not a pro) I’m a beginner!
Oh, what a fun idea, Amy! I wish I would’ve thought about it first, you’re a genius! Thanks and I look forward to seeing your work, I’m sure it’ll be impressive!