

Spider dream catcher craft
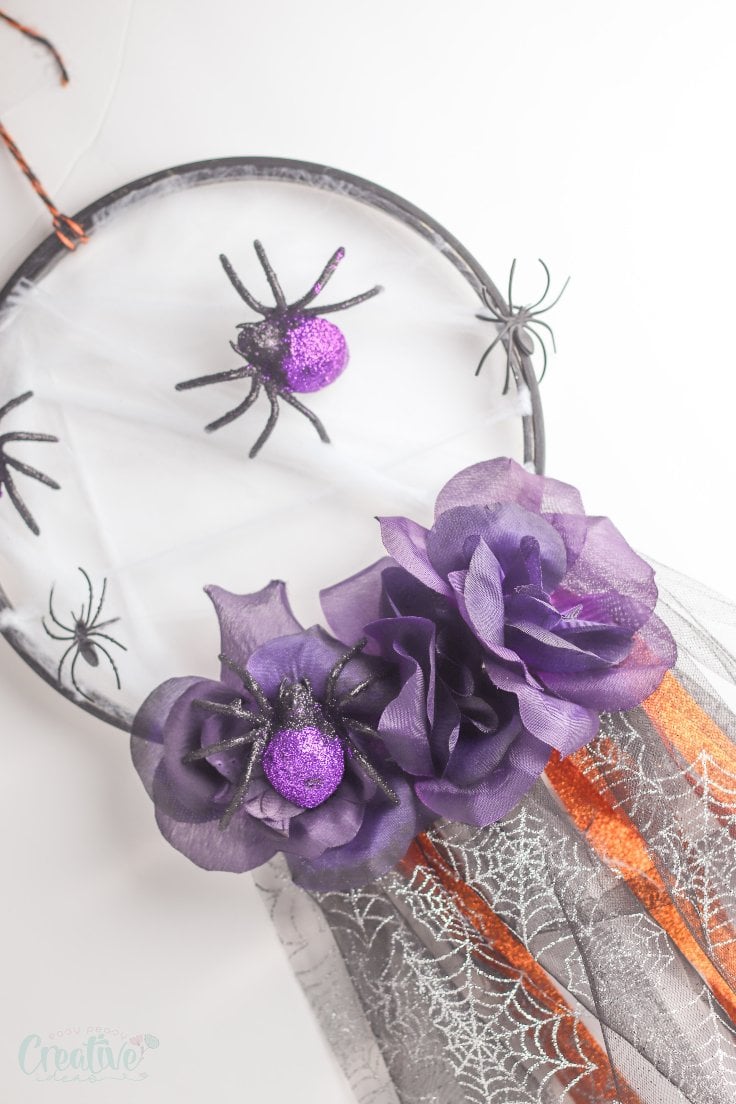
This pretty spider dream catcher is a unique take on a classic piece of wall décor! And in addition to being beautiful, this lovely spider web dream catcher is so easy to make!
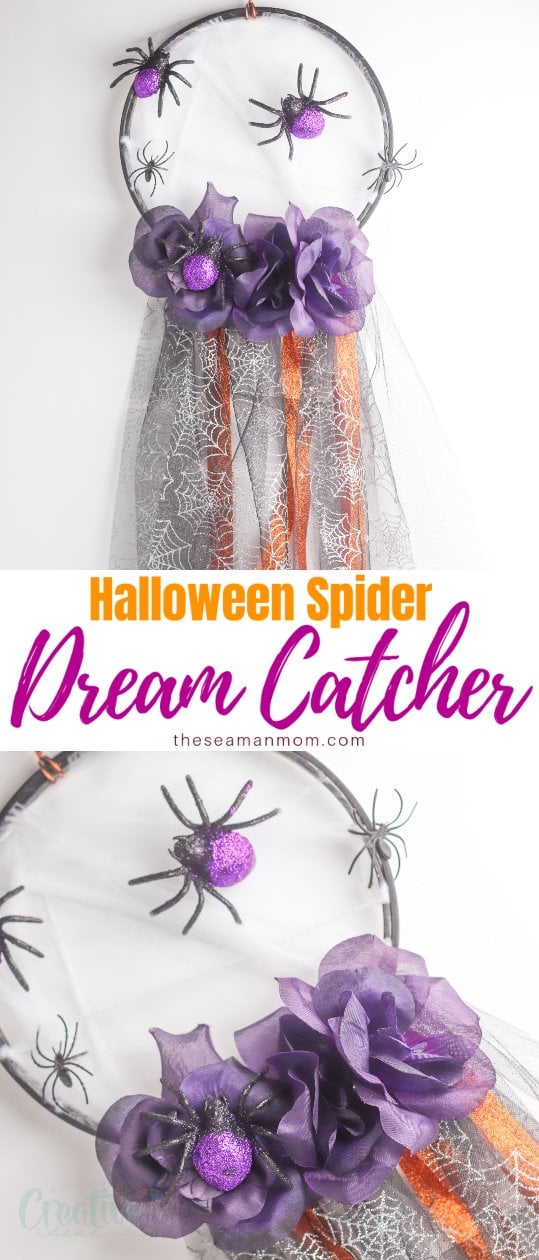
Halloween dream catcher

Dream catchers are such a fun way to decorate! And while these beautiful decorations are perfect for any season, putting a fun holiday spin on the classic design is a great way to add a cute seasonal decoration to your home. This spider dream catcher is such a great Halloween decoration!
On top of being a simple Halloween craft, this fun handmade dream catcher is also cheap! With the exception of the embroidery hoop, all the supplies used in this craft were purchased at the Dollar Tree store! I’ll get into more details below but basically what you need to make this spider dream catcher is an embroidery hoop, paint, spider web, tulle, ribbon, Halloween flowers, spiders, and hot glue gun.
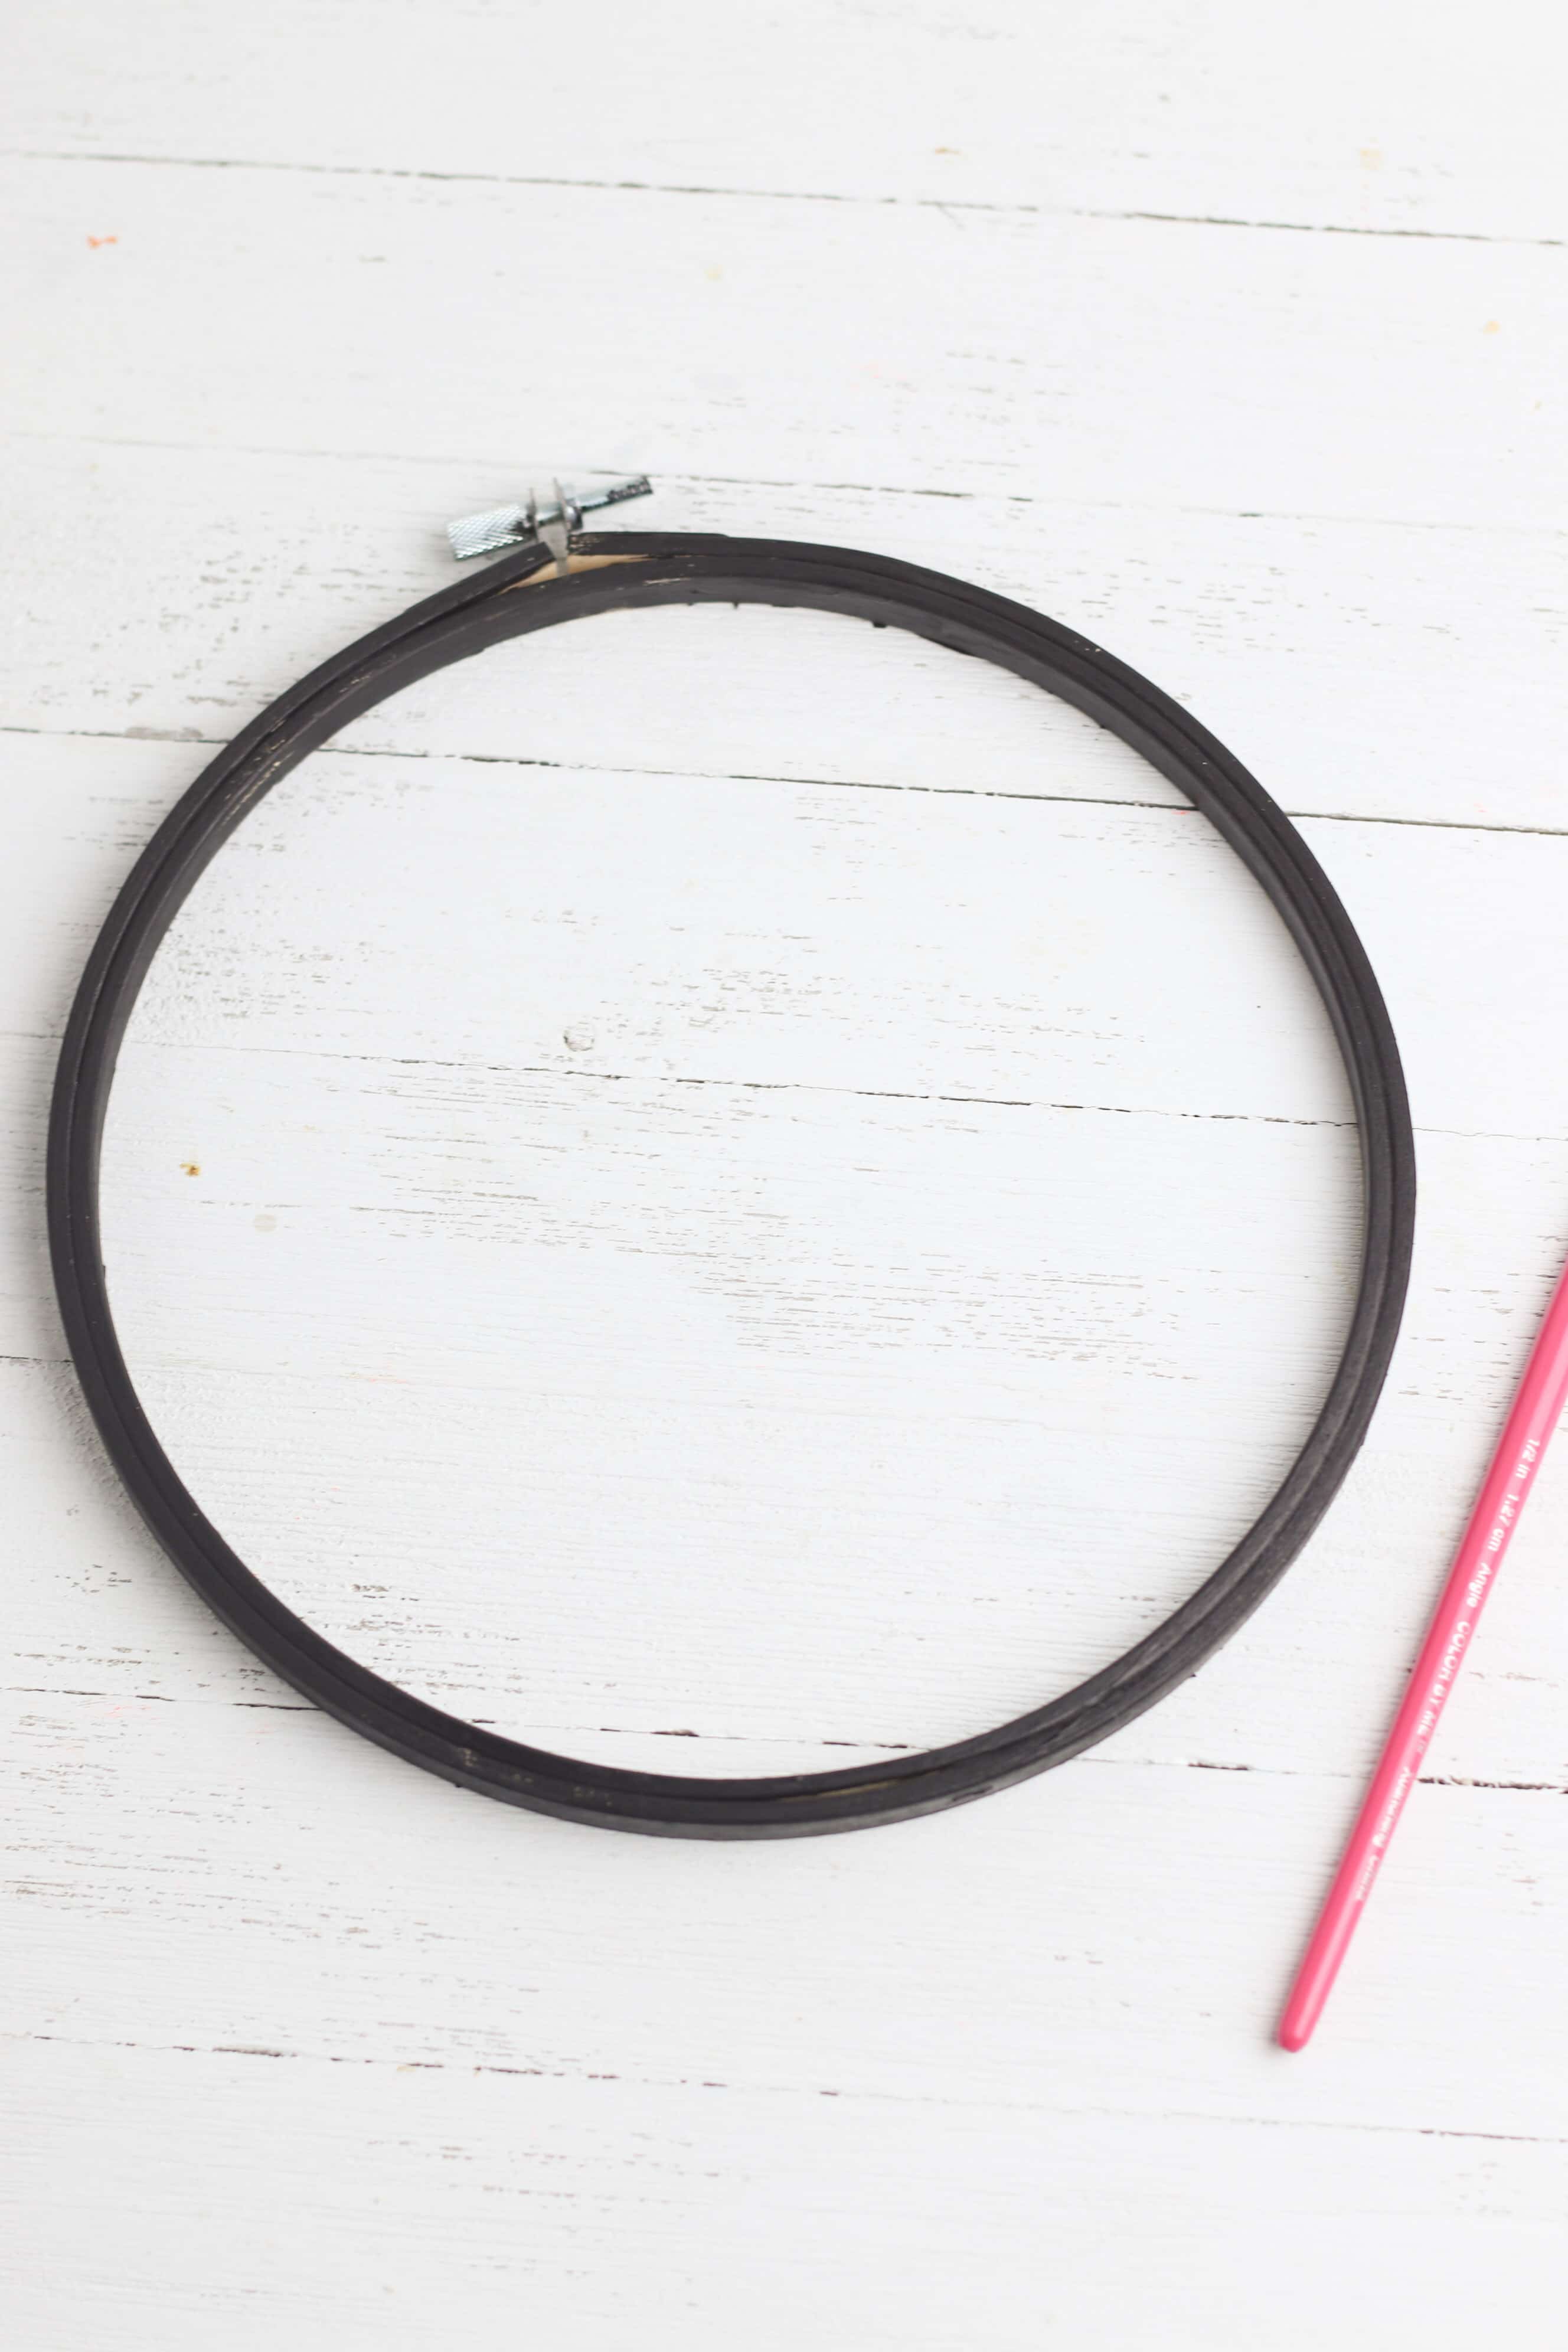
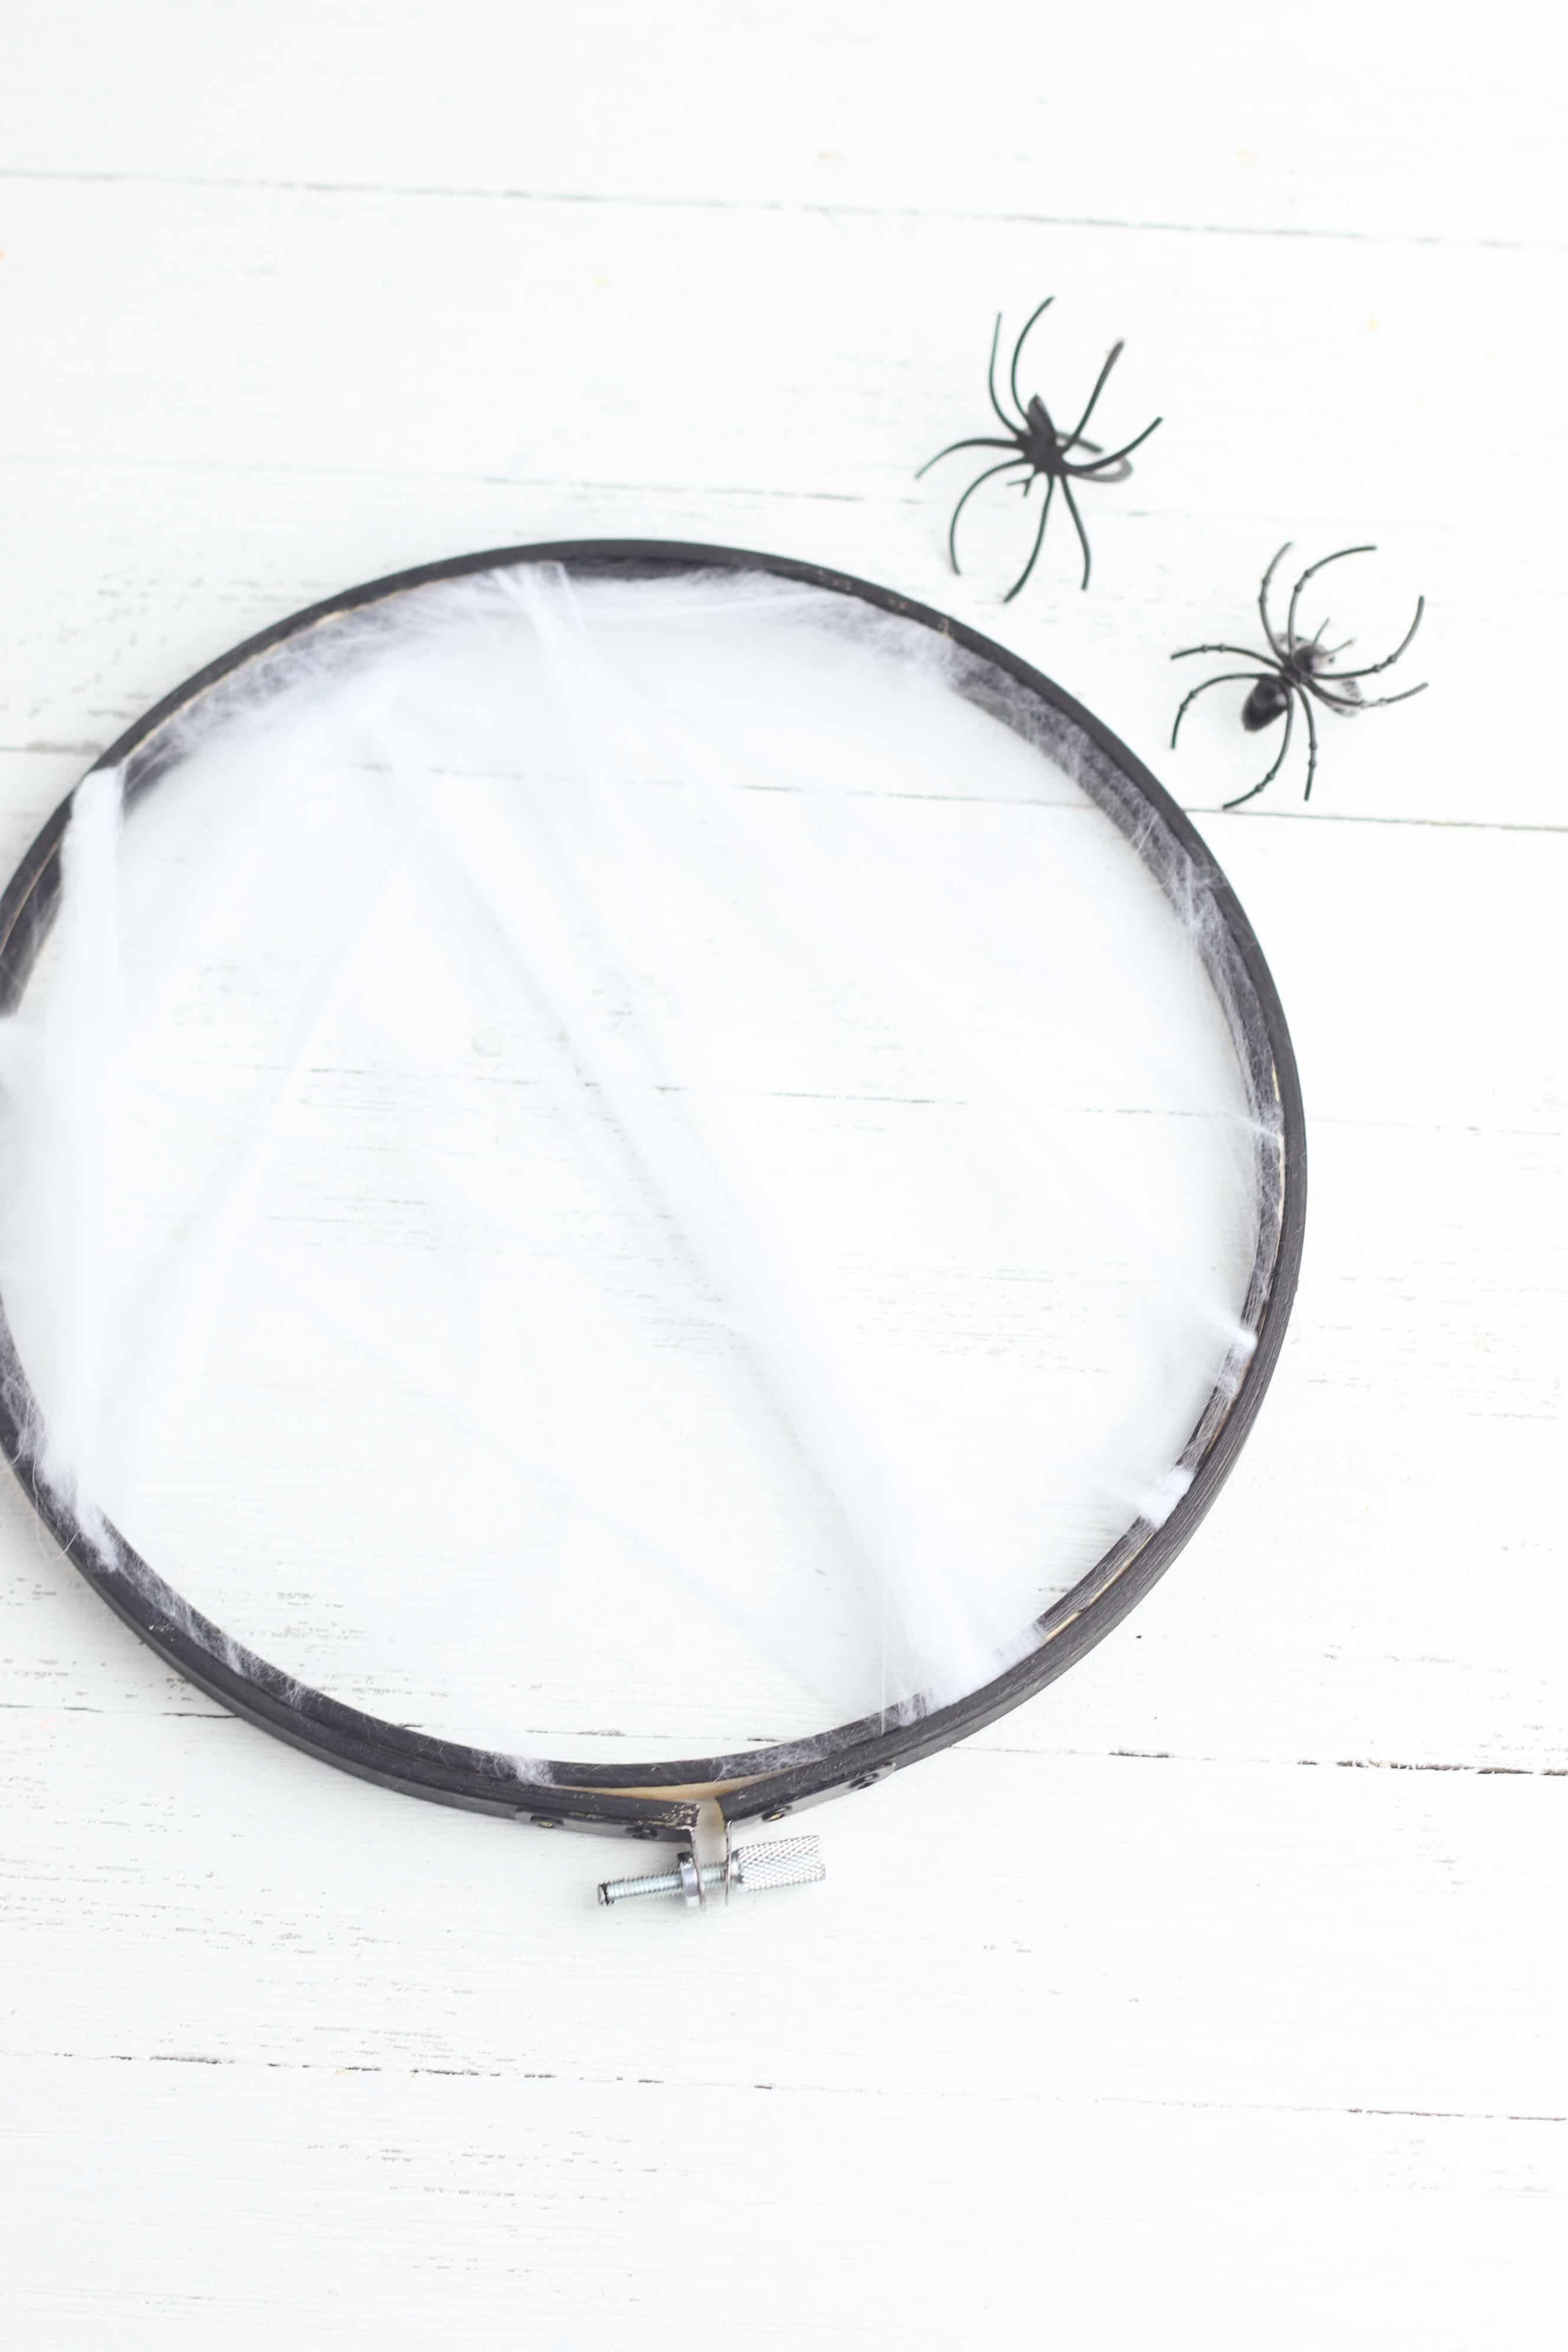
I used a plain wooden embroidery hoop for this craft, so the first step to making my spider dream catcher was to paint the embroidery hoop black. After the paint has dried completely, open the embroidery hoop and spread the faux spider web across the bottom hoop. Just stretch the spider web out and wrap it around the hoop until you’re happy with the placement of the web. Then, secure the web in place by putting the embroidery hoop back together and tightening the spring.
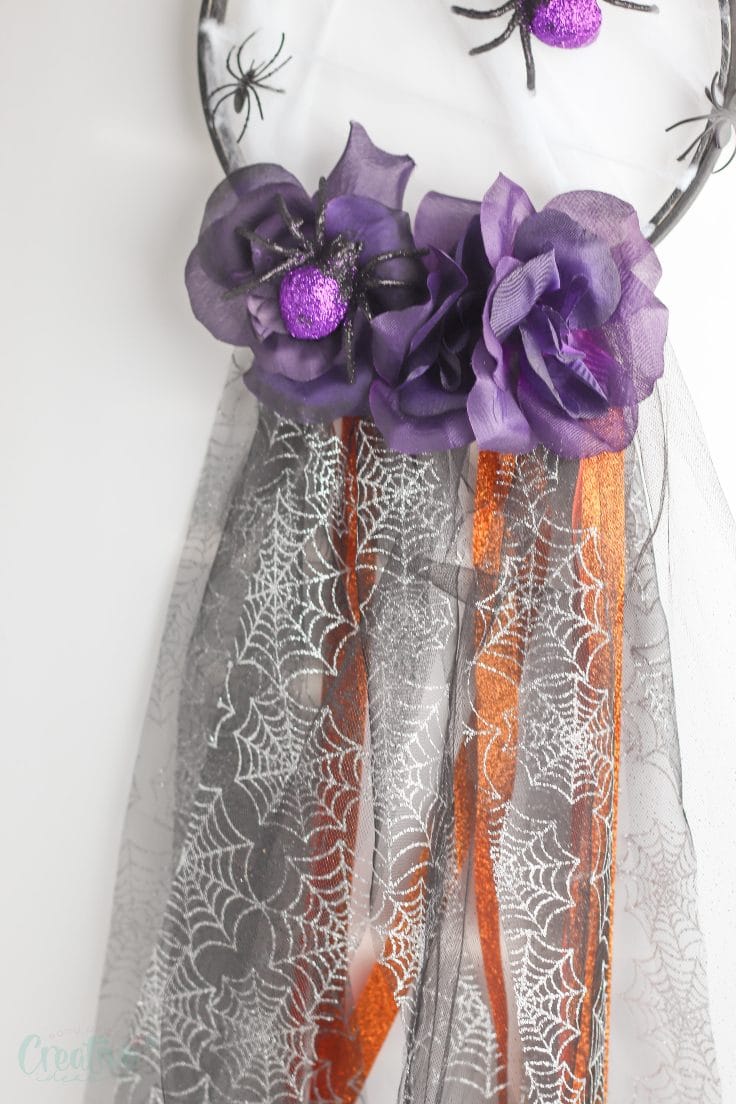
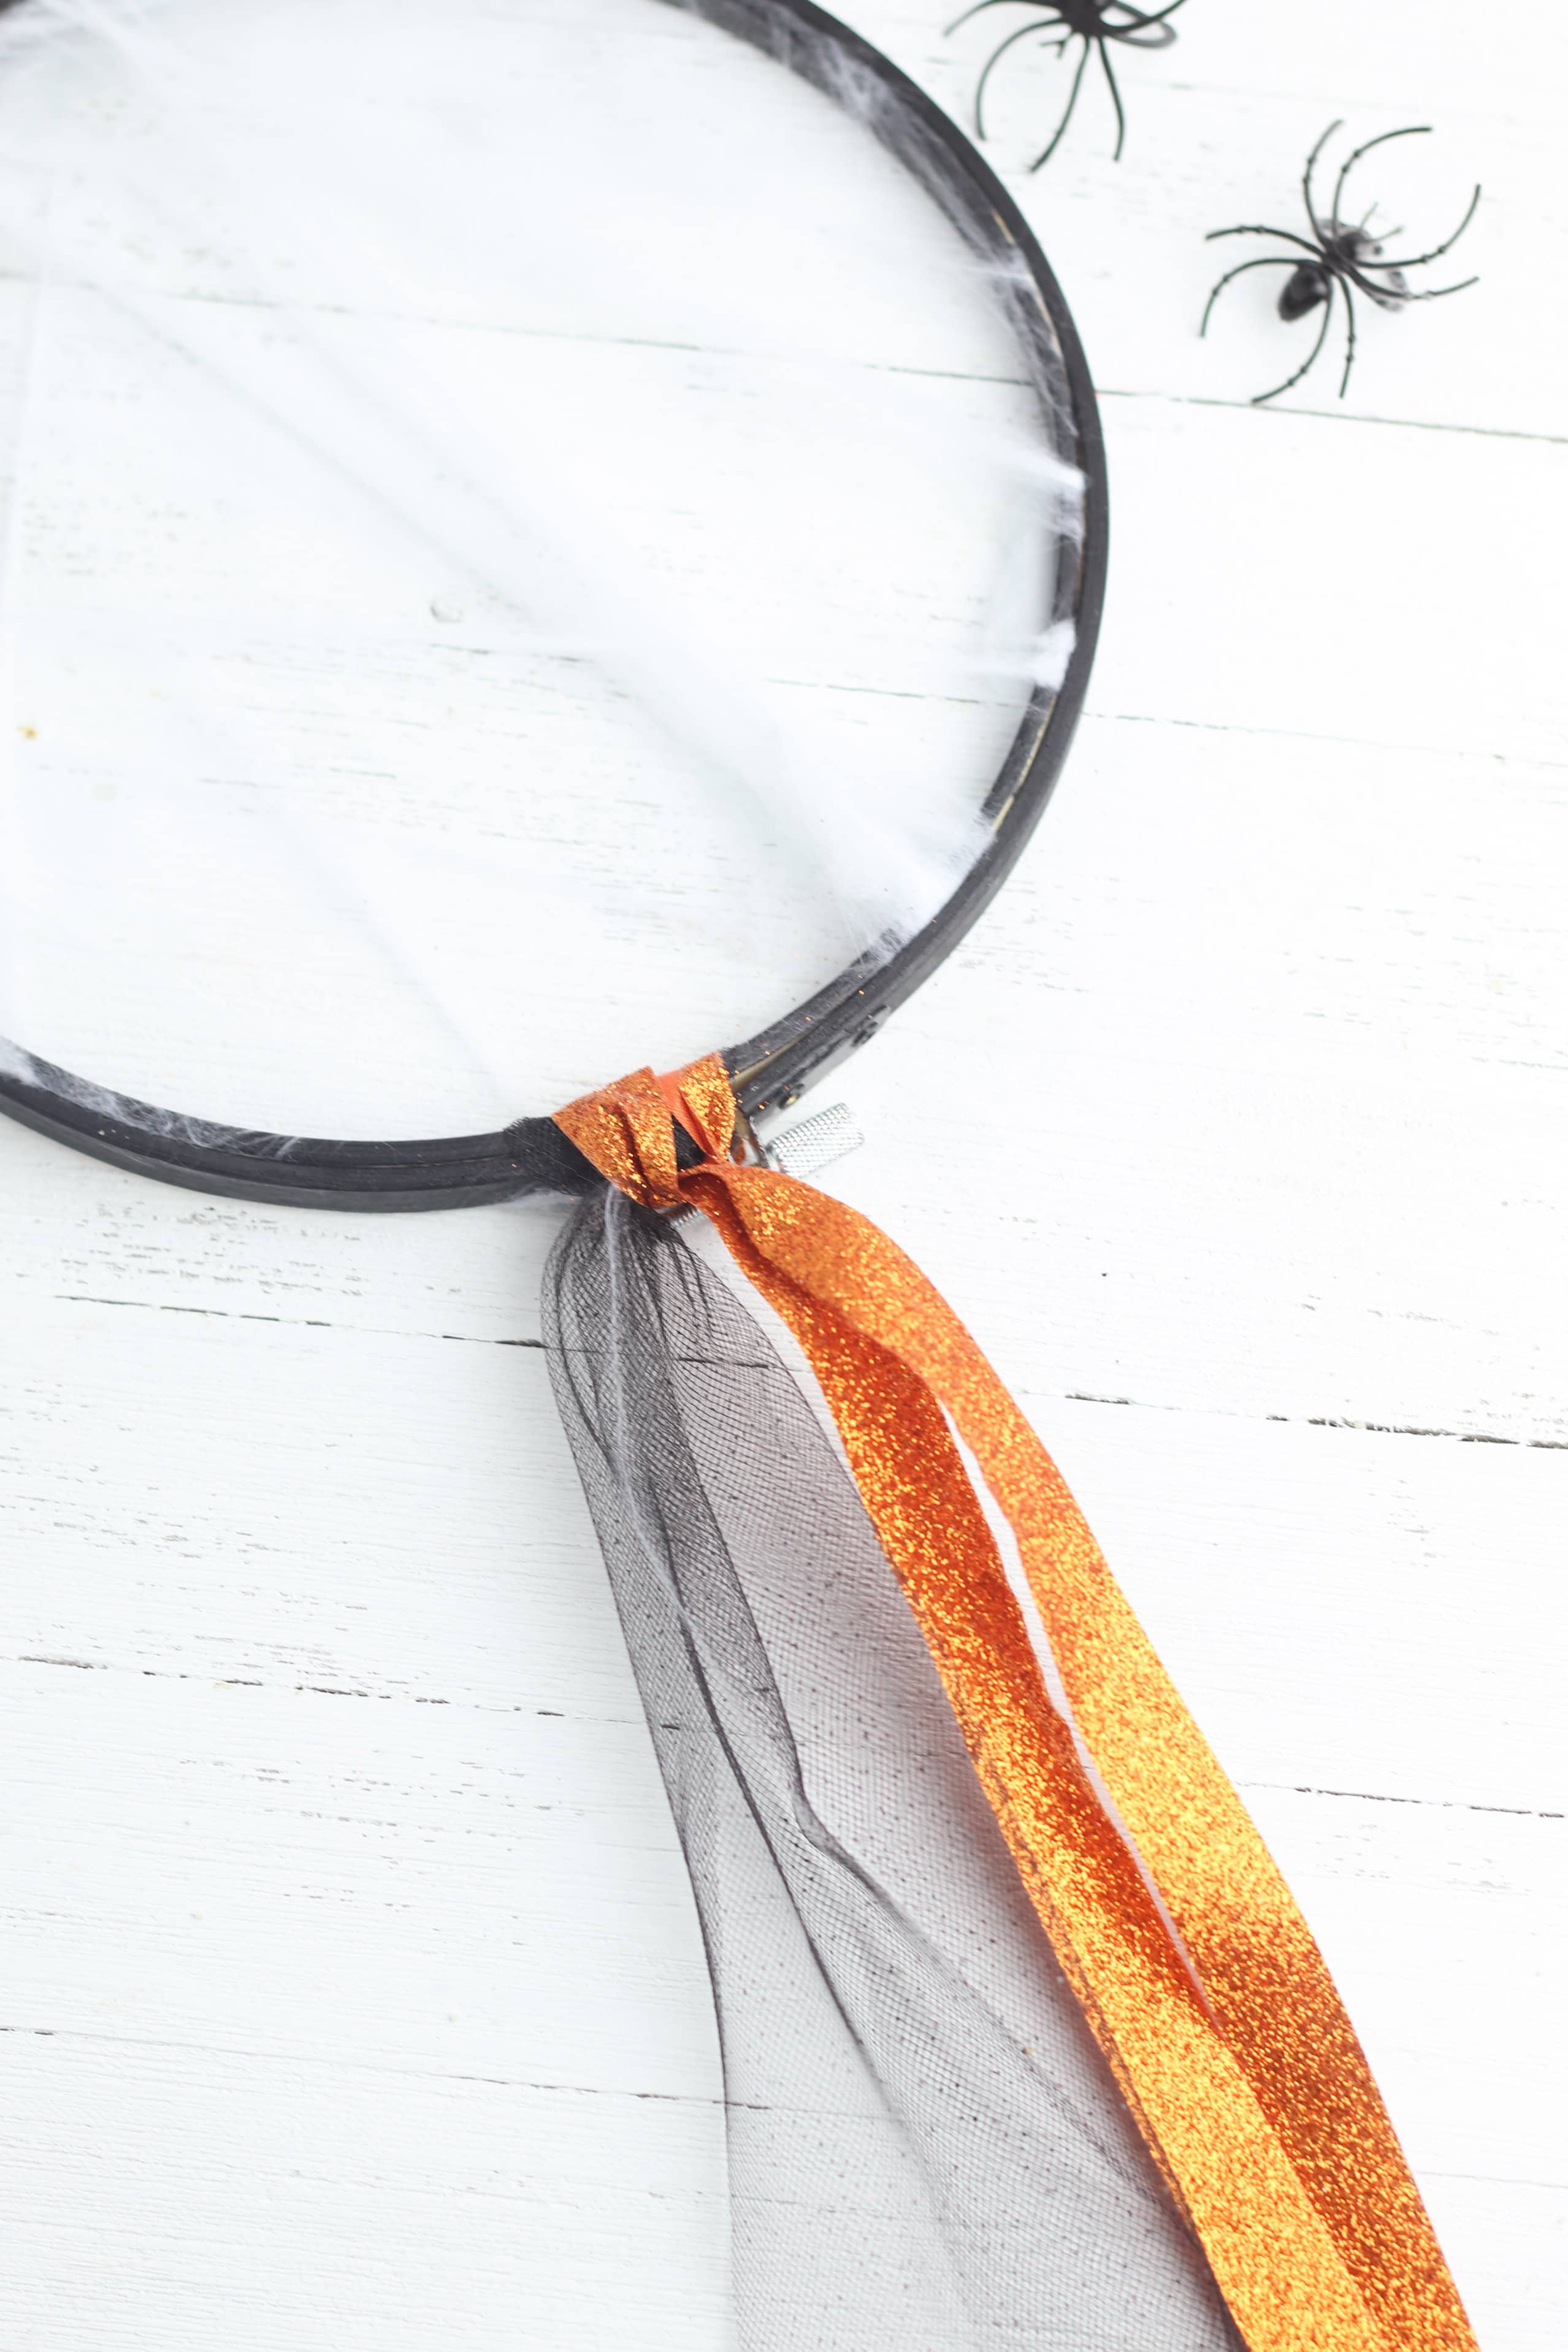
After you have your spider web set, add decorations to the bottom of the spider web dream catcher using tulle and ribbon. First, cut the black tulle, spiderweb tulle, and ribbon into long strands. Then, cut each piece of tulle in half lengthwise to make the strips thinner.
Fold each piece of ribbon or tulle in half to create a loop on the top.
More Halloween ideas you will love:
- Halloween witch wreath
- Stained glass craft
- Boo printable sign home decor
- Toilet paper roll bats craft for kids
- DIY toilet paper spiders
Place the loop inside the embroidery hoop and pull the ends over the bottom of the embroidery hoop and through the loop to secure the ribbon in place. Continue adding ribbon and tulle to the bottom of the hoop until the desired fullness is reached.
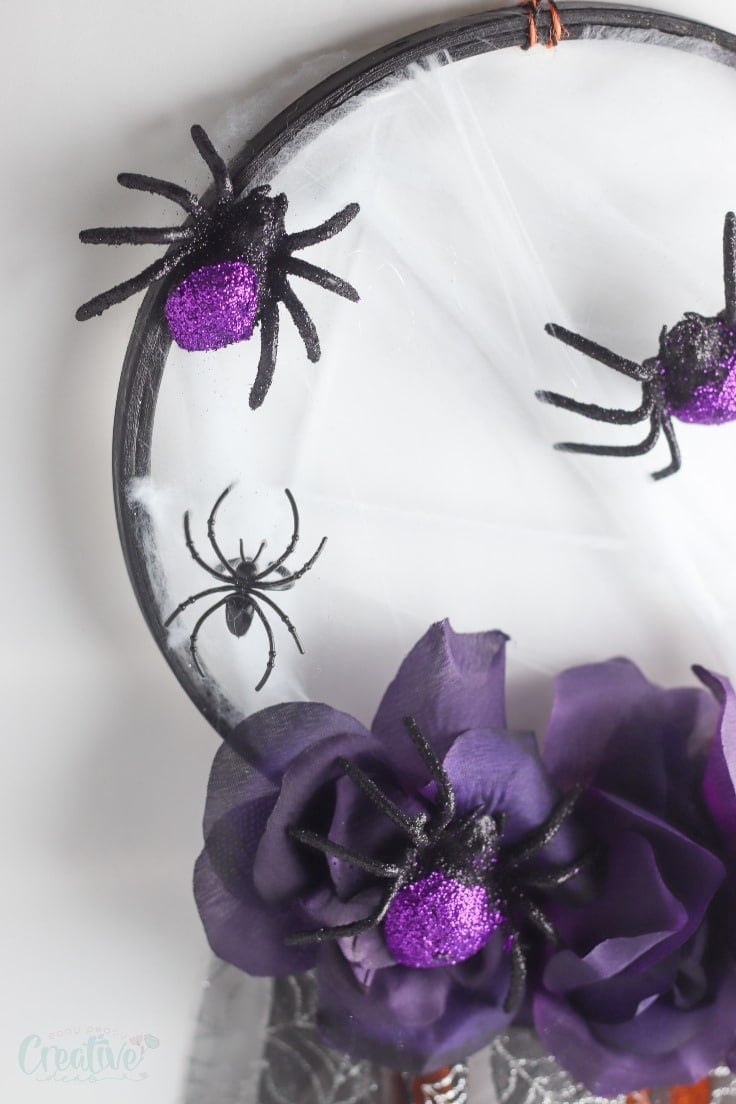
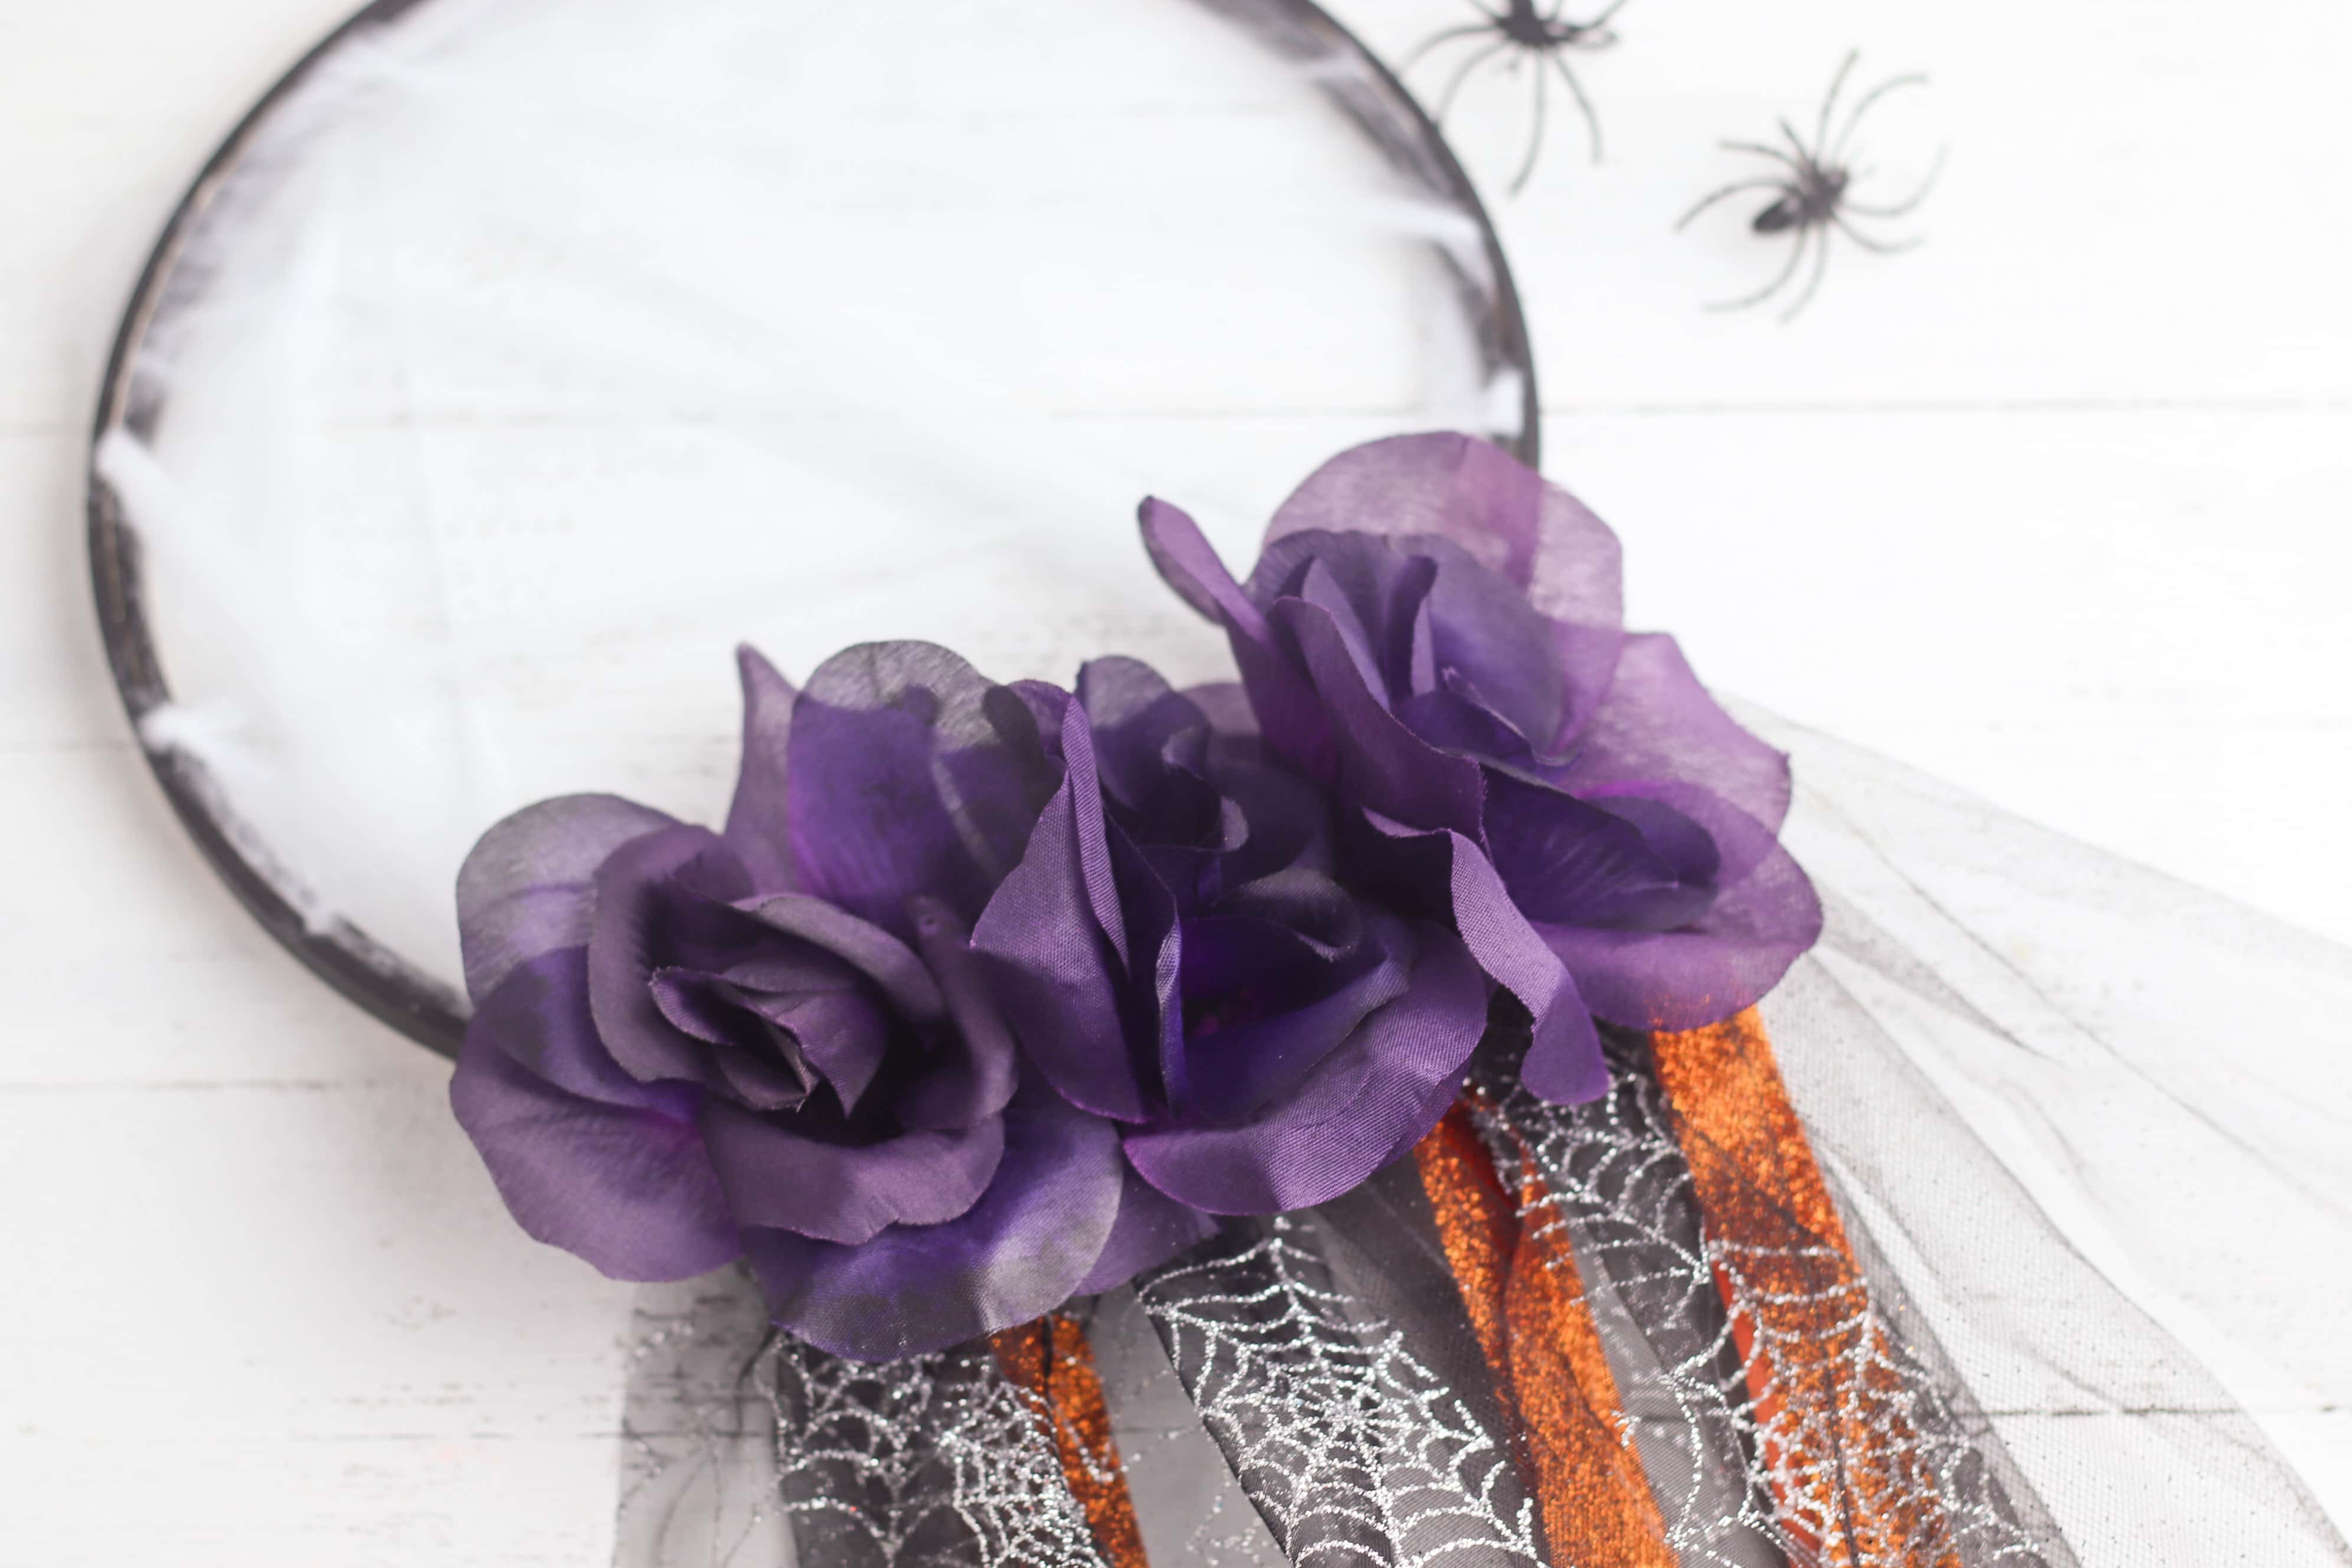
Add a little bit of glamour to your dream catcher (and cover up your ribbon loops) by adding some Halloween flowers to the top of the ribbons. Remove the stems from the Halloween flowers using sharp scissors and attach the flowers to the top of the ribbon with a hot glue gun.
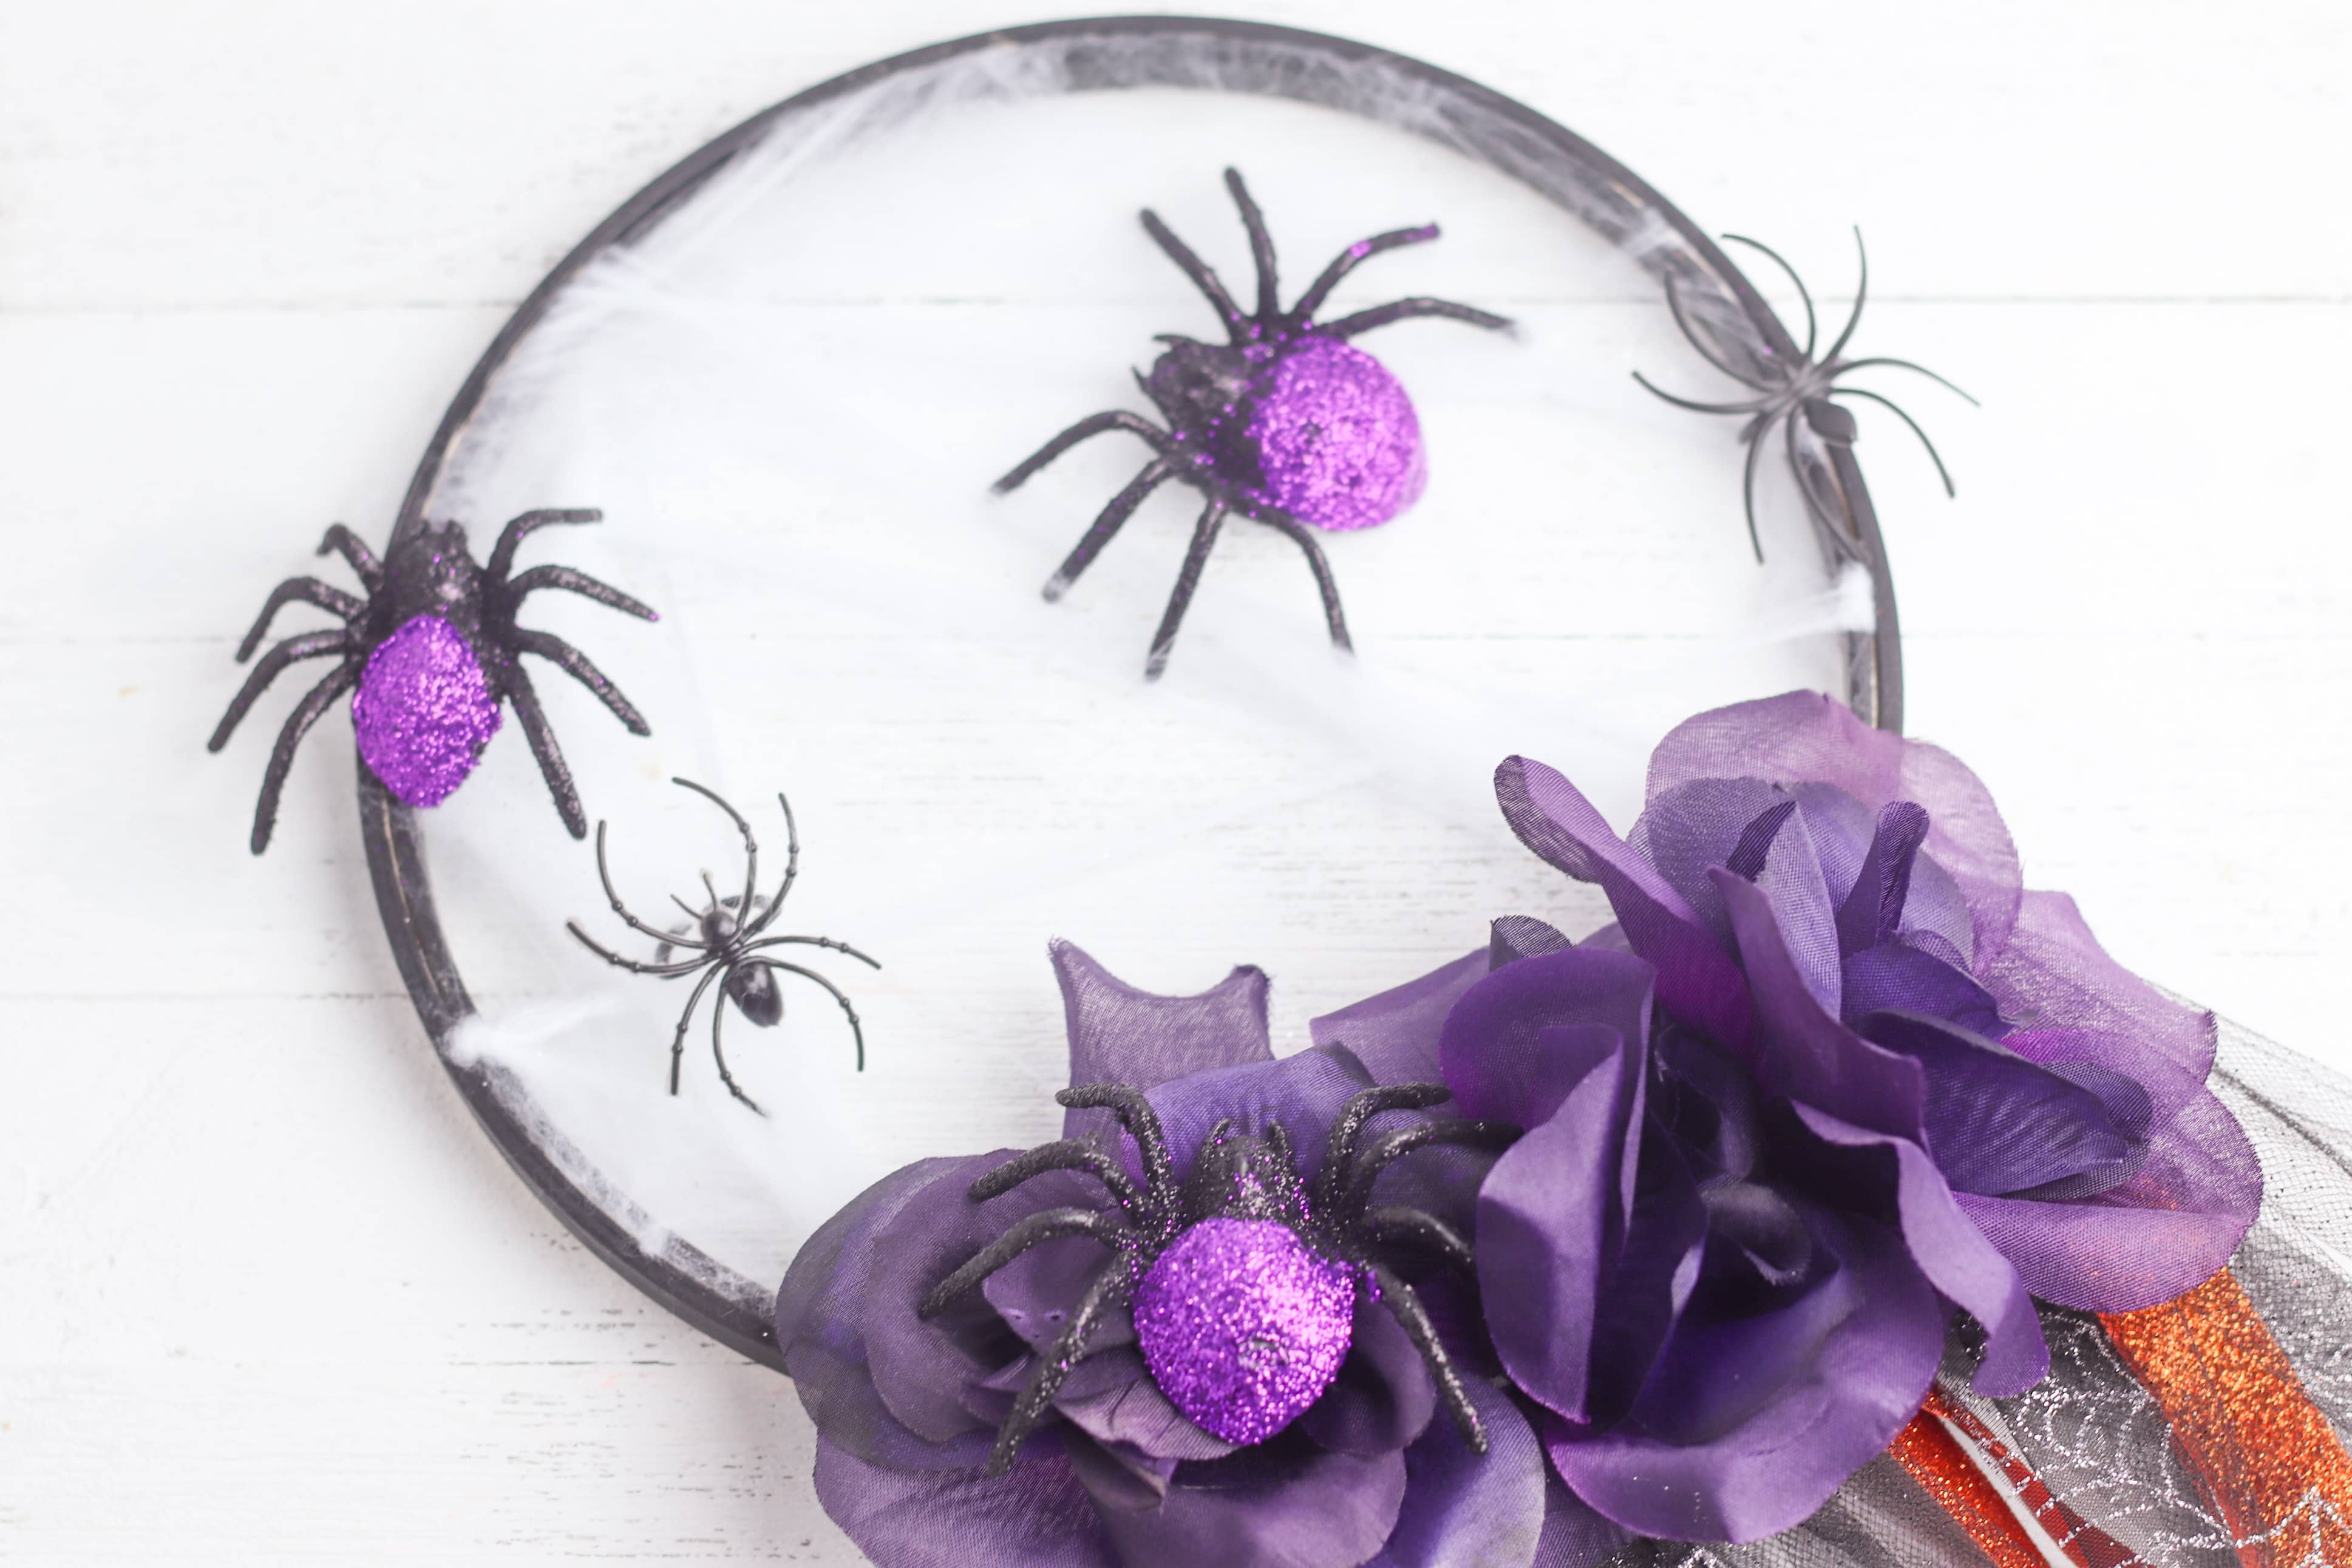
A spider dream catcher wouldn’t be complete without spiders, right? Attach a few glitter spiders and black spiders to the dream catcher by adding glue to the back of the spiders and placing them along the edge of the embroidery hoop, on top of the flowers, and in the center of the spider web.
Finish by attaching a ribbon loop to the top of the embroidery hoop to hang the spider web dream catcher. Then, find a spooky location to hang your dream catcher and enjoy the fruits of your labor all Halloween!
Sounds easy, right? Then what are you waiting for, go ahead and make your own dream catcher! Below are the detailed supplies and the simplified step by step!
Spider dream catcher
Materials:
- Embroidery hoop
- Black paint
- Faux spider web
- Black tulle
- Black spiderweb tulle
- Orange glitter ribbon
- Purple Halloween flowers
- Glitter spiders
- Plastic spiders
- Hot glue gun
Note: All items used to make this dream catcher (except the embroidery hoop) were purchased at Dollar Tree.
Directions:
- Paint the embroidery hoop black and allow to dry completely.
- Open the embroidery hoop and spread the faux spider web across the bottom hoop. Secure the web in place by putting the embroidery hoop back together and tightening the spring.
- Cut the black tulle, spiderweb tulle, and ribbon into long strands. Cut each piece of tulle in half lengthwise to make the strips thinner.
- Fold each piece of ribbon or tulle in half to create a loop on the top. Place the loop inside the embroidery hoop and pull the ends over the bottom of the embroidery hoop and through the loop to secure the ribbon in place. Continue adding ribbon and tulle to the bottom of the hoop until the desired fullness is reached.
- Remove the stems from the Halloween flowers using sharp scissors. Using a hot glue gun, attach the flowers to the top of the ribbon.
- Add glue to the back of the glitter spiders and plastic spiders and place them along the edge of the embroidery hoop, on top of the flowers, and in the center of the spider web.
- Attach a ribbon to the top of the embroidery hoop to hang the spider web dream catcher.
Pin to save for later
Article may contain Amazon & affiliate links. As an Amazon Associate I earn from qualifying purchases at no additional cost to you.
ABOUT PETRO
Hi, I’m Petro, author and founder of Easy Peasy Creative Ideas. Sewist, crafter, avid DIY-er, foodie, photographer, homemaker and mommy to one. I’m an expert at coming up with quick, clever sewing tips, recycling crafts and simple, easy recipes! You can find my ideas featured in reputable publications such as Country Living, Good House Keeping, Yahoo News, WikiHow, Shutterfly, Parade, Brit & Co and more. Thanks for stopping by and hope you’ll stay for a while, get to know me better and come back another time. Stick around for real fun projects! Read more…