Halloween Bat craft For Kids
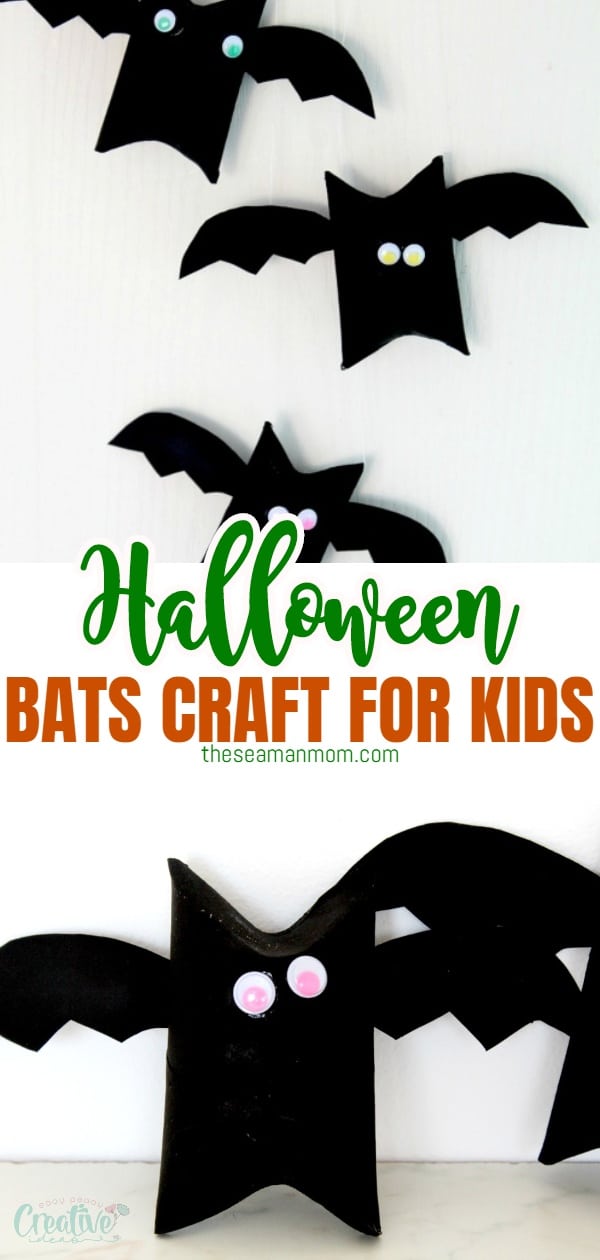
If you’re looking for inspiration for an easy and quick Halloween bat craft, check out these toilet paper bats! These are not only a fun Halloween art project for kids but are also cheap and frugal and only take minutes to make!
Halloween bat craft
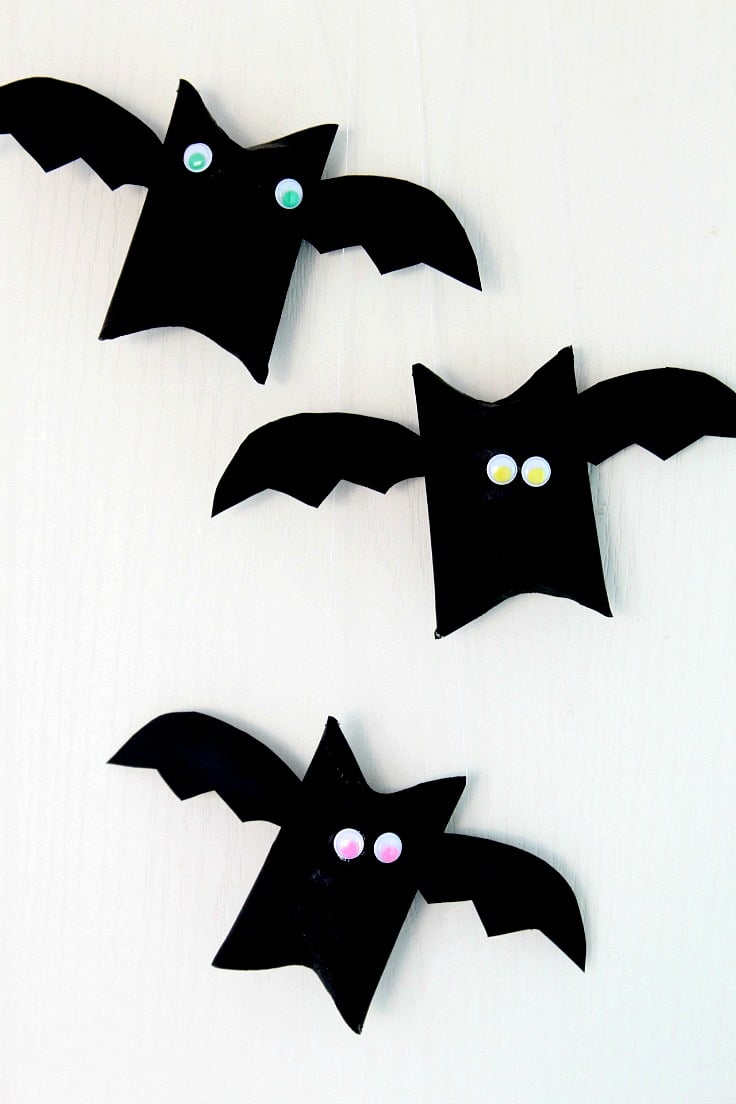
Well, I have a confession to make: I might have developed a new addiction! Judging by the amount of empty toilet paper rolls in my craft supplies, I’m a sucker for paper rolls crafts (check these out if you don’t believe me!). And I’m afraid there’s no cure for my condition (lol). But in my defense, they’re really super fun, easy and enjoyable and this amazing Halloween bat craft is the perfect example!
Need more Halloween ideas?
- Hanging bats with 3 templates
- Wire spider web
- Halloween candy jar
- Mummy treat jars
- Fluffy Halloween ghosts
- DIY paper spiders
- Witch hat printable wall art
- Witch wreath with legs
- Monster Halloween paper bags
This Halloween bat craft is super speedy, it literally takes minutes to make once the paint has dried and is a great opportunity to bond with kids over a fun project. Perfect Halloween craft for kids, these Halloween bat crafts are a wonderful recycling idea for all those paper tubes you would normally toss in your trash bin. So if you’ve been looking for an easy bat craft, this is probably the easiest you could get!
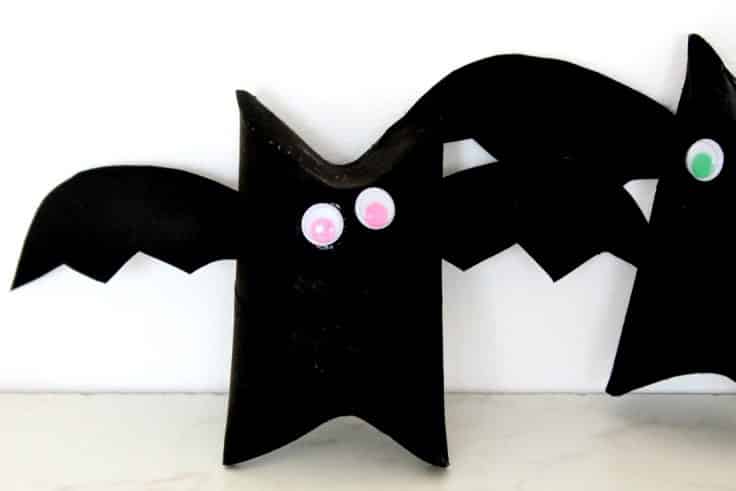
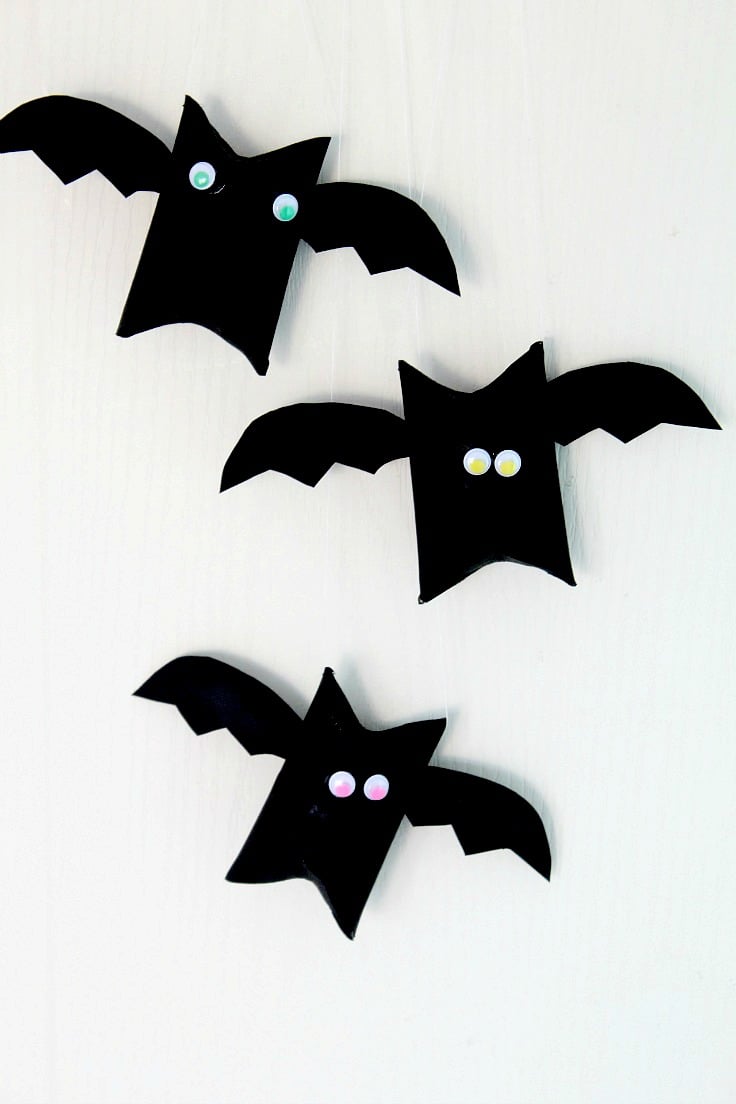
These toilet paper roll bats would look good hanging on a white wall or from the ceiling but are also a nice decor idea for your kids’ desk. It could also make a nice mini gift box or a treat holder idea, don’t you think? With Halloween right around the corner, this bat craft will be a great way to get the kids in a spooky mood! These bats are too cute, fun and easy to pass up!
More paper roll posts you might like:
I think these little bats look rather cute than spooky or scary so if adorable is not your cup of tea you may not find this project as enjoyable as I did. In fact, I loved these so much I found it hard to part ways with them so I had to make another batch for my daughter, I’m totally keeping these for my room!
Toilet paper roll bats
Materials:
- Empty toilet paper rolls
- Flat black spray paint
- Googly eyes
- Black paper for the wings (if you don’t have black, paint plain white paper in black and use after drying completely)
- Glue
- Thread
- Large sharp hand needle
- Optional for kids – mouth mask, protection goggles, kids’ craft gloves
[amazon-related-products keywords=”product suggestions keywords”]
Directions:
- Take your paper tubes and the paint outdoors and start painting the paper tubes, both on the outside and inside (paint the white paper too if you don’t have black, on both sides). If you’re making this project with kids, I would have them wear a mask to protect them from the fumes, protection goggles and gloves. Or you could paint yourself. You may want to apply a few coats to achieve the desired color. Leave to completely dry, at least for one hour, after the last coat.
- If you find it hard to wait for the paint to dry, simply wrap black paper around your paper tubes, sticking it in place with tape and proceed to the next step.
- Draw and cut out some bat wings with black paper.
- Fold the ends in on the toilet paper roll as indicated in this tutorial.
- Glue the wings to the paper tubes, on the back.
- Glue on the googly eyes.
- Attach some thread to the bats’ “ears” using a sharp needle. Make a knot at the end of the thread then start threading from the inside of one ear. Go through the other ear from the outside towards the inside and make a knot. As a rule of thumb, the knots should be on the inside of both ears.
- Hang your cute bats on a wall or the ceiling or use them to decorate your kids’ desk.
Pin to save for later
Print the craft card
Halloween bat craft
Materials
- Empty toilet paper rolls
- Flat black spray paint
- Googly eyes
- Black paper for the wings
Tools
- glue
- thread
- Large sharp hand needle
- Optional for kids - mouth mask, protection goggles, kids' craft gloves
Instructions
- Paint the paper tubes, outside and inside. Dry completely. If you find it hard to wait for the paint to dry, simply wrap black paper around your paper tubes, sticking it in place with tape and proceed to the next step.
- Draw and cut out some bat wings with black paper.
- Fold the ends in on the toilet paper roll.
- Glue the wings to the paper tubes, to the back.
- Glue on the googly eyes.
- Attach some thread to the bats' "ears" using a sharp needle. Make a knot at the end of the thread then start threading from the inside of one ear. Go through the other ear from the outside towards the inside and make a knot. As a rule of thumb, the knots should be on the inside of both ears.
- Hang your cute bats on a wall or the ceiling or use them to decorate your kids' desk.
Most popular craft:
Article may contain Amazon & affiliate links. As an Amazon Associate I earn from qualifying purchases at no additional cost to you.


How adorable and so easy! Thanks for linking up to Merry Monday! Pinned! Have a great week!
Kim
So cute and easy. I love how that the only thing I really need to buy are the squiggly eyes. Thanks for the tutorial!
Thanks so much, Vickie. We had so much fun making these, my daughter wants us to make them every year :)