Dome Cake Recipe With Banana and Whipped Cream
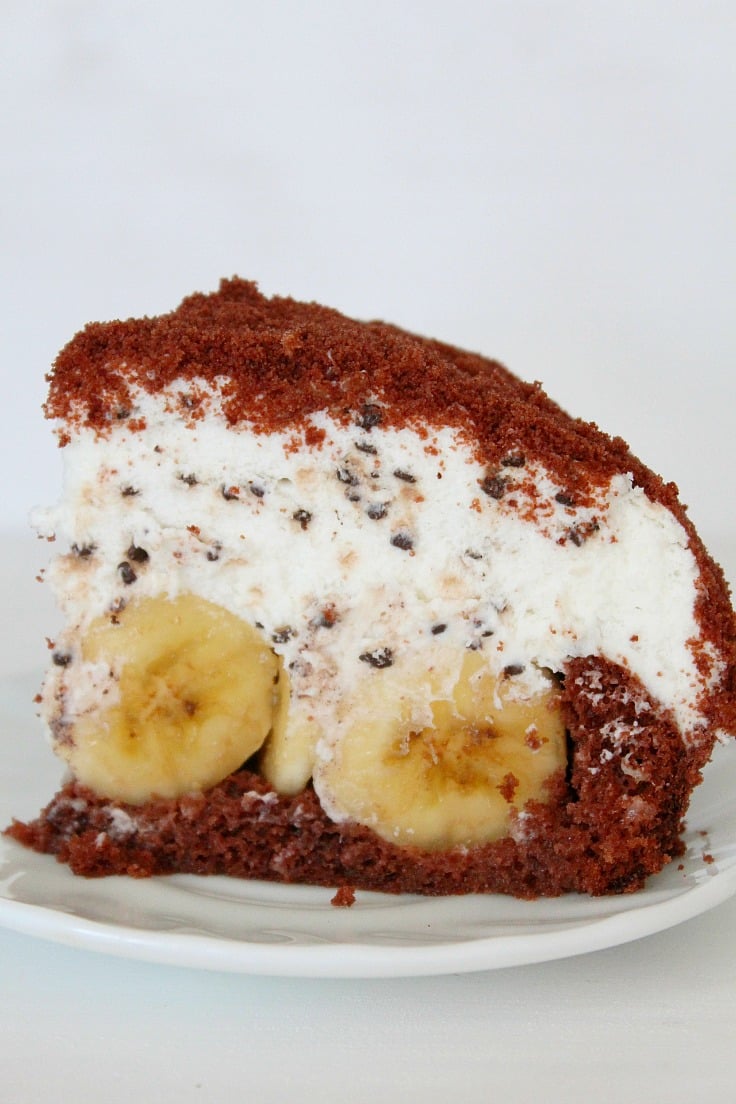
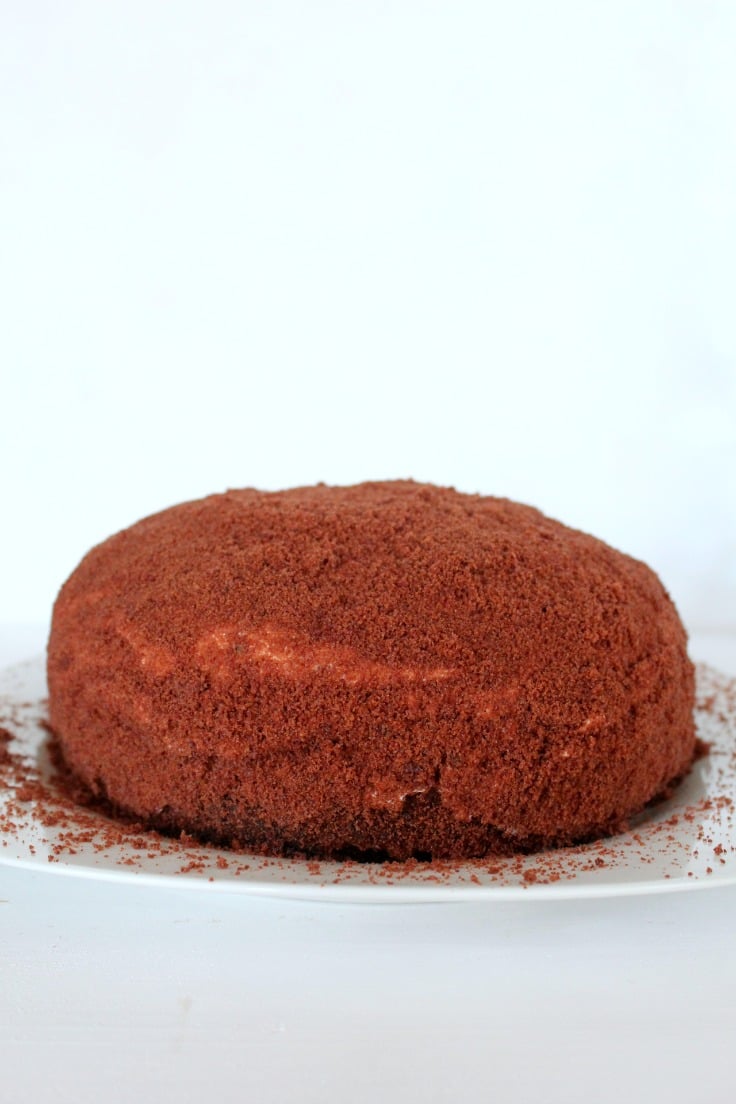
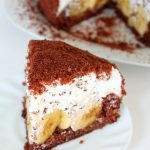
This dome cake recipe makes a super easy and simple, delicious and moist dome shaped cake with banana and whipped cream! The fun dome shape adds a lot of interest and makes this dome cake a special dessert, suitable for events, celebrations or holidays!
Dome Cake
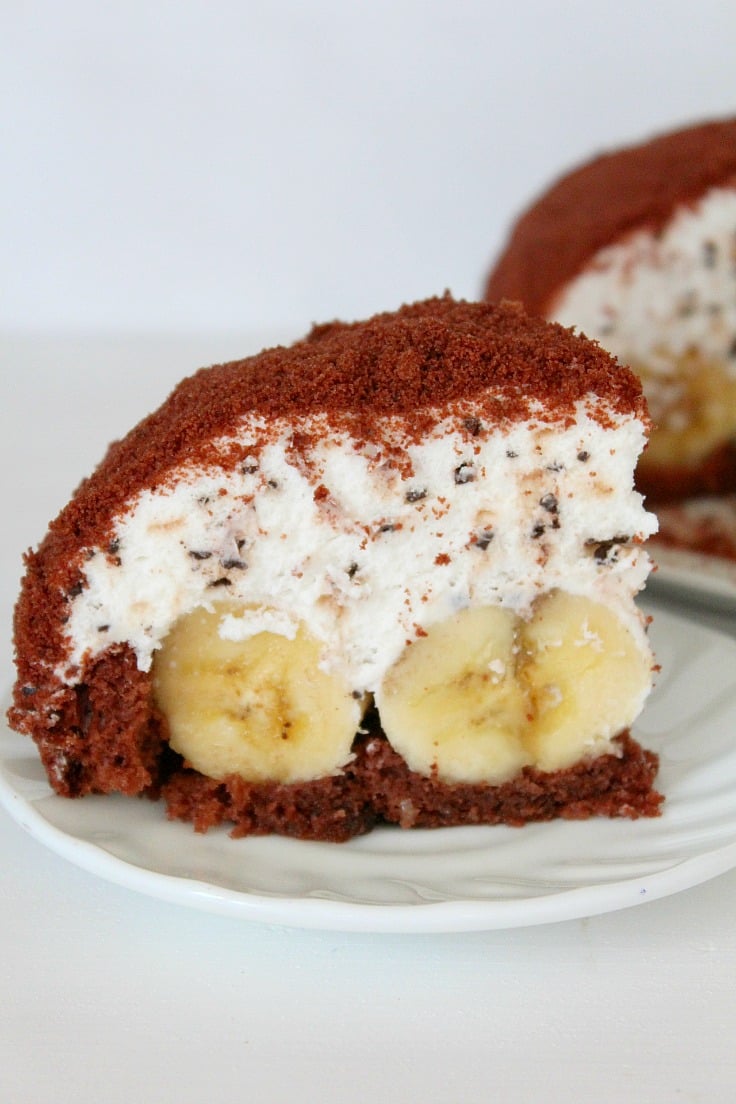
As you may know by now, I do like to make desserts! I may not be the best cook but I think I’ve got a thing for baking (which unfortunately doesn’t always translate well into my photos, ugh!). This fun banana dome cake recipe was born out of this love (and also my need for making Ellie eat bananas lol)
Need more cake ideas?
- Pumpkin cake with lemon cream cheese frosting
- Classic Panettone cake
- Plum cake with meringue
- Vanilla tiramisu cake
- Chocolate tiramisu cake
Banana and Whipped Cream dome cake recipe
Ingredients
- For the cake
- 3 eggs
- 5 oz = 150 g cake flour
- 4 oz = 125 g caster sugar
- 2 teaspoons baking powder
- 1 tablespoon cocoa powder
- 6 medium large bananas
- 2 sachets Dr Oetker vanilla sugar
- For the whipped cream:
- 2 tablespoons sugar
- 1 cup heavy whipping cream
- 1 cup chocolate chips
Instructions
- For the cake:
- Heat oven to 375 F = 190 C
- Line a 9" = 24 cm cake pan with a removable bottom with baking paper.
- Sift flour.
- In a large bowl, whisk the flour with baking powder and cocoa powder.
- Separate the egg whites and yolks from 3 eggs.
- Beat egg whites with a whisk until you get a stiff foam.
- Incorporate the sugar and vanilla sugar gradually and continue whisking until you get a dense and glossy meringue like mixture.
- Incorporate the yolks, one by one, mixing gently with a spatula.
- Incorporate all flour cocoa mixture, gradually. You should get an airy dough.
- Pour it into the cake pan, level with a knife and bake for 20-25 minutes or until a toothpick comes out clean.
- Remove from the oven and allow to completely cook into the cake pan.
- For whipped cream:
- I prefer the hand method but it takes a bit of an arm work so if you're not a fan, use a hand mixer (not a stand mixer, it doesn't whip through the bottom).
- Place the sugar into the mixing bowl and add the whipping cream.
- Whisk until the cream reaches stiff peaks.
- Gently stir in the chocolate chips
- Store any unused portion in an airtight container for up to 10 hours. When ready to use, rewhisk for a few seconds.
- To assembly the cake:
- When the cake has cooled completely, cut the top so that the base has 2" = 5 cm.
- Using a spoon, make a hollow inside, leaving a 1" = 2.5 cm rim around the edges.
- Set the crumbs aside.
- Crumble into fine crumbs (I used my food processor).
- Peel bananas, cut in slices and place them in the hollow formed inside the cake.
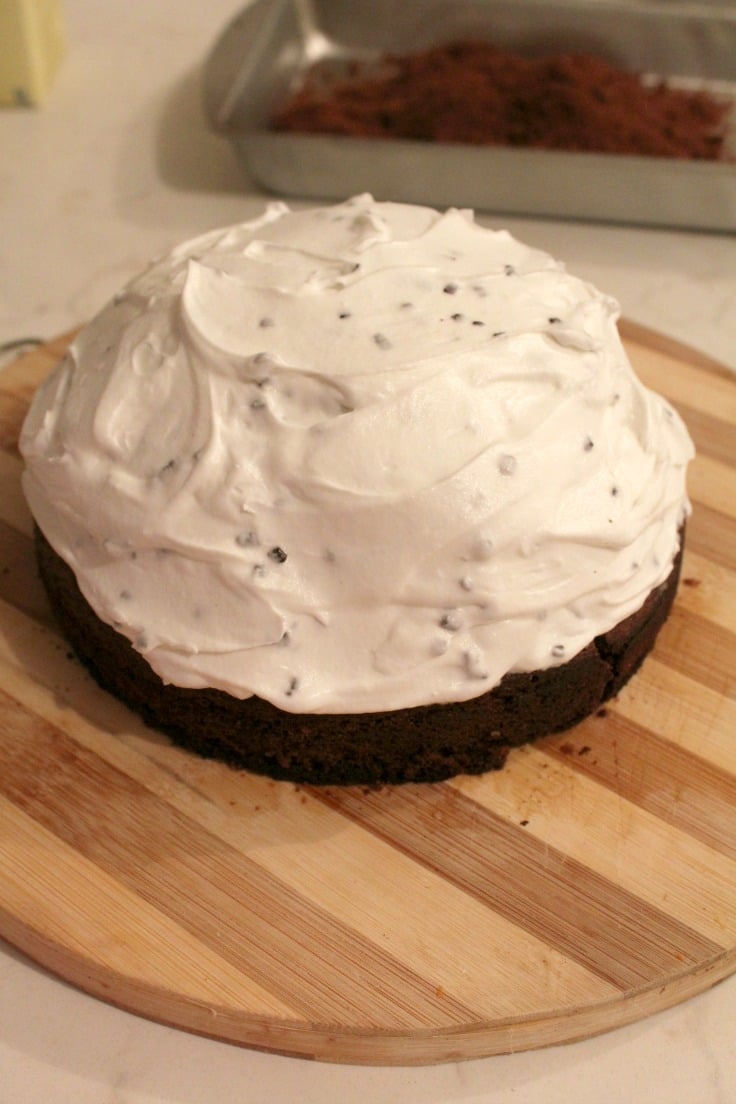
- Place the whipped cream over bananas in a dome shape.
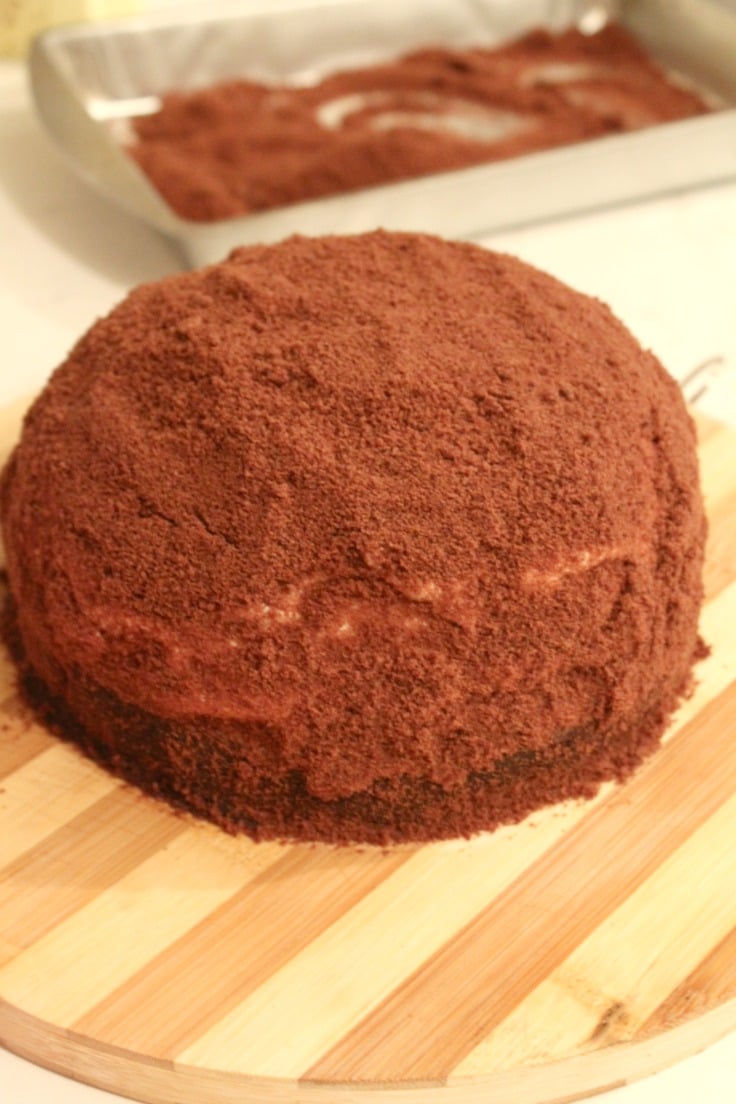
- Sprinkle the fine crumbs all over.
- Transfer to the fridge and chill for at least 2 hours then cut as you would a regular cake.
Pin to save for later
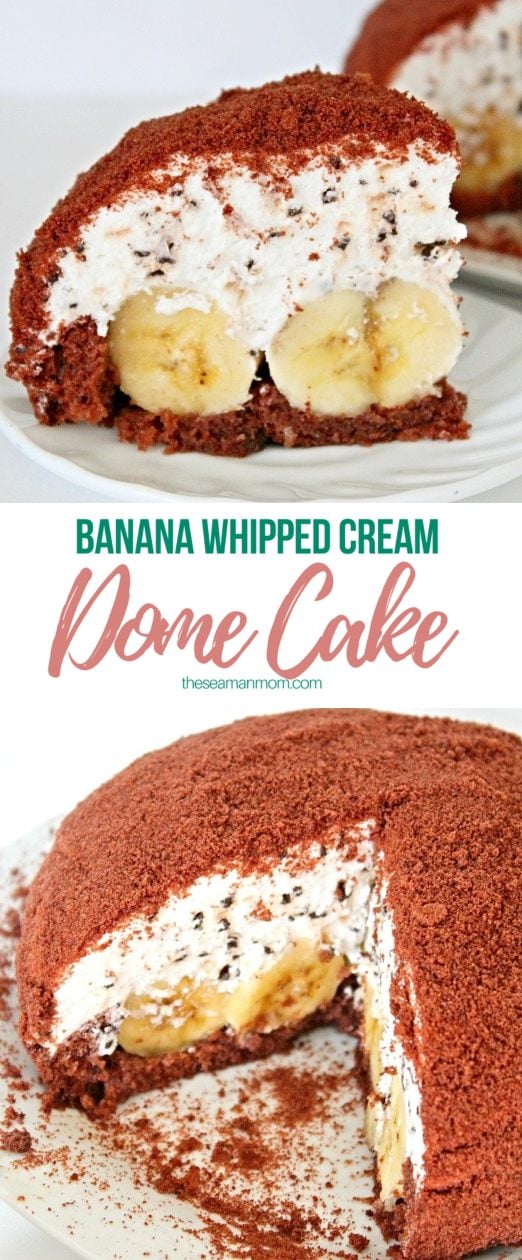
Don’t be fooled by that fancy look on this otherwise super simple dome cake! This banana whipped cream cake is super easy to make, using simple ingredients and doesn’t need complicated skills! This makes it great for people who can’t possibly ace that fancy cake decorating thingy no matter how many classes they take! This lovely cake is a great dessert idea for any celebration as it looks and tastes festive but it takes little to no effort to make!
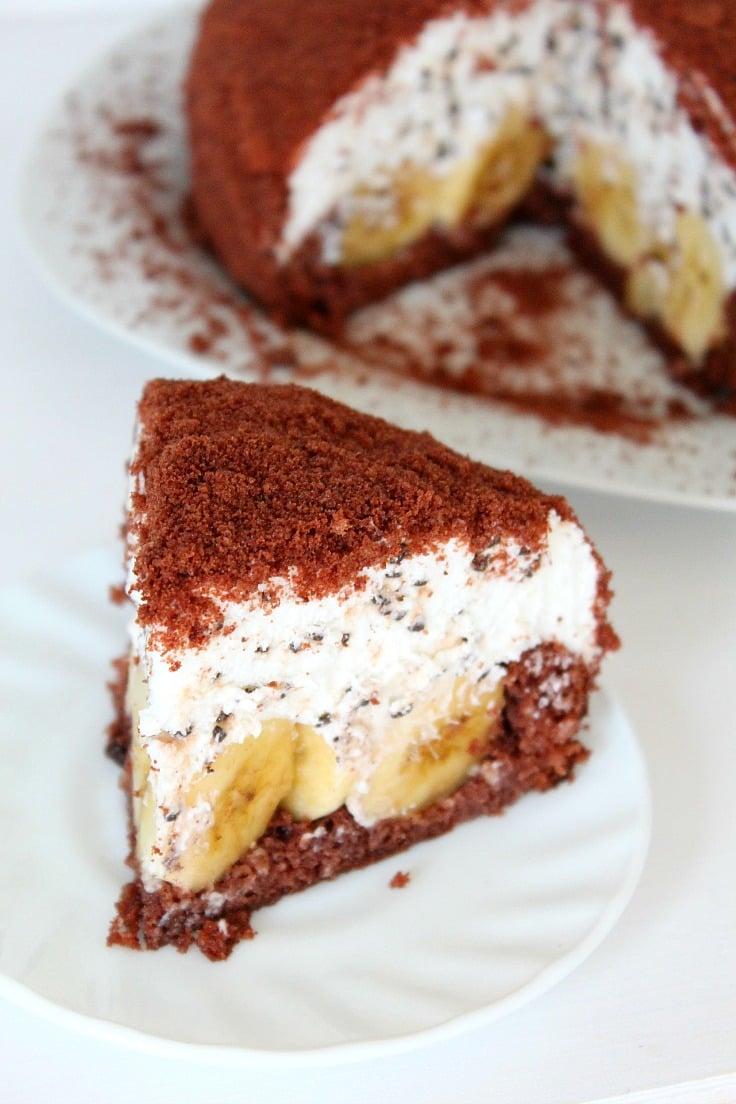
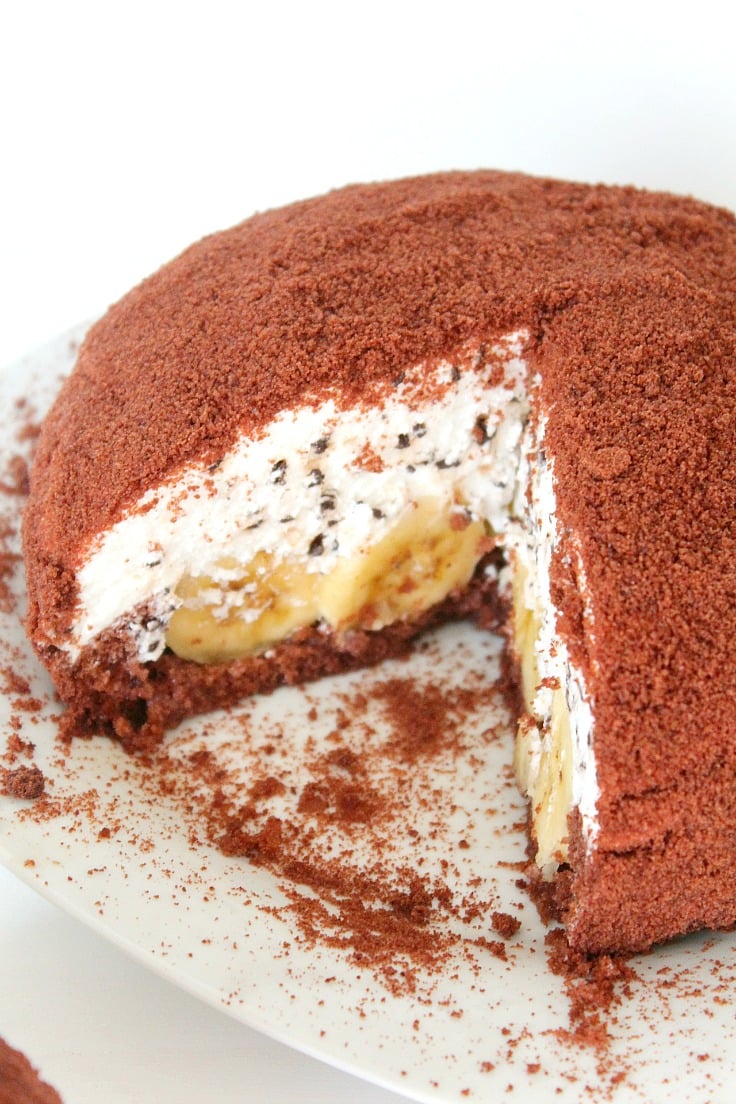
If you ever wondered how to make a dome cake now you know it’s super easy and pretty fun! I love how moist this dome cake recipe becomes once it spends a couple of hours in the fridge so if you decide to make it, please have some patience; it’s totally worth it I promise you!
Make the recipe
Dome Cake Recipe
Ingredients:
For the cake
- 3 eggs
- 5 oz = 150 g cake flour
- 4 oz = 125 g caster sugar
- 2 teaspoons baking powder
- 1 tablespoon cocoa powder
- 6 medium large bananas
- 2 sachets Dr Oetker vanilla sugar
For the whipped cream:
- 2 tablespoons sugar
- 1 cup heavy whipping cream
- 1 cup chocolate chips
Directions:
For the cake:
- Heat oven to 375 F = 190 C
- Line a 9″ = 24 cm cake pan with a removable bottom with baking paper.
- Sift flour.
- In a large bowl, whisk the flour with baking powder and cocoa powder.
- Separate the egg whites and yolks from 3 eggs.
- Beat egg whites with a whisk until you get a stiff foam.
- Incorporate the sugar and vanilla sugar gradually and continue whisking until you get a dense and glossy meringue like mixture.
- Add the yolks, one by one, mixing gently with a spatula.
- Incorporate all flour cocoa mixture, gradually. You should get an airy dough.
- Pour it into the cake pan, level with a knife and bake for 20-25 minutes or until a toothpick comes out clean.
- Remove from the oven and allow to completely cook into the cake pan.
For whipped cream:
- I prefer the hand method but it takes a bit of an arm work so if you’re not a fan, use a hand mixer (not a stand mixer, it doesn’t whip through the bottom).
- Place the sugar into the mixing bowl and add the whipping cream.
- Whisk until the cream reaches stiff peaks.
- Gently stir in the chocolate chips.
- Store any unused portion in an airtight container for up to 10 hours. When ready to use, rewhisk for a few seconds.
To assembly the cake:
- When the cake has cooled completely, cut the top so that the base has 2″ = 5 cm.
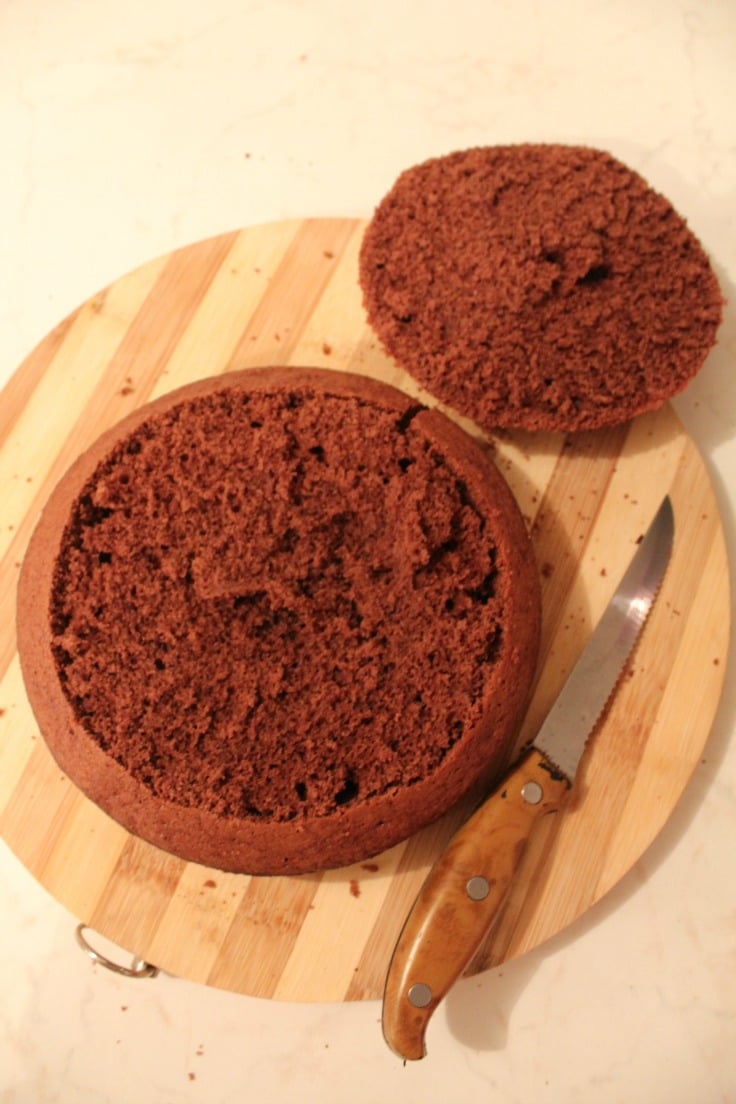
- Using a spoon, make a hollow inside, leaving a 1″ = 2.5 cm rim around the edges.
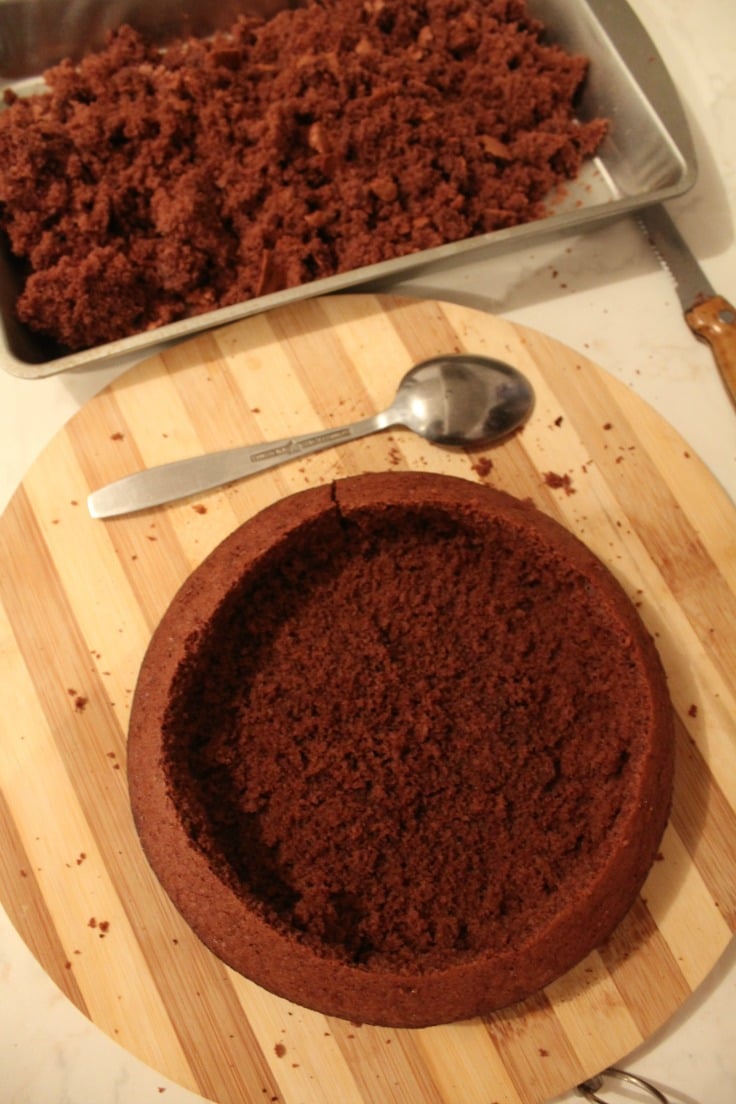
- Set the crumbs aside.
- Crumble into fine crumbs (I used my food processor).
- Peel bananas, cut in slices and place them in the hollow formed inside the cake.
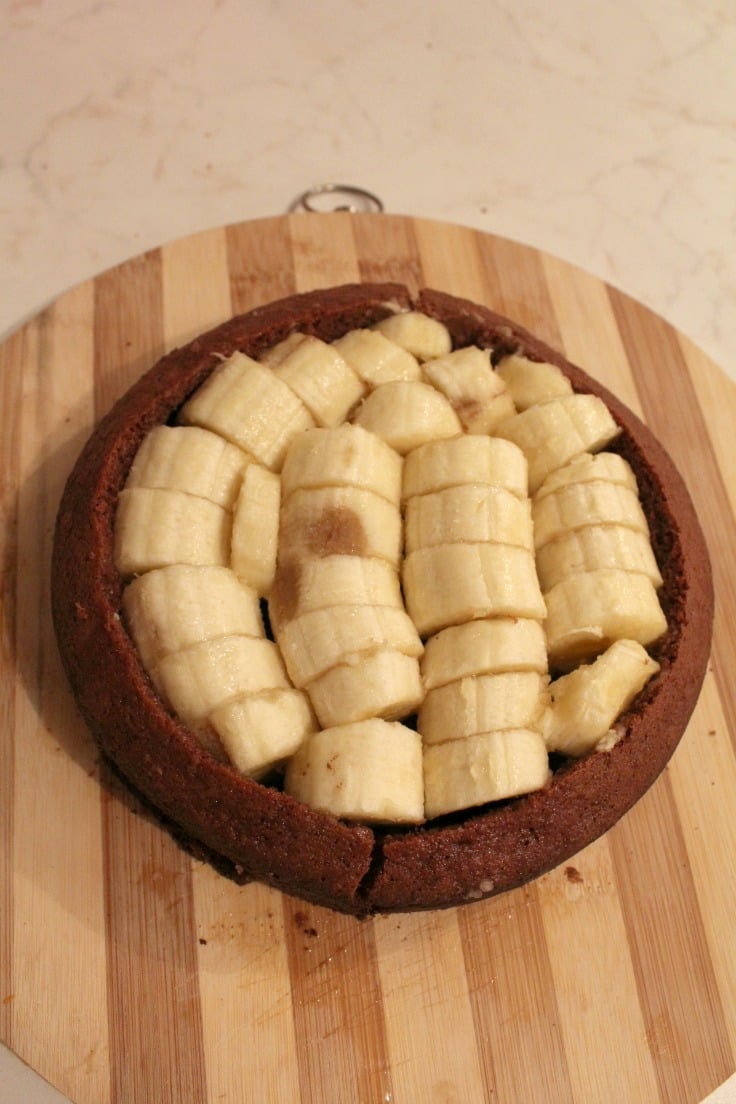
- Place the whipped cream over bananas in a dome shape.
- Sprinkle the fine crumbs all over.
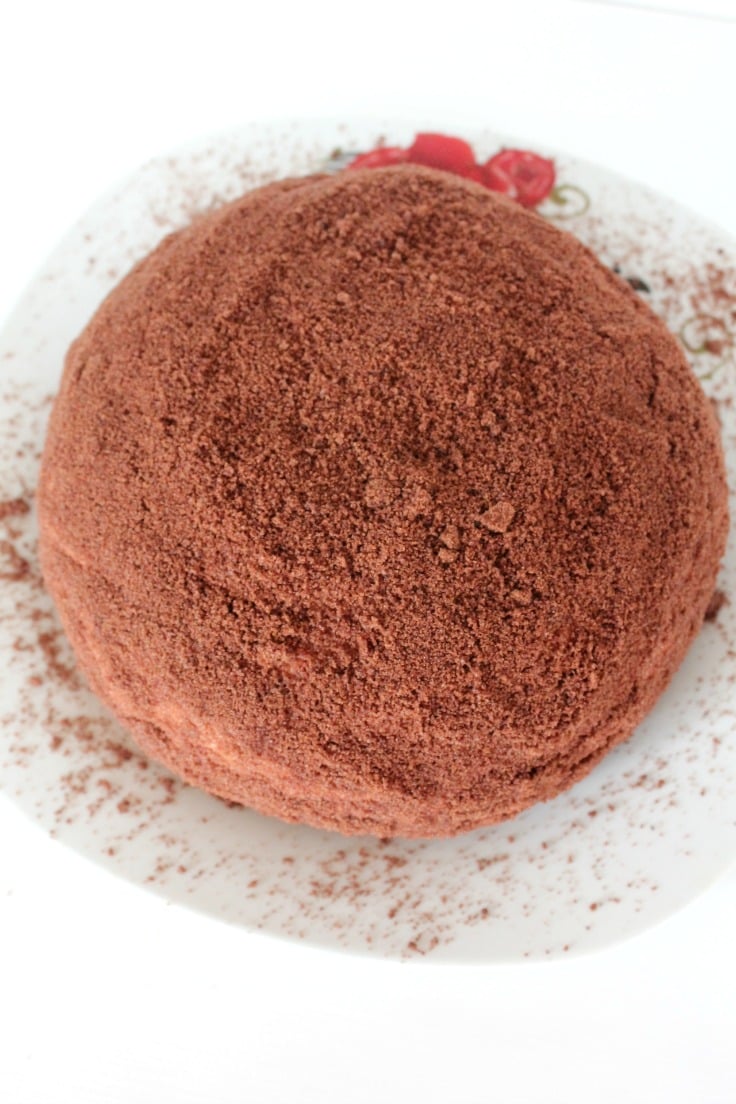
- Transfer to the fridge and chill for at least 2 hours then cut as you would a regular cake.
Similar posts you might like
Caramelized Upside Down Apple Cake
No Bake Apple Orange Cheesecake with Cheerios crust
Caramel Pretzel Seeds Vanilla Ice Cream Cake
Most popular recipes
Spiced herb roasted sweet potato wedges


Article may contain Amazon & affiliate links. As an Amazon Associate I earn from qualifying purchases at no additional cost to you.


ABOUT PETRO
Hi, I’m Petro, author and founder of Easy Peasy Creative Ideas. Sewist, crafter, avid DIY-er, foodie, photographer, homemaker and mommy to one. I’m an expert at coming up with quick, clever sewing tips, recycling crafts and simple, easy recipes! You can find my ideas featured in reputable publications such as Country Living, Good House Keeping, Yahoo News, WikiHow, Shutterfly, Parade, Brit & Co and more. Thanks for stopping by and hope you’ll stay for a while, get to know me better and come back another time. Stick around for real fun projects! Read more…