

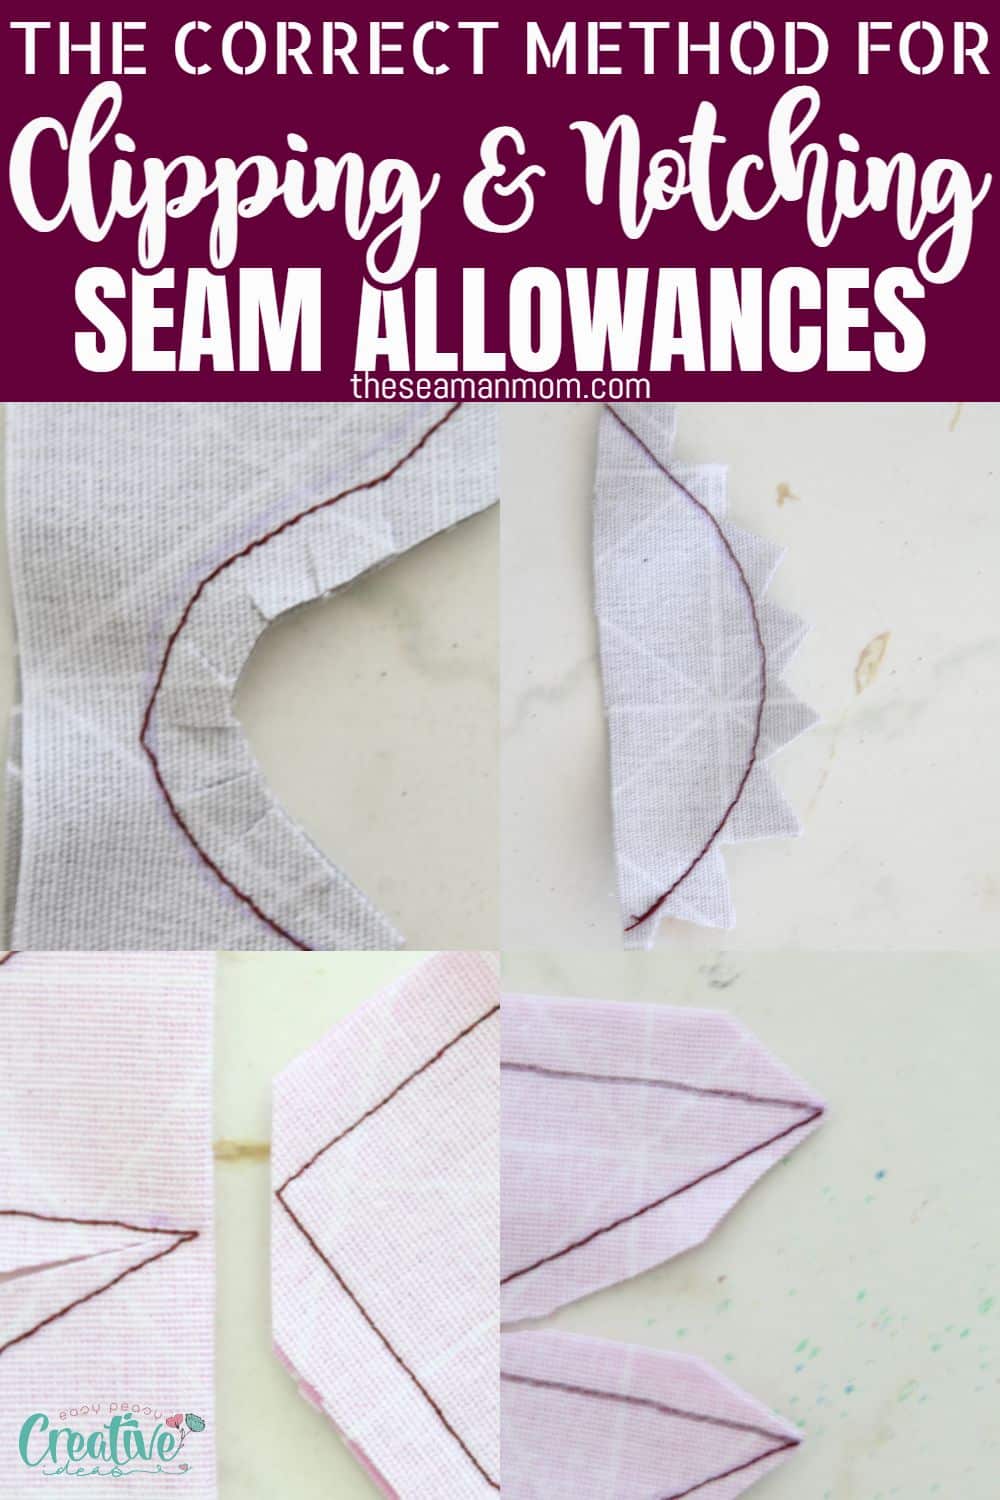
Tips for clipping and notching seam allowances correctly
Mastering the art of clipping and notching seam allowances is essential for turning out a perfect project. Not only does it eliminate bulk, it ensures a perfect alignment of seams no matter what shape you’re working with. Make sure to get it right and you’ll be rewarded with a flawless finished piece!
Clipping and notching seam allowances correctly
As sewing enthusiasts, we all know how important it is to trim our seam allowances correctly, but it can be easy to overlook this crucial step. Clipping and notching seam allowances are often mentioned in my sewing tutorials here on the website, and there’s usually an instruction in the pattern to do so.
But what does it mean to clip and notch seam allowances and why is it so important? In this article, I’ll show you the why, how and when of clipping and notching seam allowances so you can never make an error again.
More sewing tips you might like:
- Easiest way to turn a tube inside out
- Fastest way to turn corner inside out
- How to make pleats
- Elastic join tip to reduce bulk
- Easy technique to gather fabric
- Tips for sewing canvas
- Sewing vinyl on a home sewing machine
- How to use a seam ripper properly
Trimming seam allowances with clipping and notching is crucial on curves and corners if you want to sew perfect curves and super neat corners. These little snips will help the seam to stretch enough to lay flat when you turn it right side out or reduce bulk where there’s too much fabric along the seam.
The problem is to identify when you should clip and when to notch your seam allowances. Well, not exactly a problem because after this tutorial, clipping and notching will seam like kids play, guaranteed!
What does clipping mean in sewing?
Clipping in sewing refers to a technique used to reduce bulk and create smoother curves in fabric by snipping into the seam allowance, without cutting through the stitching. Clipping is a commonly used method in patternmaking, dressmaking, and tailoring, and is especially useful when working with curved seams such as those found in collars, sleeve heads, or bust darts.
The process of clipping involves carefully snipping into the seam allowance, perpendicular to the stitching line. These snips are made close to but not through the stitching line, allowing the fabric to spread and reduce bulk when the seam is turned right side out. The depth and frequency of the snips will depend on the fabric type, the curvature of the seam, and the pattern instructions.
Clipping can be done with scissors or small rotary cutters. It is important to make sure that the cuts do not extend beyond the seam allowance, as this can weaken the seam and lead to fraying or unraveling.
While clipping is a simple technique, it requires some practice, attention to detail and hand control to ensure good results. If done correctly, it can help create a smooth, professional-looking finish to your sewing projects, while also improving the fit and comfort of the garment.
What does notching mean in sewing?
In sewing, notching is a technique used to remove small triangles of fabric from the seam allowances to help the fabric lay flat and prevent bulkiness. These notches are made on the curved or rounded areas of the fabric, such as the armhole or neckline, to allow the seam to easily wrap around the curve without creating any unwanted puckering. Notching can also be used to help align and match up fabric pieces during the sewing process.
Notches can be created using scissors or pinking shears, but it is important to make them small and precise to avoid cutting into the seam allowance or the main garment piece. It is recommended to notch after stitching the seam, but before pressing it open to ensure accuracy.
Overall, notching is a simple yet effective sewing technique that can greatly enhance the quality and appearance of a garment. By reducing excess fabric and preventing bulkiness, notching can help create clean and professional-looking seams, and a more comfortable and flattering fit.
When to clip and when to notch seam allowances
Clipping and notching seam allowances are used to trim corners and curves.
To trim corners
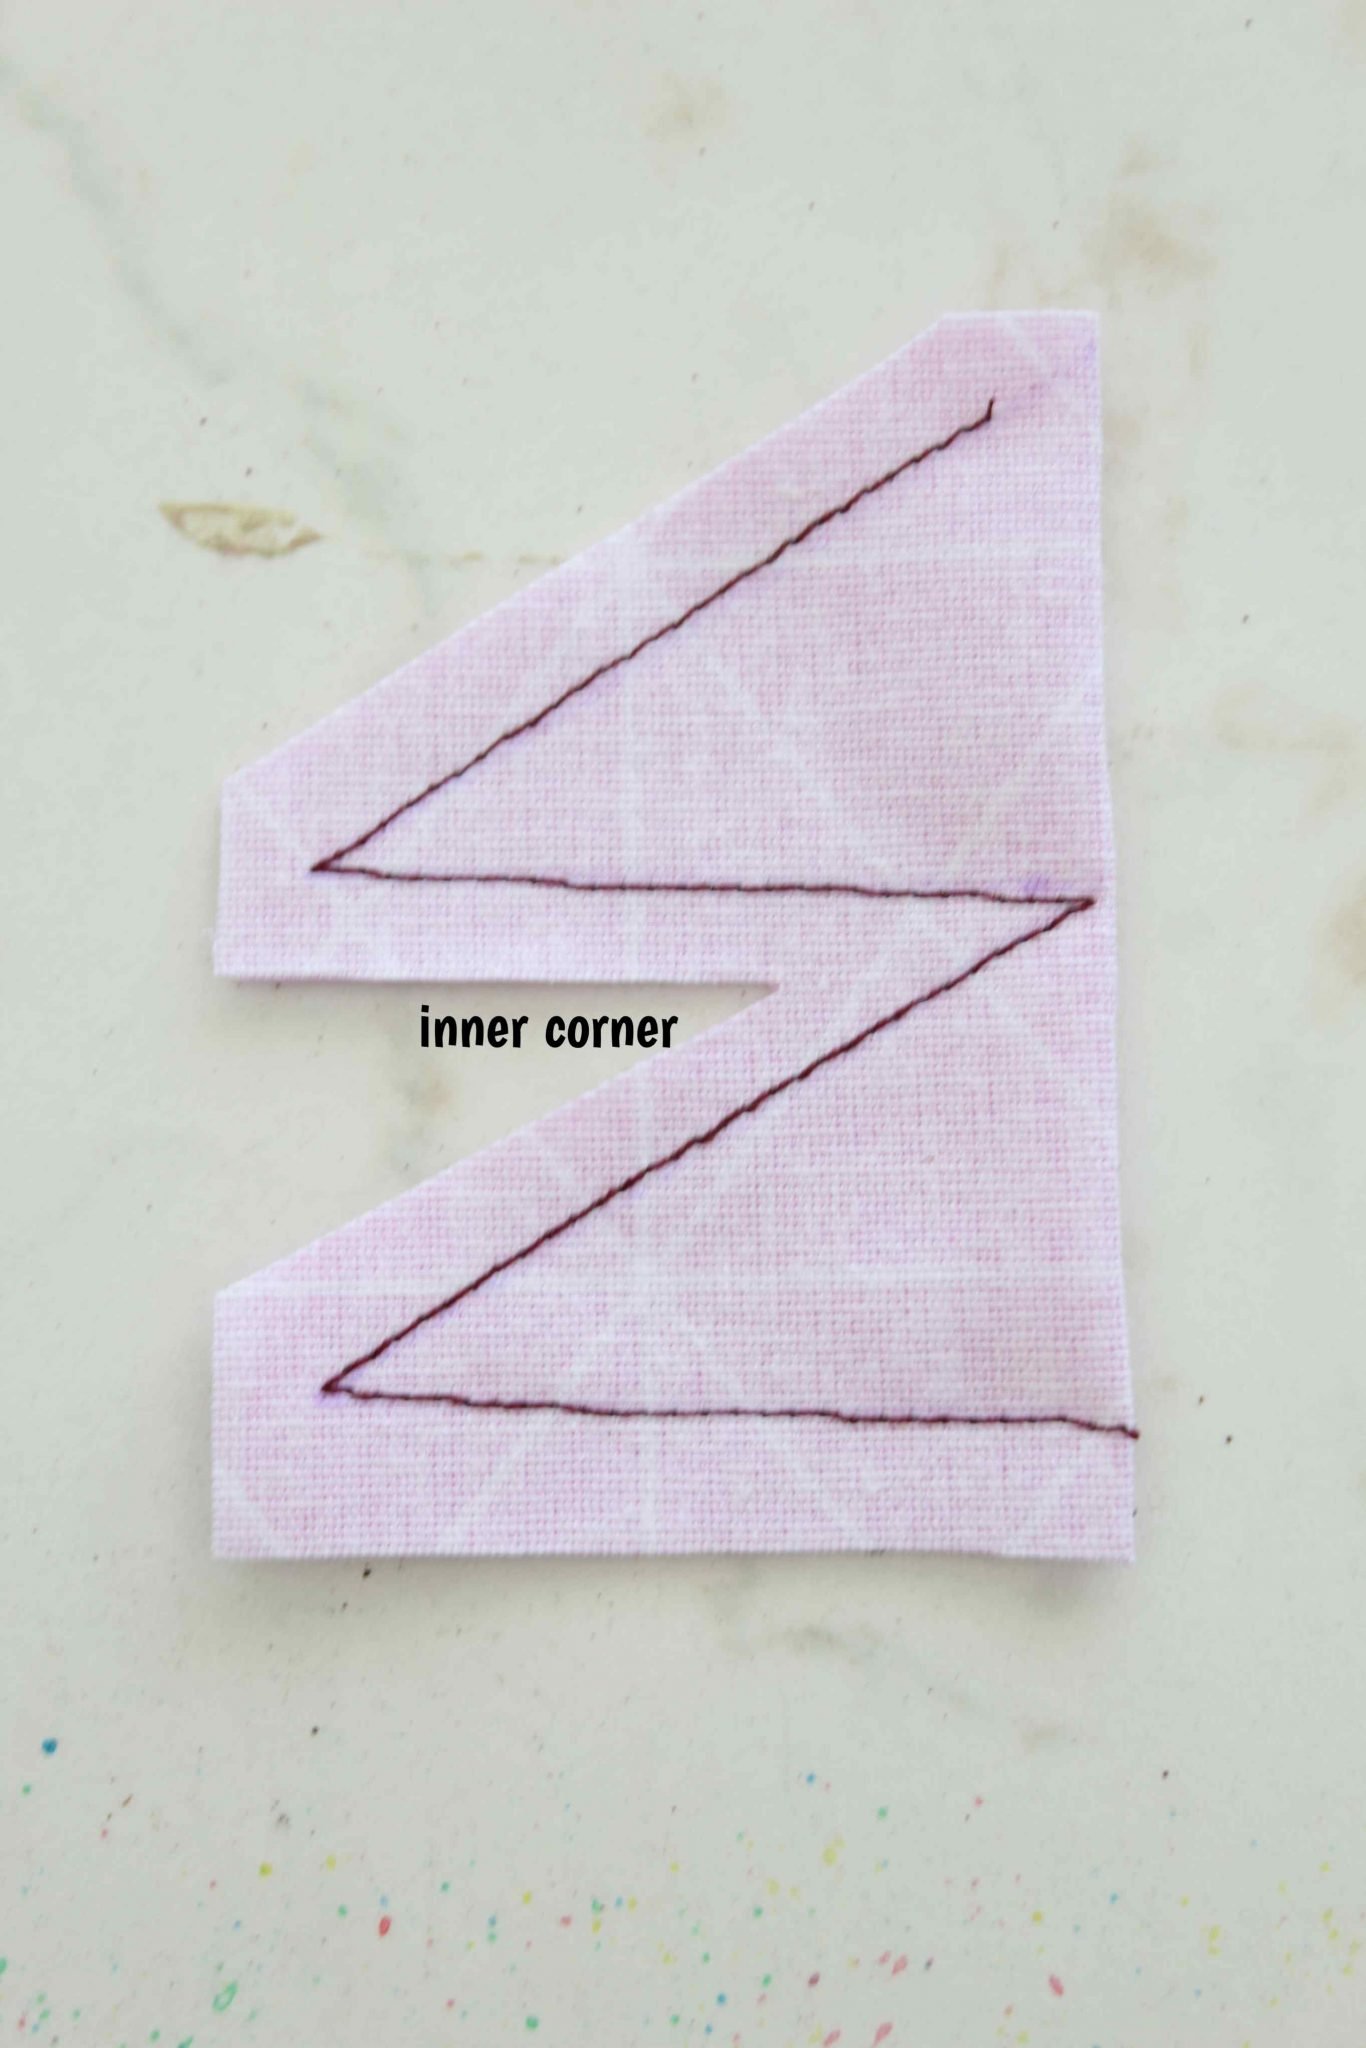
There are two types of corners in sewing: inner corners
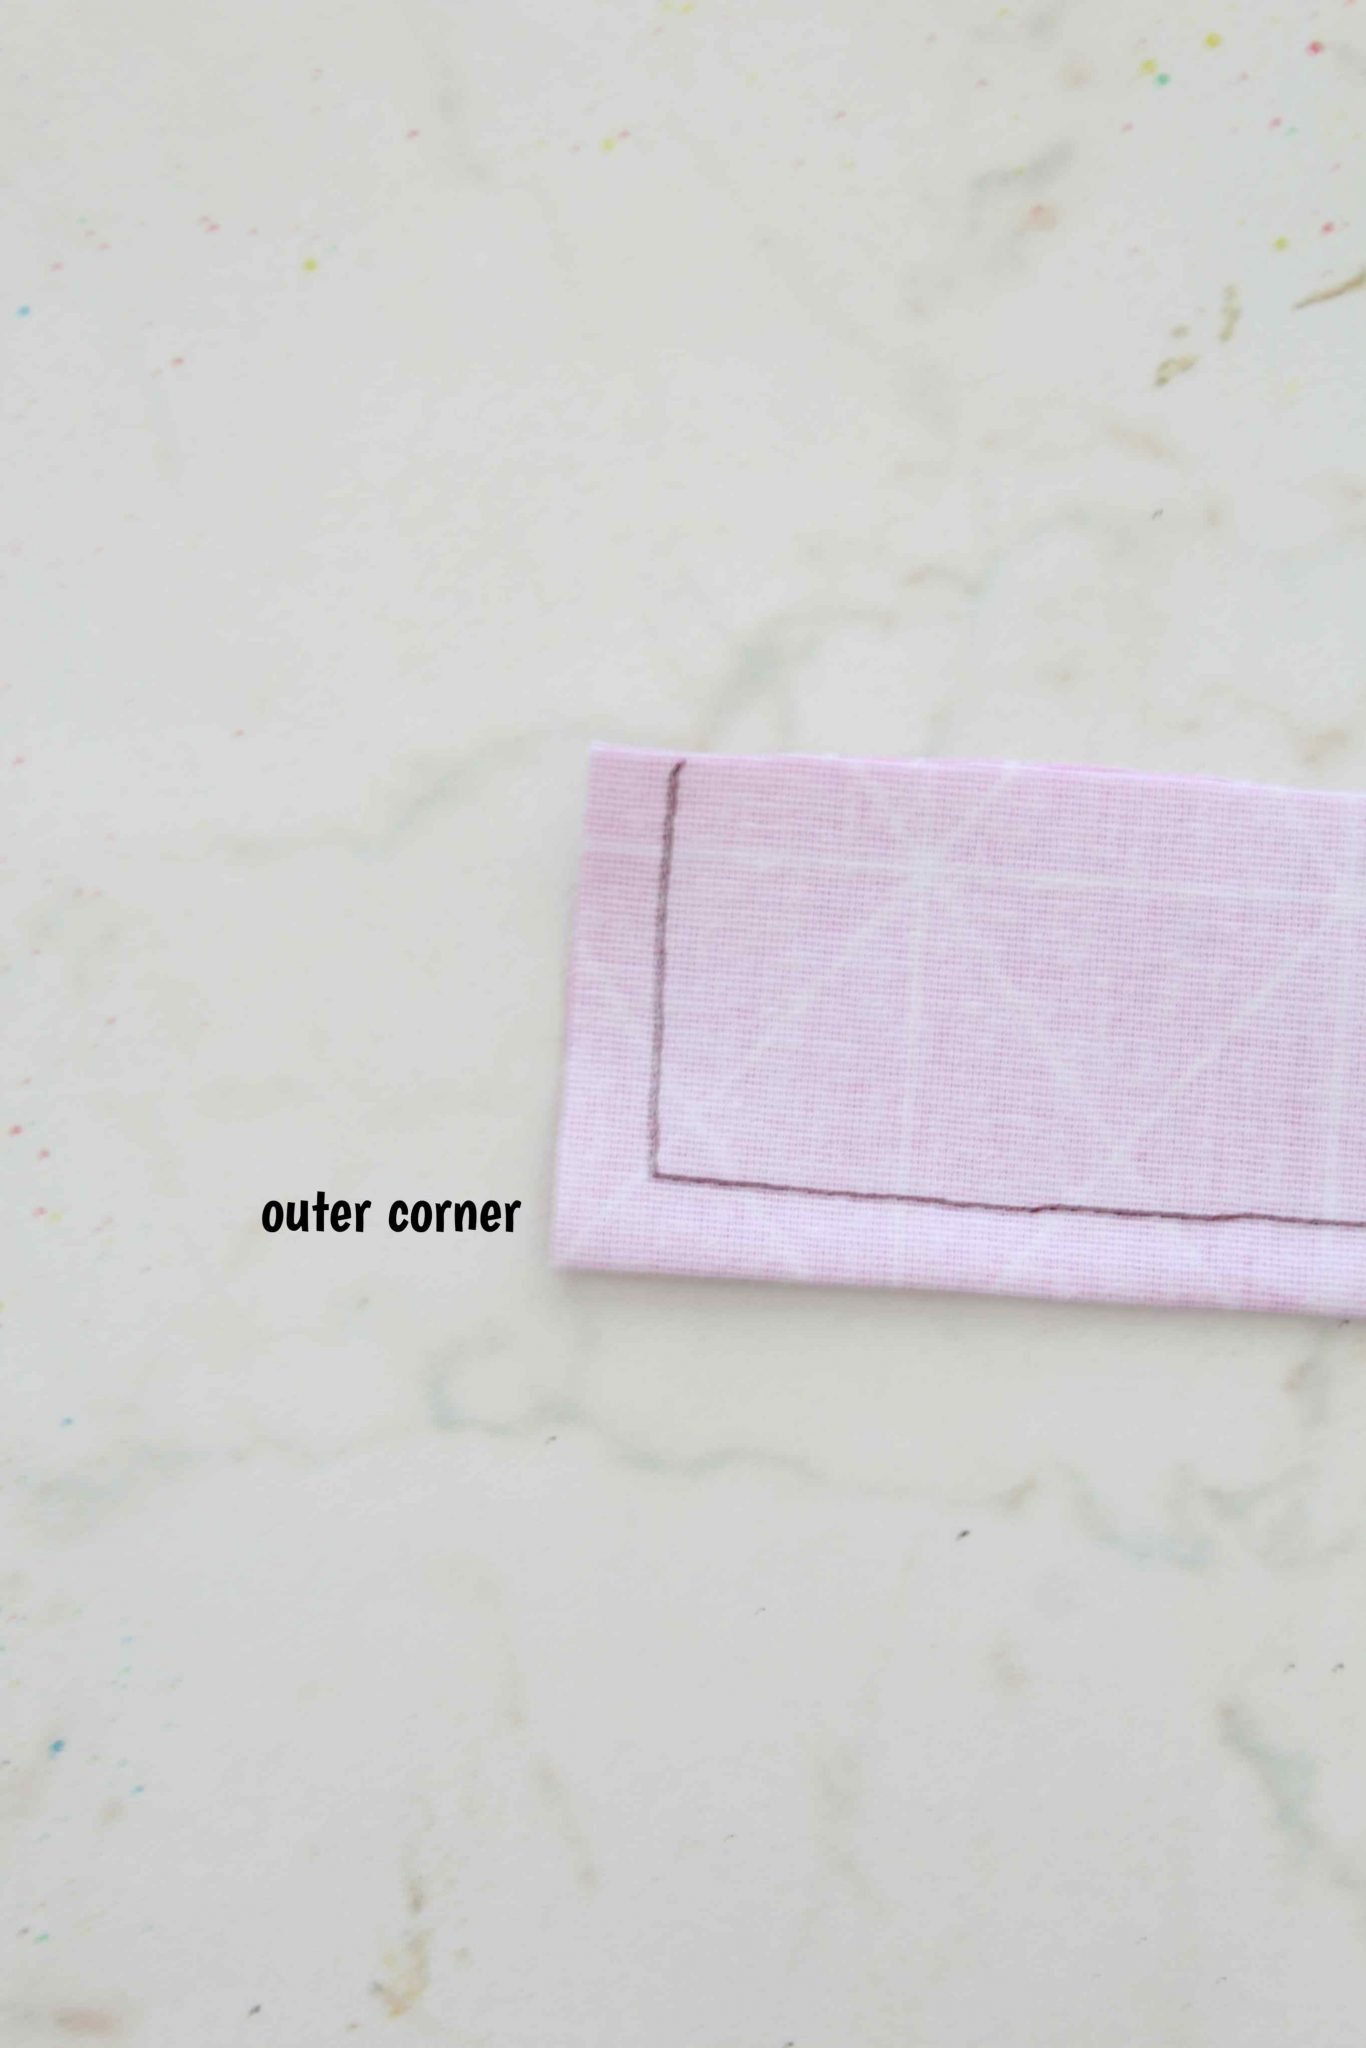
And outer corners.
Trimming each is slightly different for two simple reasons: when the fabric is turned right side out, one will stretch while the other will gather, creating bulk. To trim corners correctly and efficiently you’ll need to apply the correct clipping for each type of corners.
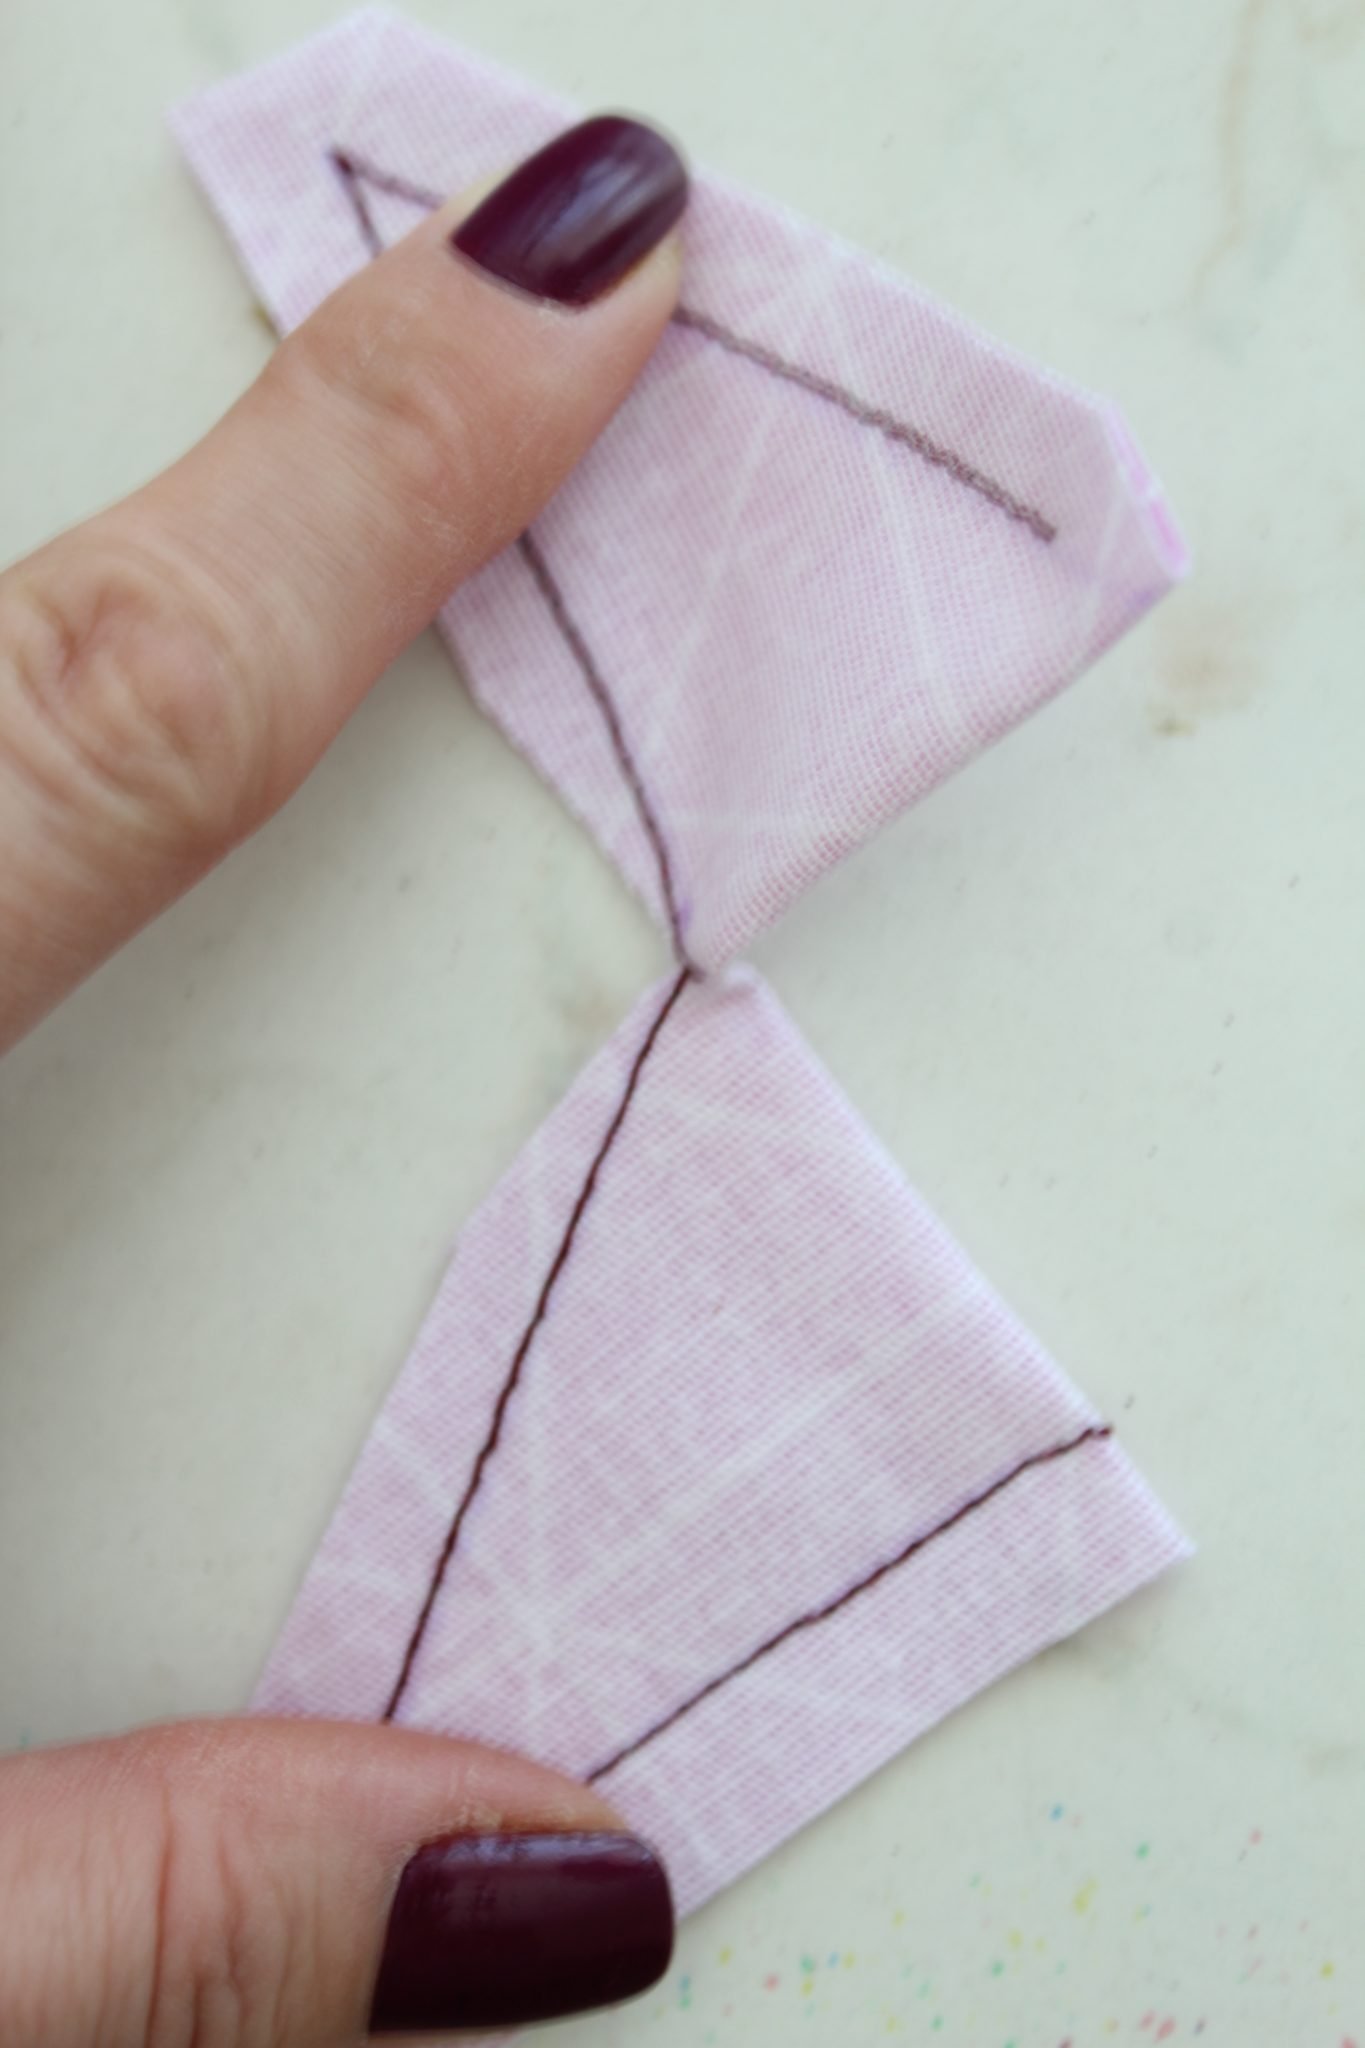
Clipping inner corners:
When the fabric is turned right side out, the seam in the inner corners will stretch a lot to about a 360°, so you need to cut a slit perpendicular to the seam, in a 45° angle, as pictured below.
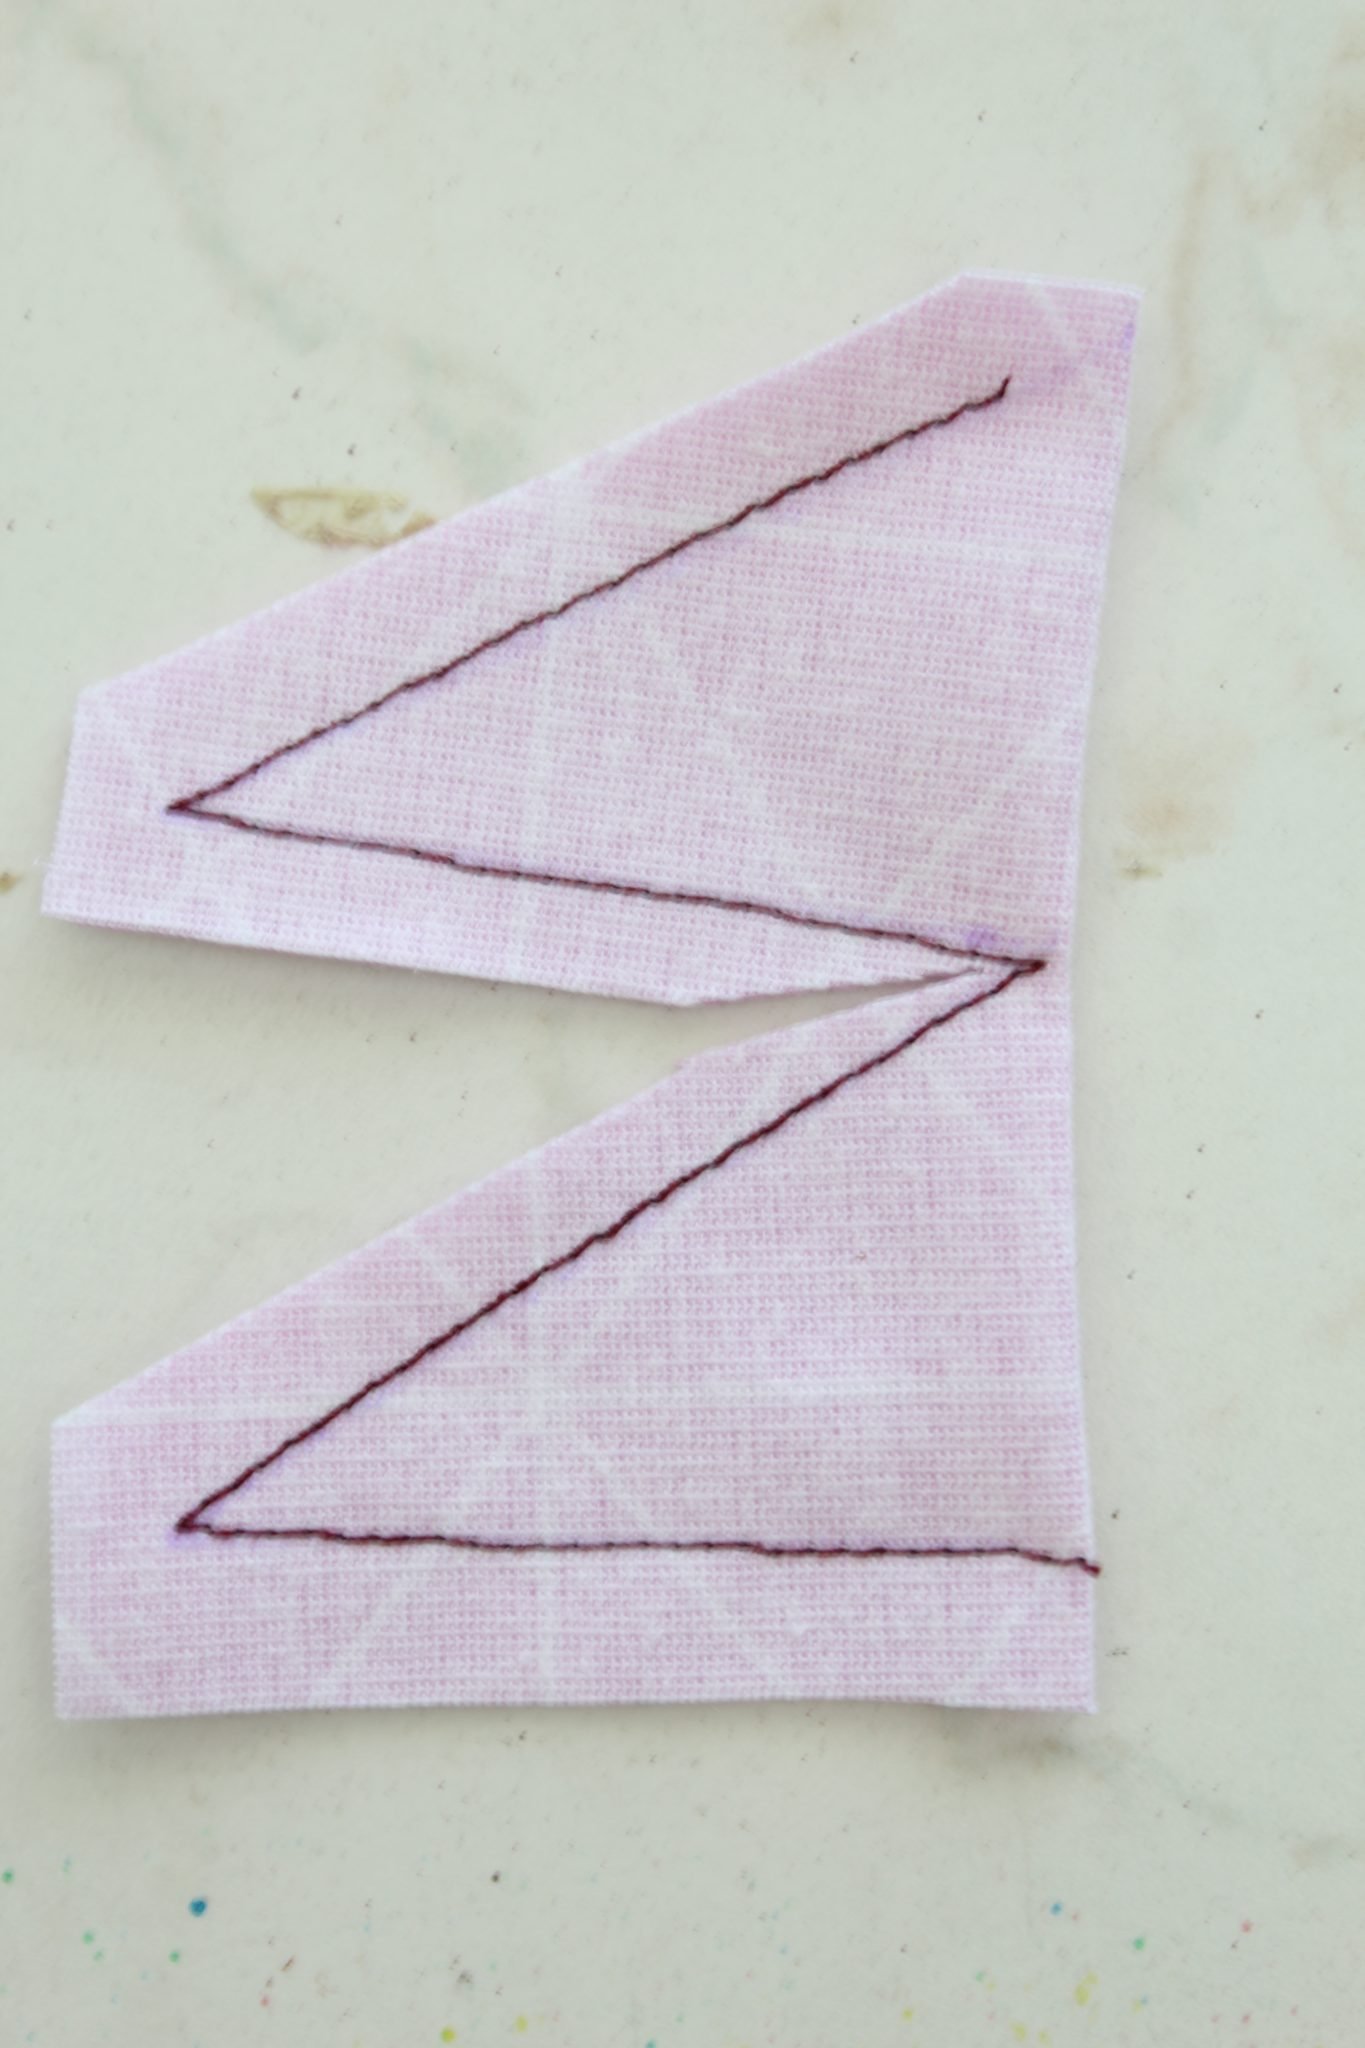
Go as close to the seam but make sure you don’t snip through the seam or your project will be ruined. You need to create a little room for the seam to stretch. The clipping will allow the fabric around the spot where you cut the slit to stretch enough so that the seam will align nicely once fabric is turned right side out.
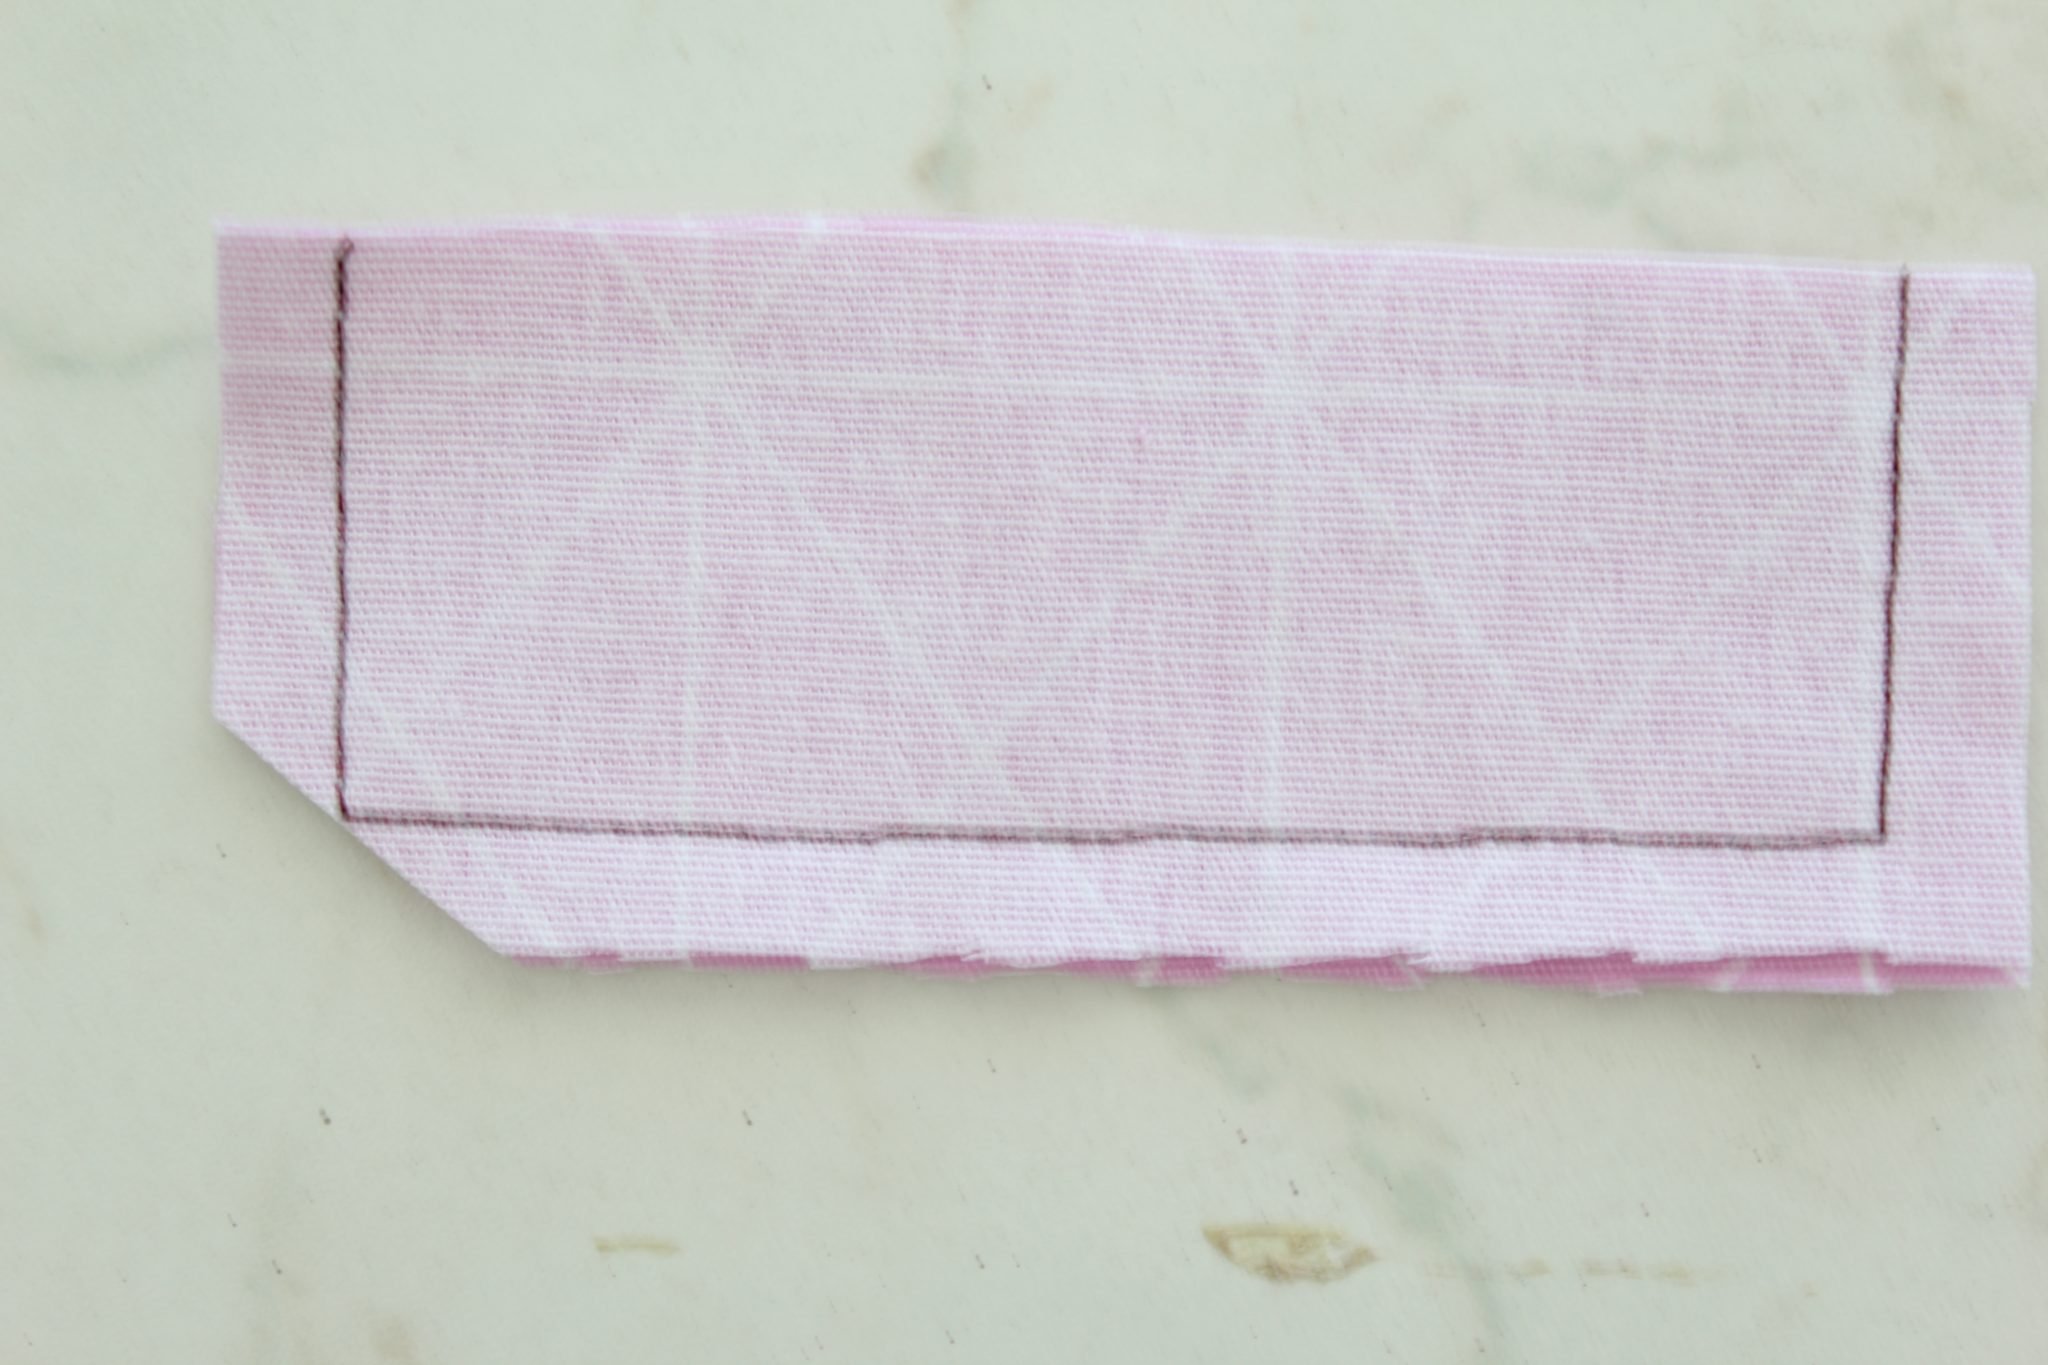
Clipping outer corners:
As mentioned above outer corners will also turn to about 360° when the fabric is turned right side out, thus creating bulk from so much fabric gathered in the corner. You need to get rid of that excess somehow and here’s the method I use to clip seam allowance on outer corners.
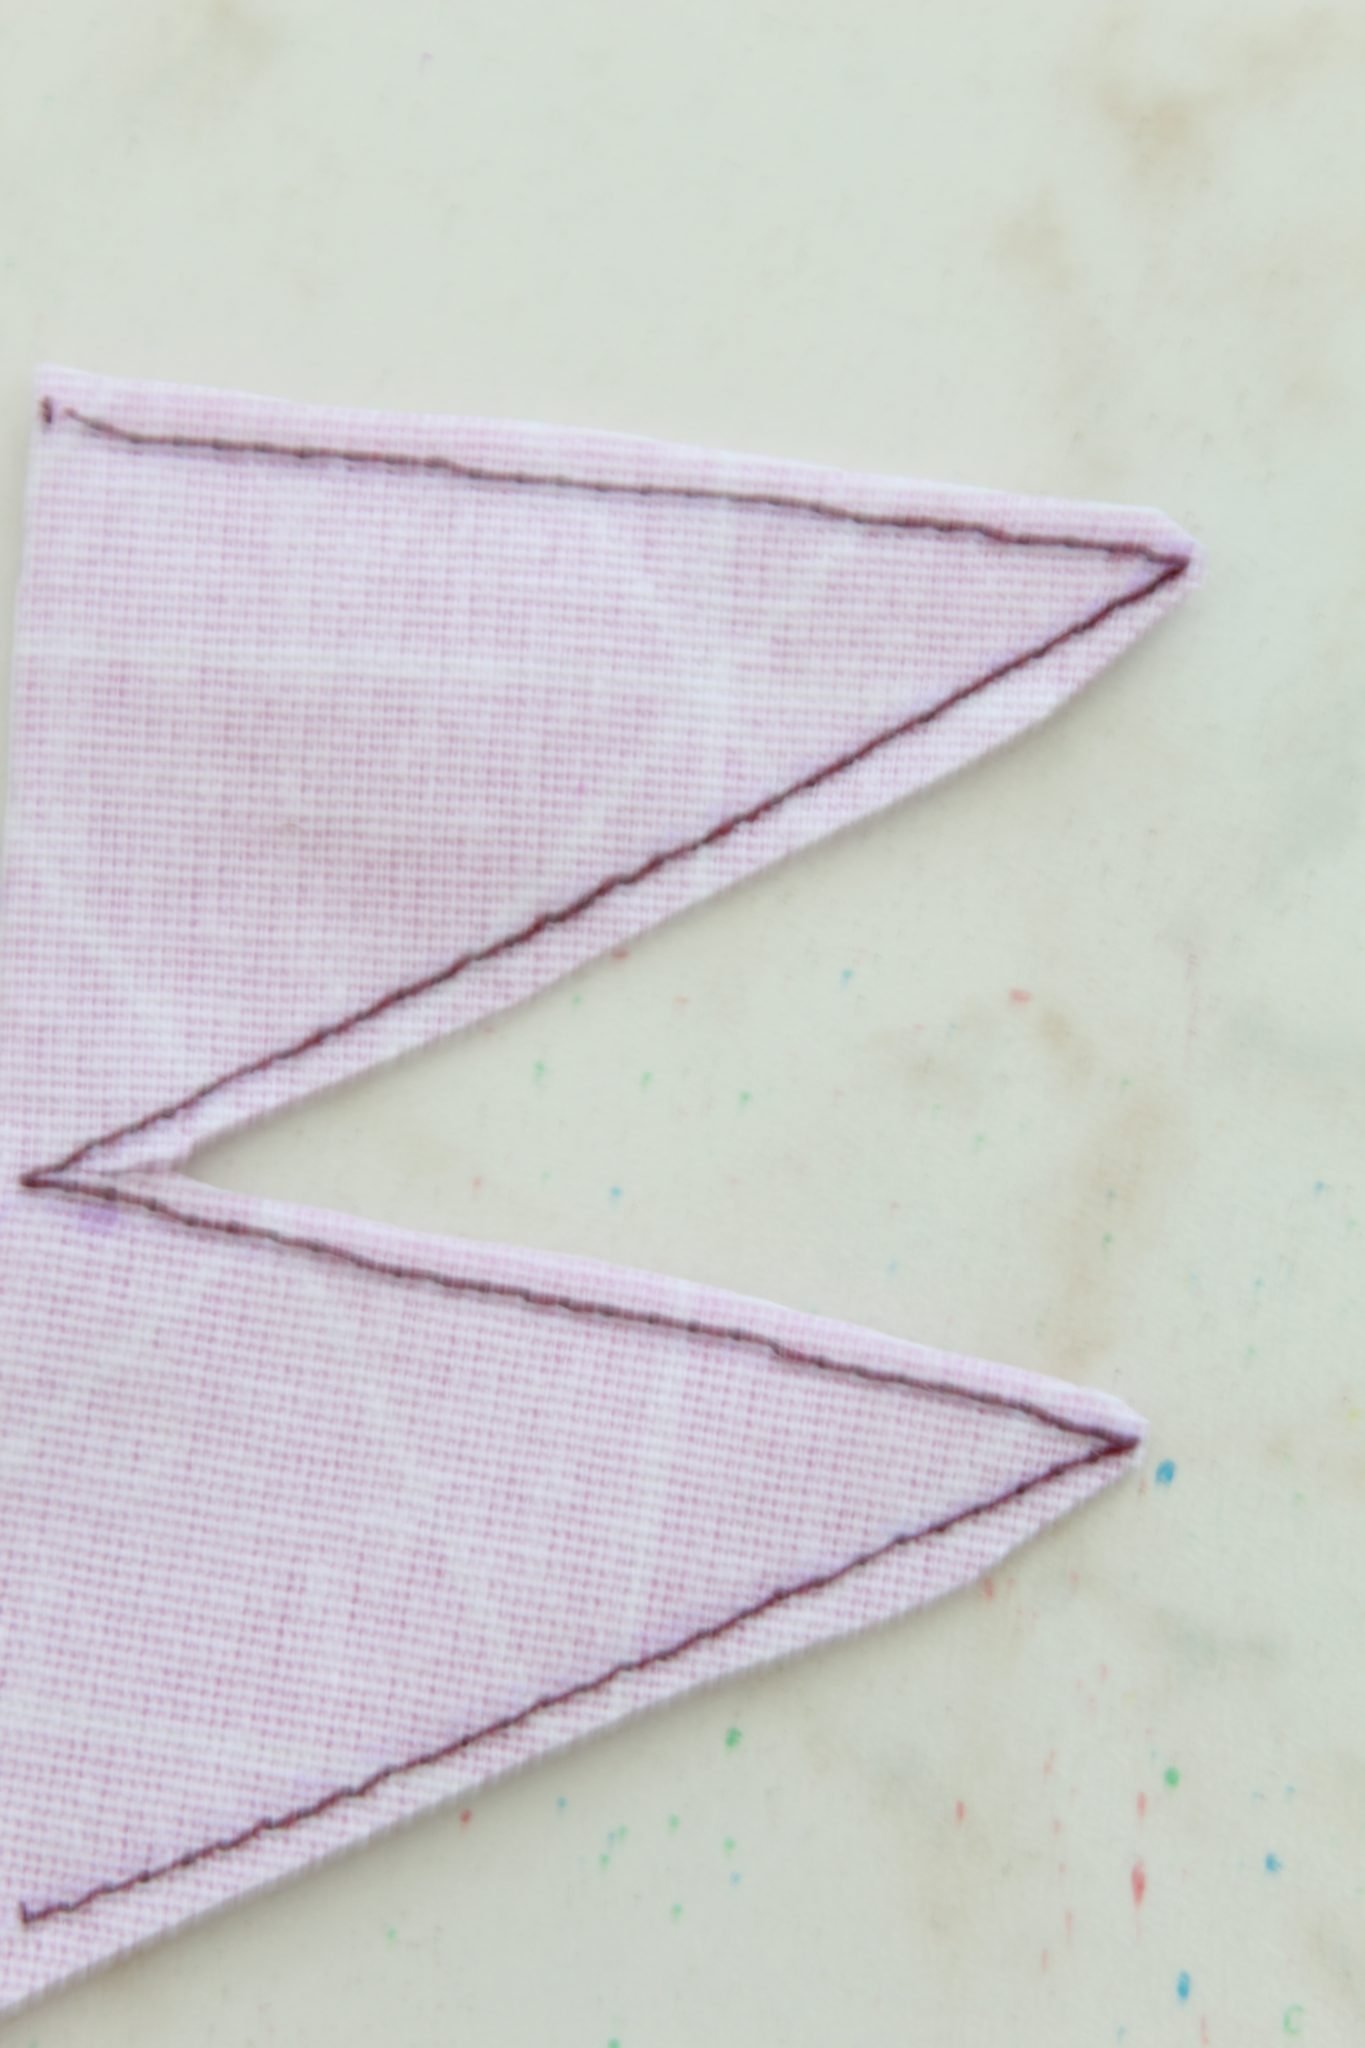
For very pointy corners I also go one step further and trim the seam even more like this.
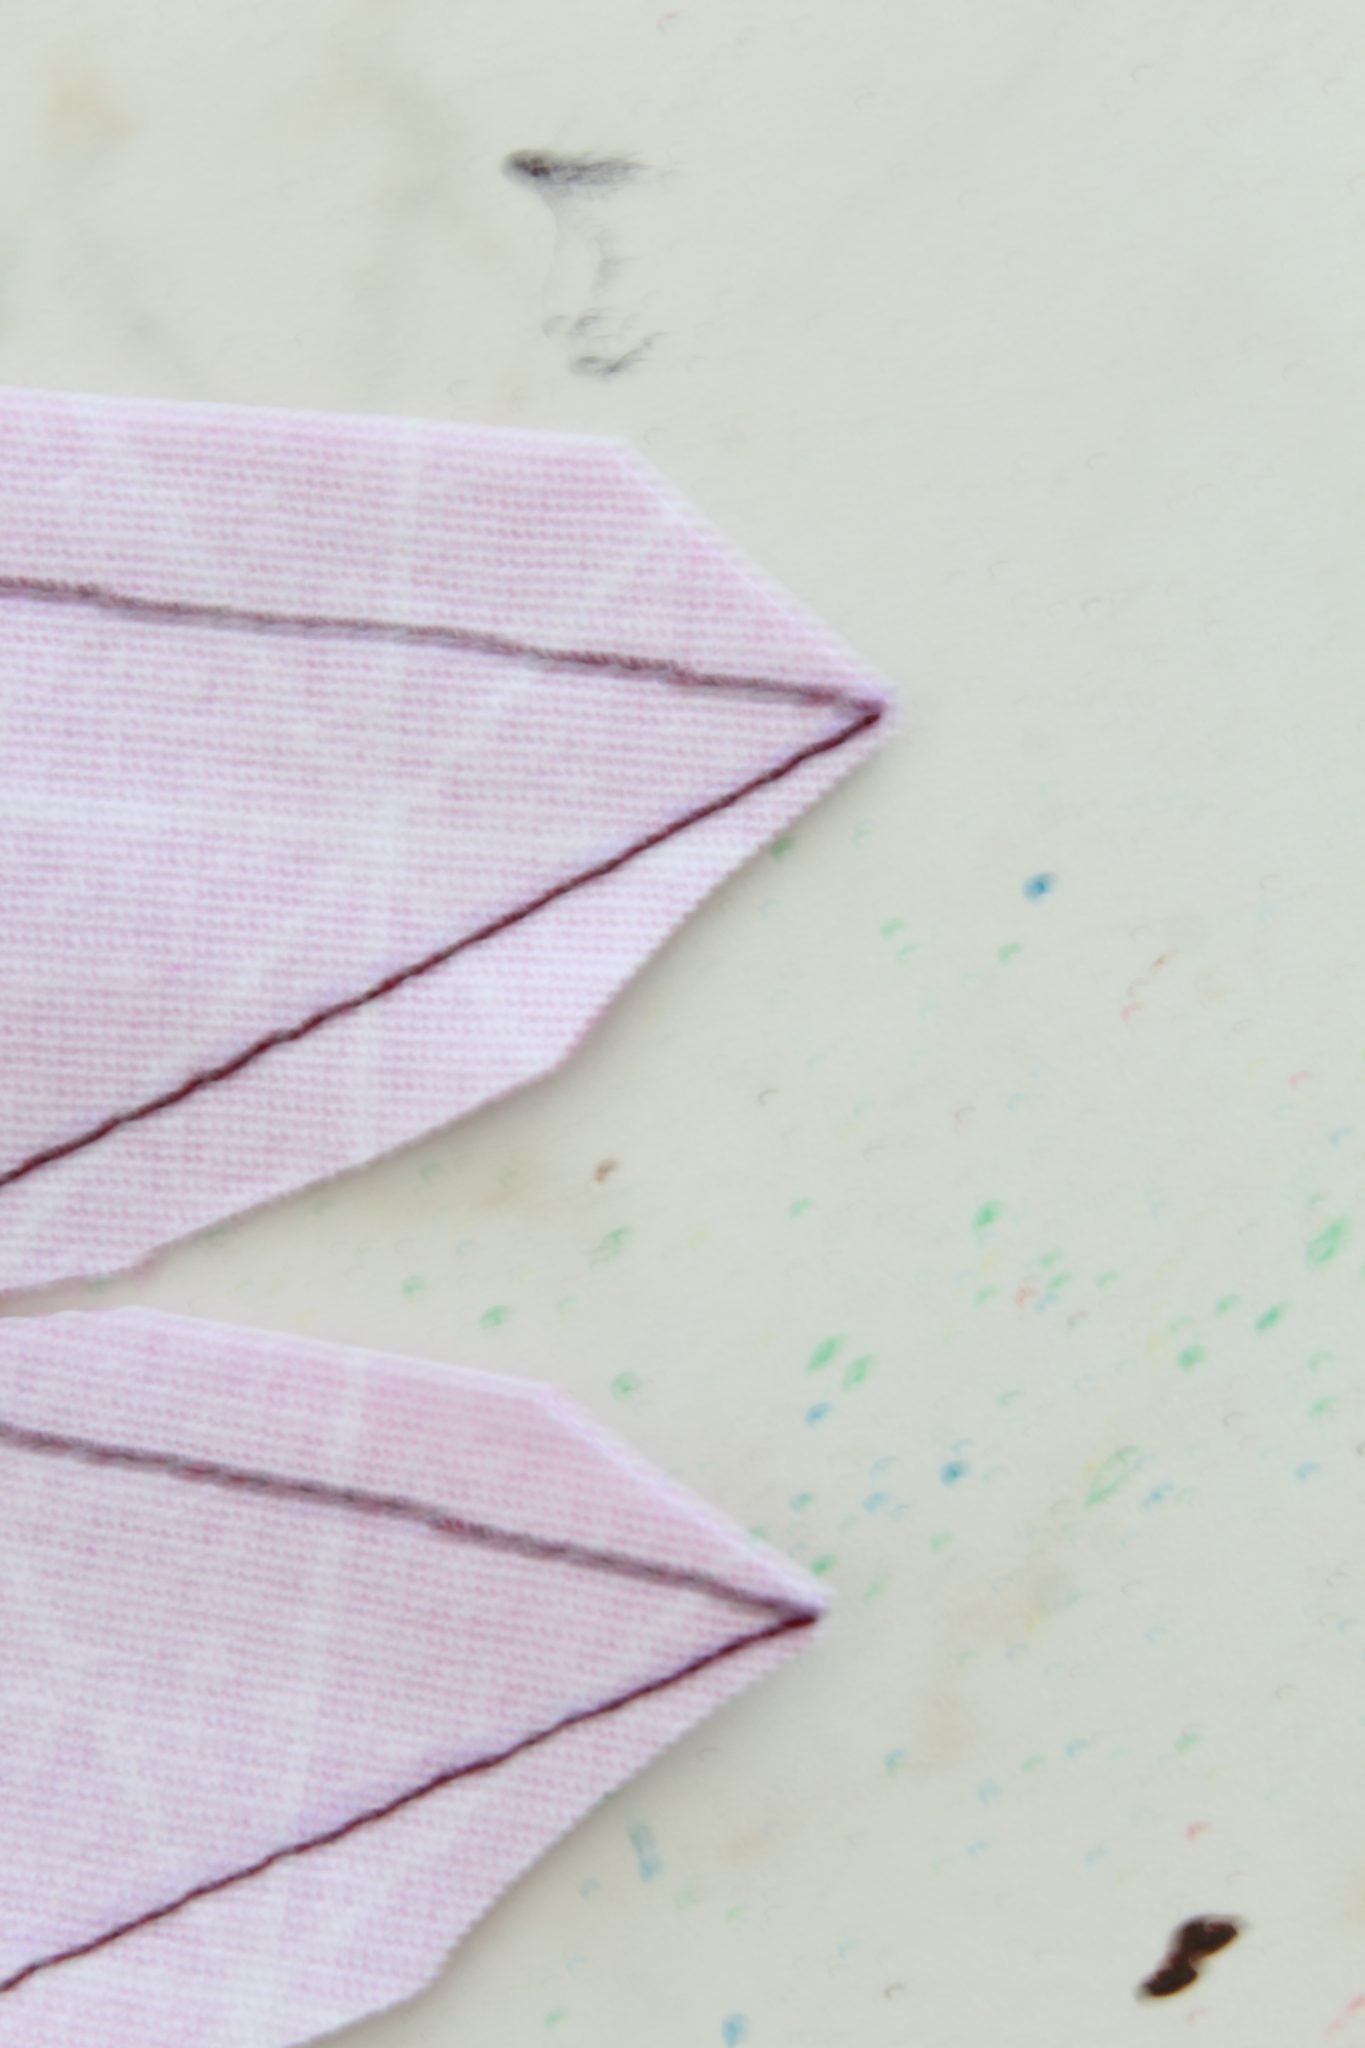
If the fabric is very thick or the corners are super pointy, I trim the whole seam around the corners, on both outer and inner corners, just like this.
Clipping seam allowances require a lot of precision! The clipping needs to be done as close to the seam, without snipping through the seam, like below. You need a pair of scissors with sharp tips that offer perfect control.
To trim curves
For curves you’ll need to apply both clipping and notching, depending on the type of curve. Clipping and notching seam allowances on curves require two different methods too. Because the curves are of two types: concave and convex (or as I call them inner and outer curves).
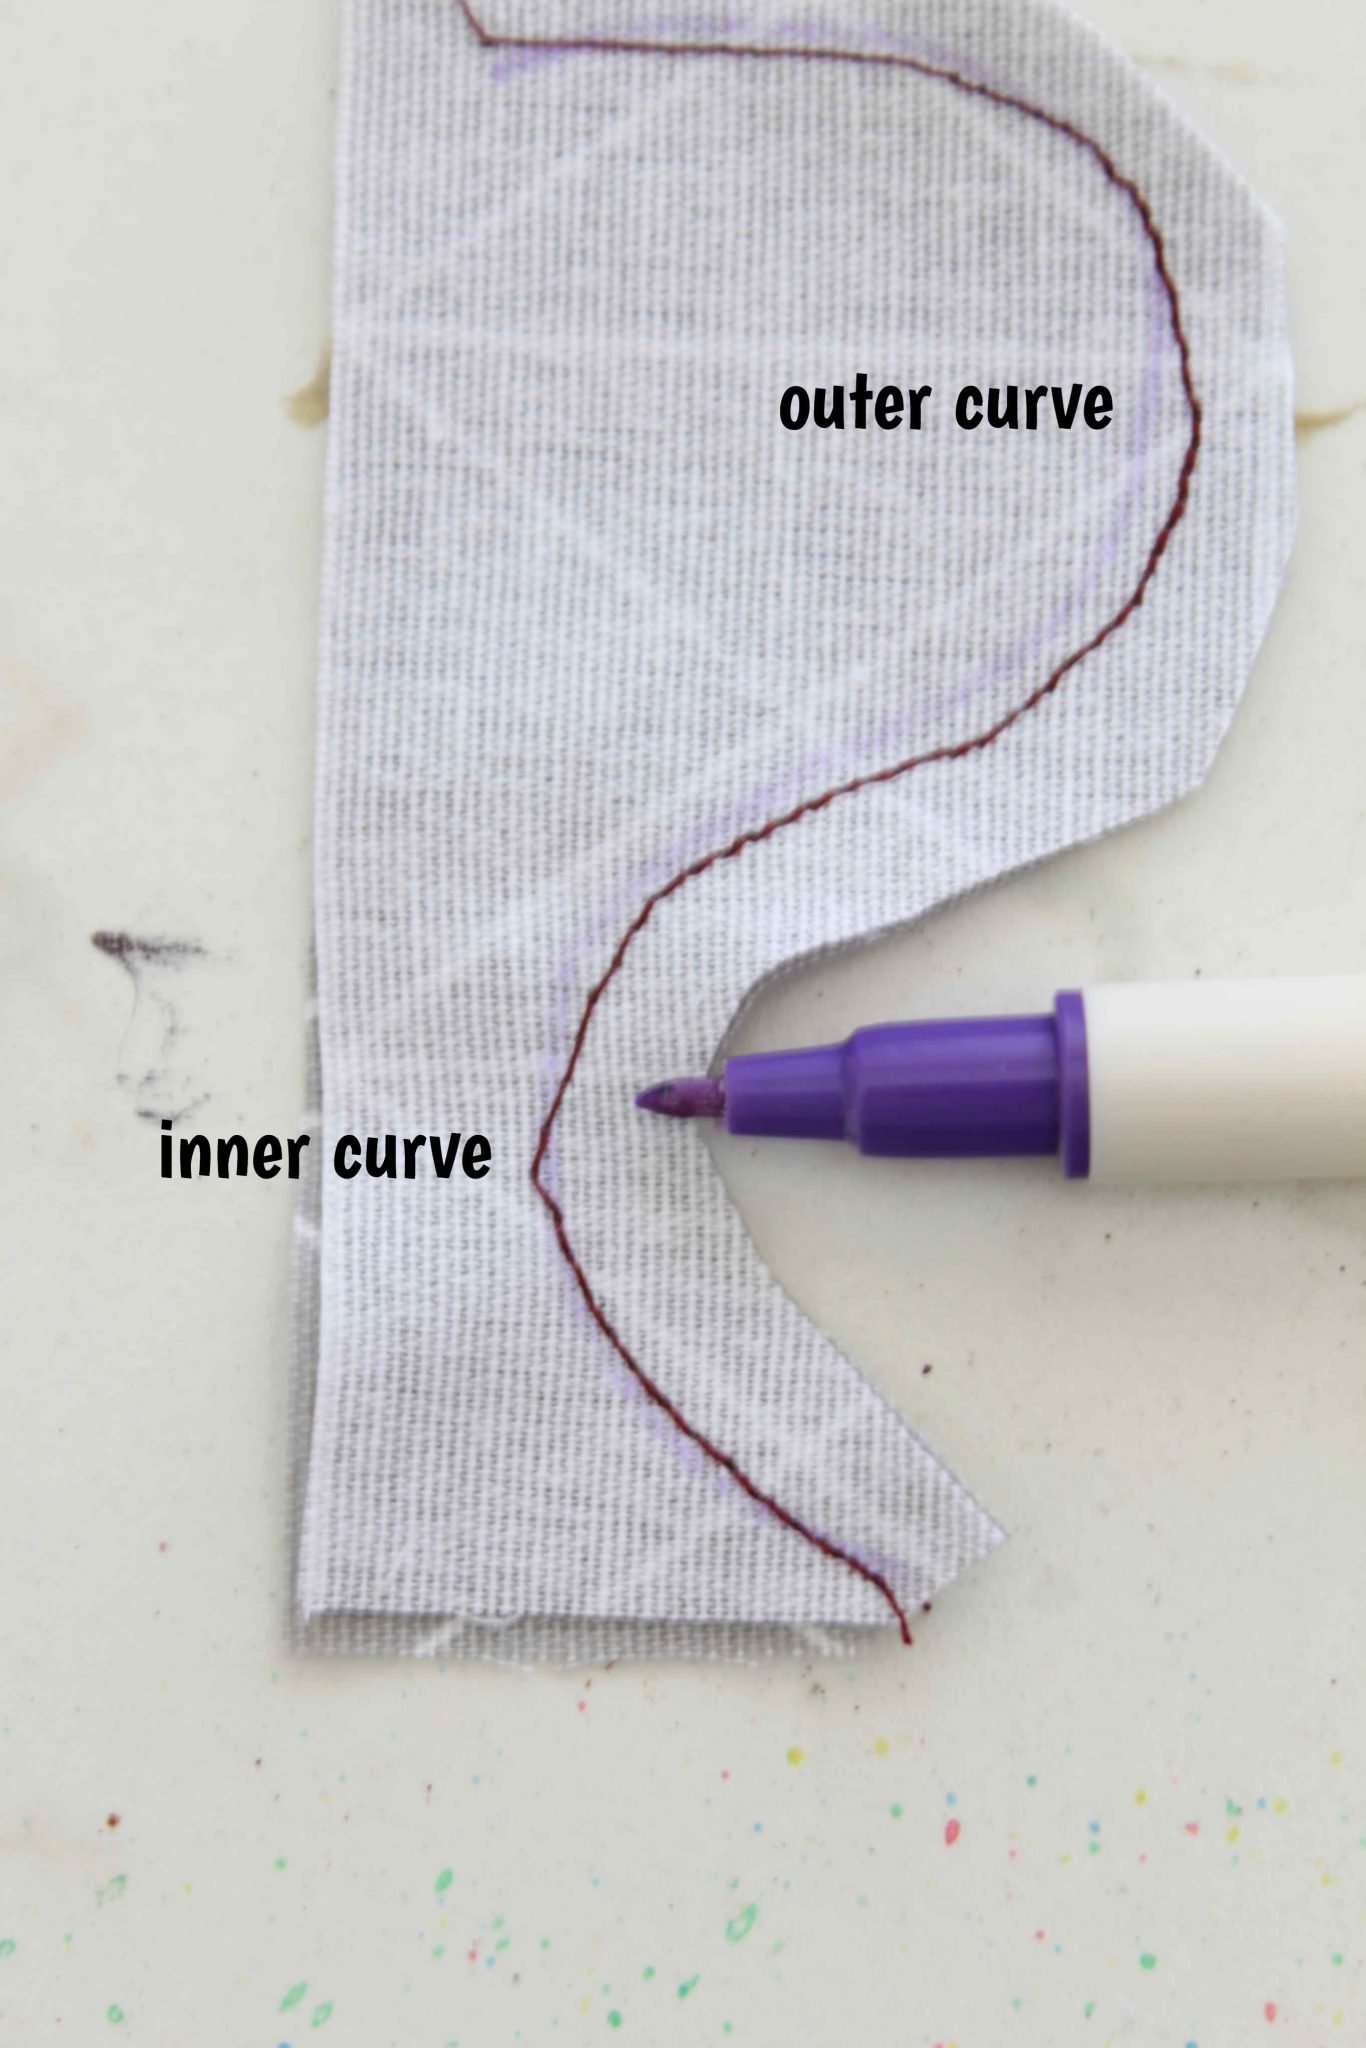
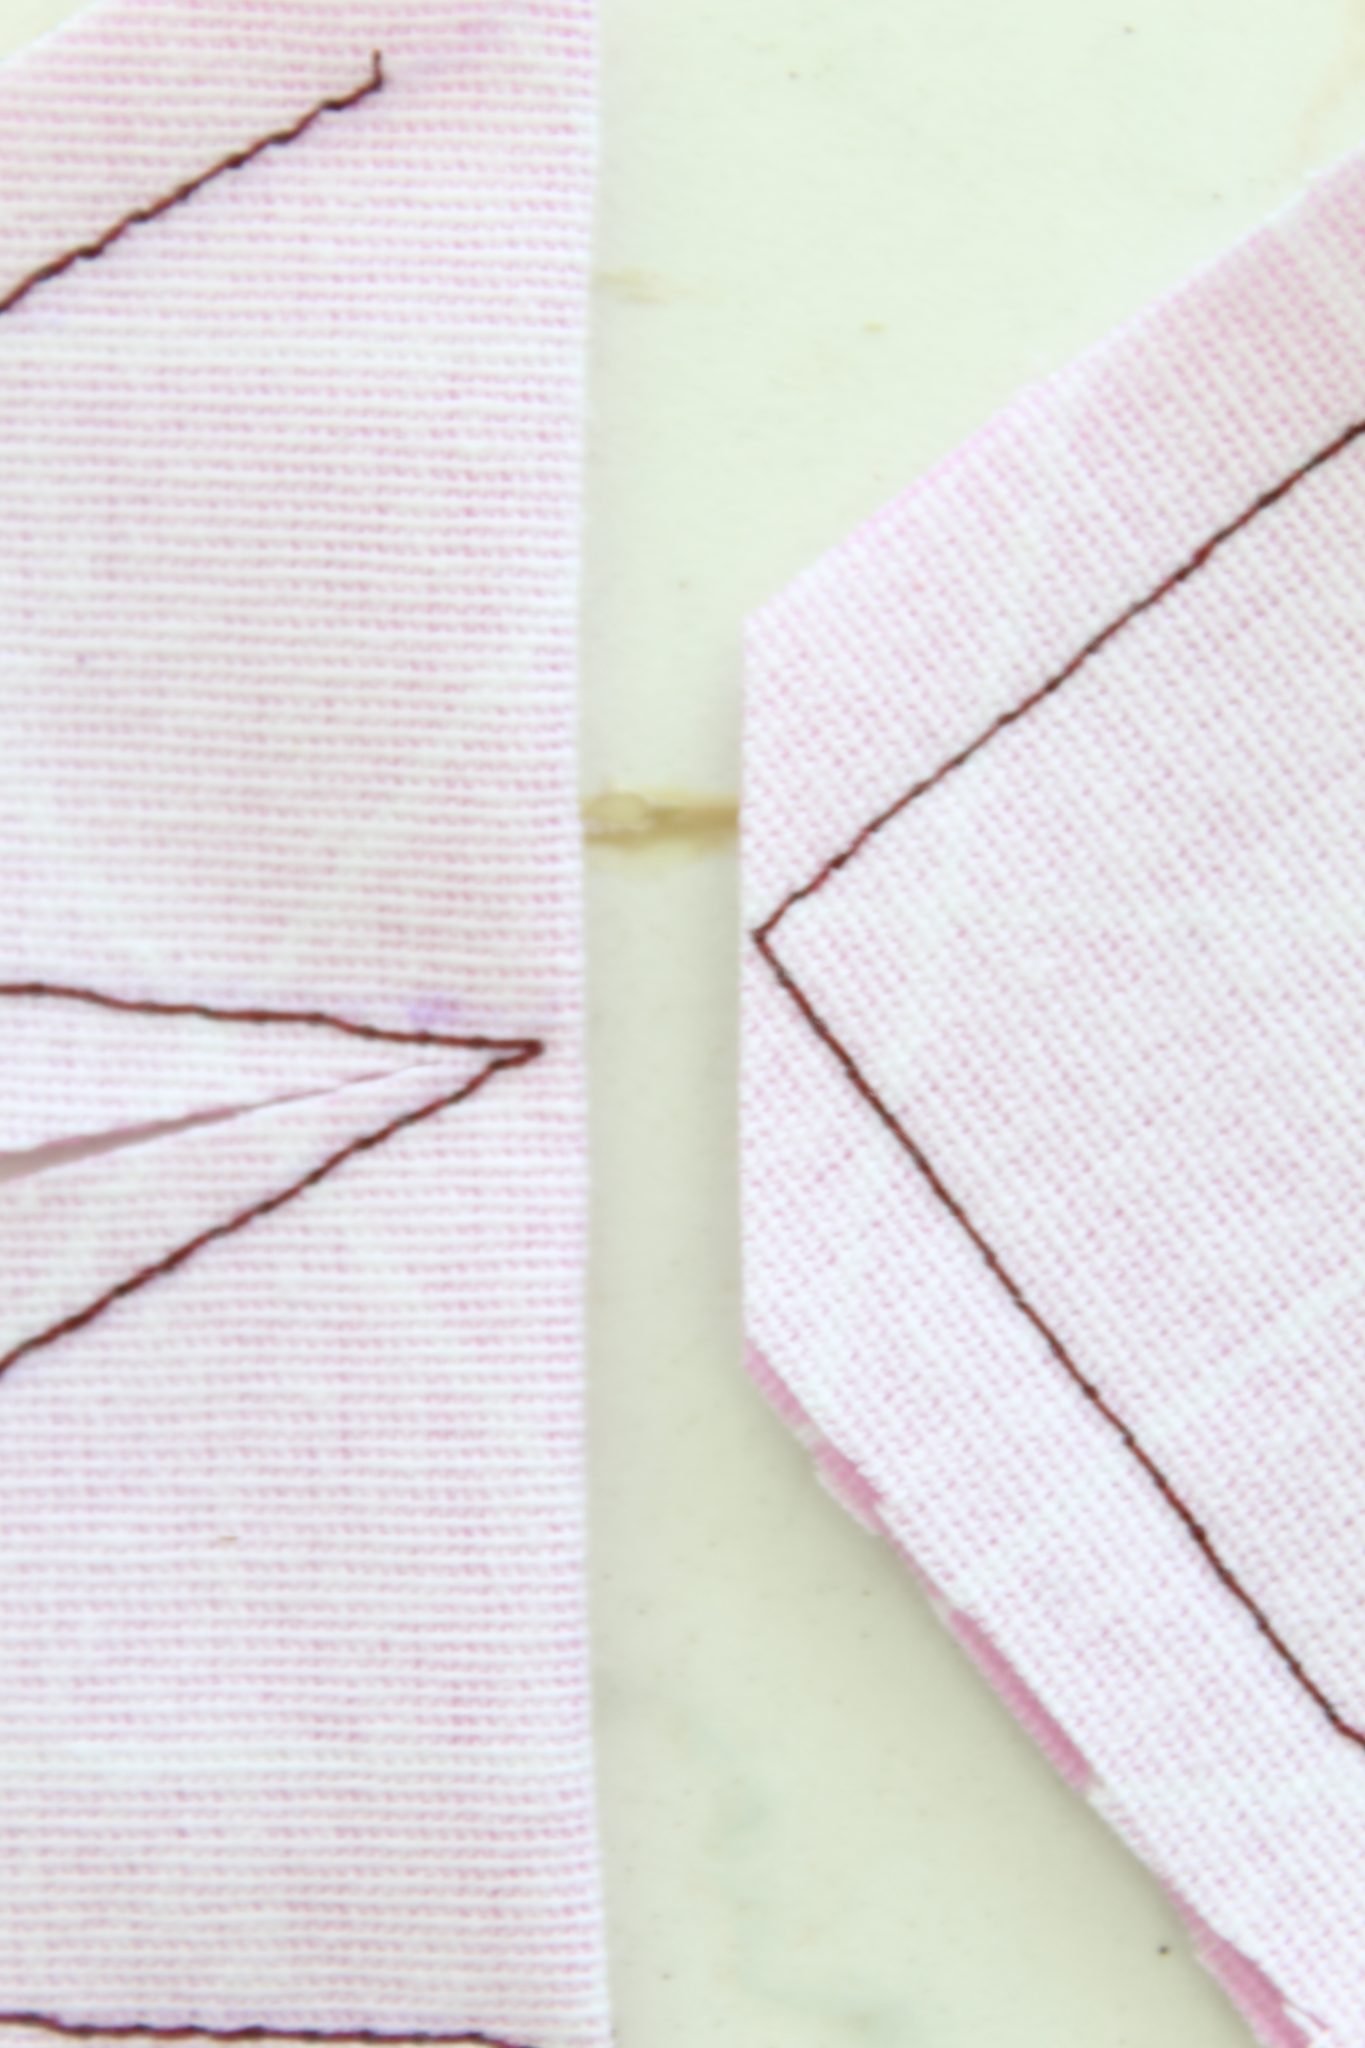
For inner curves:
Same as the inner corners, the inner curves will stretch a lot once turned to the right side (not as much as the inner corners though). They will need the fabric in the seam to stretch with the seam line. For this type of curve you’ll need clipping. So you will need to snip the fabric a little, perpendicularly to the seam line, without clipping through the seam, like this.
If the seam is not clipped, the seam line will never align perfectly! No matter how much you try stretching and pressing the fabric! When the fabric is clipped, it allows room for stretch, like this:

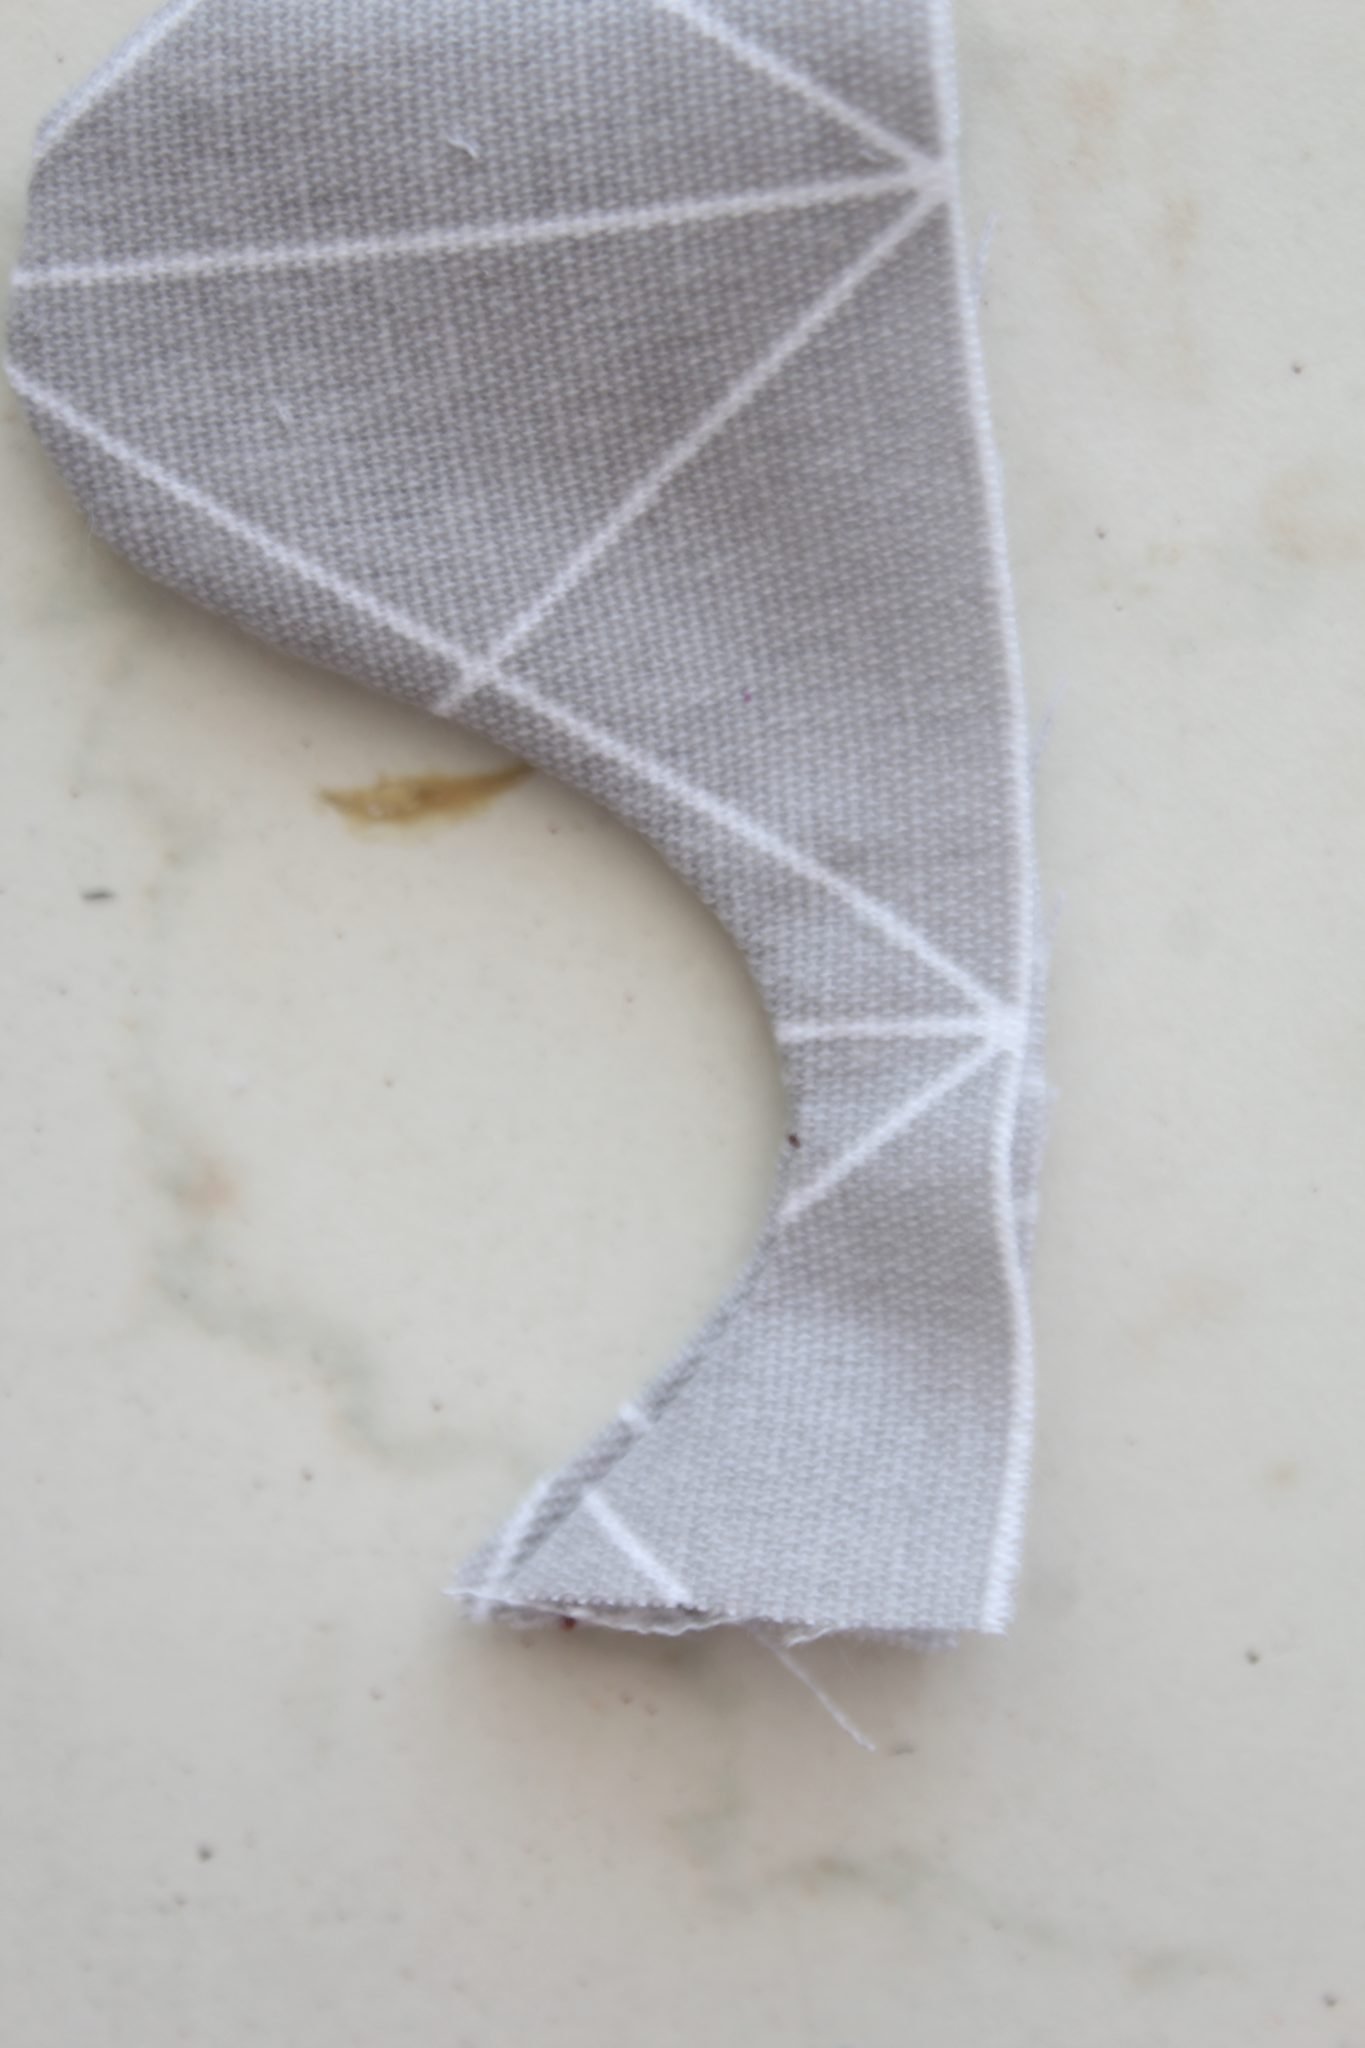
For outer curves:
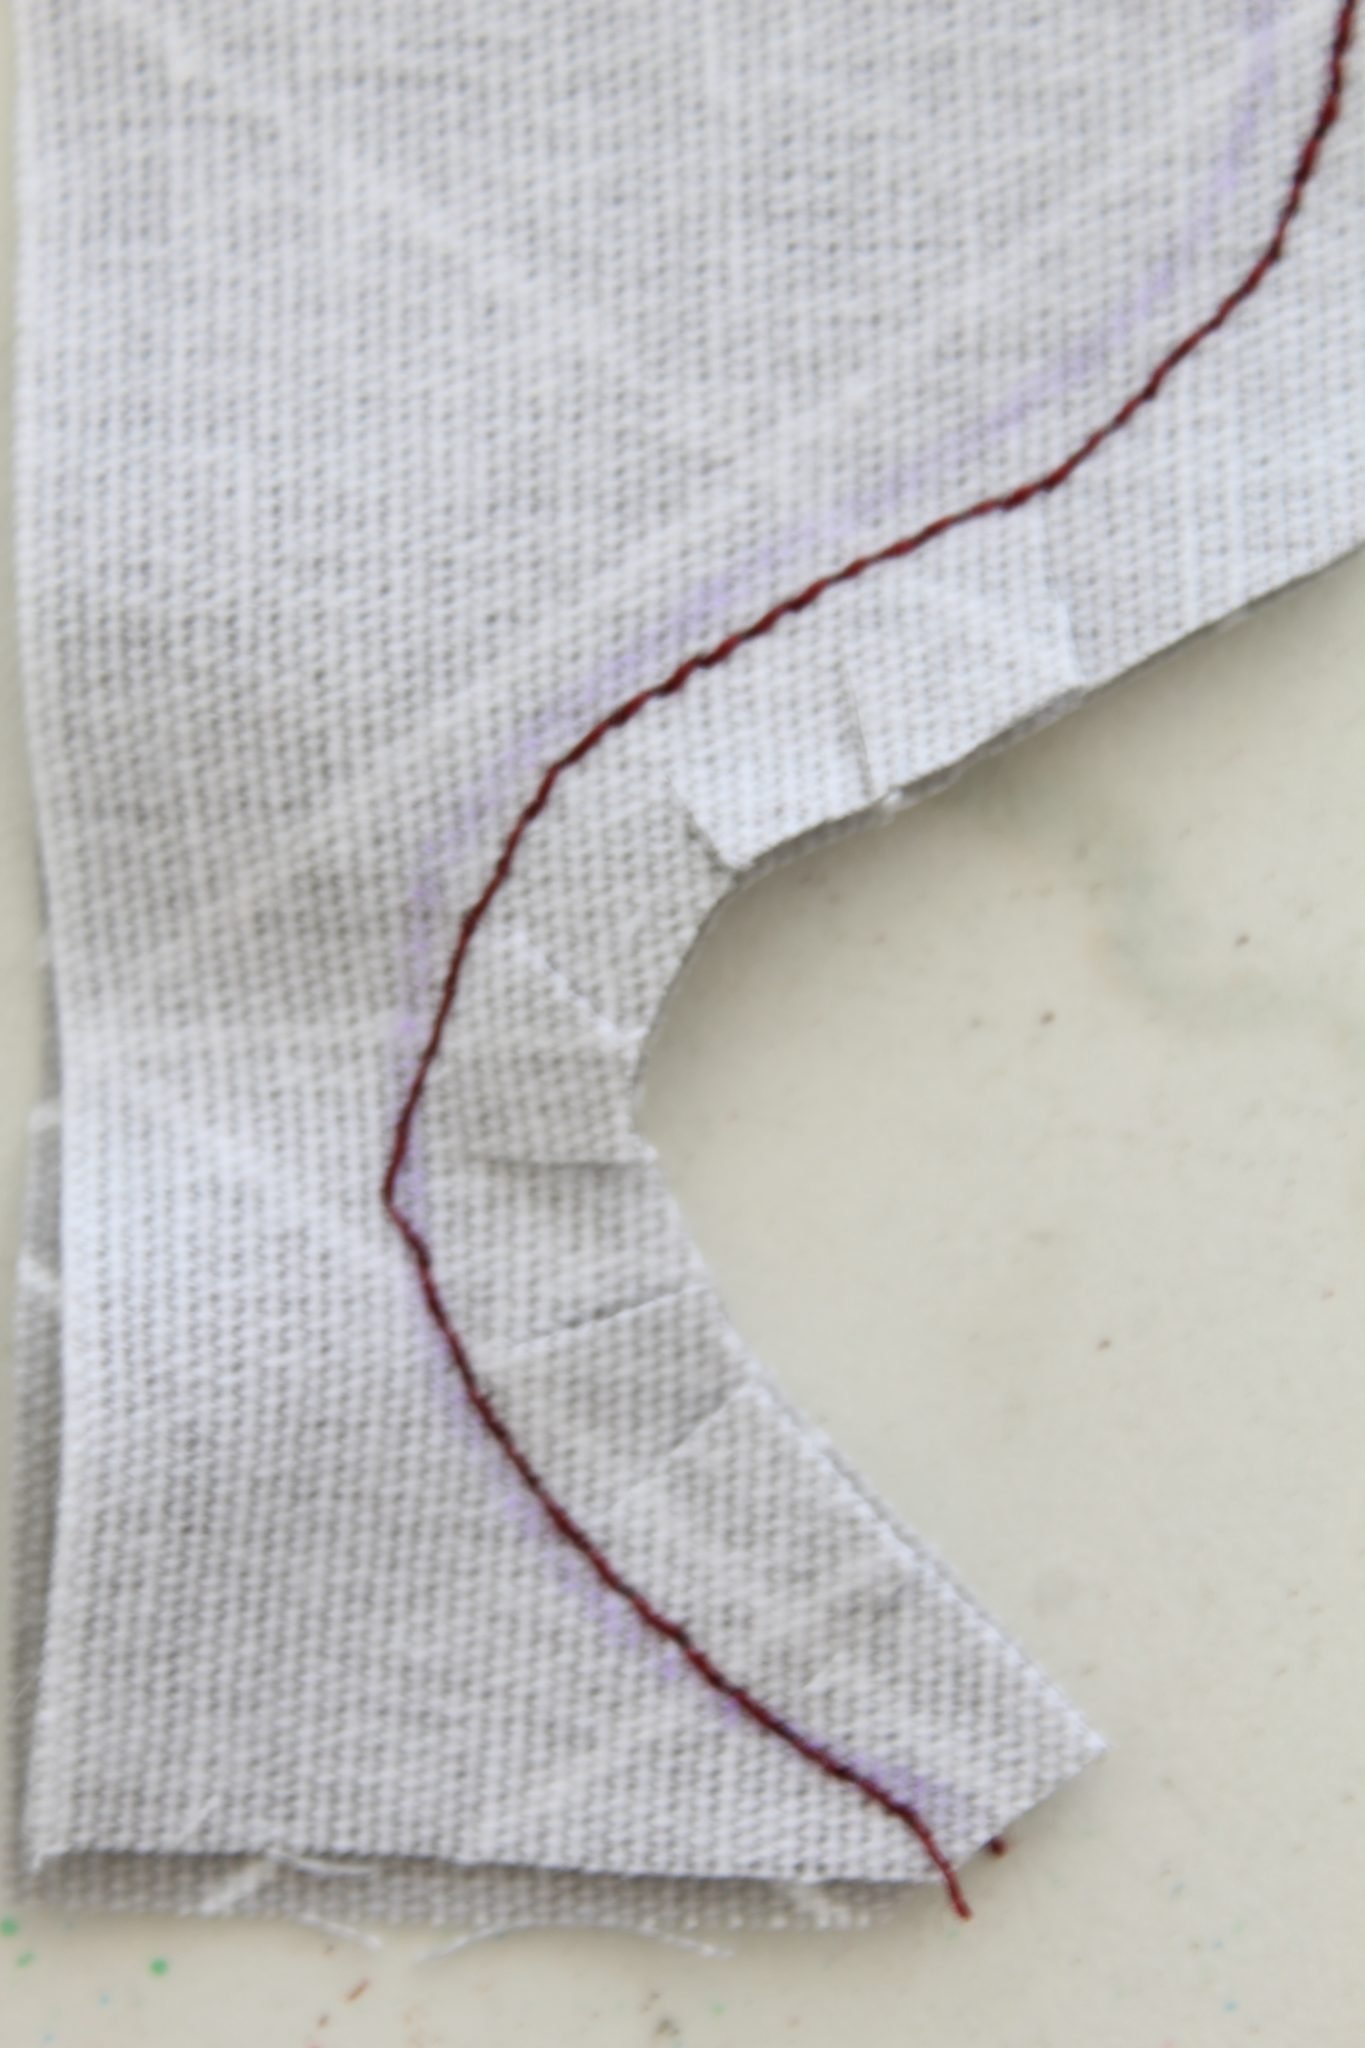
This is where the magic term “notch” comes into action! For this type of curves clipping is never enough. So you need to cut notches in the seam allowance instead of clipping, all around the curved area. A notch is a V-shaped cut in the seam like this.
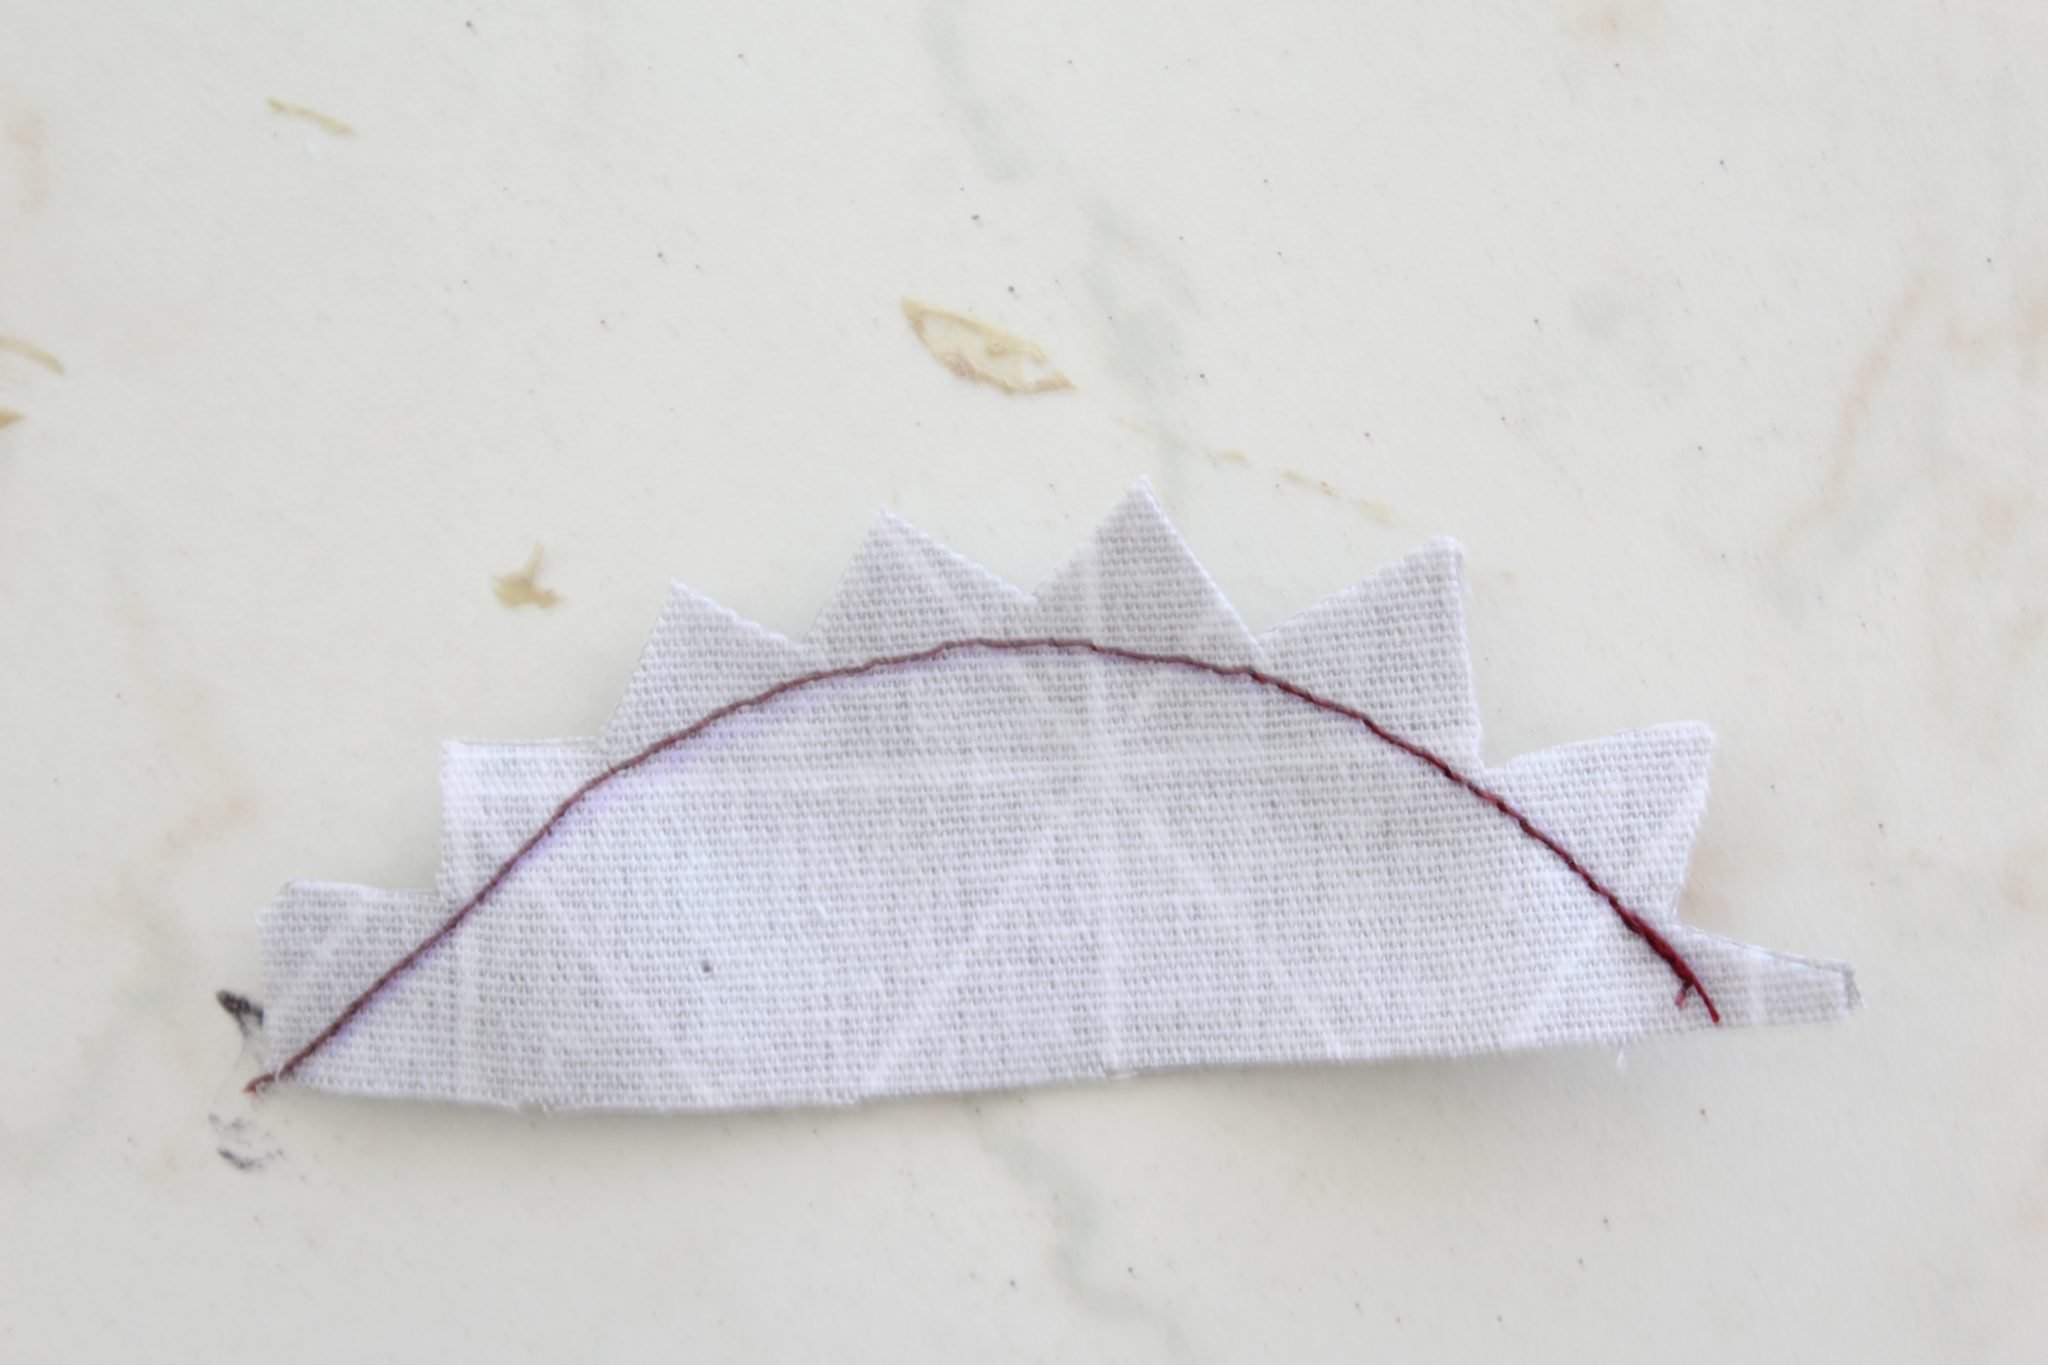
Outer curves create lots of bulk when the fabric is turned right side out, bulk that you will not be able to get rid of through stretching and pressing either. Even if you manage to mask it if you work with lightweight fabrics, the seam will never look perfectly neat.
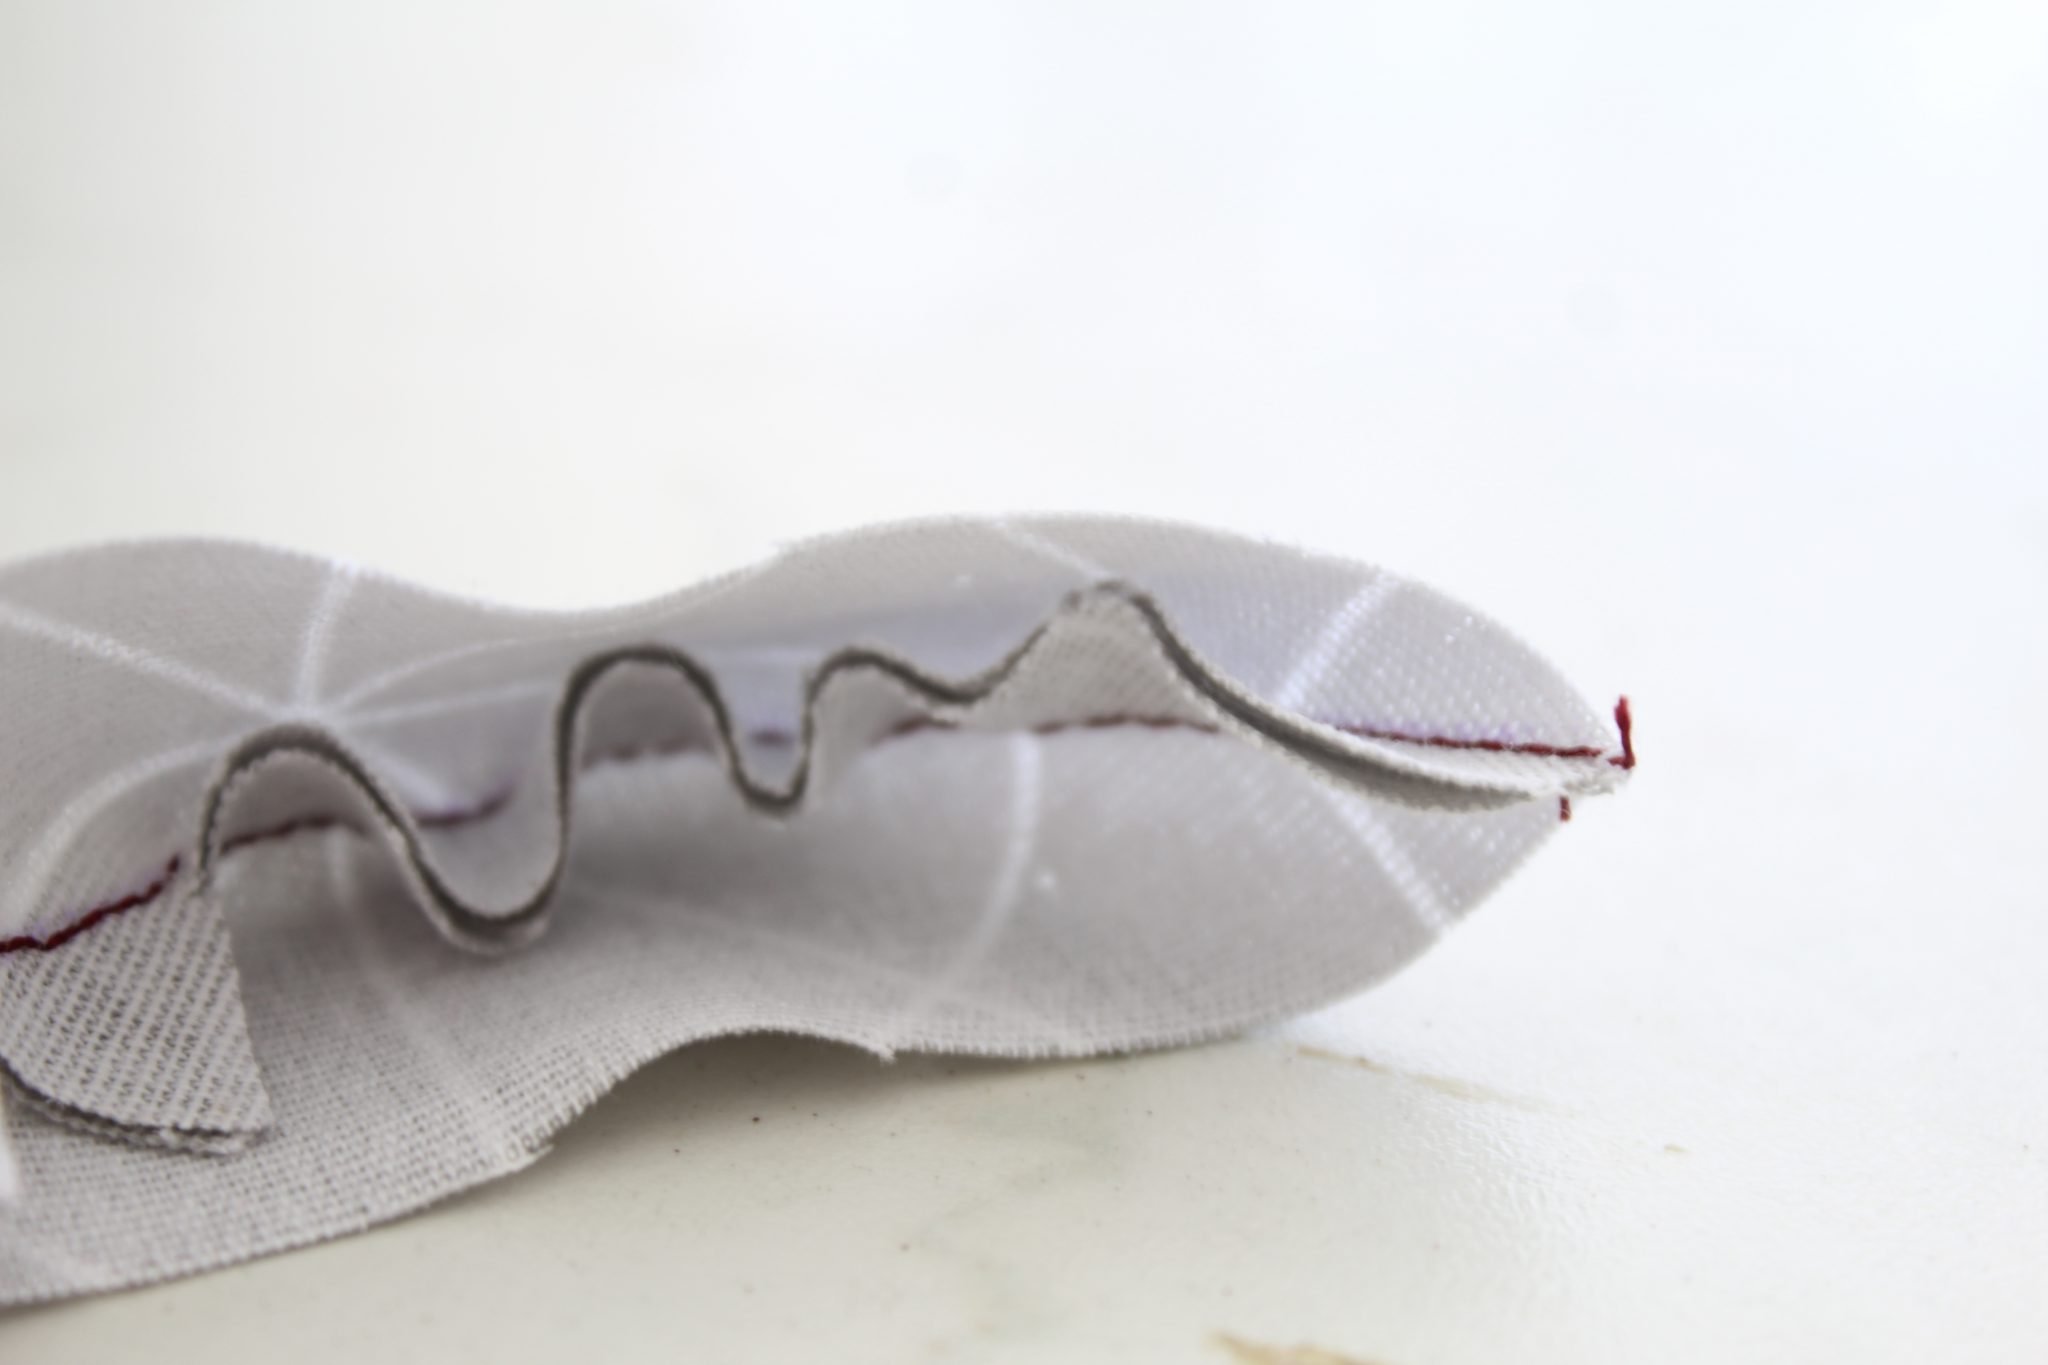
Here’s what happens to the seam on the wrong side of the fabric, if you don’t notch the seam allowance.
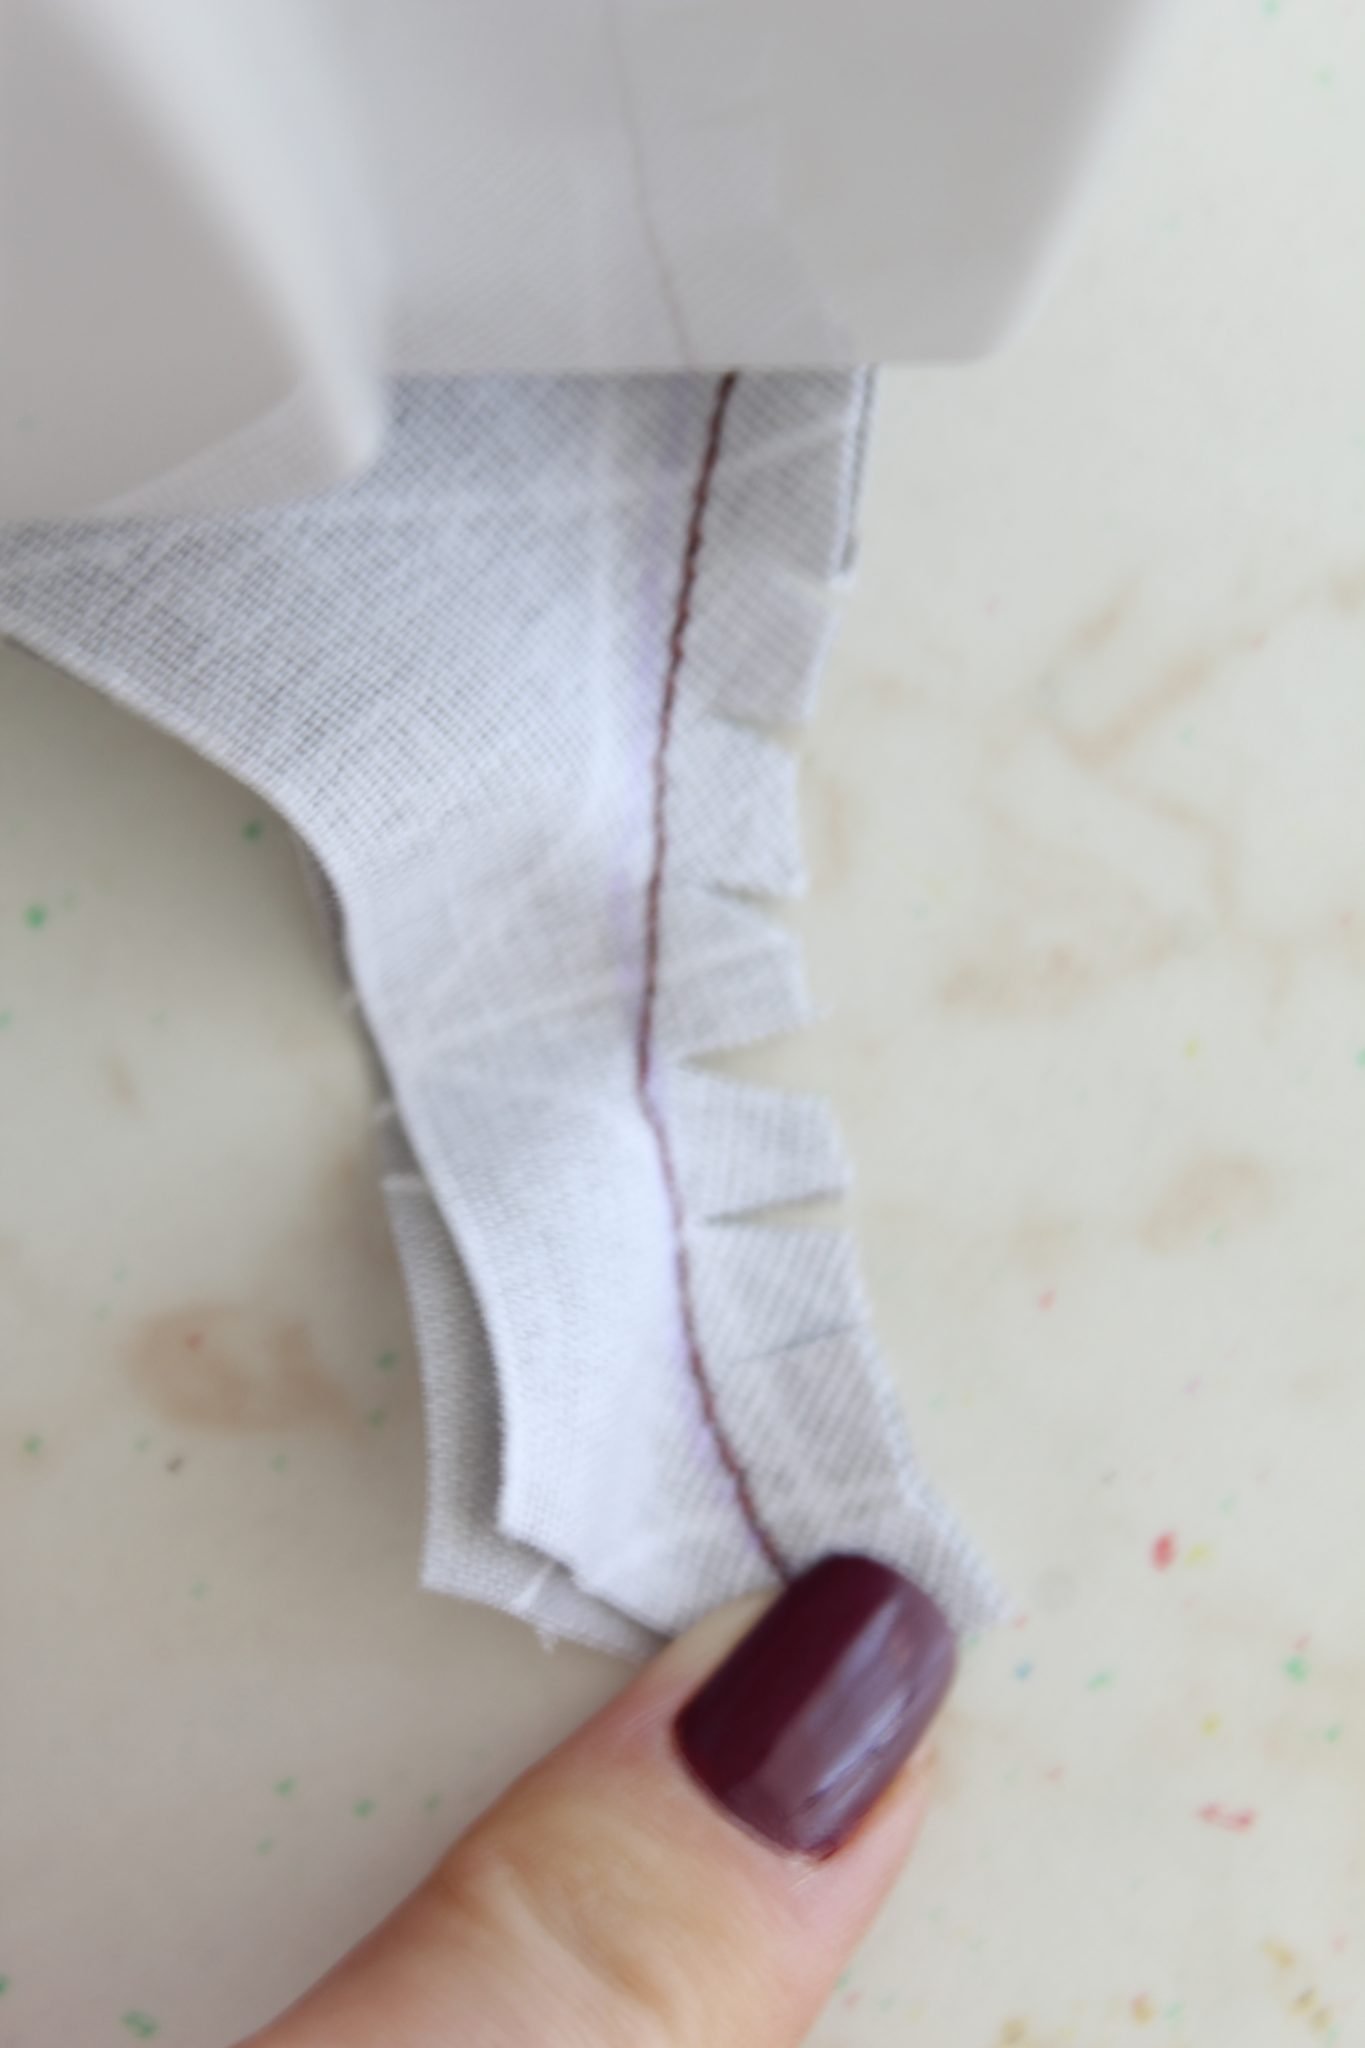
And here’s the curve with notches. The fabric along the seam line has plenty of room now.
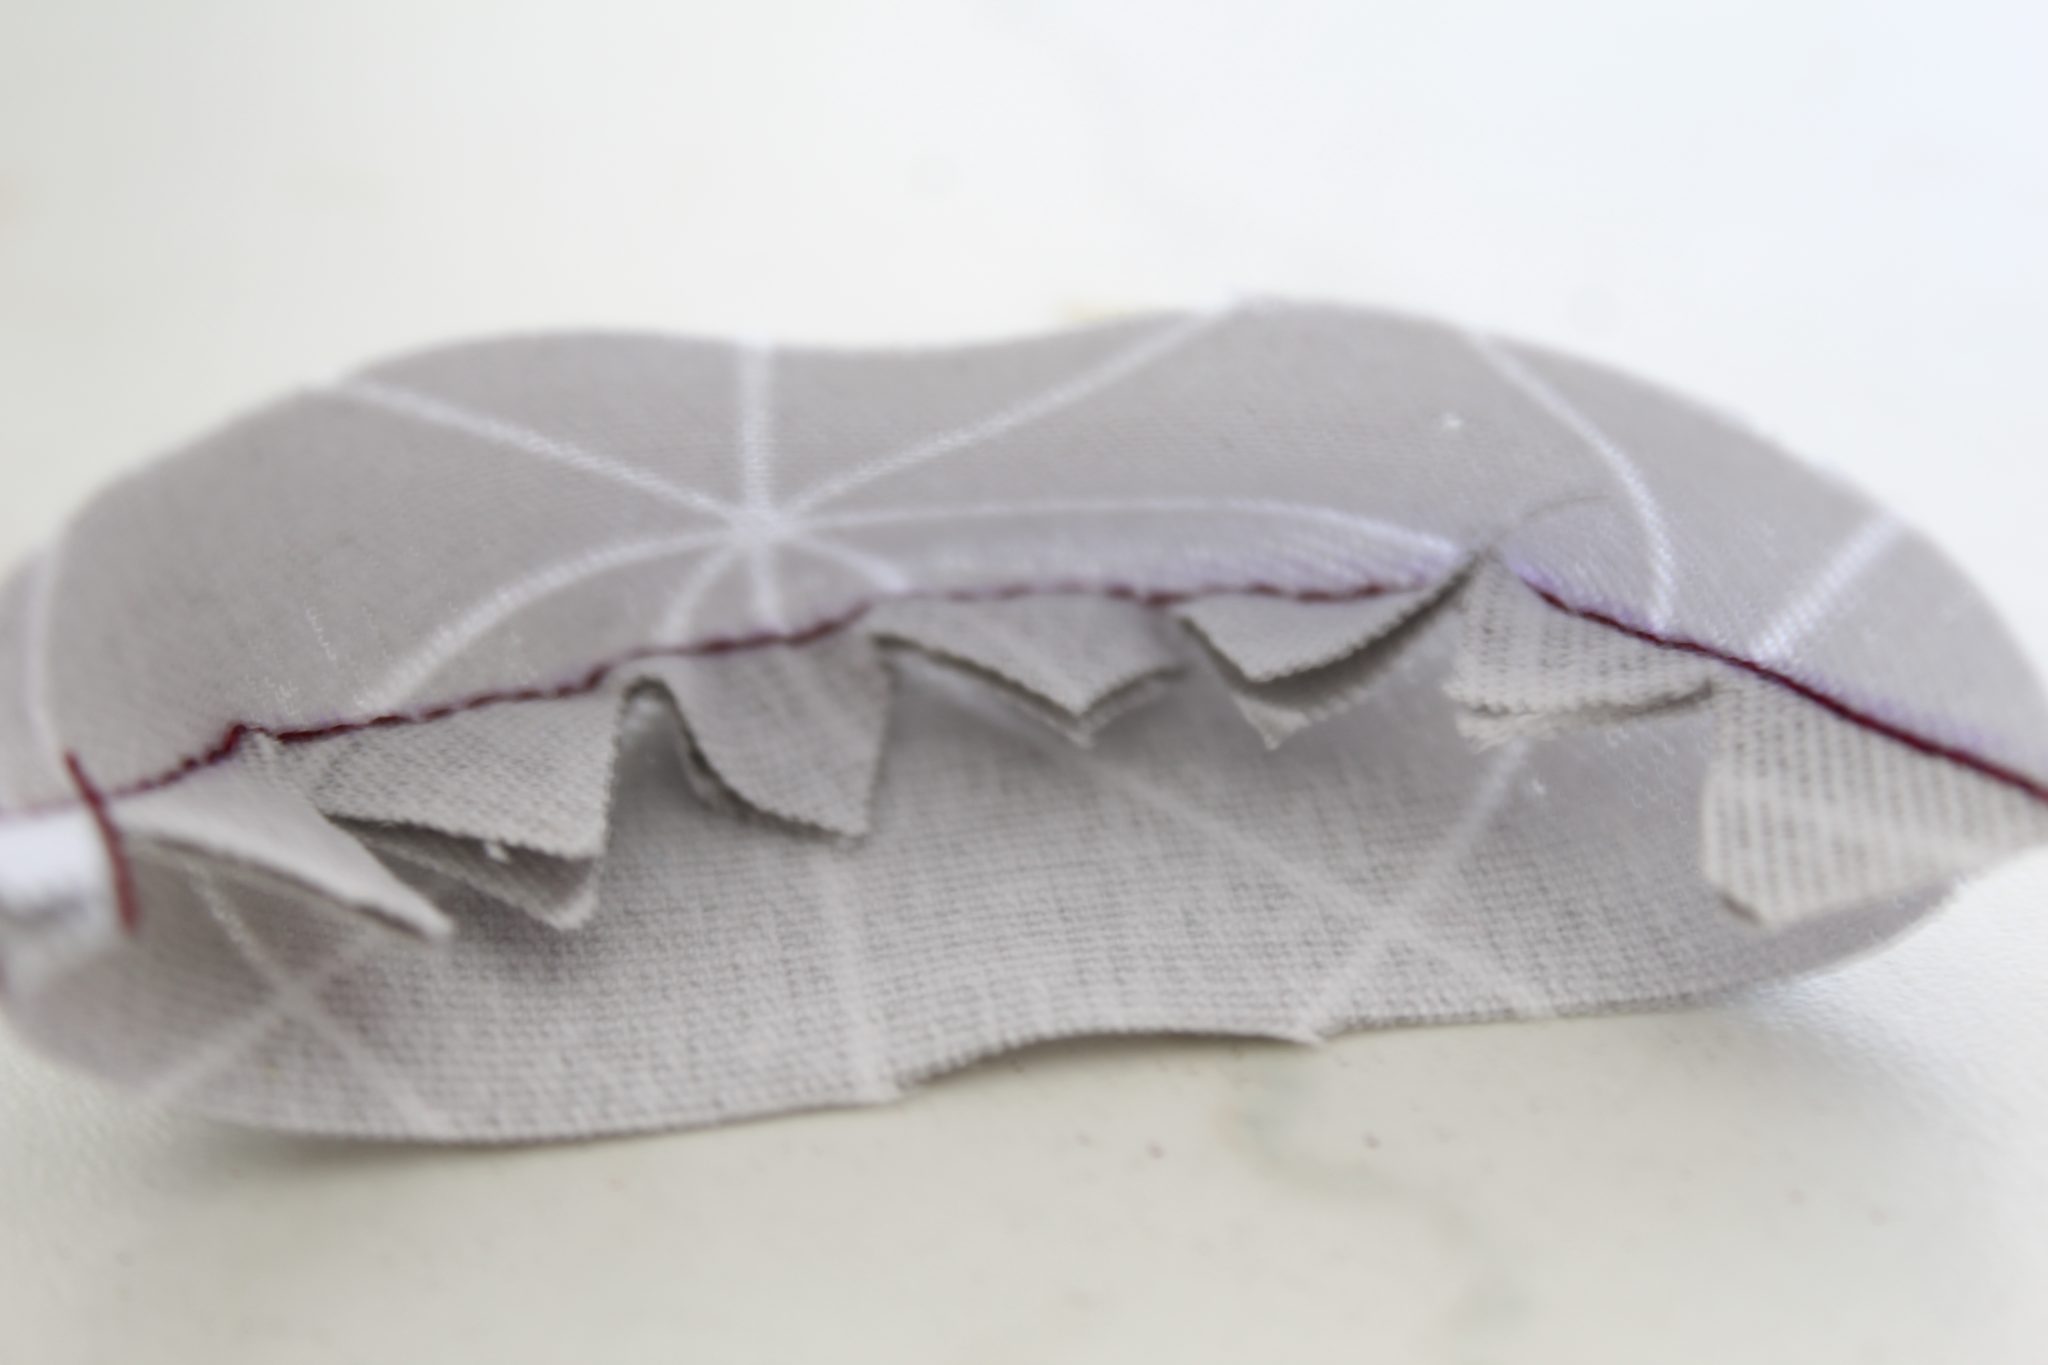
Giving a perfectly neat curve on the outside.
How to cut notches
Notches can be done two ways! One at a time, using your regular scissors. Or with pinking shears, for smaller seam allowances, which will create lots of small v-shaped cuts. The first is more time consuming but more accurate and easier to do. While the second is faster, you will need to cut very close to the seam. Plus it works on narrow seams not on wider ones. And pinking shears require a lot of hand control so you won’t snip through the seam. I personally like and use the first one in the majority of my projects.
And that’s pretty much all there is about clipping and notching seam allowances. To sum up: use clipping for all types of corners and inner curves and use notching for outer curves only.
I hope I helped you learn something new and useful today! If you found my tutorial helpful and informative, please let me know in the comments below. And don’t forget to rate it! Thanks!
Pin to save for later
Most popular sewing projects:
- Tips for sewing a round hem
- Corded bag handles
- Flutter sleeve dress pattern
- How to laminate cotton fabric


Article may contain Amazon & affiliate links. As an Amazon Associate I earn from qualifying purchases at no additional cost to you.
ABOUT PETRO
Hi, I’m Petro, author and founder of Easy Peasy Creative Ideas. Sewist, crafter, avid DIY-er, foodie, photographer, homemaker and mommy to one. I’m an expert at coming up with quick, clever sewing tips, recycling crafts and simple, easy recipes! You can find my ideas featured in reputable publications such as Country Living, Good House Keeping, Yahoo News, WikiHow, Shutterfly, Parade, Brit & Co and more. Thanks for stopping by and hope you’ll stay for a while, get to know me better and come back another time. Stick around for real fun projects! Read more…