

How to use the seam ripper correctly
Are you looking for some helpful tips on how to make the most of your stitch unpicker tool? These instructions will guide you through the proper seam ripper use and teach you how to quickly and effortlessly remove seams.
Seam ripper use
Whether you’ve been sewing for a while or you’re an ultimate beginner, chances are you had to use your seam ripper at least once in your sewing life! But do you know the proper seam ripper use? If you don’t know how to use the seam ripper or you have a hunch you’ve been using it wrong all along, this short tutorial is perfect for you!
Want more sewing tips?
- DIY seam guide
- How to match stripes
- DIY spaghetti straps
- Turning a tube out without a turning tool
- Tips for clipping and notching seam allowances
- Sewing sharp corners
- Elastic join tip to remove bulk
- How to square up and true up fabric
- Sewing needle types with size & color code chart
- How to remove serger stitches fast and easy
When I first started sewing, many years ago, I didn’t even know what a seam ripper is! I found this little spiky scary looking tool in my beginner sewing kit and I honestly thought it’s a joke! Then my mom, who’s been sewing for over 60 yrs told me its name and I decided that I should look for instructions on the proper seam ripper use at a later date since I didn’t see it as an essential tool for me at that time.
But what does a seam ripper do? I asked my mom. Well, this little tool is basically a sewist’s best friend, she answers, without giving me any details on the seam ripper instructions or any seam ripping tips! She has a knack for being mysteriously elusive and seldom reveals her secrets, which makes it all the more enticing to uncover them (something I’ve been doing since childhood).
I ignored her at the time and moved on, not realizing I would soon need the seam ripper. When the moment came, I used the tool as I saw fit, thinking it was the best approach. However, I quickly discovered the consequences of a single mistake: a broken fabric and a ruined project. That experience taught me the proper way to use the seam ripper. But fear not, as I am here to share my tips with you, so you can avoid such mishaps!
So what is a seam ripper and what does it do?
A seam ripper is a small sewing tool that is used for breaking and removing stitches in a sewing project where you made a mistake. You can always use your scissors for this process but using this tool is a lot faster, precise and more appropriate for small stitches.
The ripper is also known as a ‘stitch unpicker’ or a ‘quick unpick’. The use of the tool is dated back in late 1800s.
A seam ripper is a small sewing tool that is used for breaking and removing stitches in a sewing project where you made a mistake. You can always use your scissors or embroidery scissors which are a little more precise but using this amazing tool is a lot faster, precise and more appropriate for small stitches.
I find this little tool super versatile and easy to use. I use my seam ripper for a lot of other purposes, like cutting the threads in a button or removing an ugly buttonhole. Talking about buttonholes, I also use my seam ripper for opening buttonholes (you can read the tutorial here). And sometimes I cut the tail threads in my projects or the top thread when it gets tangled on the right side of the fabric if my seam ripper is nearby.
The seam ripper is also known as a ‘stitch unpicker’ or a ‘quick unpick’ and the use of this tool is dated back in late 1800s.
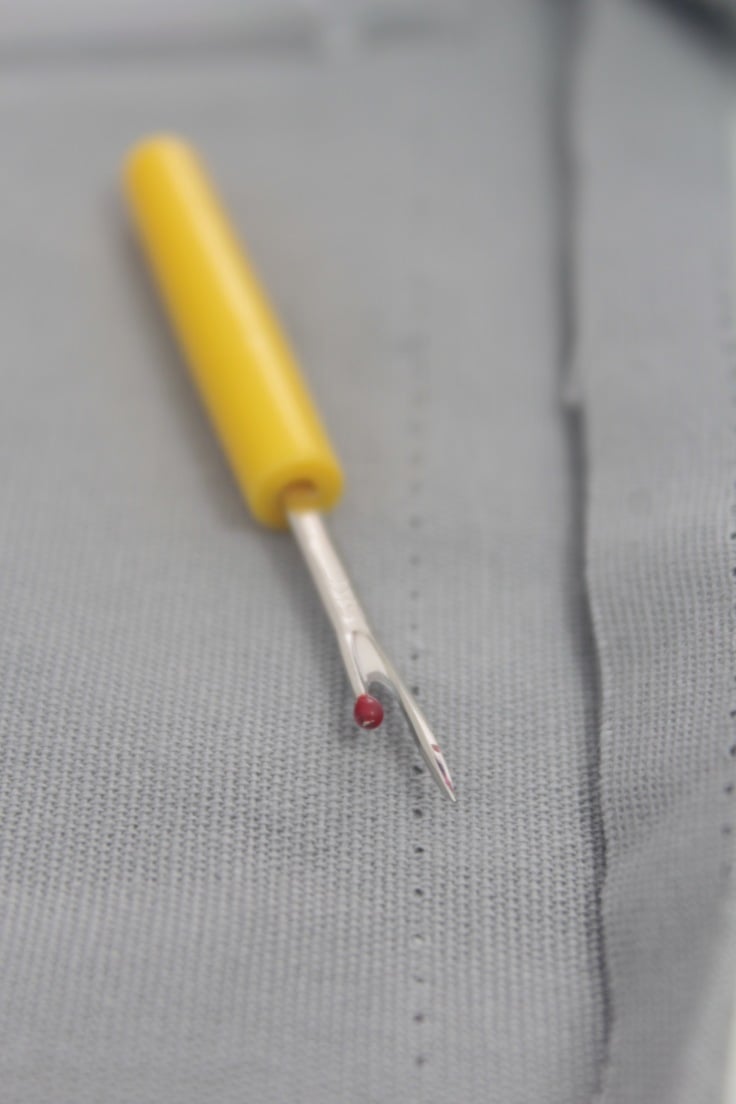
What are the seam ripper parts?
A seam ripping tool consists of a handle, shaft, a head and a lid for the head.
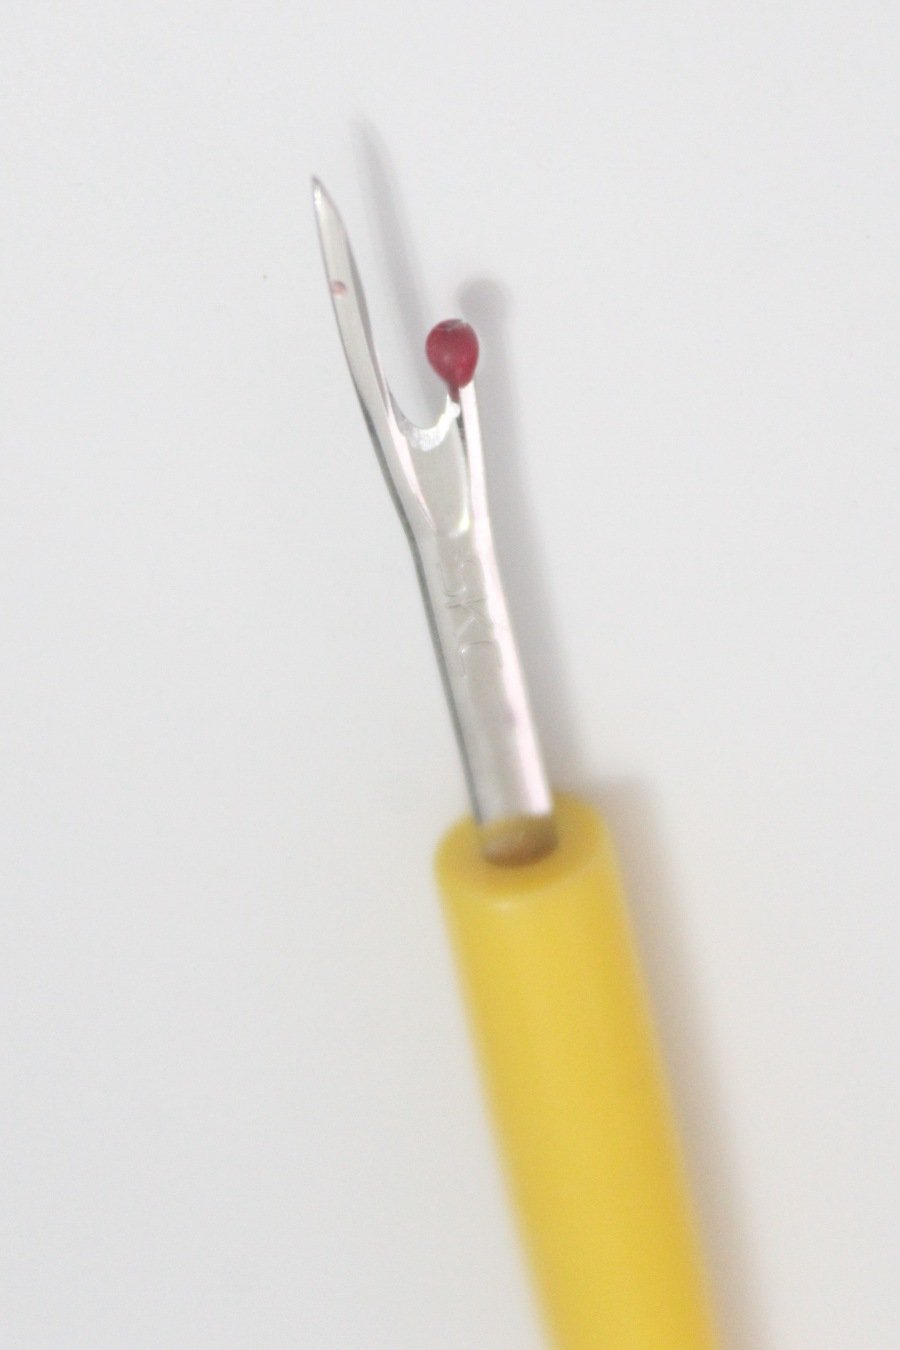
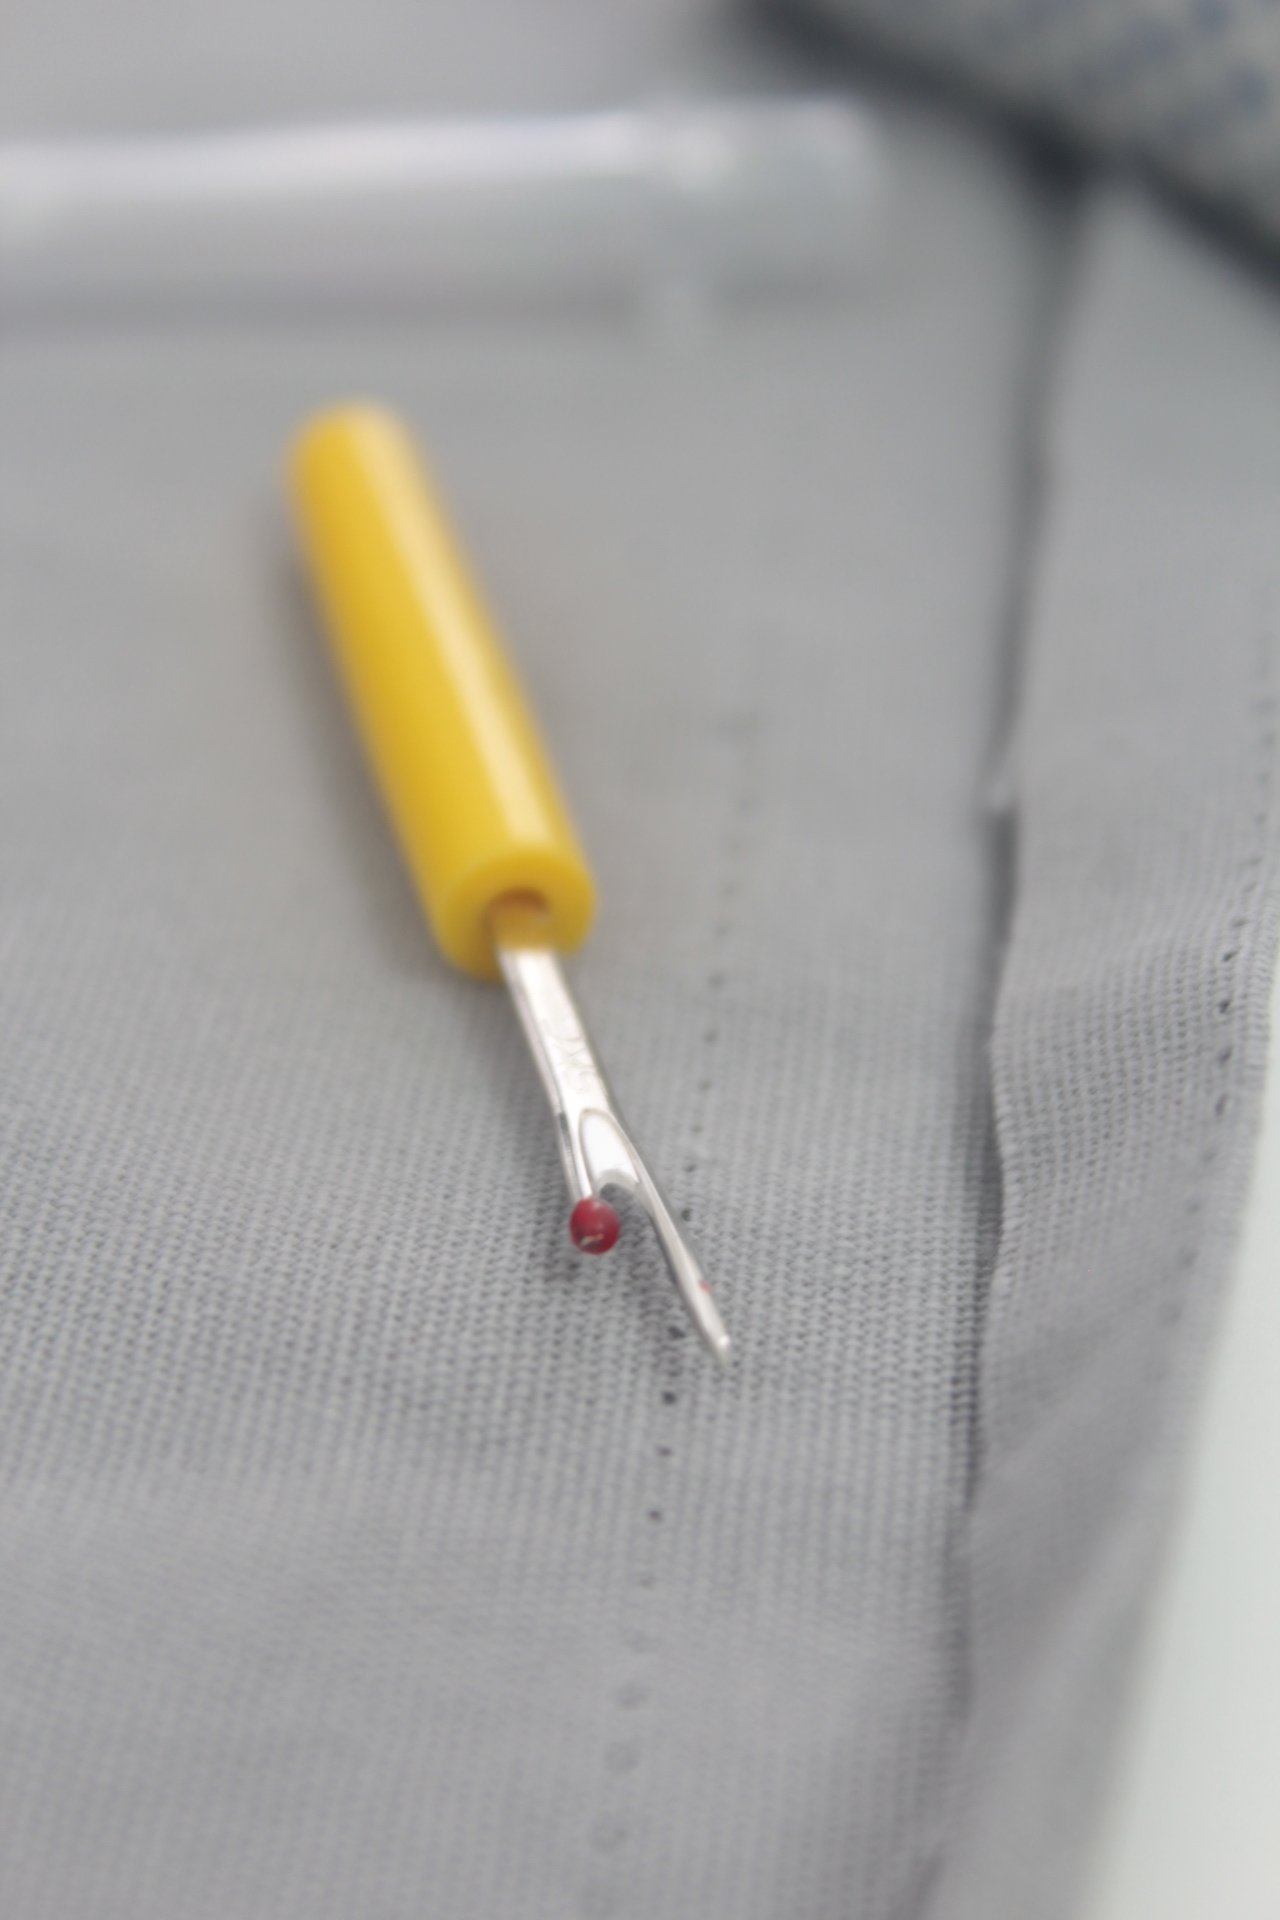
The head is split into two pieces: a sharp point tip and a blunt tip with a little red ball on top. Between these two tips there’s a very sharp little bridge/blade which is used to cut the threads/seams.
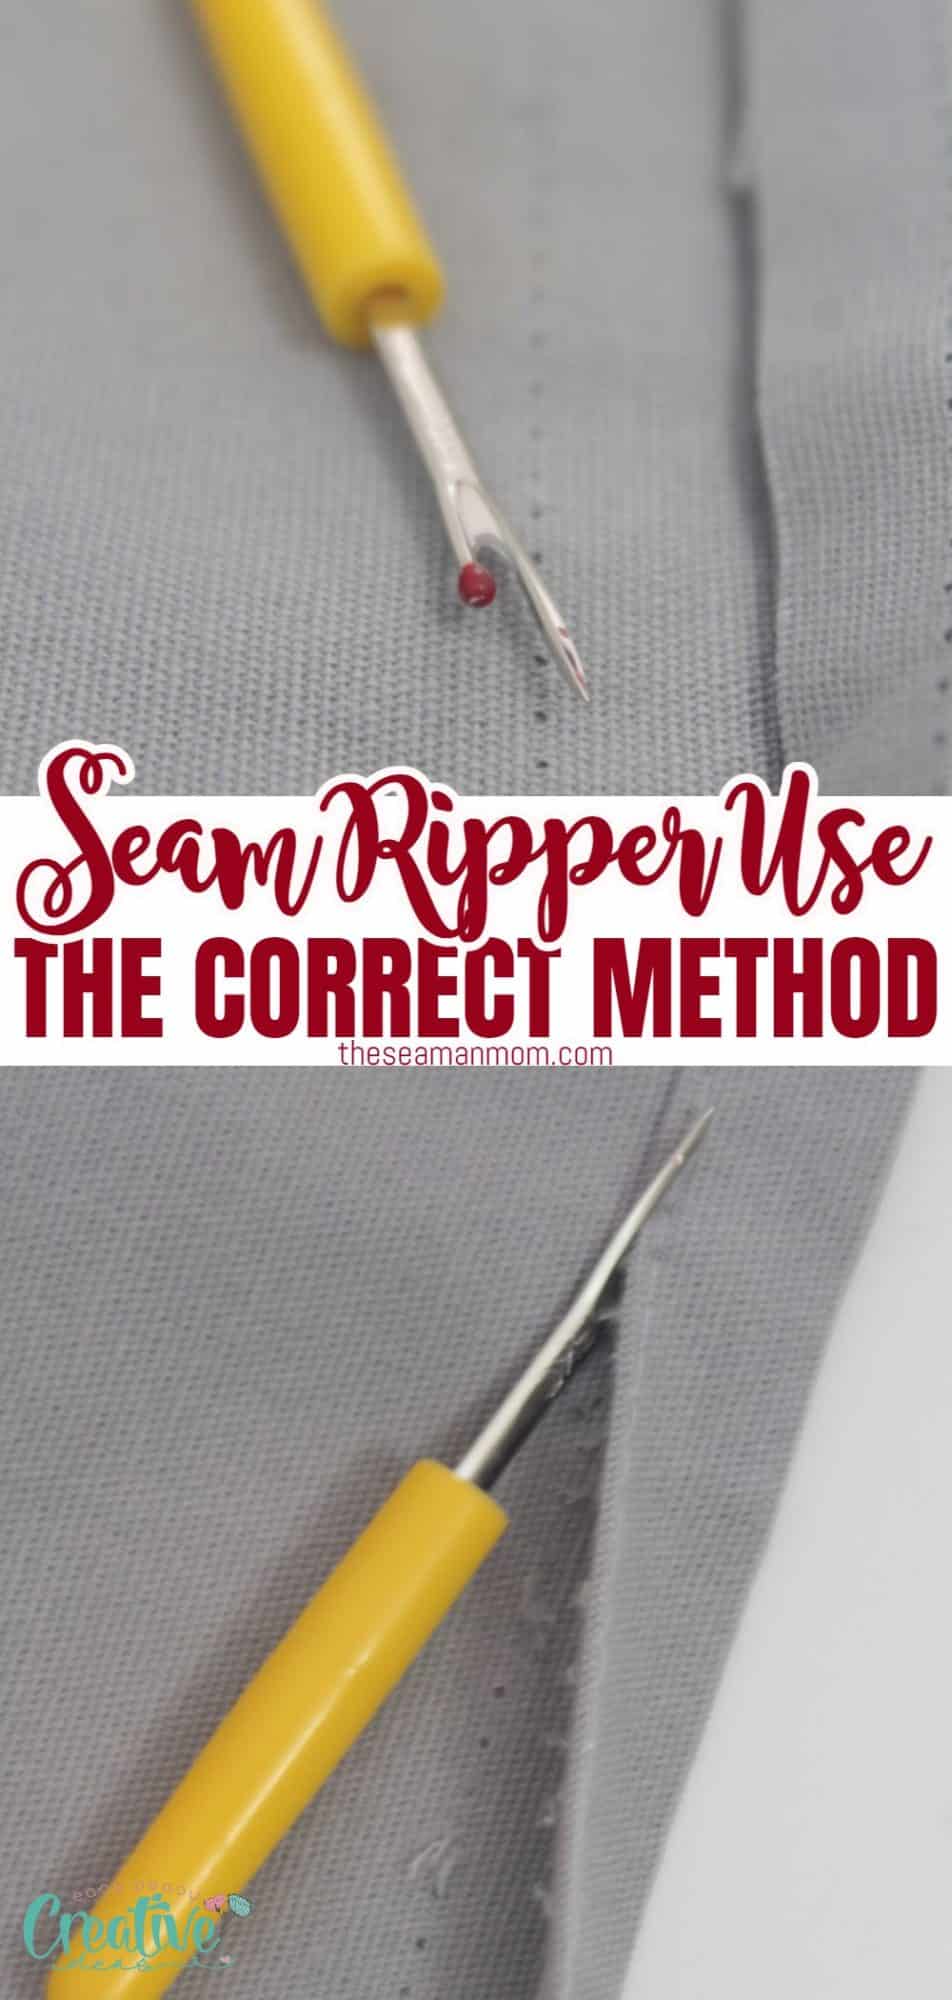
How do you use the seam ripper?
Some people wrongly use just the pointy tip to rip their seams out or they place it under the seam, ripping the fabric instead of the seam. I’ll get into more details below but with a proper seam ripper use you will get to use both tips with success. The pointy tip is used to unpick single stitches or a small number of stitches while the ball point tip is used to rip out entire rows of stitches or seams in just one quick go.
Below I’ll show you a simple tutorial on how to make the best out of this essential sewing tool, and rip out a seam allowance or a stitch in a blink of an eye! This method works best for cotton fabrics but with a little care you can apply it to delicate fabrics too such as silk or satin. While it does work for knits too, I found it harder to rip out an entire seam in one go, I had to do it in smaller batches.
The seam ripper, with its sharp and curved blade, is skillfully designed to slide between the threads without damaging the fabric, making it an indispensable tool in every sewer’s kit. But for that, you must know the proper seam ripper use.
How to use a seam ripper properly
Materials:
- seam ripper
- piece of fabric with a seam
- lint roller
Directions:
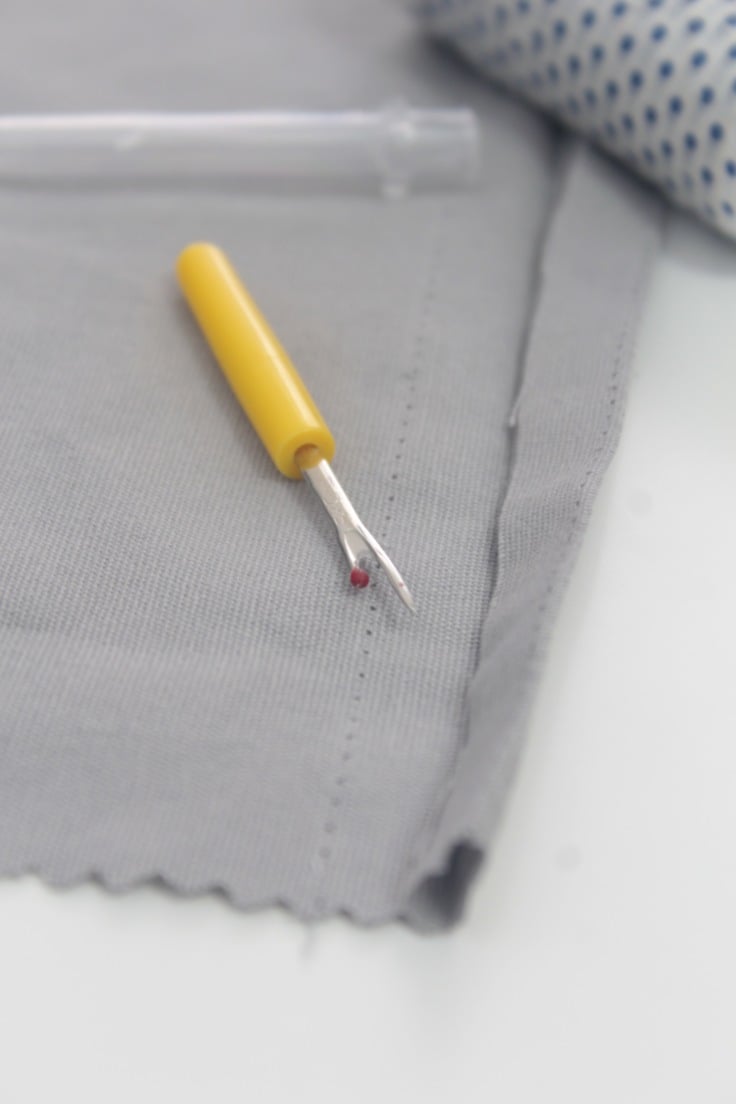
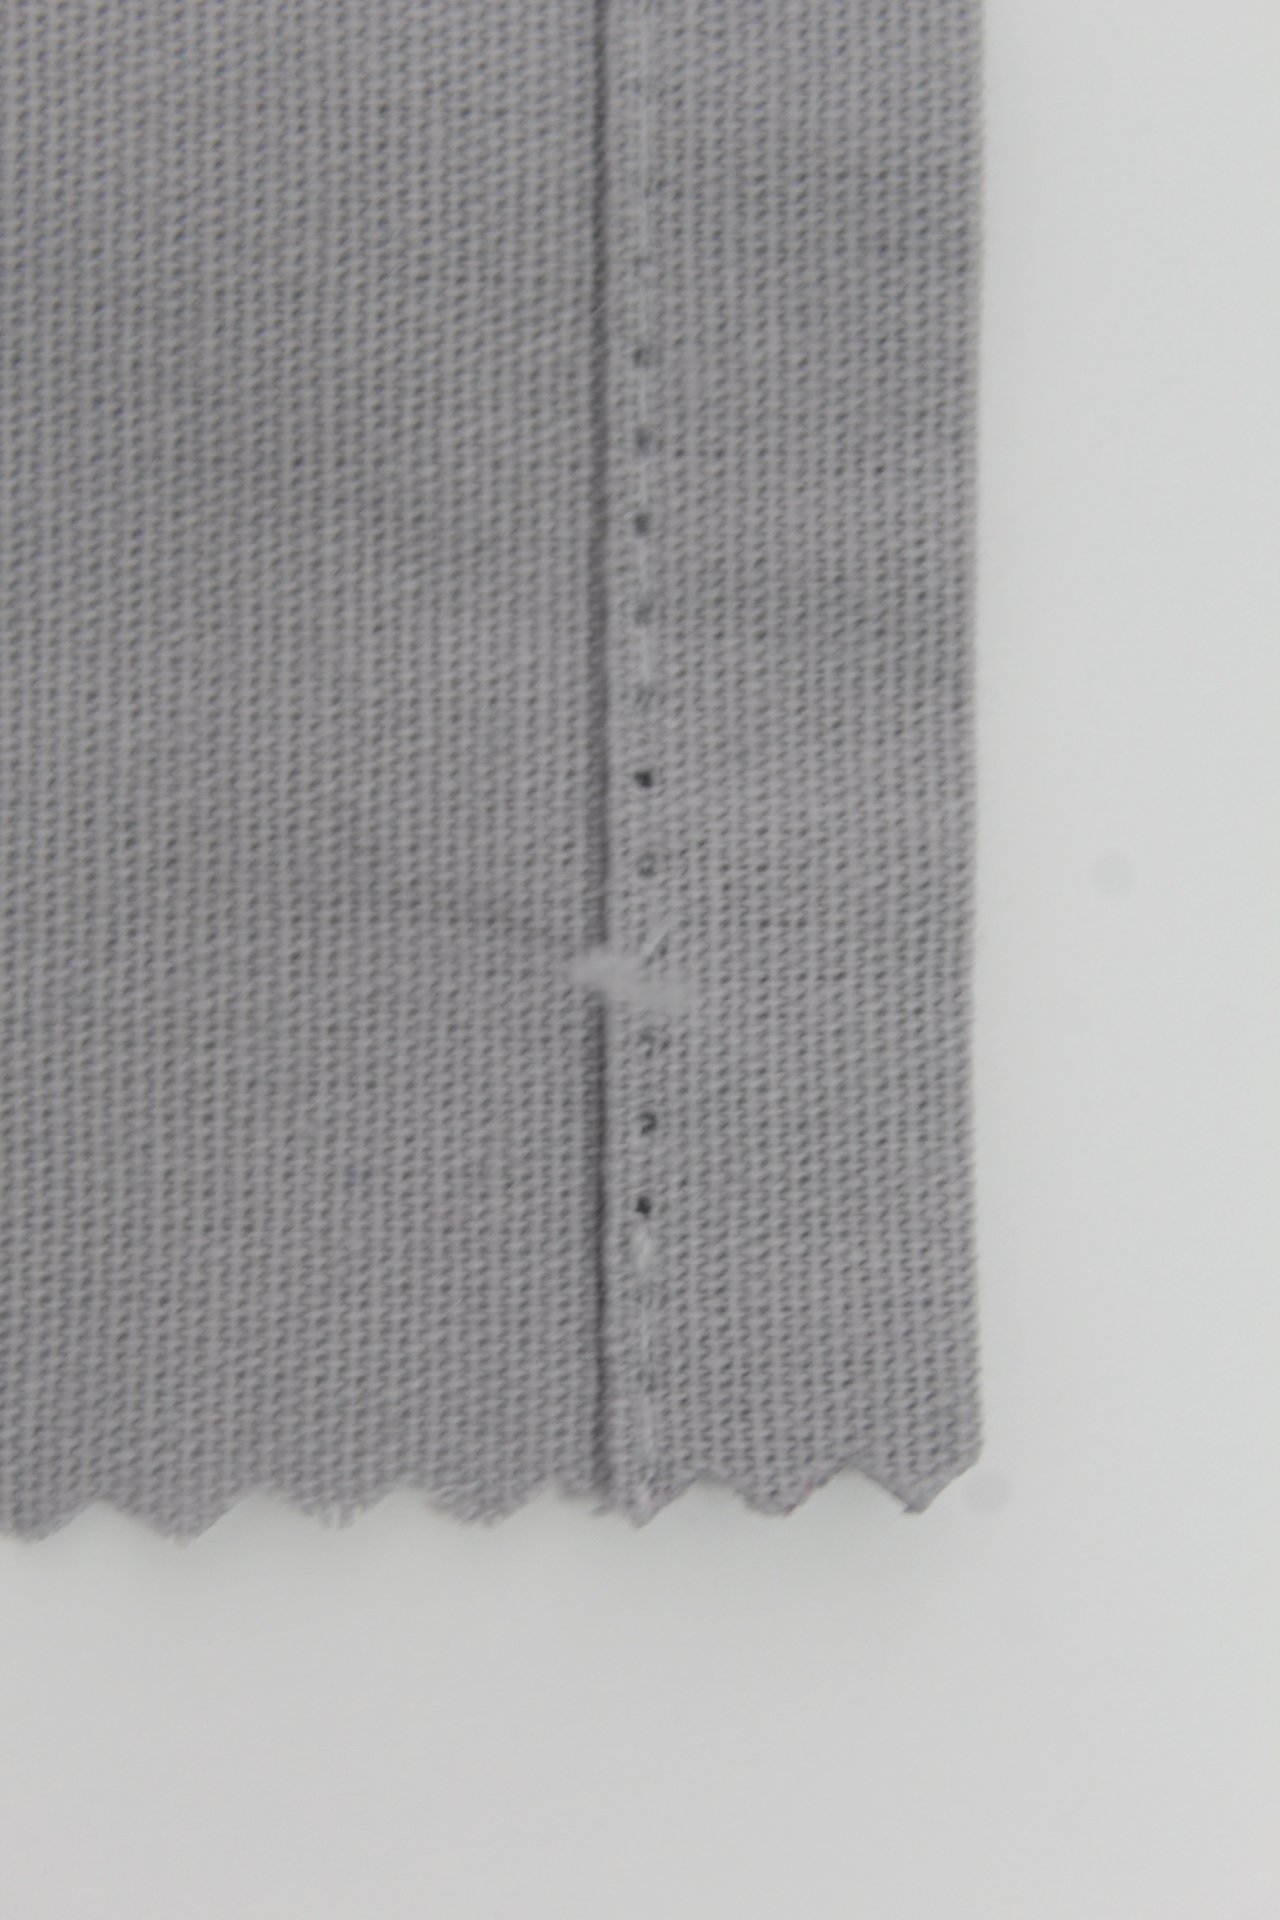
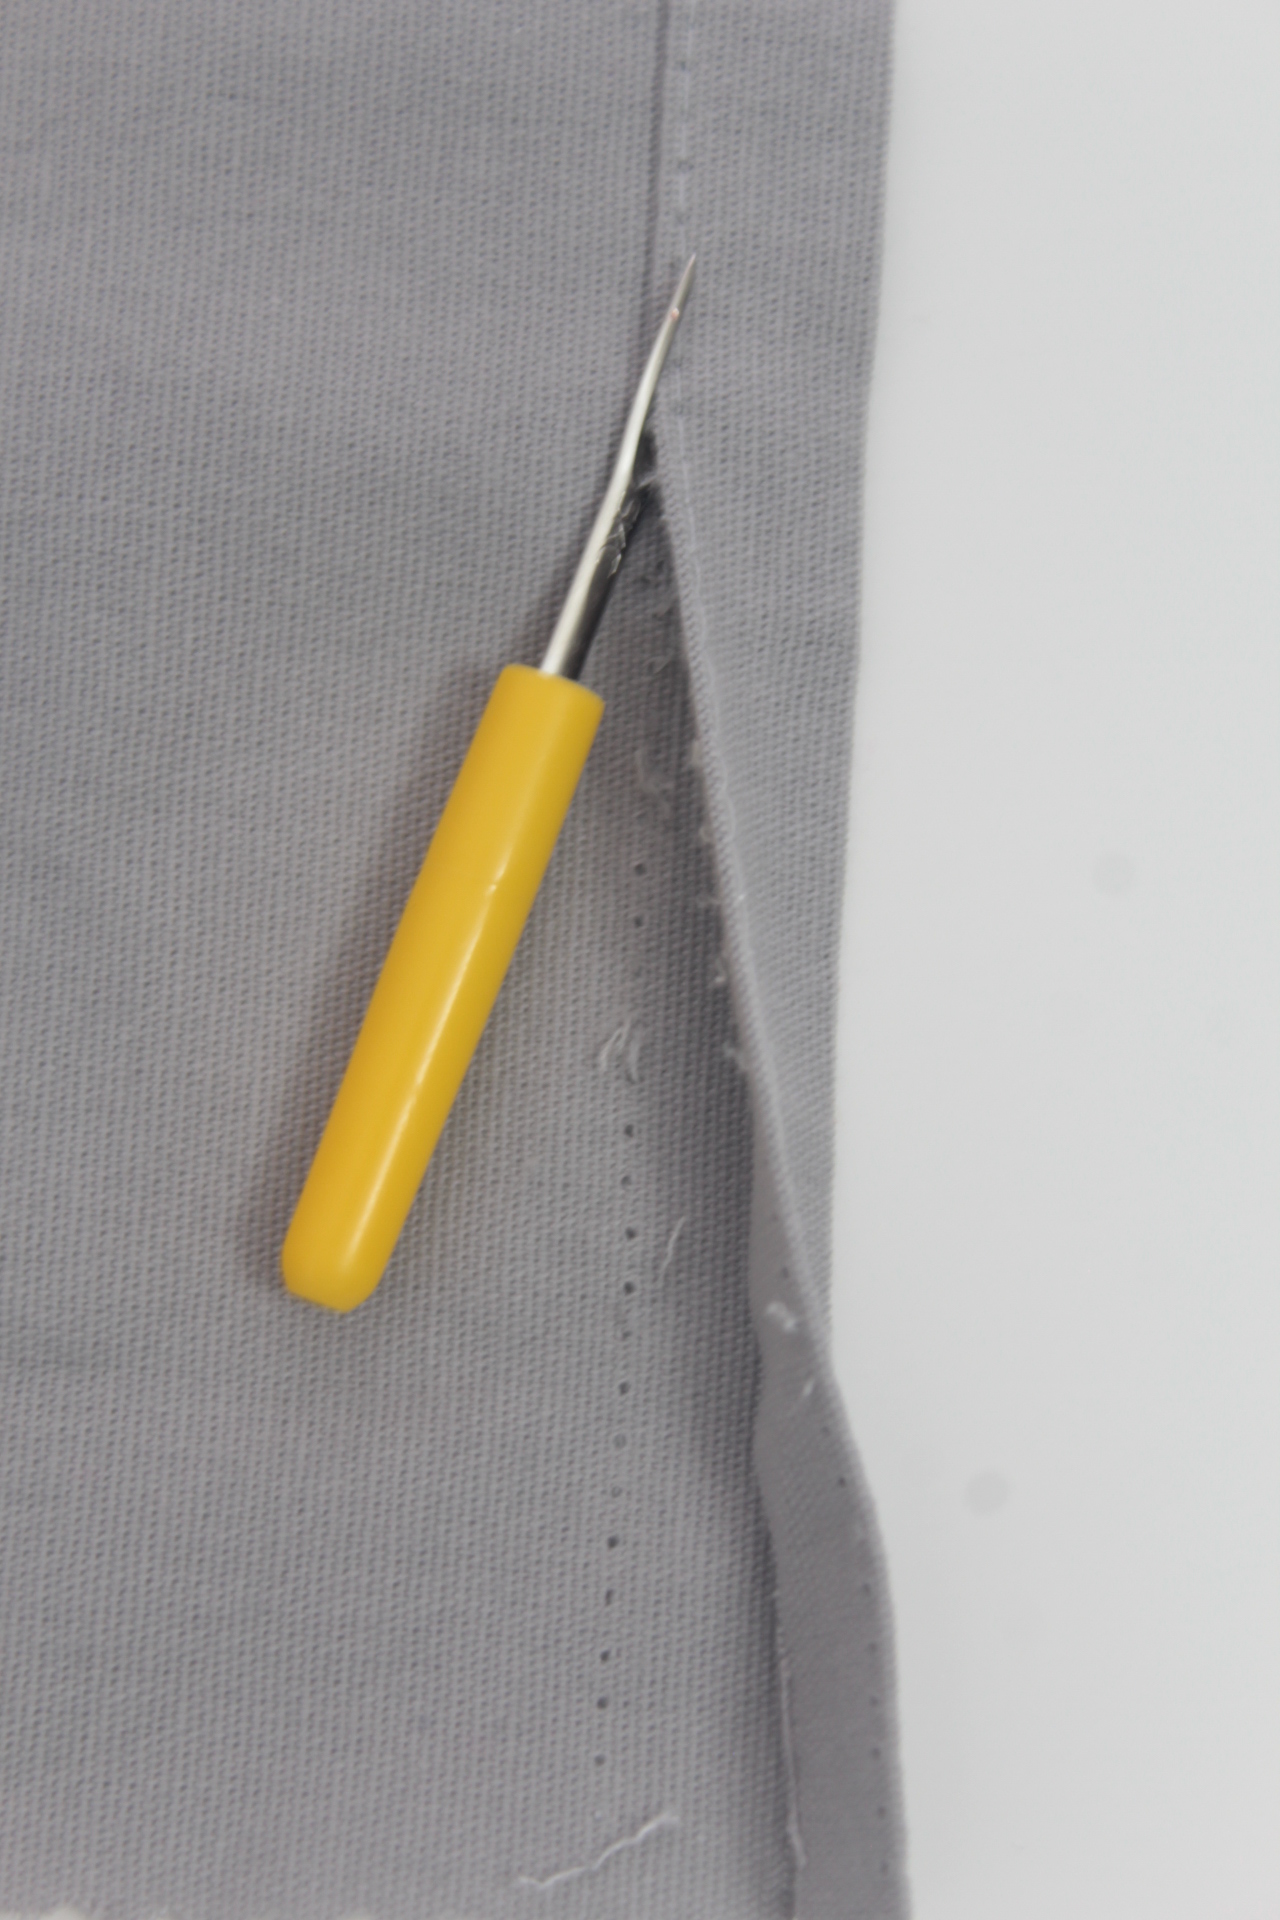
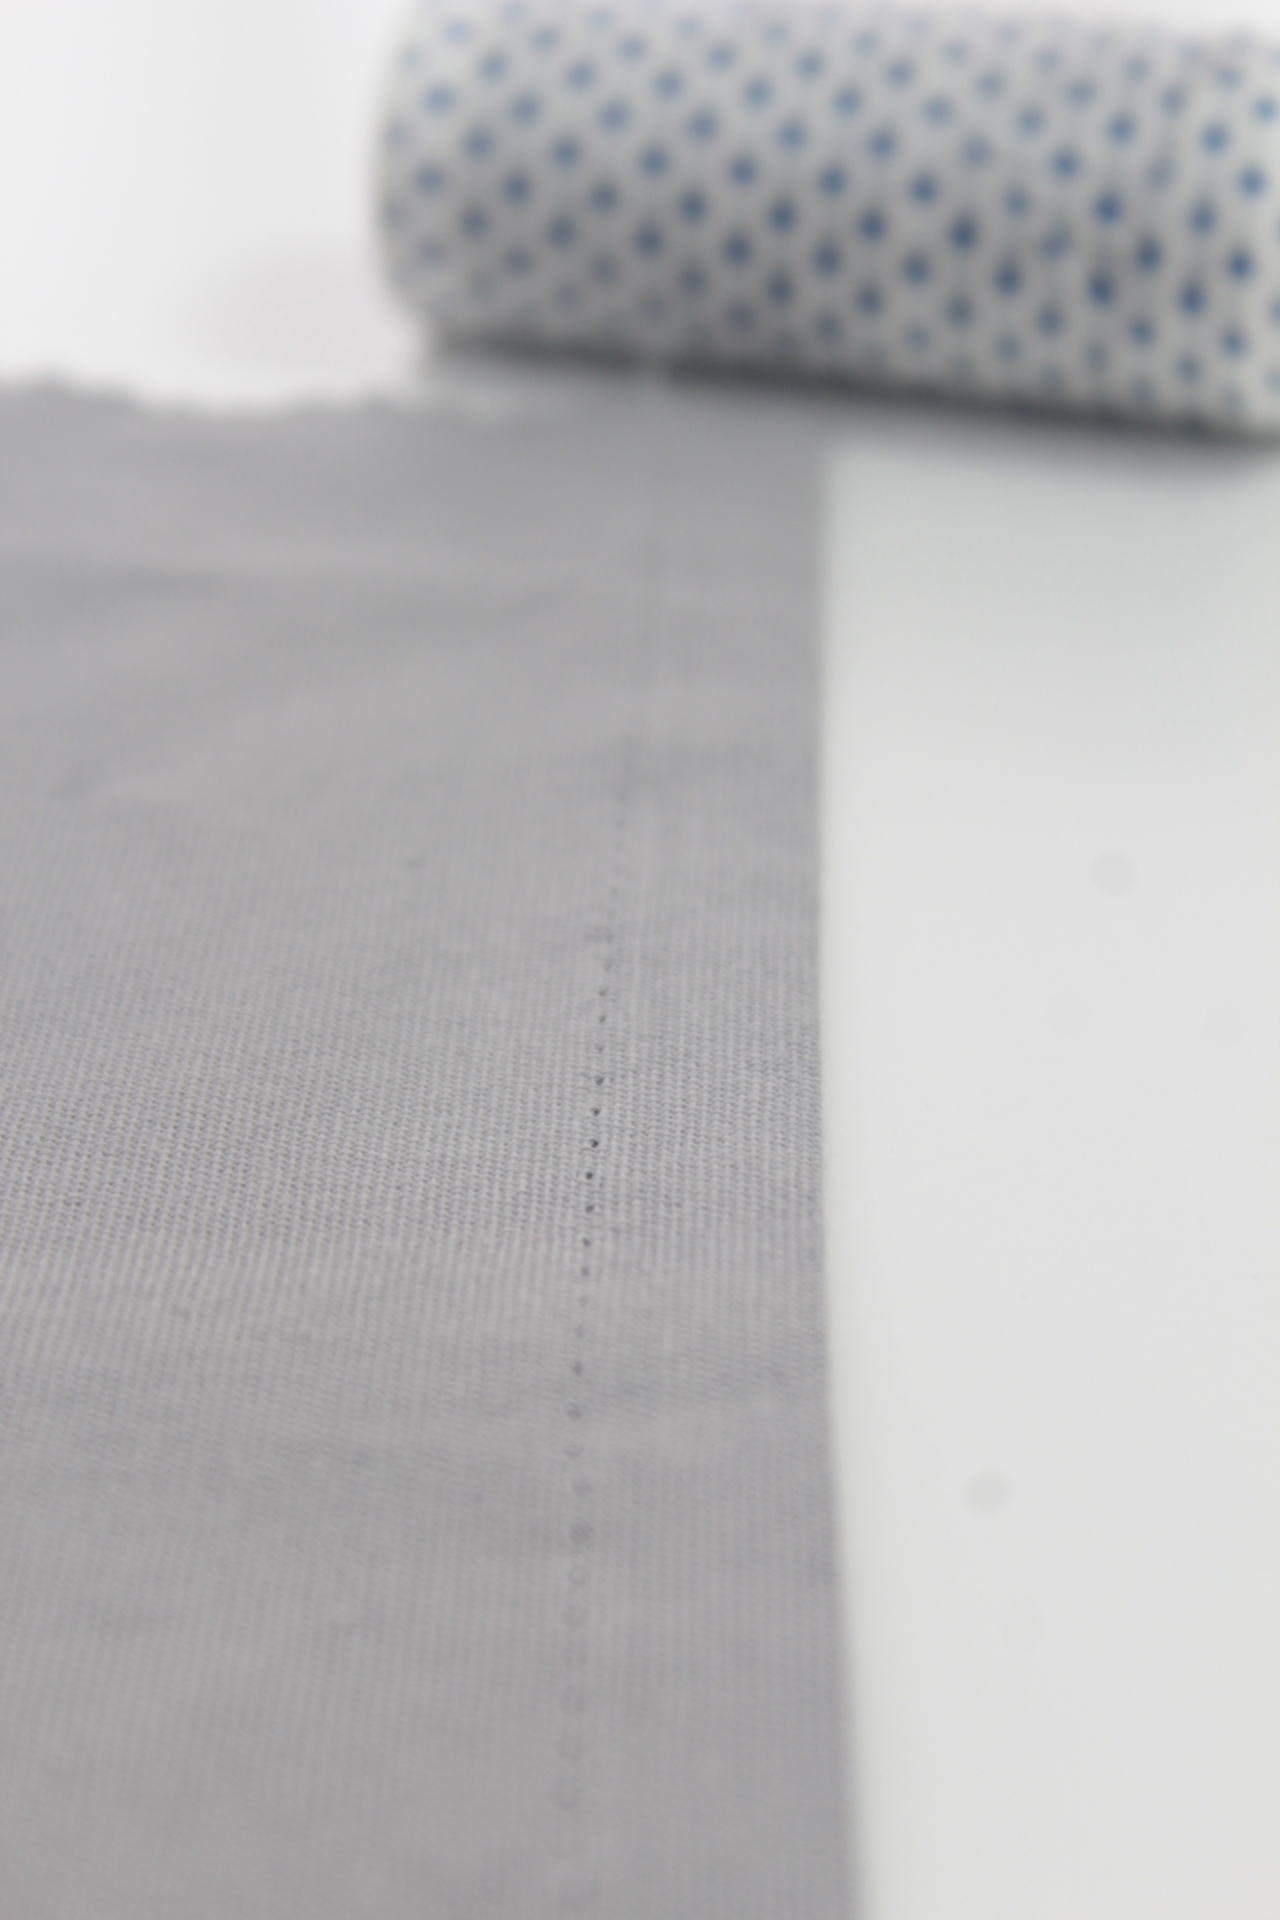
Open a few stitches
- Start by pinching a few stitches at one end of the seam that you’re unhappy with. Pass the pointy tip of your seam ripper under these stitches and cut them using the sharp bridge in the tool.
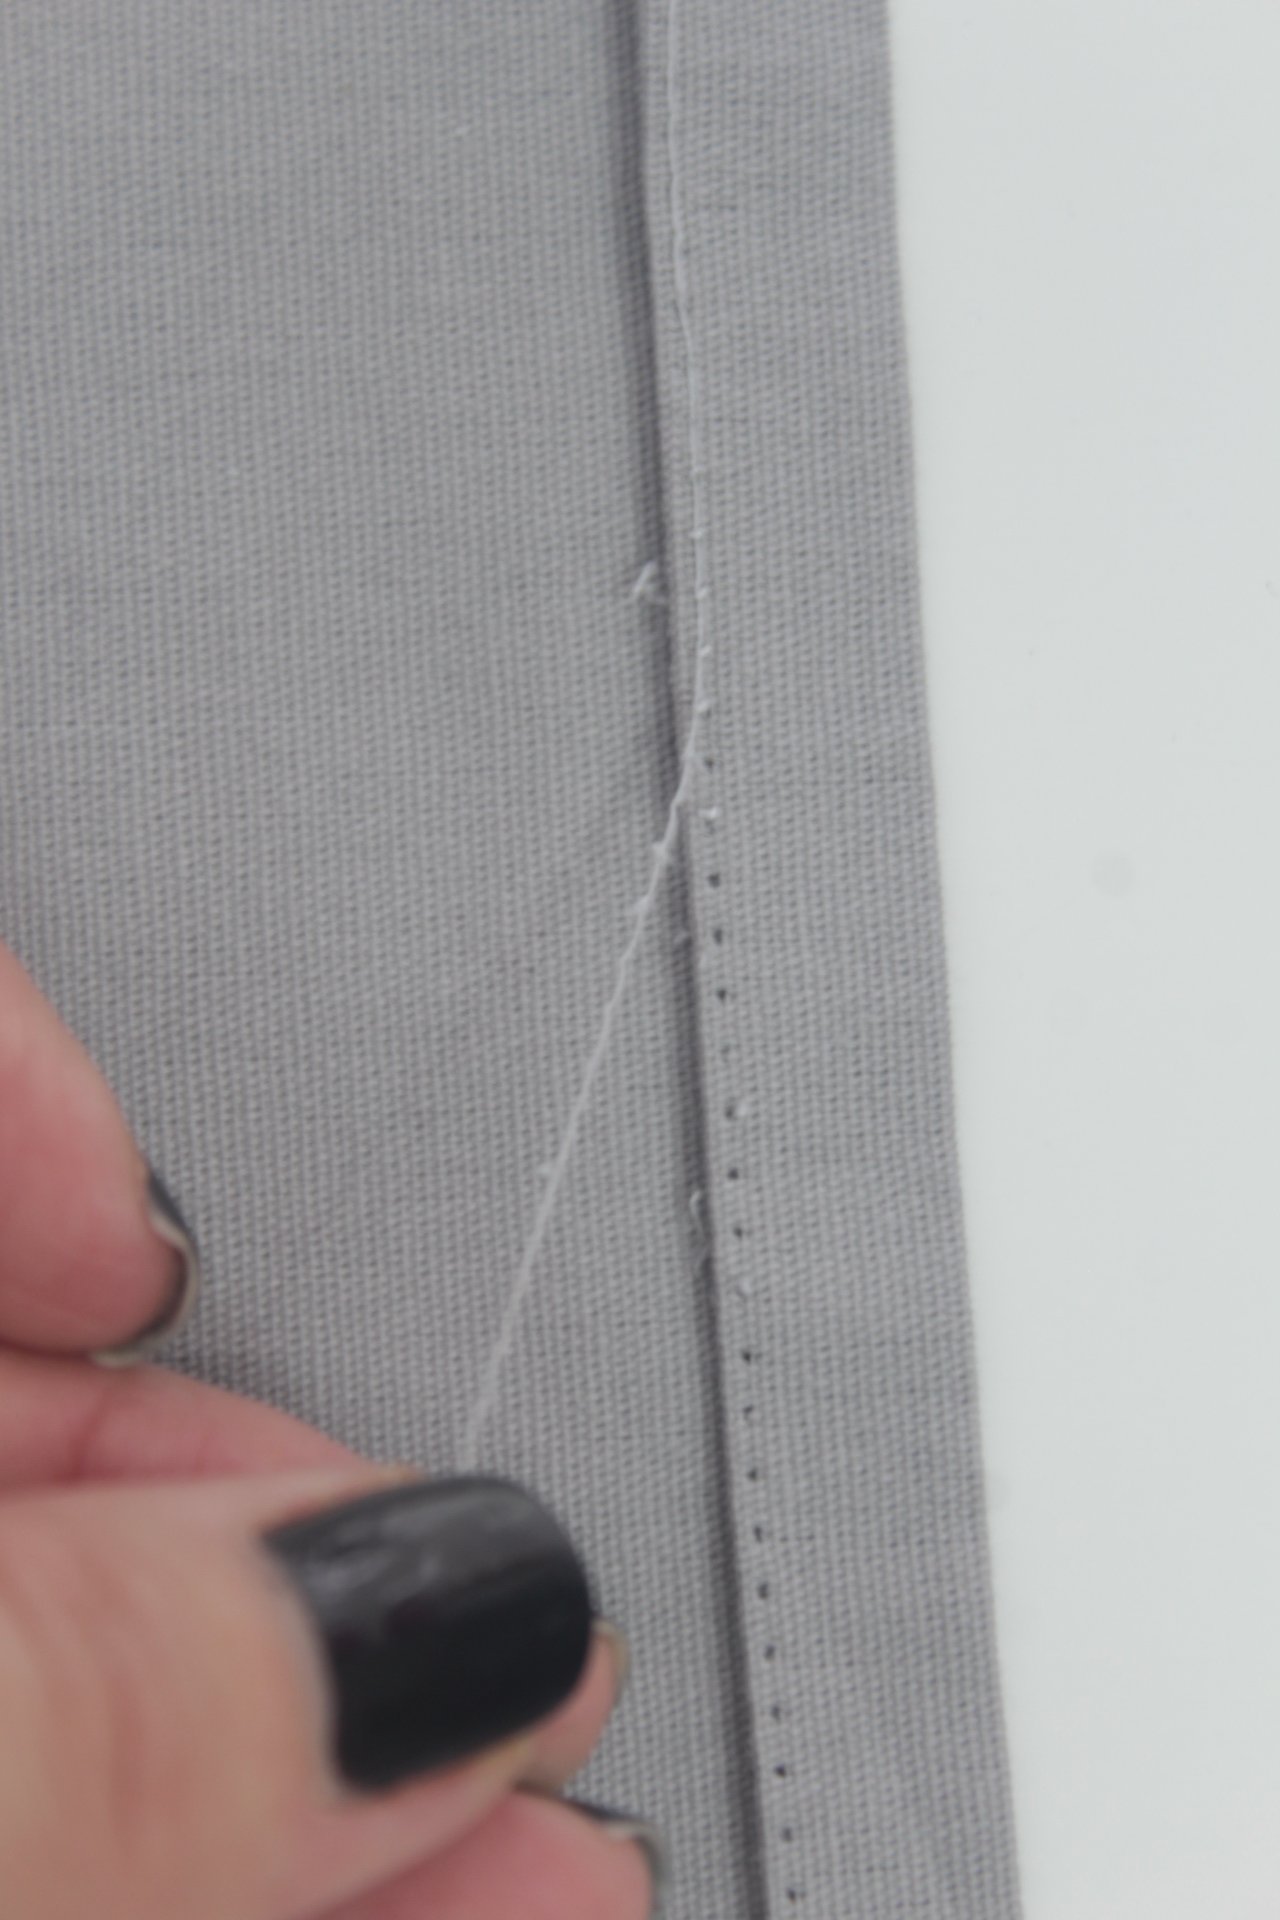
- After you’ve loosen up a few stitches, put the tool away for now and using your hands grab the fabric on both sides of the seam and open the seam a little.
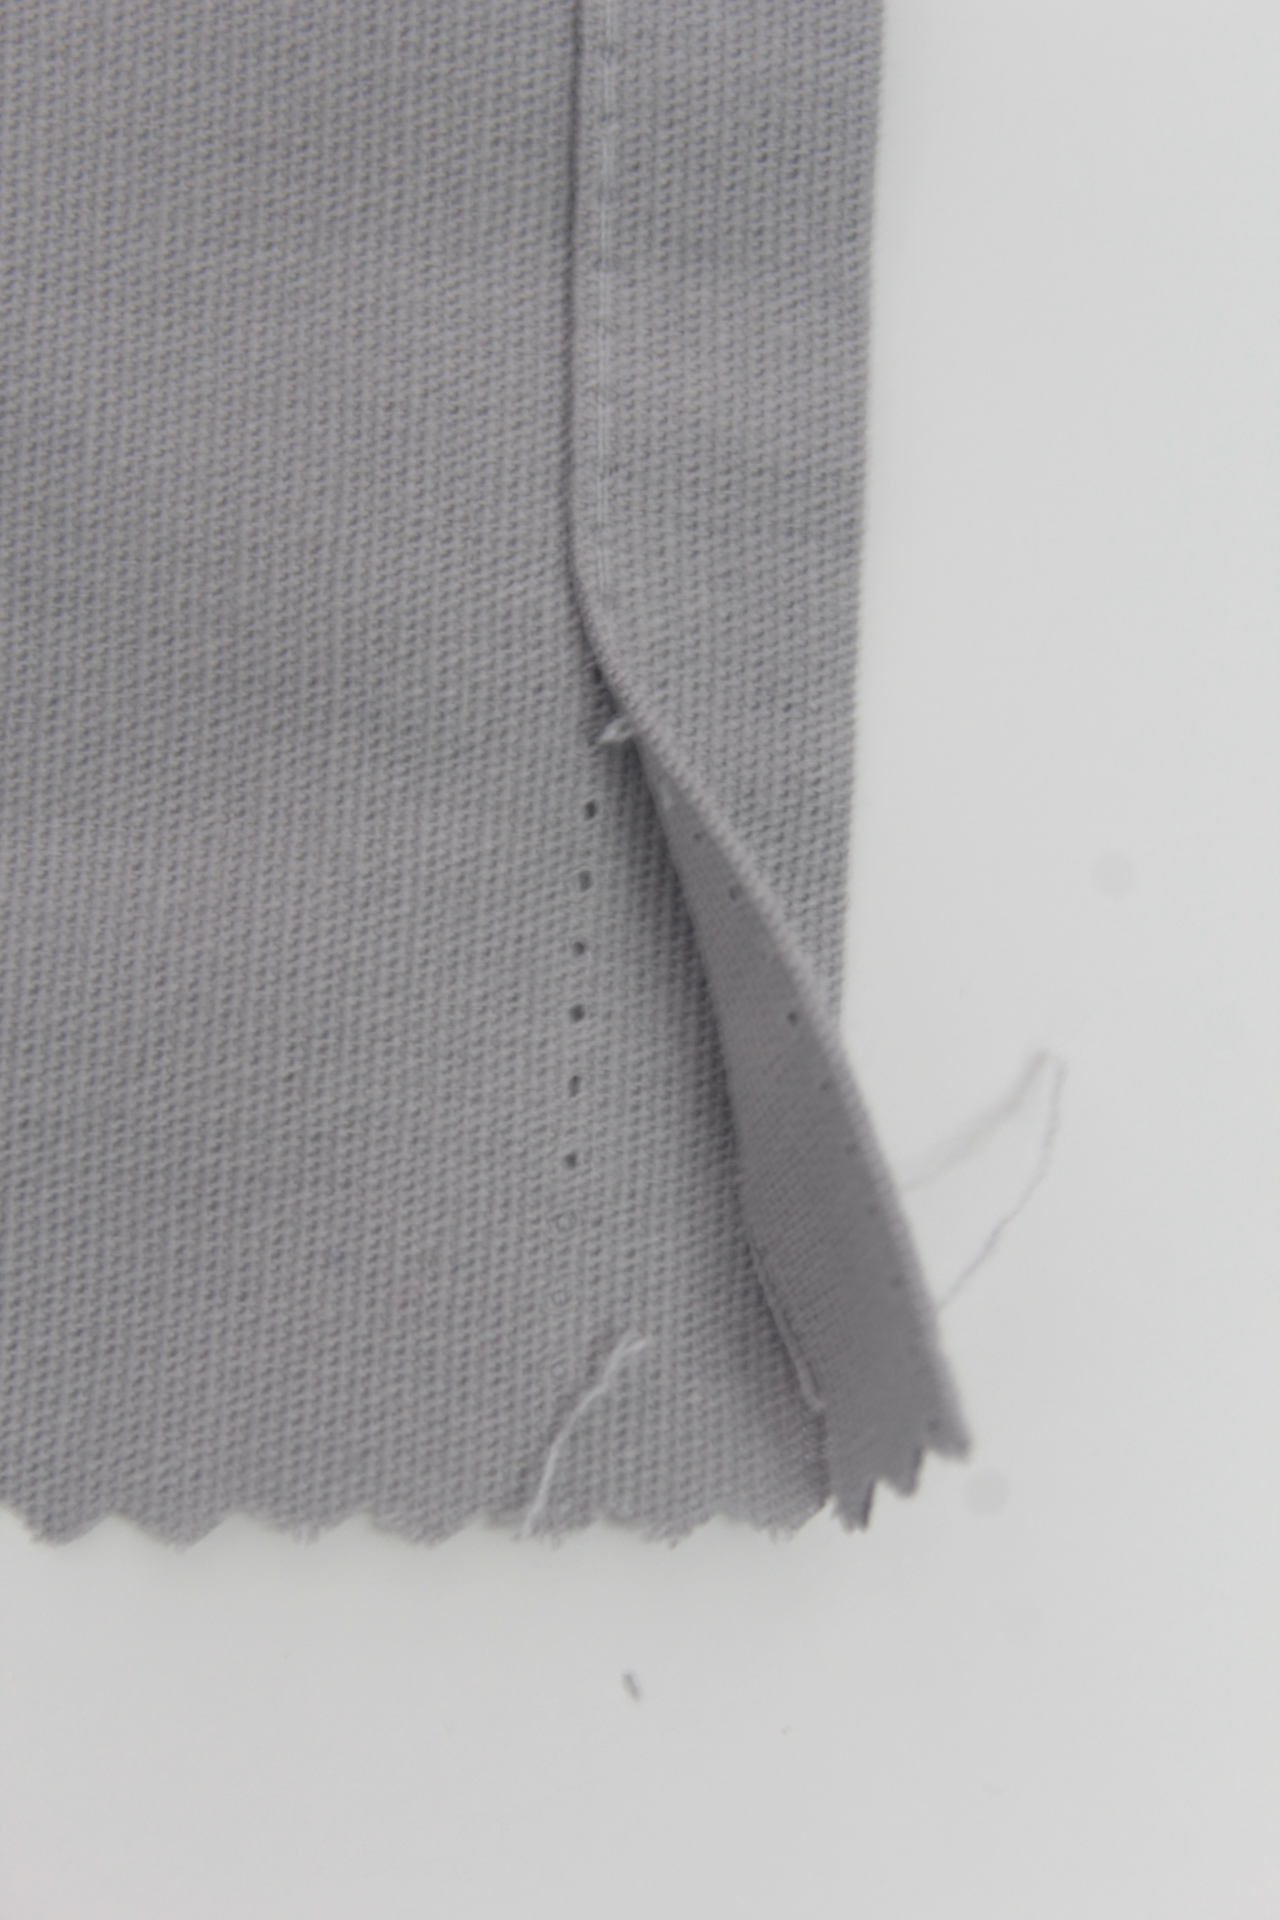
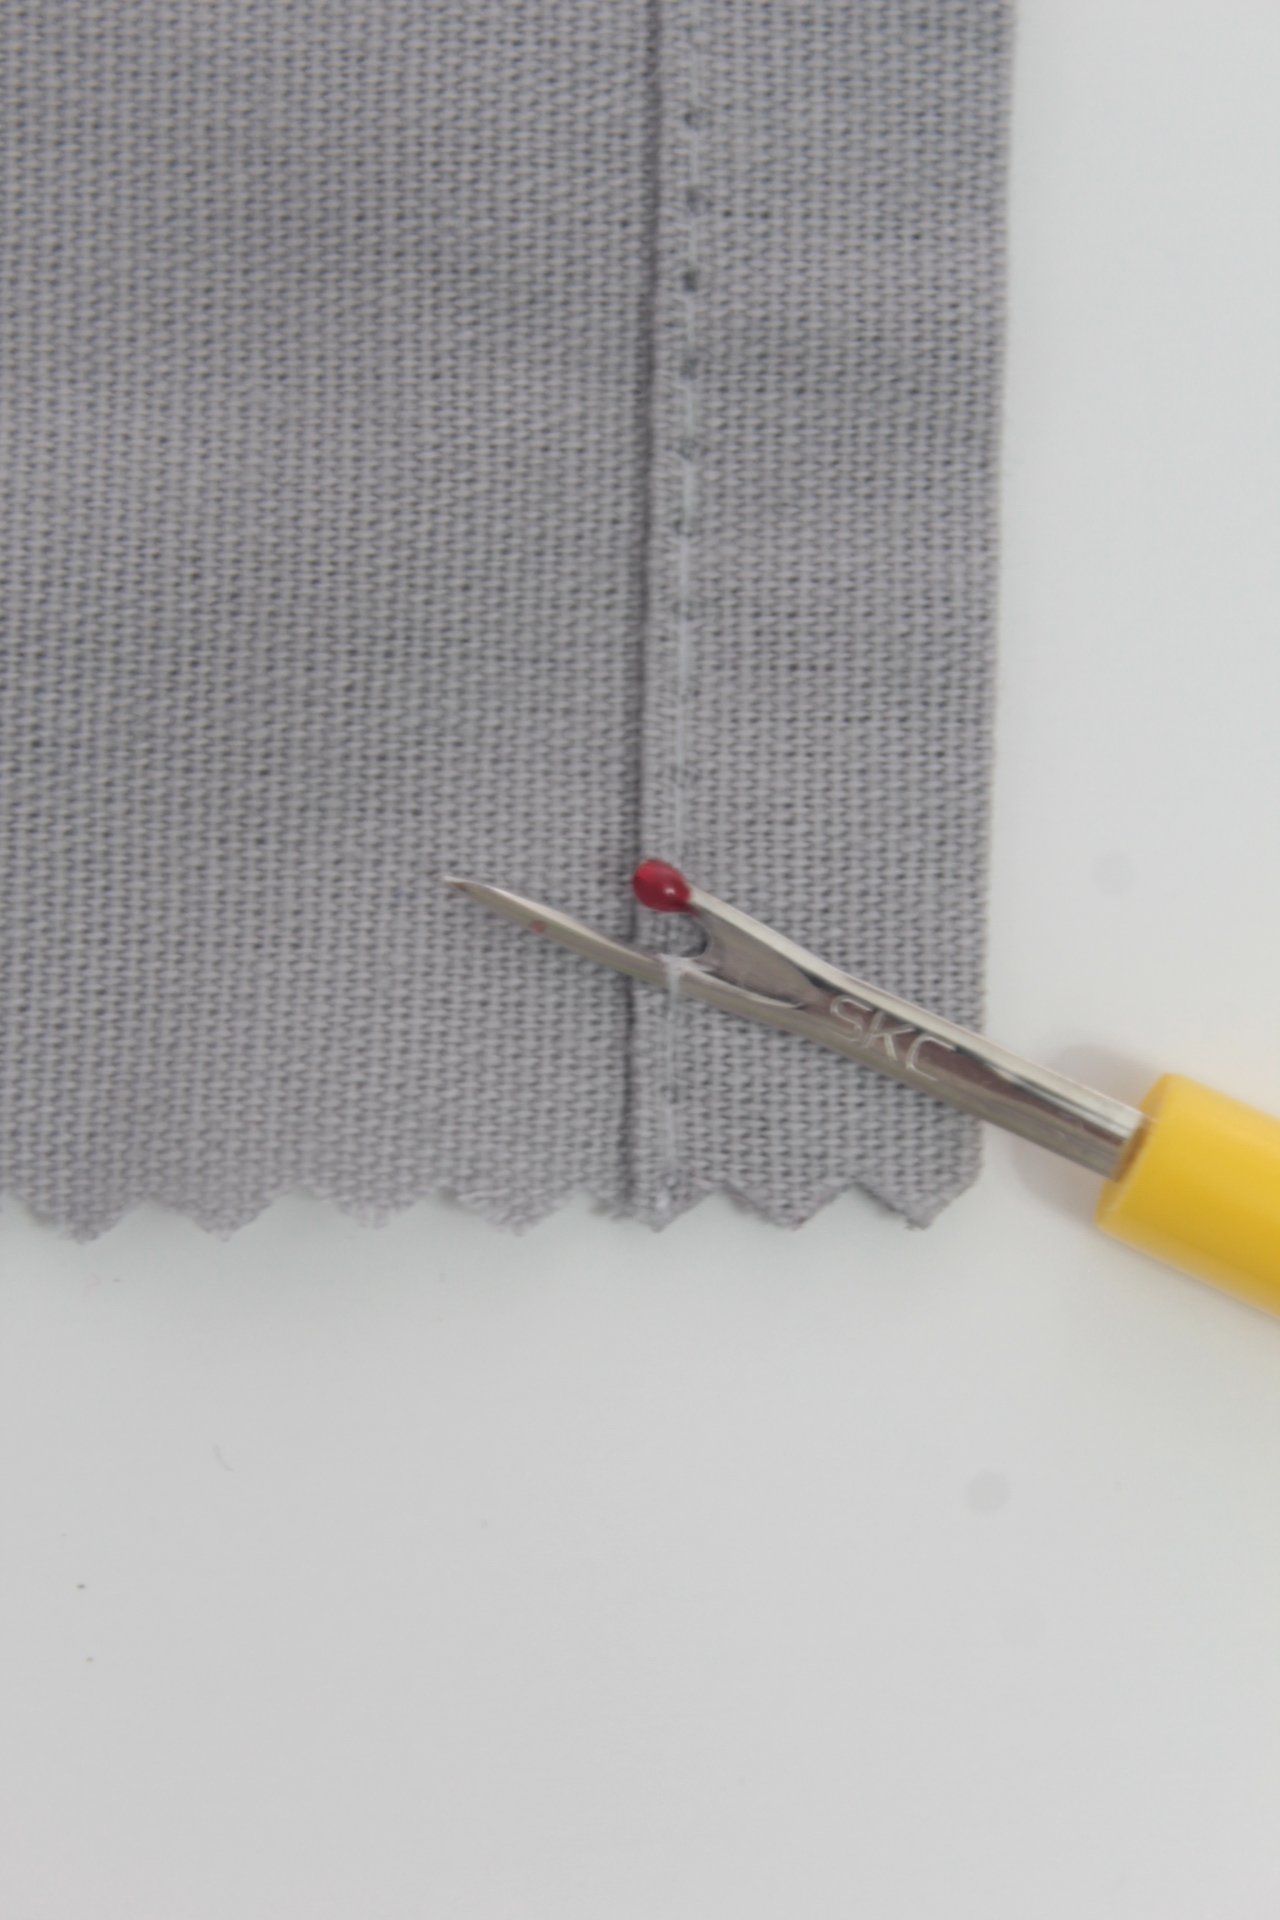
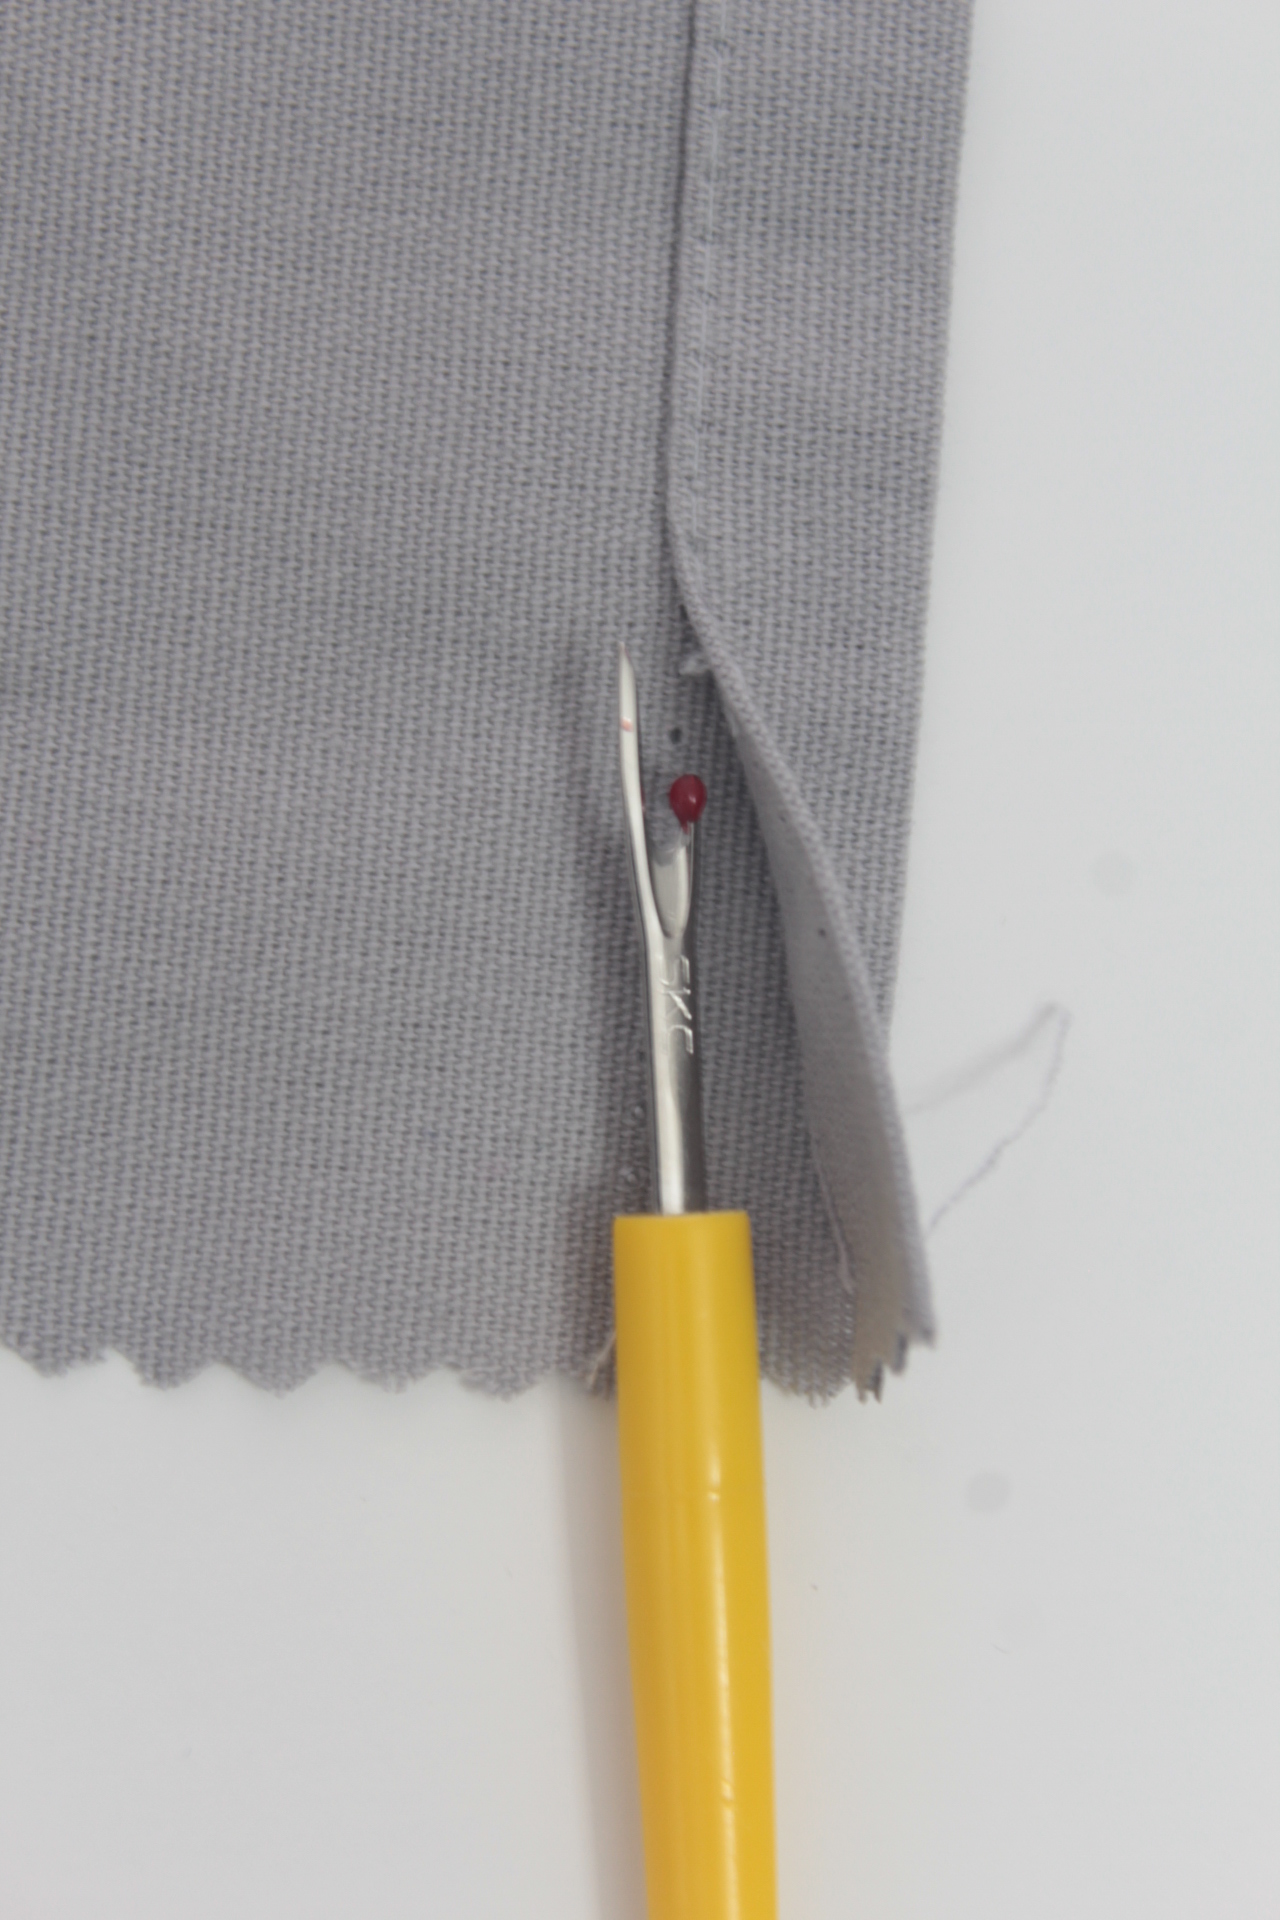
Position the seam ripper correctly
- Get the seam ripping tool again and this time make the use of the ball point tip. Place this tip under the seam until the seam touches the sharp bridge in the tool.
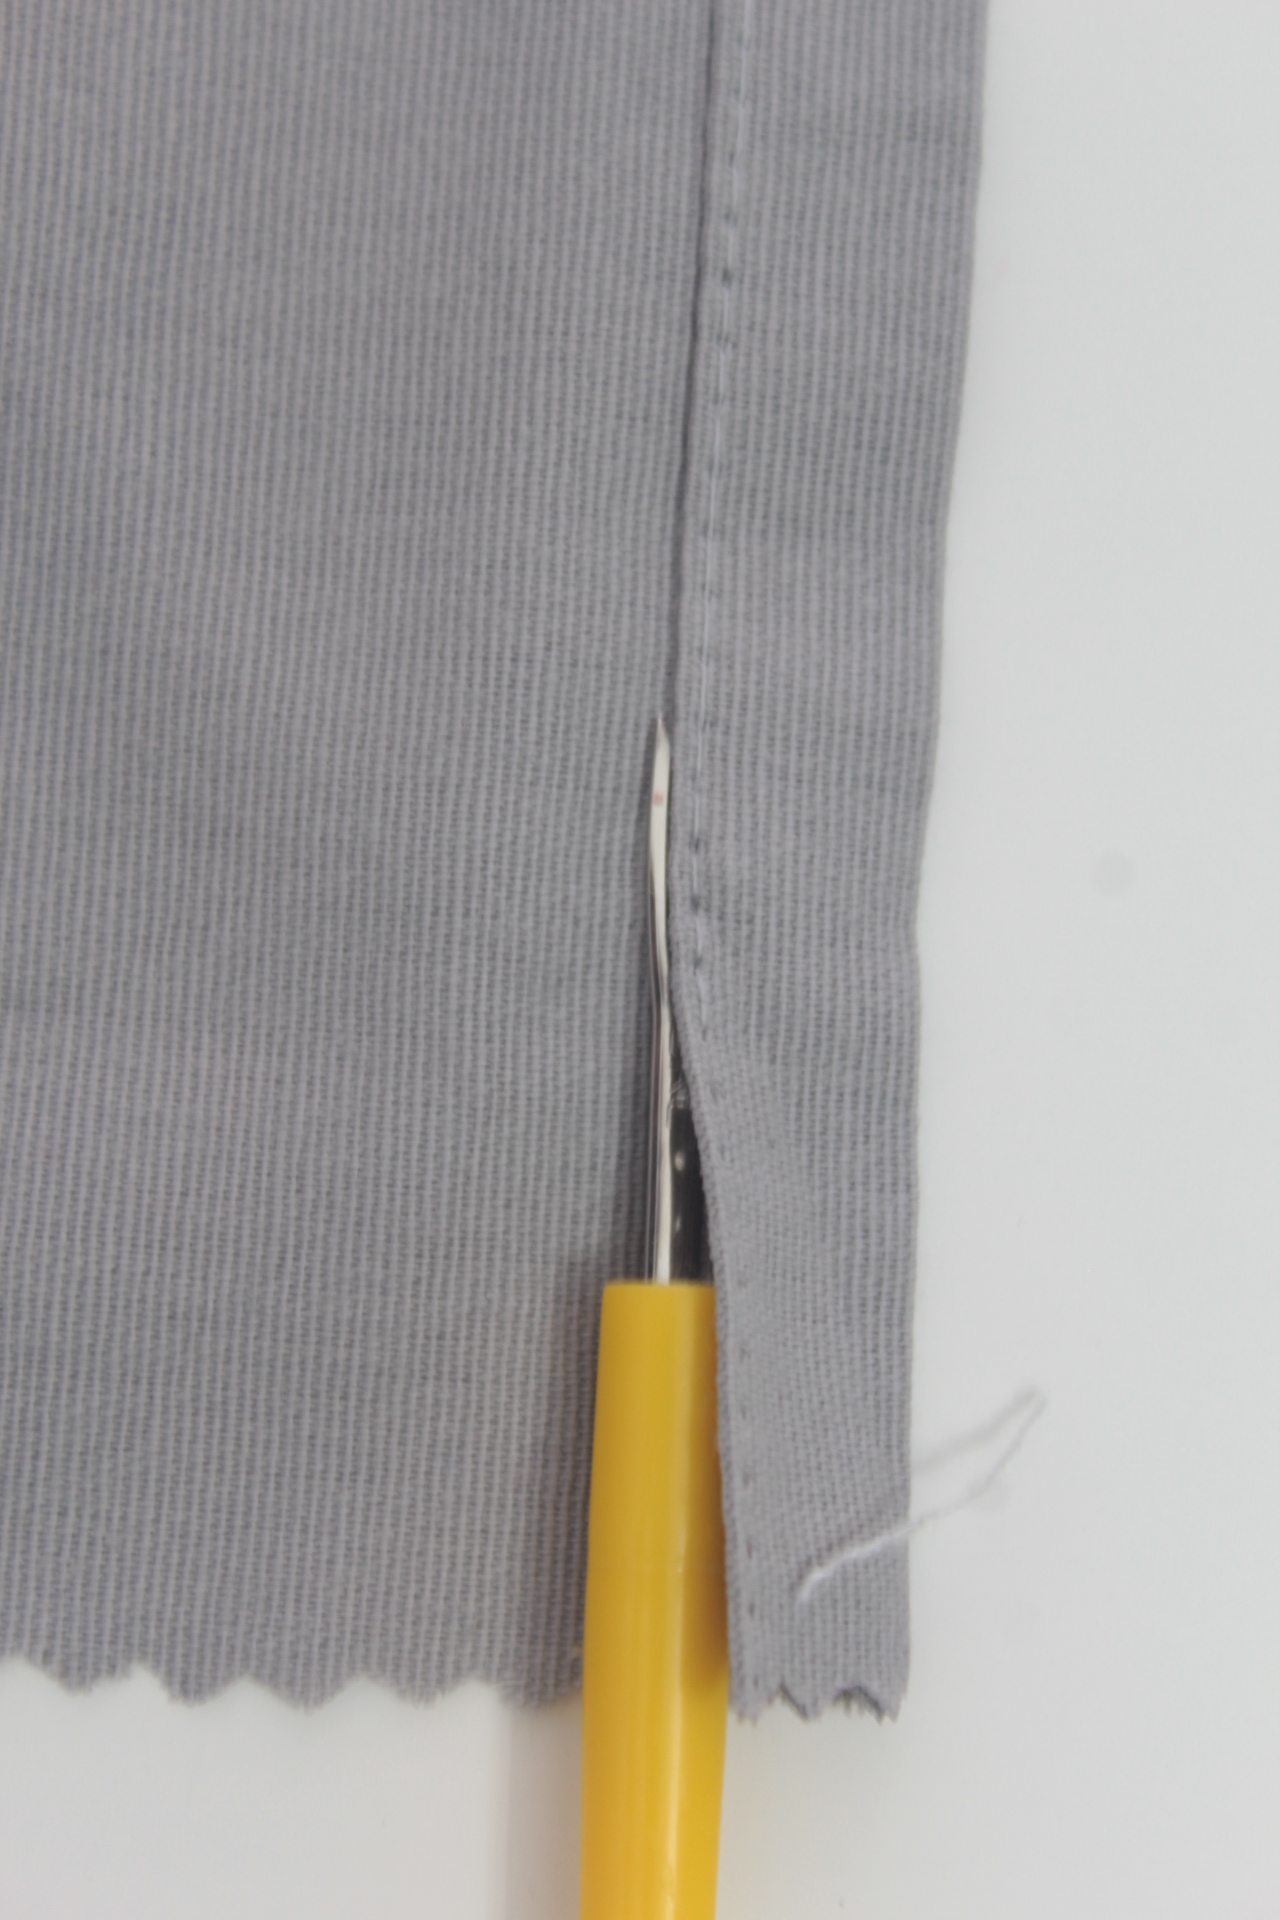
Unpick the entire seam in one go
- Hold the fabric with the opposite hand and push the tool against the seam. The tool should rip through the seam with no effort and you get to unpick the entire seam in just one smooth go.
- Once the seam is ripped, remove the top stitch with your fingers.
Clean up with a lint roller
- Grab the lint roller and remove any small threads left behind.
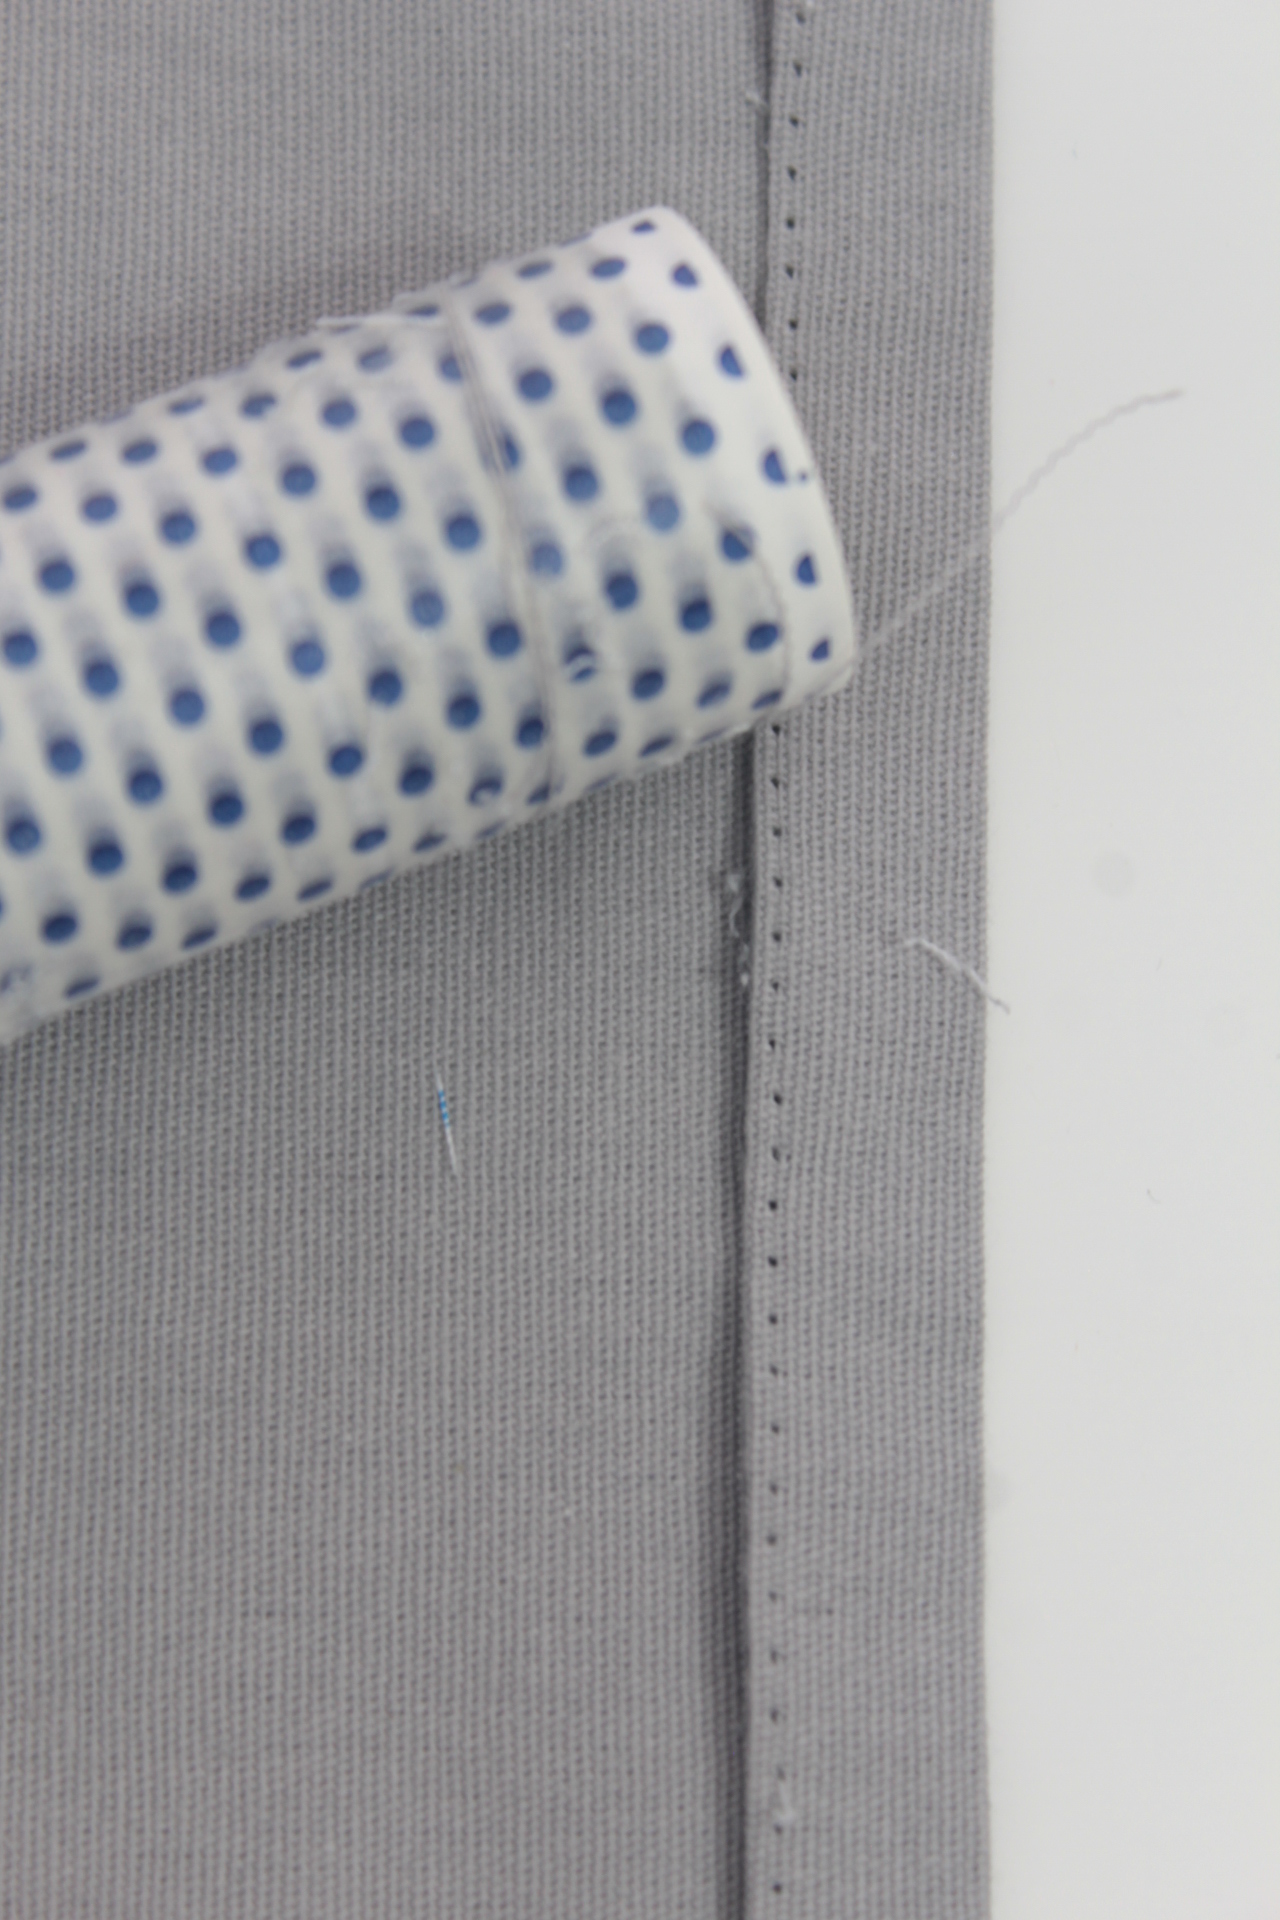
- Open the seam that you just ripped and run the line roller over the inside of the seam to remove the small threads there too.
- Repeat for the opposite side of the fabric
- Now you should have a clean area on both sides of the fabric. And you can redo the seam, this time with no mistakes.
Mastering the use of the seam ripper has the potential to save your sewing projects, as well as your sanity. As you’ve learned, this tool isn’t as intimidating once you understand how to use it effectively.
If you want more useful tips and exciting sewing tutorials like this one delivered straight to your inbox, sign up for my newsletter! Also, I’d love to hear about your experiences with the seam ripper. Leave a comment below sharing your stories or tips. Happy sewing!
Pin to save for later
Most popular sewing projects:
- Tips for sewing a round hem
- Corded bag handles
- Flutter sleeve dress pattern
- How to laminate cotton fabric


Article may contain Amazon & affiliate links. As an Amazon Associate I earn from qualifying purchases at no additional cost to you.

I never used the ball part of the ripper. Thanks for tutorial so I can now use it as you showed. Thank your Mom too.
I had no idea!!! thank you so much!!!
Here I am (88 in August) and you have given me the BEST tip about the seam ripper that I have ever had. That little red ball–like so many others, I never knew!! I am making a quilt for my great-grandbabies and will bless you forever with the knowledge I keep gaining from your site.
Thanks so much, Jean! Your lovely comment made my day! It makes me so happy to hear that my humble tips and tricks are able to help someone else in the sewing community avoid making the same mistakes I’ve made! xoxo
Thanks for the info, like so many other I had been ignoring the ball end of the ripper!
Like many others here, I have been sewing for 50+ years. I thought the little ball was a safety feature! Thanks for sharing how to use the ripper to quickly open a seam. This tip is valuable because I always have to RIP at least once for every project I do!
That method works too
Like many others here… I’ve been sewing 55 years & have ripped out many seams in my day. Had not one clue that the little ball had a use. Just never gave it any thought I guess. Thanks for the great tip!
Thanks, Taresa! Happy to share my finds with my lovely readers!
I just recently learned what that little red ball was for. Lol. I have a prob though, maybe you can help. When I try to use it that way I’ve had fabric get ripped. I still have to do only a little bit at a time bc of it. Is there a way to hold the fabric to avoid this. I’ve been sewing for 50yrs.
Hi, Liane! There’s no magic formula and the success of ripping out the seams is often affected by the type of fabric. What I do is try to keep the seams as flat as possible while I rip them out. I move slowly but firmly with the seam ripper while I hold the fabric tight on the table. I do admit that sometimes, if I’m not careful, I rip through the fabric, especially on lightweight fabrics. But after I learned what the little red ball is used for, I get less accidents than before.
Very nice! Thank you for explaining in a easy-going manner how to remove serger stitches.
Thanks, Ina! I’m glad you found my tutorial easy and informative!
I have been sewing for over 50 years. I thought the nuns were very direct in The use of a seam ripper, and I have done my share of ripping. Well never too old to learn a new trick. I never knew what that little ball was for I thought it was.to keep from picking myself. It is quite a thing I have cut the fabric many times by just using the one end. Thanks so much ?
Thanks, Janice! Glad I could help! xoxo
I use a seam ripper to open buttonholes and welt pockets. However, only one disaster taught me to put a straight pin at the ends of the buttonhole to keep me from going too far. The pin stops me from pushing the seam ripper farther than the bar tack end.
I’ve been sewing for 51 yrs & never knew about using the ball tip that way! So simple, thanks for the great tip, I’m sure I’ll need it sometime for sure!
Hi, Donna! Thanks so much for your kind comment! xoxo
This was very helpful and thanks for sharing.
Thanks, good idea!
Due to RA in my hands, I use a pencil eraser to dislodge any threads left behind in the ripped seam.
Wanted to put that out there for anyone else with hand arthritis.
Oh, that is an excellent idea! Thanks for sharing your wonderful tip, Mea!
This is a great tutorial! I am 72 and been sewing since grade school and never knew what the red ball tip was for. Don’t like making mistakes but can’t wait to try this.
After years of using a seam ripper this was a really eye opening tutorial and as the saying goes…..I didn’t know that!
Thanks.
Hi Jean. I’m glad you foun dmy tutorial helpful. And believe it was eye opening for me too! I’ve had my share of ruined projects due to wrong use of the seam ripper.
I am 73 and have been sewing since I was about yrs old. I can’t believe I’ve been using this little tool wrong all these years! Thank you!
Hi Susie! I’m glad I culd help! Been doing ut wrong myself for a while. After ruining the fabric on a few projects I figured there must be a better way to fix messy seams without tearing the fabric. Have a wonderful day!