Painted Coffee Filter Flowers
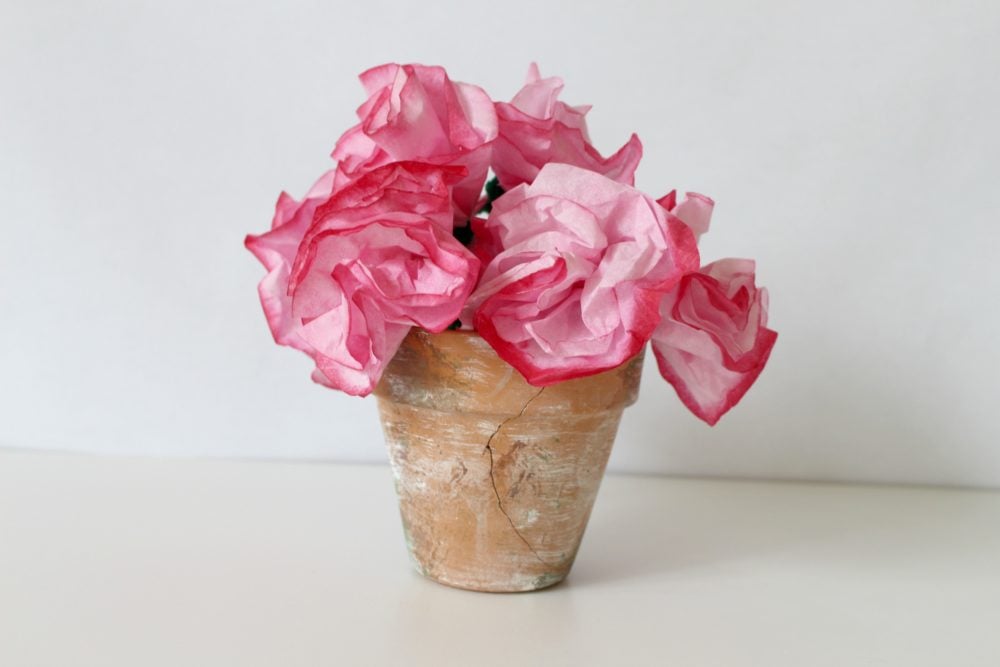
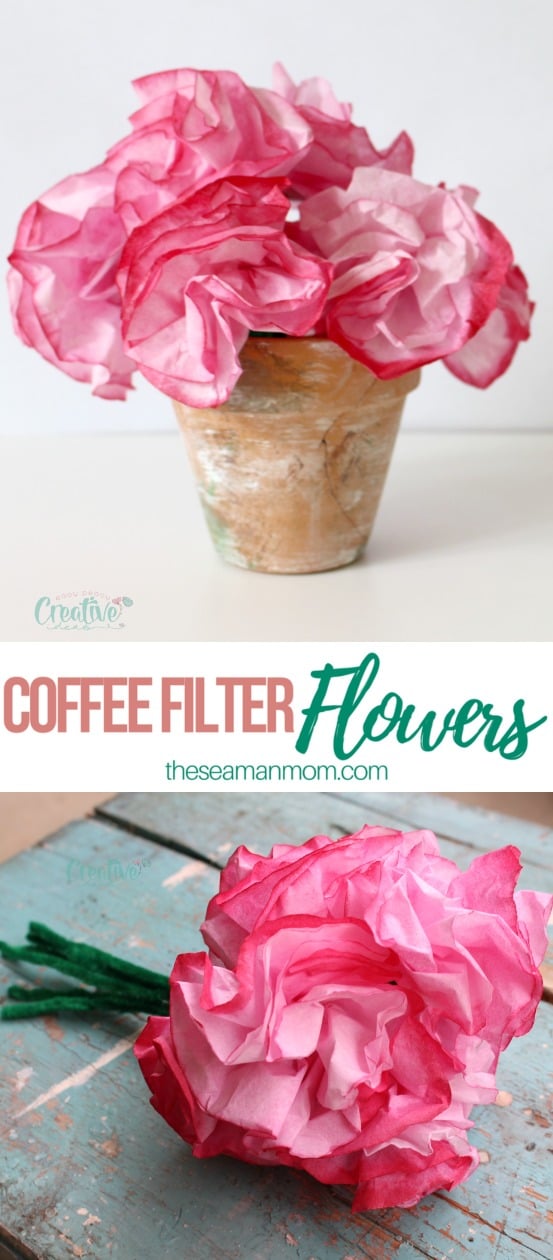
Learn how to make coffee filter flowers with this simple and easy tutorial! These coffee filter flowers look very realistic and are so much fun to make!
DIY Coffee Filter Flowers
If you’ve been around for a while, you probably know I have a weakness for recycled projects and paper flowers. And these coffee filter flowers made total sense especially since they’re so insanely easy to make and soo much fun!
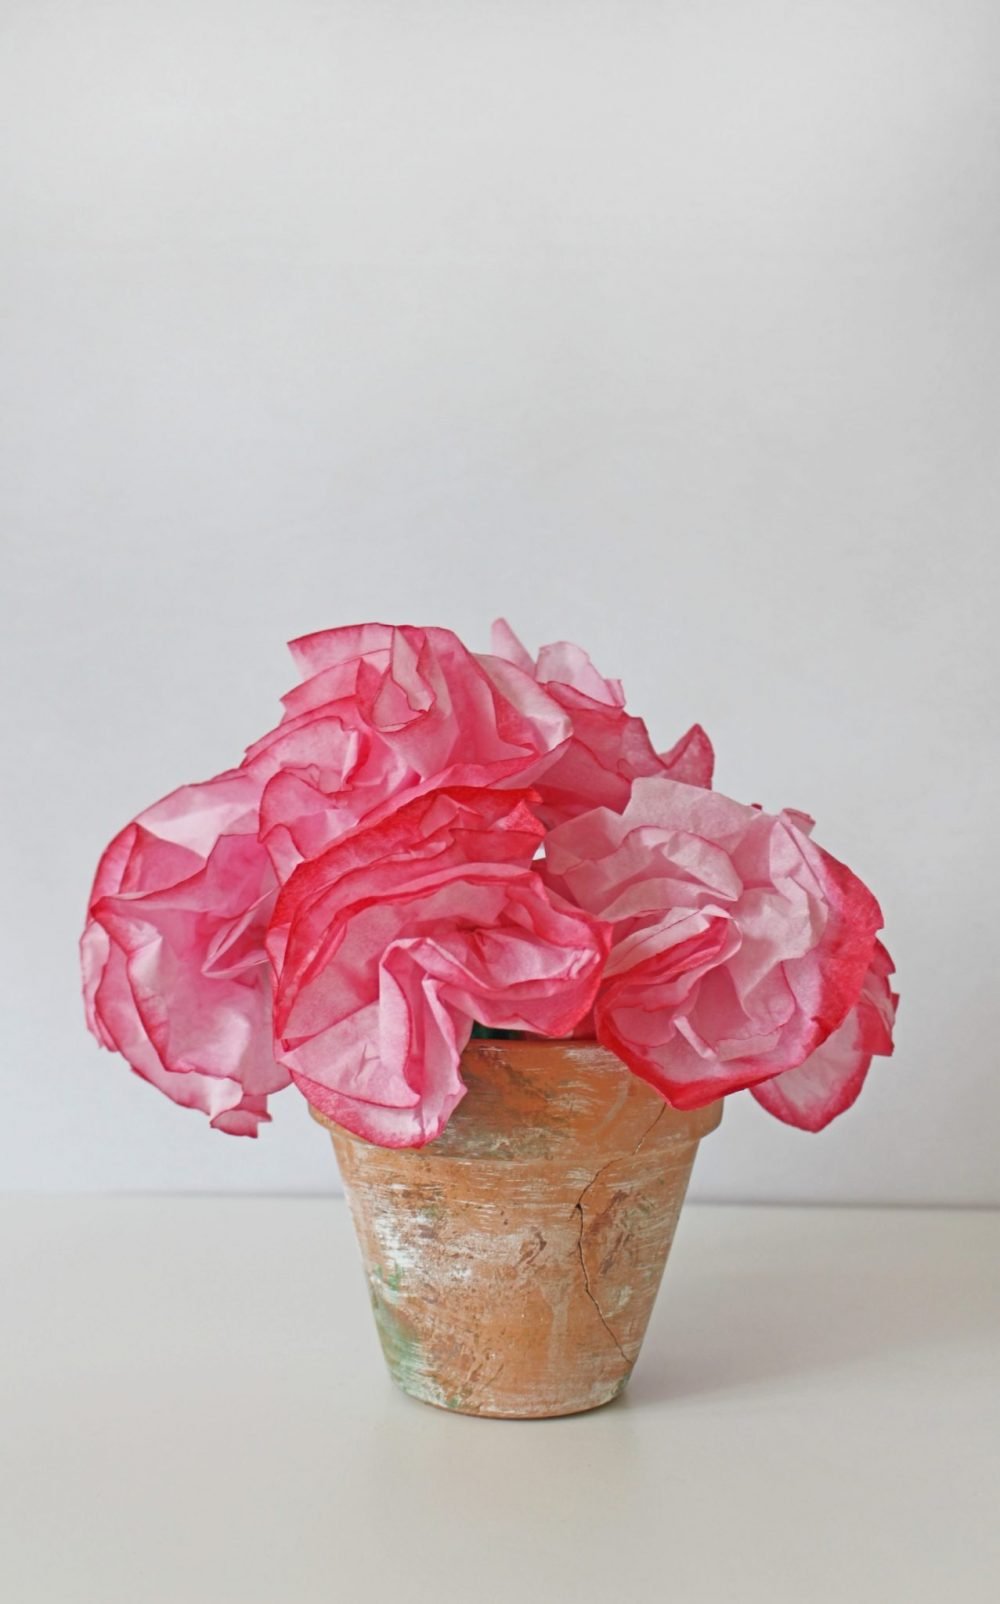
These diy coffee filter flowers only take a handful of simple supplies you probably have on hand already and are so versatile. They would make a great centerpiece at weddings and parties and look stunning as spring and summer home decor!
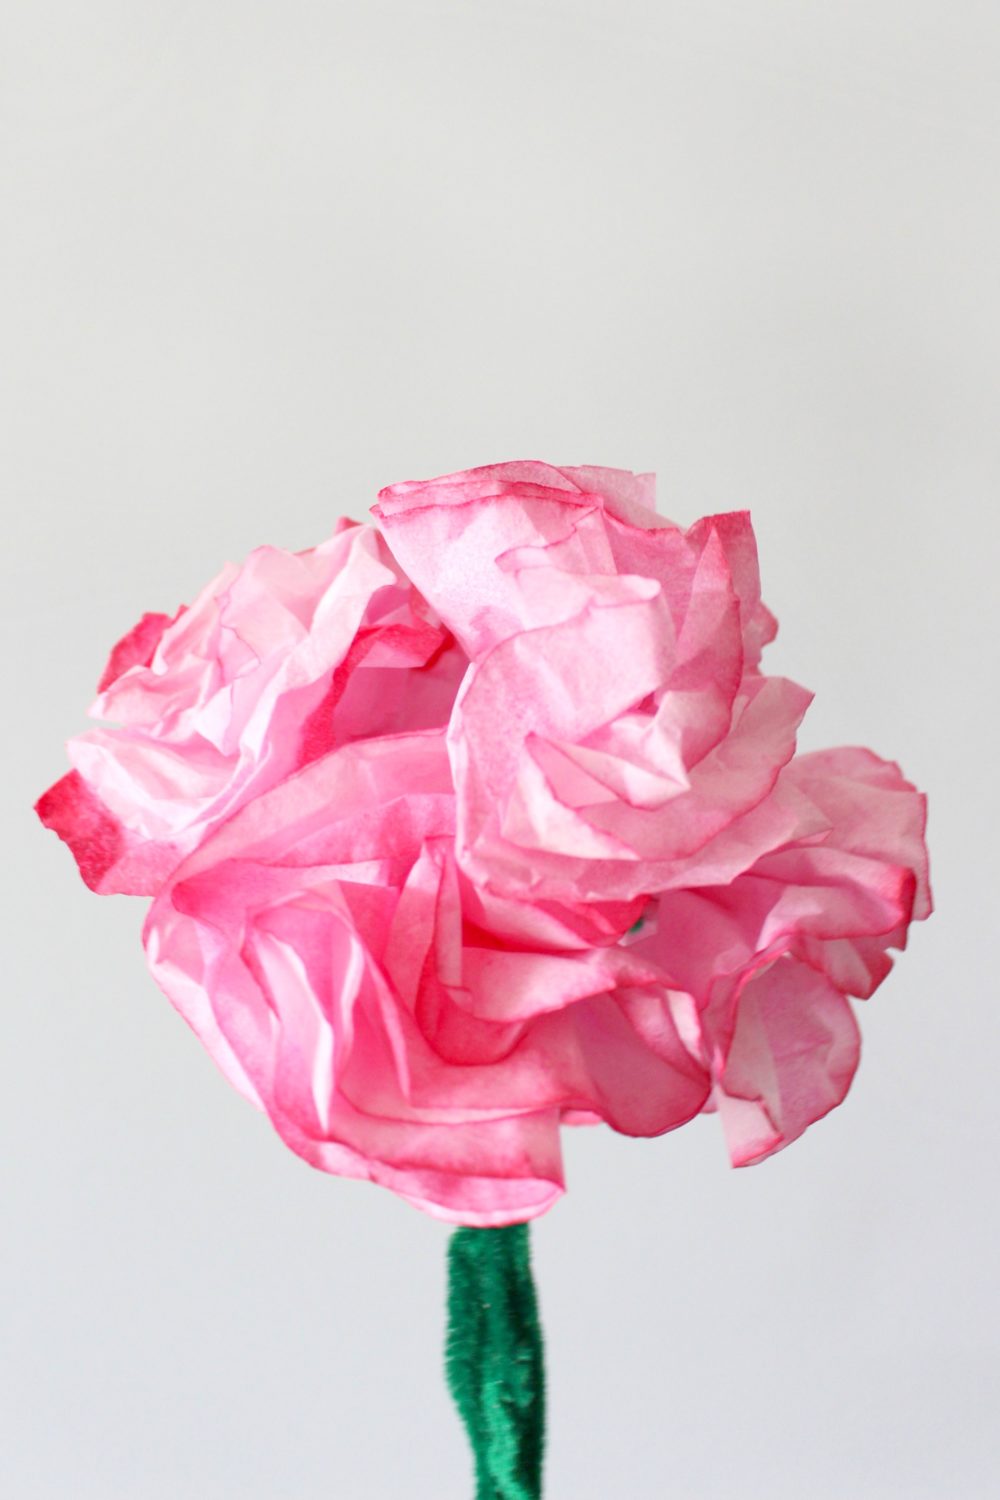
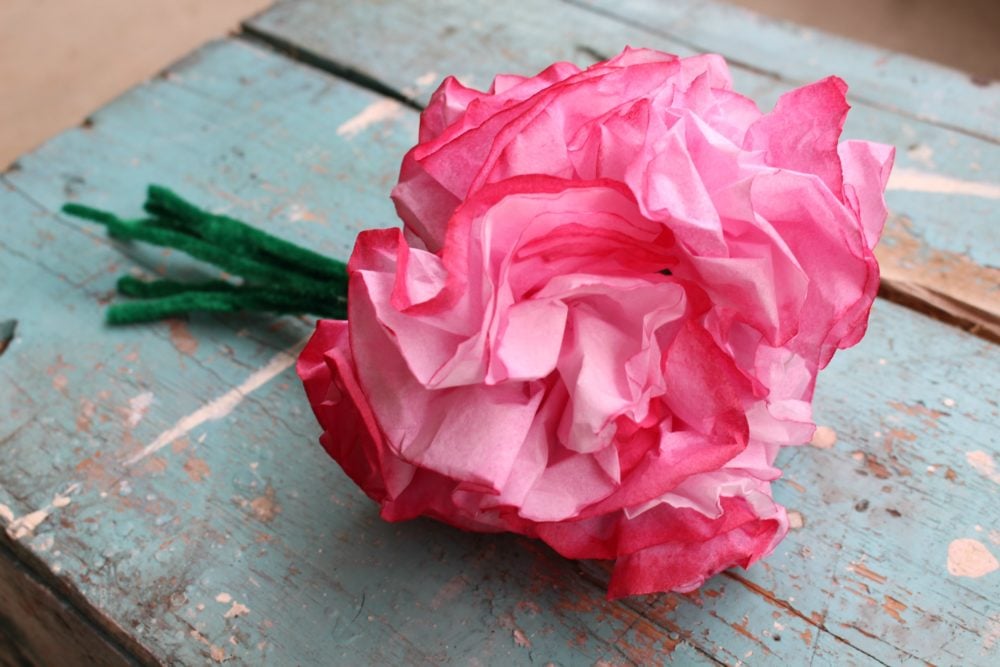
Inexpensive, simple, easy and quick to make, these easy coffee filter flowers are also an amazing way to spend quality time with the kiddos during summer break. They’ll be so excited to participate in making something so pretty, with such a big visual impact! These gorgeous coffee filter flowers are foolproof, you cannot go wrong with these! Here’s how to make flowers out of coffee filters with a super simple method, everyone will be able to follow through.
Coffee Filter Flowers
Materials:
- 2 coffee filters for each flower
- Pink and red acrylic craft paint
- Water
- Skewers
- Glue gun
- Bowl
- Paintbrush
Directions:
- Put ½ cup of water in a bowl. Use a paintbrush to mix in 1 – 2 tbs of pink paint.
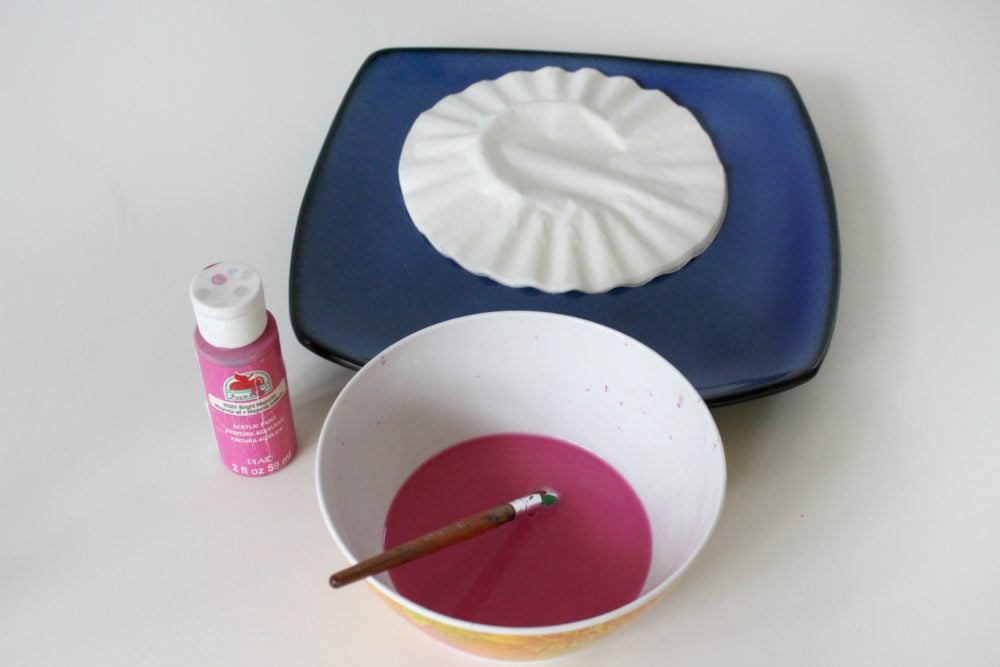
- Lay all the coffee filters on a plate and pour the pink paint water over the filters until each one has absorbed the water, but take care not to over soak them.
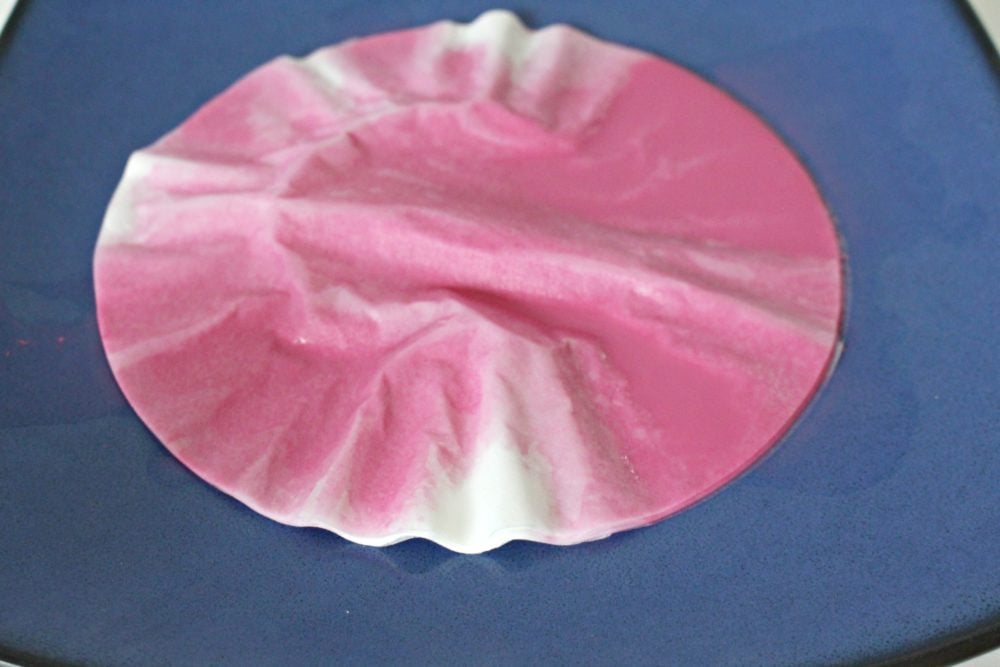
- Use your paintbrush and red paint to make a ½ inch edge around the filters. If you rub your brush around the edges a few times it will start to soak into the filters below. Filp the filters over and repeat this process on the back so that the red edge goes all the way through to every filter.
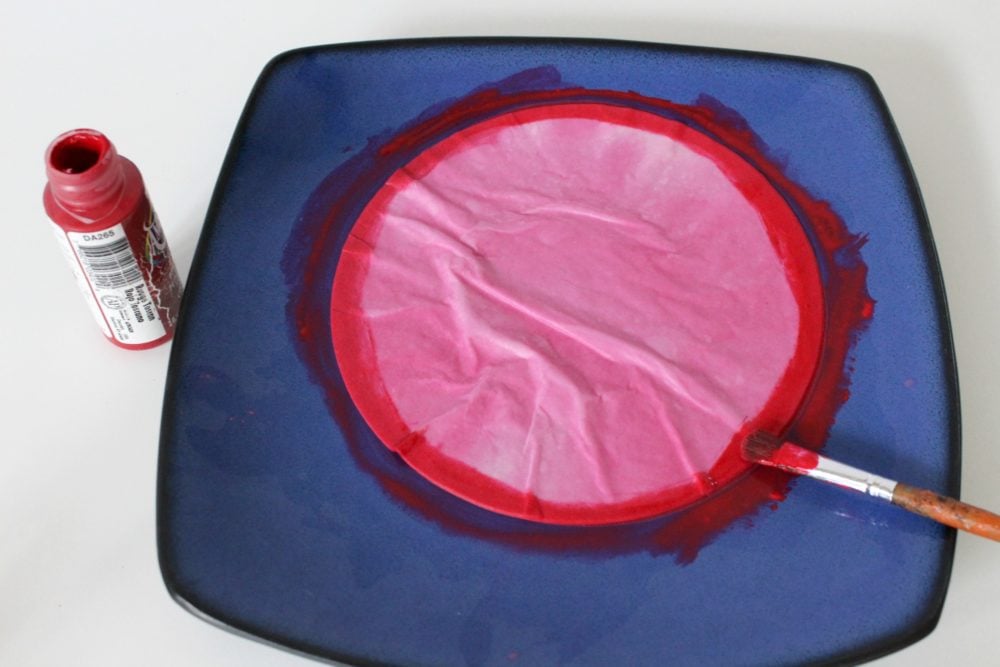
- Step 4. Dry the coffee filters. You can do this by laying them individually on cookie sheets and baking them at 300 degrees for up to an hour. You can also hang them on a laundry line or drying rack until they are completely dry.
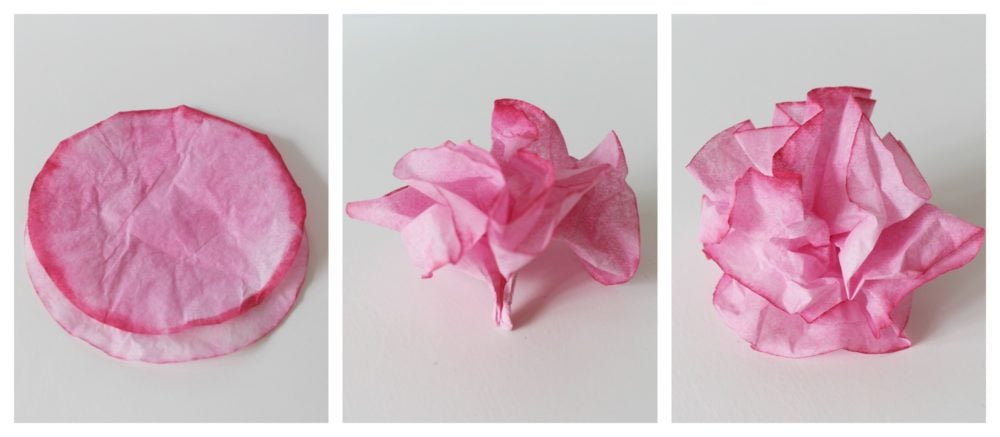
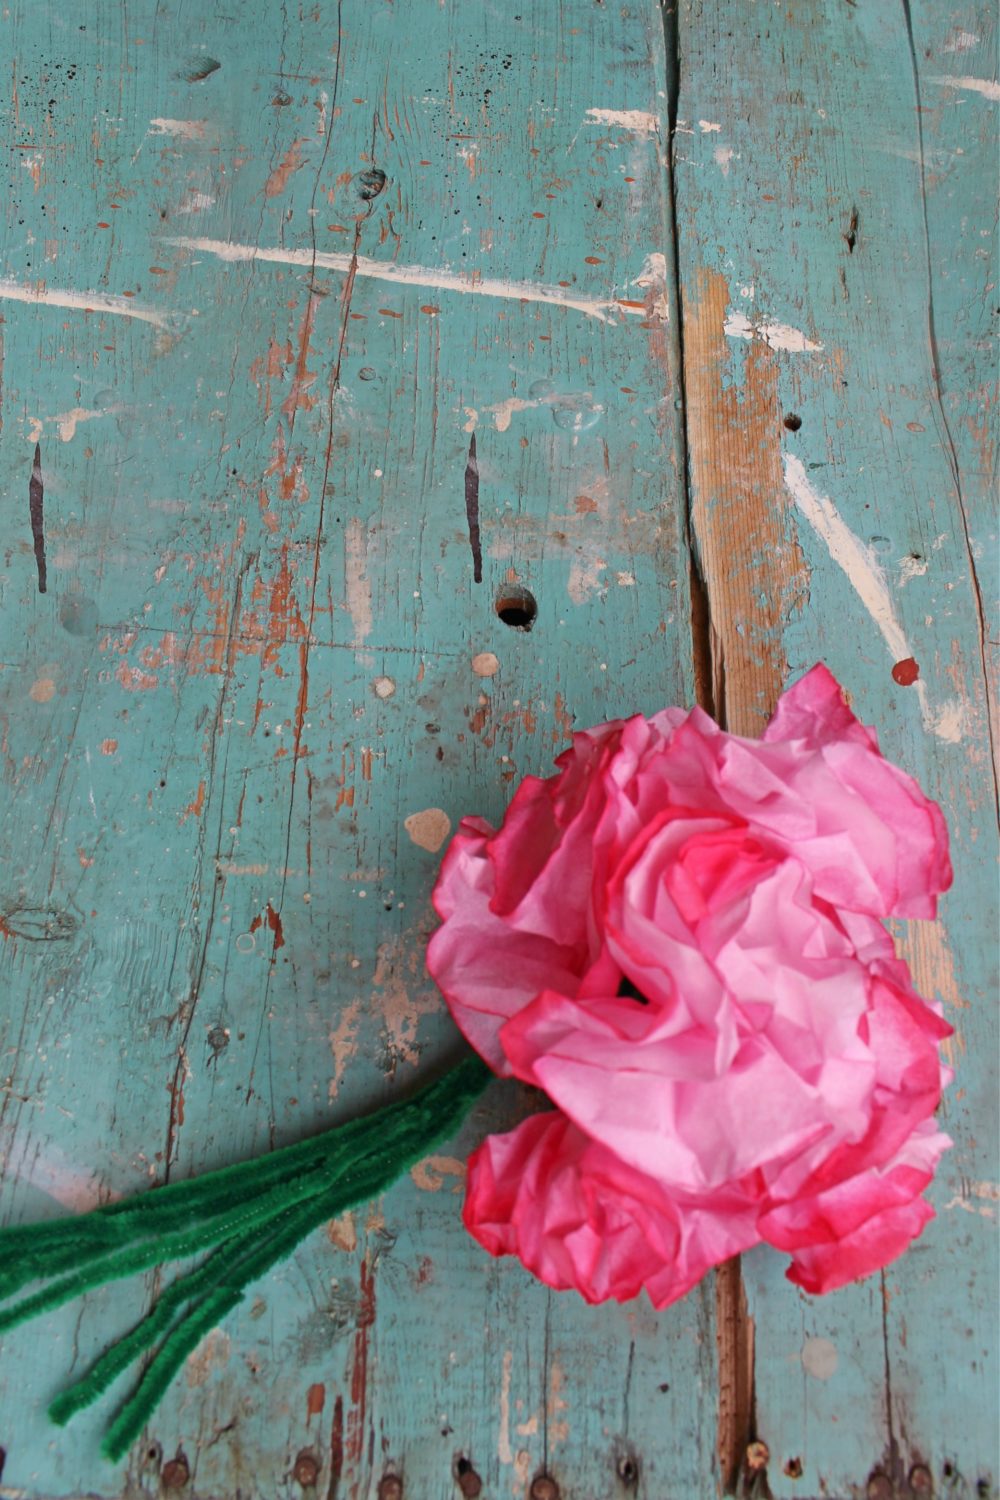
- Put the coffee filters together in groups of two for each flower. You can fold the coffee filters in half, pinch your fingers in the center of the fold and then open and scrunch up the edges until they look like the picture shown here. Where you hold the coffee filters, twist until there is a bit sticking out to attach the stem to.
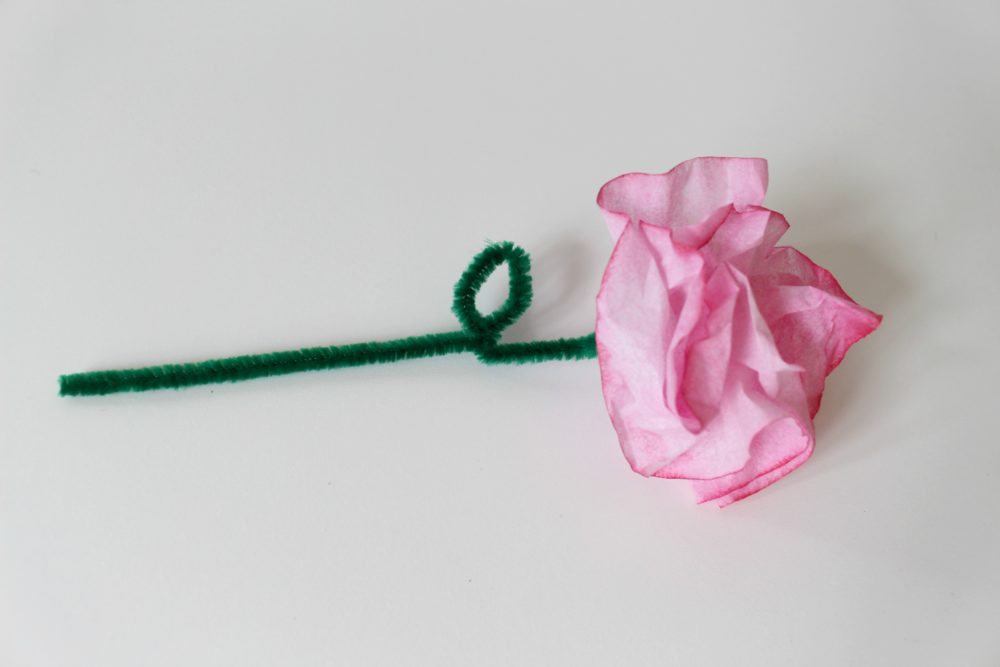
- Wrap one end of a pipe cleaner around the “stem” part of the flower a few times. Then twist a “leaf” into the pipe cleaner. (If your flowers are too heavy, double up the pipe cleaners and use two twisted up together.)
- Make as many as you want (we made 6) so that you can have a beautiful bouquet.
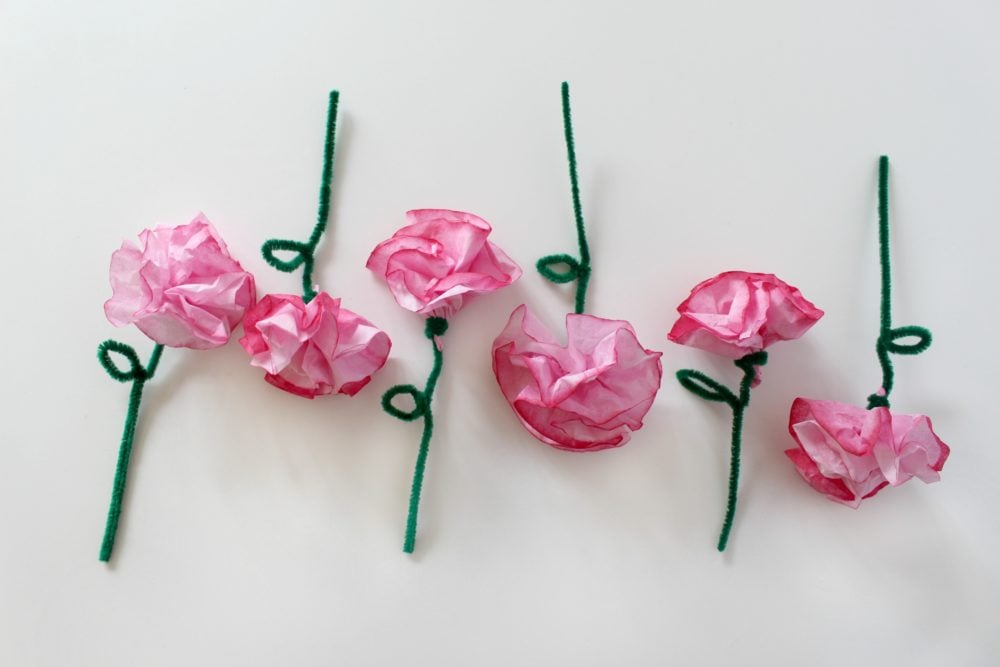
- Step 8. Add the flowers to a pot or vase and display or give away! They make nice home decor and they also make a nice gift because they stay pretty for a long, long time and they don’t cause anyone to sneeze!
Pin To Save For Later
GET MORE INSPIRATION HERE >> FOLLOW ME ON PINTEREST
Similar Posts You Might Like
Other paper crafts you might find interesting:
- Paper finger puppets craft
- Paper Christmas Tree Decorations
- Folded Paper Necklace
- Fab Fairy Free Printable Paper Dolls
- 3D Paper Tulips
Most Popular Craft
Article may contain Amazon & affiliate links. As an Amazon Associate I earn from qualifying purchases at no additional cost to you.



This turns out so beautiful. Gonna challenge myself with this coffee filter flowers