

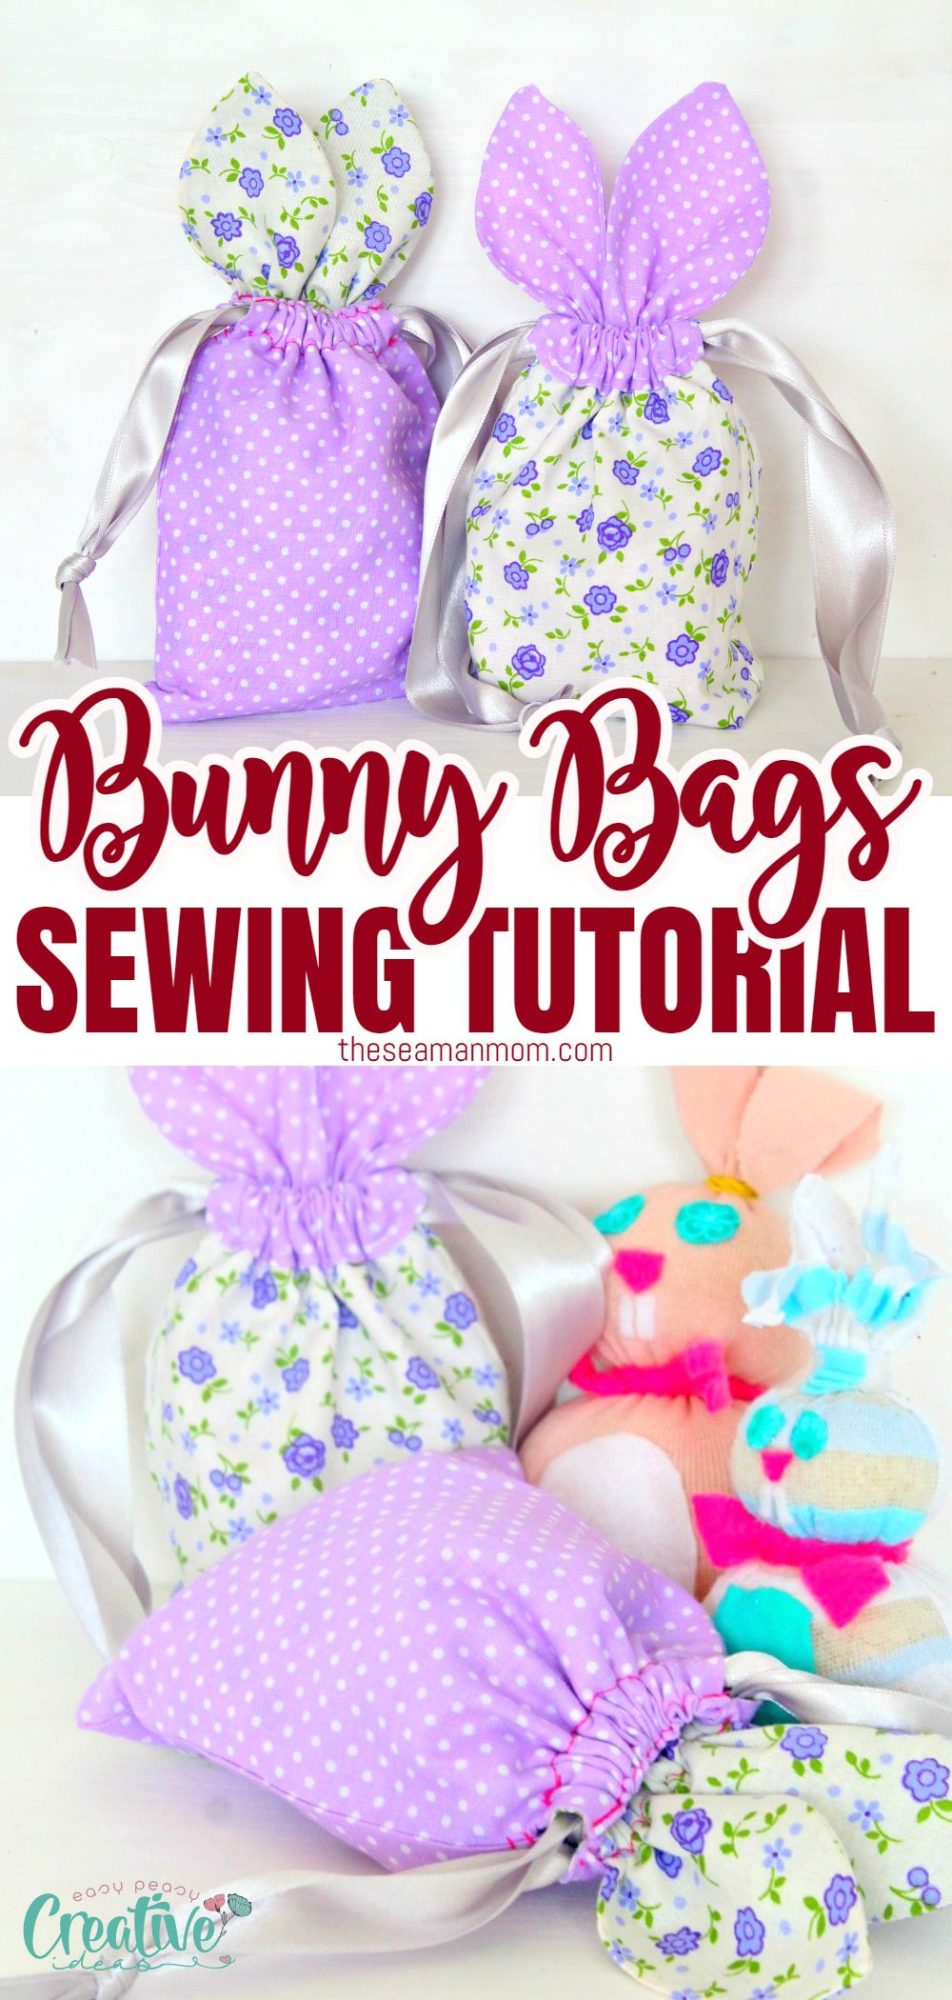
Adorable Bunny Drawstring Bag With video instructions
These little Easter treat bags are so irresistibly cute and perfect for hiding Easter treats! Make a whole bunch with this super easy bunny bag pattern!
Bunny bag pattern
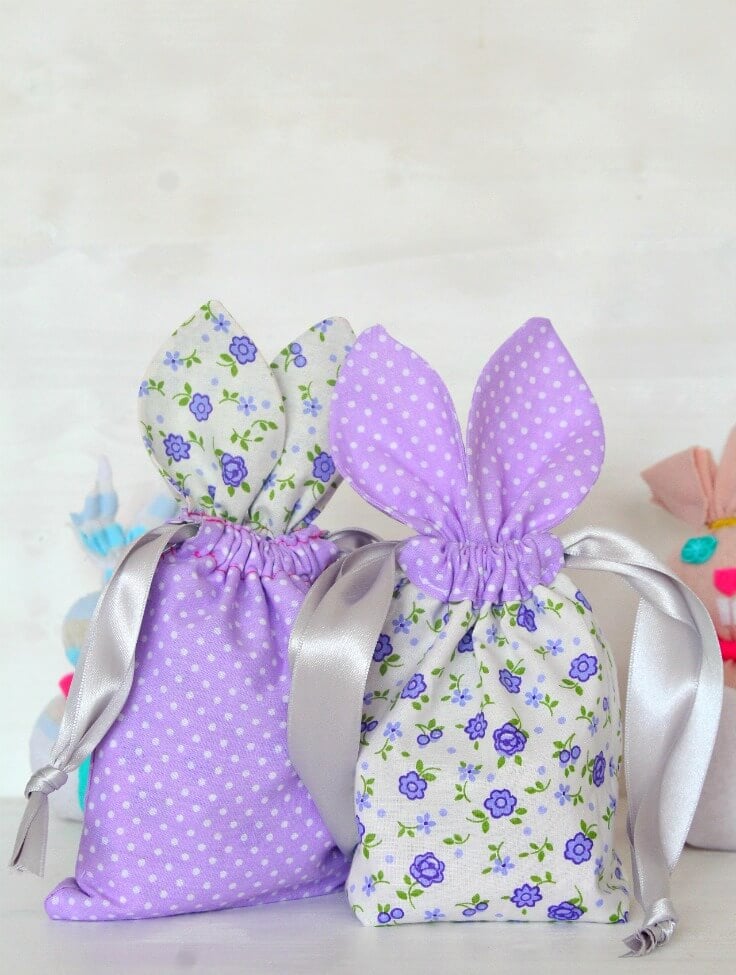
Is there anything more adorable than a bunny? There is now! With this simple bunny bag pattern you’ll learn to make super cute Easter bunny bags for all the little ones in your life. These bunny treat bags are so easy and fun to make, you’ll find yourself whipping up a whole bunch of them in less than an hour!
This tutorial has been converted to a PDF file, available to purchase here. This article is completely free to read.
Christmas may be the absolute favorite time of year for most but for little ones, Easter is up there with all the chocolate egg glory. Particularly for those who’s favorite fluffy pets are bunnies!
If you’re thinking about making some easter goodies for the babies in your life this year then check out this super easy bunny bag pattern to make an adorable bunny treat bag of your own!
More Easter ideas you will love:
- Bunny door hanger
- DIY bunny pillow
- Scallop carrot treat bag
- Easy peasy bunny banner
- Bunny sleeping mask
- Bunny hair clip
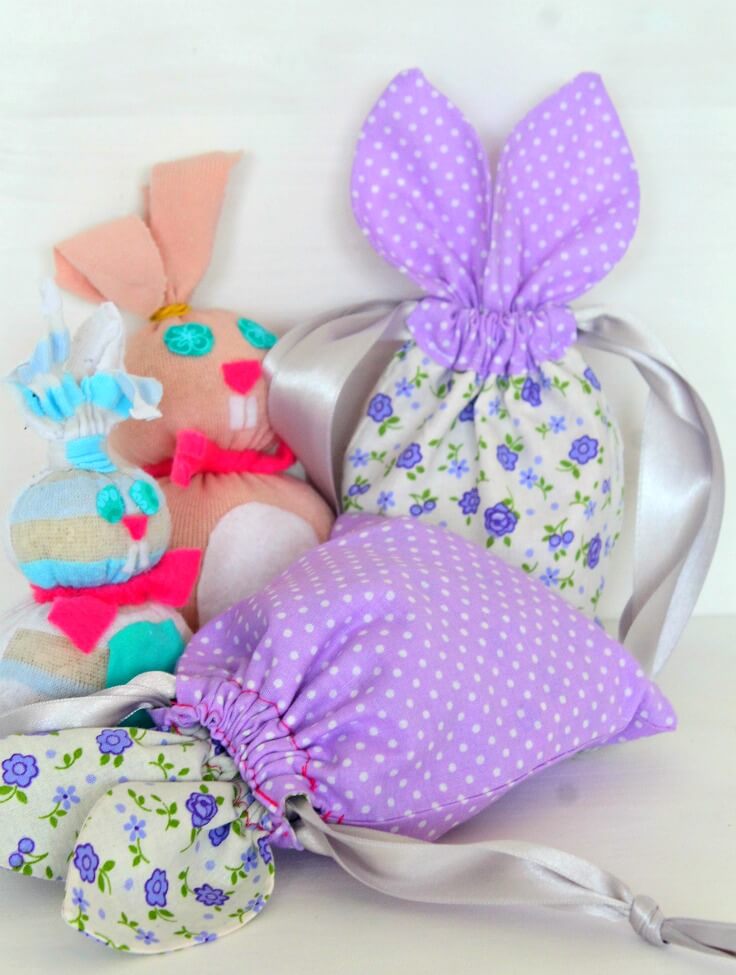
This bunny bag pattern is not only a quick sew up but also super enjoyable! You’ll find yourself smiling throughout the whole process because these Easter gift bags are just too adorable!! And imagine them filled up with treats, in the Easter basket! Your little ones will be squealing in delight! These simple drawstring bunny bags are also perfect as as snack bags or just as a cute gift to a bunny lover.
Other beginner projects you might like:
Do you love giving Easter gifts? This bunny bag pattern is the perfect way to show your loved ones how much you care. It’s a quick and easy project that will make everyone smile. The finished bunny bag is so adorable, and it’s sure to be a hit at any Easter celebration. Plus, it’s a great way to use up some of your fabric scraps. Follow my simple tutorial to sew your very own bunny bag!
So what are you waiting for? Grab your sewing notions and tools and let’s make an adorable bunny bag!
What do you need to make Easter bunny bag?
- 2 pieces of fabric (main fabric) for the outer bag of 6″x 8″ (woven cotton works best; similar here)
- 2 pieces of fabric for the lining pieces, of 6″x 8″ (contrasting fabric is recommended; similar here)
- 4 pieces of fabric for ears 2.5″ x 4.5″
- ear stencil (just draw one)
- lightweight interfacing 2.5″ x 9″
- scissors
- sewing machine
- matching thread (I used contrast to help you see the steps better)
- marker or chalk pen
- pins
- 2 x 18″ ribbon
- safety pin
Directions
How to make bunny drawstring bags?
To make the bag
- To make the main bag, place outer fabric pieces right side together (RST)
- Mark 2″ down from top corner, on the long edge of both sides of the outer pieces.
- Place a pin where you made the mark then pin the fabrics all around the rectangle pieces, between those 2 pins (sides and bottom).
- Sew down the pinned area with 1/4″ seam allowance.
- Repeat these steps for the bag pieces for the lining but leave a gap in the bottom to turn the bag right side out (RSO) later on.
- Box the corners if you wish or just leave the corners flat. I did both. If you decide to box the corners, follow the method here or here.
- Fold the flaps and place the outer bag and lining “face to face”.
- Match the top flaps RST, pinning at the sides.
- Sew around both flaps, sides and top. Backstitch at start and finish. Take care not to sew into the existing seam.
- Turn bag RSO through the gap in the lining, fold the fabric at the gap inside and do an edgestitch then press the bag.
- Push the lining inside the outer bag.
To make the ears
- Make the ear pieces. Using the ears template, draw an ear onto the wrong sides of the ear fabrics.
- Iron the interfacing onto the wrong sides of 2 ear fabrics.
- Place one ear with interfacing and one ear without interfacing, RST and sew down the template, leaving the bottom open.
- Trim off the excess fabric of the raw edges of the ears and turn ears RSO through the bottom. Then press flat.
Assemble the bunny bag
- Arrange the ears on the bag. Fold one flap towards you and place ears on the remaining flap, in the middle. Pin and sew down.
- Flip ears up, pin and sew down the top of the flap, backstitching start and finish.
- Fold the other flap towards the inside of the bag and sew 2 similar lines as above (no ears for this flap though)
- Take 1 ribbon and attach a safety pin to one end. Pass through both channels made in the flaps until it comes out the same side where you started. Knot ribbon ends together.
- Repeat with the other ribbon but starting from the opposite side.
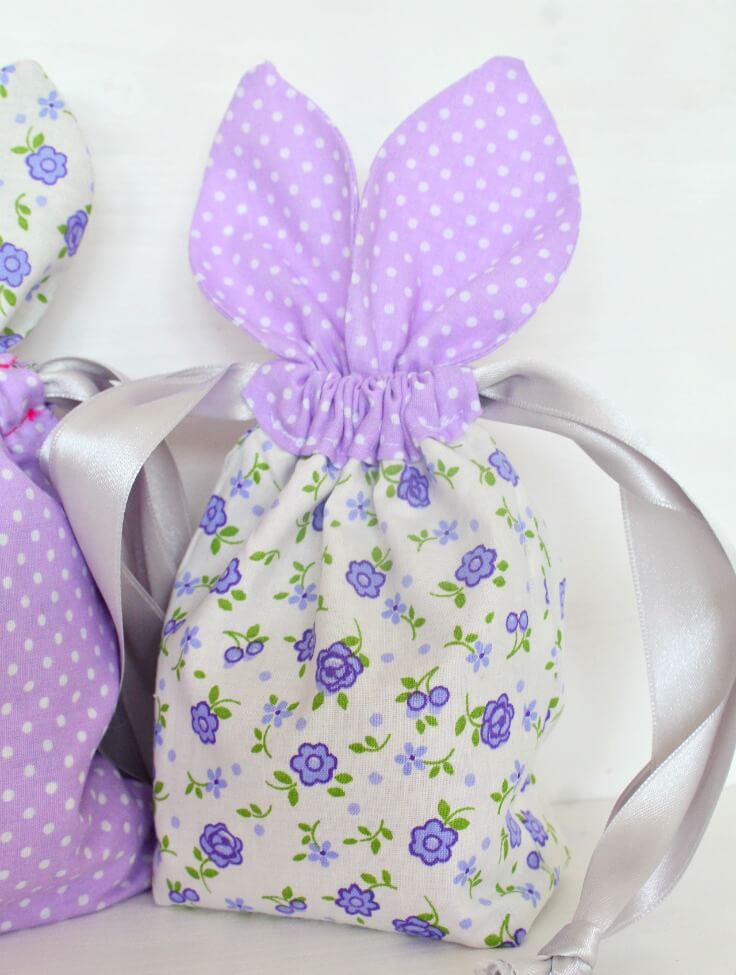
- Now just pull the ribbons to close your bunny bag and you’re done!
And there you have it, a super cute bunny treat bag pattern! I hope you have fun with this little bunny bag! If you make one, don’t forget to let me know in the comments below.
You can also share a picture on my Facebook page. I would love to see your creations! Happy sewing!
Pin to save for later
Most popular sewing projects:
- Tips for sewing a round hem
- Corded bag handles
- Flutter sleeve dress pattern
- How to laminate cotton fabric


Article may contain Amazon & affiliate links. As an Amazon Associate I earn from qualifying purchases at no additional cost to you.

I have just paid for a pdf copy of this but there are no bunny ears template. Please help.
This file is the tutorial converted to PDF which doesn’t have a ear template included.
This is adorable! I love homemade projects like this. I would love to make this for my kids, and even my older daughter might be able to make this with me.
The little bunny bags are so super cute. I cannot believe Easter is coming so fast.
Wow! Those are so cute! I know my daughter would love to have that!
That is such a cute bag design. They are a lovely idea to add little chocolate eggs into at Easter.
I love the design and of course the color because any shade of purple and lavender are my favorite.
These are absolutely adorable bunny bags. I love that you give the tutorial with your post. You are so sweet. I also love how springy they look, not only perfect for Easter but for those that maybe not celebrate Easter- for just Spring as well. Thank you!
Simply adorable. I can see so many uses for this cutie.
Great idea, right in time for Spring.
What a cute bag! I will have to make these for my grandbabies
These are too adorable! Perfect little gift bag for Easter!
These are adorable! I love the colors as well. Perfect for Easter!
I wish all of your free patterns had a way to Print the patterns out. I live in the country and having not the greatest internet, we can’t stay online long periods at a time because of using to much data.
I’m working on converting most popular tutorials to a PDF format, Betty. But since I have no help and this blog is a 10 hr/a day job, it’s a slow process. Thanks for stopping by and next time you’re here, I hope the tutorial you’re looking for is already converted to PDF!
Hi, is there a template for the ears? Love this pattern & video tutorial, but not quite sure how big to make the ears. Thank you
Hi, Juliana! There’s no template for the ears but I gave the measurements for the fabric needed for ears, that should give an idea on the approximate size. It’s in the materials section.
This is the neatest bunny bag..as in nicely done. Being a visual person, I did find, however, the video was a little too fast for me to follow, even with the printed instructions. Pausing the video at critical steps just didn’t work for me.
Thank you…they are really cute.
I had so much fun going through my scrap box and made 2 cute bags with what I could find…the video was helpful as it showed the steps clearly and was easy to follow. Thanks for such a cute project.
Hi Rachel. Thanks so much for letting me know that you enjoyed my idea & it worked well for you! Have a wonderful day & stay safe! xoxo
I love these little bags and purchased the PDF file so that I could get a template for the ears. I was very disappointed to find there isn’t one. I will try to make the bag, but it would have been nice to have the ear template included as part of the PDF.
could I have the pattern for the bunny bag treats love your web look for to reading it every day god bless may your family and friends be safe on these dark days easter is coming and the sun will shine on all of us god bless
Hi, Margaret! There’s no specific pattern, all the details for making the bags are in the tutorial.
Do you have a pattern for the bag & the ears? These are so cute! The video doesn’t play, only the music
Thanks,
Sharon
Hi Sharon. Thanks so much, I am absolutely smitten with these cuties! I didn’t make a pattern since drawing ears was so easy, almost like drawing leaves. Also the bag uses square fabrics so I didn’t see a point in making a pattern. Not sure why the video is not playing for you, it may be your browser settings or the internet connection as it works just fine on my computer and phone. Alternatively you can watch the video on my FB page here https://www.facebook.com/TheSeamanMom/videos/1222781174436023/