DIY Farmhouse fall centerpiece
Adding a decorative centerpiece to your dining room table is one of the easiest ways to spruce up the room throughout the year. With this simple DIY fall centerpiece, your dining room table will instantly be transformed into a beautiful fall tablescape.
Fall table centerpiece
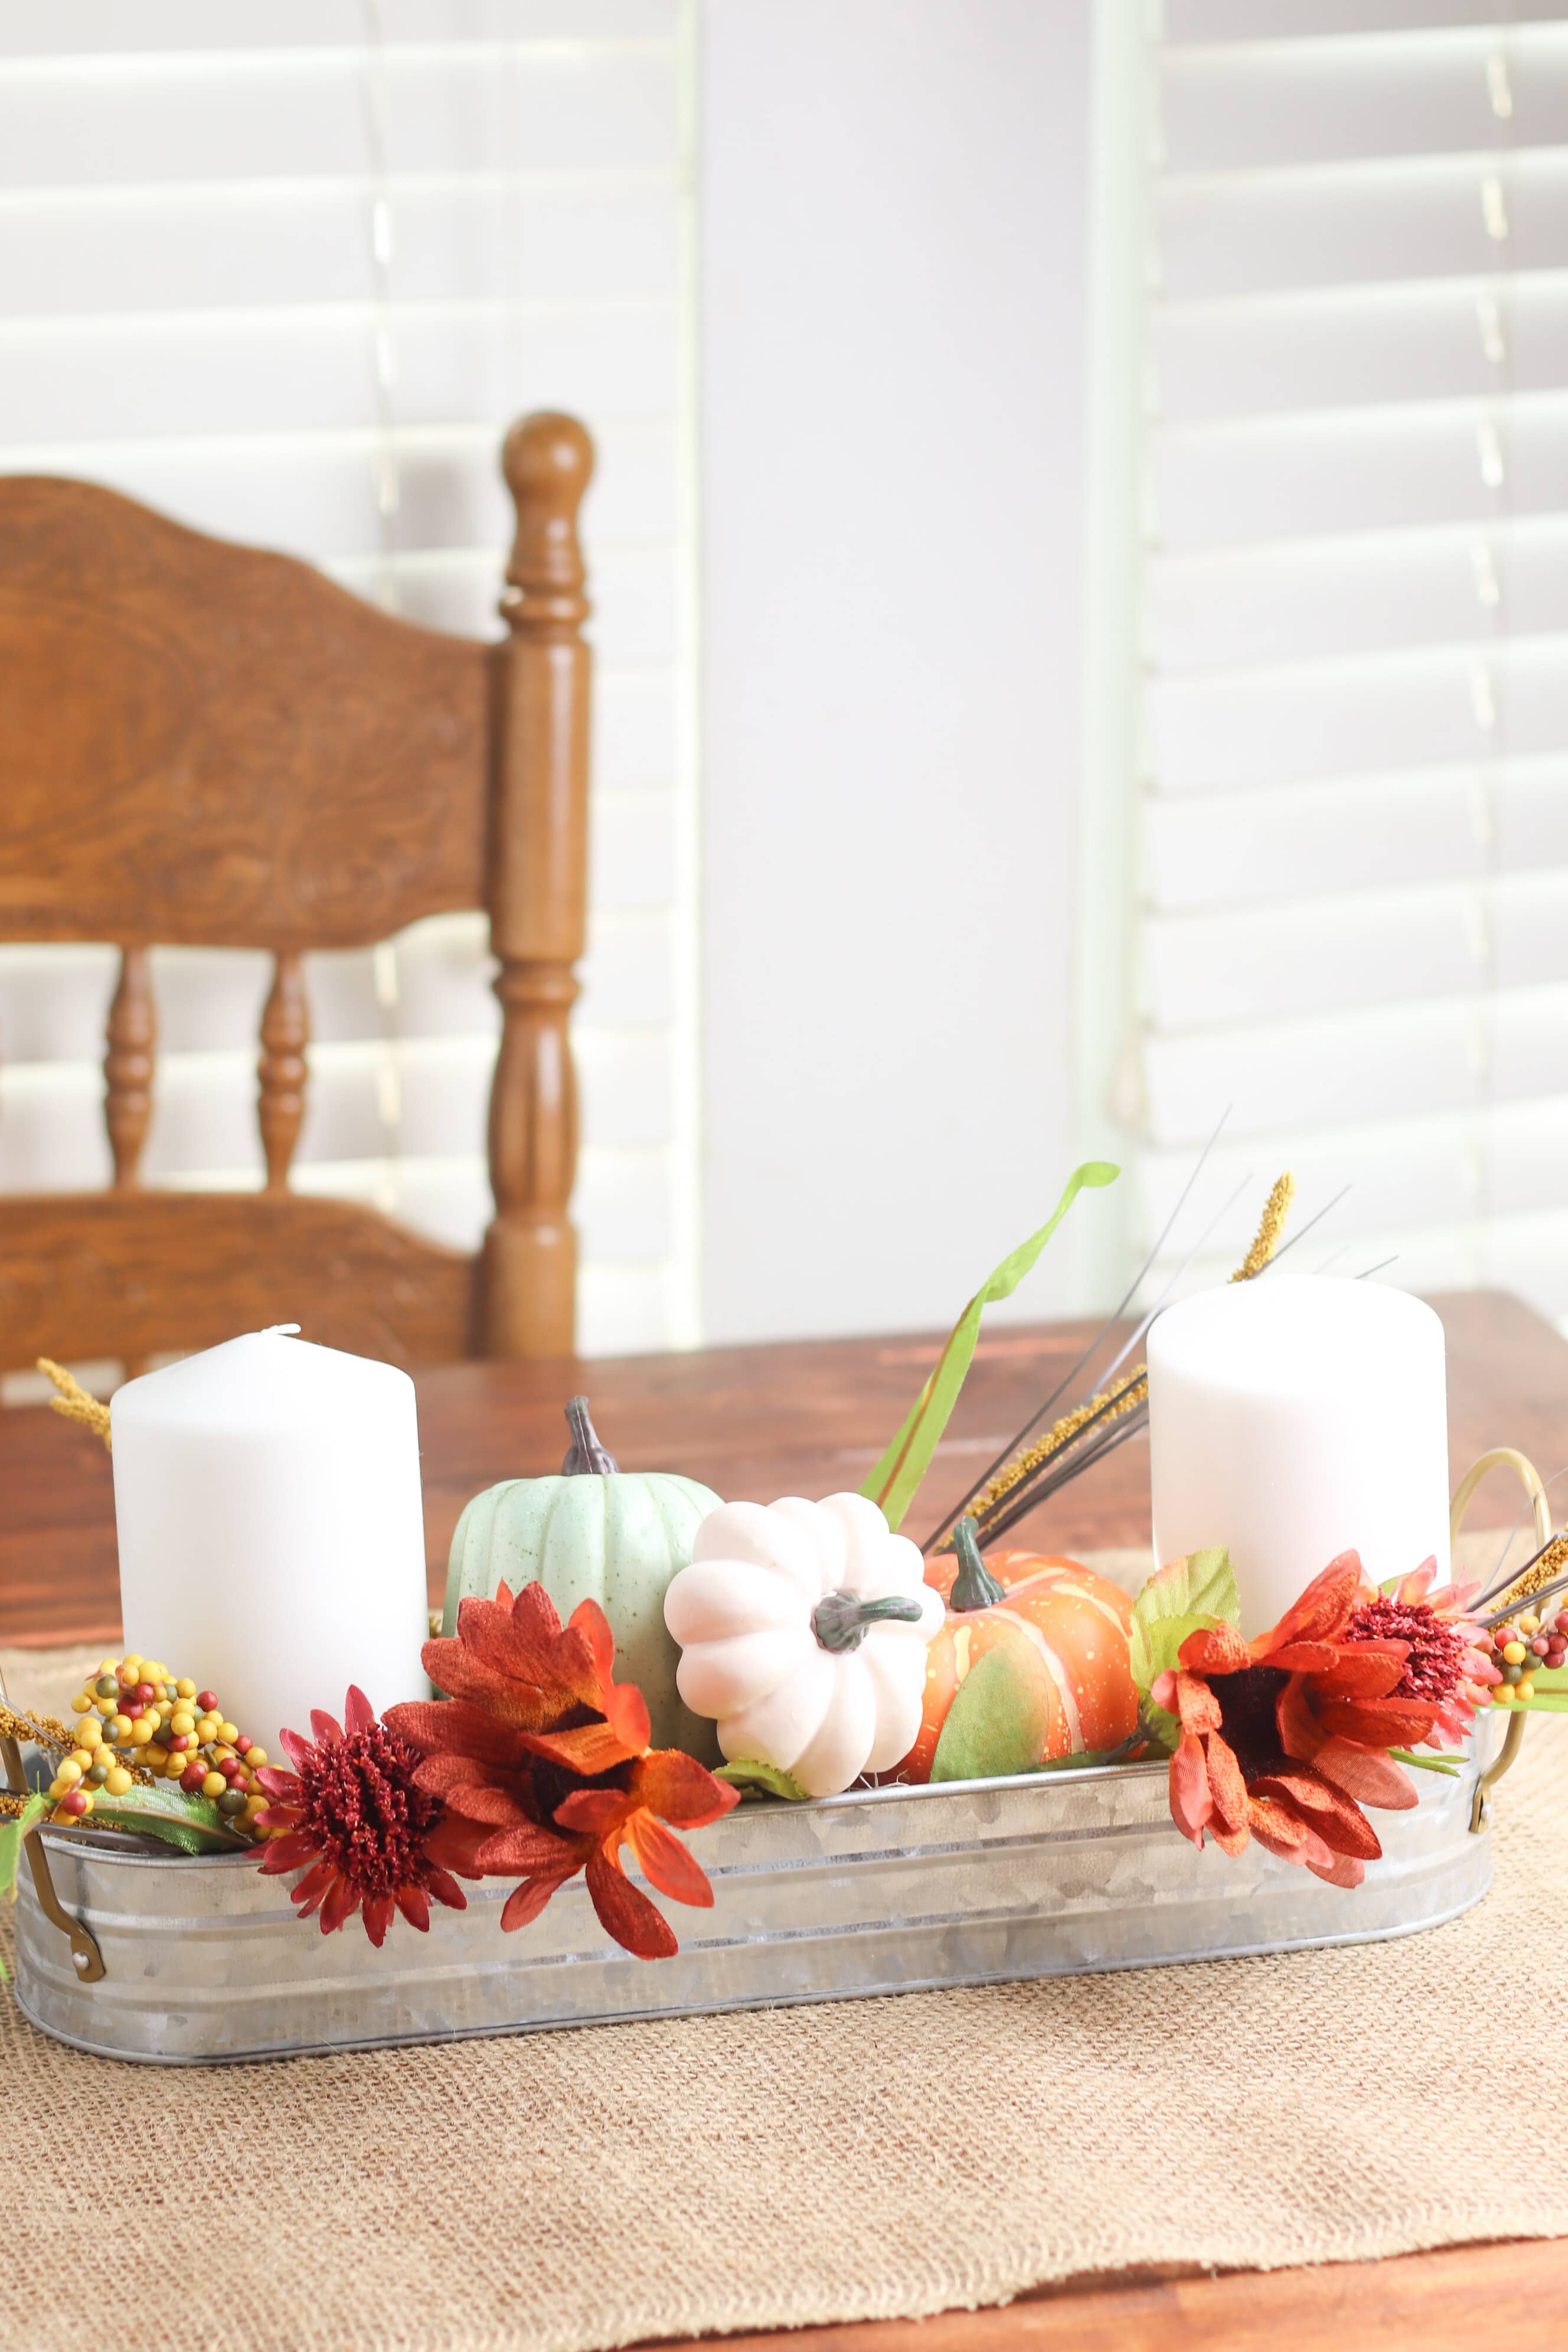
I love decorating for the seasons because it’s a simple way to change up my home decor throughout the year. And one of my favorite seasonal decorations to add to my house is this DIY fall centerpiece!
Centerpieces are a great way to decorate your table for a special occasion. But you don’t really need an excuse to decorate your dining room table this fall! Whether you’re planning your Thanksgiving dinner decor or just want to add a little bit of fall flair to your everyday table setting with some autumn table decorations, this cute decorative pumpkin centerpiece is perfect! Made up of colorful pumpkins, classic candles, and beautiful fall florals, you’ll love how this pretty fall centerpiece brightens up of your table this fall.
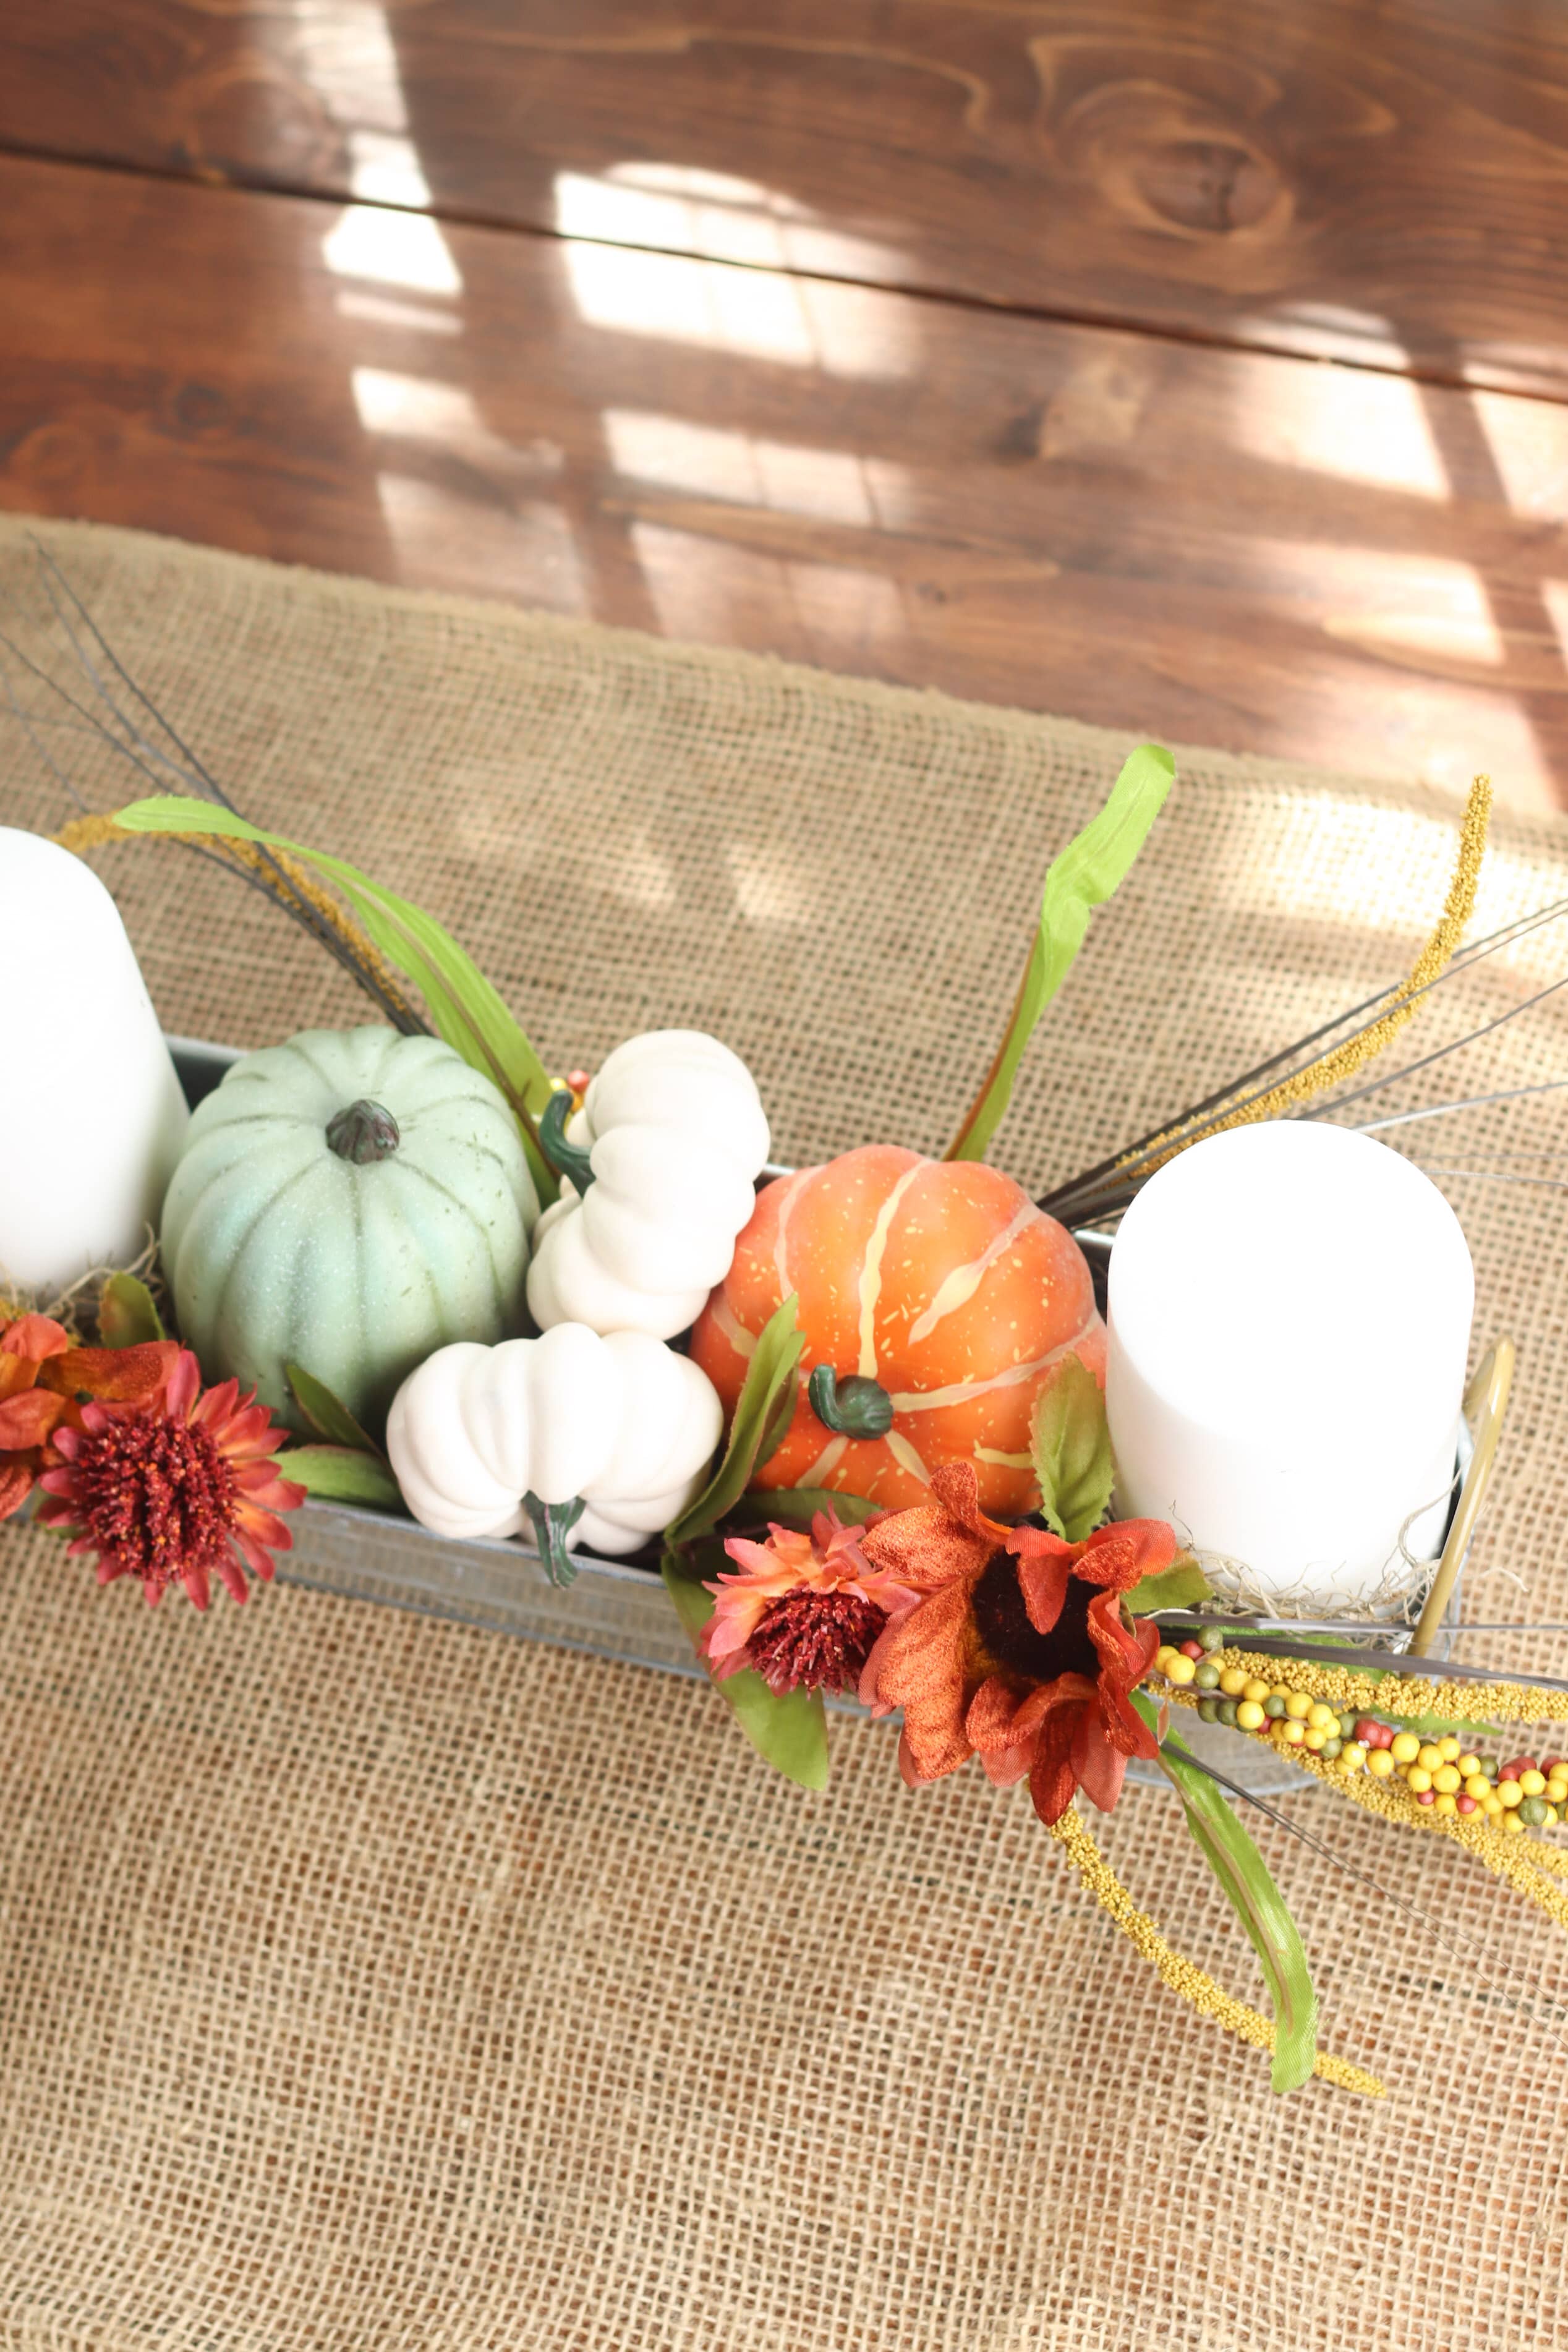
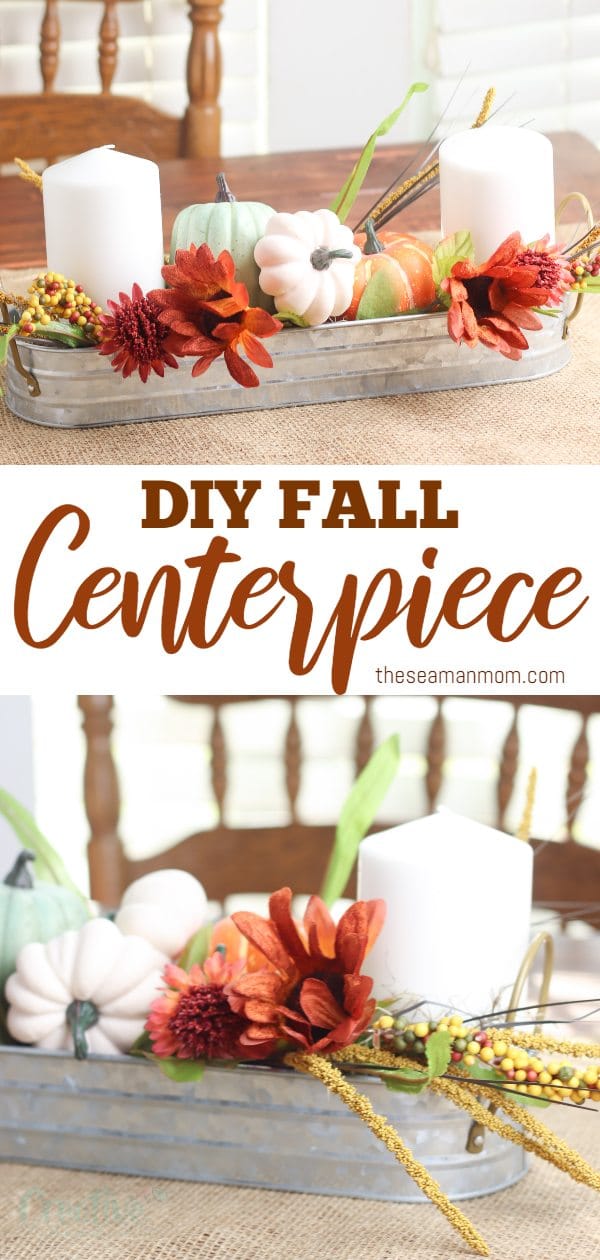
To make this rustic DIY fall centerpiece, I suggest starting with a container. This will make it simple to move your centerpiece off the table if you need a little extra space during dinner. I used a rustic galvanized metal container to make my fall table centerpiece, which means it will match perfectly other farmhouse decorations.
After you have decided on your container, grab all your supplies and start piecing your fall centerpiece together. To make this center piece, you’ll need just a handful of simple but pretty supplies such as brown moss, pillar candles, assorted pumpkins, decorative fall picks and fall flowers.
More fall ideas you will love:
- Bushel basket front porch decor
- Glittery pumpkin flower vase
- Burlap and toilet paper roll pumpkins
- DIY no sew fabric pumpkins
- Rustic photo frame with twigs
- Jute table runner
- Autumn leaves garland
- Fall lantern front porch decor
- Napkin cutlery holders
- Farmhouse book stack decor
- Farmhouse door wreath from plastic shovel
- DIY Thanksgiving magnet
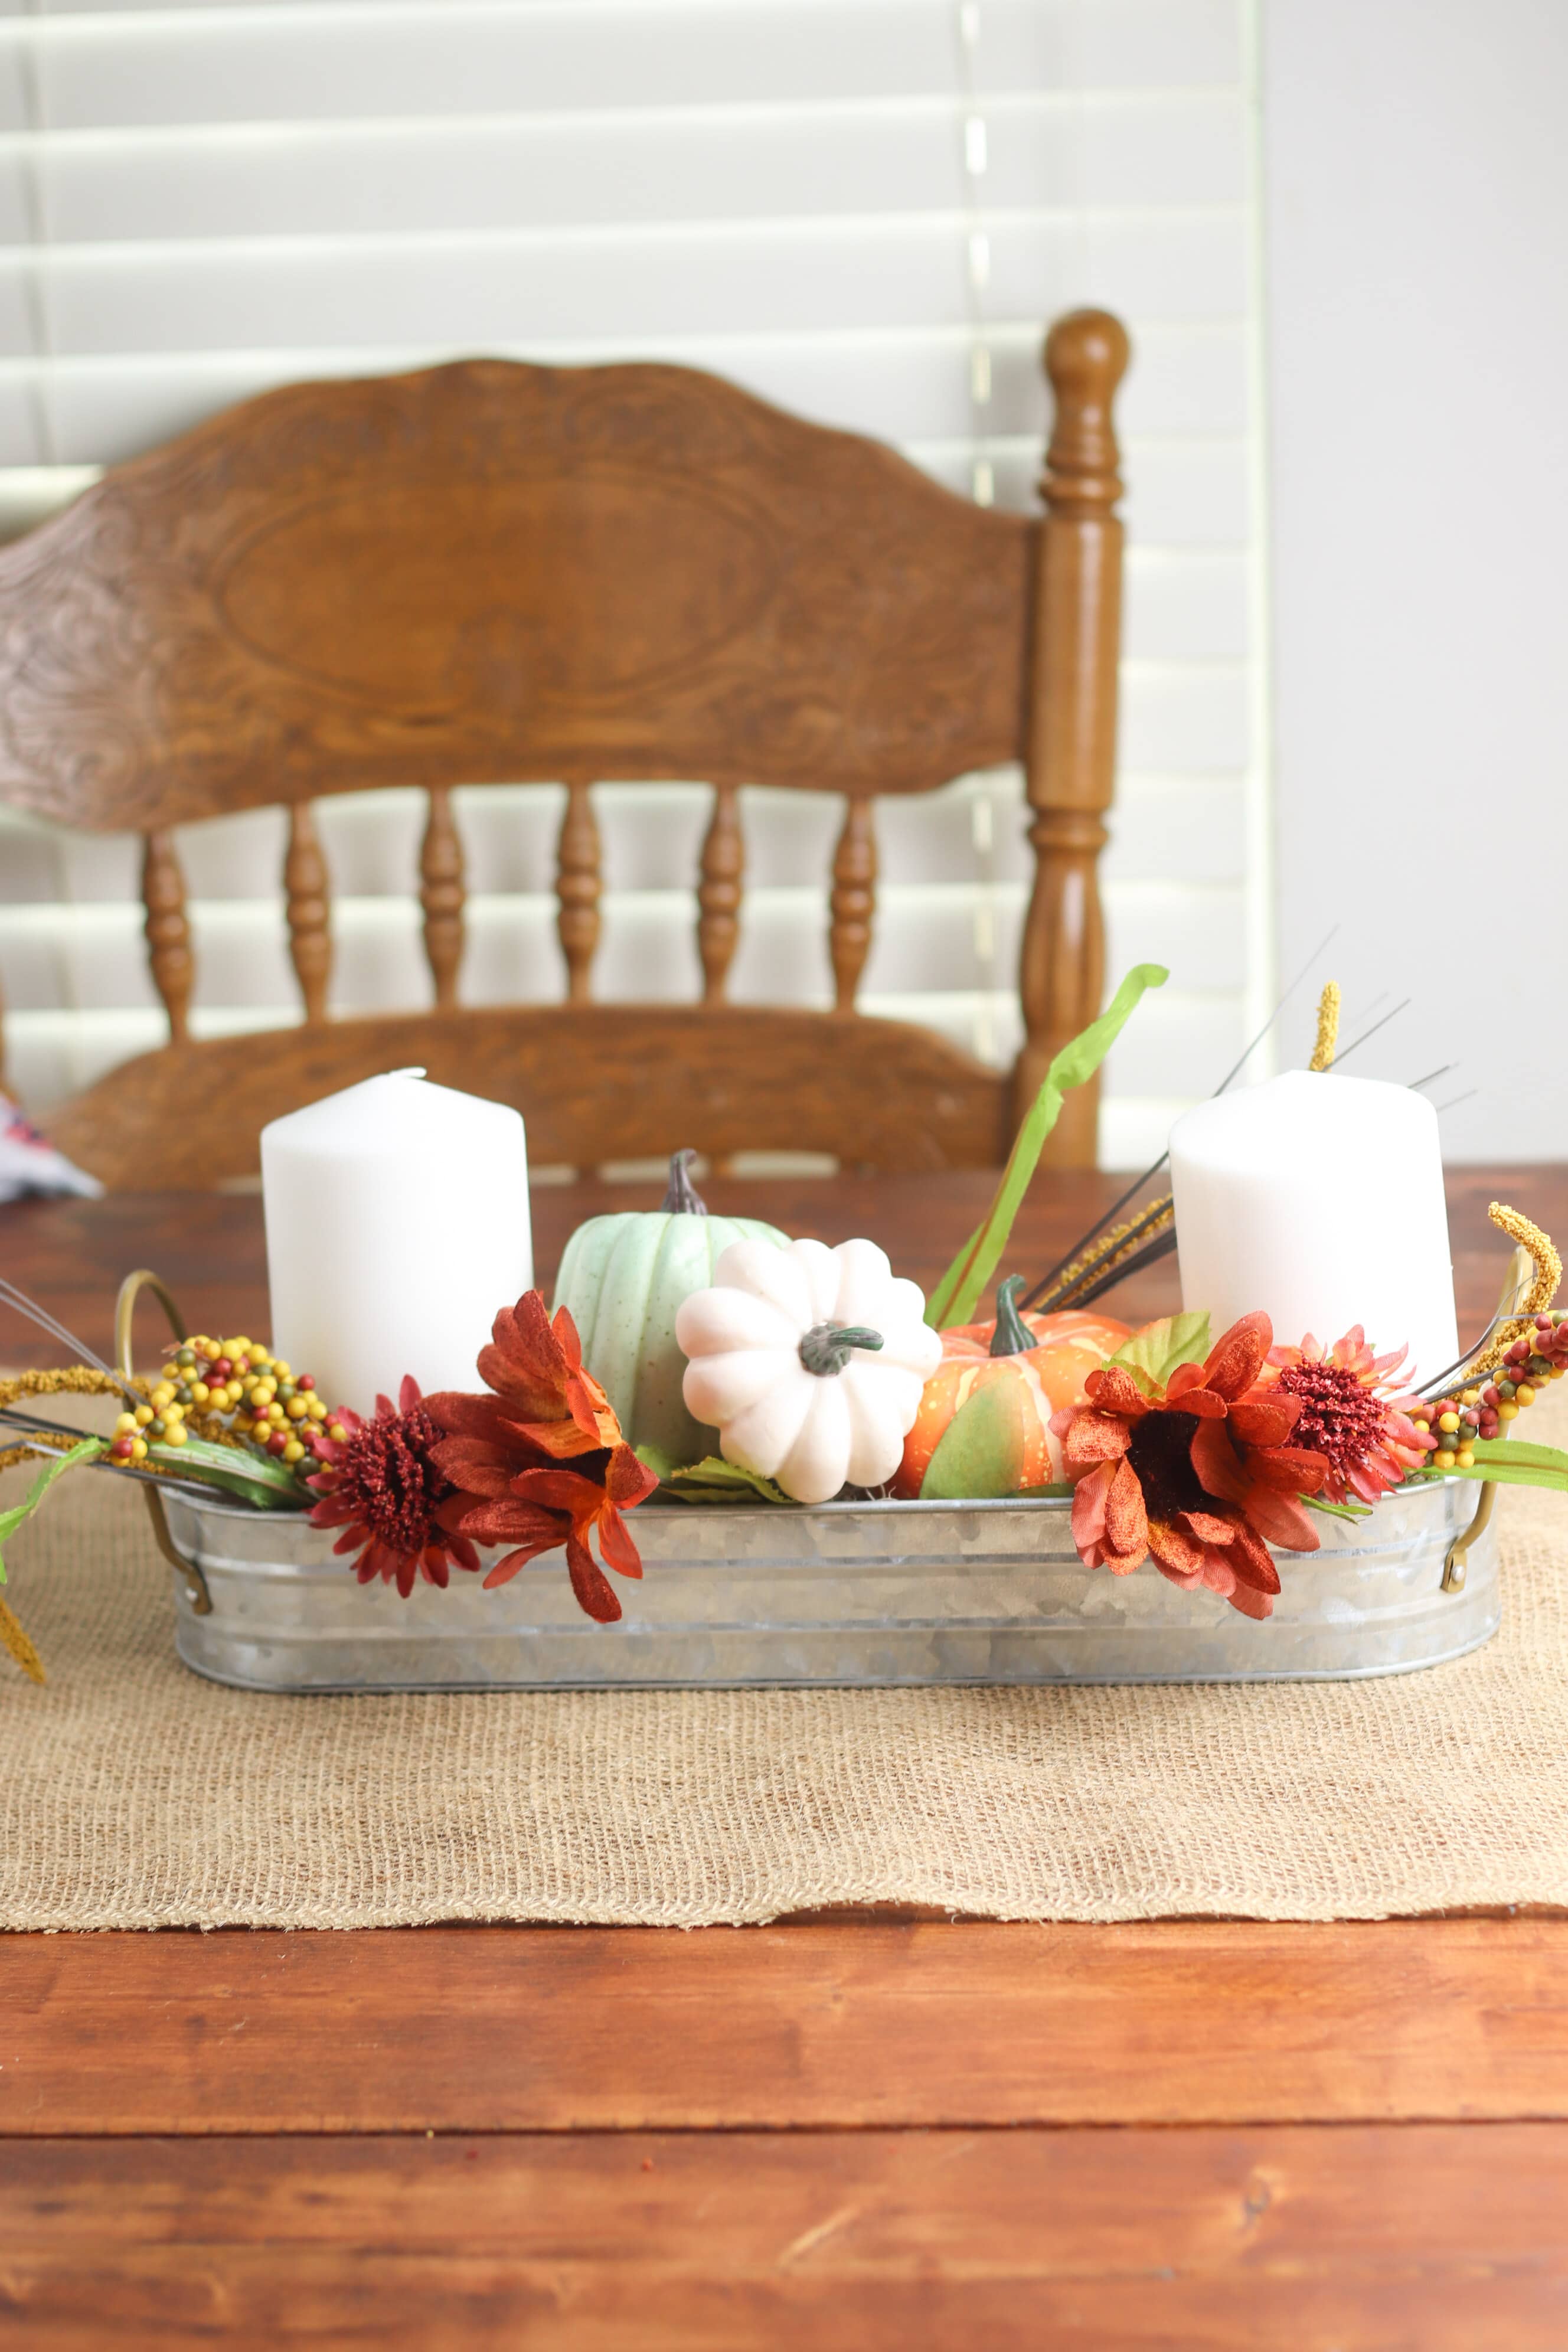
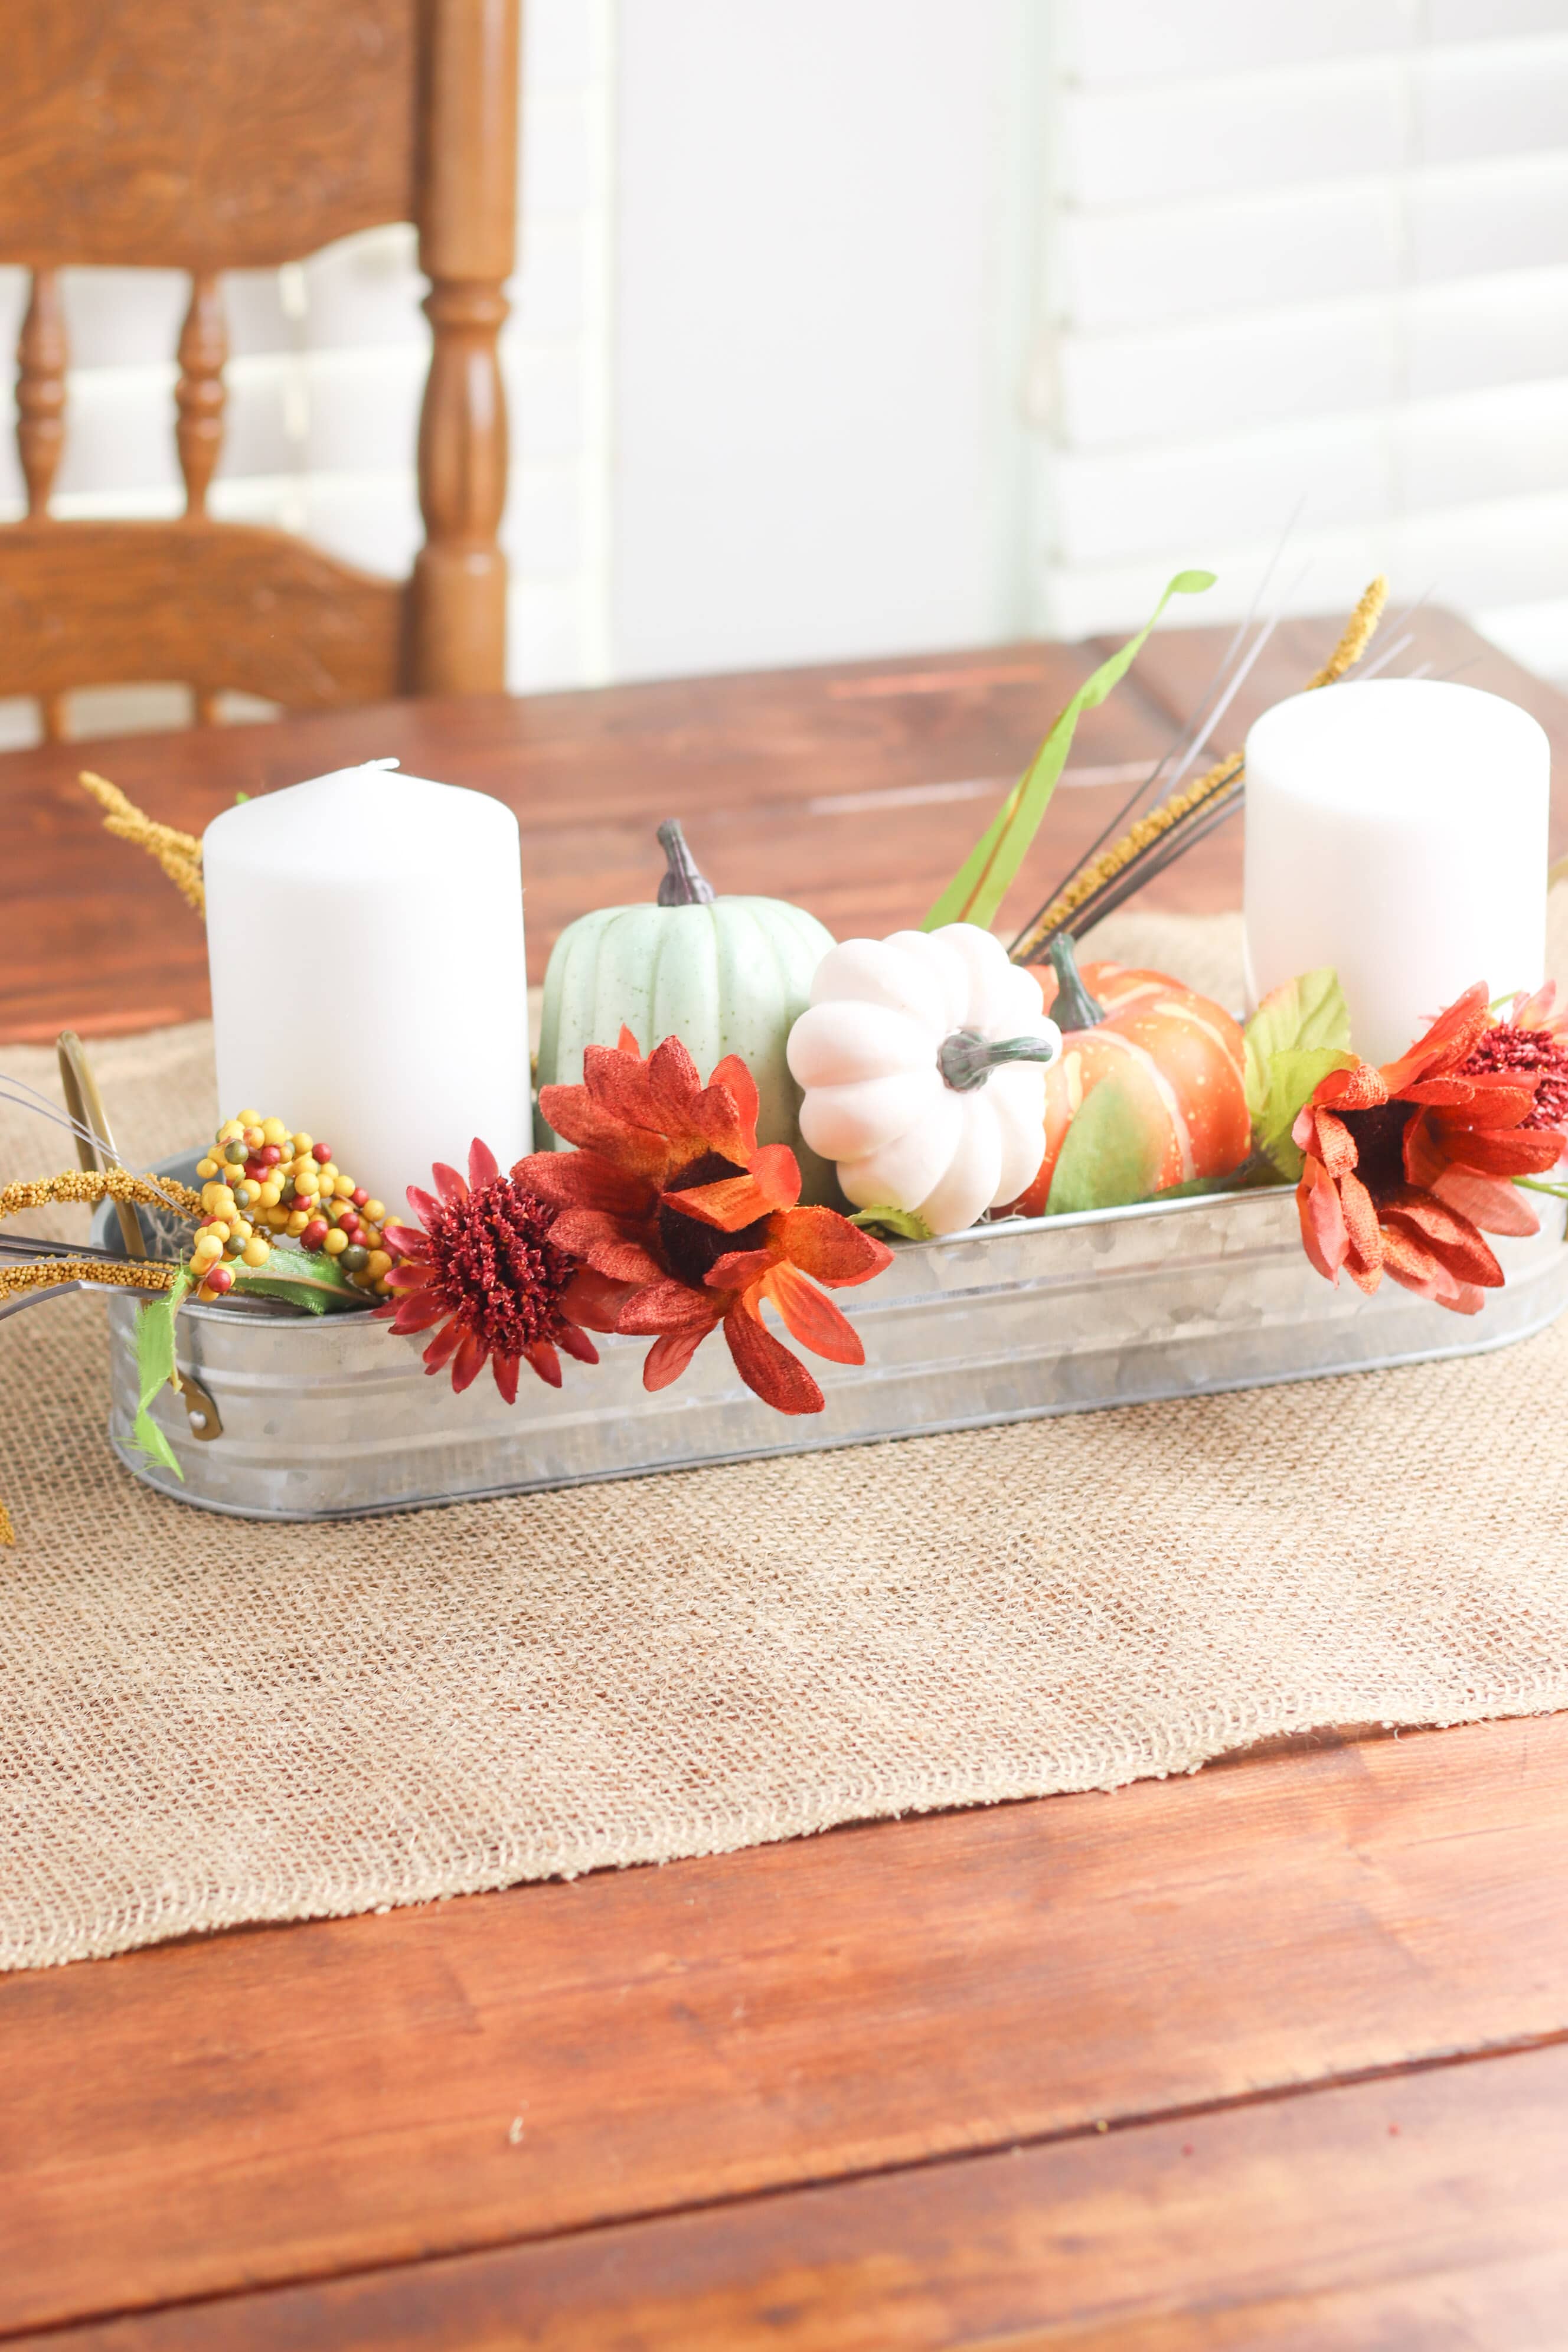
Start by filling the container with brown moss. The moss is perfect for filling in bare sections of your arrangement and helping your candles, flowers, pumpkins, and floral picks stay in place inside your container. Then, add the pillar candles to each end of the container. The candles will serve as nice end pieces to the centerpiece, helping book-end the decorative elements of the floral arrangement.
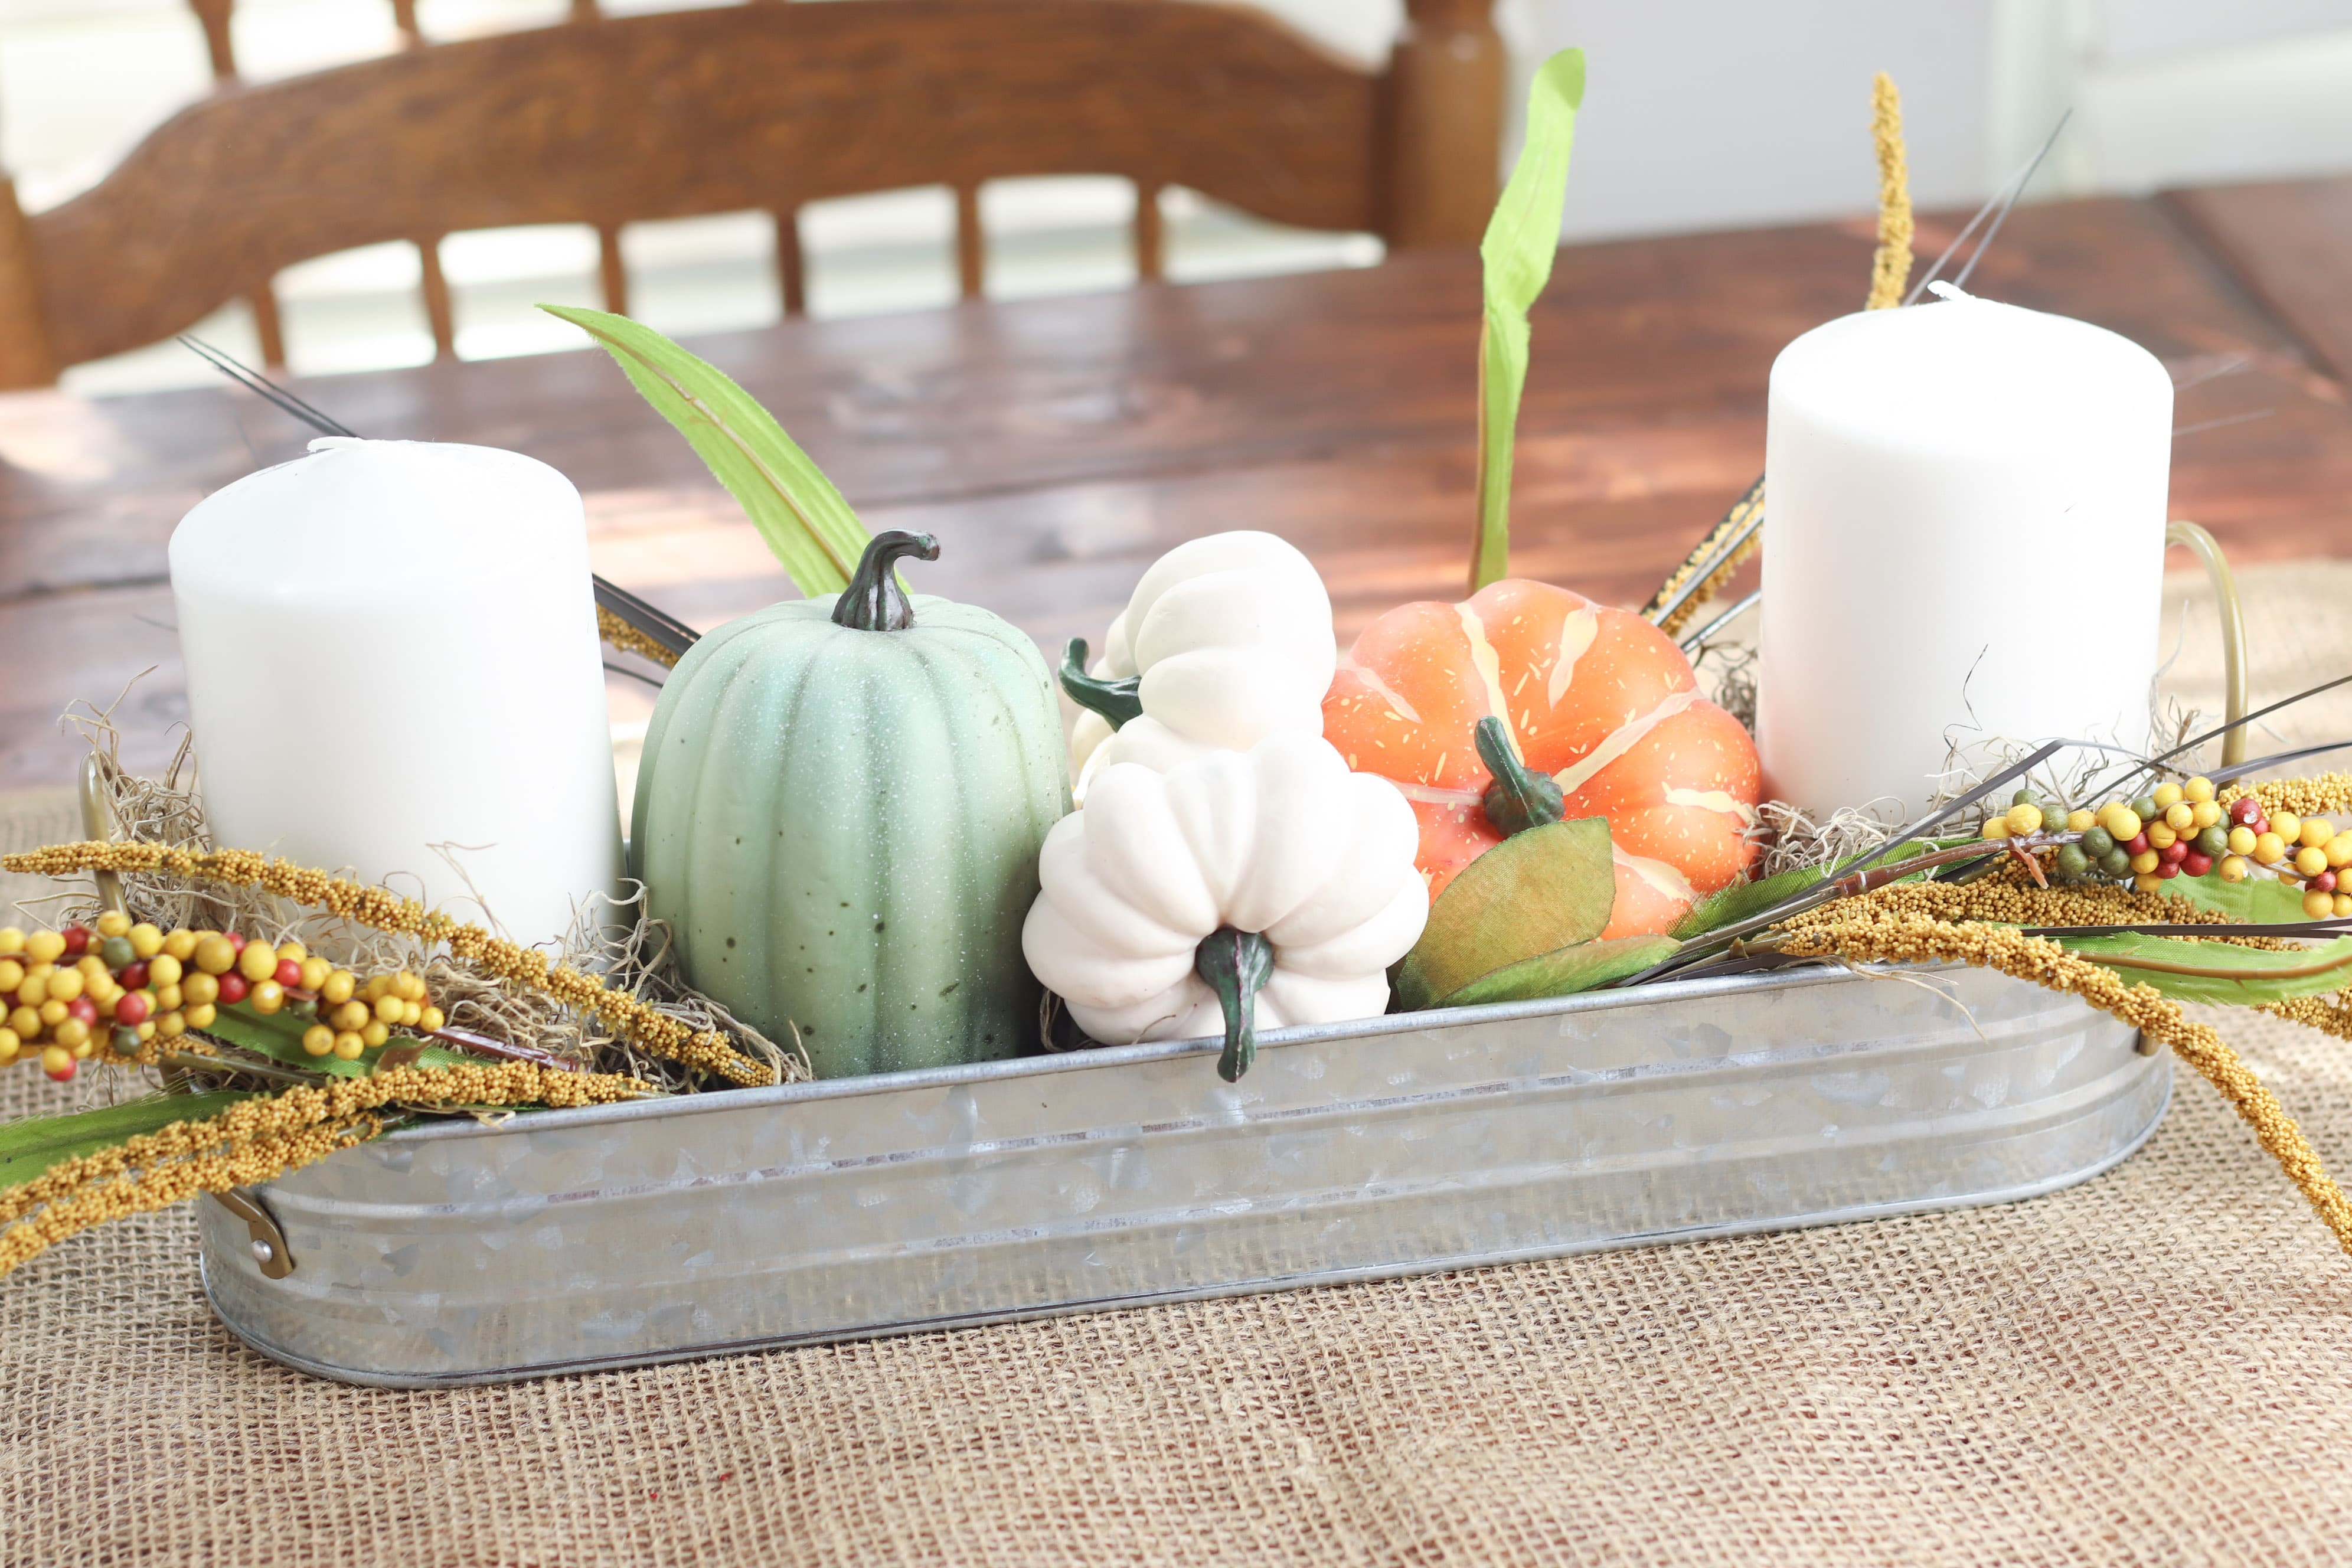
Next, add the pumpkins in between each of the candles. Choosing pumpkins of different sizes and colors is a great way to add a little bit of visual interest to the middle of the centerpiece and help you incorporate a variety of fall colors into the design. After arranging the pumpkins in the middle, begin filling in the DIY fall centerpiece by adding floral picks along each side and the back of the center piece. Decorative picks are great for adding some natural elements and unique textures to the centerpiece.
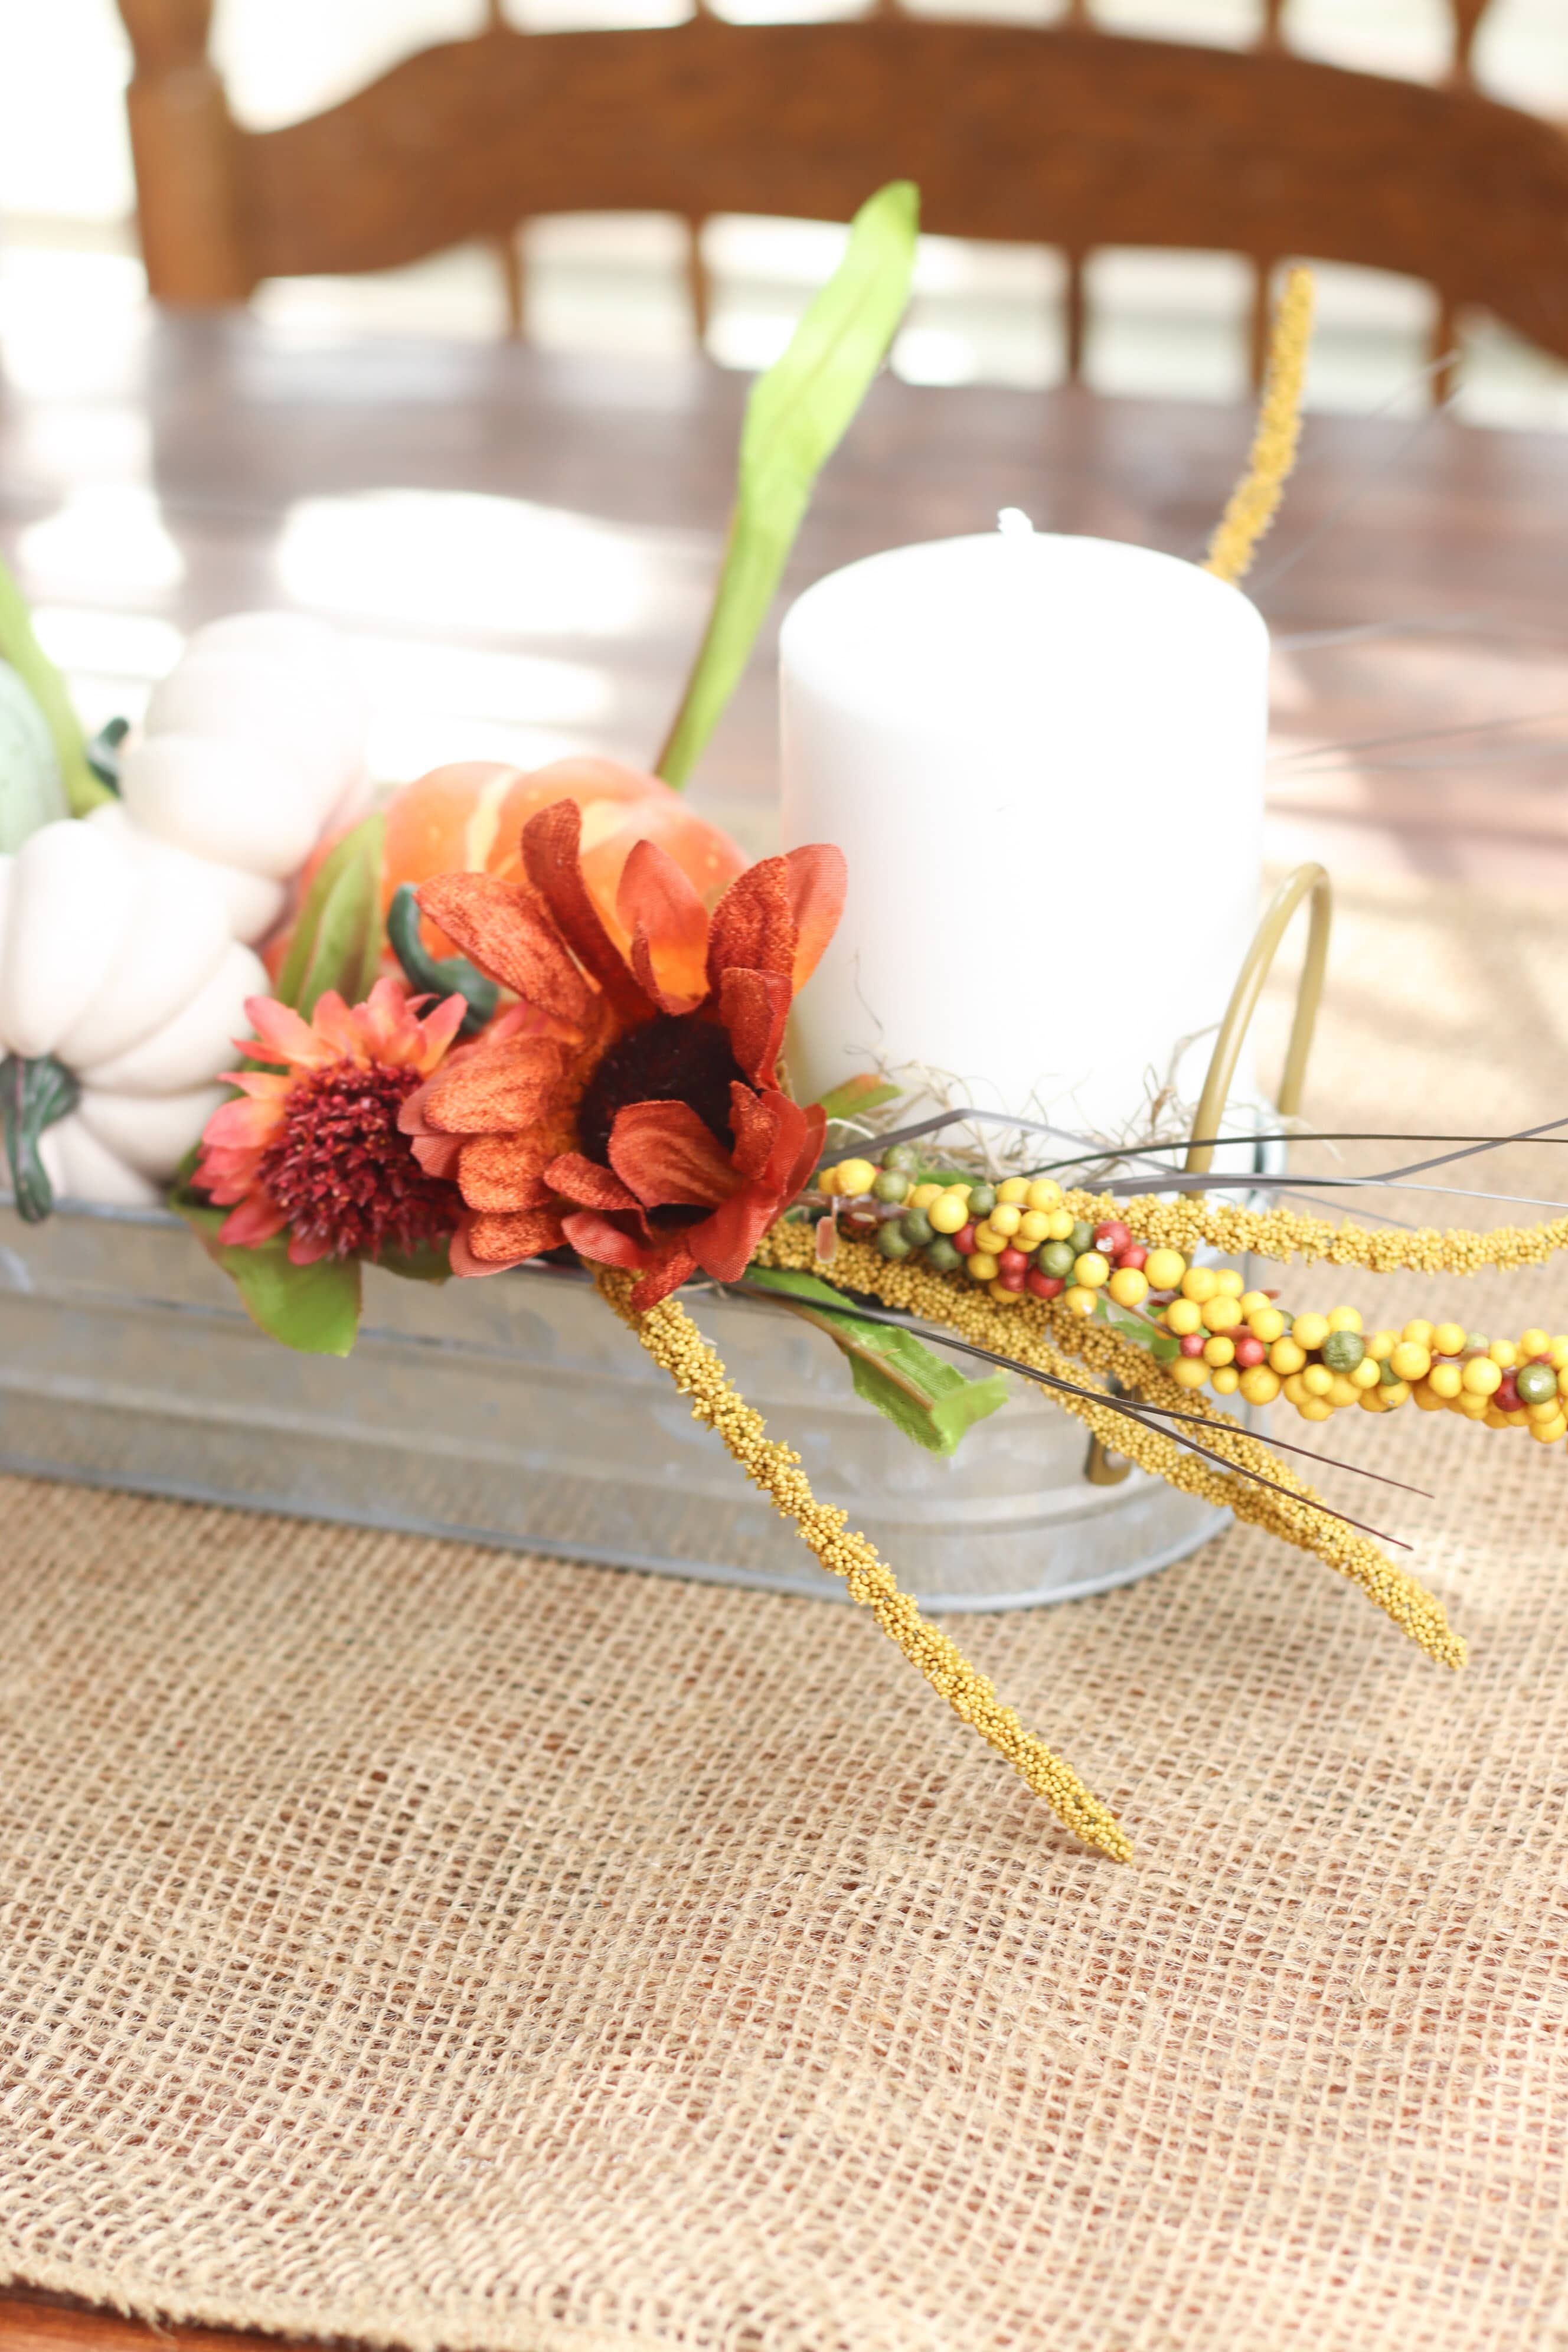
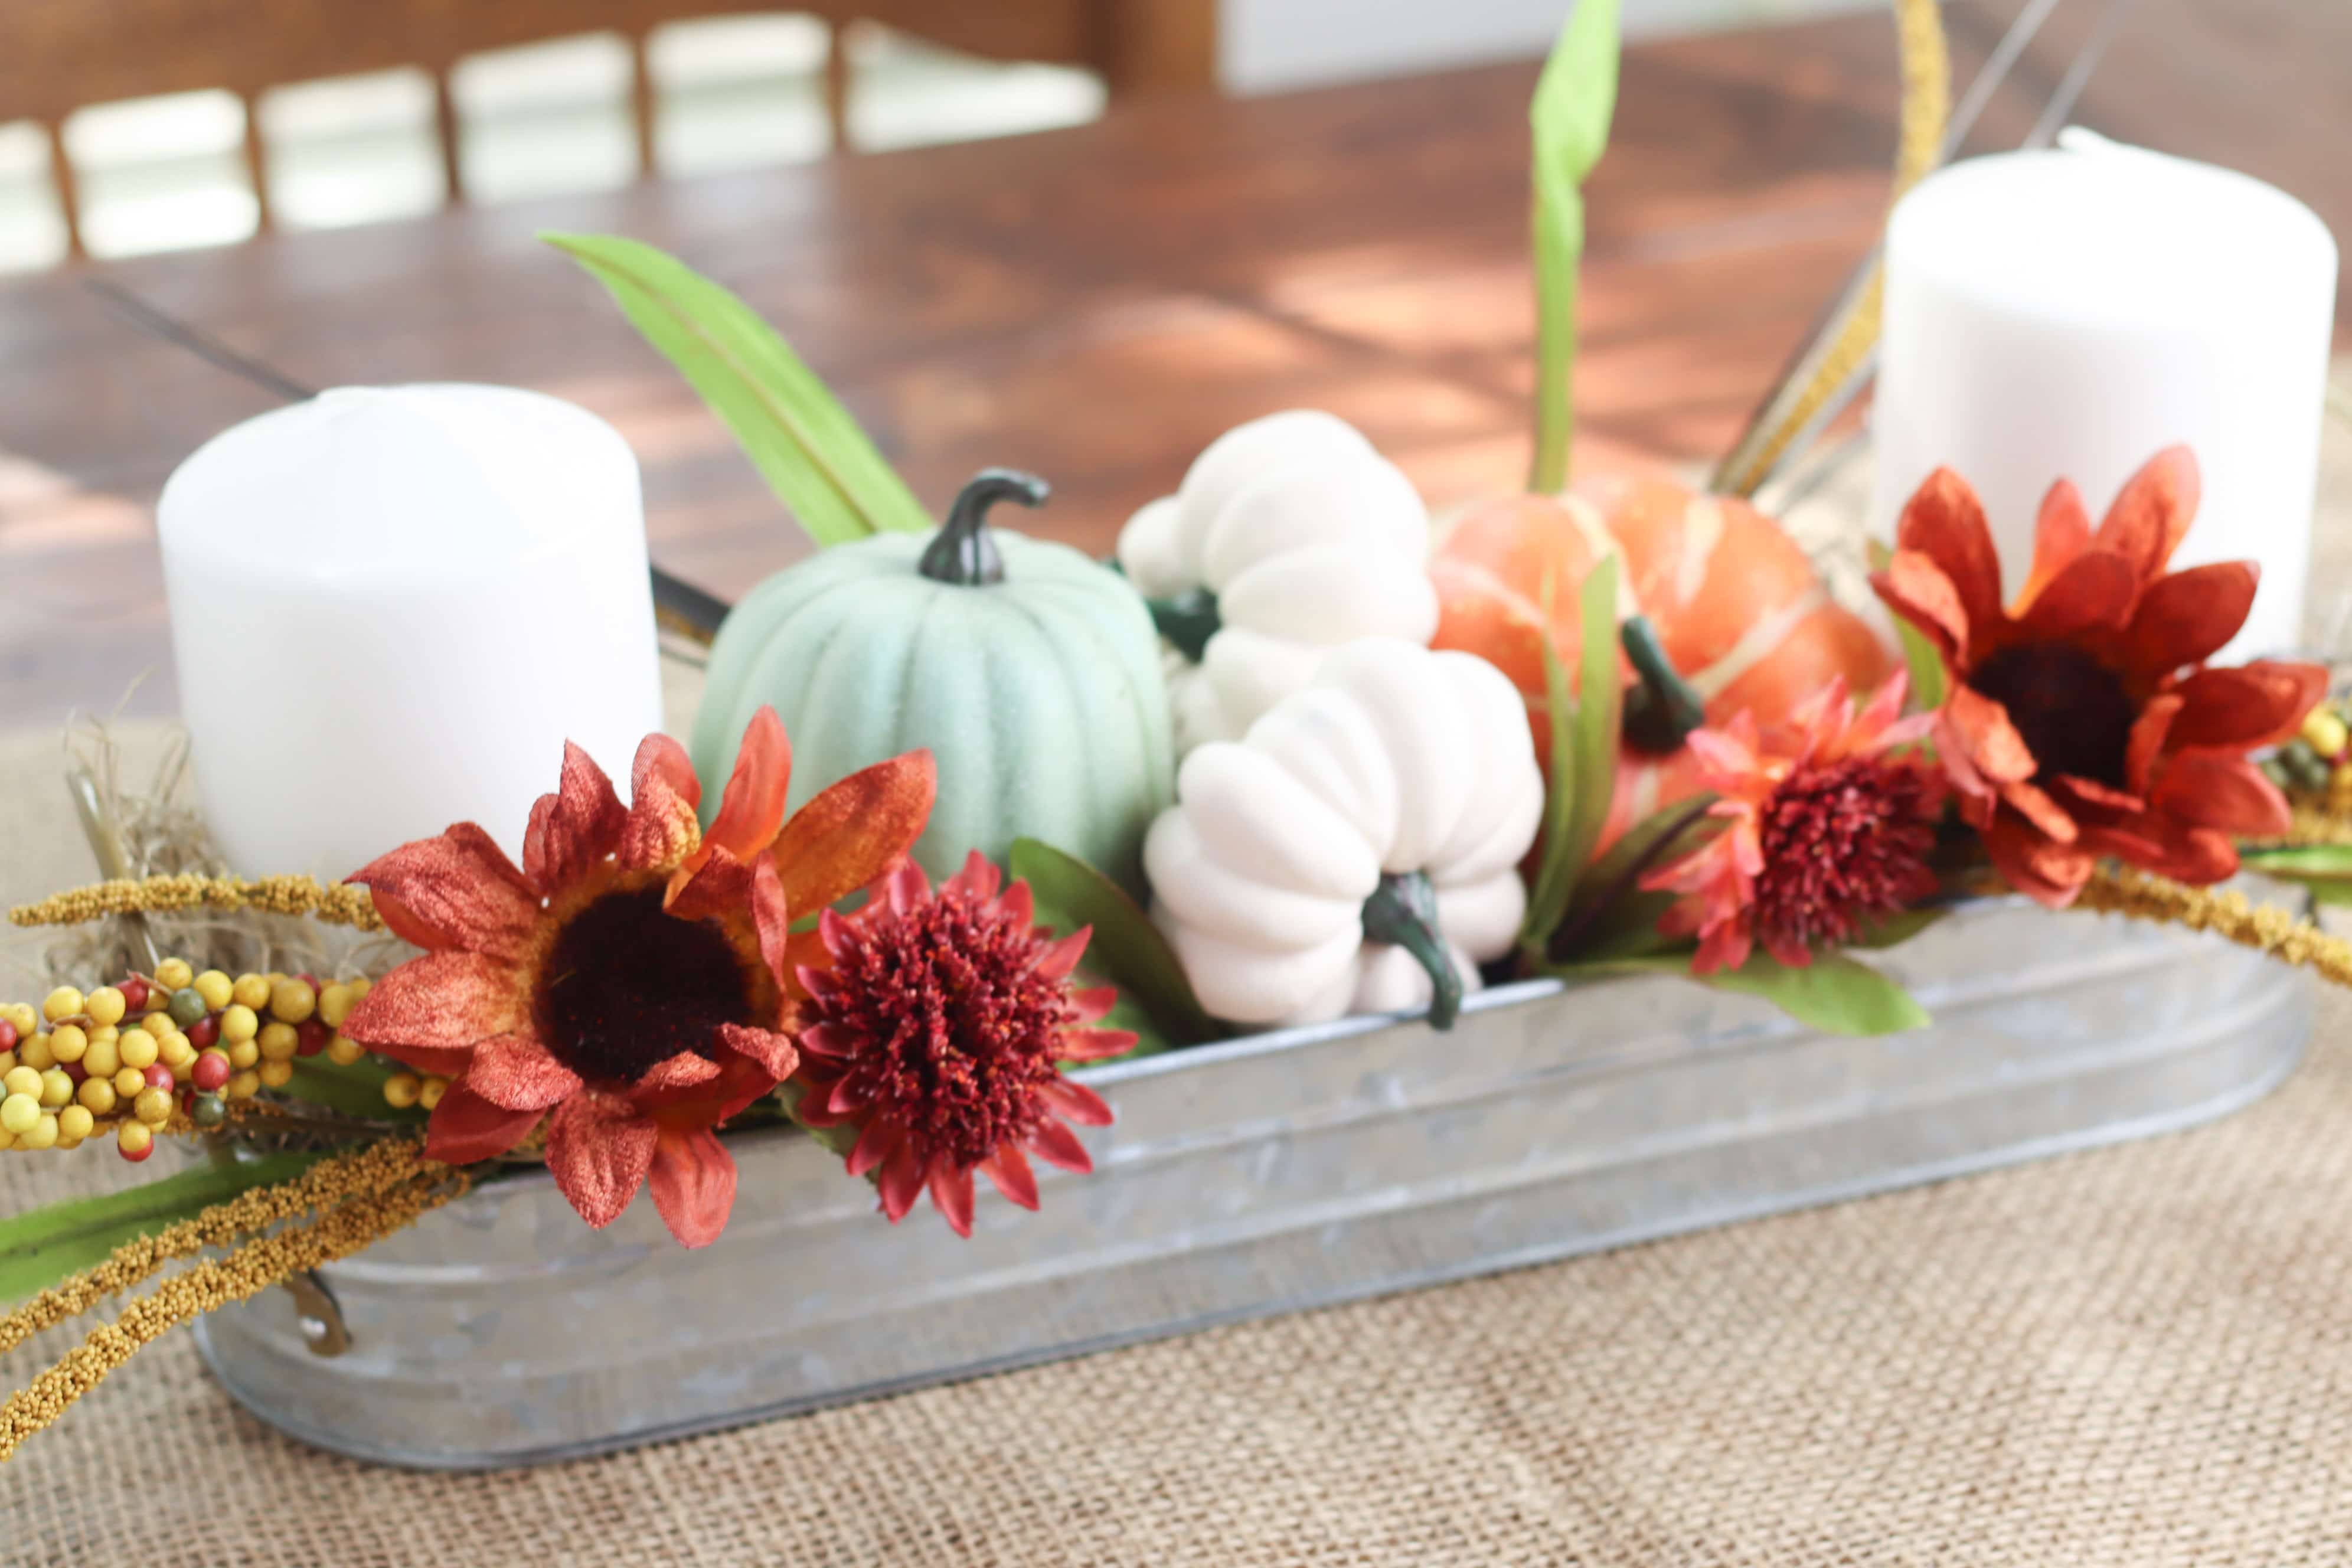
Finish creating your fall centerpiece by adding floral elements to the arrangement. There are a variety of great fall flowers to choose from, including mums, purple daisies, sunflowers, goldenrod, and heather. Pick flowers that work well with your existing decor. Include a variety of fall colors to enhance the other aspects of your arrangement.
When you’re satisfied with the arrangement of your centerpiece, the final step is to set it on your dining room table to enjoy the autumn beauty all season long!
DIY fall centerpiece
Materials:
- Galvanized metal container
- Brown moss
- Pillar candles
- Assorted pumpkins
- Decorative fall picks
- Fall flowers
Instructions:
- Fill metal container with brown moss. Place candles on each end, moving the moss around to fill in gaps around the edges.
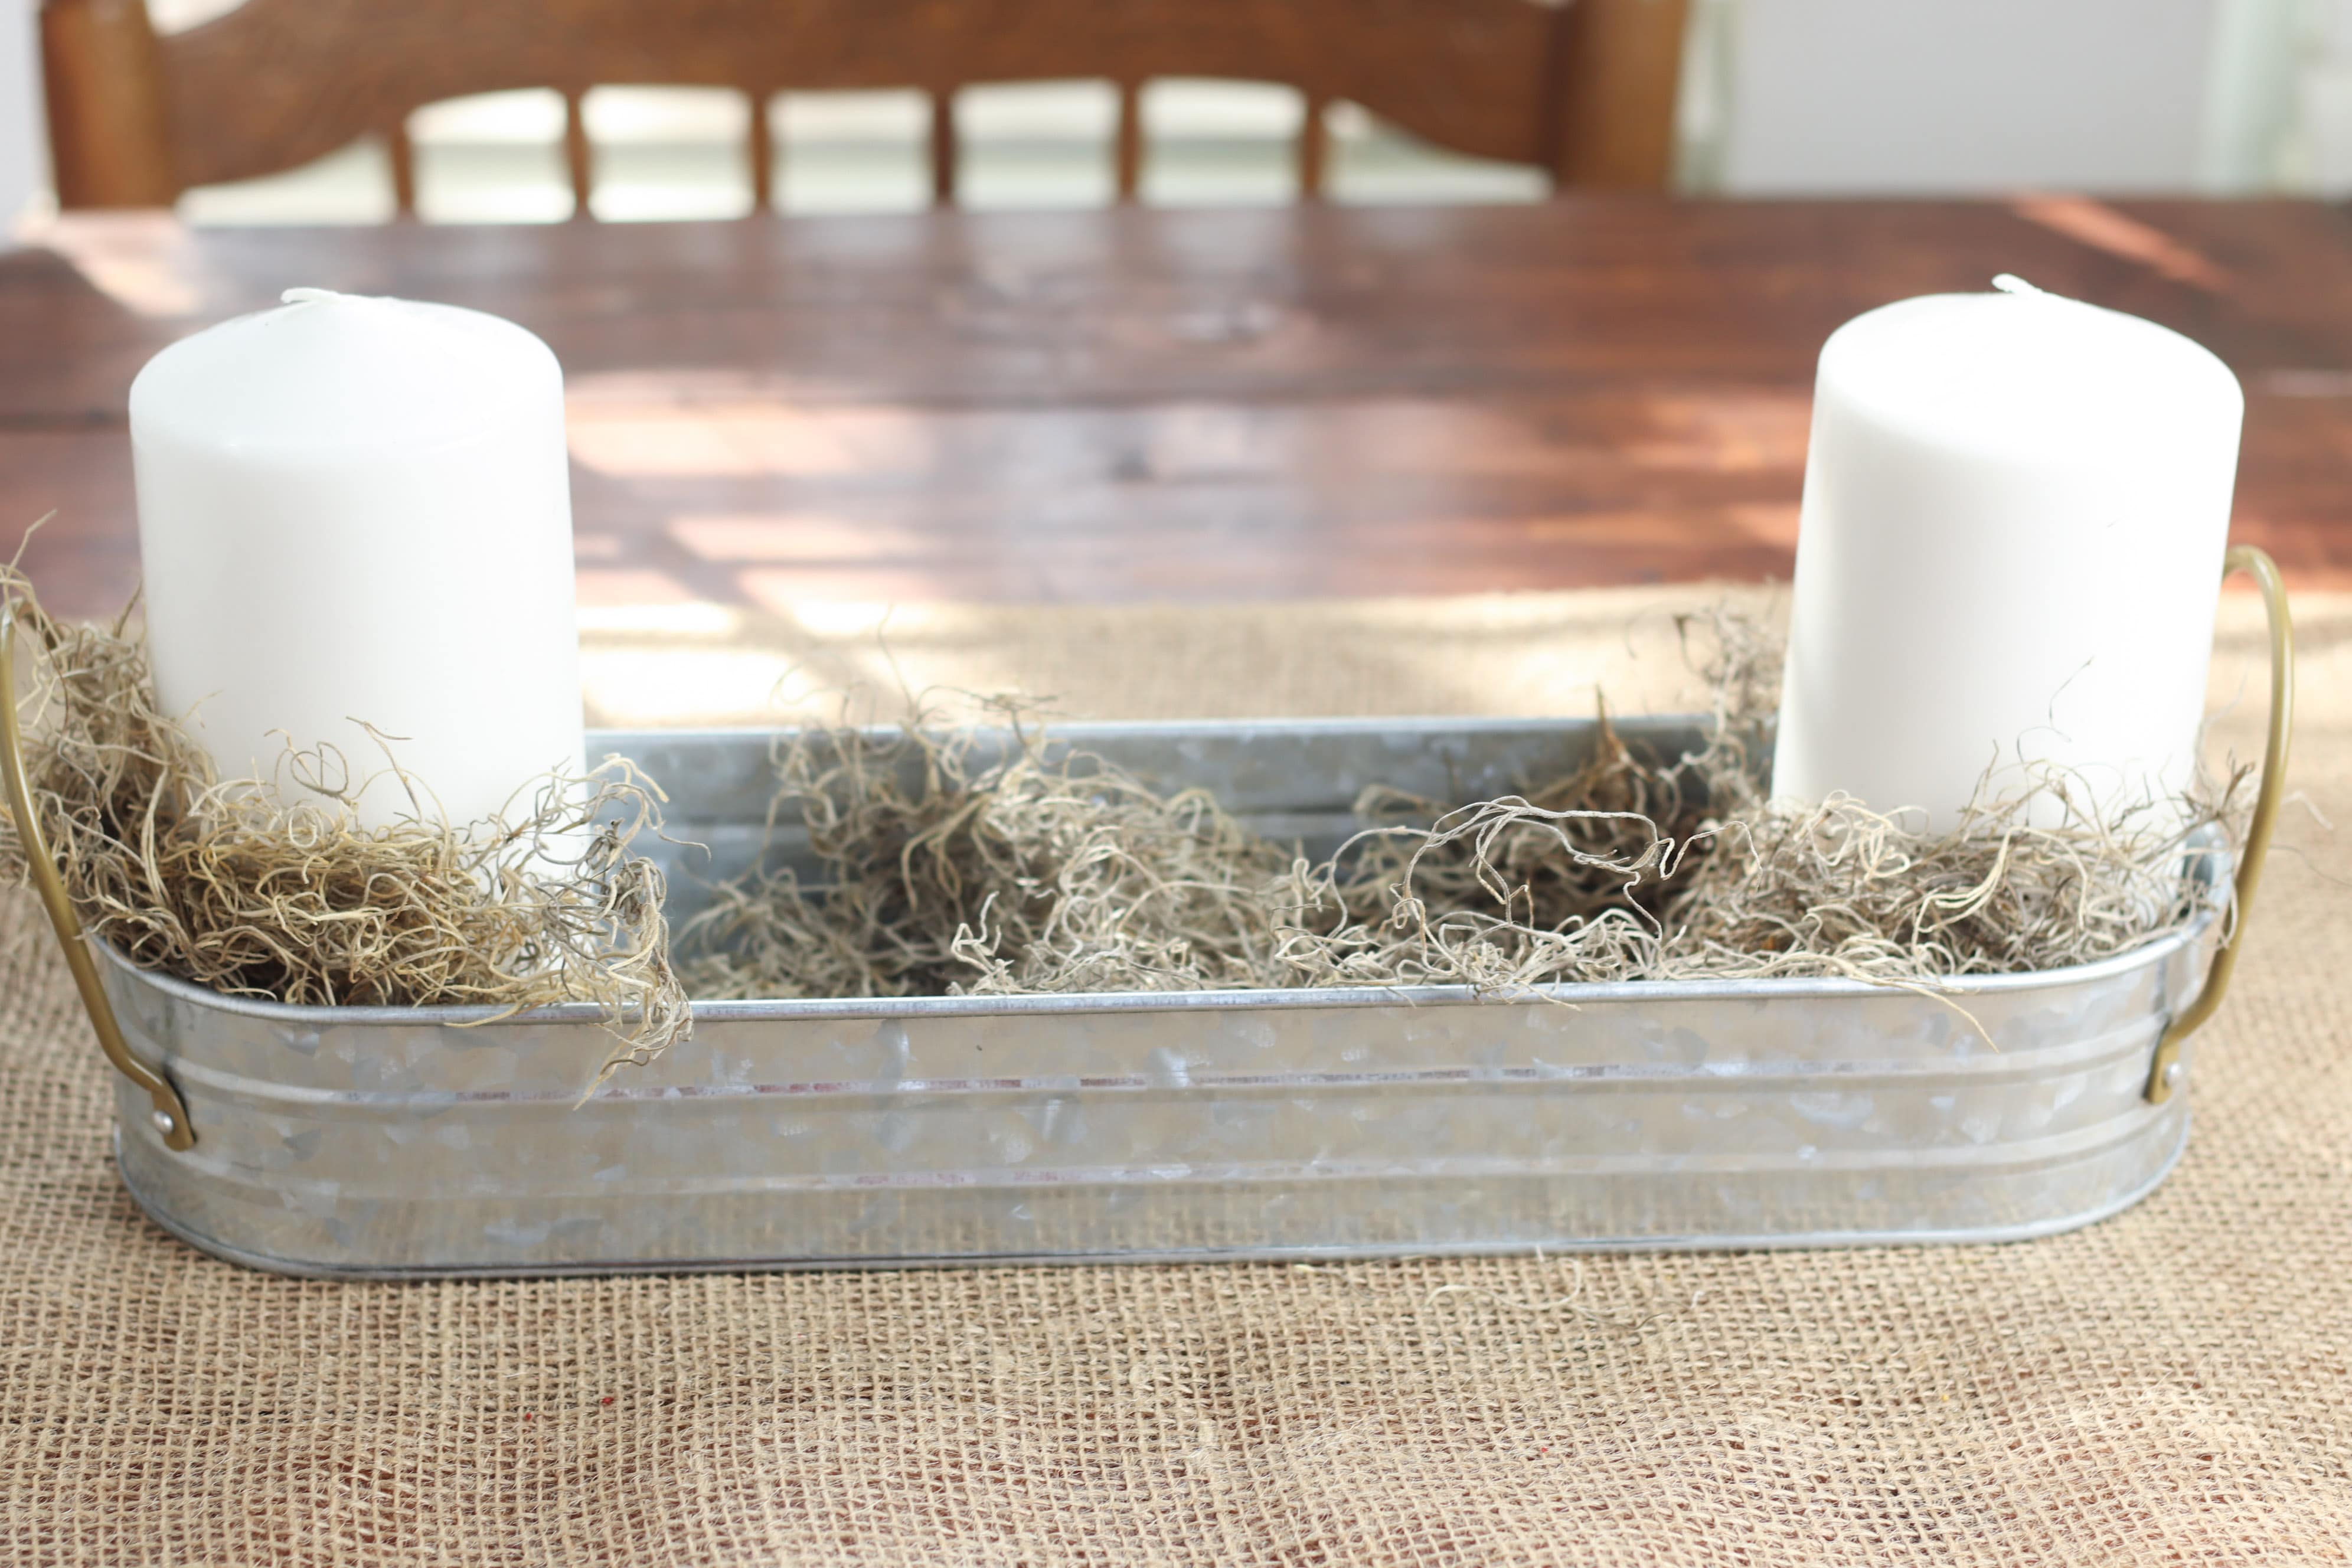
- Arrange pumpkins in the center of the candles; move the moss around to fill in space around edges and between pumpkins.
- Place decorative fall picks on each side of the metal container and in the space behind the pumpkins.
- Finish by adding flowers in front of the picks to cover stems.
Pin to save for later
Article may contain Amazon & affiliate links. As an Amazon Associate I earn from qualifying purchases at no additional cost to you.


ABOUT PETRO
Hi, I’m Petro, author and founder of Easy Peasy Creative Ideas. Sewist, crafter, avid DIY-er, foodie, photographer, homemaker and mommy to one. I’m an expert at coming up with quick, clever sewing tips, recycling crafts and simple, easy recipes! You can find my ideas featured in reputable publications such as Country Living, Good House Keeping, Yahoo News, WikiHow, Shutterfly, Parade, Brit & Co and more. Thanks for stopping by and hope you’ll stay for a while, get to know me better and come back another time. Stick around for real fun projects! Read more…