DIY Halloween Spider with Paper Rolls
Whip up a bunch of easy and fun Halloween decorations in just minutes with this DIY Halloween Spider tutorial and get your home ready for Halloween in no time!
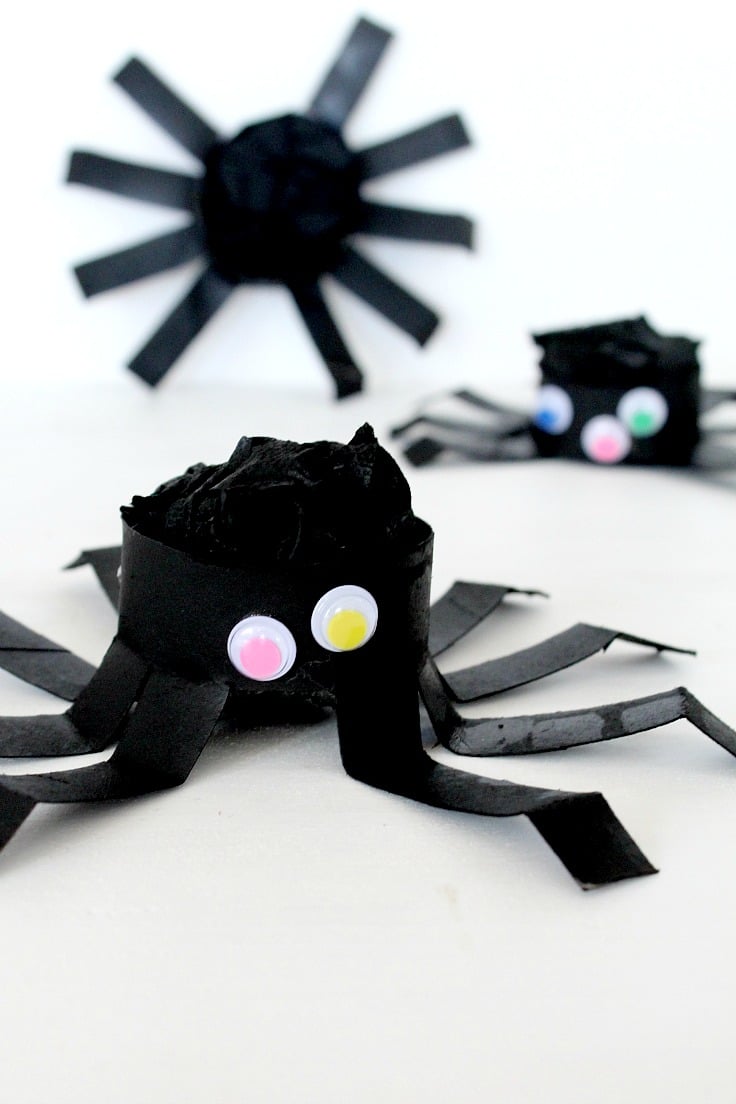
It’s not Halloween without a few spiders here and there and what better way to transform your house for the holidays than an easy and quick DIY Halloween Spider. A great way for kids to get involved into decorating and also a good opportunity to recycle some toilet paper tubes. Save up a few of those, cut some legs, add some paint and googly eyes and your spiders are ready in no time!
You could use this DIY spider tutorial to make spiders for inside or hang some on your front door to greet your trick-or-treaters! Both frightening and exciting! And kids will love making these spiders! Transforming your home into a hunted house just got easier with this Halloween spider tutorial!
How to make a DIY Halloween Spider
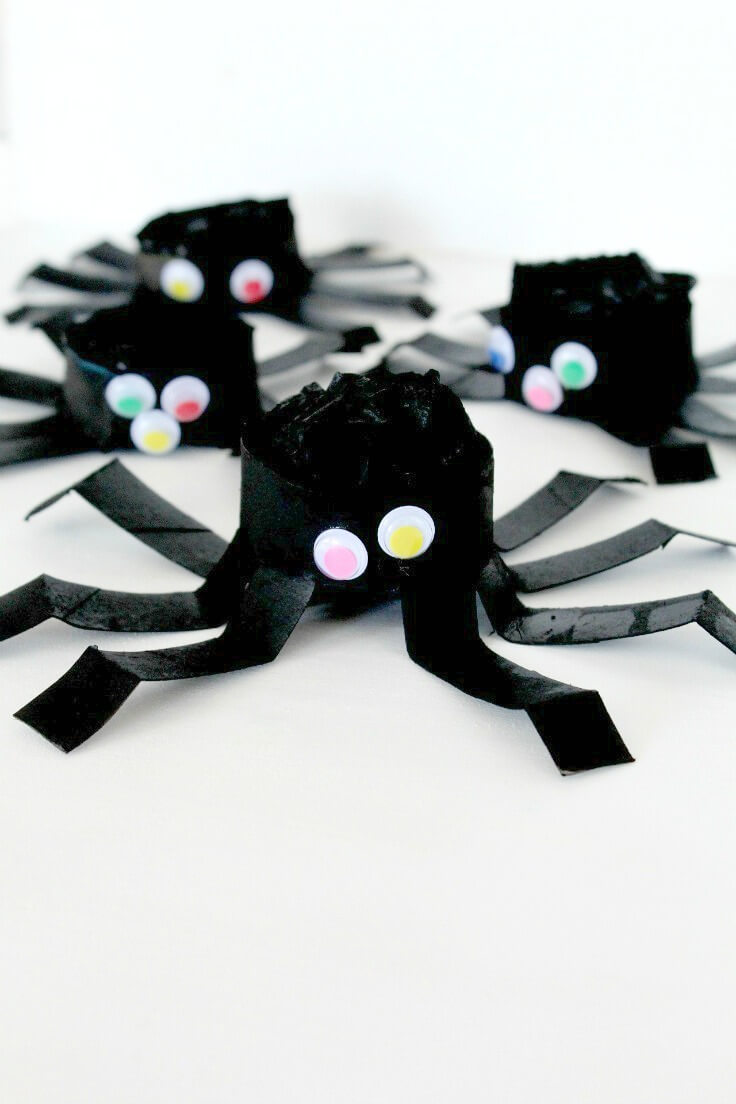
Materials:
- toilet paper tubes
- craft scissors
- pen or pencil
- toilet paper to stuff your spiders
- flat black acrylic paint (I used a spray; or use regular paint for kids)
- Googly eyes
- Glue
[amazon-related-products keywords=”product suggestions keywords”]
Directions:
- Measure about 1″ from the edge of the toilet paper tube and mark all around.
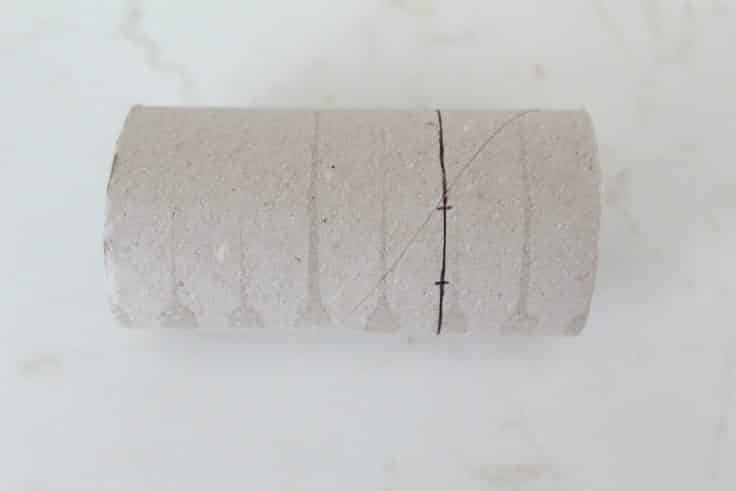
- From this mark, measure about 1/2″ segments, all around the paper tube, then draw lines to the other end of your tube.
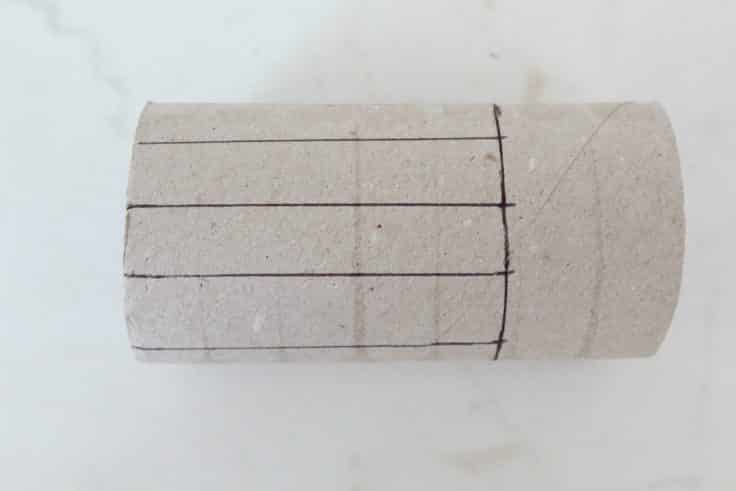
- Cut these segments and keep only 8 (4 on one side, 4 on the other). These are the spider’s legs.
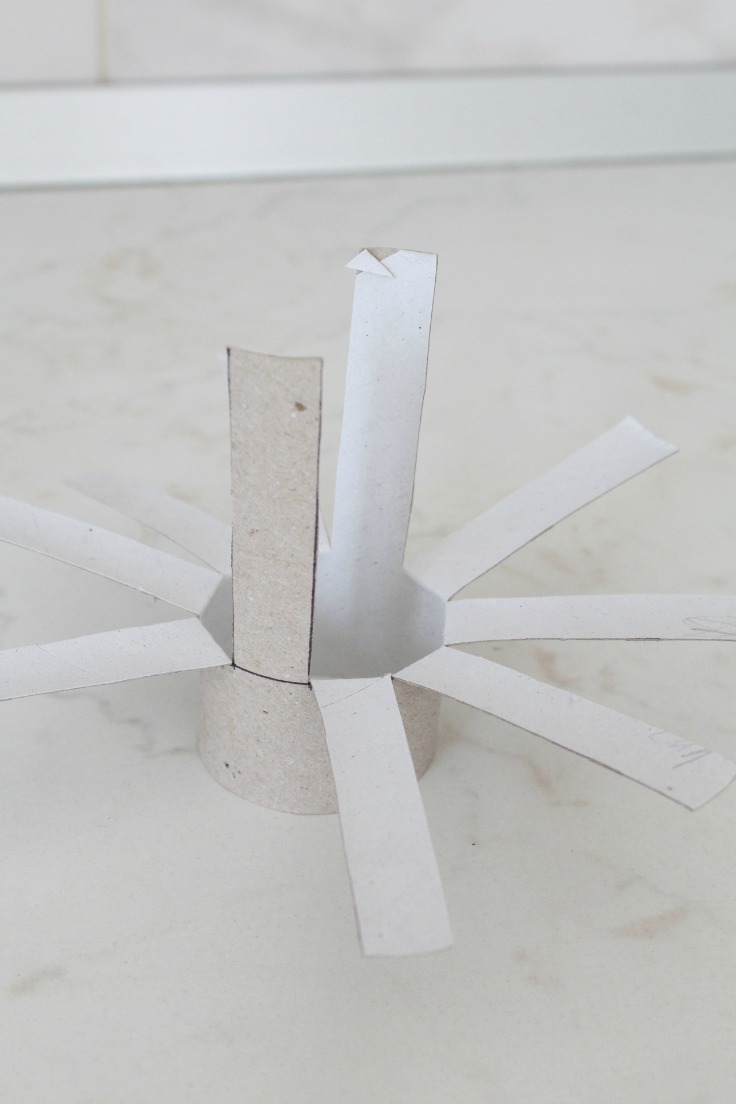
- Bend the segments to resemble spider legs.
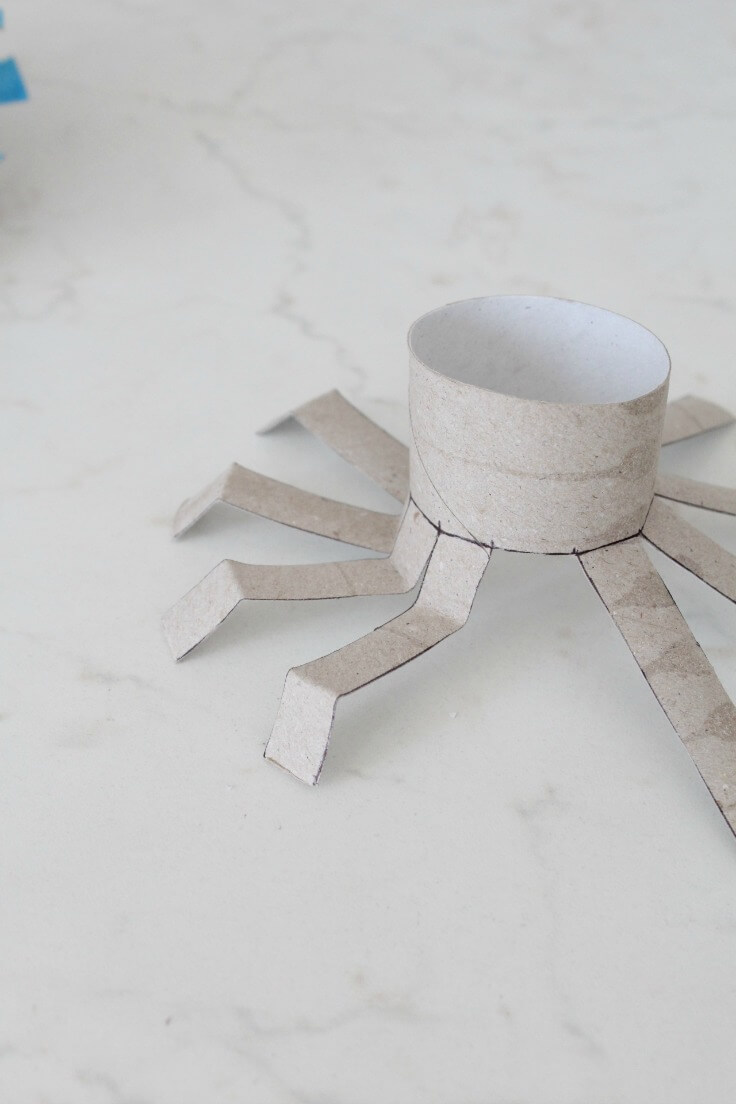
- Crumple some toilet paper and fill the tube (this will be the body)
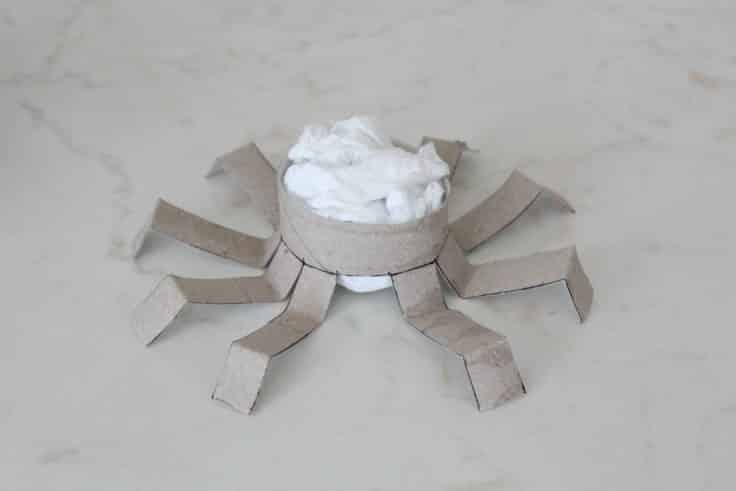
- Paint in black and leave to completely dry.
- Glue some googly eyes on.
Spread your spiders all around the house or hang on your front door. The kids and your guests will be impressed!
More Halloween decorations you will enjoy:
- DIY fluffy ghosts
- 10 Minutes Halloween wreath from a scarf
- Paper tube Halloween bats
- Wire spider web
- DIY treat jar for Halloween
- DIY hanging bats
DIY Halloween spider
Materials
- toilet paper tubes
- toilet paper to stuff your spiders
- flat black acrylic paint
- Googly eyes
Tools
- pen or pencil
- glue
Instructions
- Measure about 1" from the edge of the toilet paper tube and mark all around.
- From this mark, measure about 1/2" segments, all around the paper tube, then draw lines to the other end of your tube.
- Cut these segments and keep only 8 (4 on one side, 4 on the other). These are the spider's legs.
- Bend the segments to resemble spider legs.
- Crumple some toilet paper and fill the tube (this will be the body)
- Paint in black and leave to completely dry.
- Glue some googly eyes on.
Article may contain Amazon & affiliate links. As an Amazon Associate I earn from qualifying purchases at no additional cost to you.


ABOUT PETRO
Hi, I’m Petro, author and founder of Easy Peasy Creative Ideas. Sewist, crafter, avid DIY-er, foodie, photographer, homemaker and mommy to one. I’m an expert at coming up with quick, clever sewing tips, recycling crafts and simple, easy recipes! You can find my ideas featured in reputable publications such as Country Living, Good House Keeping, Yahoo News, WikiHow, Shutterfly, Parade, Brit & Co and more. Thanks for stopping by and hope you’ll stay for a while, get to know me better and come back another time. Stick around for real fun projects! Read more…