

DIY lavender bags sewing tutorial
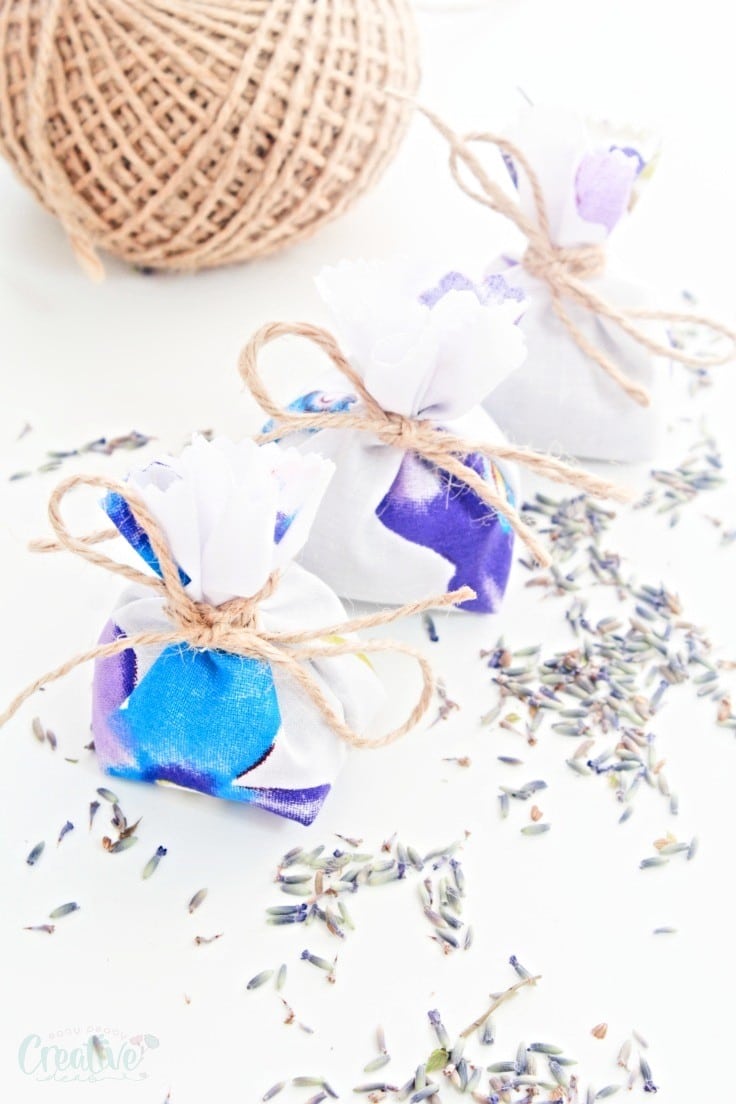
Lavender bags are highly popular and making them at home is easy peasy with this super simple DIY lavender bags tutorial! It involves minimal sewing, making it perfect for beginners and it’s a great scrap buster project!
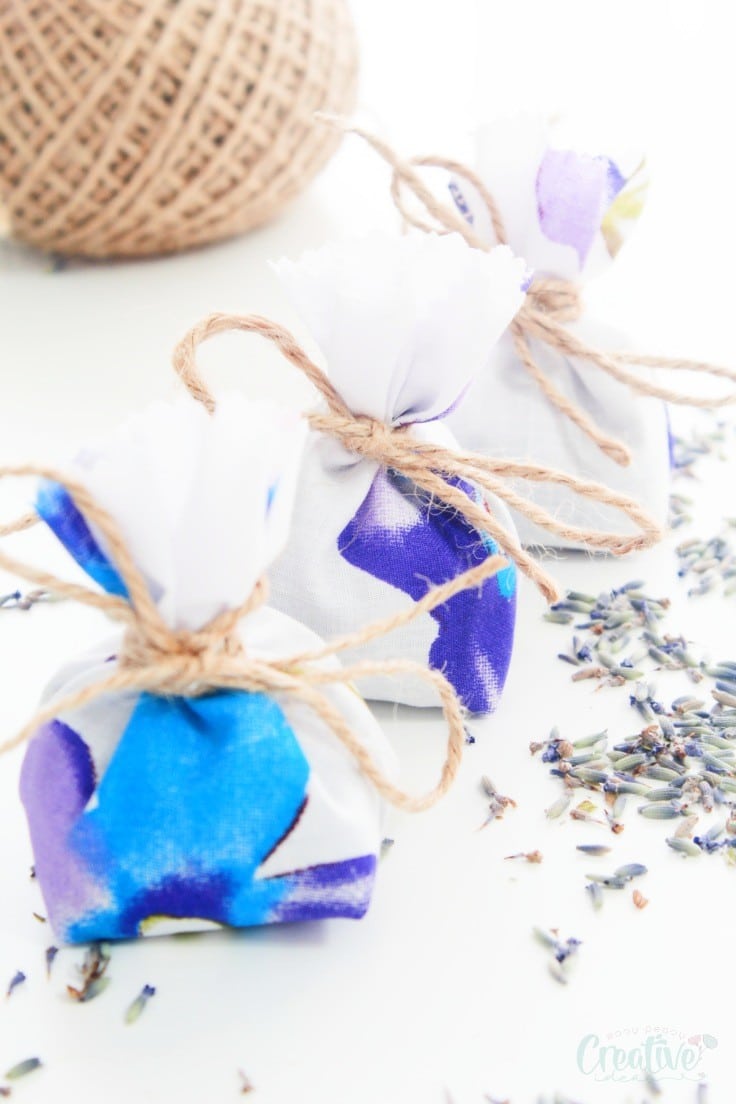
Ever wondered how complicated is to make your own DIY lavender bags? I have awesome news! It’s probably one of the easiest projects you’ll ever make!
I don’t know about you but to me, all those store bought lavender pouches look quite fancy to me and for this reason I always thought they’re pretty hard to make. But this year I got real lucky with my lavender and I suddenly found myself with a lot of dried lavender buds on hand! Luckily I’ve been dreaming about this day for a few years now and I had tons of plans for my lavender. And one of those involved making my own DIY lavender bags!
I was just about to purchase some pouches instead of just sewing lavender bags when I remembered I have like tons of scraps just waiting for a cute project like this to come up! So I had to figured out a way to make my lavender pouches super simple and super quick.
These adorable DIY lavender bags are crazy easy to make, they’re ready in a blink of an eye! And they’re so simple, even a novice can sew these with absolutely no problems! Perfect beginners projects and an amazing opportunity to go through that big stash of fabric scraps you probably have too.
How to sew DIY lavender bags
Materials:
- scrap fabric
- scissors
- pinking shears
- pins
- matching thread
- sewing machine
- point turner
- mini iron
- dried lavender buds (use your own or purchase them)
- twine
Instructions:
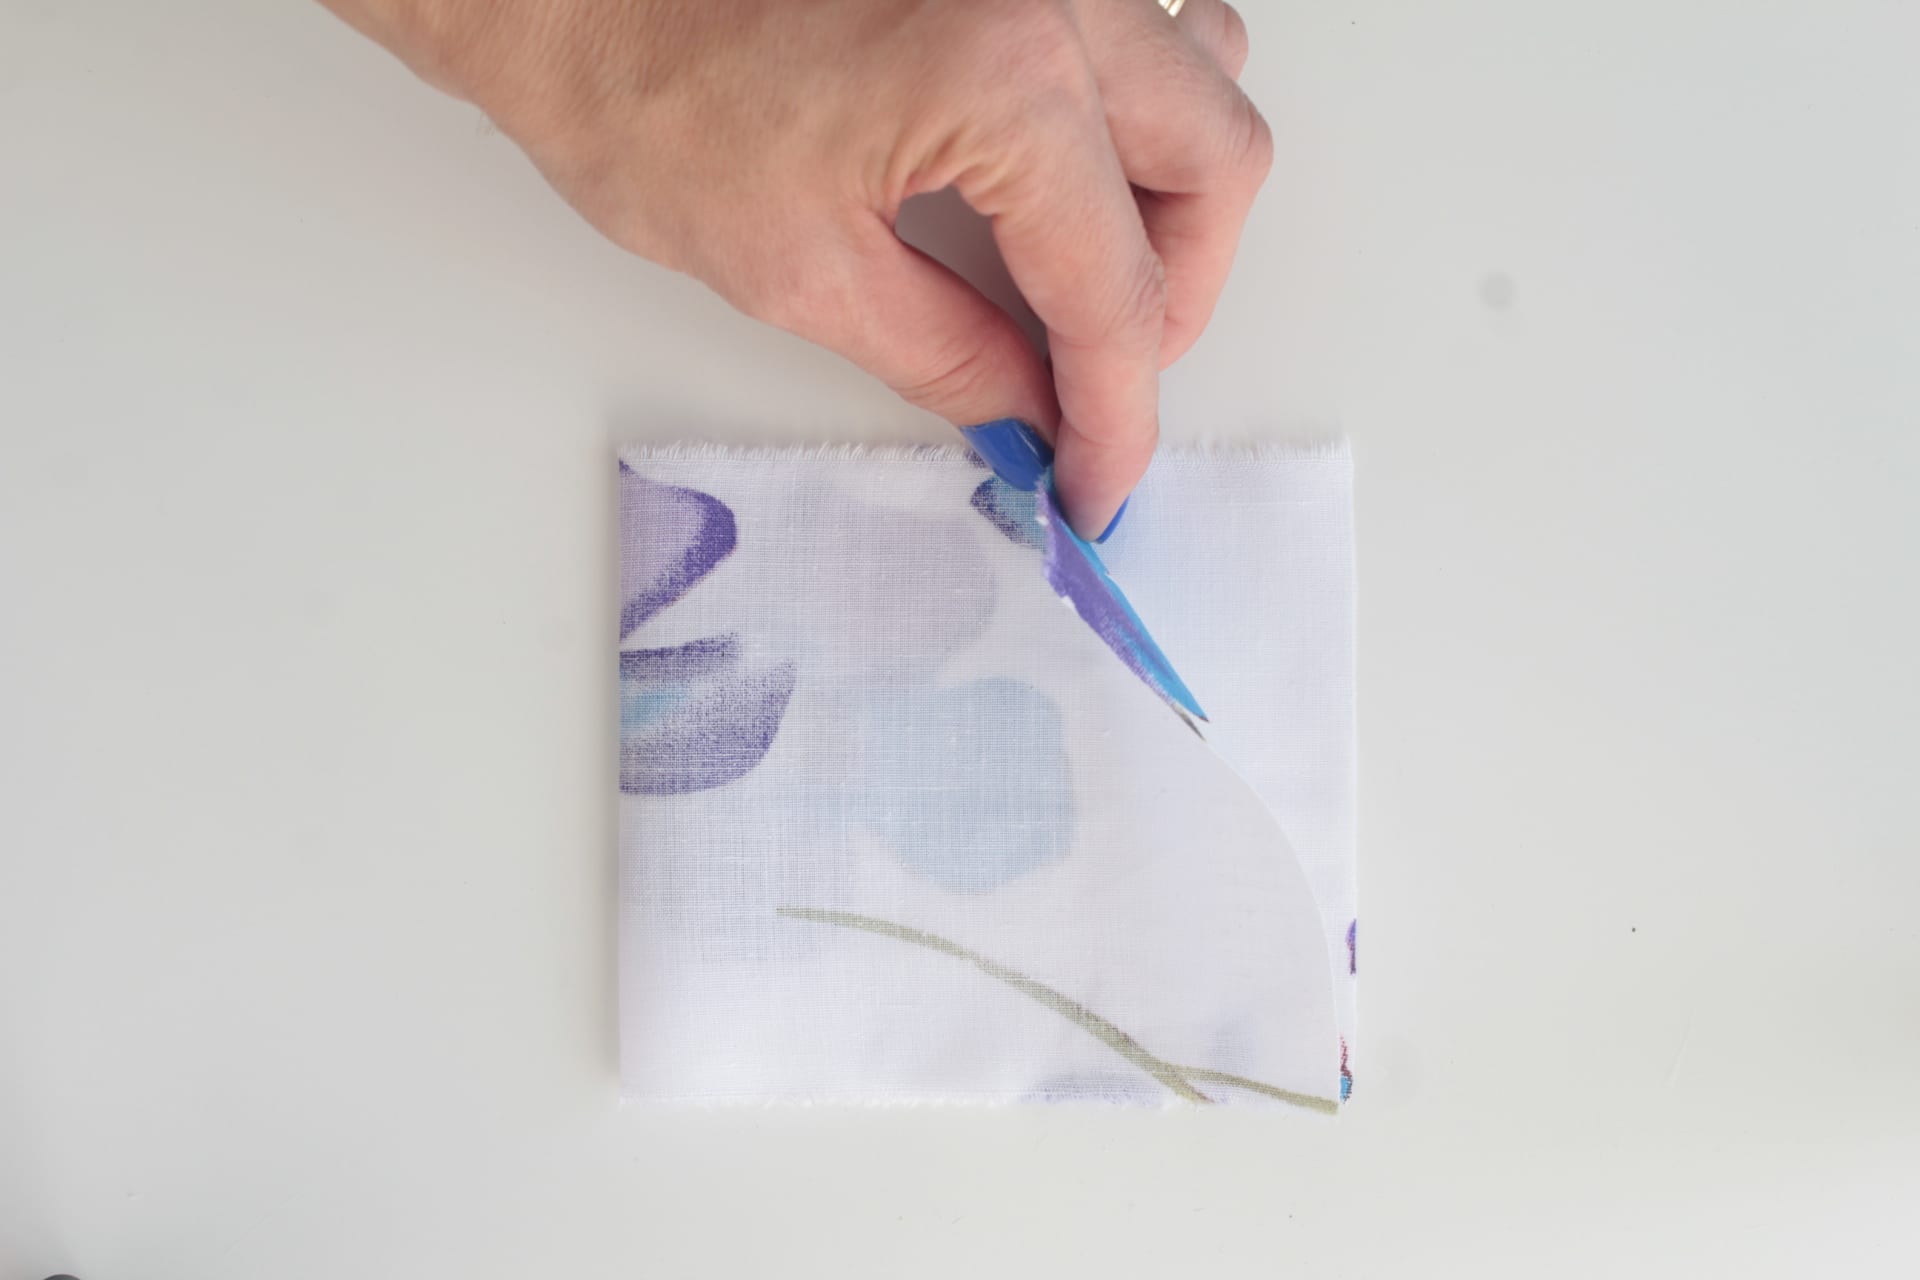
- Using your scissors cut a rectangular strips from your scrap fabric. You can use your desired measurements or use mine: 4″ by 3″

- Fold the strip with right sides together.
- Sew down the sides and the bottom with 1/4″ allowance (the bottom is optional but will offer a little more stability to the pouch once sewn).
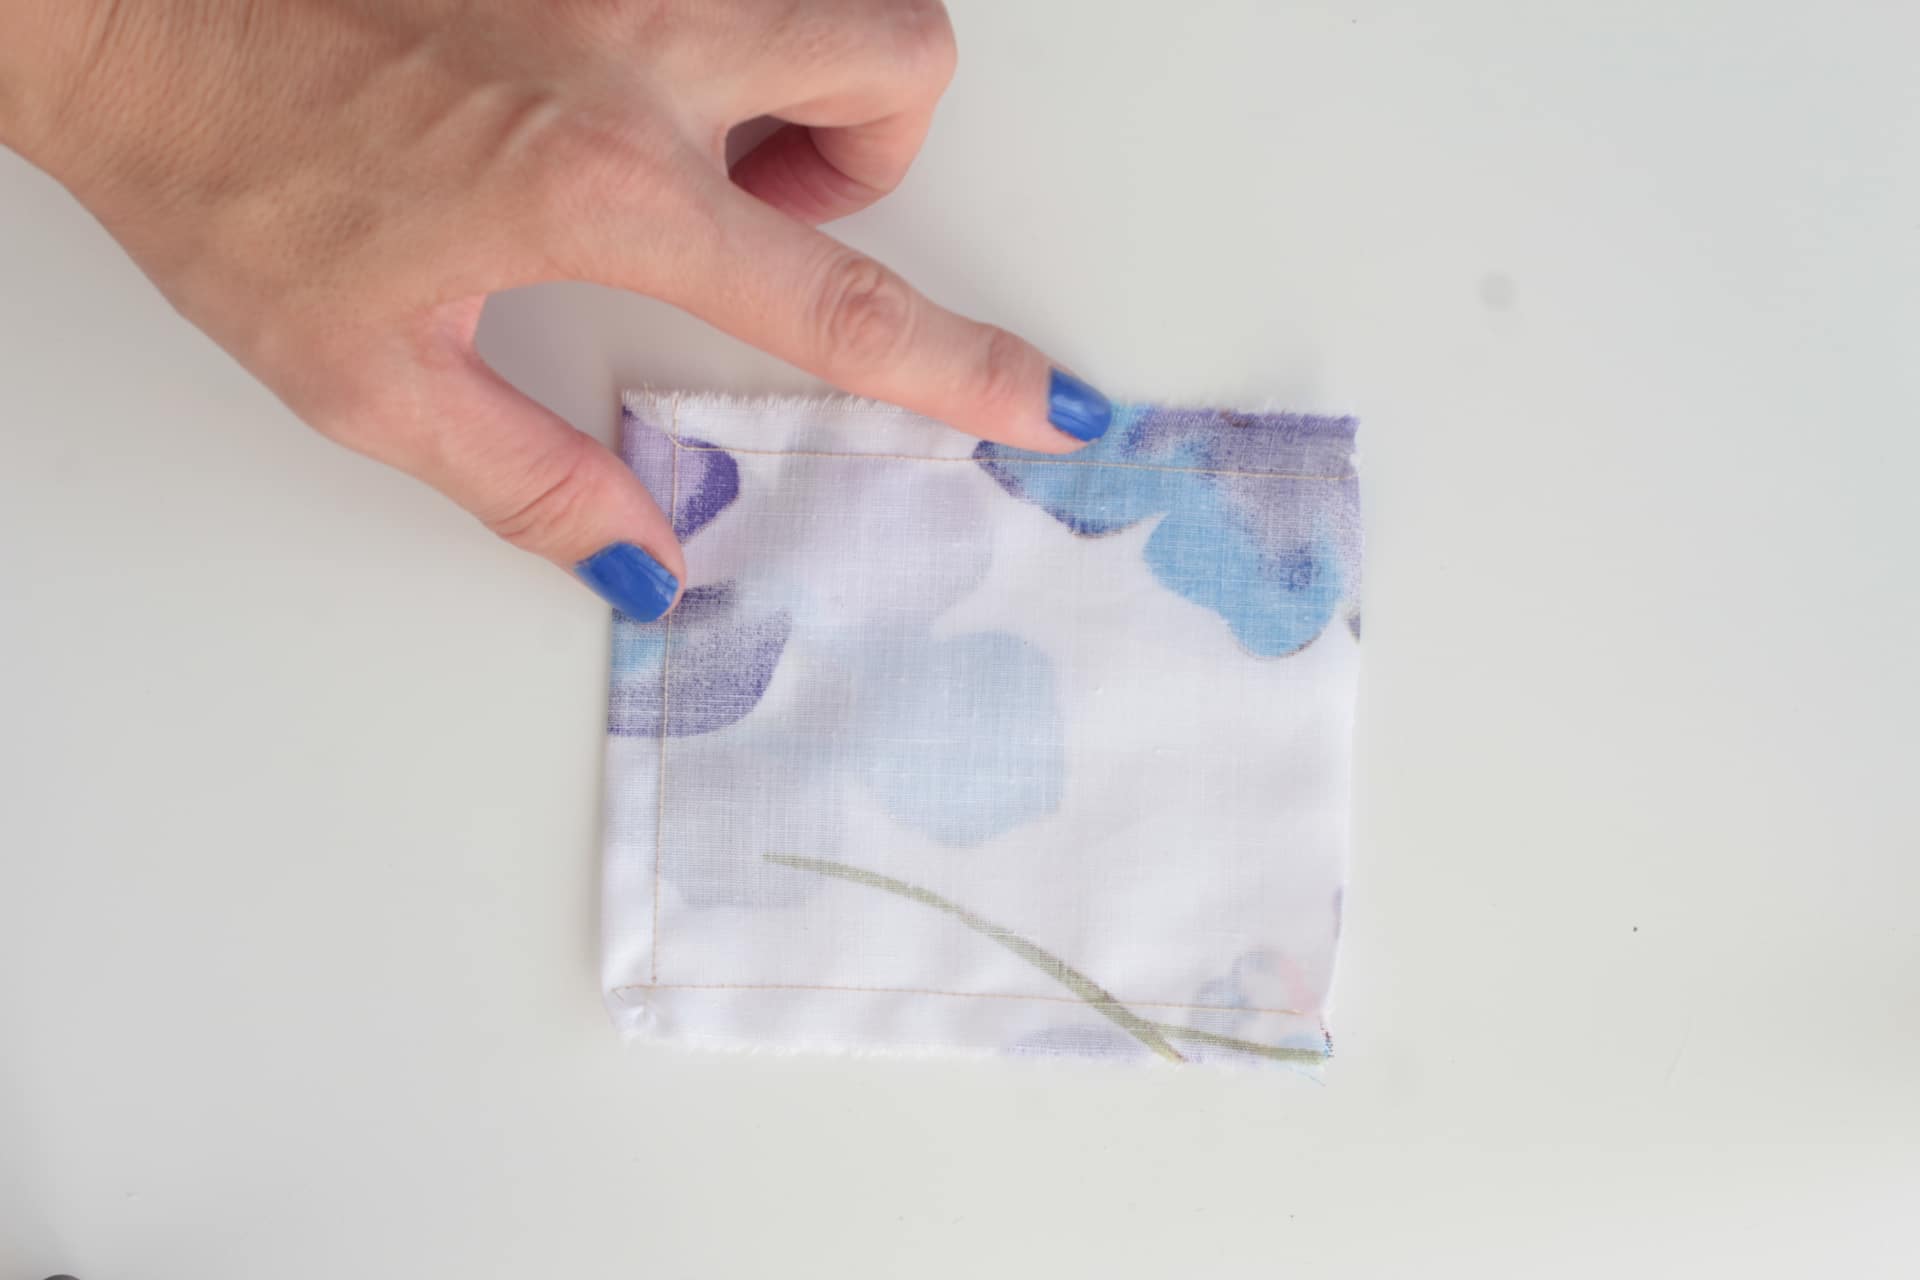
- Using your pinking shears, trim the seams and the top of the pouch to 1/8″ (so all 4 sides of the rectangle).
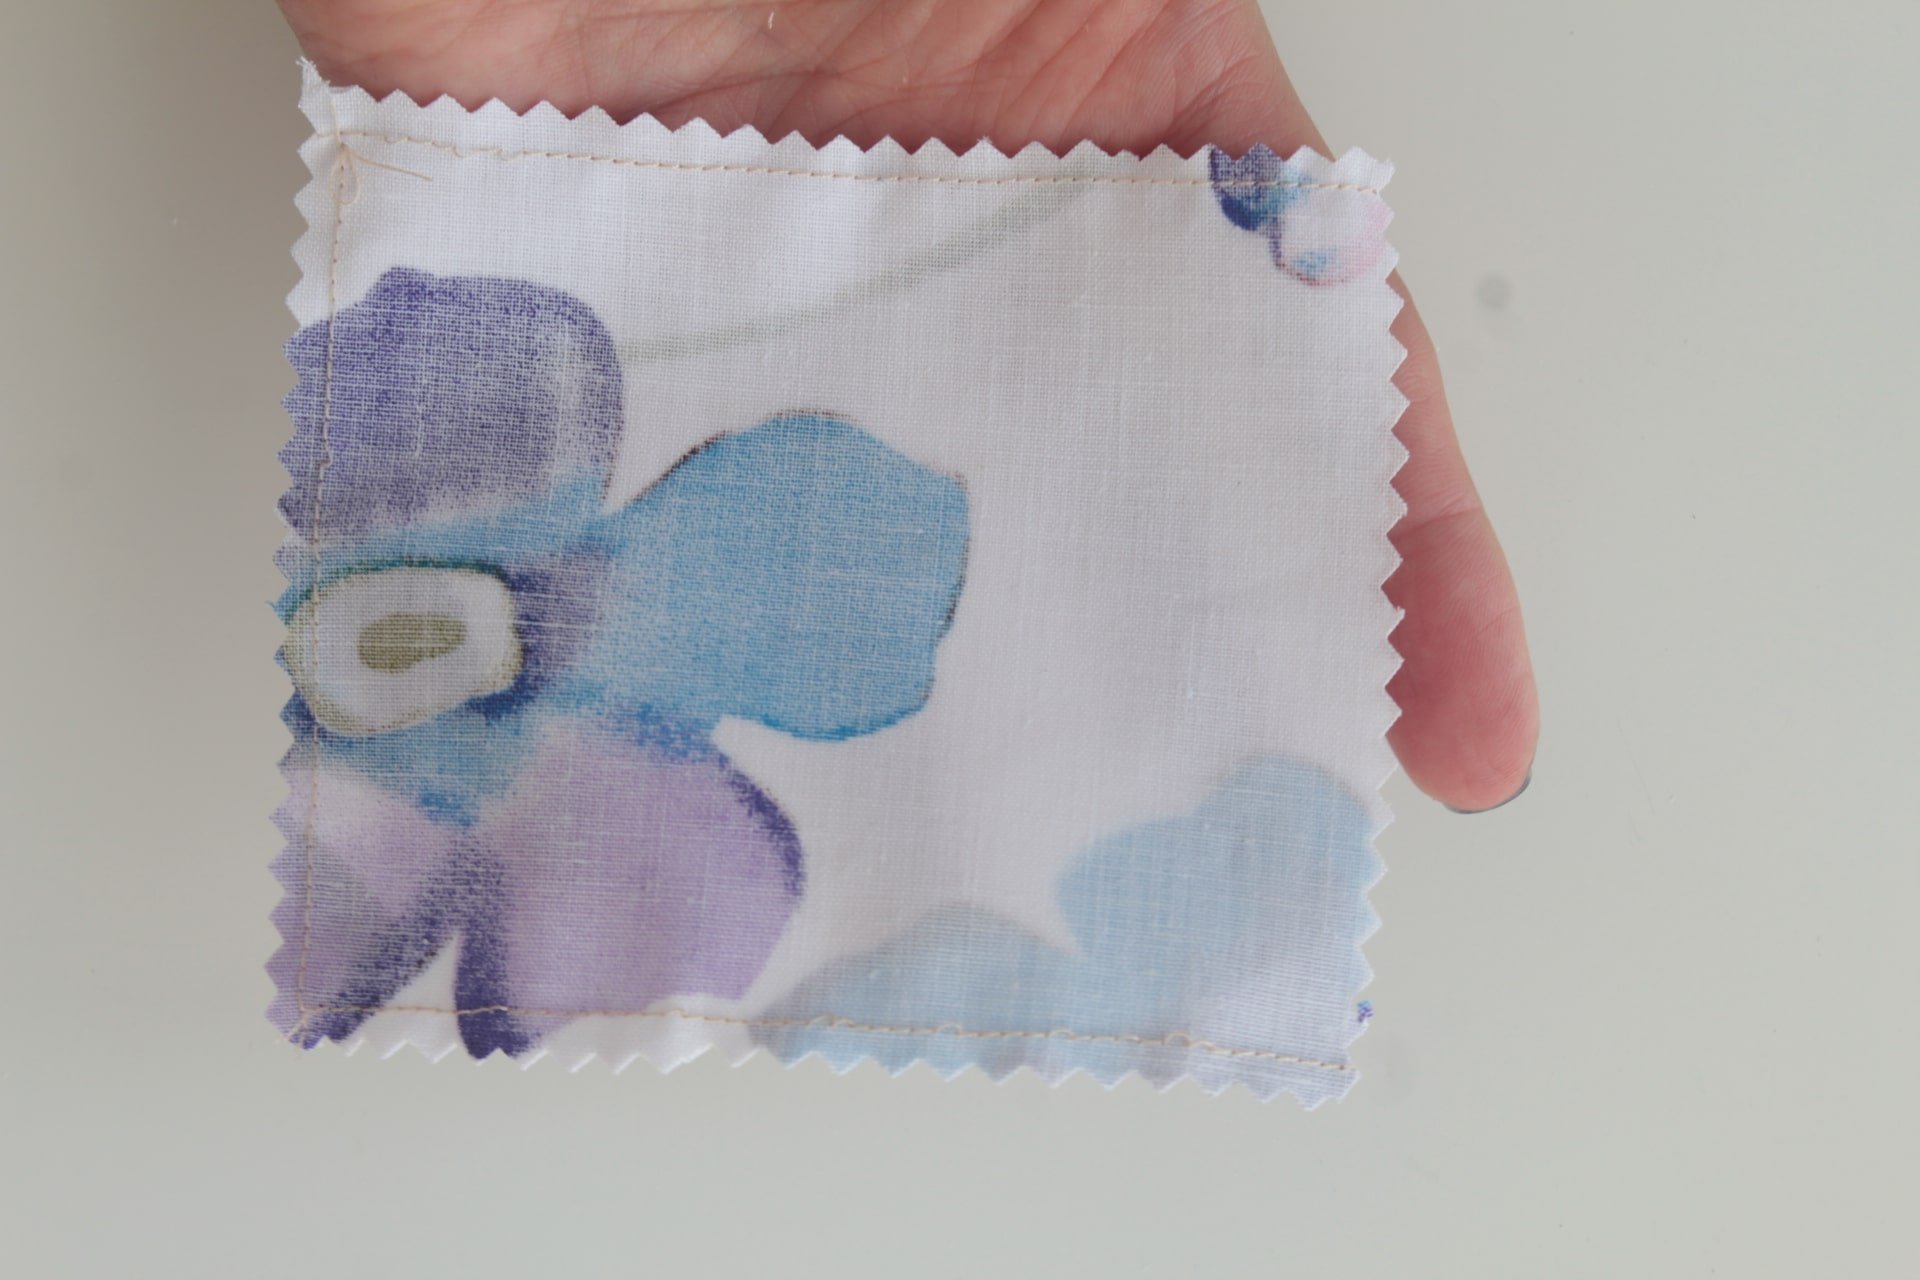
- Box the corners with the desired method. This is what I did for this project. Mark 1/2″ away from the seam, first from the side seams then from the bottom, then draw a square, on both corners.
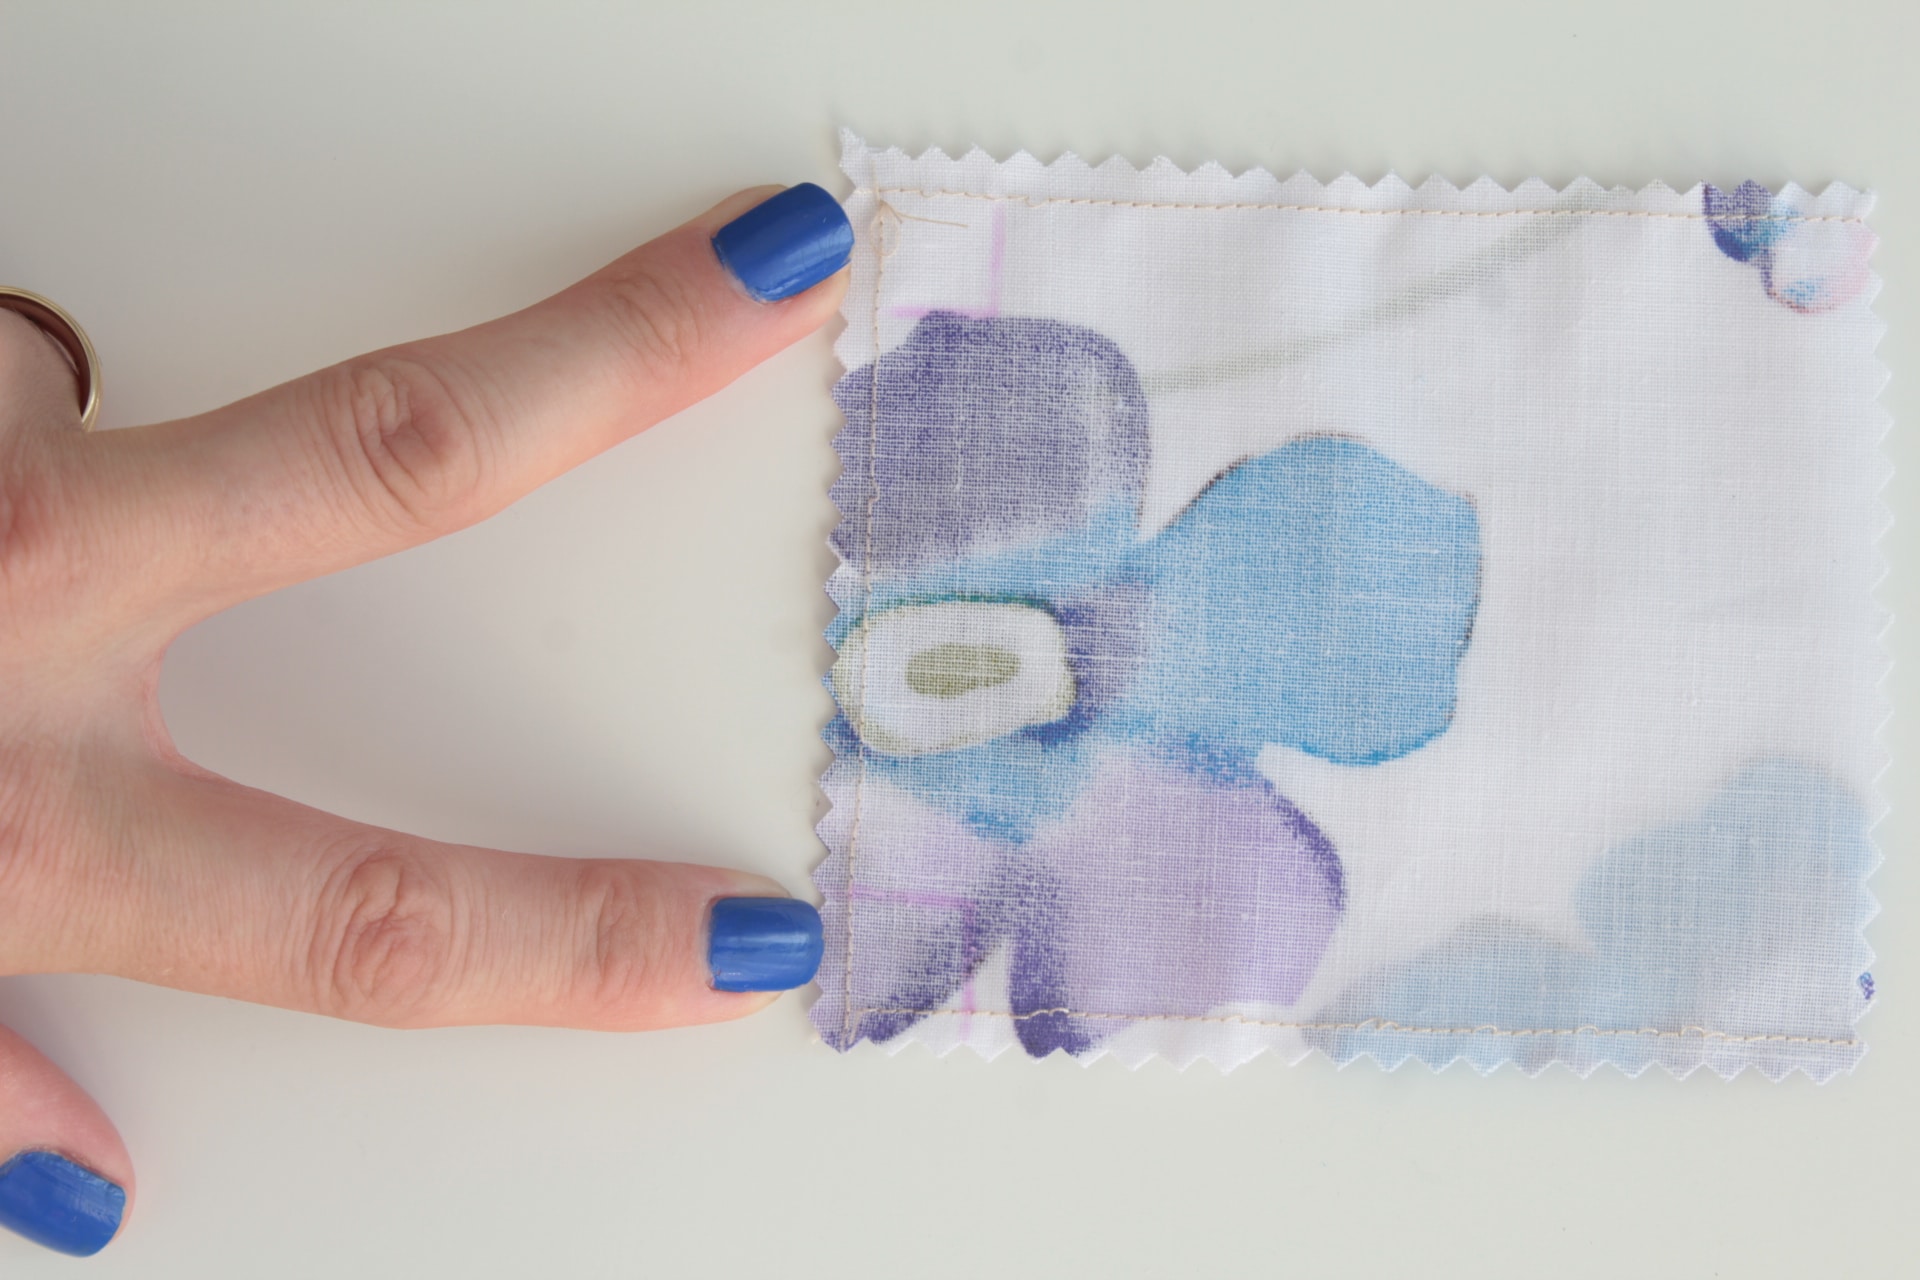
- Clip the corners using your pinking shears, as shown.
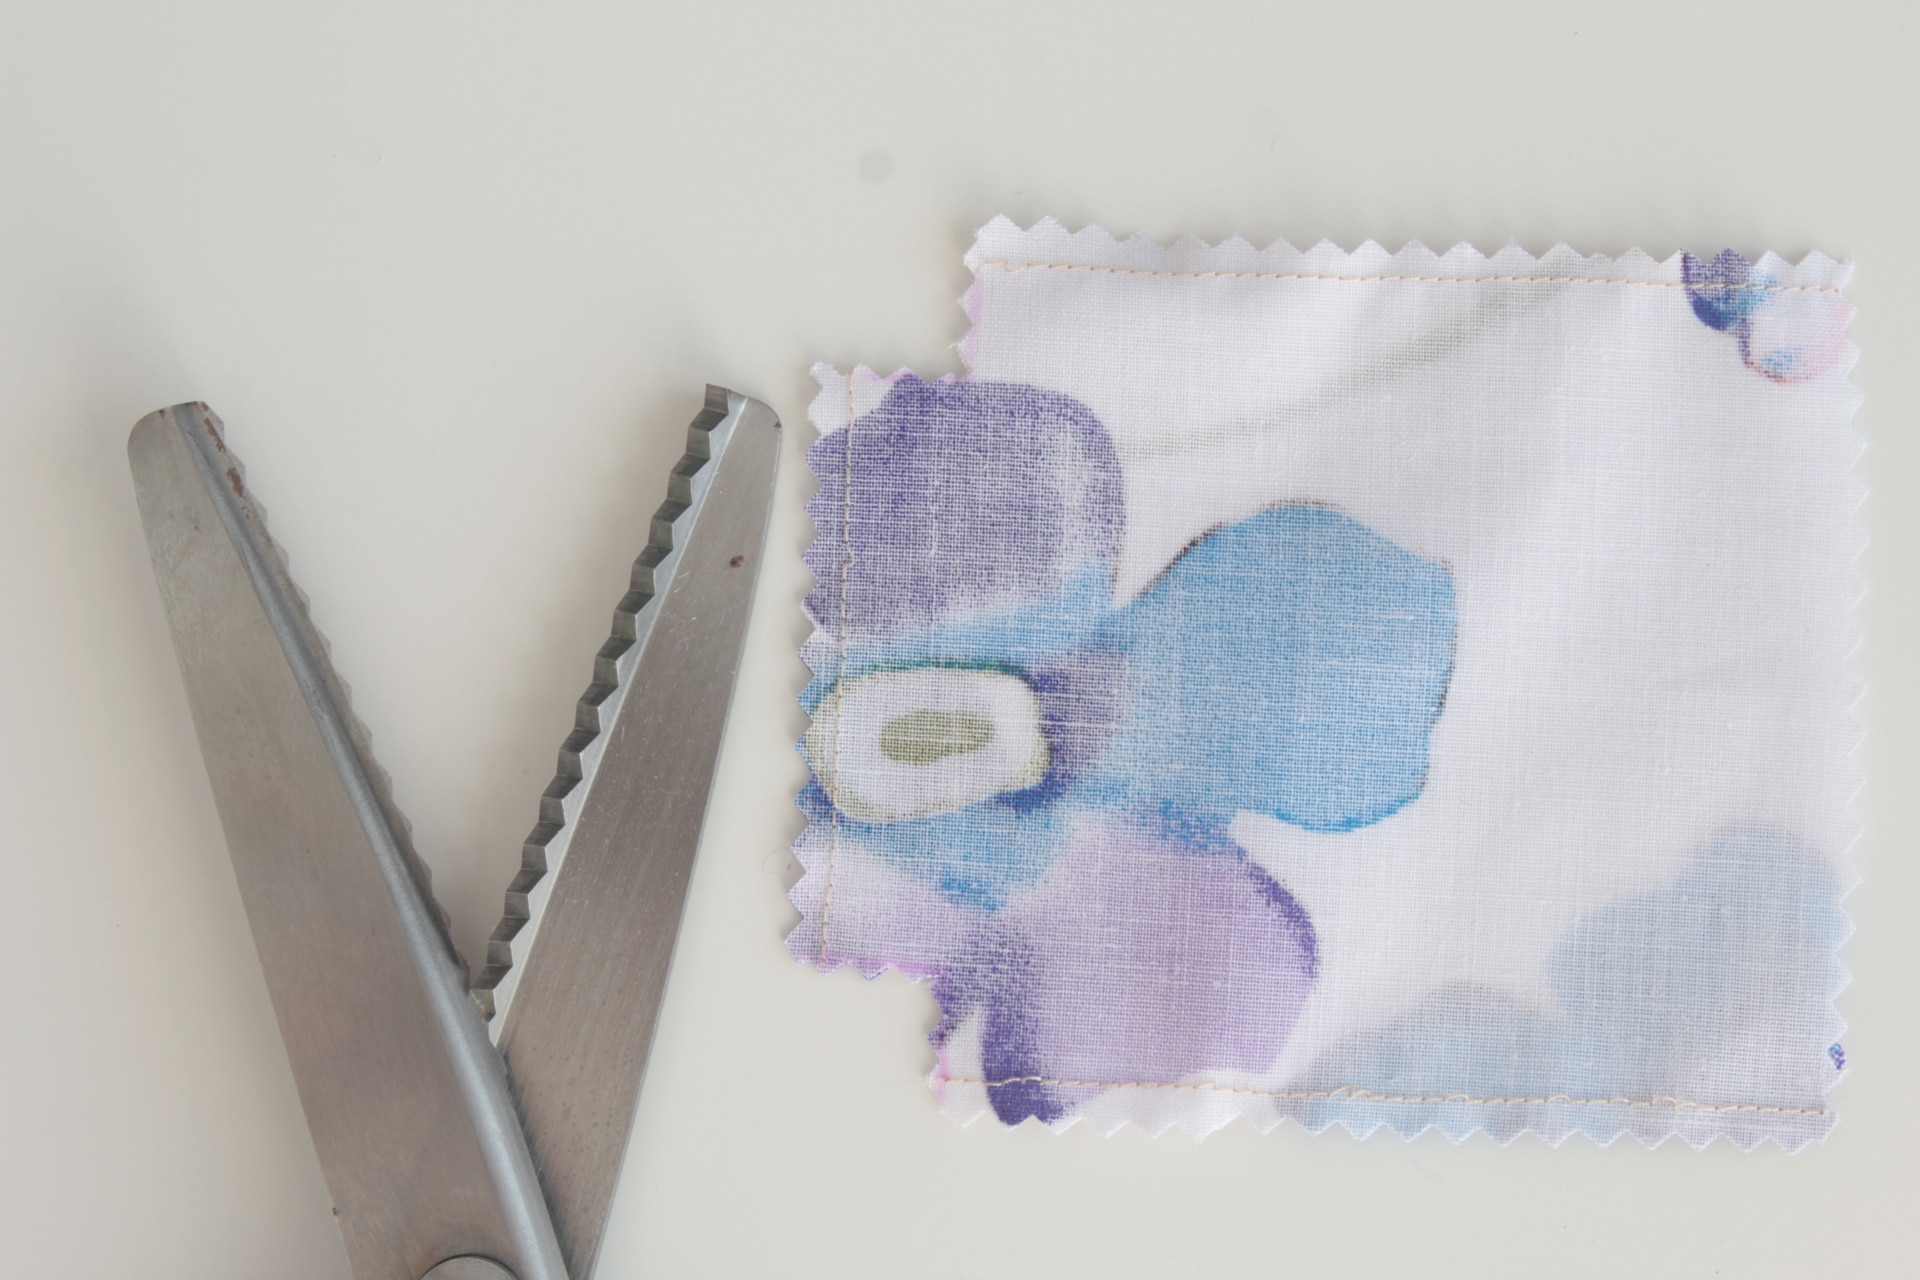
- Working with one corner at a time, bring the side and bottom seam together, pin and sew.
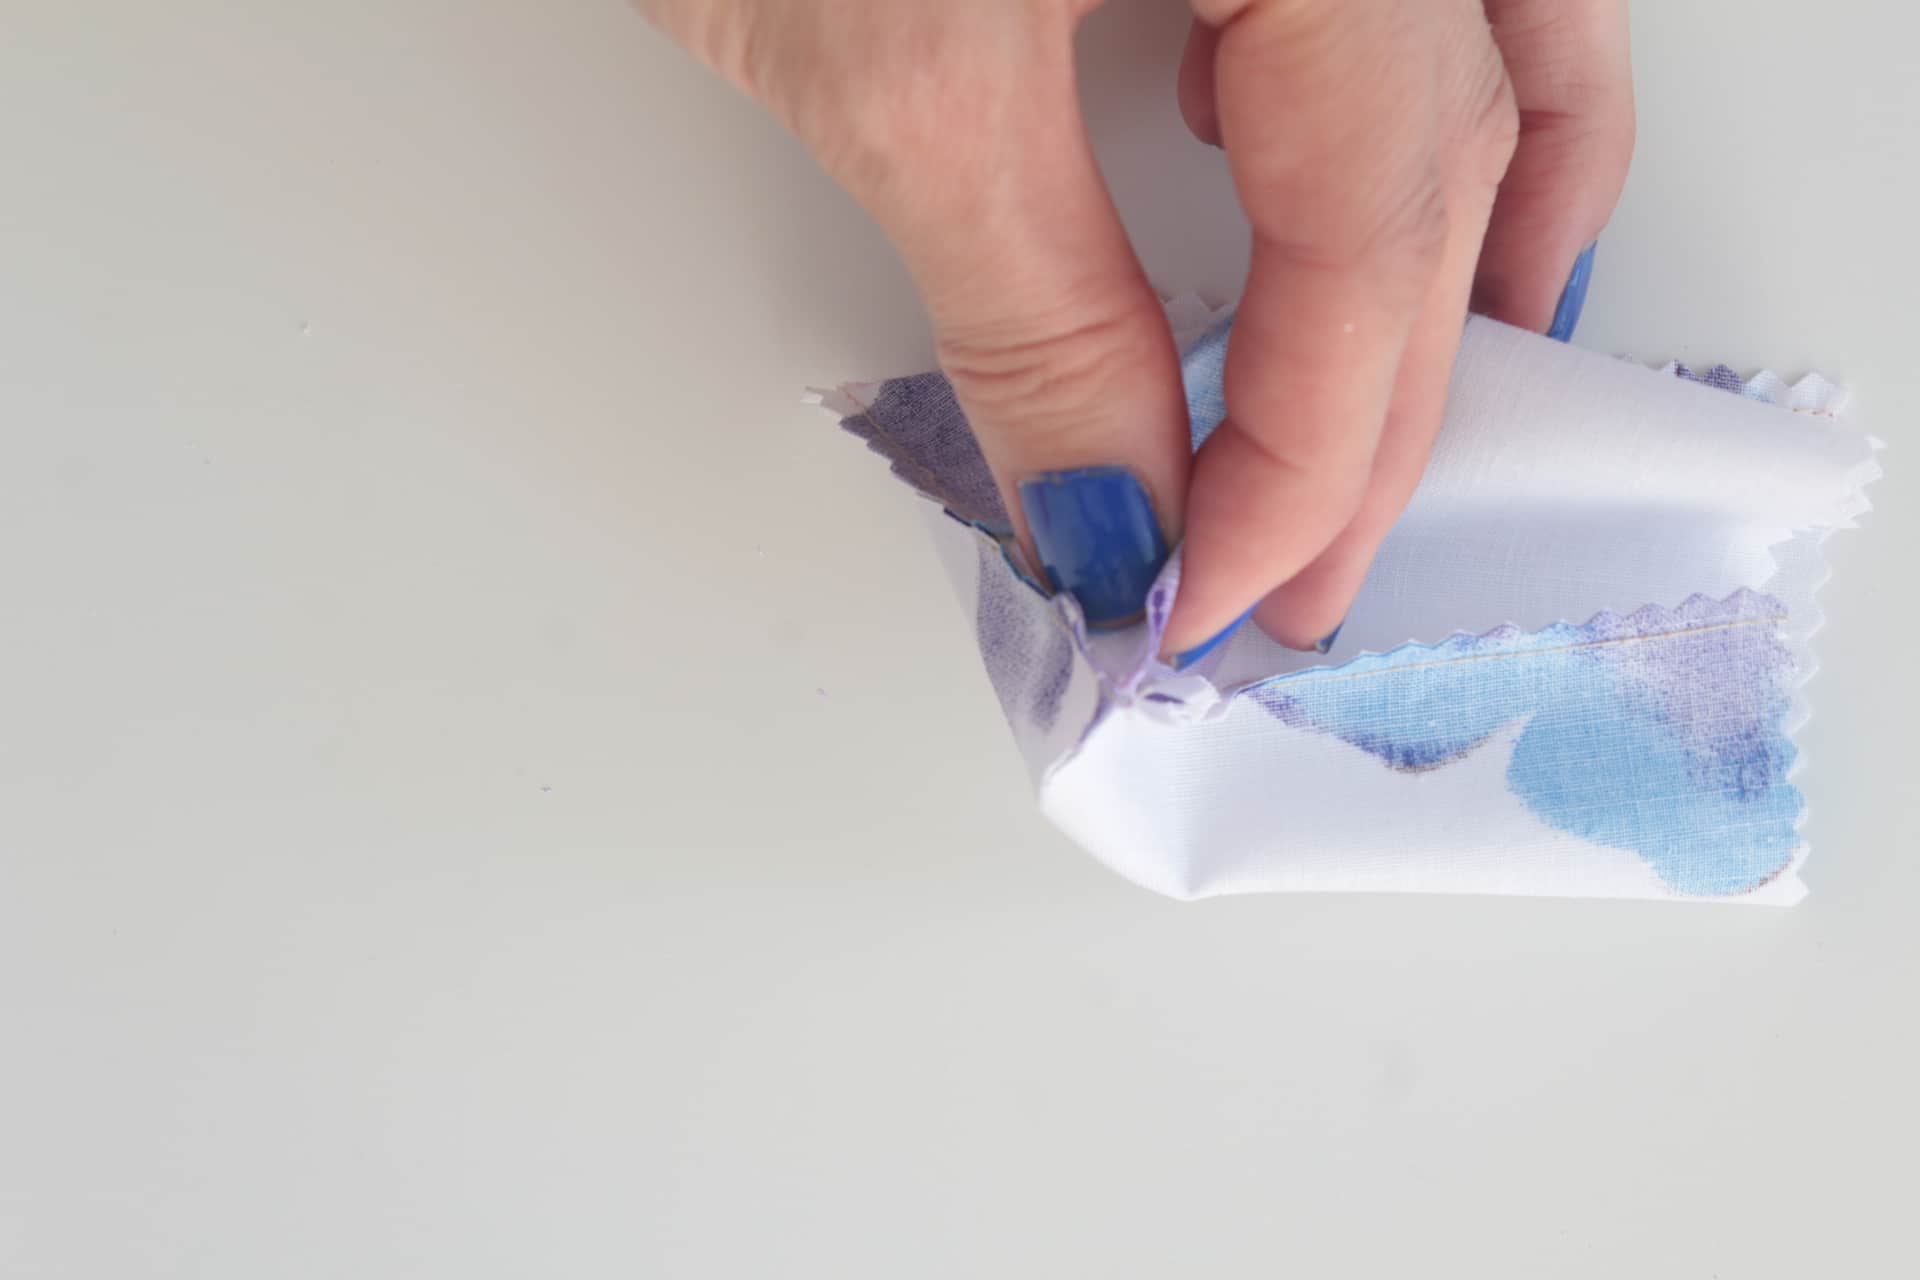
- Turn the bag right side out.
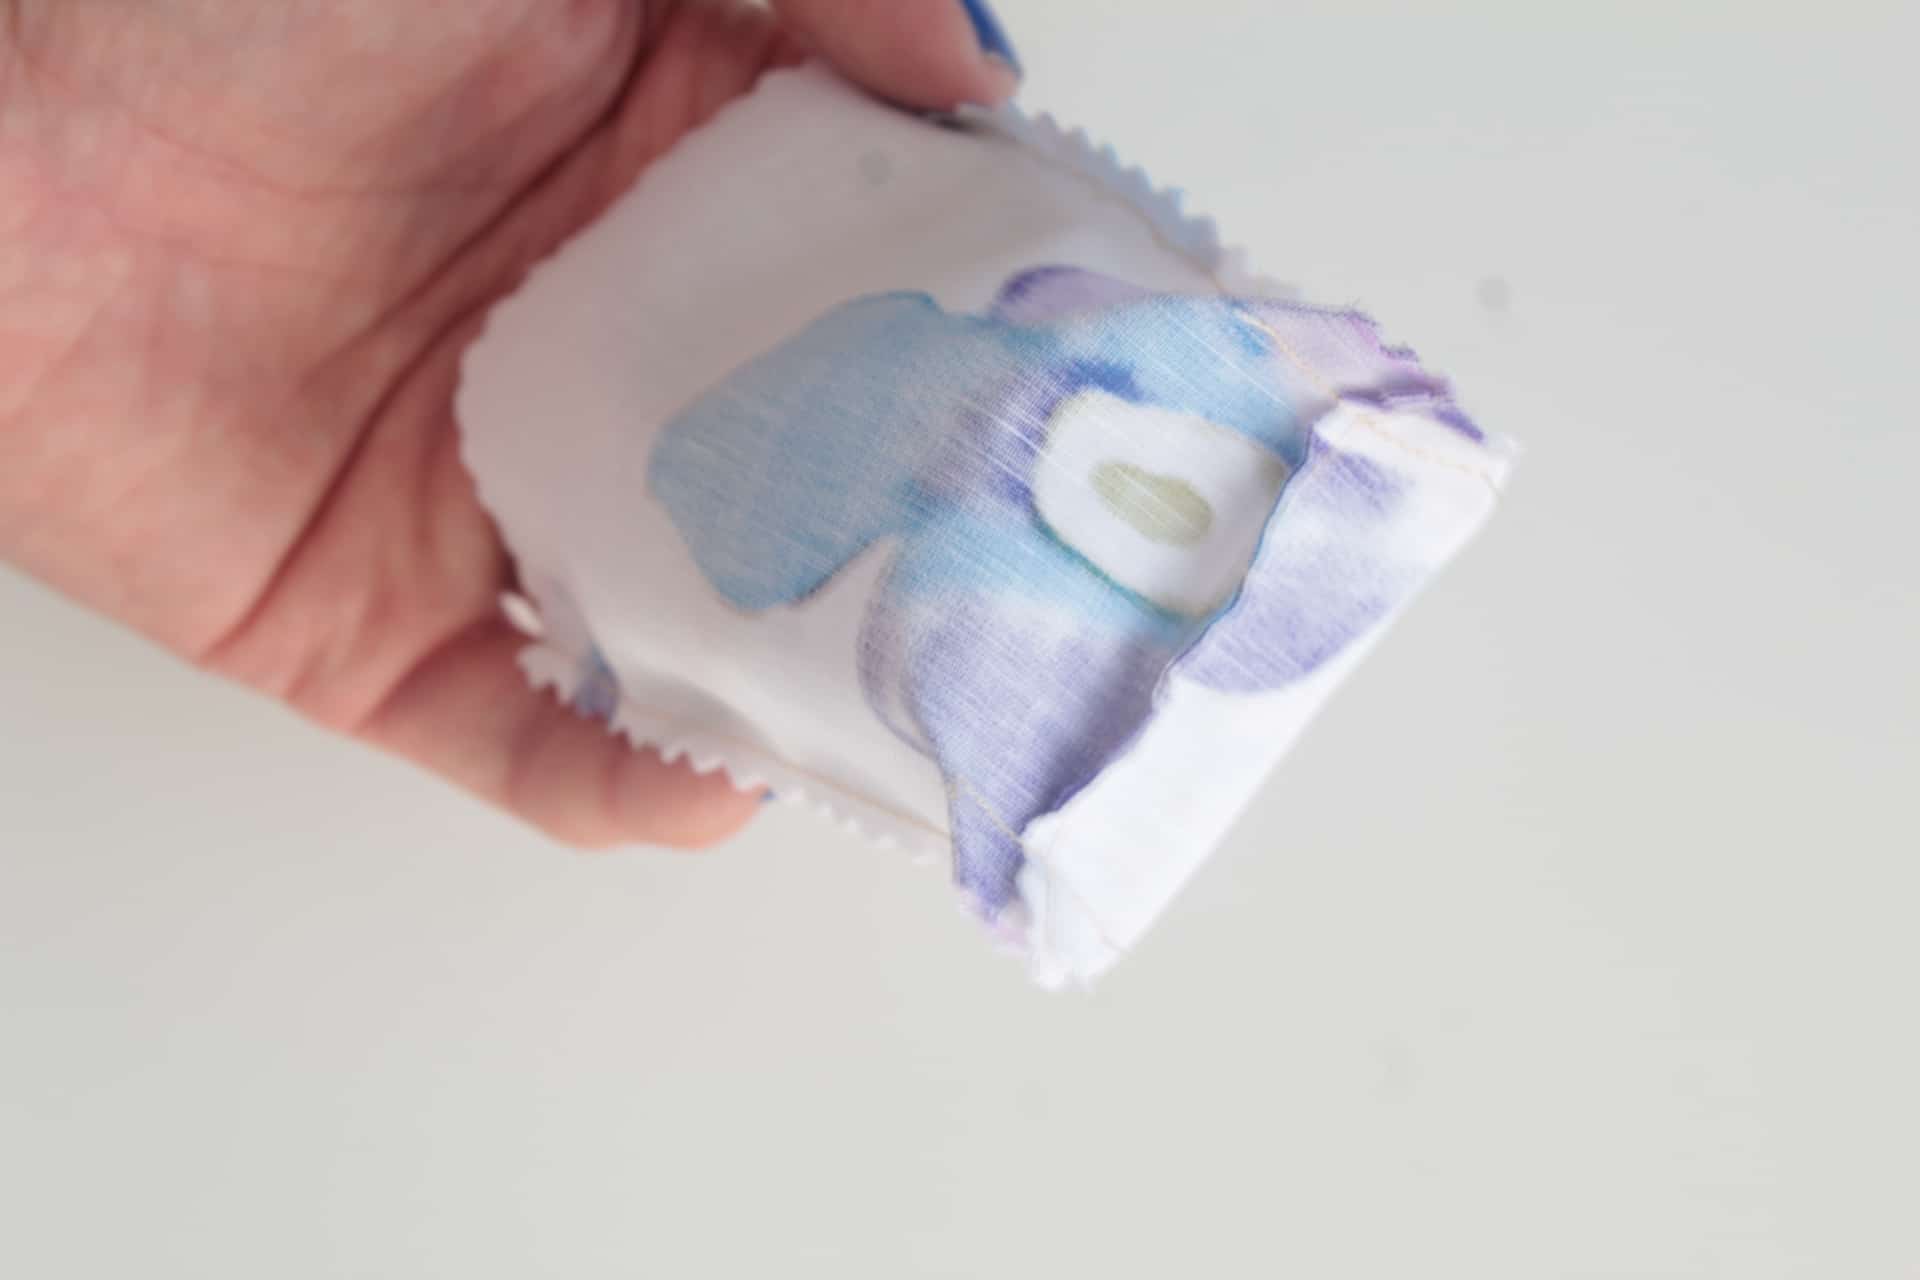
- Gently push the corners out using a point turner.
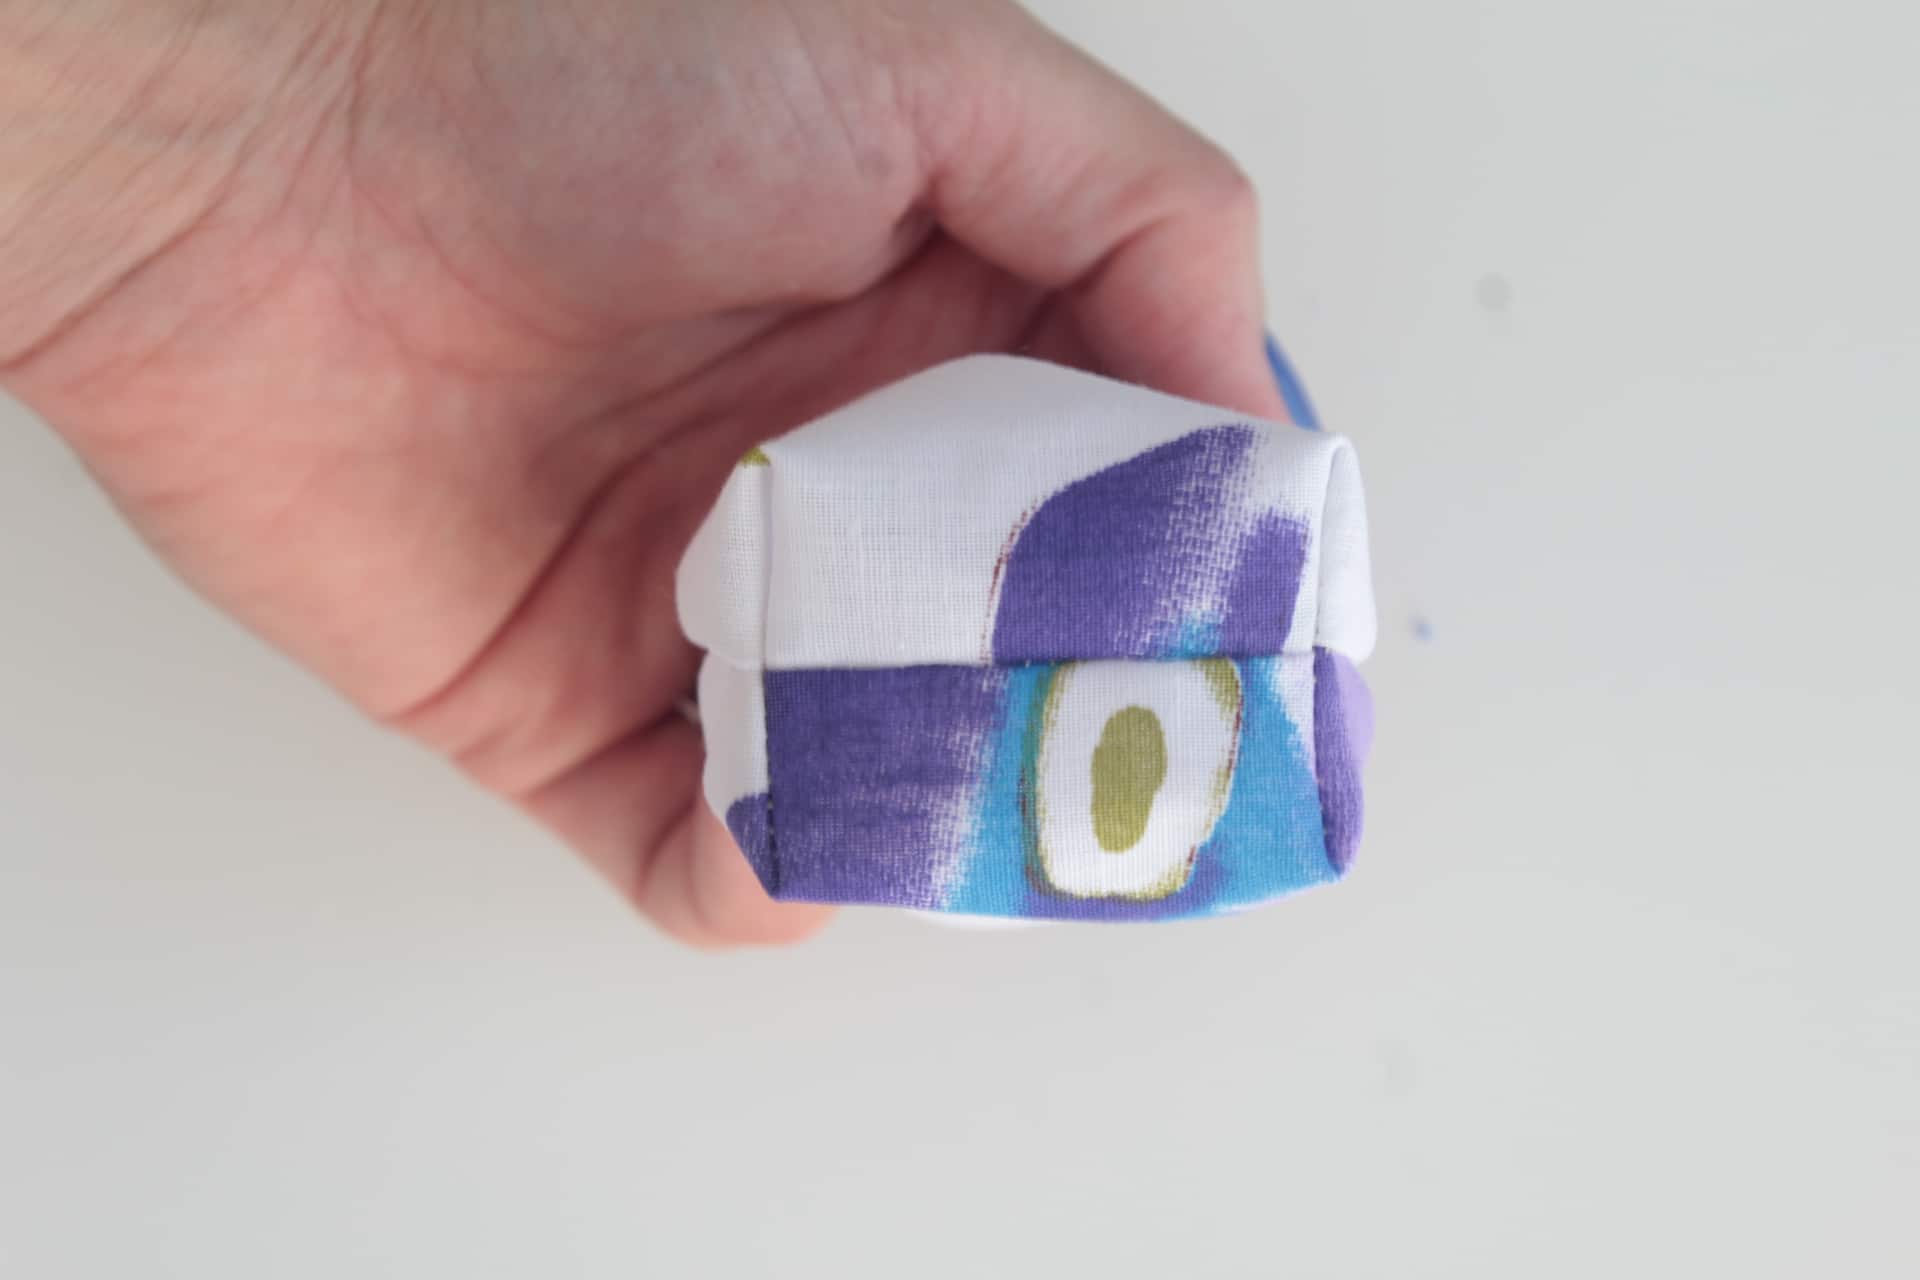
- Using a mini iron, give the bag a little press, insisting on seams.
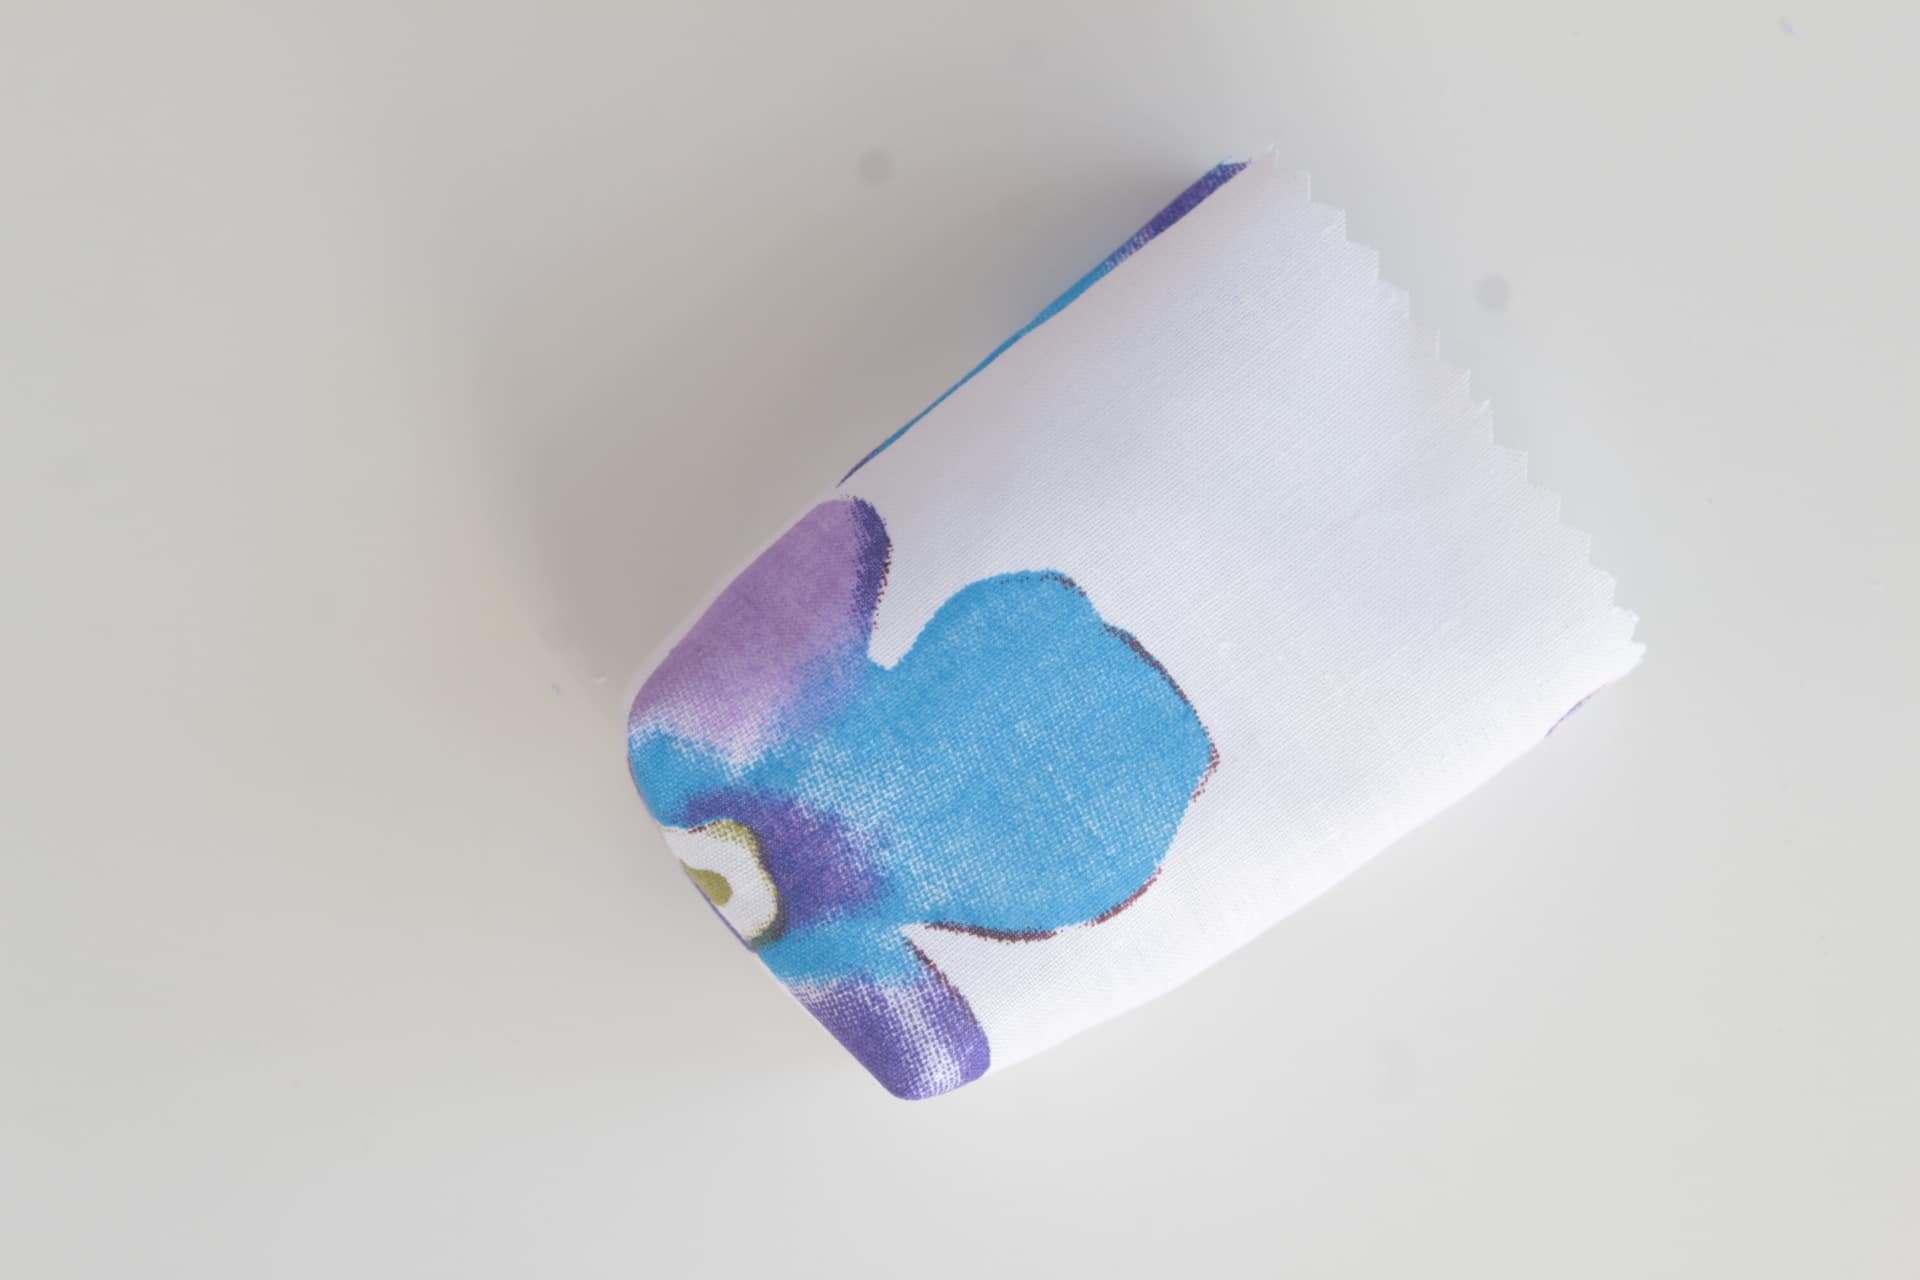
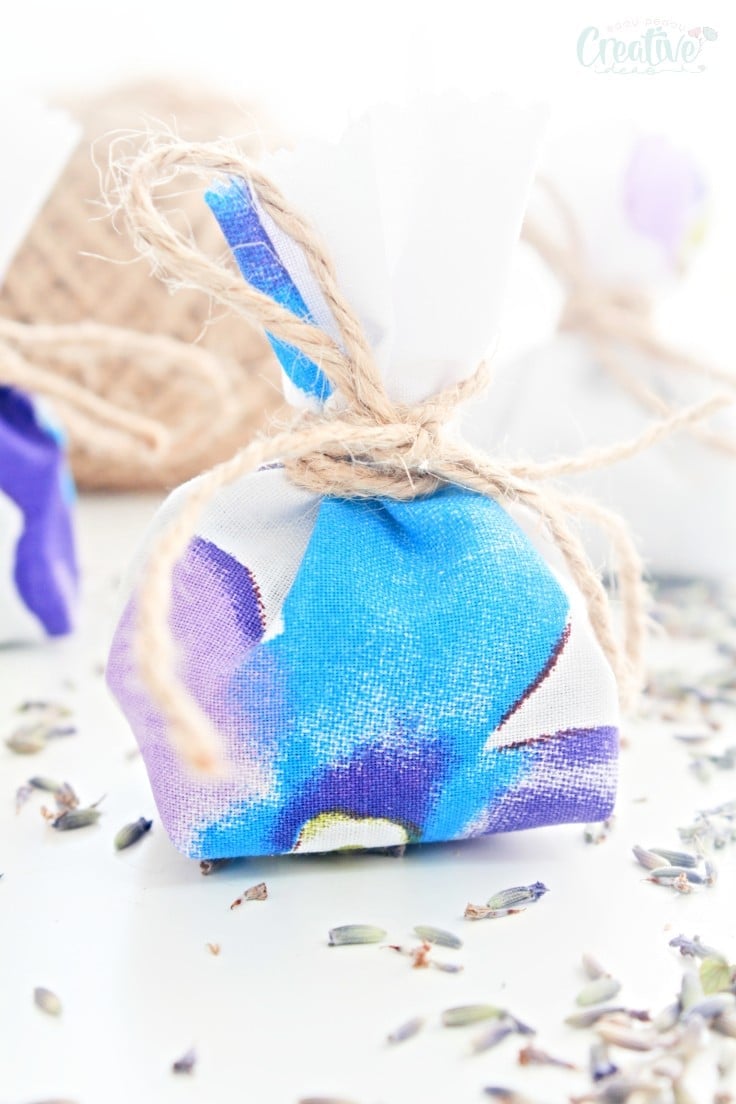
- Fill the bags about half way with dried lavender buds and tie the top with twine.
And that’s pretty much all there is needed to make your own adorable DIY lavender bags! Wasn’t this the most easy project ever?
More pouches you might like:
These cute lavender bags are great to use to keep your entire house smelling nice and fresh and oh, so heavenly! You can just place these little bags around the house, hang them in your wardrobe or from hangers to lend a nice scent to your clothes, keep them in your drawers or add them to your linen closet. These DIY lavender bags smell so amazing, you’ll want to simply surround yourself in them!
If you liked this tutorial I would love to know it so please leave a comment below and don’t forget to rate it! Thanks!

DIY lavender bags
Materials
- scrap fabric
- matching thread
- dried lavender buds use your own or purchase them
- twine
Tools
- scissors
- point turner
- mini iron
Instructions
- Using your scissors cut a rectangular strips from your scrap fabric. You can use your desired measurements or use mine: 4" by 3"
- Fold the strip with right sides together.
- Sew down the sides and the bottom with 1/4" allowance (the bottom is optional but will offer a little more stability to the pouch once sewn).
- Using your pinking shears, trim the seams and the top of the pouch to 1/8" (so all 4 sides of the rectangle).
- Box the corners with the desired method. This is what I did for this project. Mark 1/2" away from the seam, first from the side seams then from the bottom, then draw a square, on both corners.
- Clip the corners using your pinking shears, as shown.
- Working with one corner at a time, bring the side and bottom seam together, pin and sew.
- Turn the bag right side out.
- Gently push the corners out using a point turner.
- Using a mini iron, give the bag a little press, insisting on seams.
- Fill the bags about half way with dried lavender buds and tie the top with twine.
Video
Article may contain Amazon & affiliate links. As an Amazon Associate I earn from qualifying purchases at no additional cost to you.
ABOUT PETRO
Hi, I’m Petro, author and founder of Easy Peasy Creative Ideas. Sewist, crafter, avid DIY-er, foodie, photographer, homemaker and mommy to one. I’m an expert at coming up with quick, clever sewing tips, recycling crafts and simple, easy recipes! You can find my ideas featured in reputable publications such as Country Living, Good House Keeping, Yahoo News, WikiHow, Shutterfly, Parade, Brit & Co and more. Thanks for stopping by and hope you’ll stay for a while, get to know me better and come back another time. Stick around for real fun projects! Read more…