DIY lavender sachets sewing tutorial
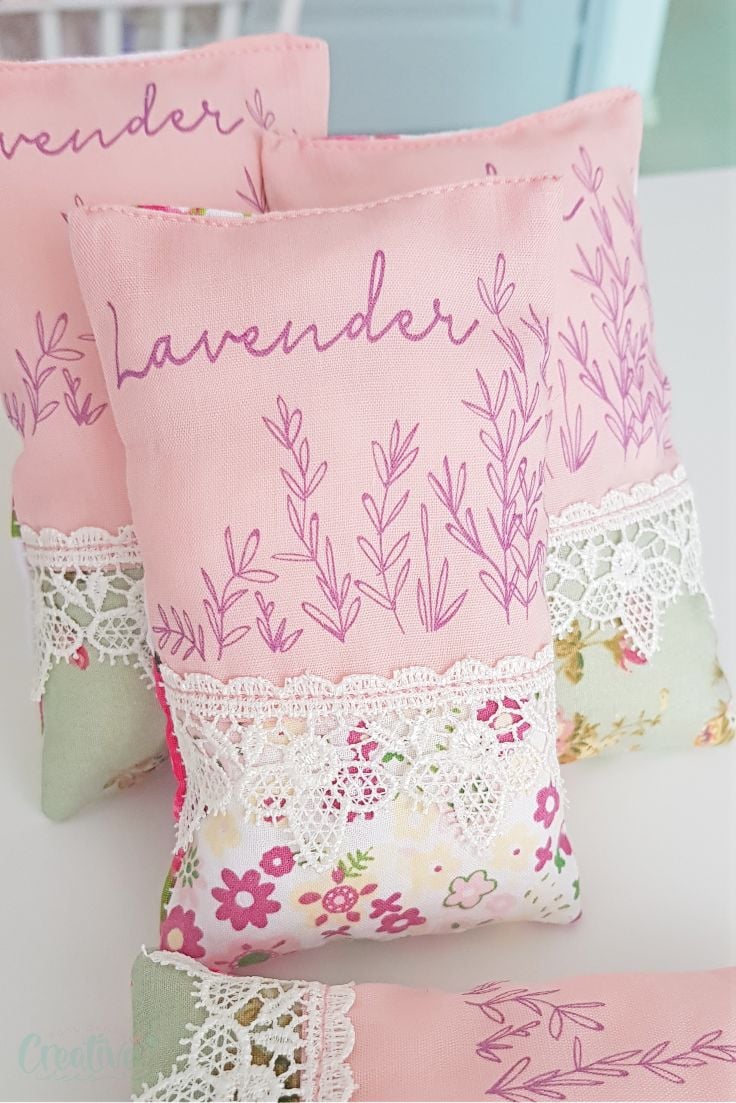
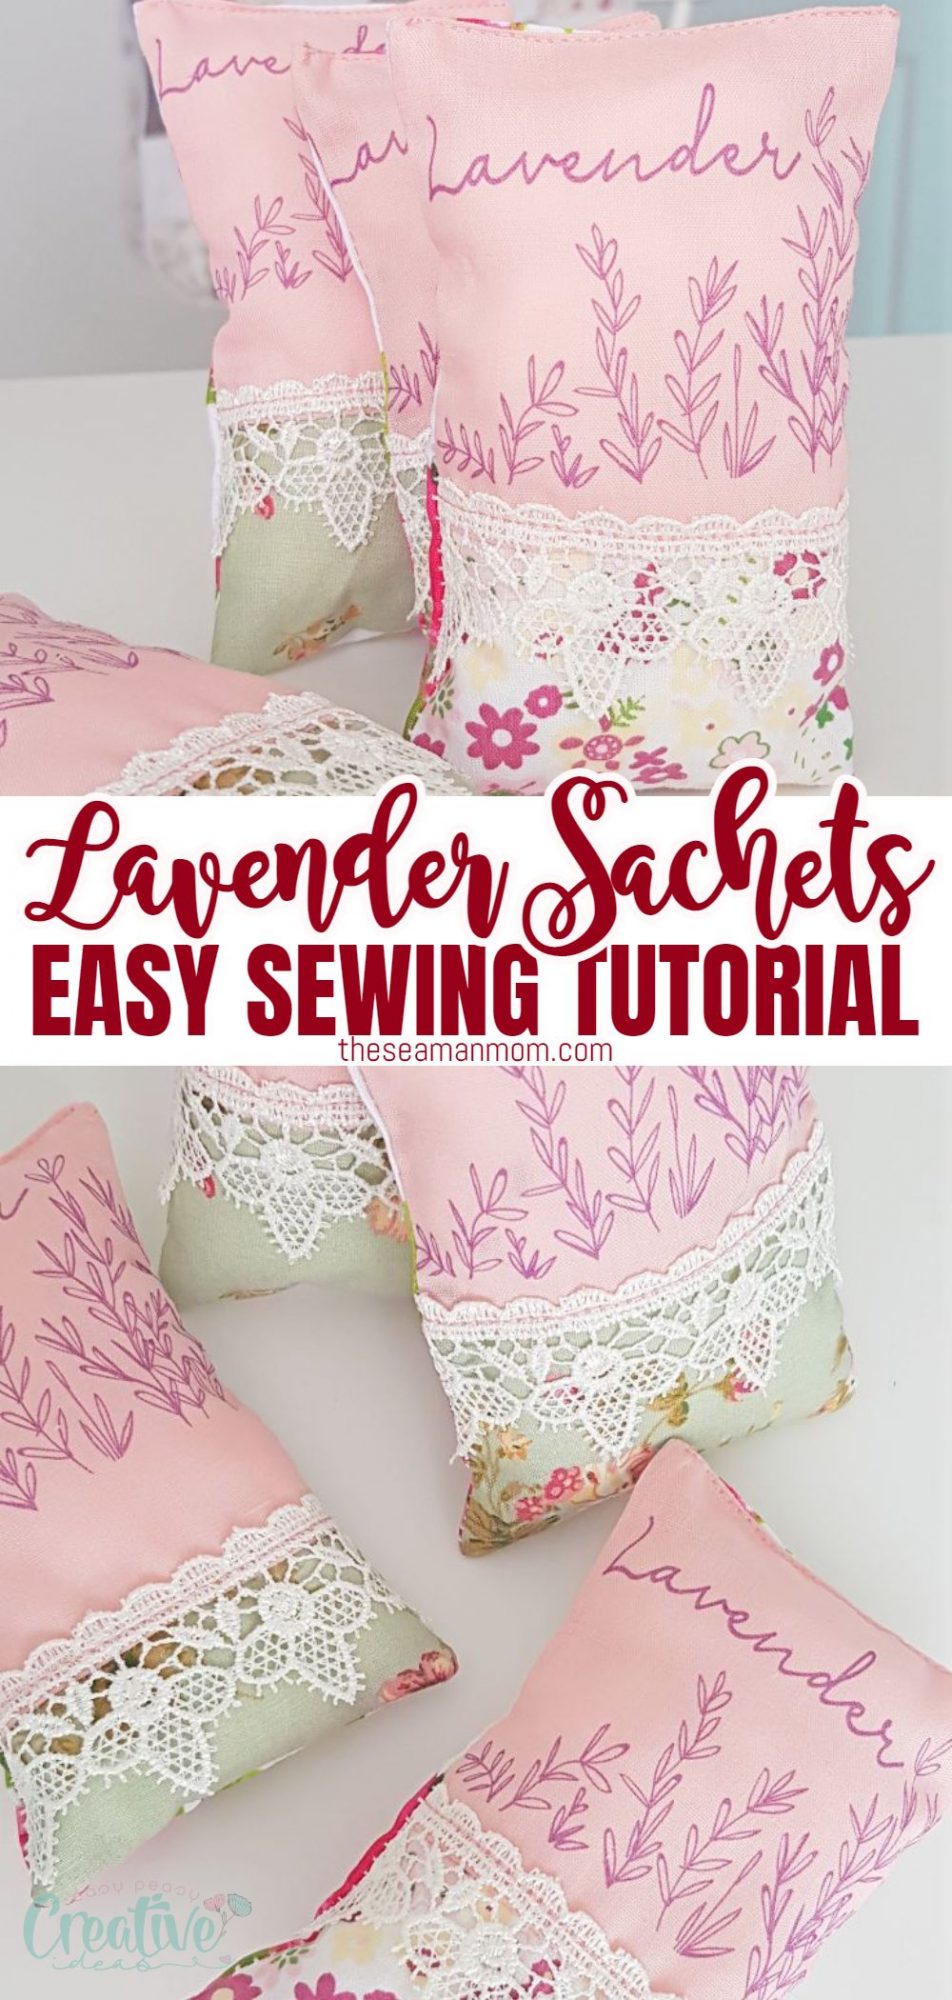
Spruce up your stuffy drawers and closets with a bunch of cute DIY lavender sachets! Making lavender bags is crazy easy and quick and a great project for beginner sewists!
DIY lavender sachets
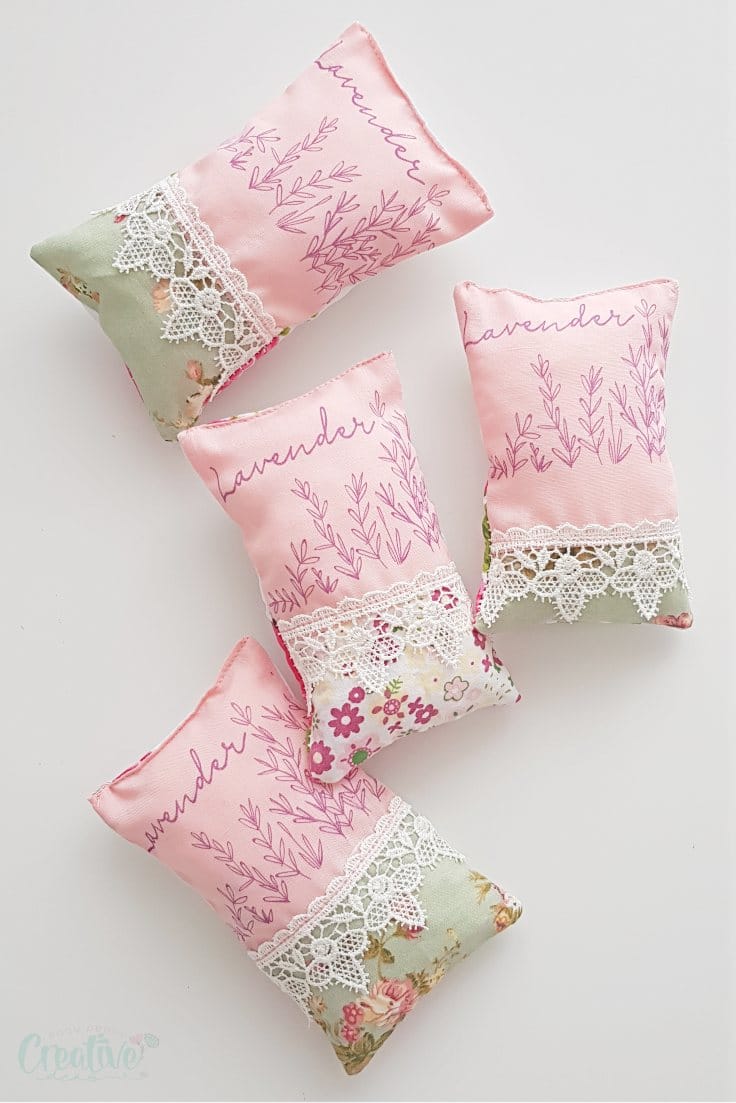
If you’re a regular here you know I developed an addiction for lavender! In my defense, I’ve got a surplus of lavender this year and I had to do something about it, I couldn’t just throw it away, right? So here’s another lovely project with some of that amazingly soothing lavender: DIY lavender sachets!
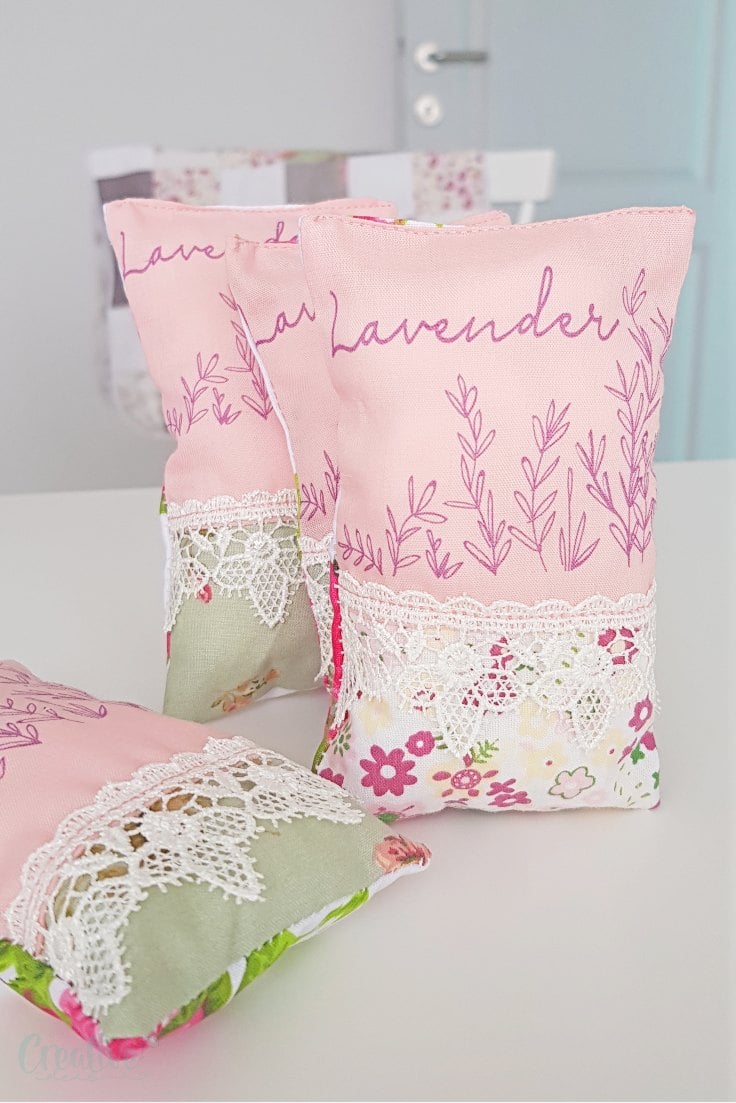
These adorable lavender sachet bags are essentially a sewing project (because I love sewing so much!) but could easily be achieved by non sewing crafters too. Sewing lavender sachets like these is crazy easy, even a novice can handle the task, so these are perfect for beginners sewists! But if sewing is not your thing, you can hand stitch these little bags or use fabric glue. No matter your option, these DIY lavender sachets are sure to make your space a lot more adorable and smelling amazing!
More scrap projects you will love:
- French braid sewing mat
- Pumpkin applique mug rug
- Quilted snap bag
- Quilted sewing mat with thread catcher
- 10 minutes lavender bags
- Fabric covered buttons
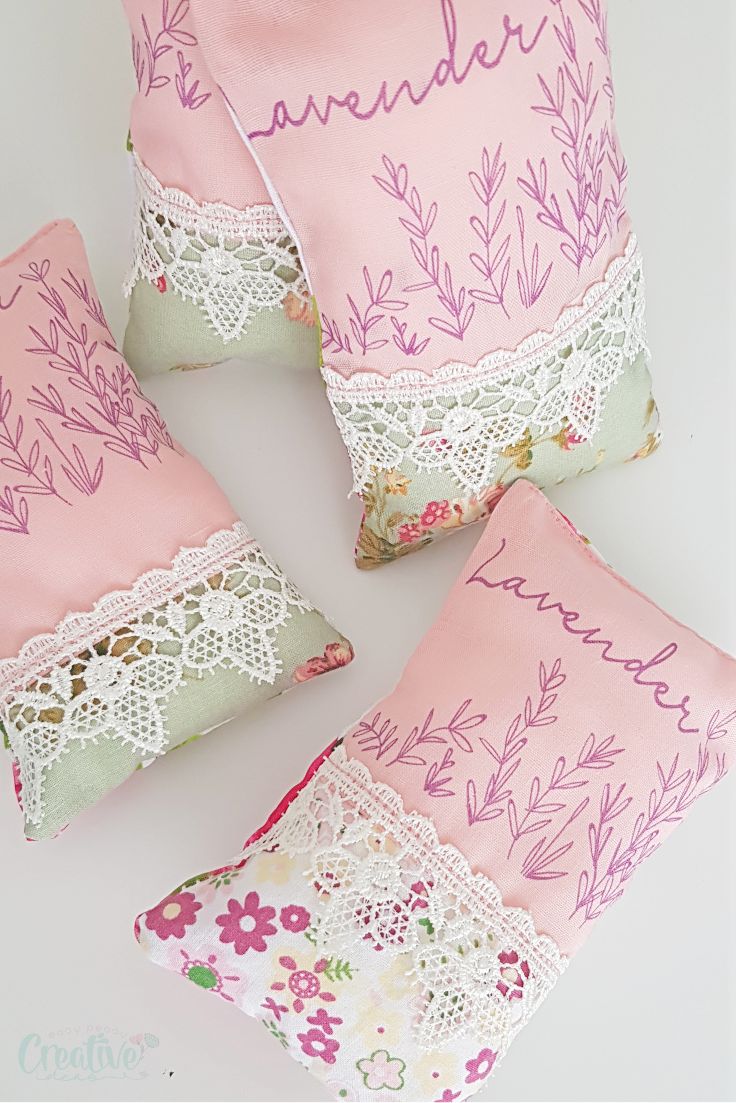
You can use these DIY lavender sachets to deodorize your closets or drawers or even keep them in your car but work just as great as pincushions too! That’s right, pincushions! You probably know I’m crazy for cute pincushions and these would be a wonderful idea to add to your sewing arsenal. Just stuff the pouches with poly-fill instead of lavender and use as pincushions. Or if you want to spice things up, add a layer of lavender buds to the bottom of these lavender sachet bags and top with a layer of poly-fill. This way your pincushion will be pretty, practical and will release a fabulous smell in your sewing room.
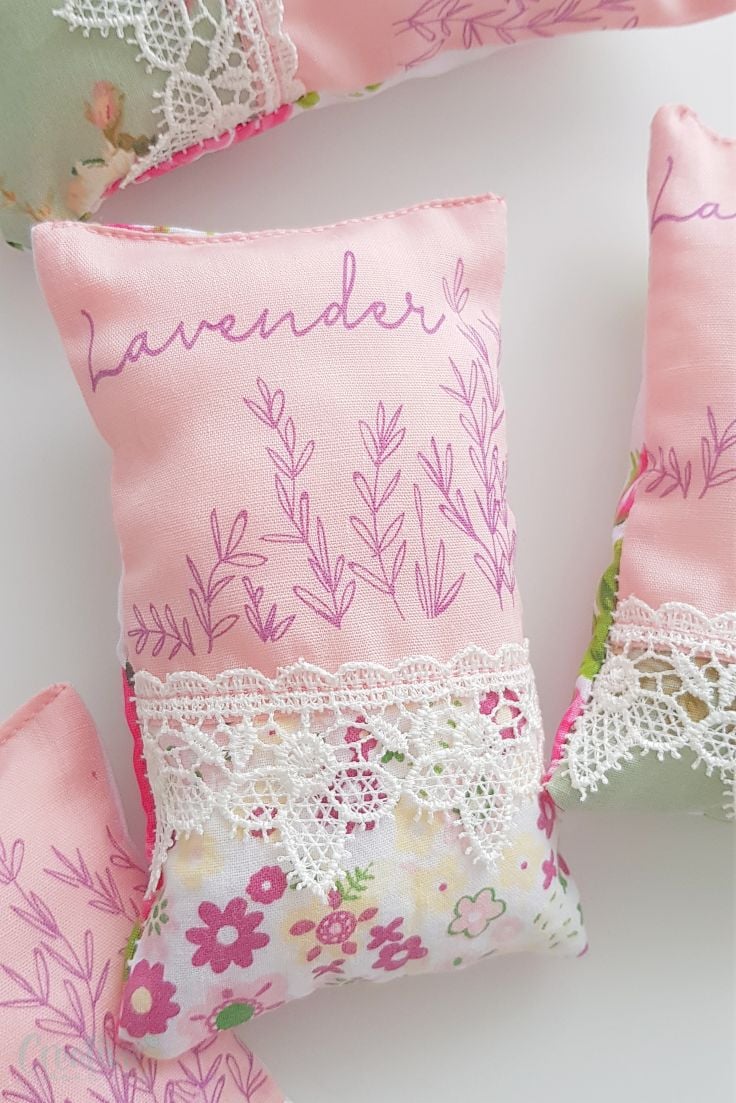
These cute DIY lavender sachets use printed fabric which I’ve done myself, at home. Check out this tutorial if you want to learn how to print your own fabric. I’ve also made my own design for these lavender sachets and the design is available for purchase here.
How to make lavender sachets
Materials:
- fabric scraps
- lace ribbon
- seamstress scissors
- lavender design
- printer (to print your design on fabric; inkjet or bubble jet printer are best)
- pins
- matching thread
- sewing machine (or hand needle if you’re not a sewist)
- serger – optional
- dry lavender buds
- optional – poly-fill if you want to turn this sachet into a pincushion
- pressing iron
Directions:
Cutting the fabrics
- To make these DIY lavender sachets you’ll need 3 strips of fabric: 2 for the front and 1 for the back. I cut mine in the following sizes: for the front I used a strip of 4″ by 3 1/2″ and a strip of 2 1/2″ by 3 1/2″. For the back I used a strip of 6 1/2″ by 3 1/2″
- You’ll also need a small strip of lace to add to the front as a pretty detail.
- If you want to add the lavender design to your bags, use the tutorial for printing on fabric first, before proceeding to sewing the sachets.
Assembling the front panel
- Match the 2 front pieces at the 3 1/2″ edges, right sides together. Pin & sew with 1/4″ allowance, then finish the seam with a serger or a zig zag stitch.
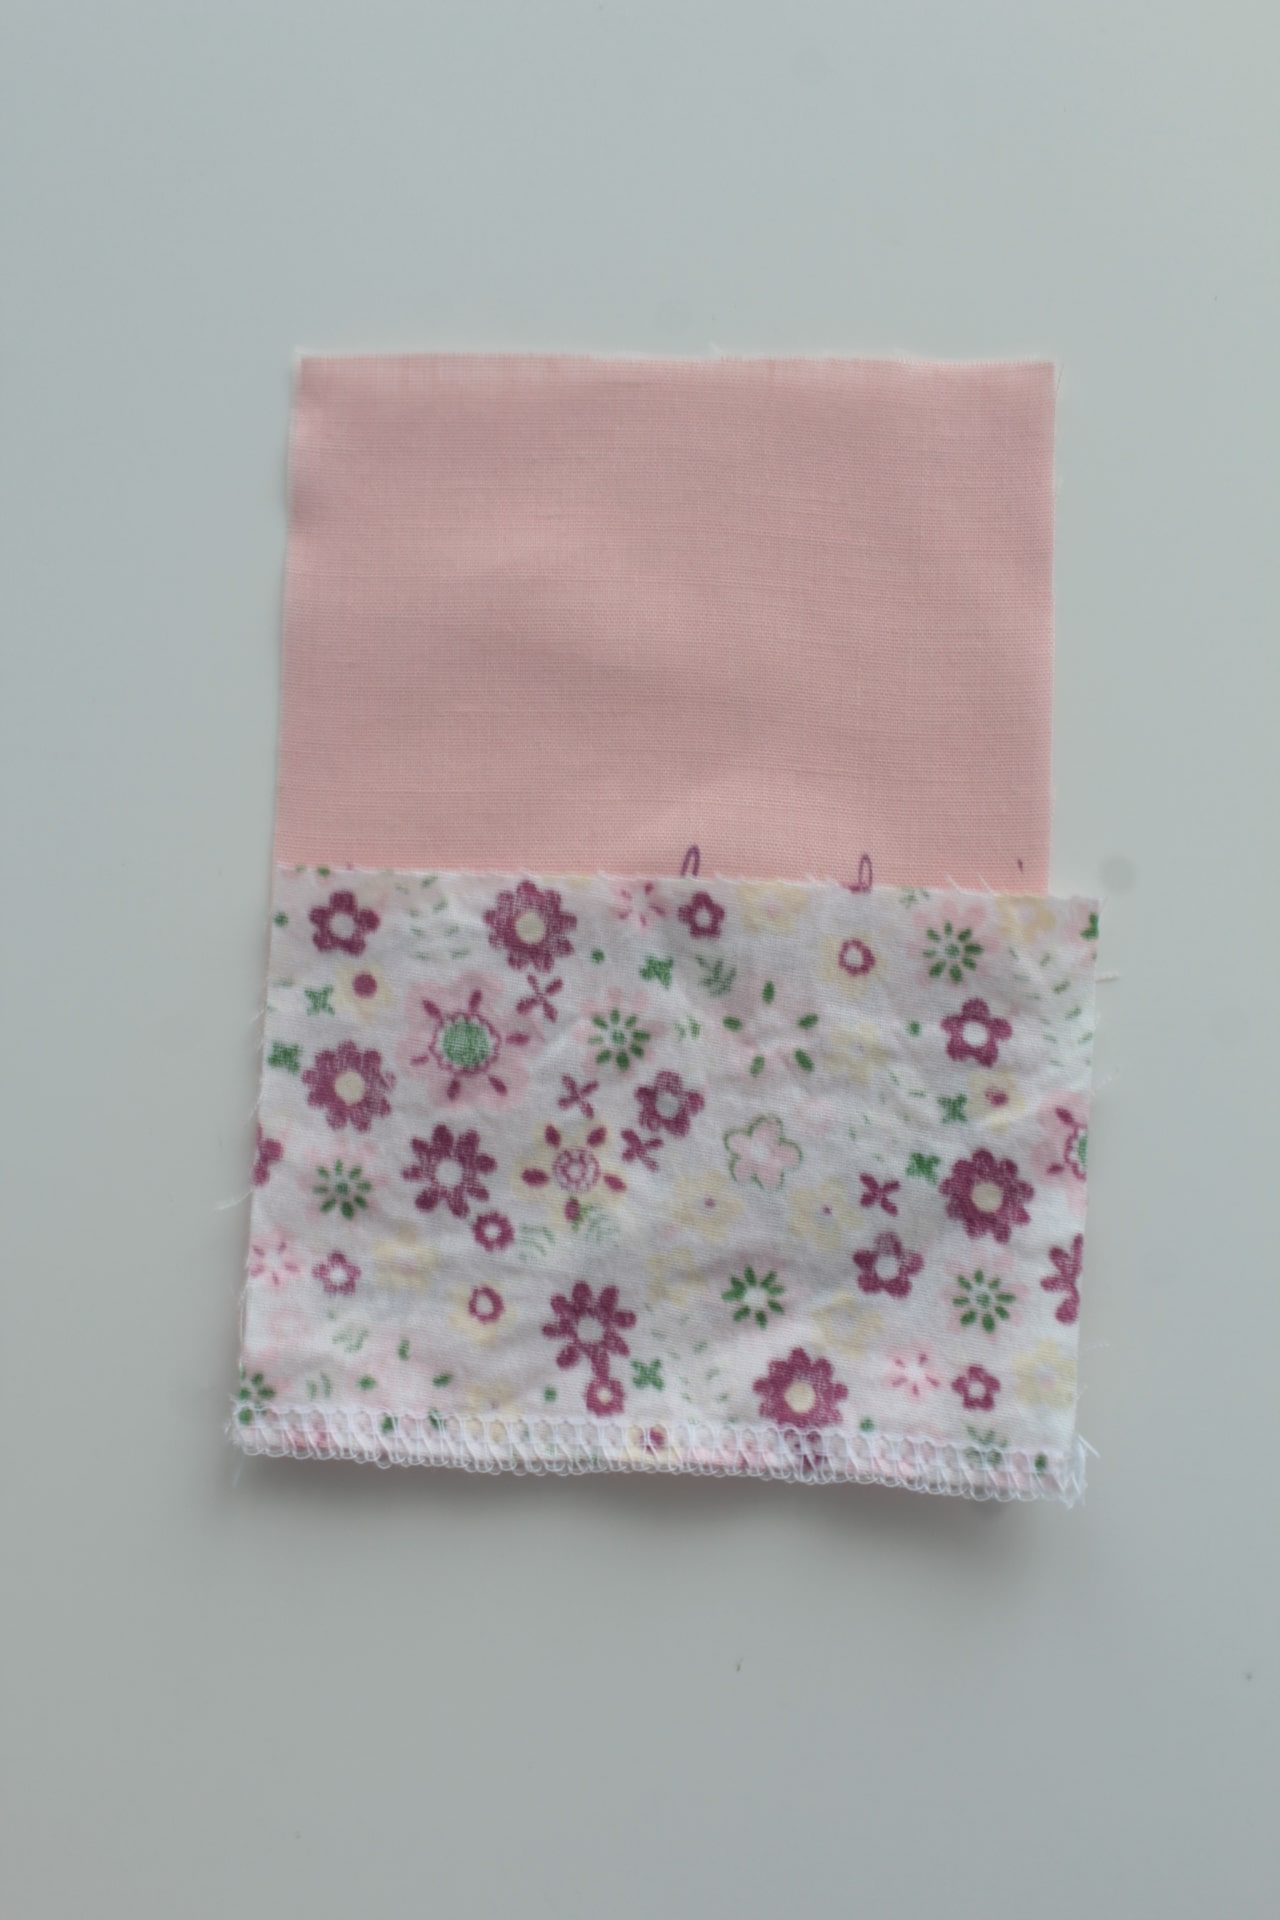
- Fold the small strip down and press the seam up with your pressing iron.
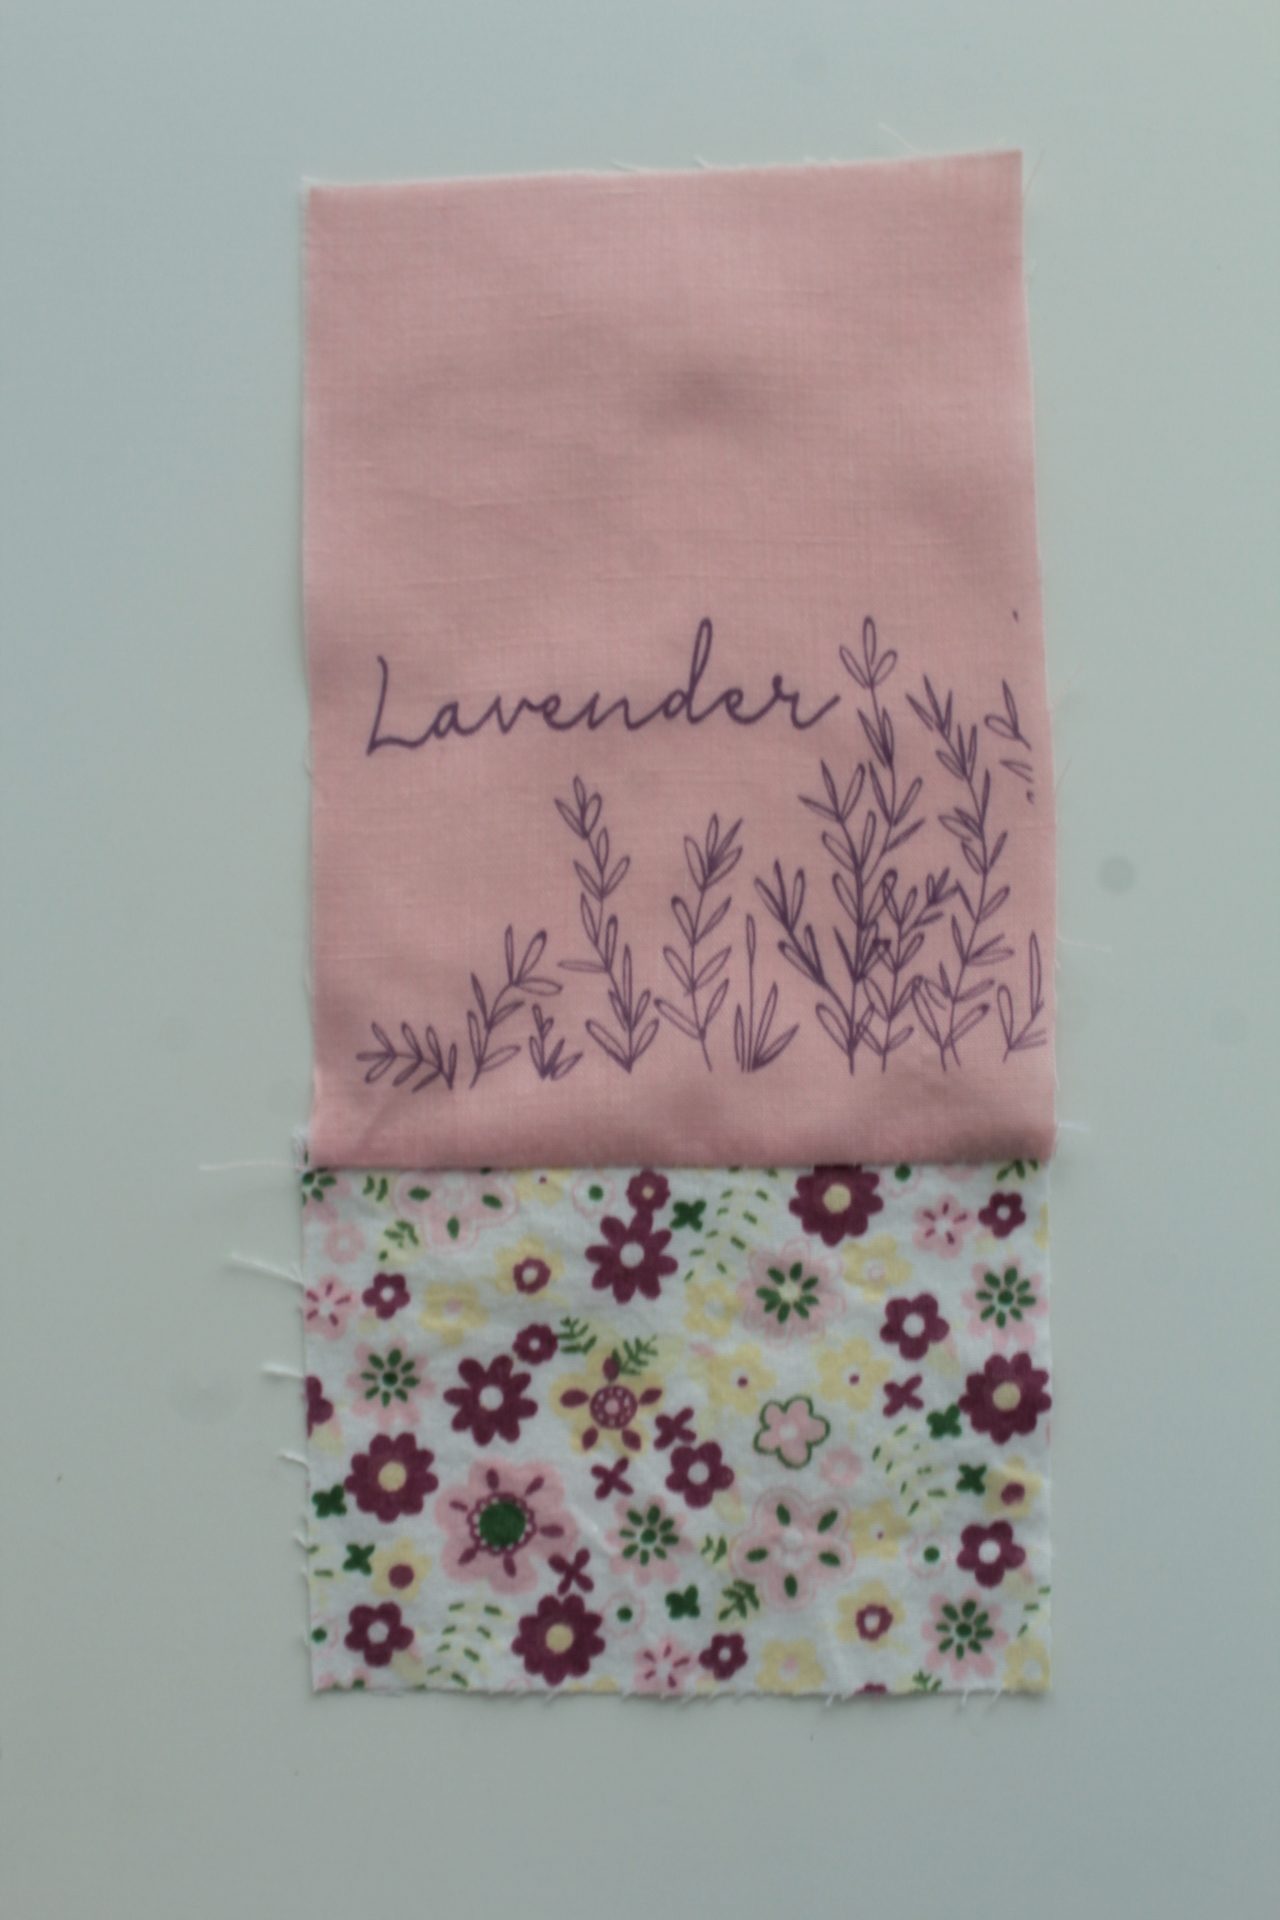
- With the front panel right side up, place a strip of lace right over the joining seam (between the 2 front panel strips).
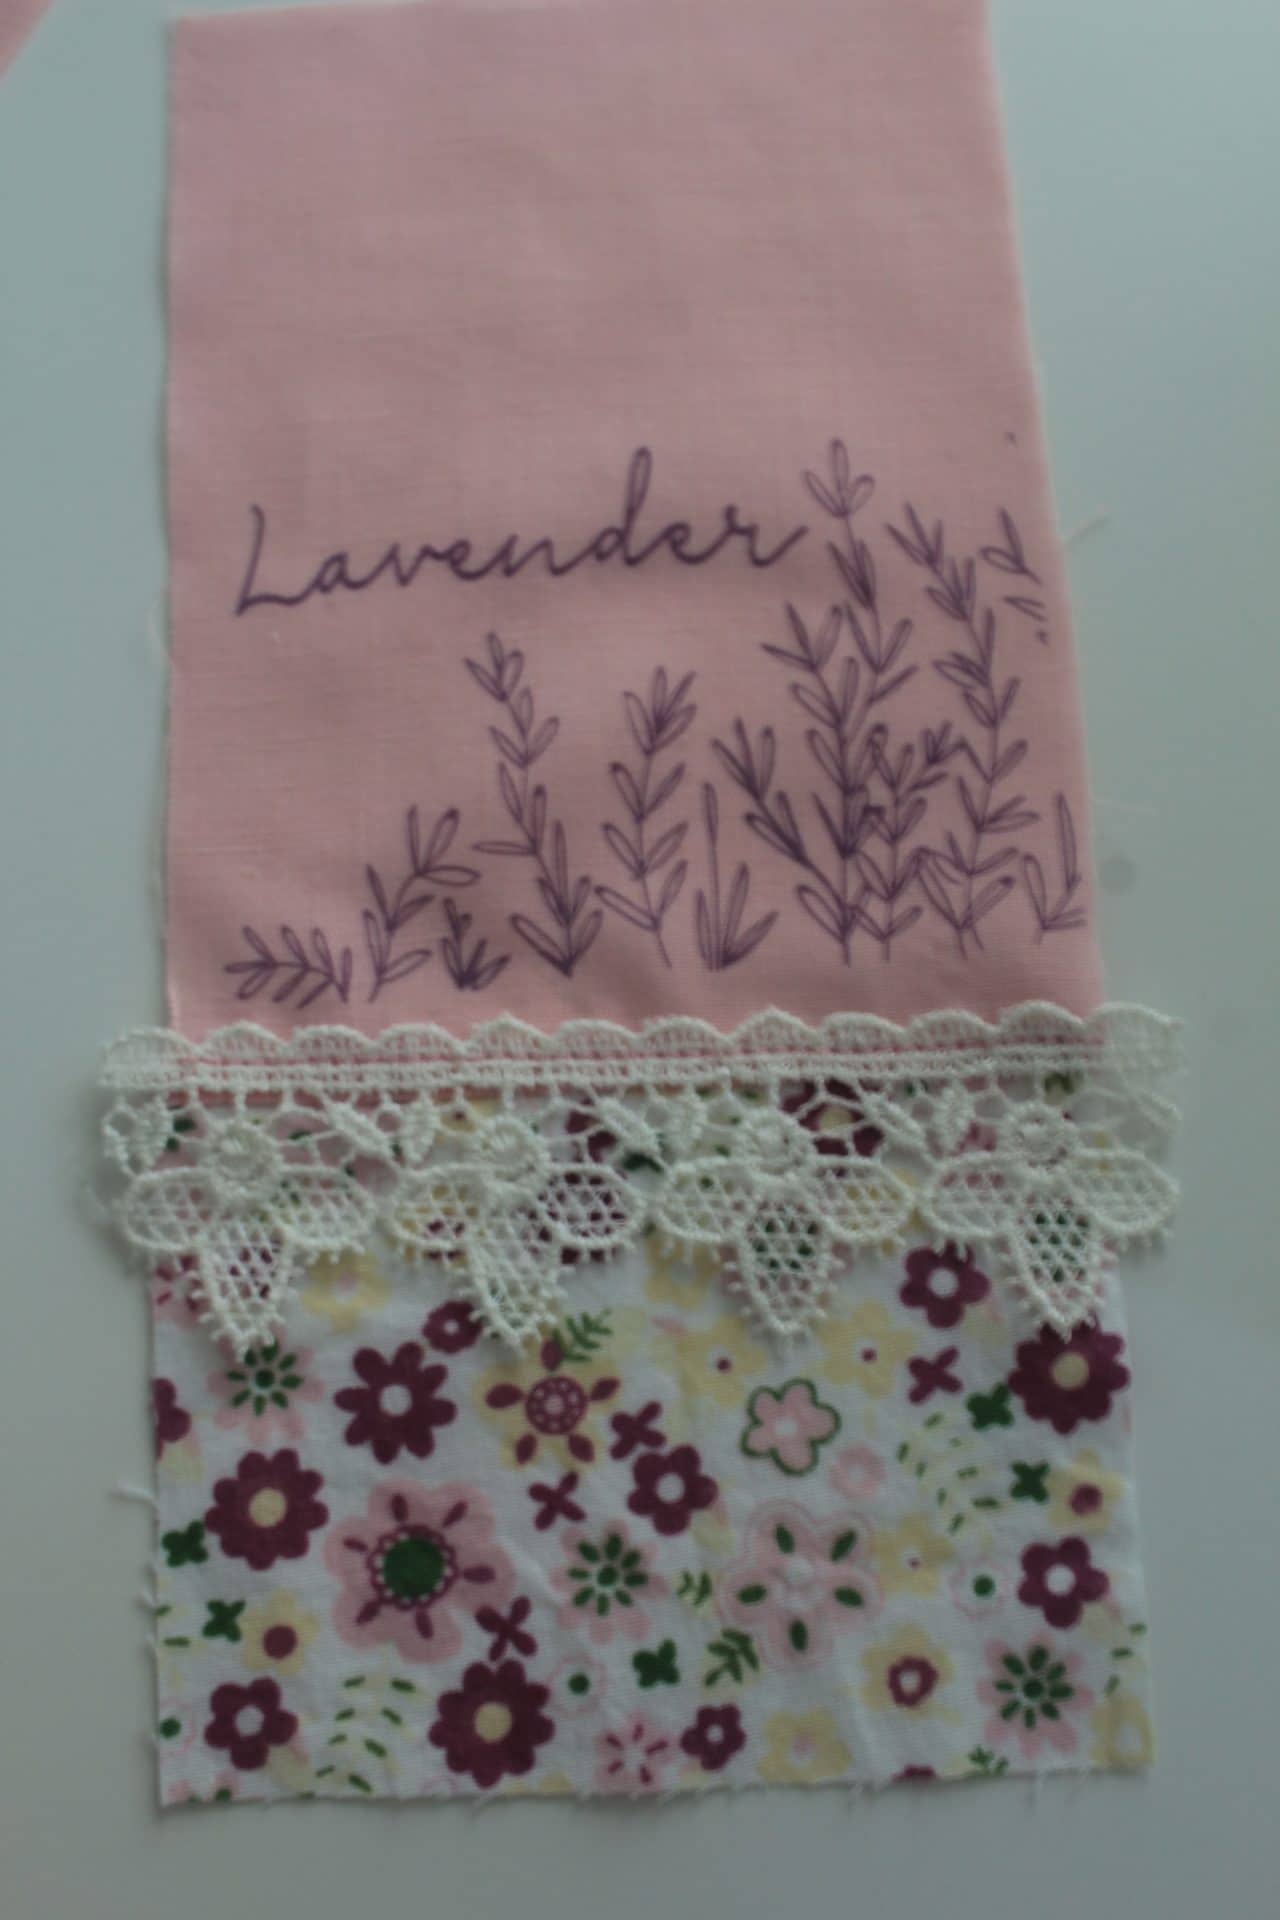
- Sew the lace down to the panel, about 1/8″ above the joining seam.
Assembling the sachet
- Place the front panel right side up and top with the back panel, wrong side up.
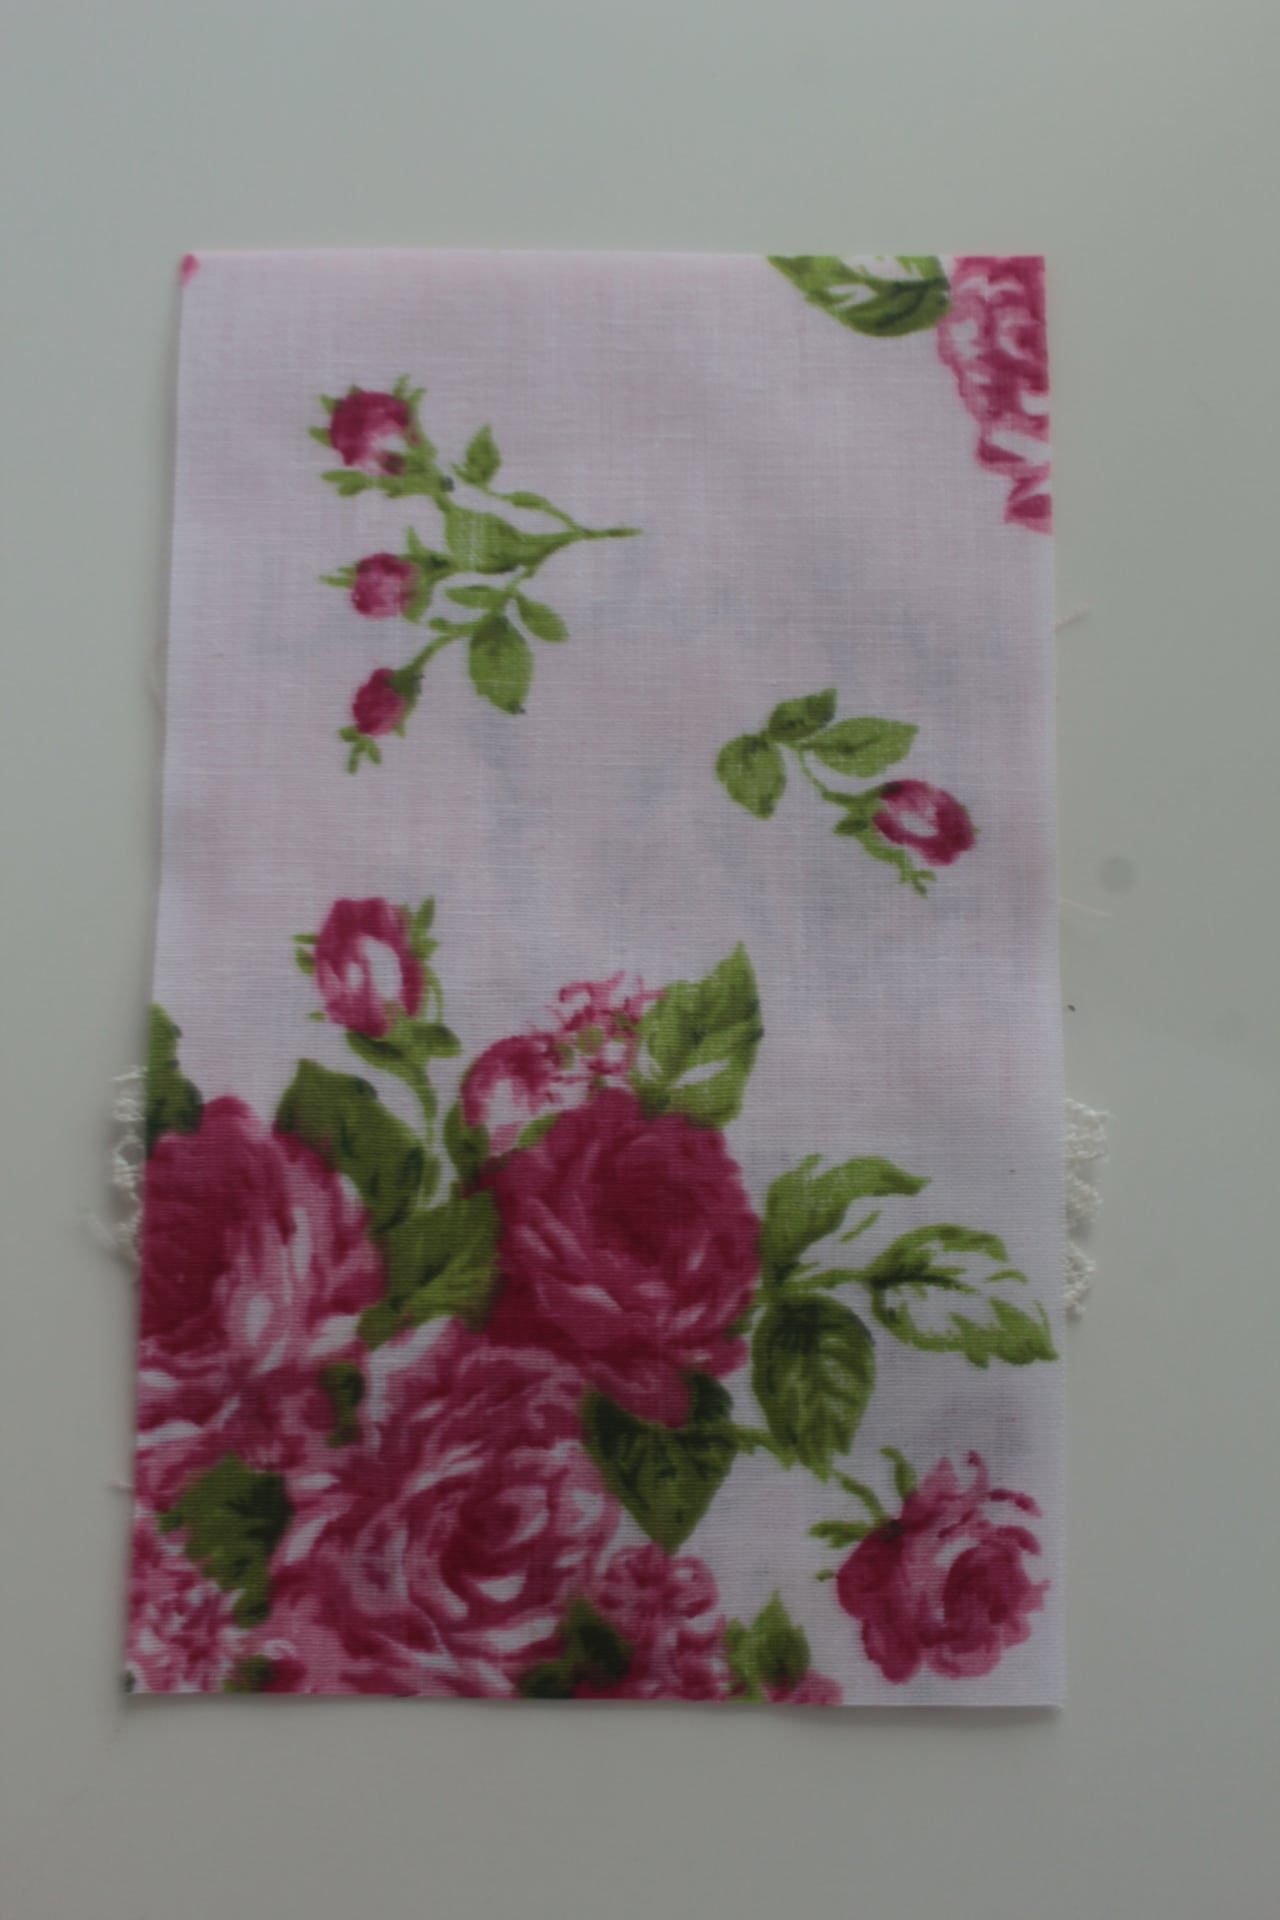
- Pin the sides and the bottom and sew with 1/4″ allowance.
- Finish the seams with a serger or a zig zag stitch
- Turn the sachet right side out.
- Turn the top inside, about 1/2″ and press.
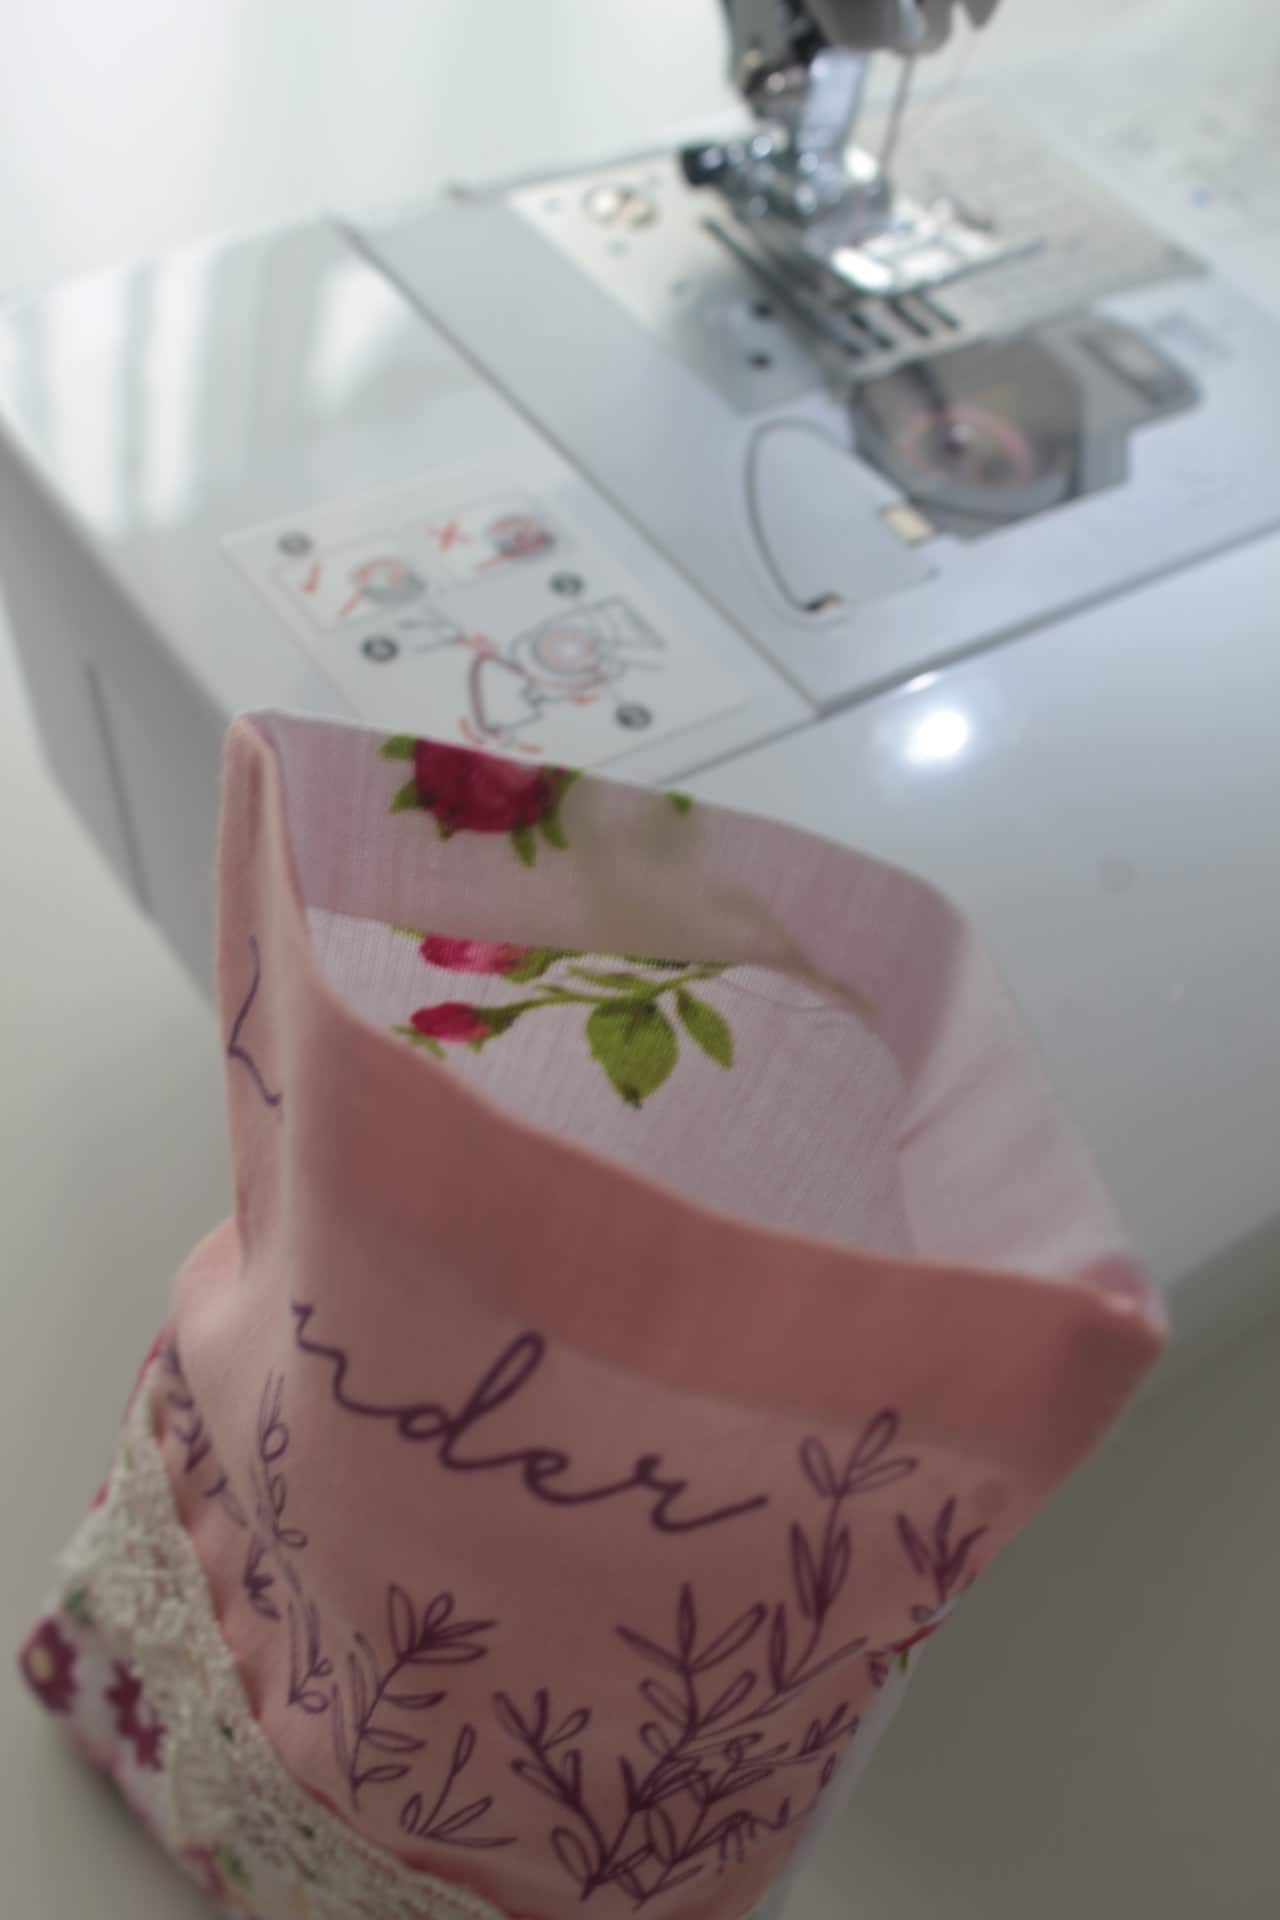
- Fill about 2/3 of the bag with lavender buds.
- Edge stitch the top or close the bag with a ladder stitch.
And your lavender sachet is ready to use! Enjoy!
Pin to save for later
Most popular sewing projects:
Article may contain Amazon & affiliate links. As an Amazon Associate I earn from qualifying purchases at no additional cost to you.


ABOUT PETRO
Hi, I’m Petro, author and founder of Easy Peasy Creative Ideas. Sewist, crafter, avid DIY-er, foodie, photographer, homemaker and mommy to one. I’m an expert at coming up with quick, clever sewing tips, recycling crafts and simple, easy recipes! You can find my ideas featured in reputable publications such as Country Living, Good House Keeping, Yahoo News, WikiHow, Shutterfly, Parade, Brit & Co and more. Thanks for stopping by and hope you’ll stay for a while, get to know me better and come back another time. Stick around for real fun projects! Read more…