Make Your Own DIY Pom Pom Rug
Do you love soft, squishy rugs? Add some fluffy, cute accent to any room with this DIY pom pom rug that is insanely easy to make!
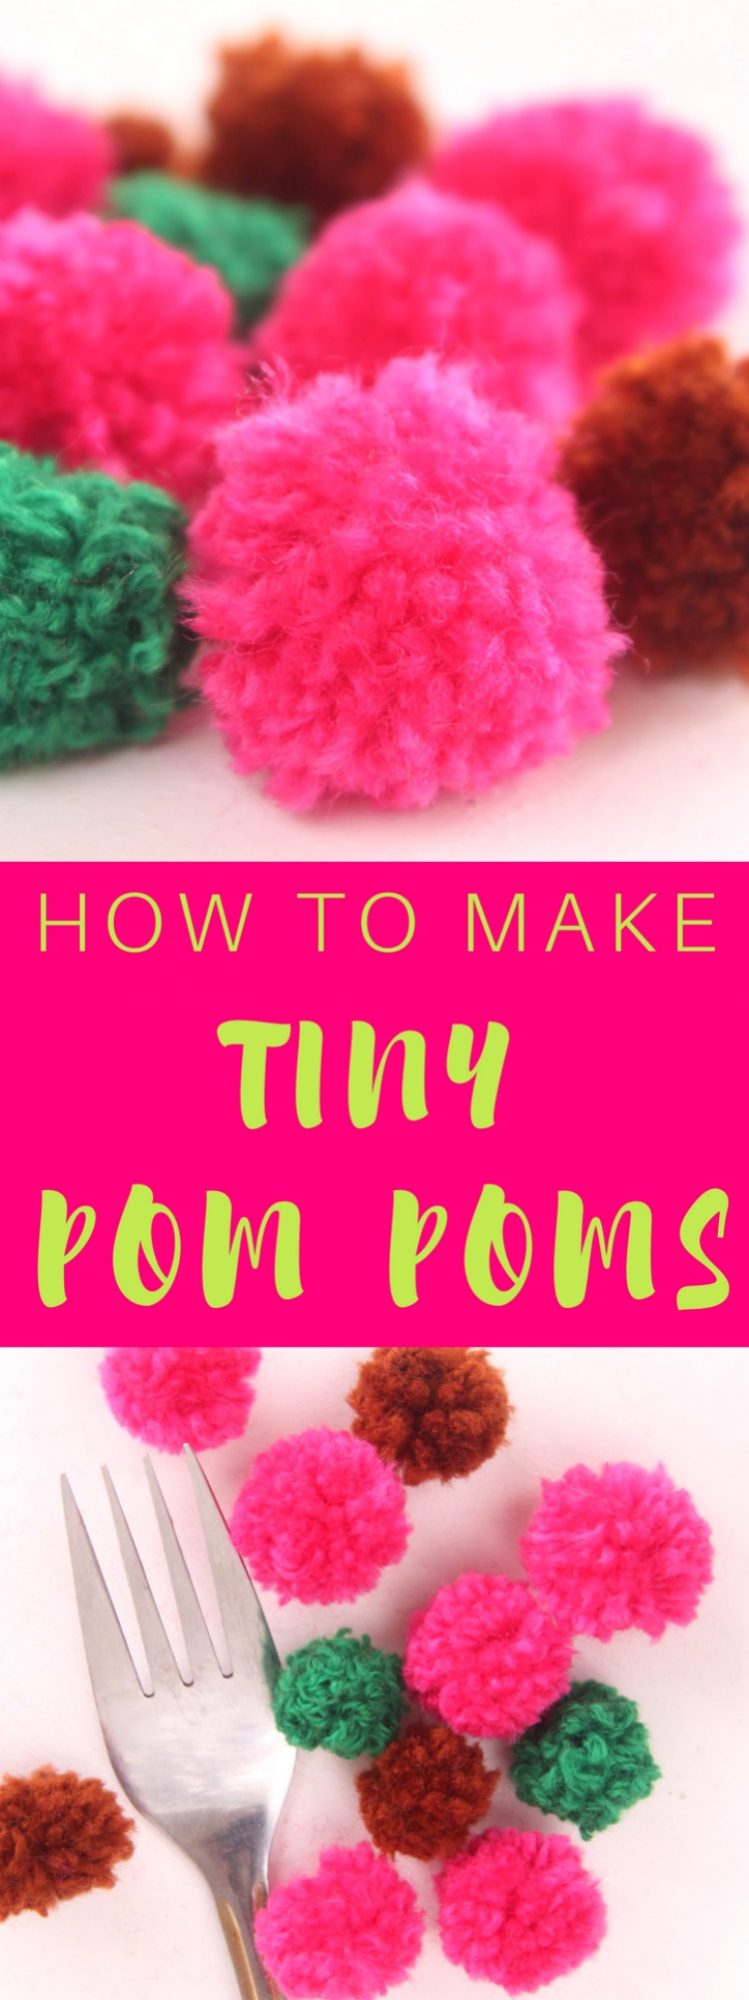
How to make a pom pom

I’m not a big fan of rugs, most of the floors in my house are “naked”. Mainly because they’re so much easier to clean (lazy, I know lol). But when your daughter suddenly decides she absolutely needs a rug for her “on the floor activities”, you have no choice but to comply and make her the cutest and easiest DIY pom pom rug ever!!

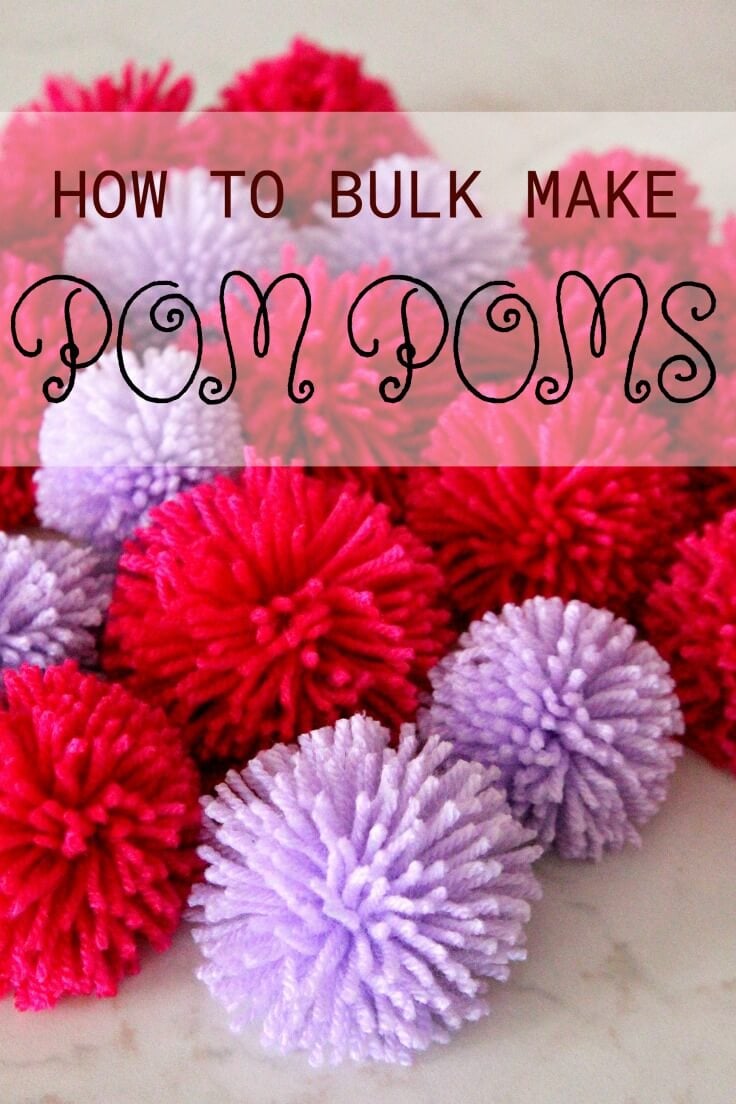
Remember all those adorable pom poms I made in bulk a while back? I had a few people questioning my sanity but hopefully this post will restore my reputation lol I made them all for this DY pom pom rug. Super easy and fun to make, so cute and fluffy, this rug is the perfect addition to a bedroom or nursery, or even a bathroom.
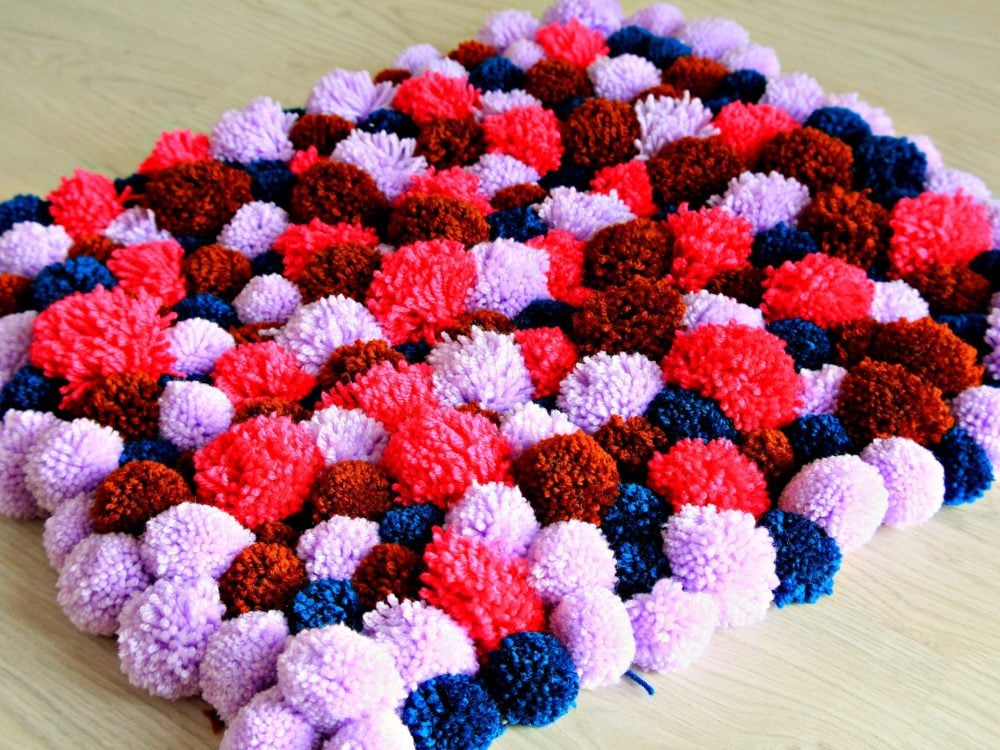
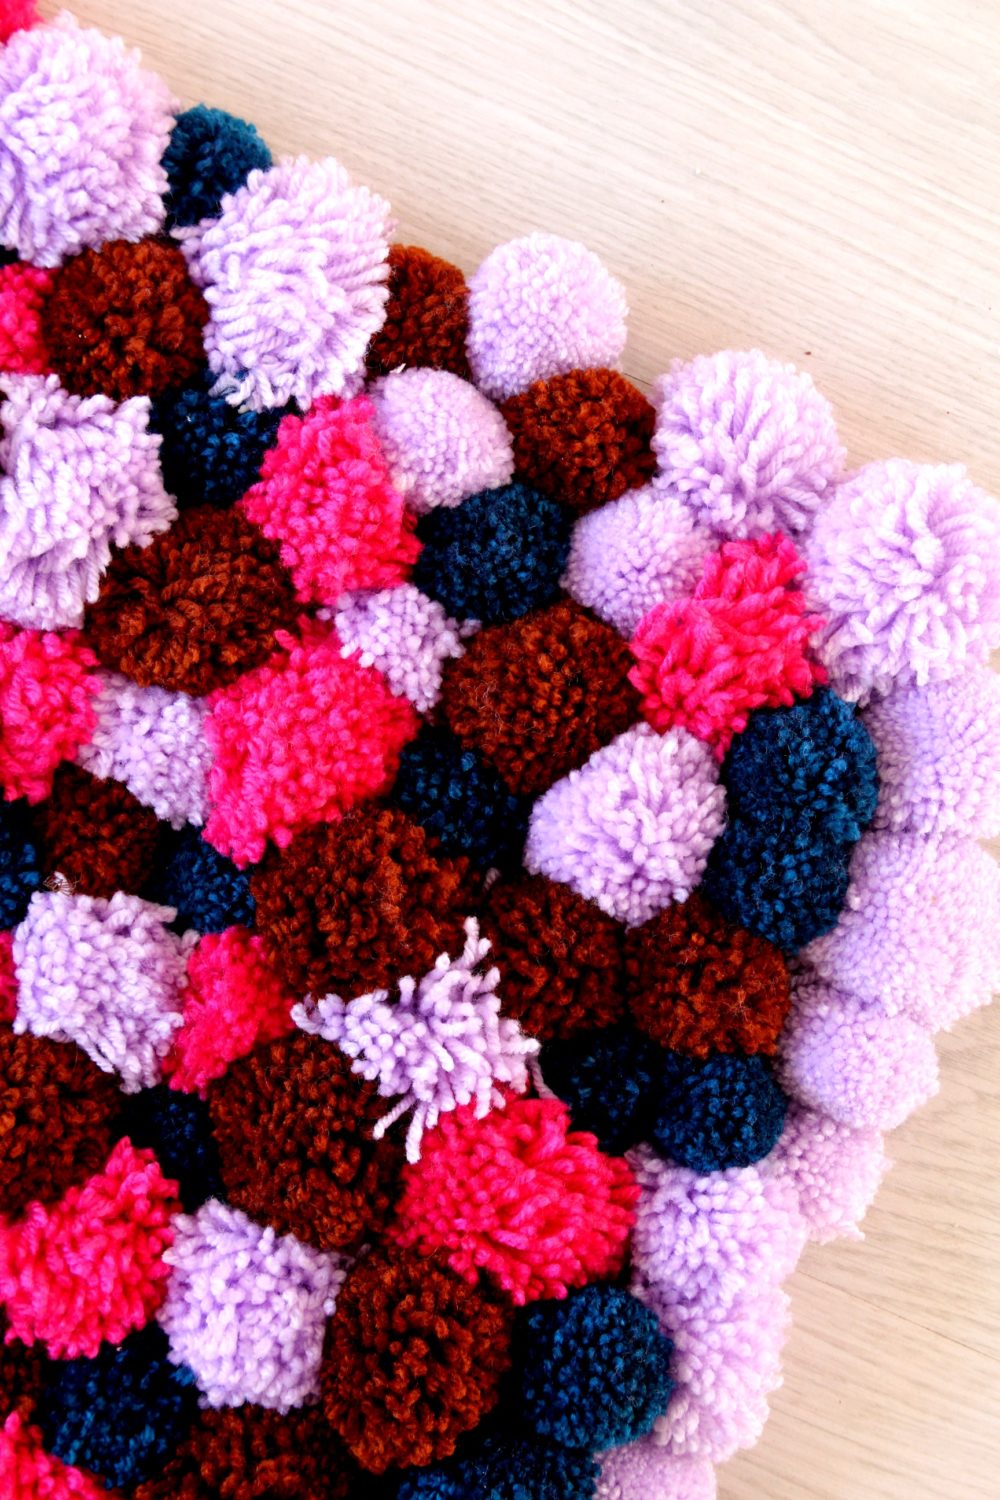
If you have kids, this DIY pom pom rug would be an amazing family activity for that long summer break! And makes a beautiful pop of color, especially in minimalist decors like mine. To make your own rug just like mine you will most likely need up to 3 hours (making the pom poms included) but it’s so easy and rewarding you’ll want to make a bunch of these pretty rugs for your entire home. The level of fluffiness depends on how thick and large you make the pom poms (the thicker the fluffier!).
DIY Pom Pom Rug
Materials:
- wool yarn of various sizes and colors
- chair
- scissors
- non slip rug mat in the size you want your diy pom pom rug to be (I bought a large one and cut it down
- clothesline
- clothes pins
Directions:
- Make your pom poms in bulk following this super easy and quick tutorial leaving the strings used for tying about 3 inches long.
- Hang the non slip mat onto a clothesline using clothes pins
- Decide on what design you want for your rug and start placing your pom poms on the non slip mat. You need them to be really squished together so after placing them you might find out you need to make more. I didn’t want a perfect rug so I started in the middle and worked my way towards the edges until I finished my pom poms. I used 180 pom poms for my 18″/20″ rug but my pom poms weren’t very big.
- Tie the pom poms onto the mat, using the strings, then tie every 2 pom poms together to make them more secure and durable. Don’t tie too tight though or you might break the mat. If you want to make the rug even more durable, use a double layer of the non slip mat. It will make tying a lot slower and harder though.
- Tie all pom poms on then trim the mat as needed.
- That’s it! Your DIY pom pom rug is done! Enjoy!
Pin to save for later
GET MORE INSPIRATION HERE >> FOLLOW ME ON PINTEREST
Similar posts you might like
Most Popular Crafts of All Times
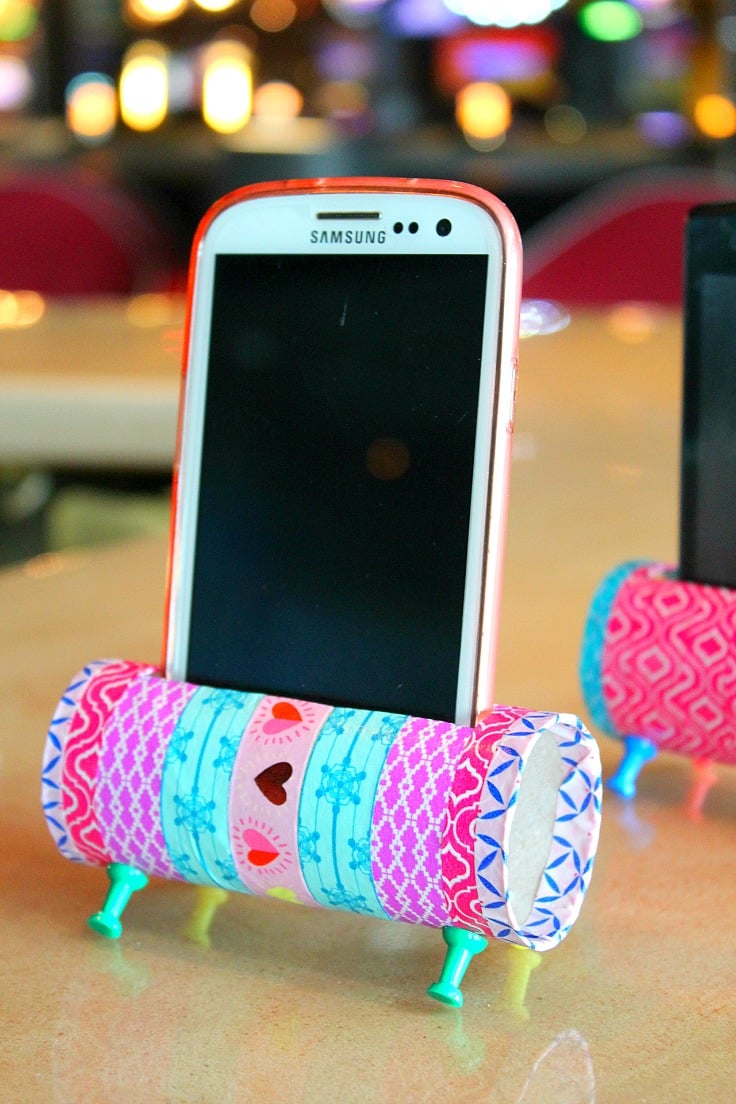
DIY Phone Stand
DIY Flea Repellent for Home
Article may contain Amazon & affiliate links. As an Amazon Associate I earn from qualifying purchases at no additional cost to you.




I’m always looking for new ideas for crafts. My husband Ronald passed away last July 8th 2023 on our 50th wedding anniversary but I feel blessed to have been able to have spent 50 years with him. Three girls, two boys, six grandsons and three granddaughters, we had a good life together. Agent Orange eventually is what took him from us. He was a proud Vietnam Veteran.