

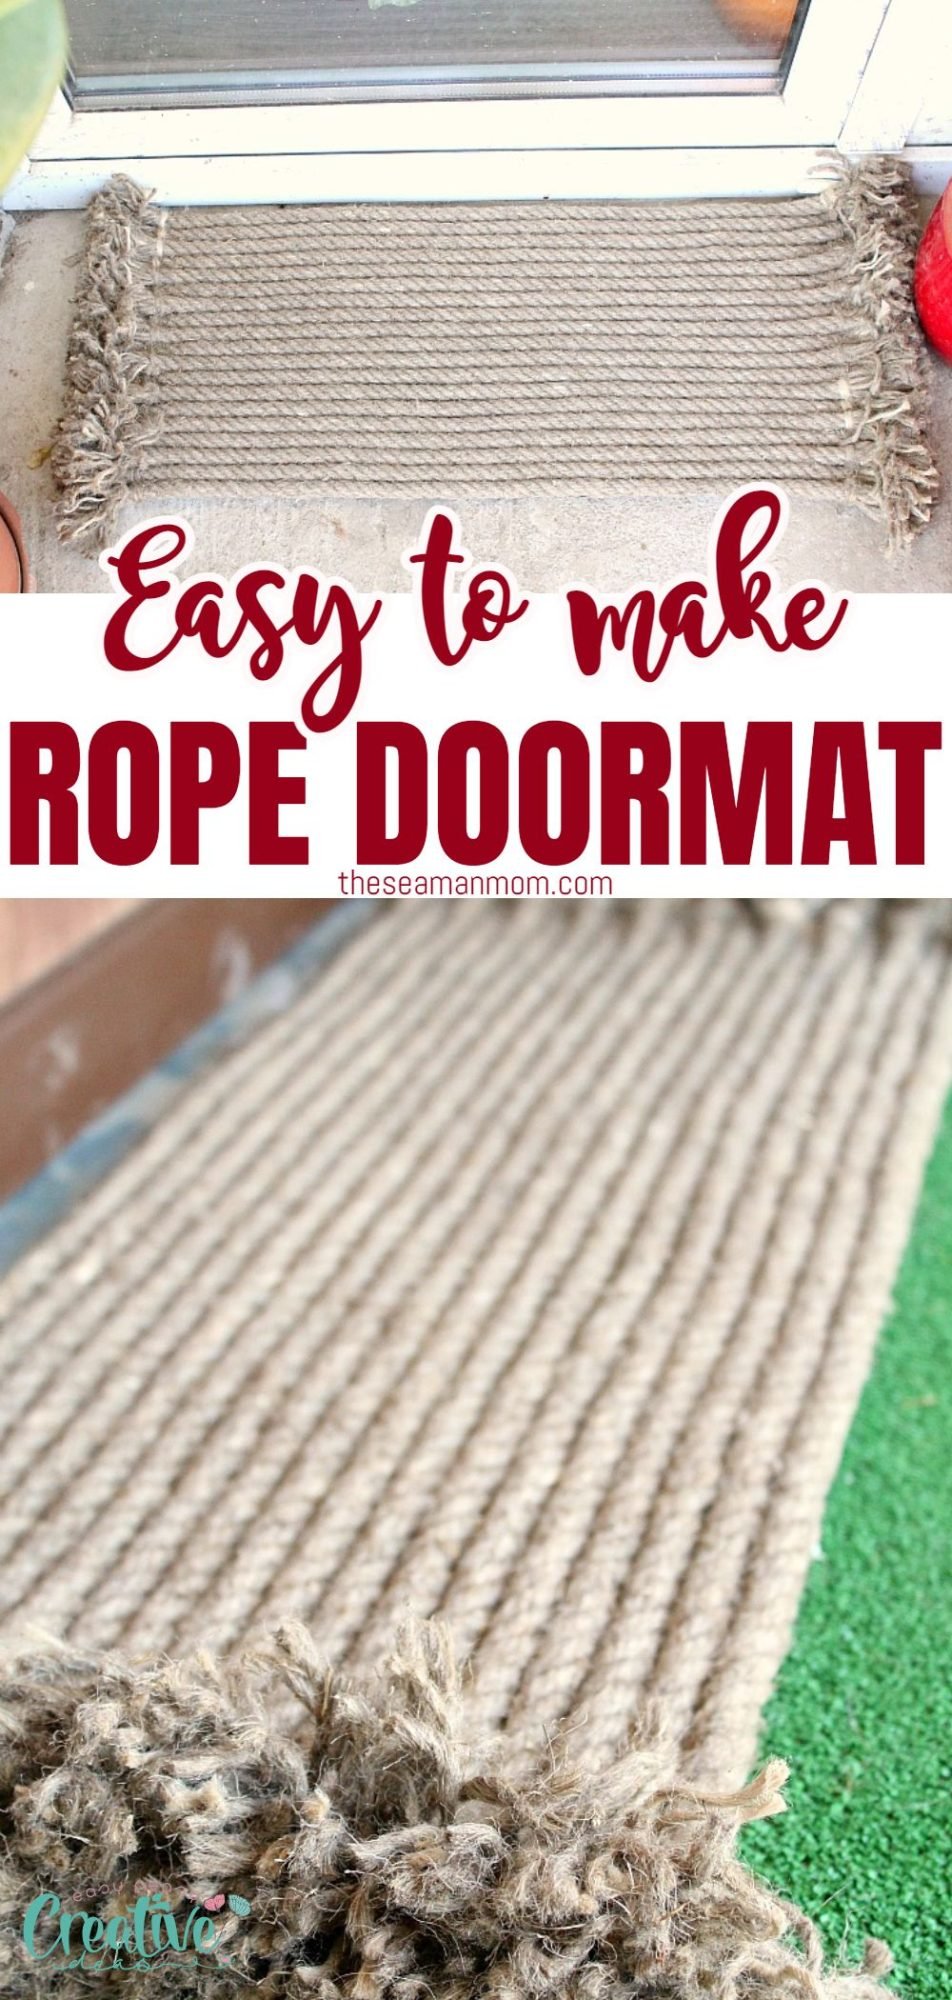
How to make a rope rug
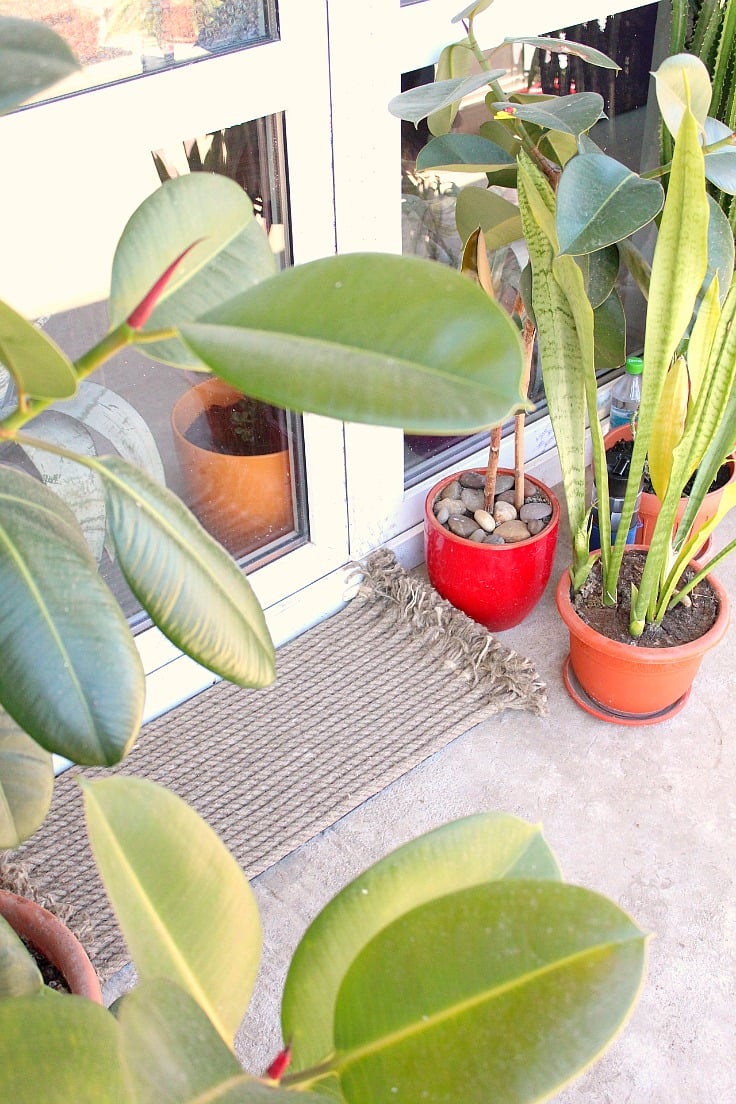
Learn how to make a rope rug that will enhance your entryway! This beautiful, durable, and cost-effective outdoor mat is surprisingly simple to make and offers a perfect way to introduce a rustic touch to your home’s entrance. If you’re seeking to pamper your feet with some comfort after a long day at work, when you return home weary, or before heading out for groceries or any outdoor activities this spring/summer, consider crafting a stunning rope doormat for yourself.
If you’re looking to add a new rug to your home without breaking the bank, this easy tutorial will show you how to make a rope rug in just a few simple steps. Rugs really make your space more you and cozy, though sometimes they can be a bit pricey. This budget-friendly project is ideal for craft enthusiasts or anyone wanting to bring a unique vibe to their home décor.
I seriously think this rug is the coolest thing ever and I’m still totally in love with its fluffy, thick fringe even after all this time! Even though a couple of years have passed, it still looks and feels awesome. It seemed super durable when I made it and, guess what, it really is! It’s perfect for outdoor use because of the heavy-duty rope and construction adhesive I used; it holds up really well in high traffic spots. Plus, it was pretty cheap and super easy to make. Oh, and have I mentioned how much I adore the rustic vibe this awesome rope doormat adds to my doorstep?
How to make a rope rug
Materials:
- Natural fiber rope (similar here). How much you need depends on the size of the rug you want to make.
- A cheap outdoor mat.
- Fast dry construction adhesive or other type of stronger glue that is made for outdoor projects.
- Caulk gun
- Sharp razor blade cutter or construction scissors
Instructions to make the rope rug
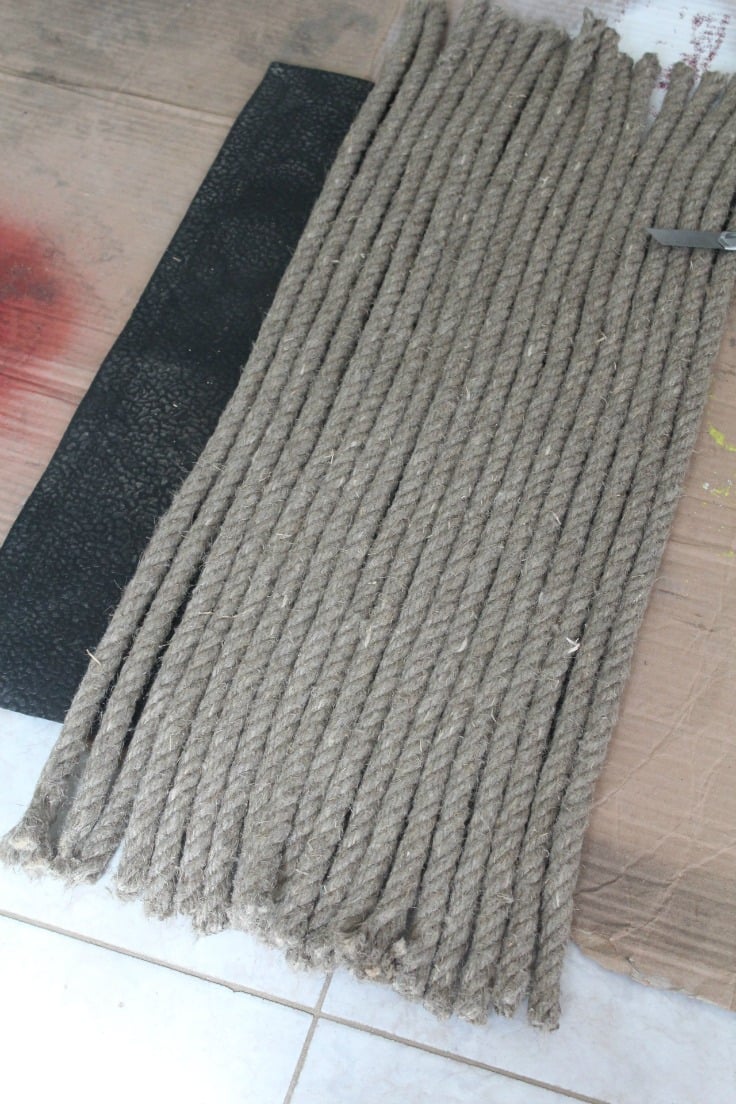
- Make sure you’re working on a large, flat surface. Cut all your rope pieces to size. Measure them up to the length of the mat (cut the mat to desired size if too big as I did with mine), and then add 2-3 inches extra to each ends, for the fringe.
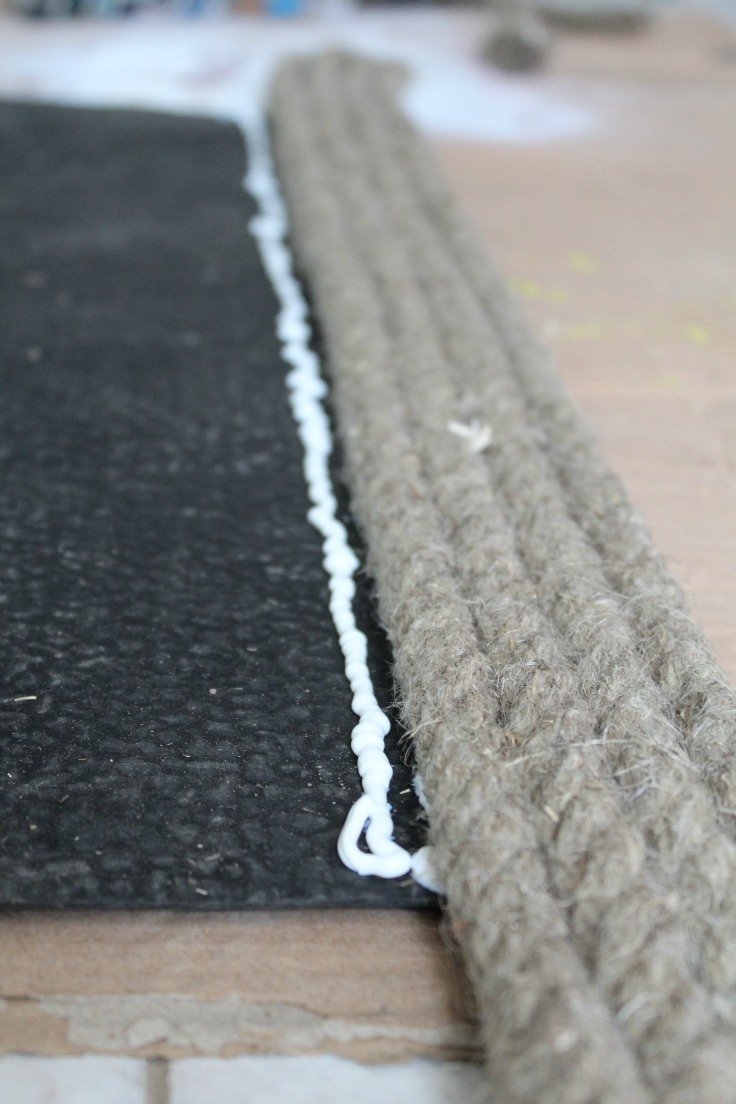
- Begin spreading adhesive in rows and immediately laying your rope directly on top of the glue. Push the pieces as closely together as possible. If you use an adhesive that does not dry quickly, your rope may shift from where you place it down so place heavy books on top of those rows for a couple of hours.
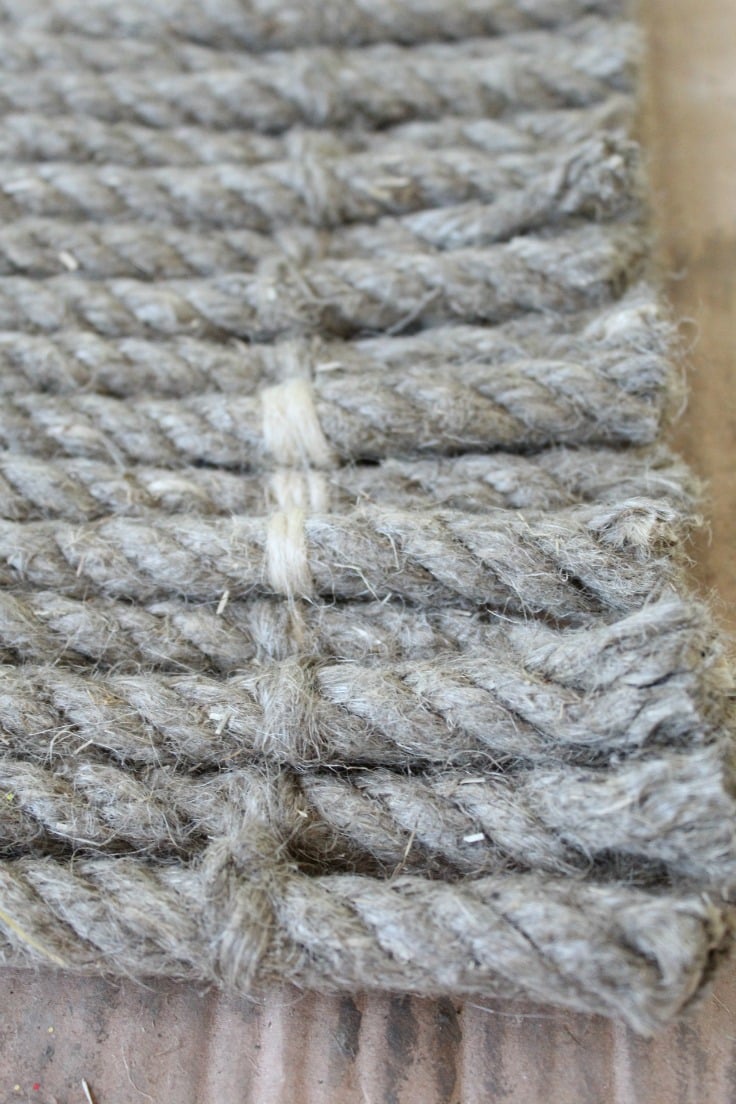
- After your door mat is completely covered with rope, take some extra rope and unwind the coils so that you get some smaller threads to work with on the ends and keep the fringe from fraying.
- Weave the threads through and around each rope on the ends.
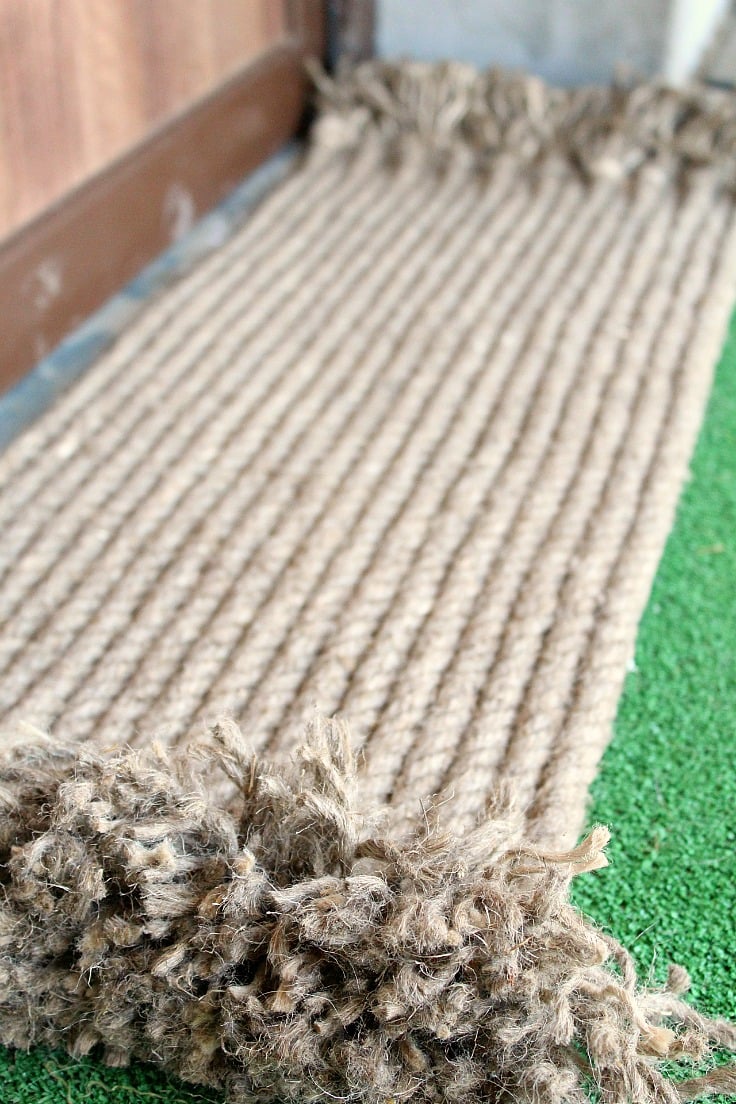
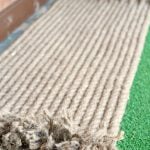
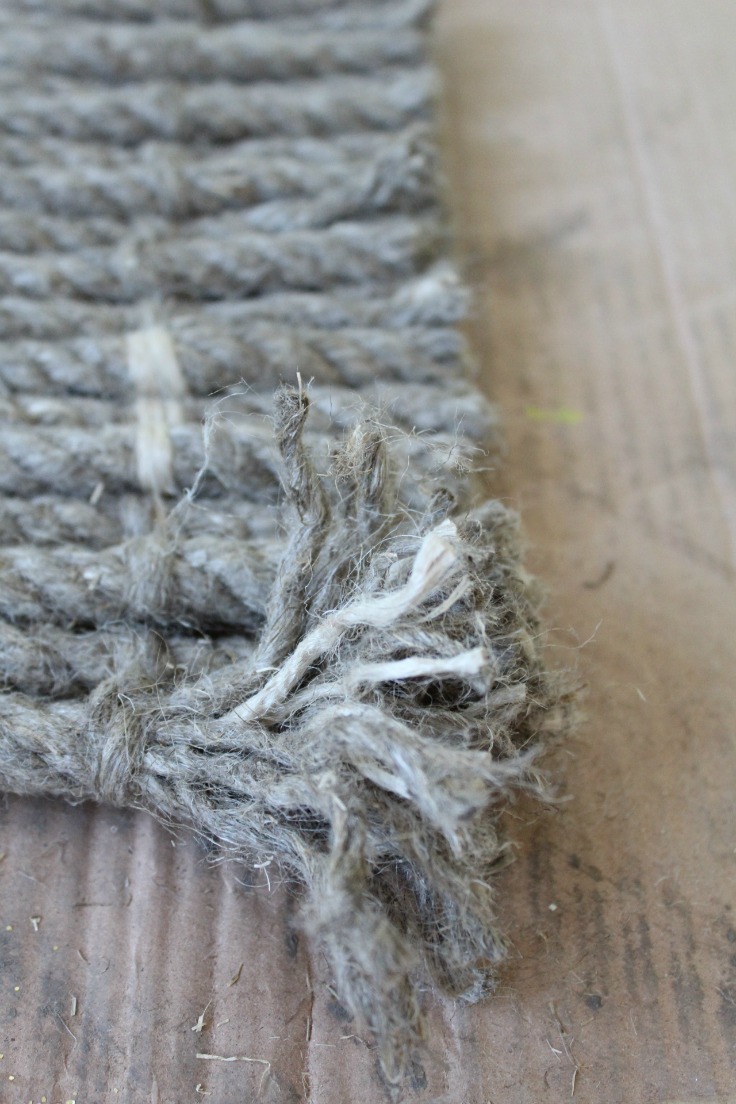
- Unwind and fray each end piece. This will get messy but it’s totally worth it!
- And that’s it! This is how to make outdoor rug in just a few easy steps!
Frequently asked questions
How much rope do you need to make a rope rug?
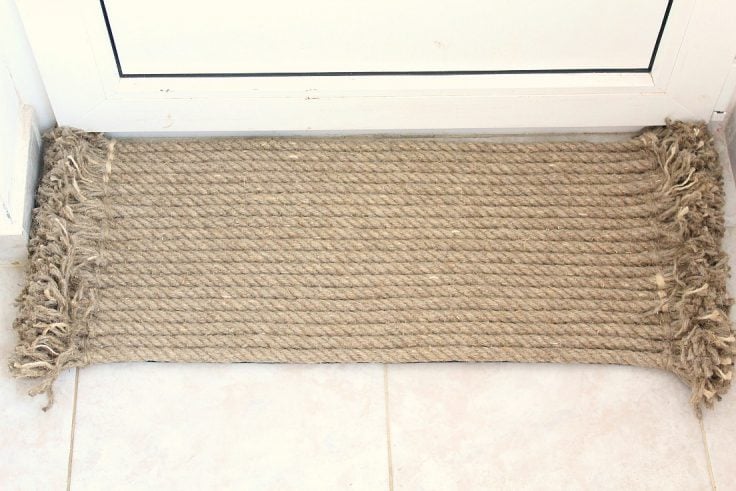
Now, the rope rug size will depend on how large you want the rug/mat and also the thickness of the rope you choose. For example for a small mat of 24″ x 16″, if using a 1.5″ thick rope, you’ll need at least 42 feet of rope.
What rope do you need for a rope rug?
I used jute rope that was 1.5 inches thick. You can also use sisal rope, which might be easier to find in different stores. They are both popular rope materials, but I found jute rope to be much softer and floppy which I really like.
Polypropylene rope and nylon rope are also popular rope materials, but they might give a stiffer look for this rope mat. Polypropylene rope doesn’t tangle easily so you won’t have problems with your rope doormat getting ruined after just a few days or weeks with people walking on it or kids playing with it! But it won’t give you that rustic vibe that jute rope does.
You can also use multiple rope materials together to add texture and various colors to your rope rug. The general idea is to use some kind of thick rope if you want a durable rug or doormat. Just take a look at the section of rope in your local home depot and I’m sure you’ll find something to fit your taste and needs.
How do you finish a rope rug?
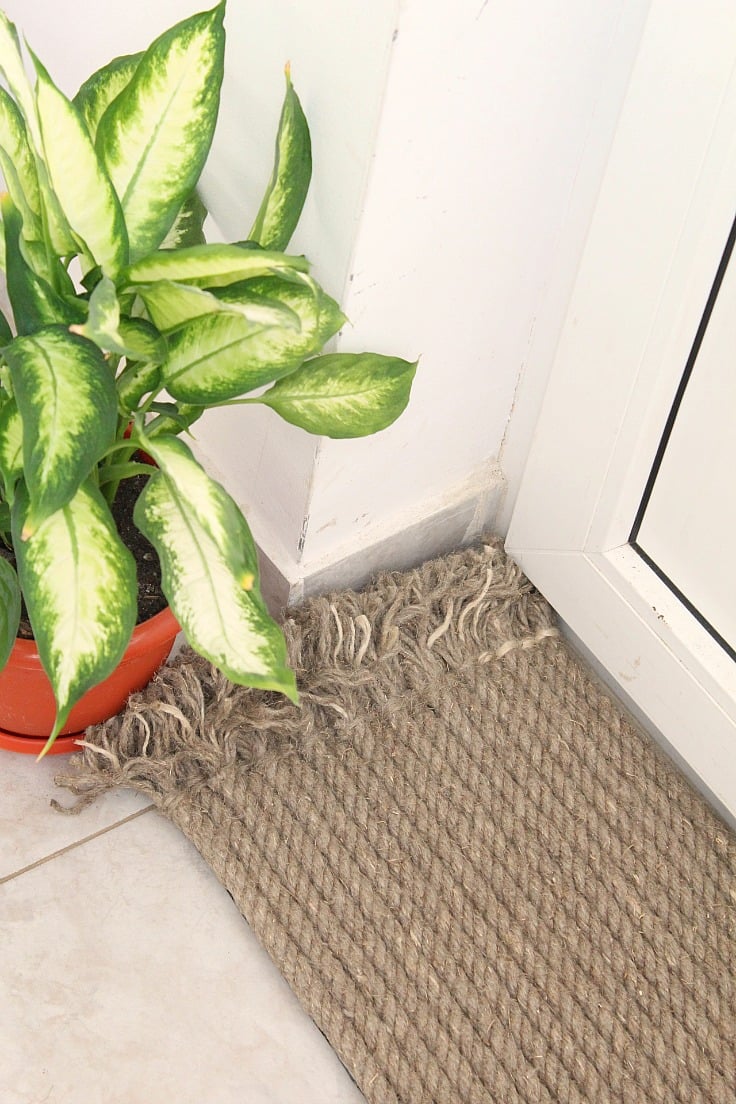
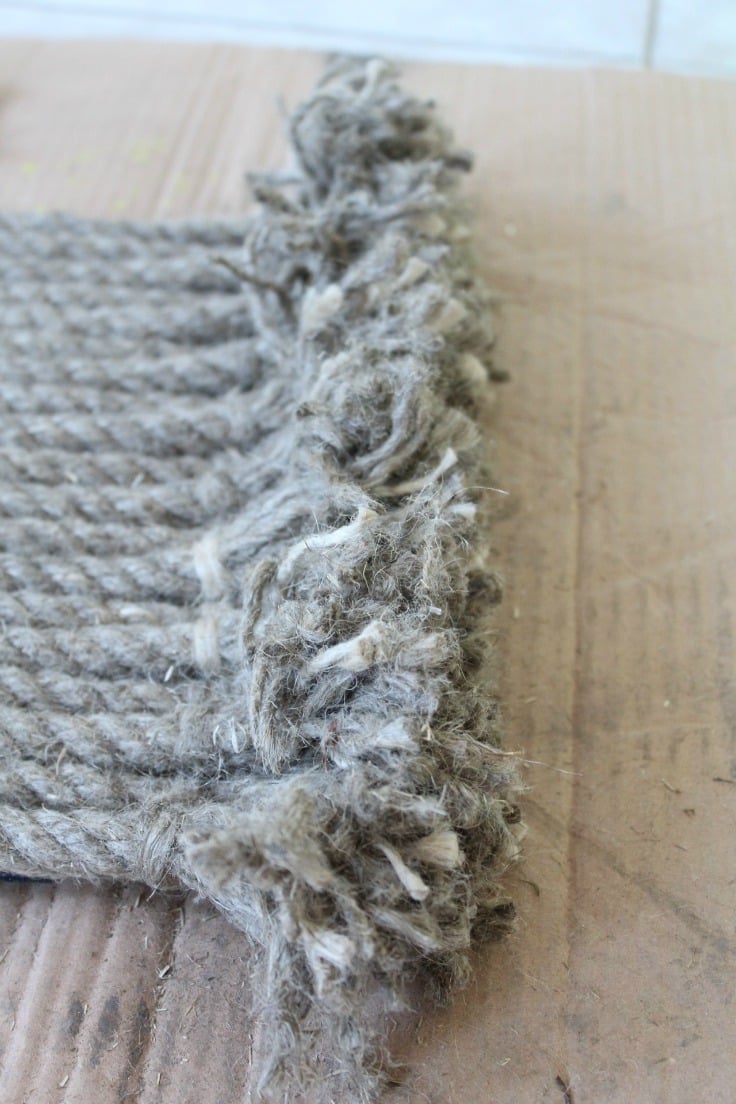
I used a fringe to finish the sides of my rope doormat, made from the rope itself. This rope fringe gives a little extra cushion for people and pets and also makes the rope rug look much more fun!
Other ways of finishing the rug include:
- You can also use caps for rope ends to finish the rope rug. They will add a nice touch to your rug but chances are, they will make it look more modern than rustic.
- You can also use rope edging or rope bands for finishing, but rope caps are most commonly used.
- You can also use construction adhesive or hot glue to glue the ends of the rope and prevent the fibers from unraveling. It won’t look as professional though especially if you’re not familiar with using this kind of adhesive without making a mess.
- Another way is to glue a large piece of rope all around the mat, then glue the ends together where they meet, using construction adhesive.
But I honestly think this fringe is the prettiest choice!
How long does it take to make a rope rug?
This rope doormat I’m sharing today took me just a couple of hours to make. But it’s a medium doormat. For larger doormats or rugs, it might take around 2 days or so, but overall, rope mats are pretty easy to make.
Check out these DIY ideas too!
- DIY painted rug
- DIY nautical candle holder
- DIY pom pom rug
- Milk carton bird house
- DIY cork coasters
- Easy jar luminaries
- Recycled phone holder
Rope rugs are the perfect way to add some texture and color to your home. They’re easy to make, so you can customize them however you like. And they’re durable enough that they won’t fall apart after just a few months of use. You can even take this project on as a DIY weekend activity with friends or family members!
So what do you think about this cool rope rug? Let me know your thoughts in the comments below and don’t forget to rate the craft card! Happy crafting!
How to make a rope rug
Materials
- Natural fiber rope Like jute or sisal. How much you need depends on the size of the rug you want to make.
- 1 cheap rubber mat
- Fast dry construction adhesive or other type of stronger glue that is made for outdoor projects.
Tools
- Caulk gun
- razor blade cutter
Instructions
- Make sure you're working on a large, flat surface. Cut all your rope pieces to size. Measure them up to the length of the mat (cut the mat to desired size if too big as I did with mine), and then add 2-3 inches extra to each ends, for the fringe.

- Begin spreading adhesive in rows and immediately laying your rope directly on top of the glue. Push the pieces as closely together as possible. If you use an adhesive that does not dry quickly, your rope may shift from where you place it down so place heavy books on top of those rows for a couple of hours.
- After your door mat is completely covered with rope, take some extra rope and unwind the coils so that you get some smaller threads to work with on the ends and keep the fringe from fraying. Weave the threads through and around each rope on the ends.
- Unwind and fray each end piece.
- When you're done unwinding all ropes, your rug ends should look like this.
Video
Article may contain Amazon & affiliate links. As an Amazon Associate I earn from qualifying purchases at no additional cost to you.

I have been looking for an outdoor rug for a year! This is perfect and the instructions were great. Recently retired from teaching, I am bored to tears but impatient doing lengthy projects. It is just my style. Thanks
How much did it cost to make the rope rug?
I’m sorry, I didn’t keep track of the exact amount spent but if I believe it was about $50. Please bare in mind, costing depends a lot on the final size of the rug; mine is small/medium.
Wow, I love the rope rug, what a wonderful idea. Thank you so much.
So cool! Here I thought I was going to break out the size 35 crochet hook! Love love this. Great tutorial and super easy to do. I love rugs. We have a no shoes in the house rule because one) ughh super dirty outside crud coming in to your house, umm no… Mist importantly though, I have no immune system due to multiple auto immune illnesses/ diseases and I take chemo pills and prednisone daily just to keep going…but honestly, I just don’t like the idea of dirty shoes bringing in dirt and god knows what from the outside… I was actually raised this way and so many think it’s weird but I did read somewhere that 80% of floor dirt is actually brought in via shoes lol! So there, validation and vindicated!
2) we have the softest wood floors I’ve ever seen… They are beautiful but omg one time my SIL forgot to take her shoes off ( she was just lazy) and the high heals actually left indentations where she walked… All over of course… Ughhh I was not happy.. Still there to this day…
3) I just love rugs, easy to keep clean and when they get dirty you just throw ‘Em in the wash or throw them out lol… So I’ll be making a few of these. I’m going to try it with the clothesline plasticity rope for outdoor by the pool so I can just hose them off! What do you think? Cool idea you have!
Hi Jess. Your rope choice sounds good, not sure how durable will be though so please let us know if this worked for you. Happy crafting! :)
Dear Petro,
These are great projects for the springtime. I always felt so good after completing a fun project and saving money at the same time.
xo Catherine