DIY rustic photo frame made with twigs
Rustic home decor makes any space cozier! Give it even more warmth with an easy, inexpensive twig frame for photos using simple, affordable and easy to find supplies like twigs and twine.
Twig frame
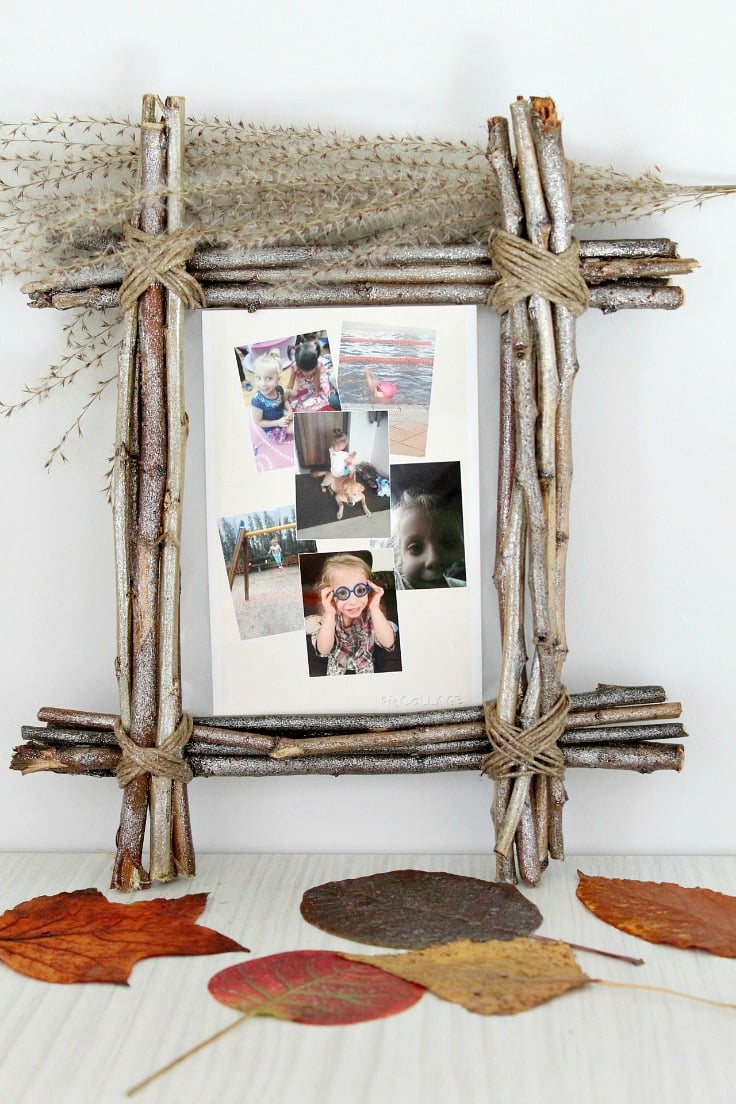
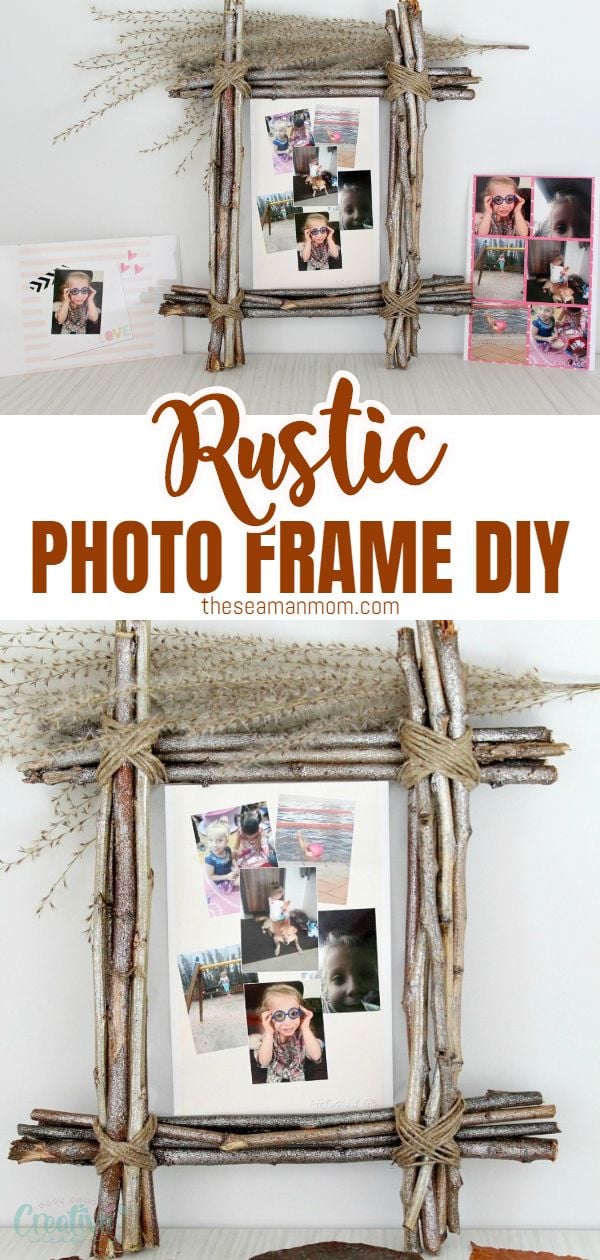
Looking for crafty picture frame ideas? This twig frame is so ridiculously easy and cheap that I had double thoughts about making an article around this craft idea. But when I saw my photos in this pretty twig picture frame I realized this is the just about the perfect way to display pictures that are very dear to you! Especially if you adore rustic decor as I do! Rustic picture frame ideas give so much warmth to your photos and make them truly stand out, don’t you think?
For this reason, modern, abstract images also go great in this twig frame if you’re looking for a bold décor piece to display in your home.
Twig frames are also quick and inexpensive items to make for selling if you have a craft business and don’t feel like spending too much on materials. Basically, this is fully or almost 100% profit, as materials cost almost nothing. You can also offer your customers the option of making custom-made orders they will absolutely love.
Need more frame ideas?
- Recycled wine cork frame
- Floral photo frame
- Photo frame with paper straws
- Frame pin cushion
- DIY frame key holder
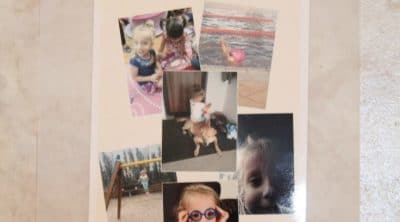
A twig frame would make a great gift so if you’re looking for a nice gift for family and friends or a DIY picture frame for mom on Mother’s Day, just snap a few photos with your phone, then make some fun collages to place in this easy DIY picture frame. I think using a collage is such a fun experience and a great addition to your rustic twig frame project! Great for an intimate memory corner or to display your most exciting adventures and allow you to talk to your friends by the collage.
Engage your kids in this project, so they can come up with great ideas to decorate their own room. They are very creative and may find unique ways of accessorizing the frame, so that you’ll love and keep it for a very long time. Maybe even show it to them when they finish college, as a childhood keepsake.
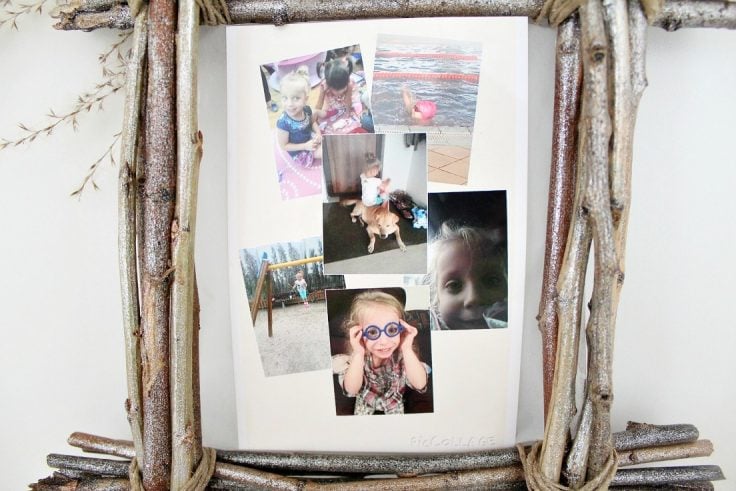
A twig frame is an unique way to display your family memories and a wonderful way to express your creativity! And it will make a great impact on your home decor too even if you have a modern decor like I do, rustic complements modern perfectly! Everyone one will be impressed when they’ll see your adorable rustic photo frame and they’ll think you spent good money to make it.
This easy to do frame is also environment-friendly, as it doesn’t use plastic or other synthetic products. You won’t even damage anything, as there is a great chance you can find the twigs already broken in the woods or in the park. If you don’t and absolutely need to take them from a tree, look for dead, dry ones. You will also do the tree a favor, by cleaning its dead parts.
More home decor ideas you will love:
- DIY jar luminaries
- Twig flower pot
- Fall centerpiece with twigs
- Faux cotton boll branches
- Fall table centerpiece
- DIY phone stand
- Twig letter rustic wall decor
How to add variety to your twig project:
- Take your photo frame to the next level by painting the twigs with metallic or pastel paint to make it suit your style even better. For a more natural look, glue moss or dried flowers between the twigs. Use your imagination to adapt it to your taste: lace, bows, flowers, butterflies, whatever you love and compliments the images in the frame.
- You can arrange the twigs as I did, or in a more orderly way, to make more clean and defined edges. You can also use just 4 twigs for the fastest-built minimalistic frame, or a larger bunch for a heavier look.
- To be able to arrange the twigs to make a wider frame, glue them to an existing photo frame. You can buy the cheapest one you can find in a flea market or use an old one you want to upgrade.
- You can get a totally different look using thin or thick twigs, so keep experimenting and rearranging until you come up with a style you totally love and want to see everyday. Also, long, soft twigs can make a great round or oval frame. Try braiding them or just tie them together in a few points to keep them together.
- The same technique can be used to make frames for paintings, mirrors or other flat decorations that fit in your home and make it more natural, cozy and personal. Twigs are great for a lot of crafts, like birdhouses, Christmas tree or birthday decorations, wall hangings, baskets and many more.
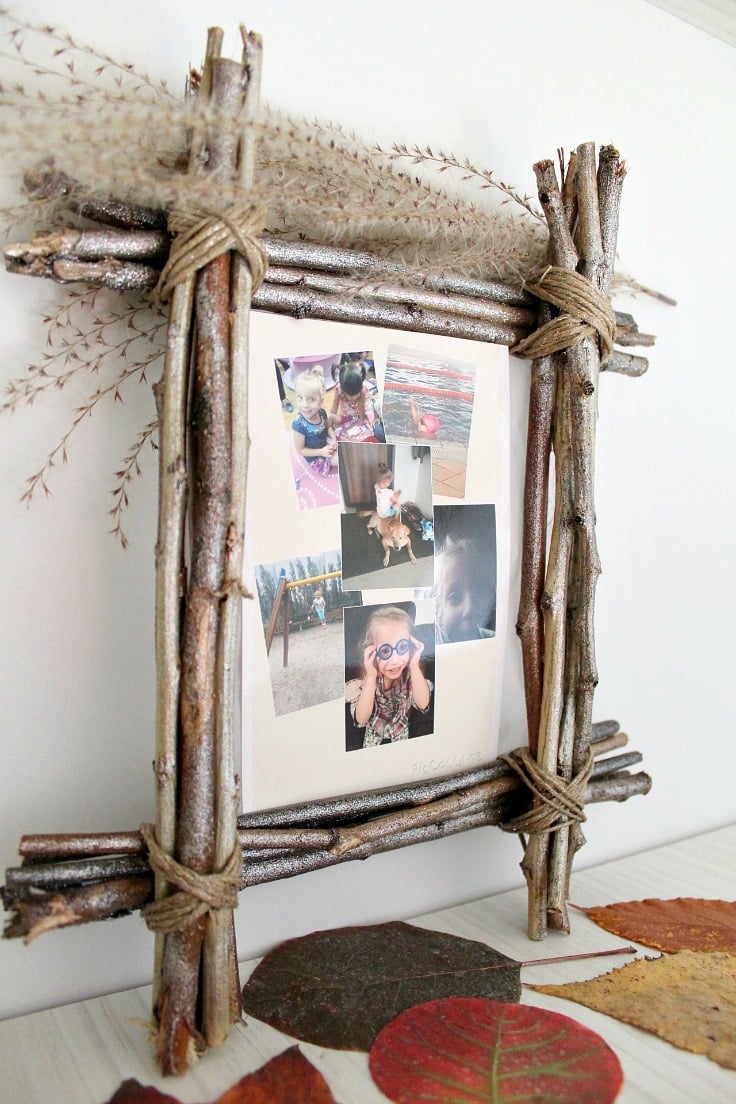
My twig frame is pretty small, I wanted to make it and display Ellie’s photos by my bed. Feel free to adjust the measurements below as needed. Wanna learn how to make a photo frame with twigs? Here are the easy steps!
DIY rustic picture frame
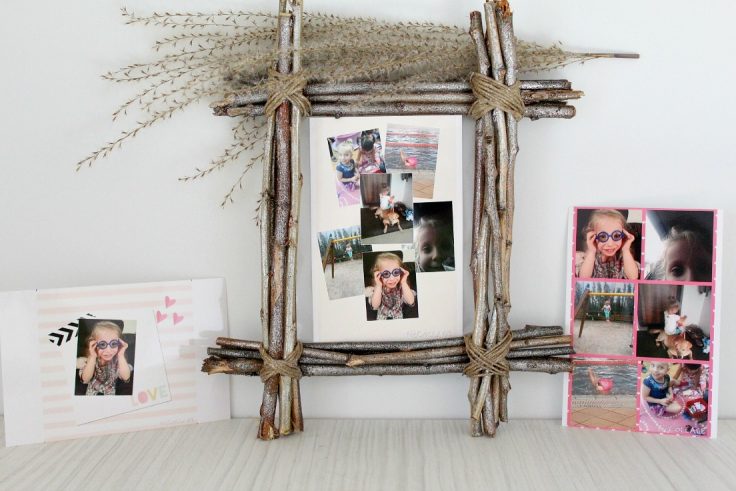
Materials needed:
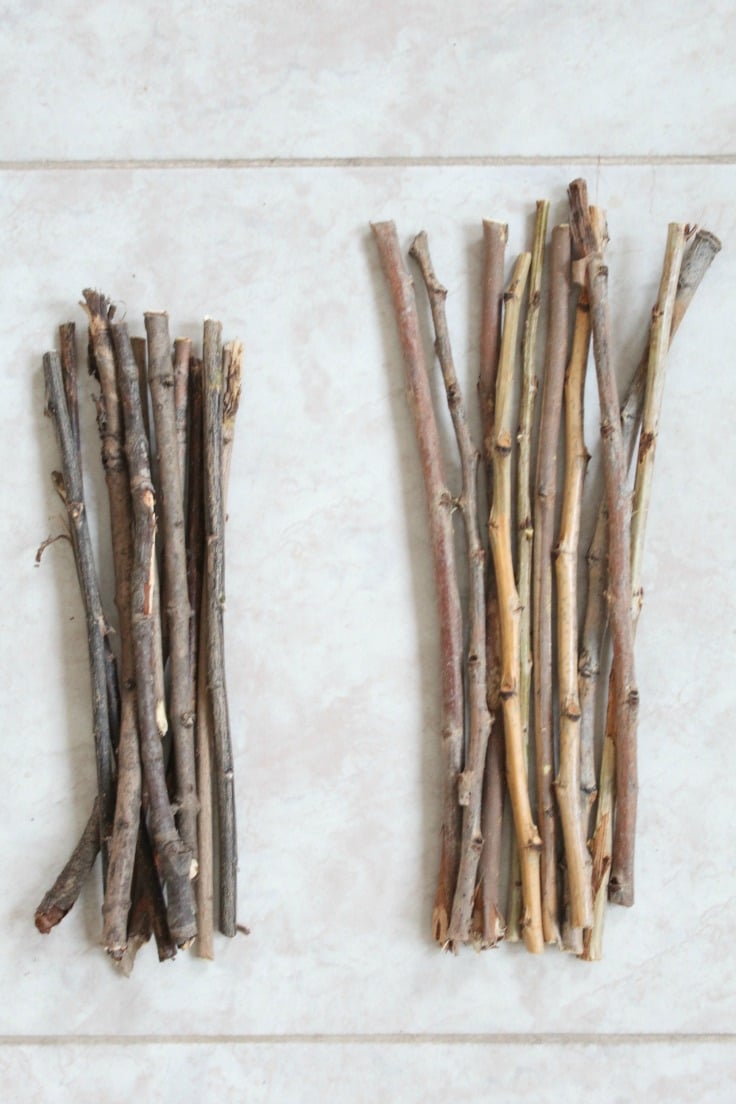
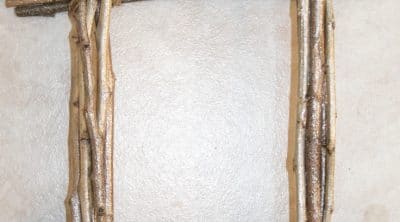
- 10 twigs of 15 cm = 6″ (adjust to your photo size; need to be longer than your photo)
- 10 twigs of 20 cm = 8″ (adjust to photo size; make sure they’re longer than your photo)
- twine
- scissors
- cutting tool (to cut the twigs to desired length)
- glue
- transparent baking paper (to attach the photo to)
- 1 reed tip to decorate (optional)
- glitter paint spray (optional)
- photo/collage
How to make a frame:
- Separate the twigs into two piles based on size. Trim the ends to make them all of the desired length.
- Lay out your frame. Place 5 longer twigs on each size with the shorter ones on top and bottom.
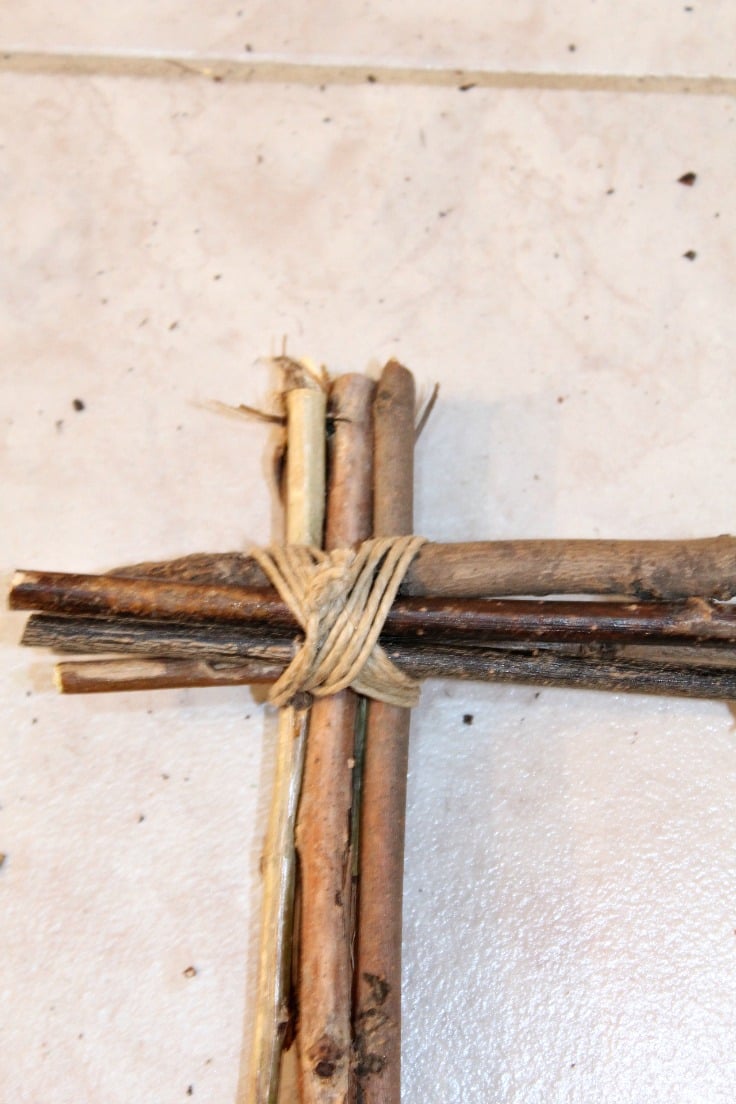
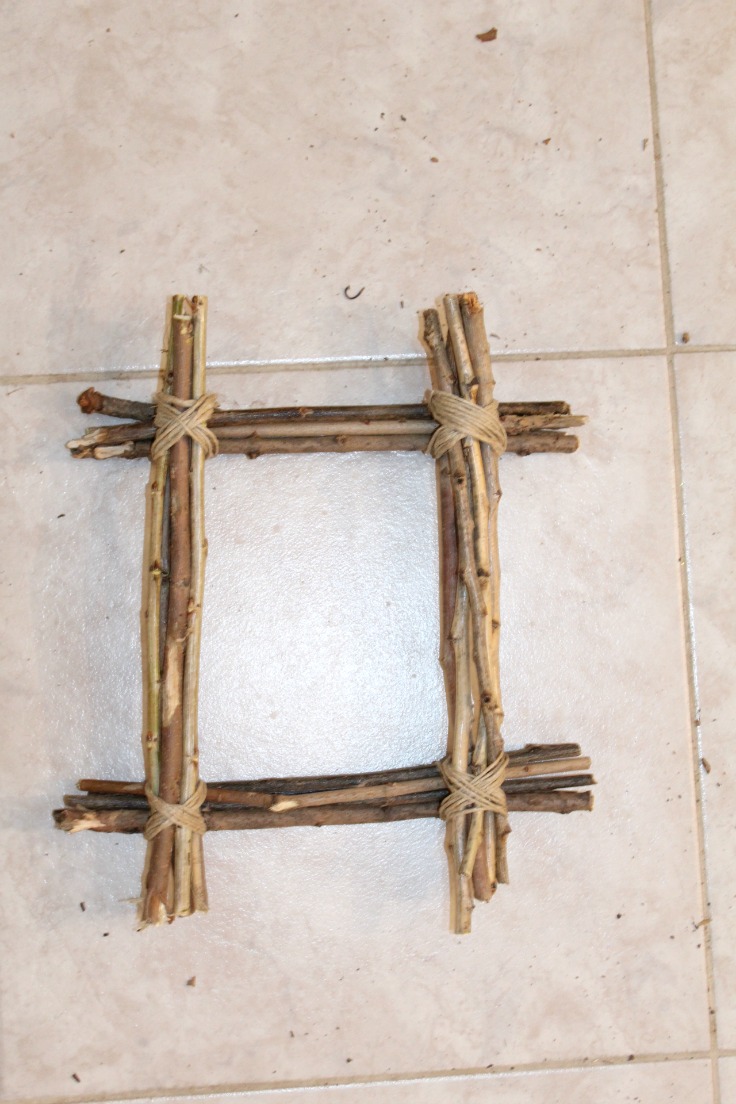
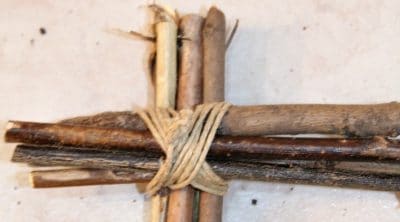
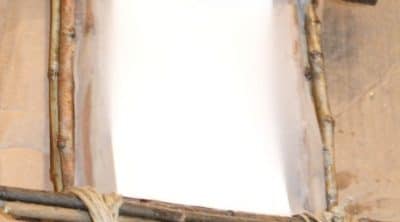
- Take the twine and tie one end to a twig. Wrap around a few times. Switch directions and start wrapping the twine around the other corner so it creates a cross. Repeat on all corners. (you’ll need patience on the first 2 corners as the twigs move around and will want to shift)
- Leave the frame as is or spray some glitter paint as I did. Make sure the paint is completely dry before moving on to the next step.
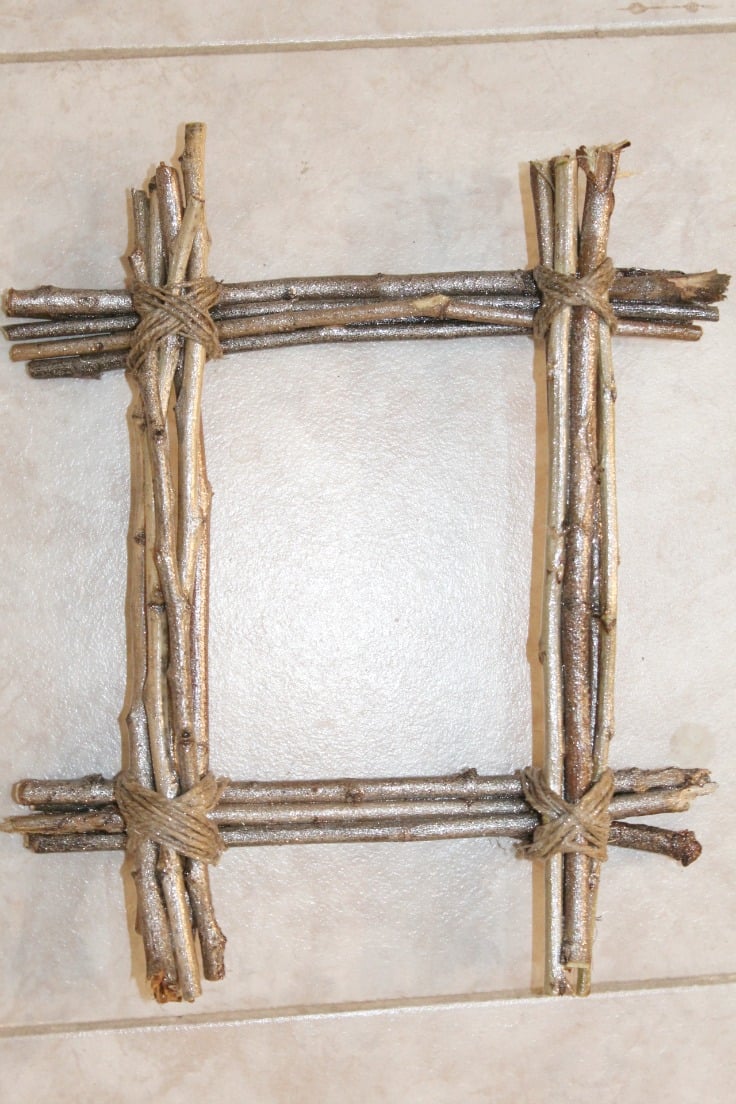
- Cut some baking paper, slightly larger than your photo.
- Glue the back of the photo to the baking paper. Leave to completely dry.
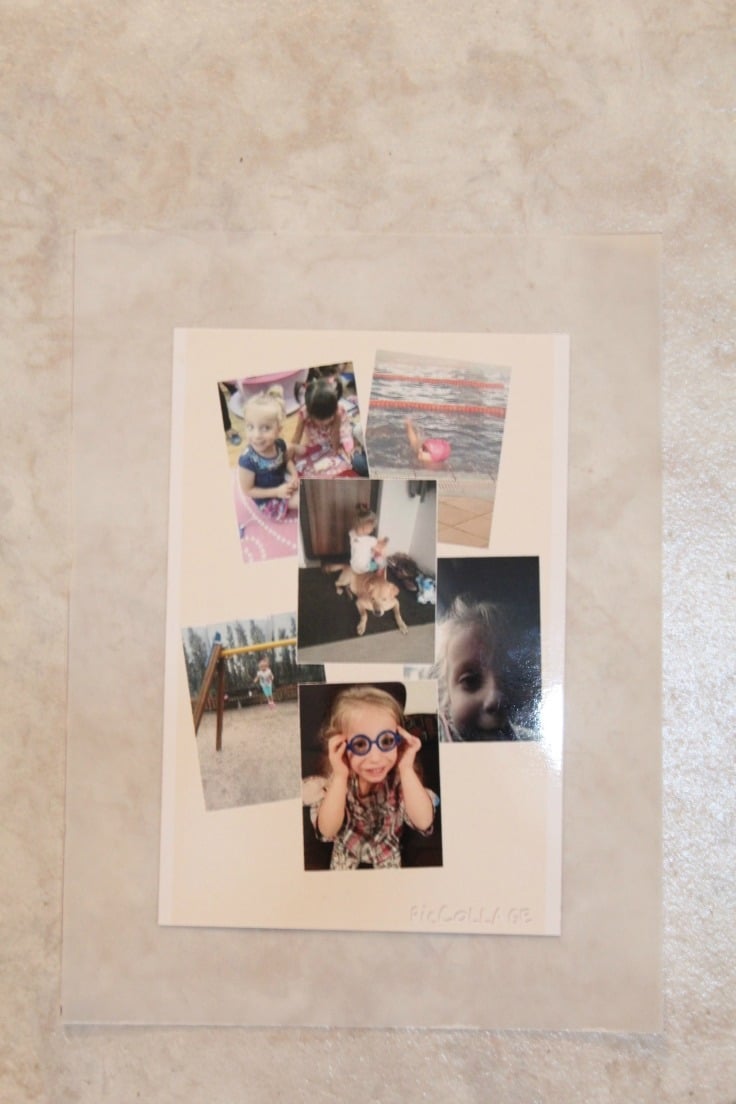
- Glue the baking paper to the back of the frame, only on the sides, with the photo facing out.

- Decorate an empty, lonely shelf with your beautiful art!
Print the card
DIY twig frame
Materials
- 10 6" twigs adjust to your photo size; need to be longer than your photo
- 10 8" twigs adjust to photo size; make sure they're longer than your photo
- twine
- 1 piece reed tip to decorate optional
- 1 piece photo/collage
Tools
- scissors
- cutting tool (to cut the twigs to desired length)
- glue
- transparent baking paper (to attach the photo to)
- glitter paint spray (optional)
Instructions
- Separate the twigs into two piles based on size. Trim the ends to make them all of the desired length.

- Lay out your frame. Tie one end to a twig. Wrap around a few times. Switch directions and start wrapping the twine around the other corner so it creates a cross. Repeat on all corners. (you'll need patience on the first 2 corners as the twigs move around and will want to shift)

- Leave the frame as is or spray some glitter paint as I did. Make sure the paint is completely dry before moving on to the next step.

- Cut some baking paper, slightly larger than your photo. Glue the back of the photo to the baking paper. Leave to completely dry.

- Glue the baking paper to the back of the frame, only on the sides, with the photo facing out.

Pin to save for later
Article may contain Amazon & affiliate links. As an Amazon Associate I earn from qualifying purchases at no additional cost to you.



I love twig things. We made twig chairs, we loved them,however they only lasted for about 5 years. We tried to repair them. I don’t think that we should have left them out all year long. But these will not be outdoors so I can’t wait to make them.
Thank you
I love twig stuff, I made twig chairs and loved them. I’m sure I will love these
I’m sure you’ll love making these, Teri! Have fun!
I love this. I’m not a crafty type person. But I’m going to try and make the twig frames and flower pots. If I can make those I’m going to try some other crafts that you show.
Thanks, Mary! You’ll love making the frame and the pot, they’re crazy easy! Enjoy! xoxo
Have REALLY enjoyed surfing thru your fresh look ideas and Tutorials. Especially like the Rope Rug and Twig Frames. Good job keeping it simple!
Hi Kat! Thanks so much, I’m glad you found my tutorials enjoyable and helpful!
This is such an amazing idea! Thanks for sharing it. I’m Anita visiting from Think Tank Thursday.