DIY Wine cork pumpkin tutorial
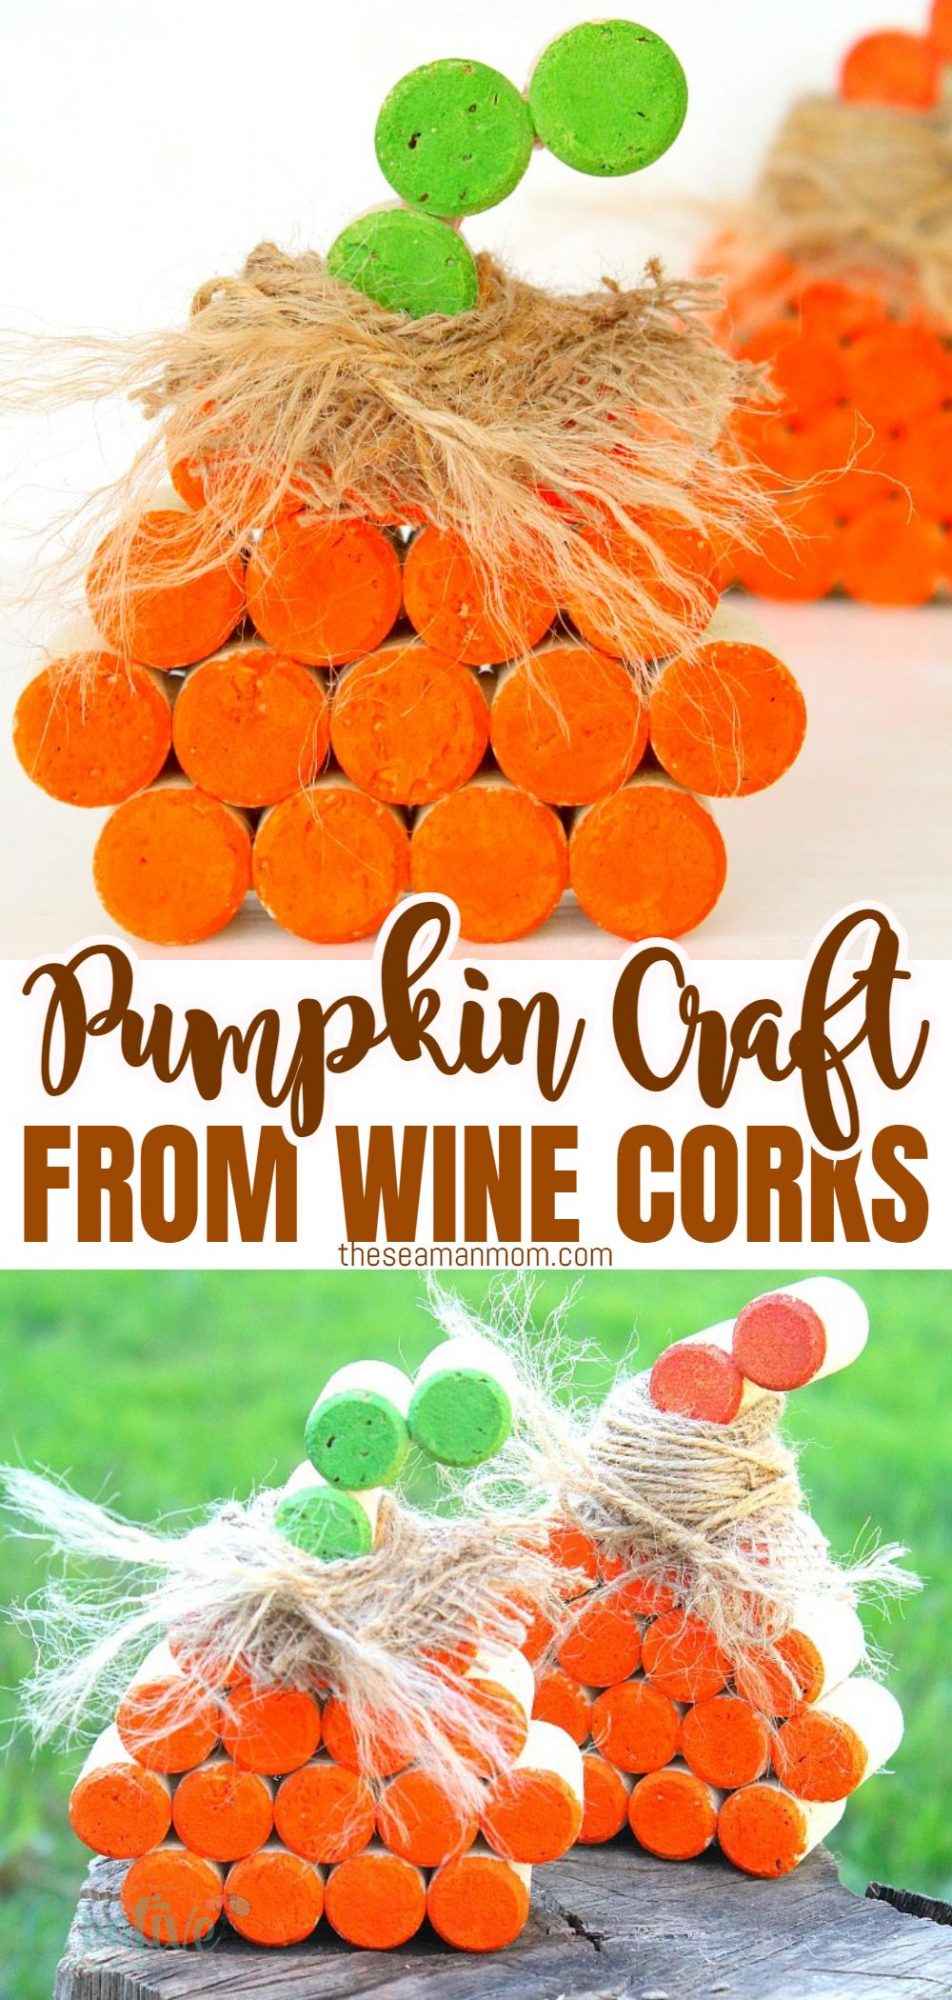
These wine cork pumpkins are not only easy and fun but a great way to use up some recycled wine corks! This cheap fall decor is the perfect addition to your Fall, Halloween or Thanksgiving home decor!
Wine cork Pumpkins
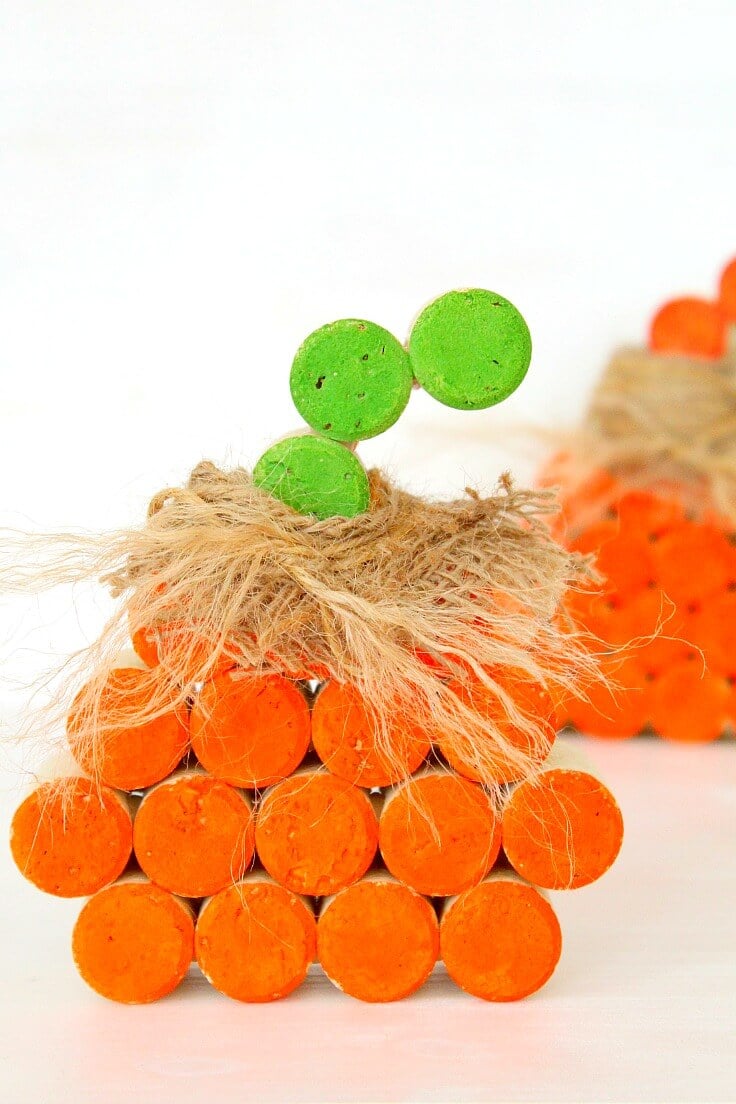
These easy and simple wine cork pumpkins create a pretty unique DIY fall décor idea that will definitely get people talking! These wine cork ideas can be used at weddings too and could also make great gift ideas this fall season. And with Halloween and Thanksgiving coming soon, you could make these as a gift for the host.
I’m a big fan of reusing and recycling stuff I have around the house to create a decor item, I simply enjoy making the best out of almost anything! Like these wine corks I kept collecting from family members as I don’t do alcohol. These wine cork pumpkins add a pop of color to your home and are also a great way to teach older kids a little about crafting.
More pumpkin crafts you will love:
- No sew fabric pumpkins
- Simple Fabric and Yarn Pumpkins Tutorial
- Trio pumpkin pincushion
- Burlap and tp rolls pumpkins
- Easy denim pumpkin
If you like crafting with cork, you might like these crafts too:
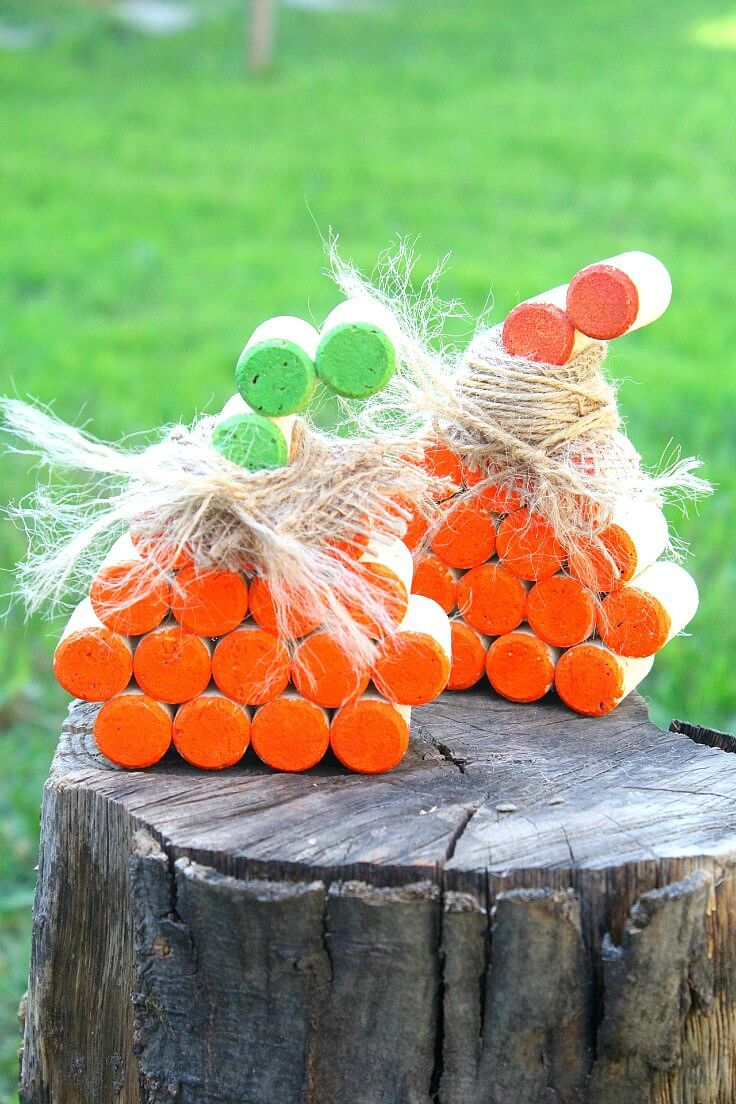
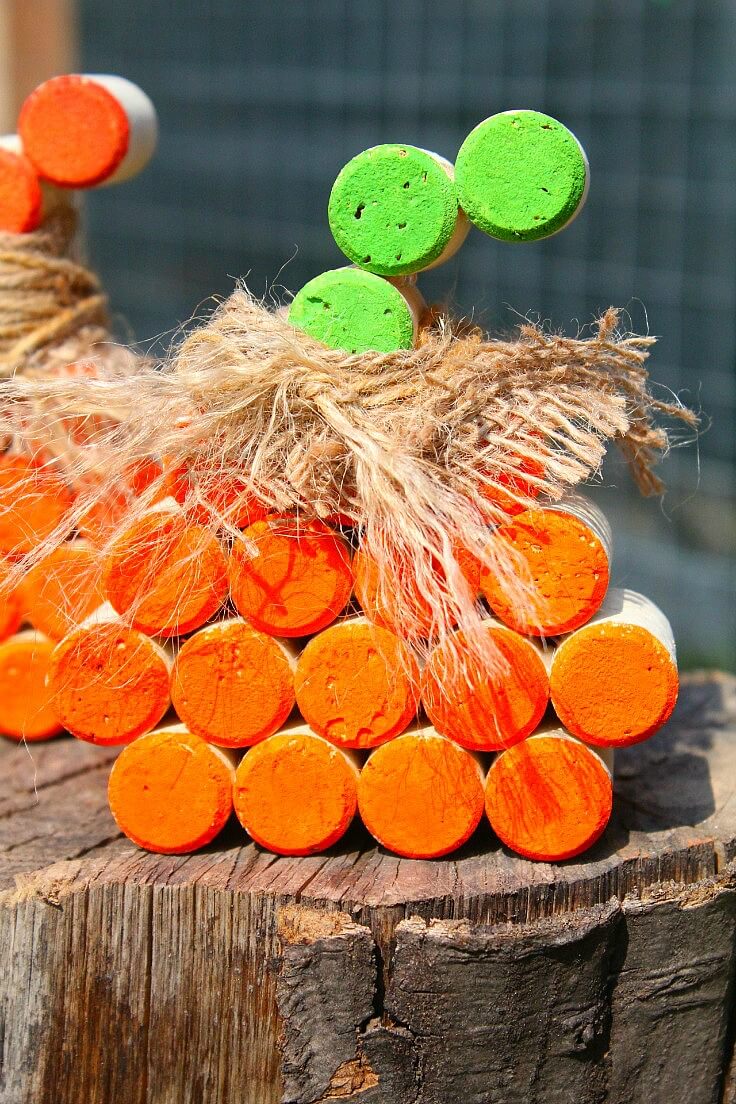
For this wine cork decor I made just a couple of small pumpkins but you could easily add some more wine corks to make yours bigger or make a bunch of small pumpkins. I also used traditional colors of orange, green and brown but do yours in the colors you like, I think they’ll look super fun painted in all kinds of color!
To make these wine cork pumpkins you only need about 20 minutes and just a handful of supplies you probably already have around the house. The result is a cute table decoration that will brighten up the mood year after year!
Cork Pumpkins craft
Materials:
- 19 wine corks (for 1 small pumpkin like mine)
- orange, green and brown acrylic paint
- brush
- hot glue gun
- 1 hot glue stick
- burlap ribbon
- twine
How to make wine cork pumpkins?
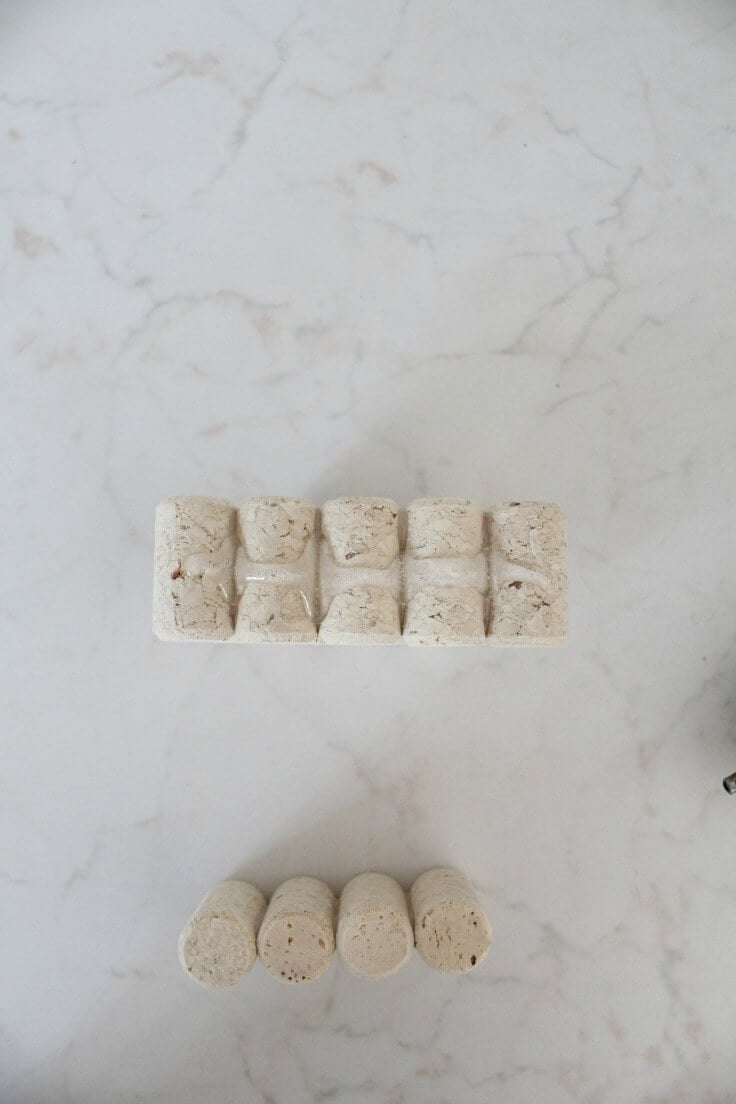
- Arrange your wine corks in rows as indicated in the photo below and use hot glue to join them together at the sides.
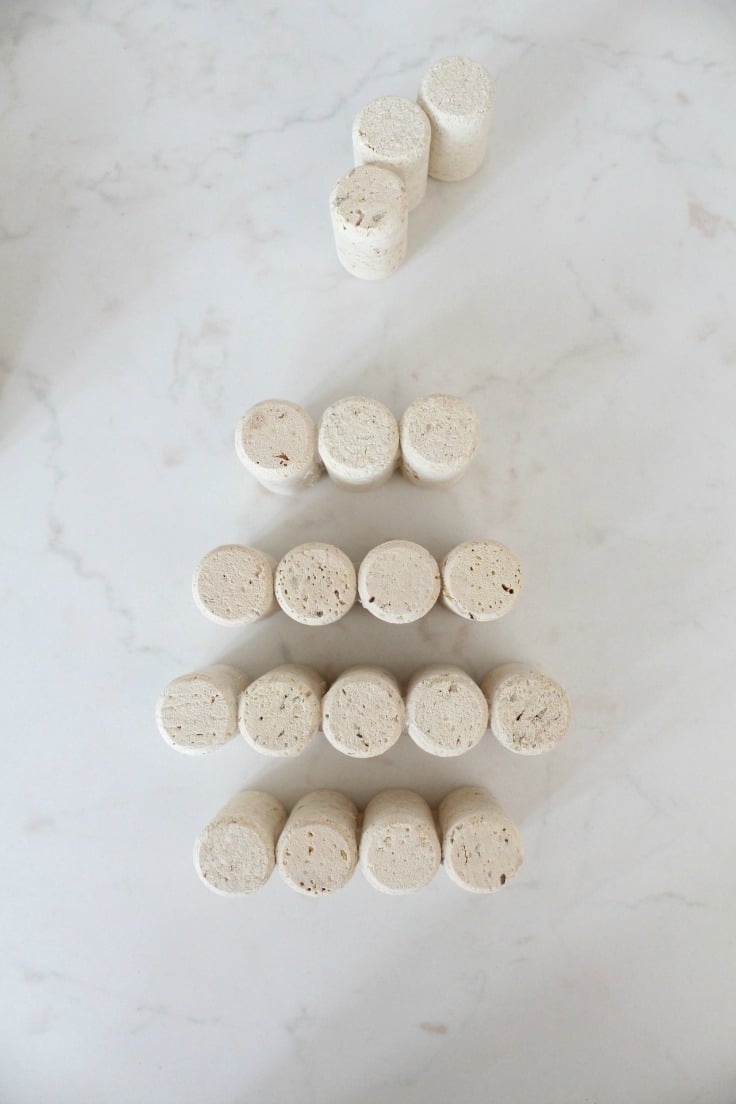
- Take the first row and add a line of hot glue over the top. Place the next row over and press gently. Repeat with all rows but the “stem”
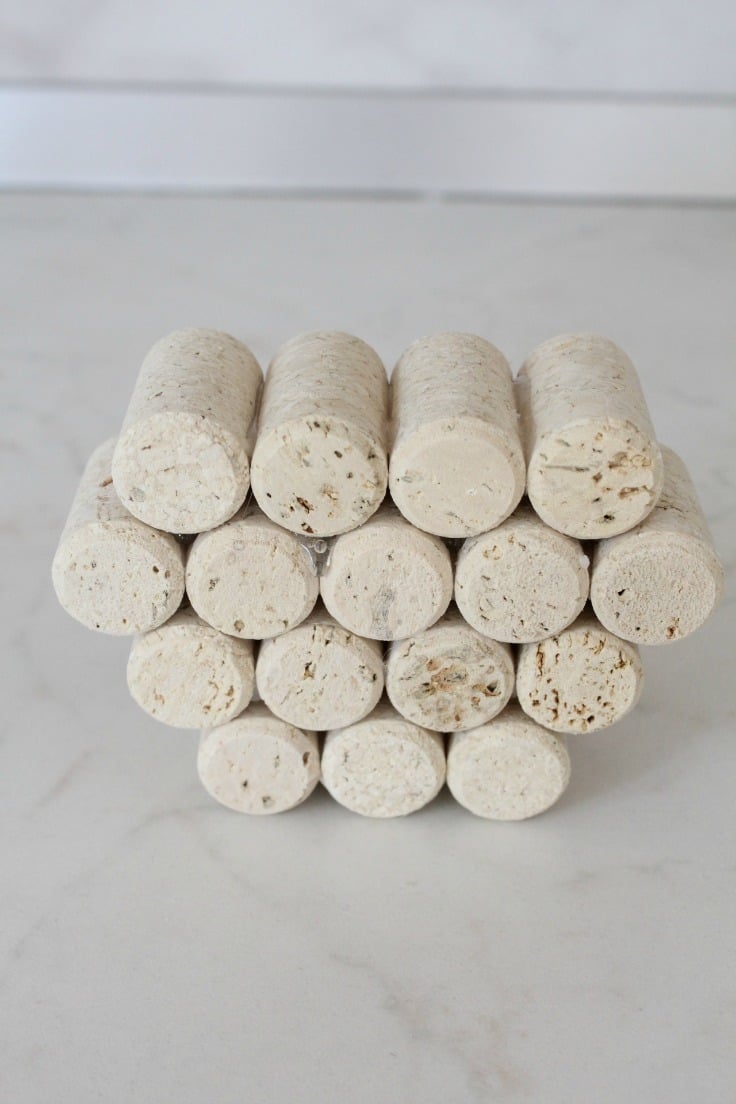
- Attach the stem to the smallest row, right in between, using hot glue.
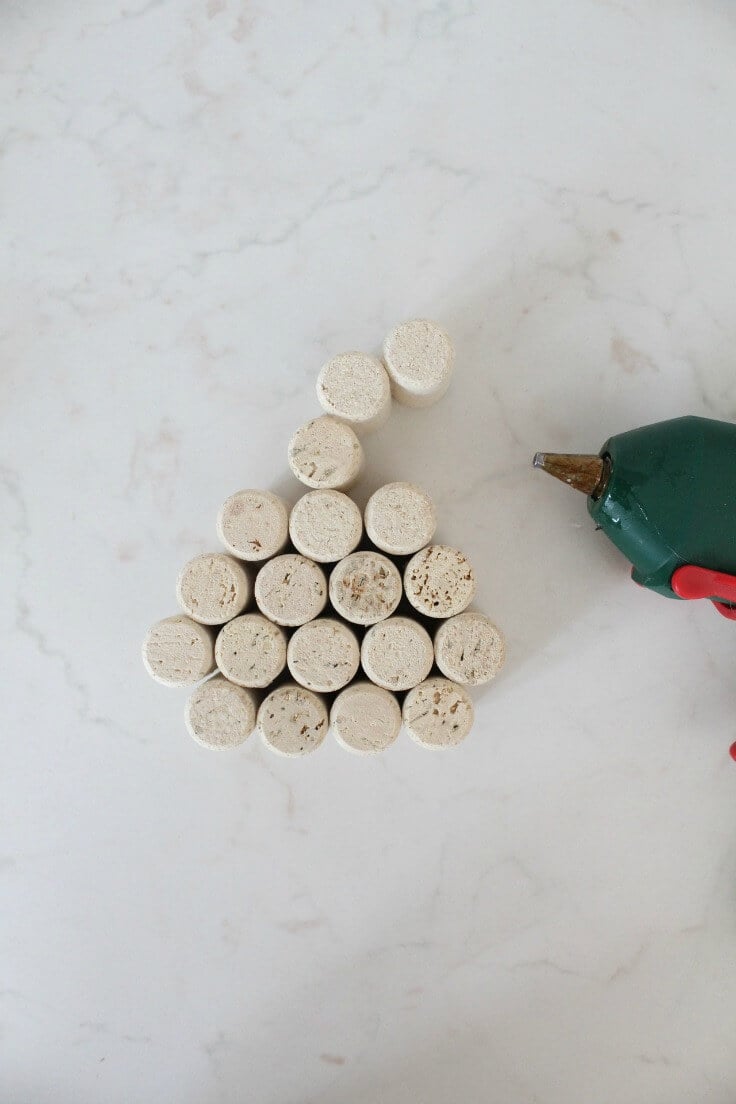
- Paint the pumpkins and the stem in the desired colors.
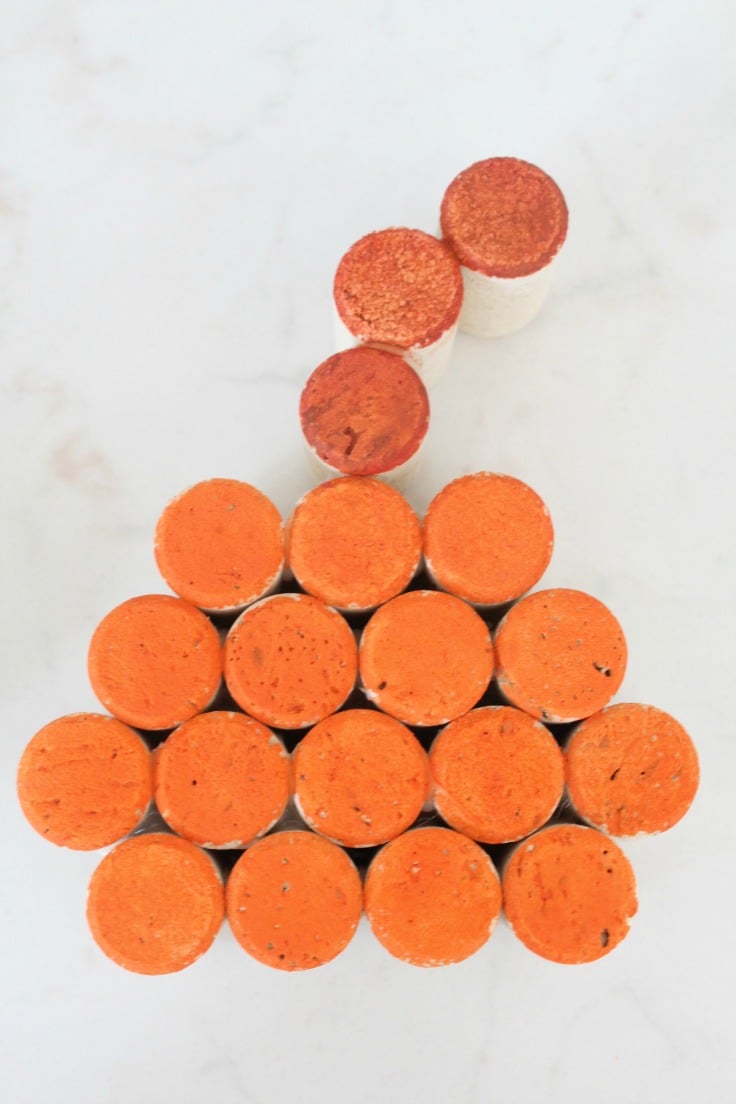
- Wrap some burlap ribbon around the base of the stem and keep it in place with twine.
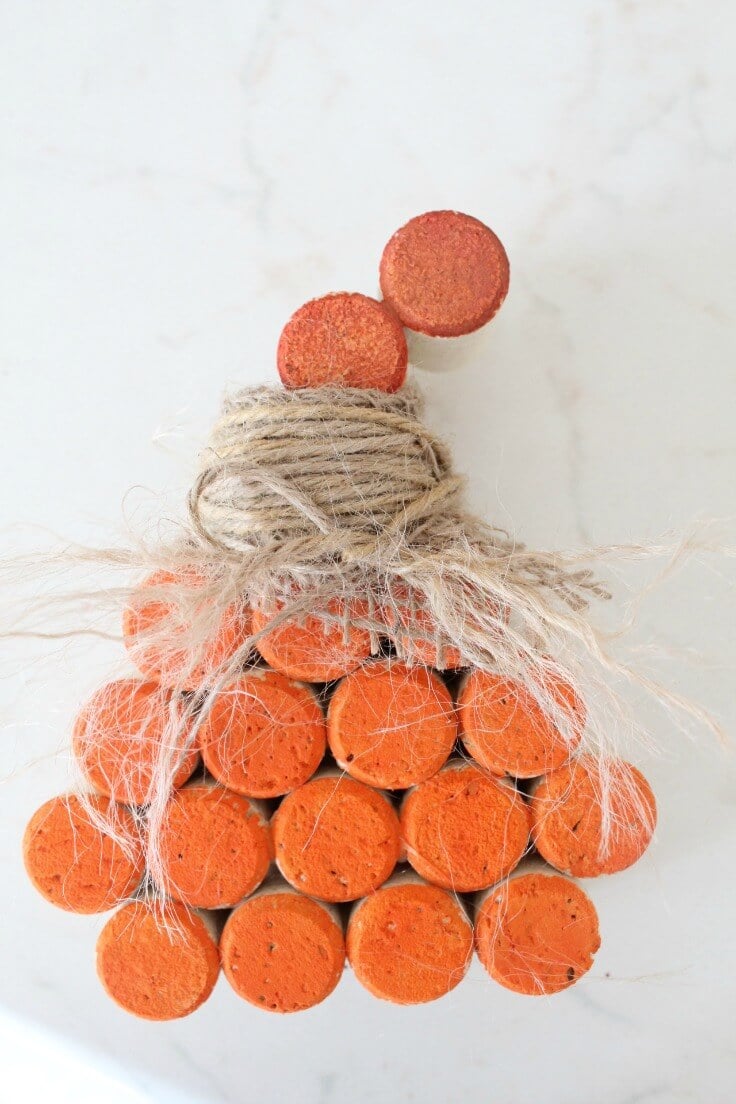
- Unwind the twine a bit at the ends.
- Enjoy your wine cork pumpkins indoors or in the garden.
Pin to save for later
Print the craft card
Wine cork pumpkins
Materials
- 19 wine corks for 1 small pumpkin
- orange green and brown acrylic paint
- 1 stick hot glue
Tools
- brush
- Burlap ribbon
- Twine
Instructions
- Arrange your wine corks in rows as indicated in the photo below and use hot glue to join them together at the sides.

- Take the first row and add a line of hot glue over the top. Place the next row over and press gently. Repeat with all rows but the "stem"

- Attach the stem to the smallest row, right in between, using hot glue.

- Paint the pumpkins and the stem in the desired colors.

- Wrap some burlap ribbon around the base of the stem and keep it in place with twine. Unwind the twine a bit at the ends and you're done!

Article may contain Amazon & affiliate links. As an Amazon Associate I earn from qualifying purchases at no additional cost to you.



I know I commented earlier, but I came back again to say what a cute DIY project! Too fun not to do some extra sharing so I’m featuring your post on #FoodieFriDIY – come back again and link up another great project!
These are so cute. Thank you for sharing with us at #HomeMattersParty.See you again next week.