

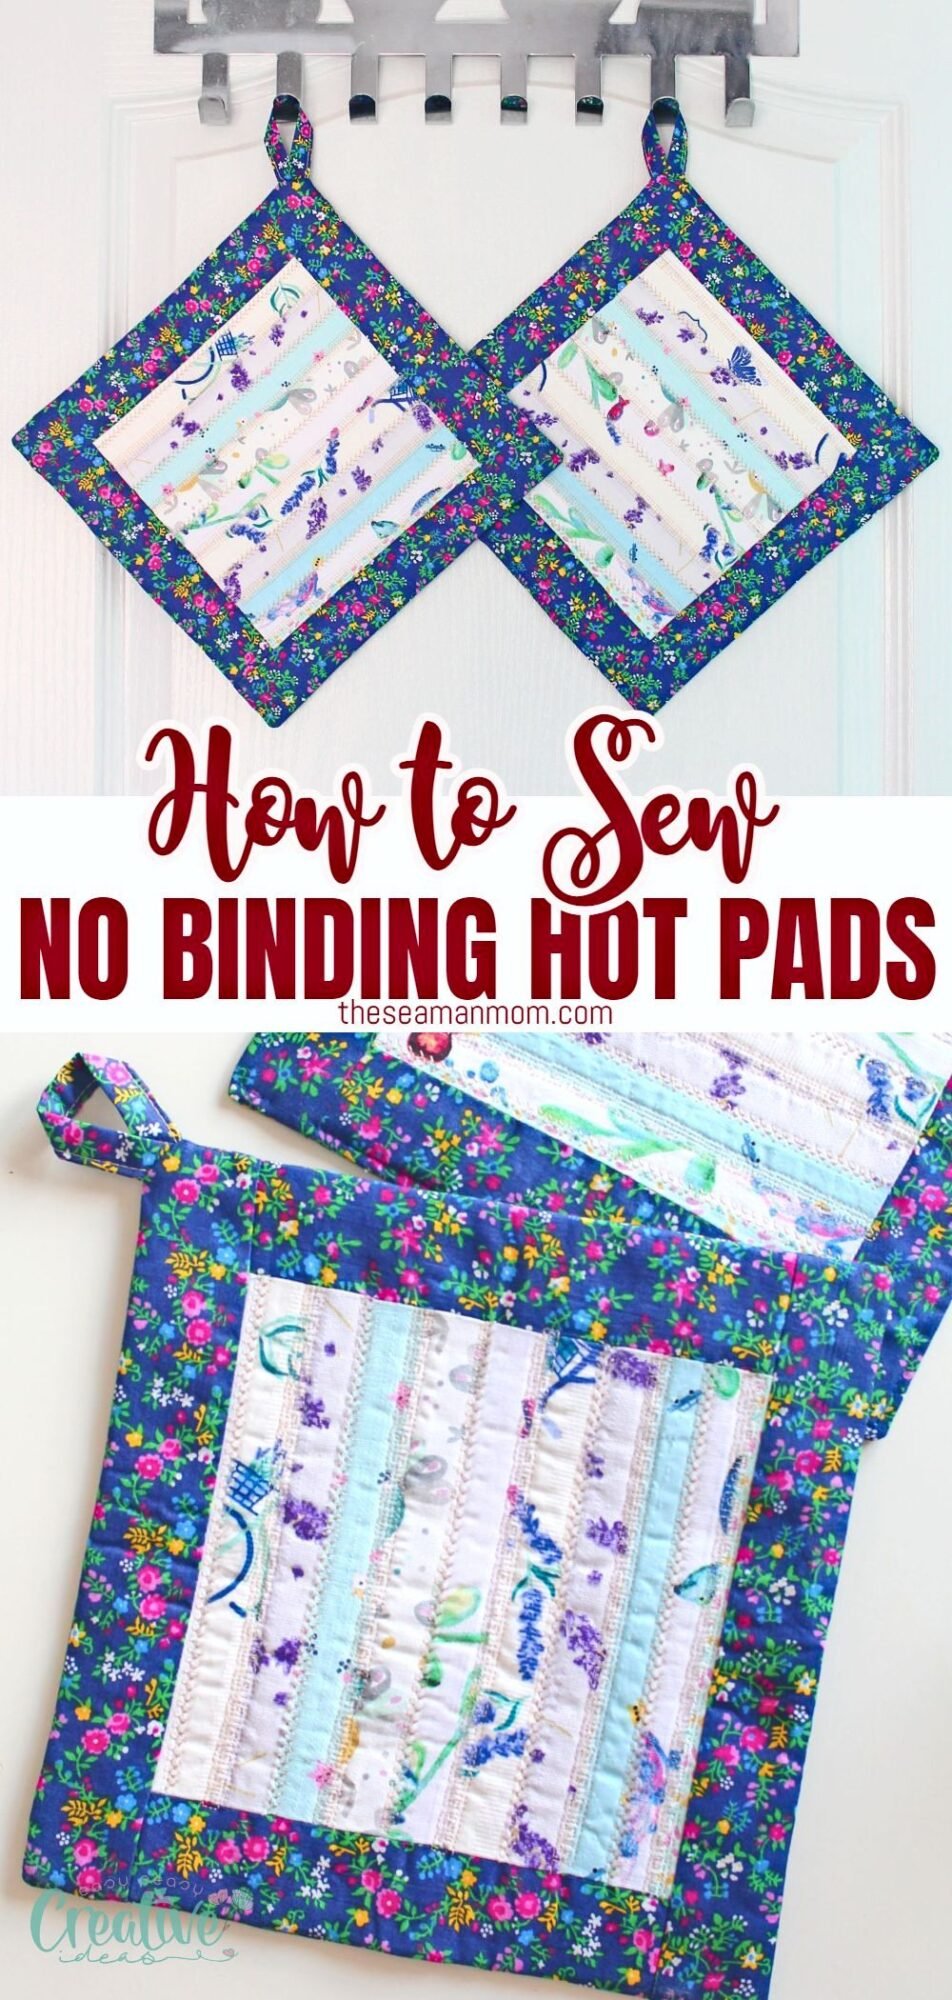
No binding hot pads sewing tutorial
Re-discover the joy of sewing with these no binding hot pads! These easy to make and customizable hot pads are the perfect addition to your kitchen. Make your own stylish hot pads for your kitchen with this easy step-by-step tutorial on how to sew a hot pad without any binding.
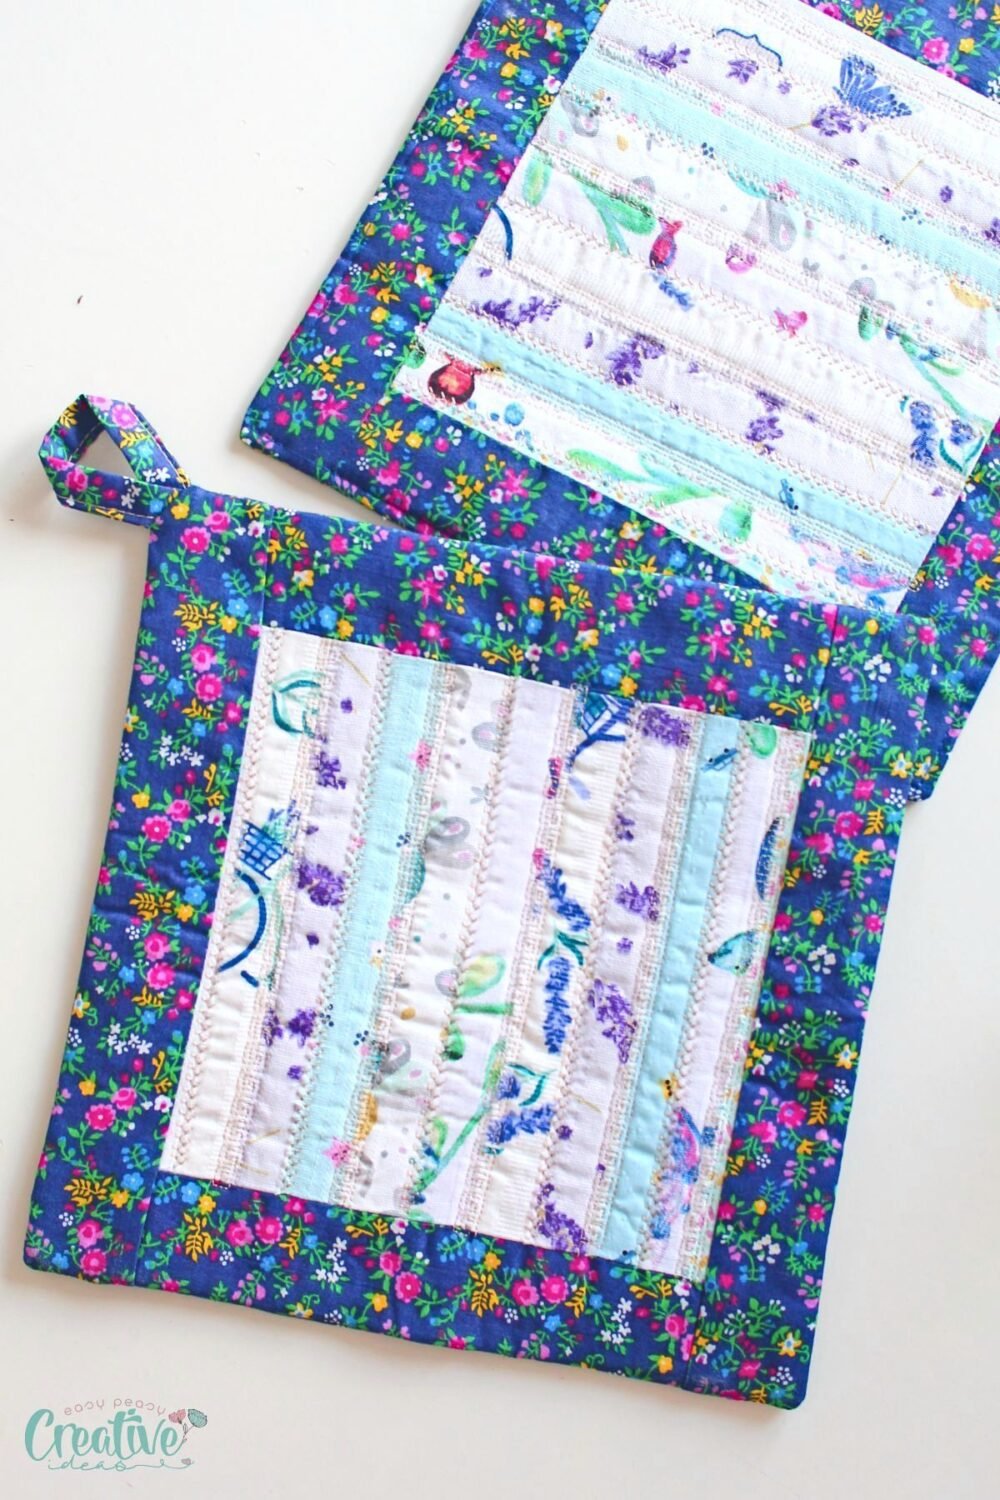
Protect your hands in style with these no binding hot pads! If you’re tired of stressing over sewing bias binding to your sewing projects, you’ll be happy to learn that sewing hot pads without binding is totally possible. In this article, I’ll show you how to sew your own hot pads with just a few materials and simple sewing techniques that mimic the look of bias binding.
I love making no binding hot pads because they are hassle-free to sew and provide the same protection as “traditional” hot pads. No binding hot pads are perfect for beginners who may not be comfortable sewing bias binding yet or anyone who wants to make a quick and easy sewing project.
They require minimal materials, no special equipment, and can be easily customized to your personal style and be sewn in any size that fits your needs in the kitchen. Plus the trim can also be sewn in any size you like so you can even make it just as wide as regular bias binding.
How to sew no binding hot pads
Materials needed
To make these no binding hot pads you’ll need:
- Cotton fabric for both the top and bottom layers (for this project I made this new fabric with selvage from my stash, using a slightly different method than the one in this tutorial for making fabric with selvage)
- Cotton batting
- Optional – if you feel you need extra heat protection, add a layer of Insul-Bright heat-resistant batting or similar material
- Matching thread
Equipment
- Ruler
- Quilting ruler
- Seam gauge
- Pins
- Wonder clips
- Sewing machine
- Matching needle
- Fabric pen
- Cutting mat
- Rotary cutter
- Scissors
- Iron
- Ironing board
Substitutes
If you don’t have Insul-Bright, you can substitute it with additional layers of cotton batting. Although this won’t provide the same heat resistance, it will still offer some level of protection for your surfaces. I found that sewing my hot pads with two layers of batting offers enough heat protection for my needs.
Step-by step instructions
Preparations
- Make your selvage fabric if you want or use fabric from your stash of scraps. Use this tutorial to make selvage fabric using interfacing or this tutorial to make selvage fabric with hemming tape.
- Cut your fabric and batting to size. You can make them in any size you like to fit your needs in the kitchen. For my hot pads I used 2 panels of selvage fabric of 7 1/4″ by 7 1/4″and 4 strips of fabric for the trim for each side of the hot pad, total of 8 strips: 4 of 7 1/4″ by 2″ and 4 of 10 1/4″ by 2″. I also used 2 pieces of cotton batting of 10 1/4″ by 10 1/4″ (you may want to use 4 or Insul-Bright for extra heat protection, depending on the thickness of your batting)
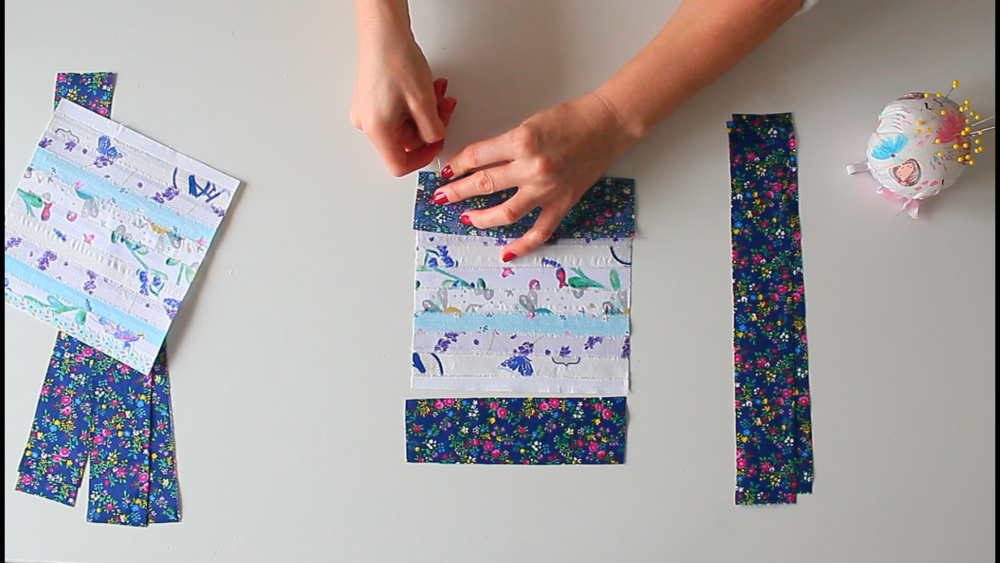
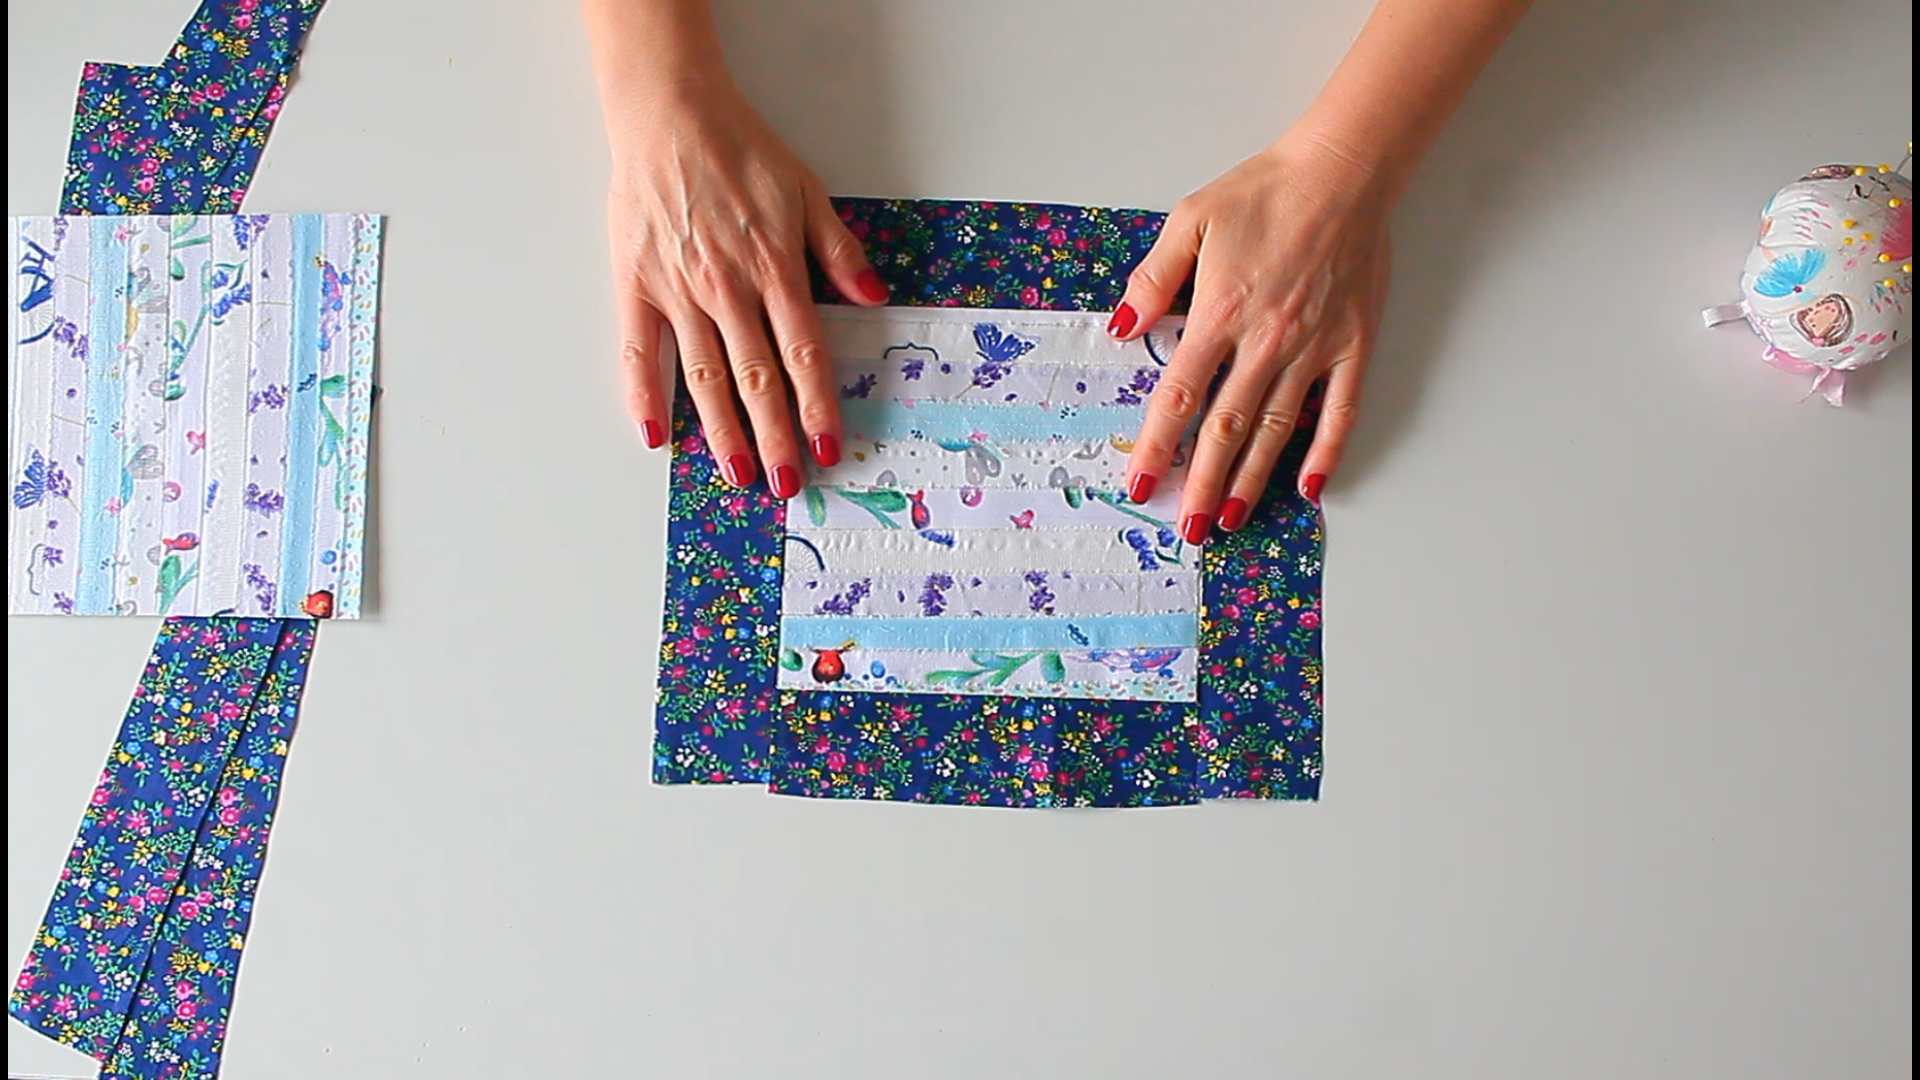
- Assemble the top and bottom fabric layers: Add the trims to the edges of the fabric piece so they match right sides together, and pin. Start with one set (i.e. add the small trims first) and continue with the second set once the first set is sewn.
- If you want to add a hoop to your hot pads you’ll need a strip of fabric of 5″ by 2″ for this. Prepare the hoop by pressing the strip in half, wrong sides together, then press the sides in towards the middle, then fold the strip again to close. Edge stitch then twist the strip into a hoop, press and sew the bottom to keep together.
Sewing
Sewing the trims
- Sew the first set of trims to the fabric piece, using a 1/4″ allowance.
- Open the seam and press flat.
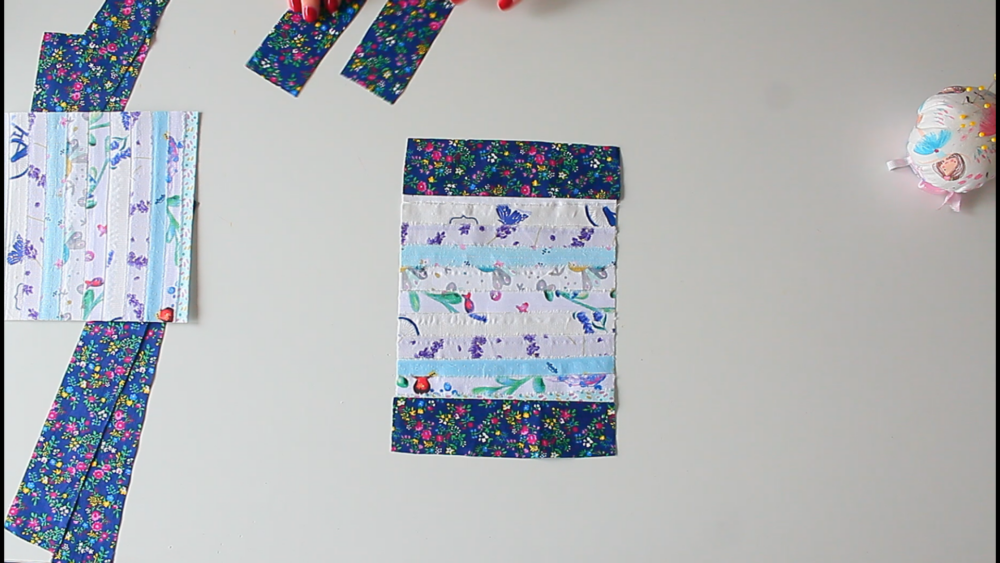
- Repeat for the second set of trims (the long strips).
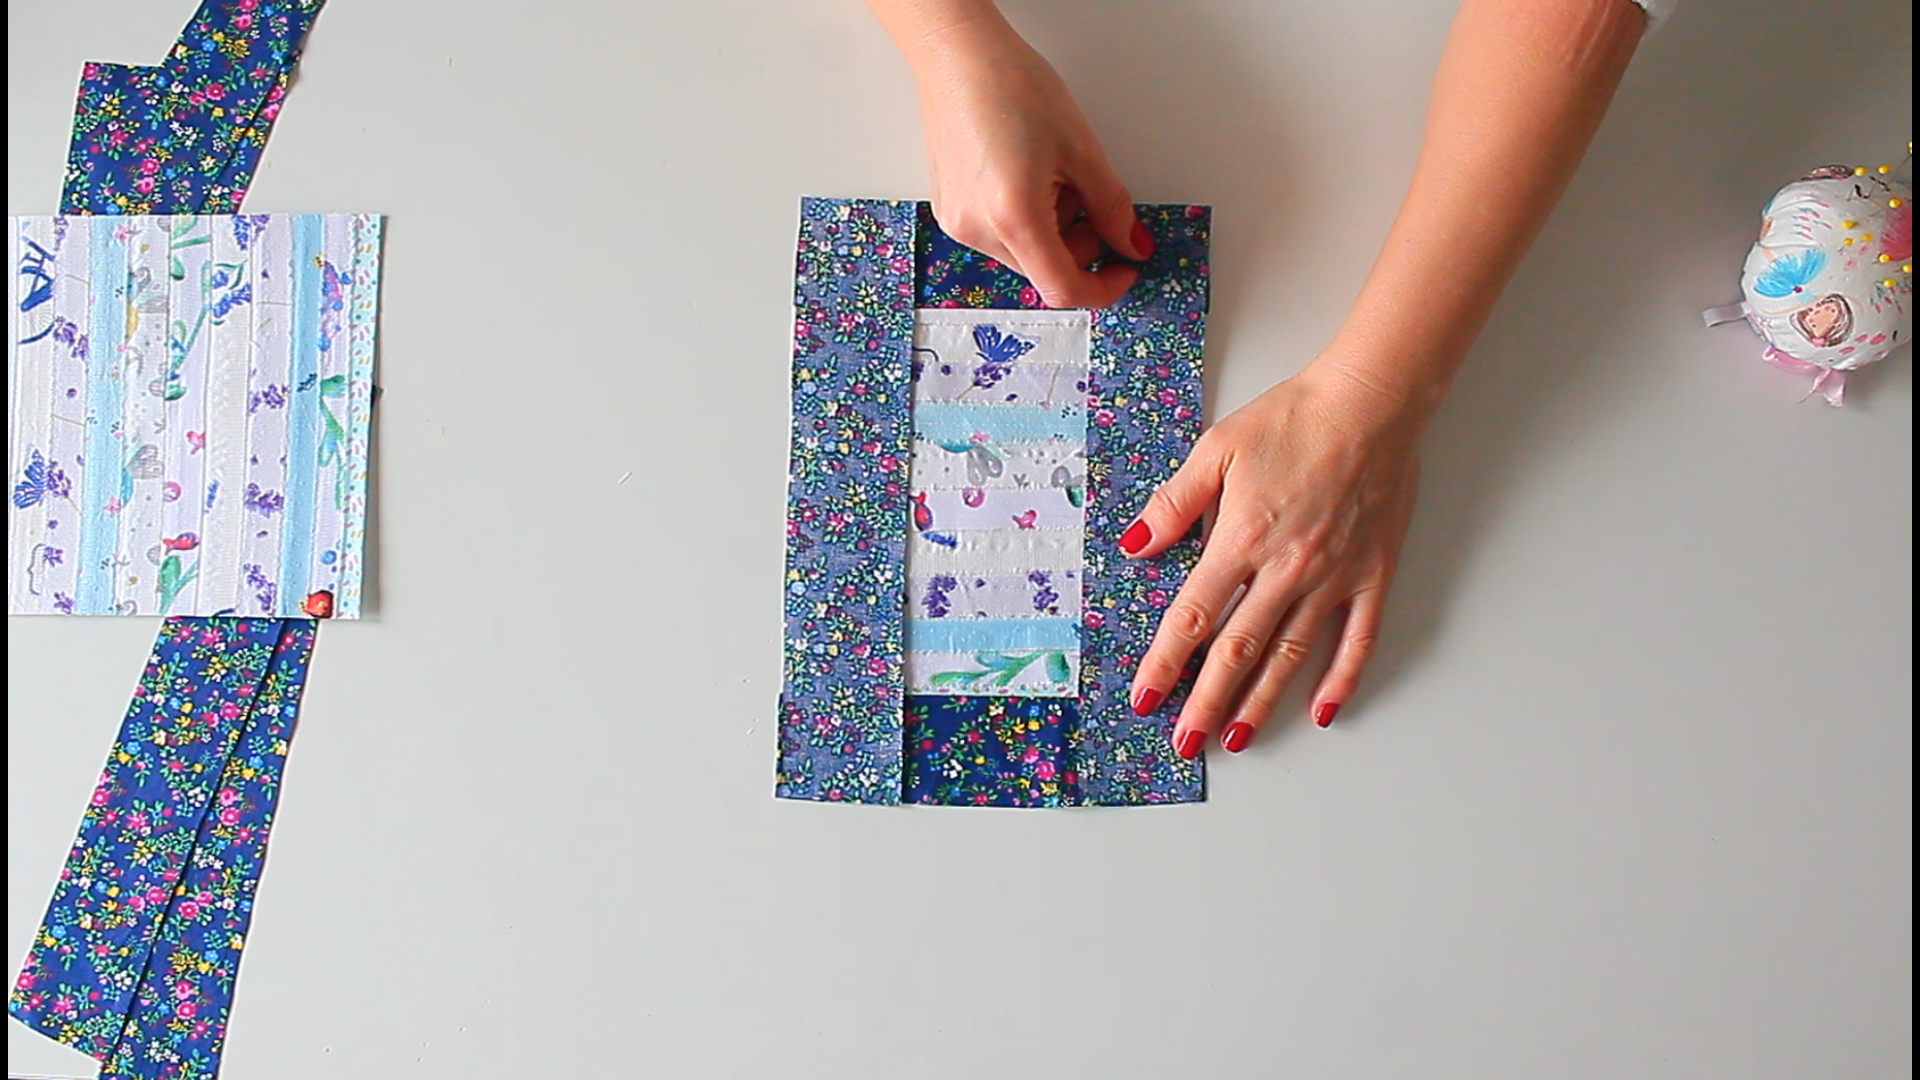

- Repeat the steps above for the back panel.
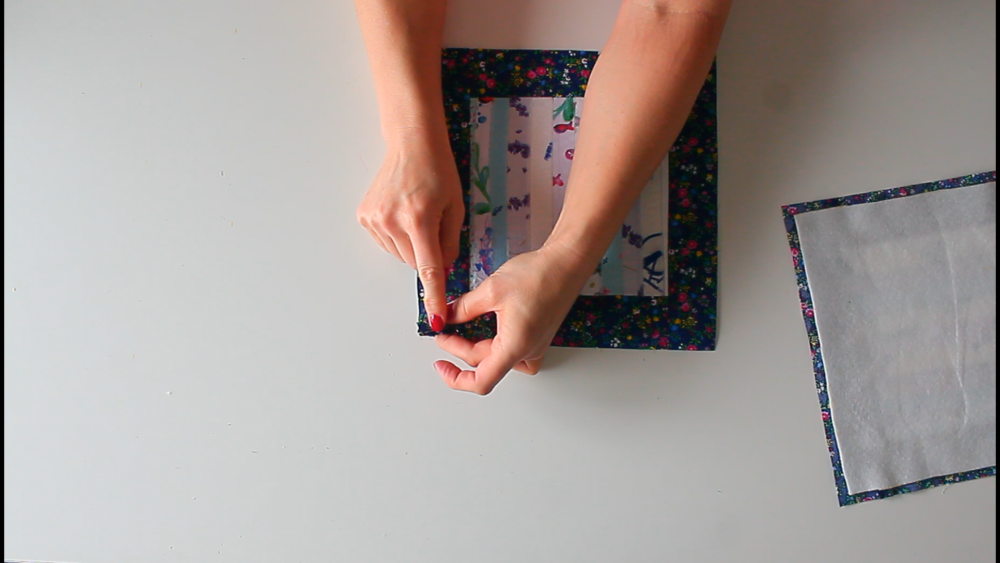
- If you opted for adding a hoop, attach the hoop to the corner of one panel, on the inside of the panel. Make sure the top of the loop points towards inside of the fabric panel. Sew with 1/8″ allowance.
Quilting the panels
- If you’ve been using my method for making a fabric panel out of selvage, now it’s time to remove the paper backing of the hemming tape. This will act as adhesive for the batting.
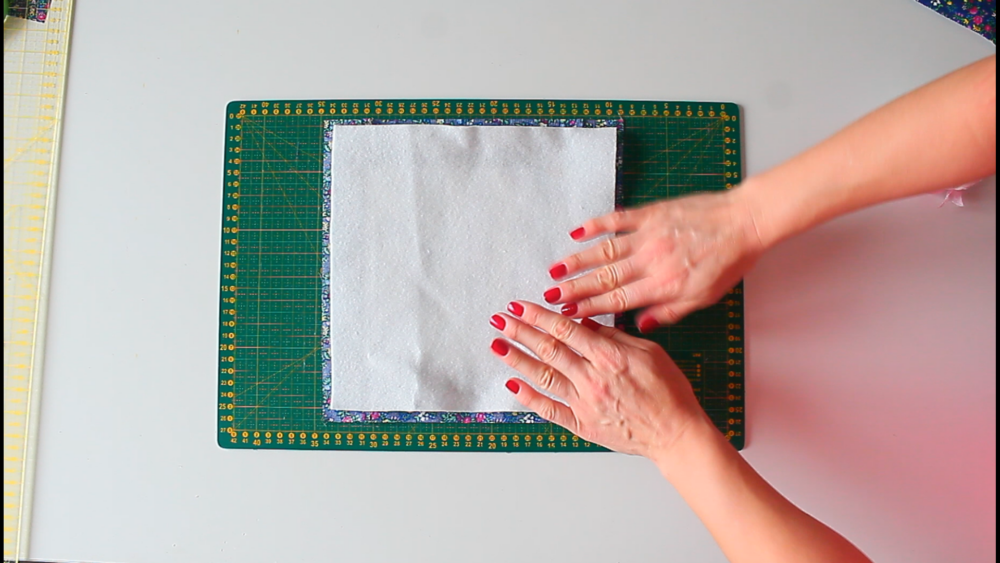
- Add a layer of cotton batting to the wrong side of each fabric panel (top and bottom) and press with your iron to stick together.
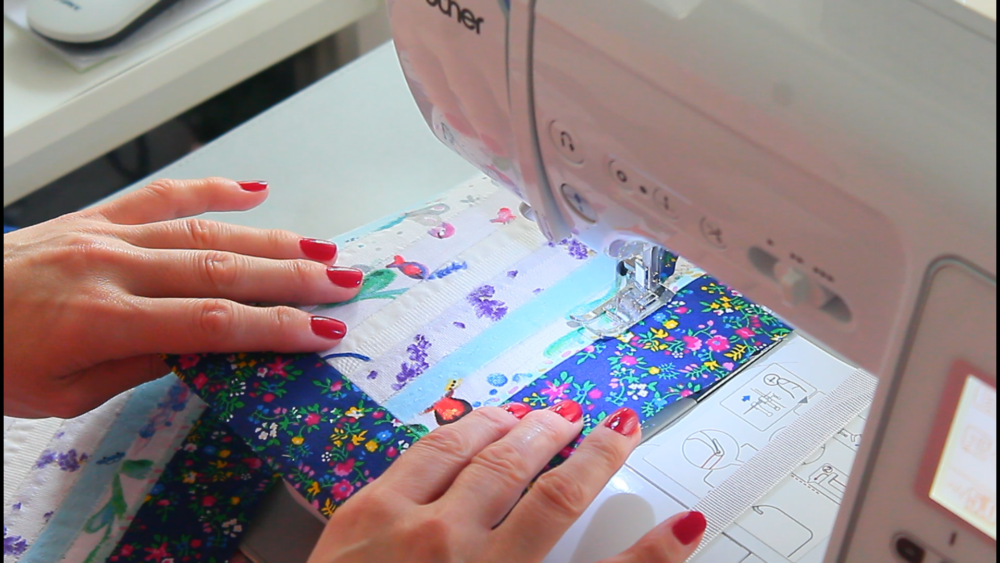
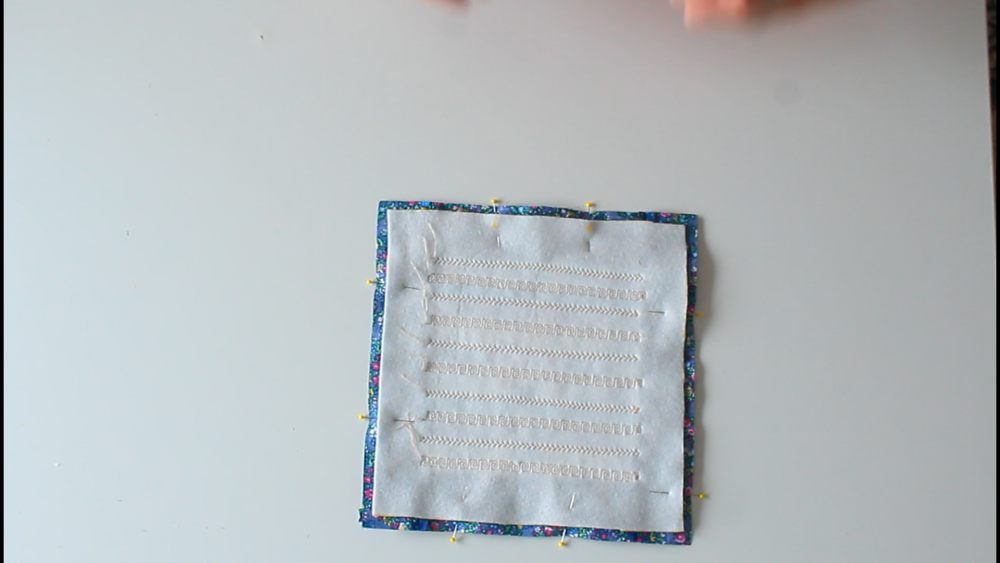
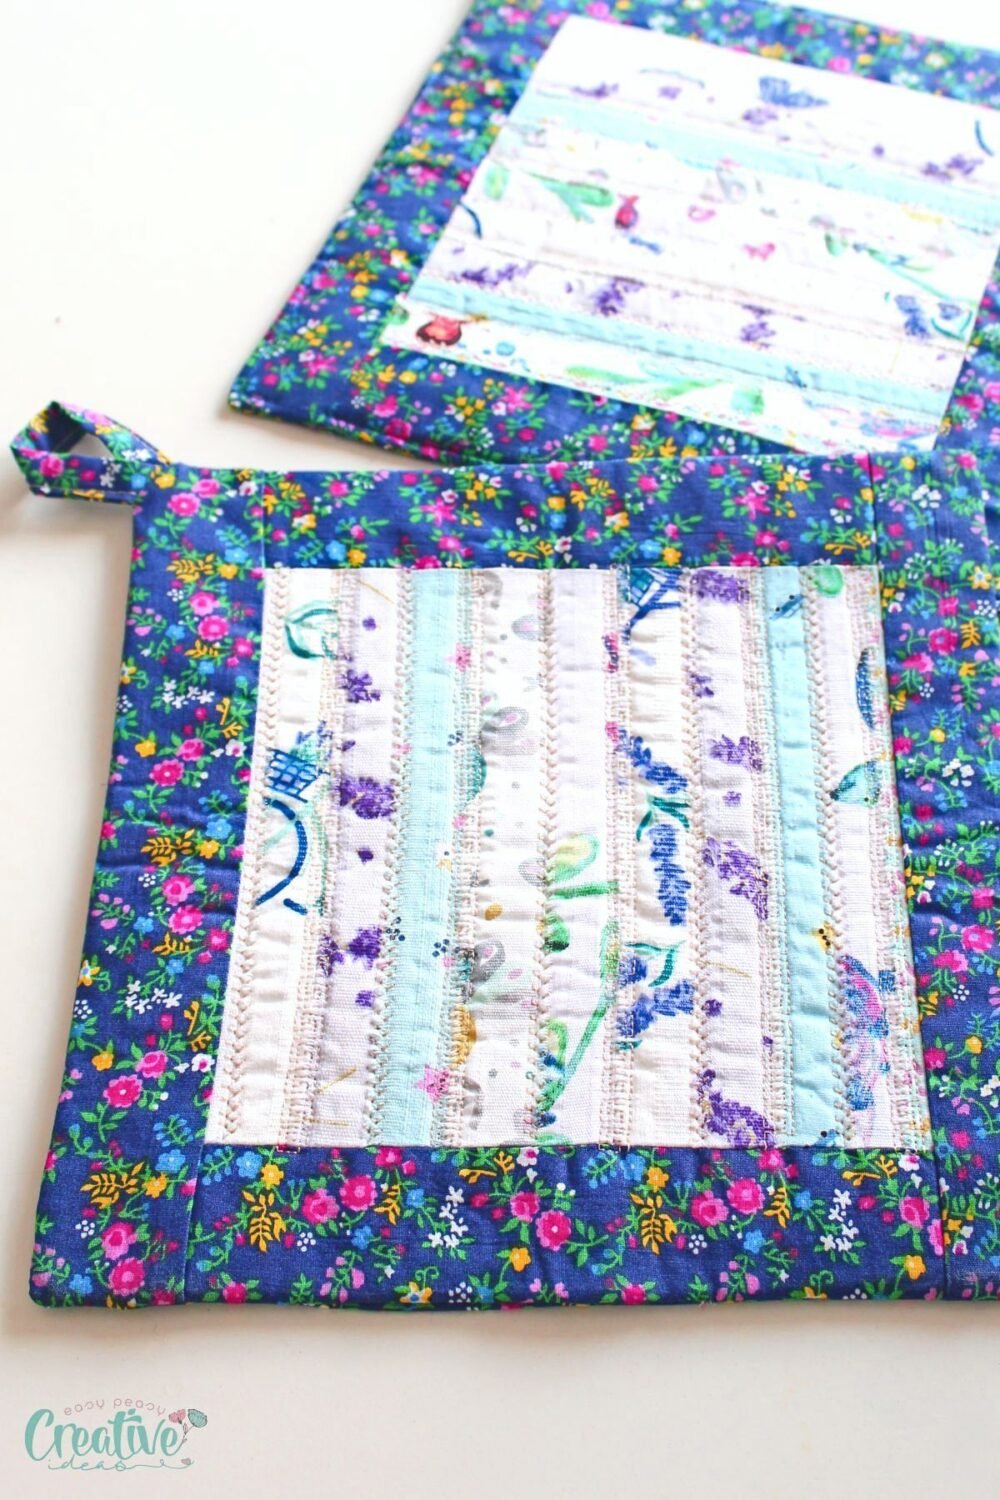
- Quilt the layers by sewing across them in your desired pattern. This can be straight lines, free-motion quilting or any decorative stitching your machine accommodates. I added decorative stitches to the joins between the selvage strips. You can also quilt the trims if you want.
- When quilting there shouldn’t be any moving of the batting and fabric thanks to the glue in the hemming tape. But if you find slight discrepancies, even out the edges a bit with your rotary cutter. That’s why is best to skip quilting the trims until you are 100% sure there is no uneven edges in your fabric and batting. When trimming, keep in mind that the batting should be 1/4″ smaller on all 4 edges.
Sewing the hot pad
- Place both quilted panels right sides together and sew with a 1/4″ seam allowance, leaving a 3″ gap in one of the panels.
- Trim the corners, taking care not to cut through the seam.
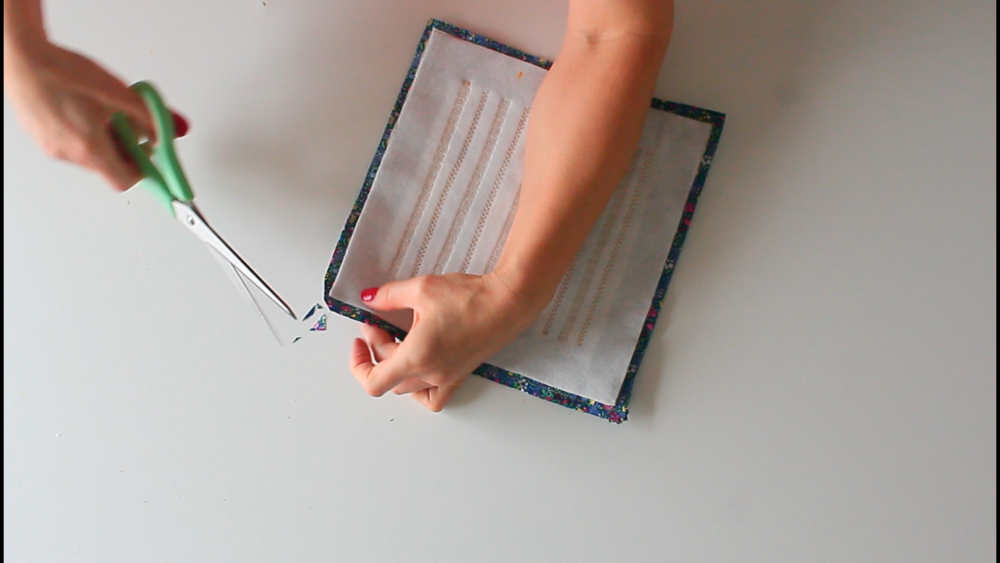
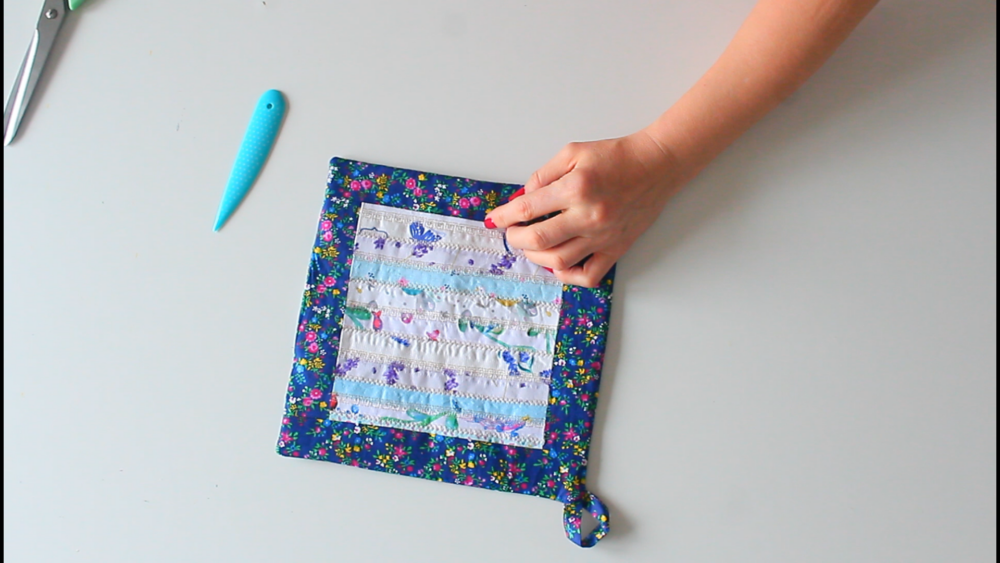
- Turn the fabrics right side out through the gap, push the corners out and smooth the seams out.
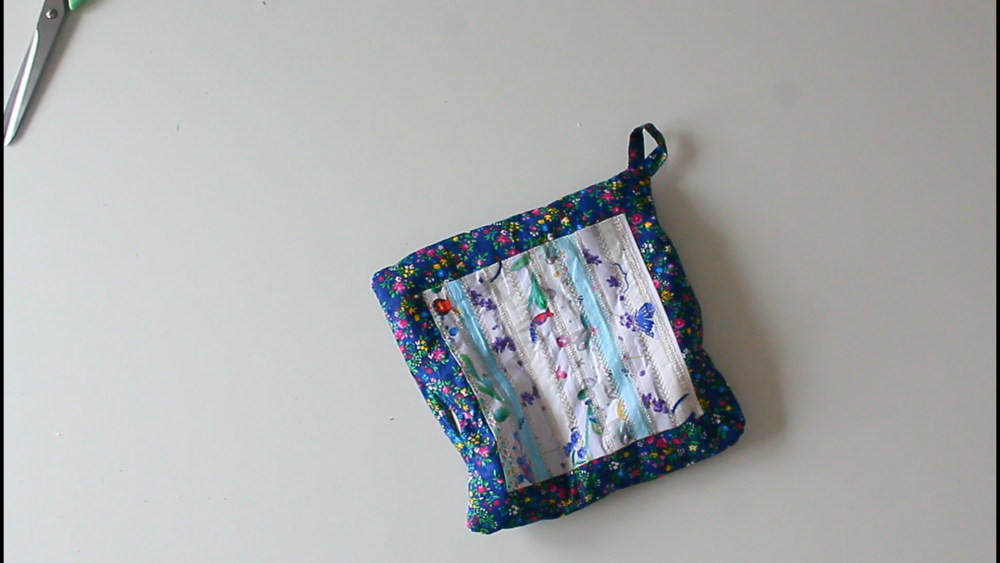
- Press the seam at the gap inside and close the gap with a ladder stitch or top stitch around the entire hot pad. Give the hot pad a nice pressing using the iron on steam, and you’re done! Repeat for as many hot pads you like!
Tips for the best results
- Pre-wash your fabric. Always pre-wash your cotton fabric. This prevents shrinkage and ensures that your finished hot pad remains flat and even after its first wash.
- Choose your batting wisely. Using Insul-Bright or similar heat-resistant batting adds an extra layer of protection, making your hot pads more durable and functional in high heat situations. Cotton batting also provides a good balance of heat protection and flexibility.
- Cutting the trims. If you’re a beginner it’s best to use wider trims first, to make sewing them to the fabric easier. As you advance you can try using thinner trims that mimic the binding look perfectly.
- Pressing is key. Pressing each seam and layer as you work through the tutorial will ensure that your final product looks polished and professional.
Project Variations
- Shape and Size: Instead of the standard square, consider making circular or rectangular hot pads. This is for the advanced sewist as it requires sewing round shaped trims. Adjust the size based on your needs, whether it’s for larger pots or just for placing under hot mugs.
- Patchwork: For a more decorative look, try creating a patchwork top with scraps of fabric. This is a great way to use up leftovers while adding charm, instead of using selvage strips as I did. Or use a fabric with a nice pattern.
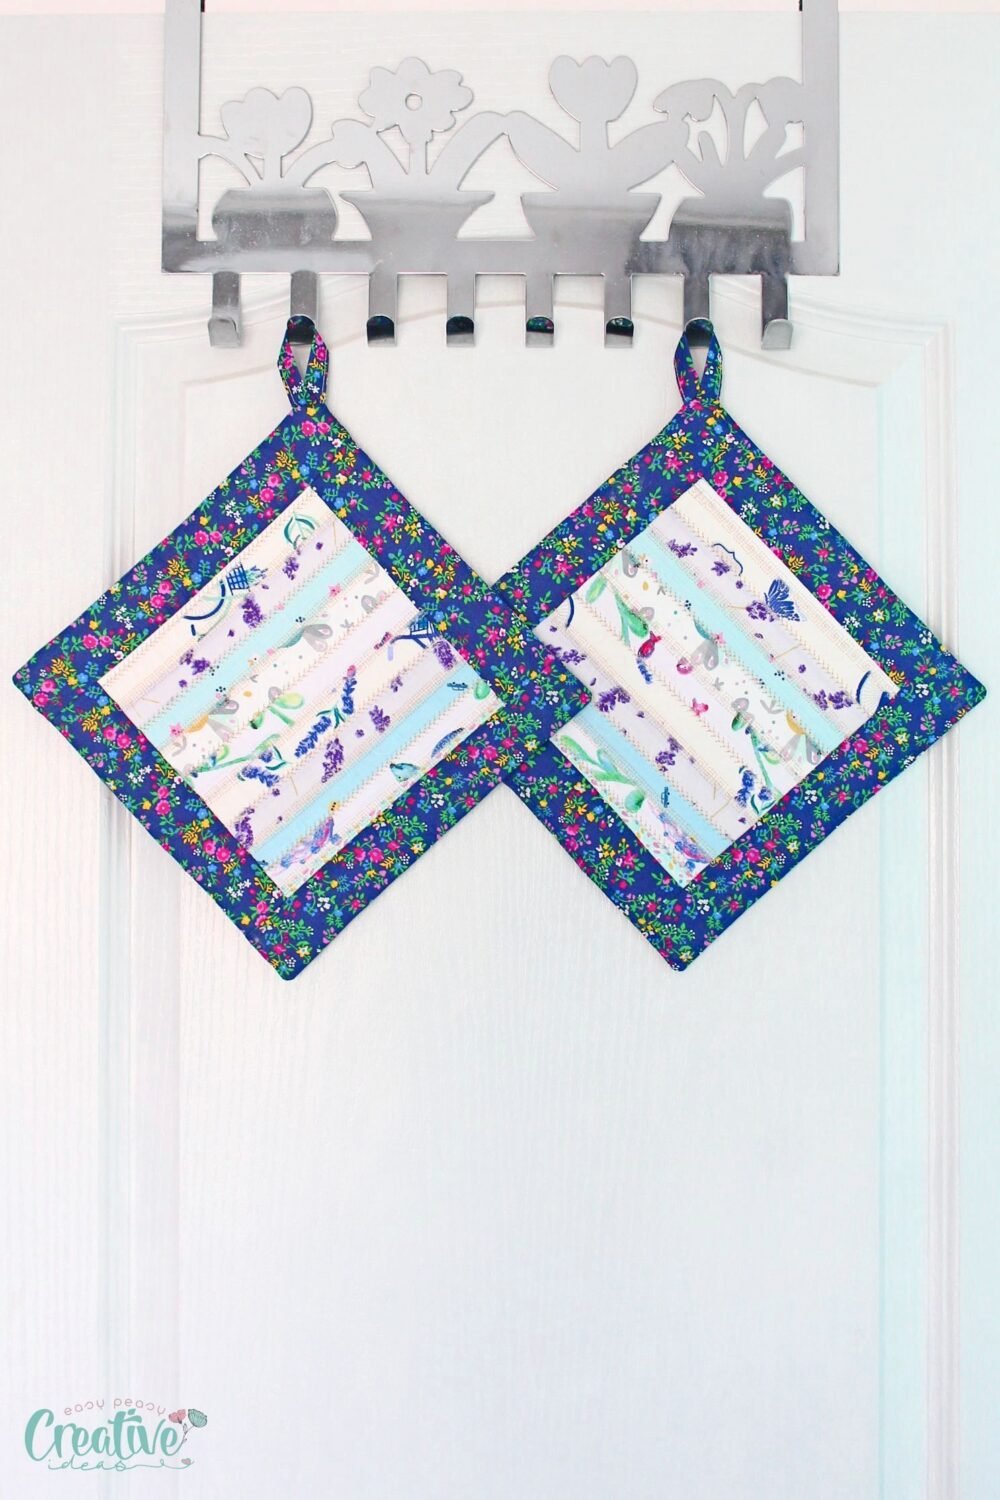
- Hanging Loop: Add a fabric loop on one corner before the final stitching. This makes the hot pads easier to store and adds functionality. You can make one from a small strip of fabric, or use ribbon, bias tape scraps or even twine for a rustic look.
Frequently Asked Questions
Can I use polyester thread?
It’s best to stick with 100% cotton thread when sewing hot pads since polyester might melt under high heat.
How can I wash my hot pads?
Machine wash your hot pads with like colors and tumble dry on low. Iron as needed.
Storing when not in use
Store your no binding hot pads in an easily accessible place. Hanging them or placing them flat near your cooking area not only makes them easily reachable but also adds a decorative touch to your kitchen.
More sewing projects you’ll enjoy
- Oval shaped pocket potholders
- Fabric Bowl Covers
- Reusable one handle shopping bag
- Easy half apron
- Pinwheel hot pads
These no binding hot pads are not only practical but also fun to make! They add a personal touch to your kitchen and can be easily customized to match your décor. Plus, sewing without binding makes the process quicker, easier, and stress free so you can make a whole set in no time.
I hope you’ll enjoy making these hot pads as much as I did. Let me know your thoughts in the comments below, I love hearing your feedback on my projects!
And don’t forget to sign up for my newsletter for more fantastic sewing projects and tips. Happy sewing!
No binding hot pads
Materials
- 2 pieces Cotton fabric for both the top and bottom layers for this project I made this new fabric with selvage from my stash, using a slightly different method than the one in this tutorial for making fabric with selvage
- 2 pieces Cotton batting
- Matching thread
Tools
- ruler
- scissors
- Iron
- Ironing Board
Instructions
- Cut your fabric and batting to size. For my hot pads I used two panels of selvage fabric of 7 1/4" by 7 1/4"and 8 strips of fabric for the trim, 4 of 7 1/4" by 2" and 4 of 10 1/4" by 2". I cut 2 pieces of cotton batting of 10 1/4" by 10 1/4"
- Assemble the top and bottom fabric layers: Add the trims to the edges of the fabric piece so they match right sides together, and pin. Start with one set (i.e. add the small trims first) and continue with the second set once the first set is sewn.
- If you want to add a hoop to your hot pads you'll need a strip of fabric of 5" by 2" for this. Prepare the hoop by pressing the strip in half, then press the sides in towards the middle, then fold the strip again to close. Edge stitch then twist the strip into a hoop, press and sew the bottom to keep together.
- Sew the first set of trims to the fabric piece, using a 1/4" allowance.
- Open the seam and press flat.
- Repeat for the second set of trims.
- Repeat the steps above for the bottom panel.
- If you've been using my method for making a fabric panel out of selvage, now it's time to remove the paper backing of the hemming tape.
- Add a layer of cotton batting to the wrong side of each fabric panel (top and bottom) and press with your iron to stick together.
- Quilt the layers by sewing across them in your desired pattern. This can be straight lines, free-motion quilting or any decorative stitching your machine accommodates.
- When quilting there shouldn't be any moving of the batting and fabric thanks to the glue in the hemming tape. But if you find slight discrepancies, even out the edges a bit with your rotary cutter.
- If you opted for adding a hoop, attach the hoop to the corner of one panel, on the inside of the panel. Sew with 1/8" allowance.
- Place both quilted panels right sides together and sew with a 1/4" seam allowance, leaving a 3" gap in one of the panels.
- Turn the fabrics right side out through the gap.
- Press the seam inside and close the gap with a ladder stitch or top stitch around the entire hot pad.
Video
Article may contain Amazon & affiliate links. As an Amazon Associate I earn from qualifying purchases at no additional cost to you.

I am new at making pot holders. What do mean by making them with selvage fabric?
I added the link to the selvage fabric tutorial in this article, Jan.