

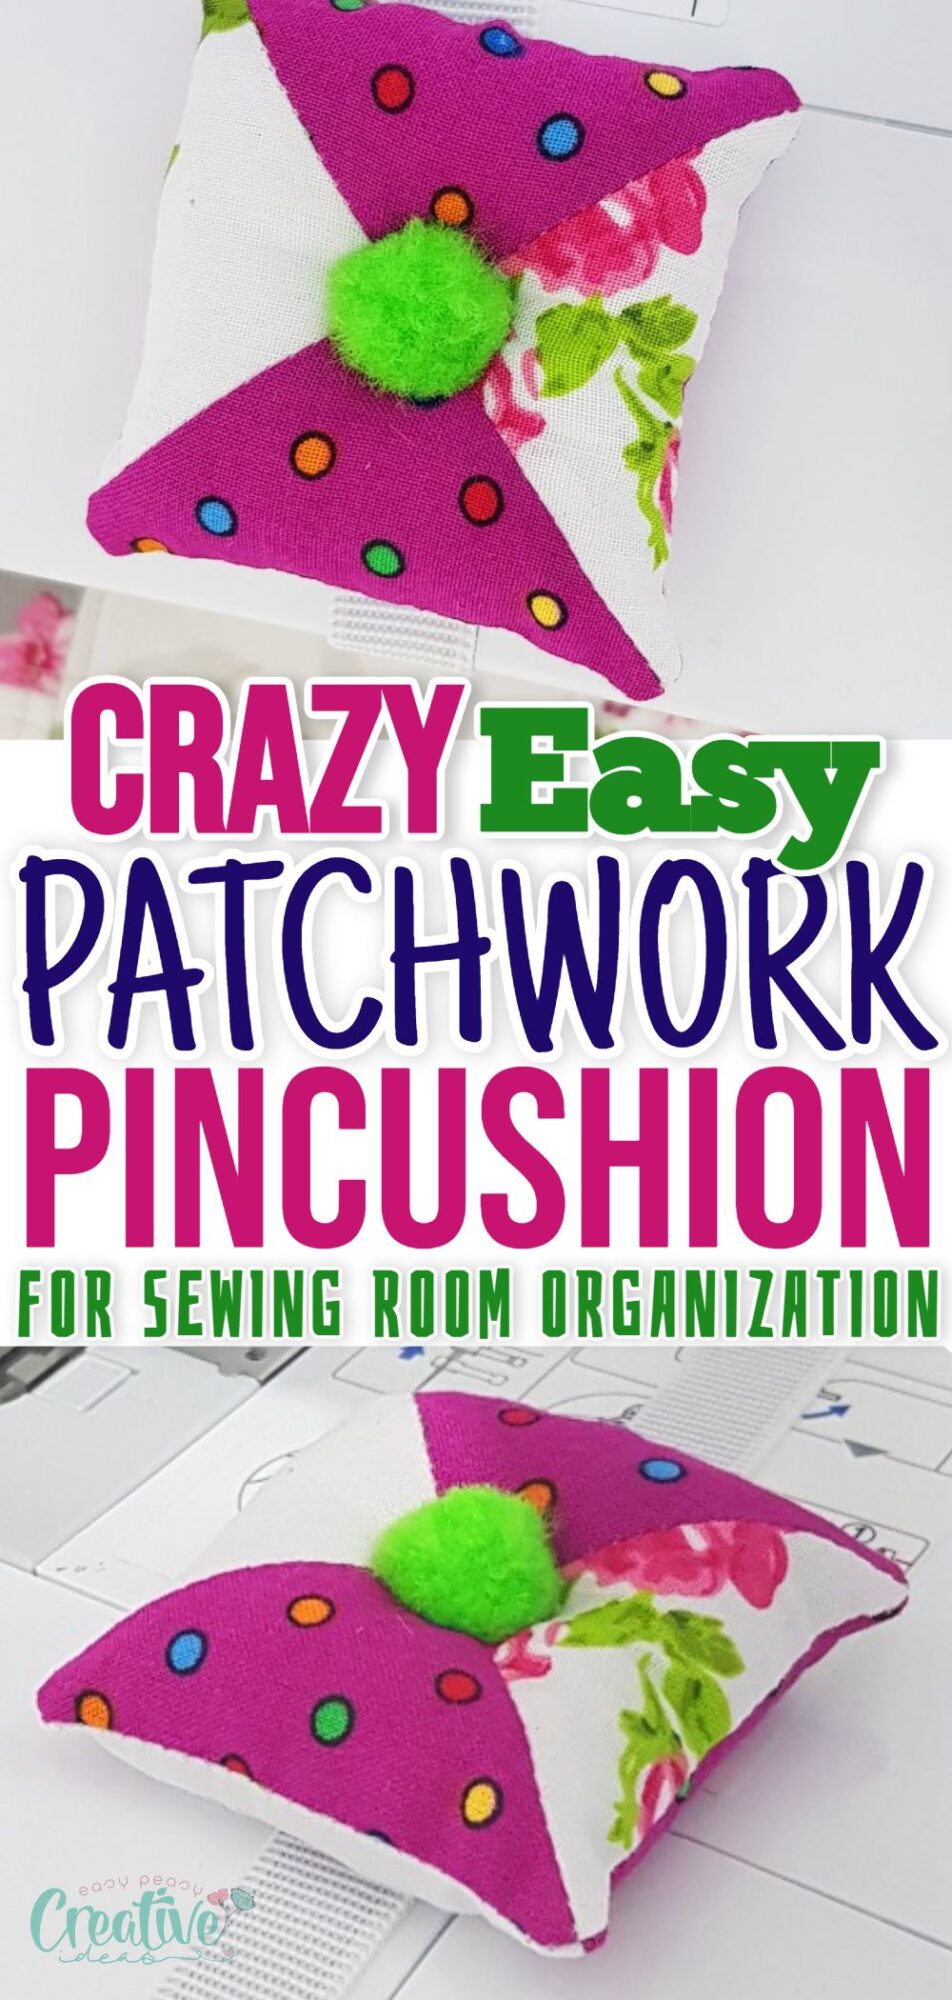
Half-square triangle patchwork pincushion
This adorable patchwork pincushion is made from scrap fabrics sewn into half-square triangles and is a great help if you need a handy sewing machine pin cushion!
I’m super thrilled to share this patchwork pincushion tutorial with you! If you’re anything like me, you never have enough pincushions! And feel the need to sew yourself another one every once in a while!
This is what happened to me the other day when I realized I really need a small pincushion to attach to my sewing machine! When I sew and remove pins I push them aside, sometimes to the back of my machine, so I can be faster and save some time. Or at least that’s what I thought I was doing. But recently I realized I actually end up wasting a lot of time picking the pins up after I finish sewing and looking for the ones dropped in hidden spots or on the floor. So my solution to the problem was this half square triangle pincushion!
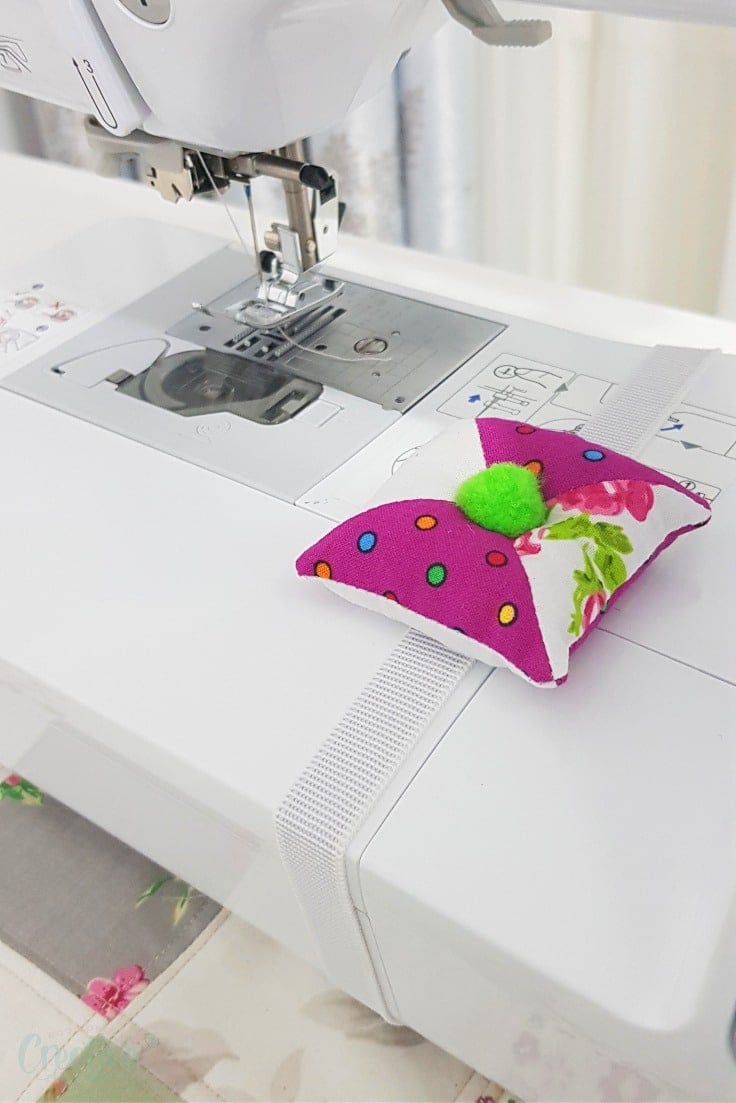
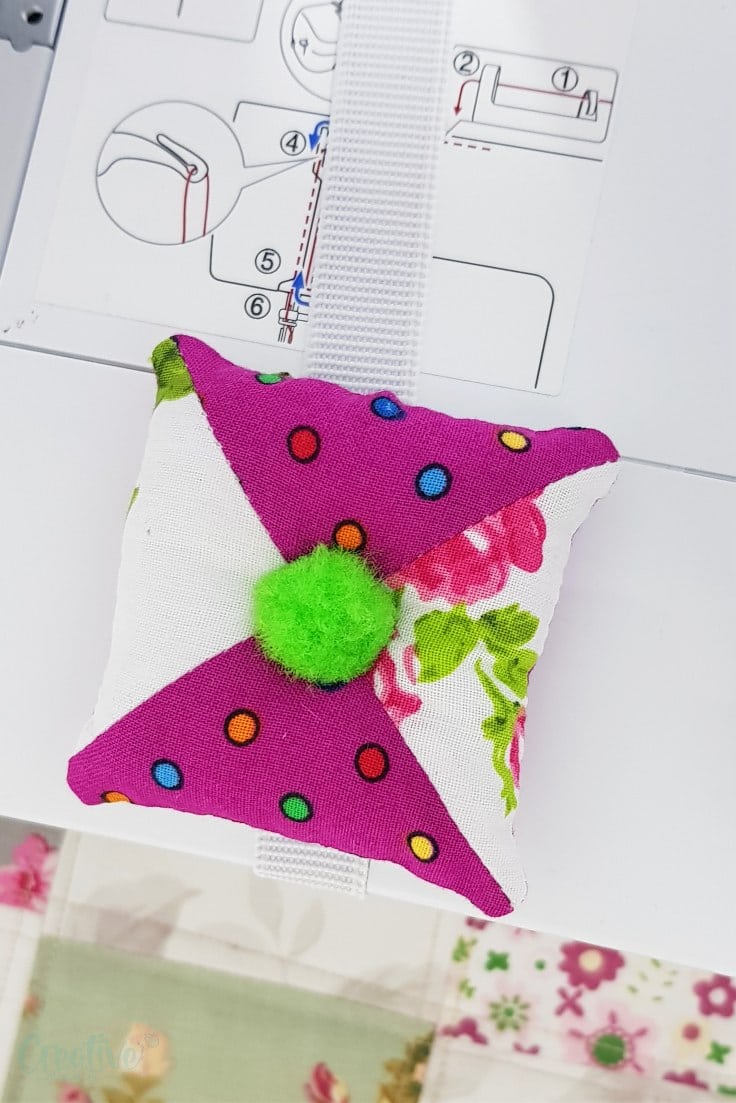
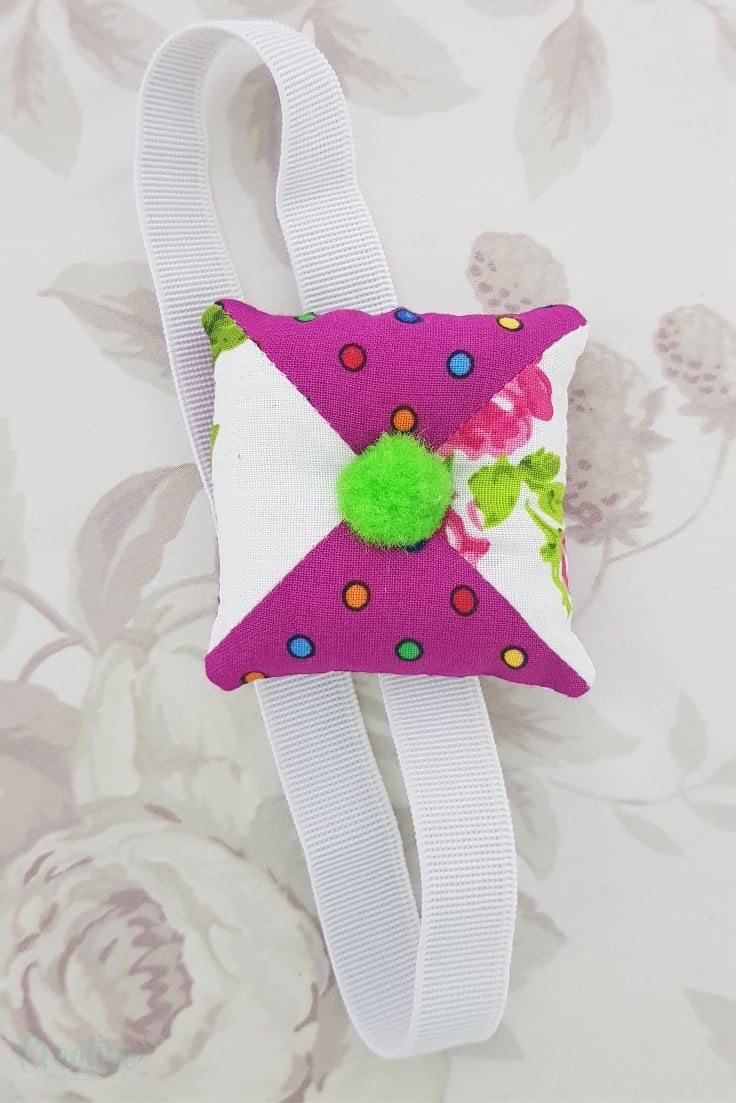
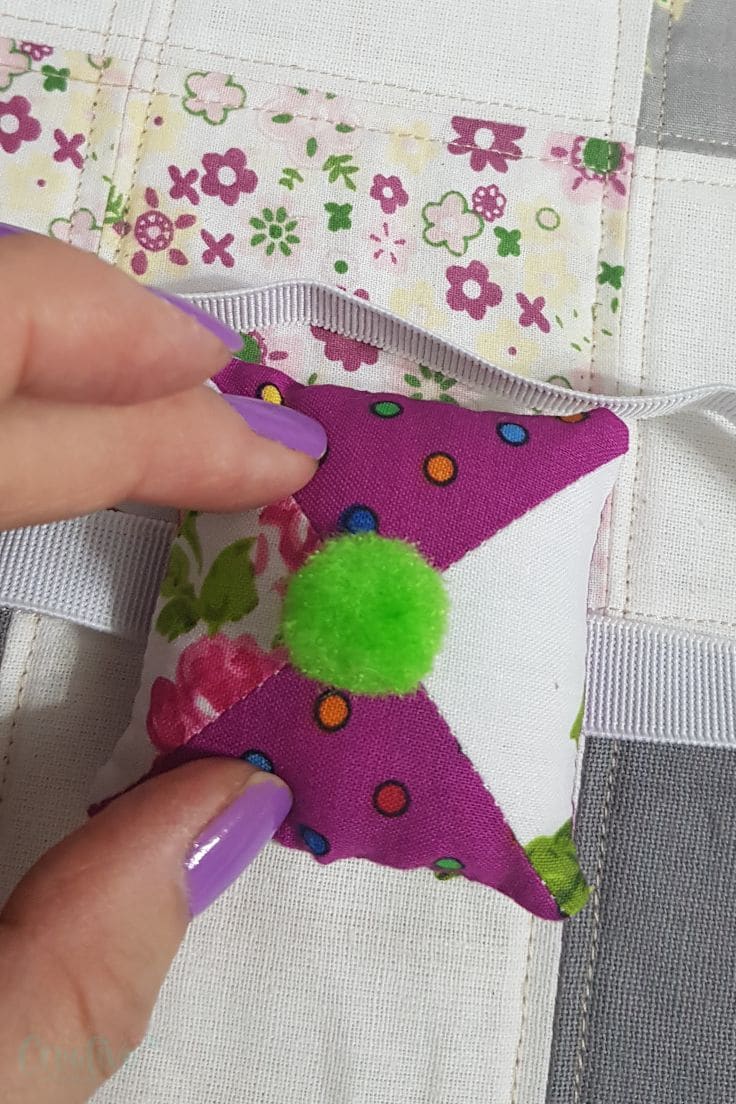
I’ve sewn this little pincushion from half-square triangles, I decorated it with a pom pom because I’m such a sucker for cute stuff and attached an elastic to the back, ends sewn together, so I can easily attach my pincushion to the sewing machine. The elastic makes it easy to move the pincushion front and back too, so when I don’t need the pincushion anymore, I just push it out of my way!
How to sew a Patchwork Pincushion
Materials:
- cotton fabric in two different patterns (measurement depend on how large you want to make the pincushion).
- pins
- cutting board
- rotary cutter
- quilting ruler
- matching thread
- sewing machine
- pressing iron
- blunt tool for pushing corners
- small pom pom
- hand stitch needle
- poly-fill
- elastic
Directions:
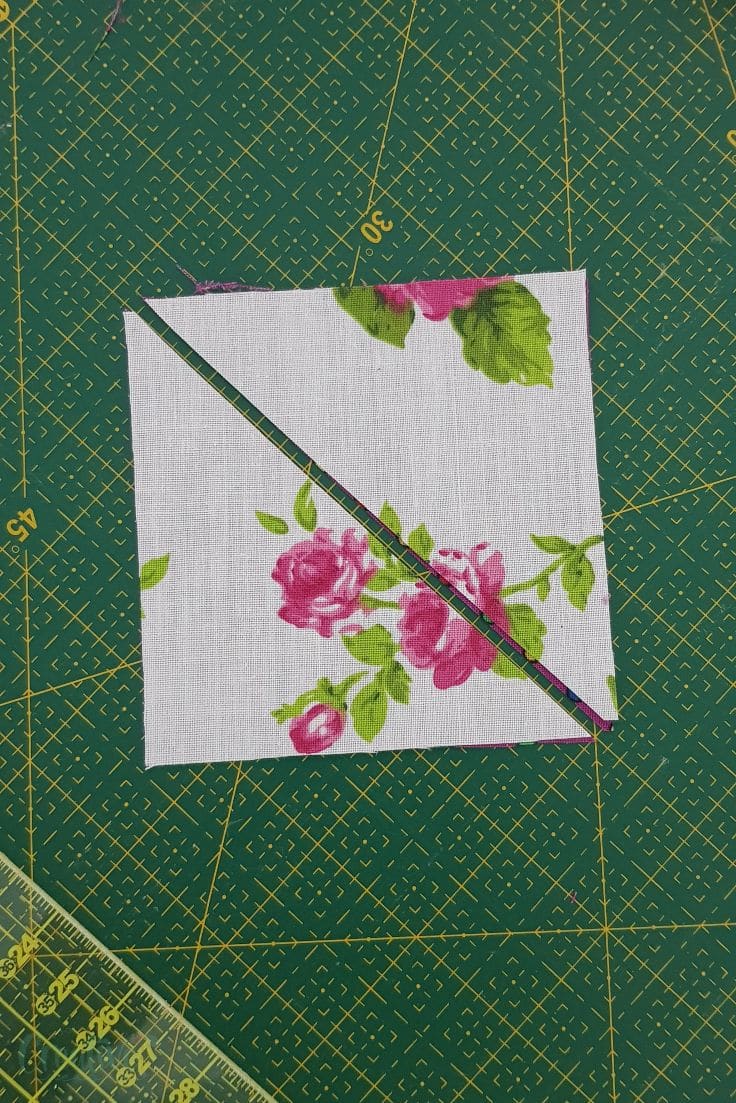
- Use your quilting ruler, cutting board and rotary cutter to square up the fabrics to the desired size. For my small pincushion I cut my squares 3 1/2″ x 3 1/2″.
- Place the squares right sides together.
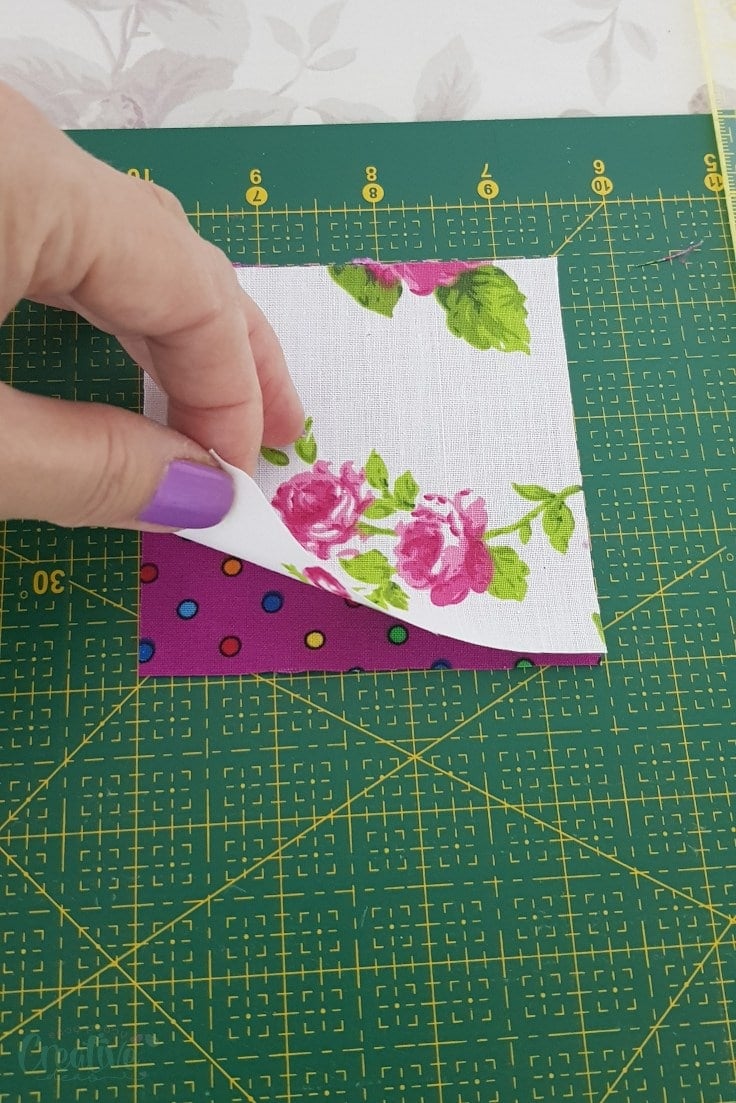
- Cut on the diagonal to split the squares into 2 separate sets of triangles.
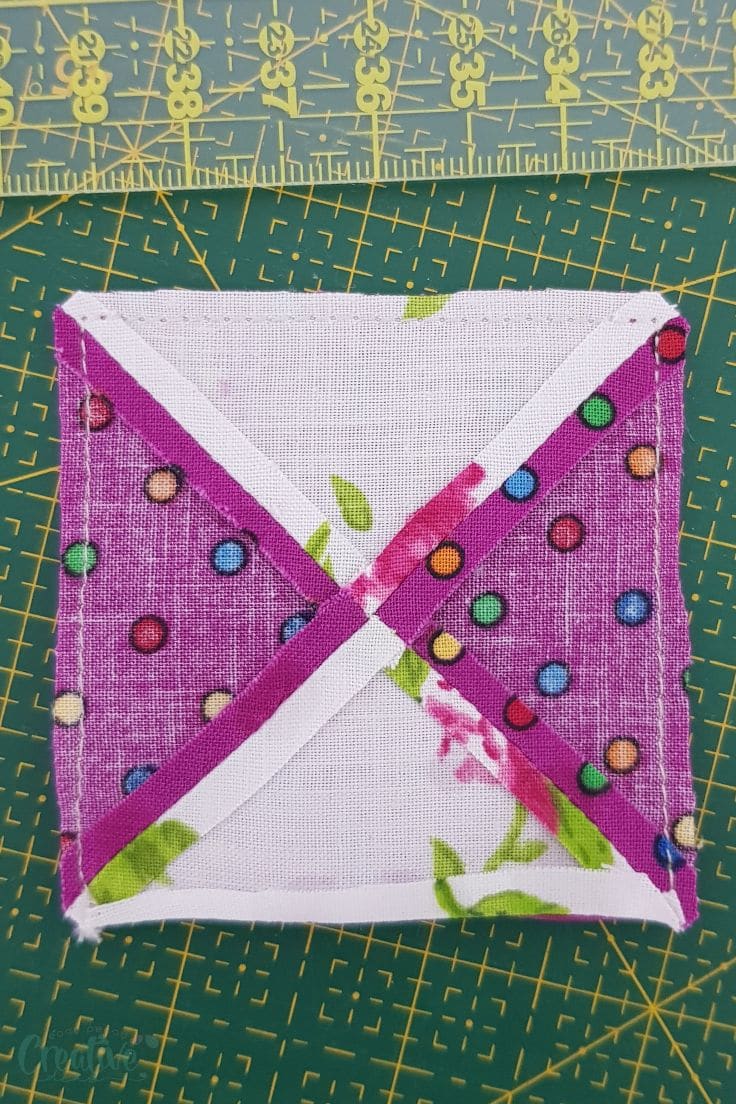
- Sew each set along the diagonal, with 1/8″ allowance.
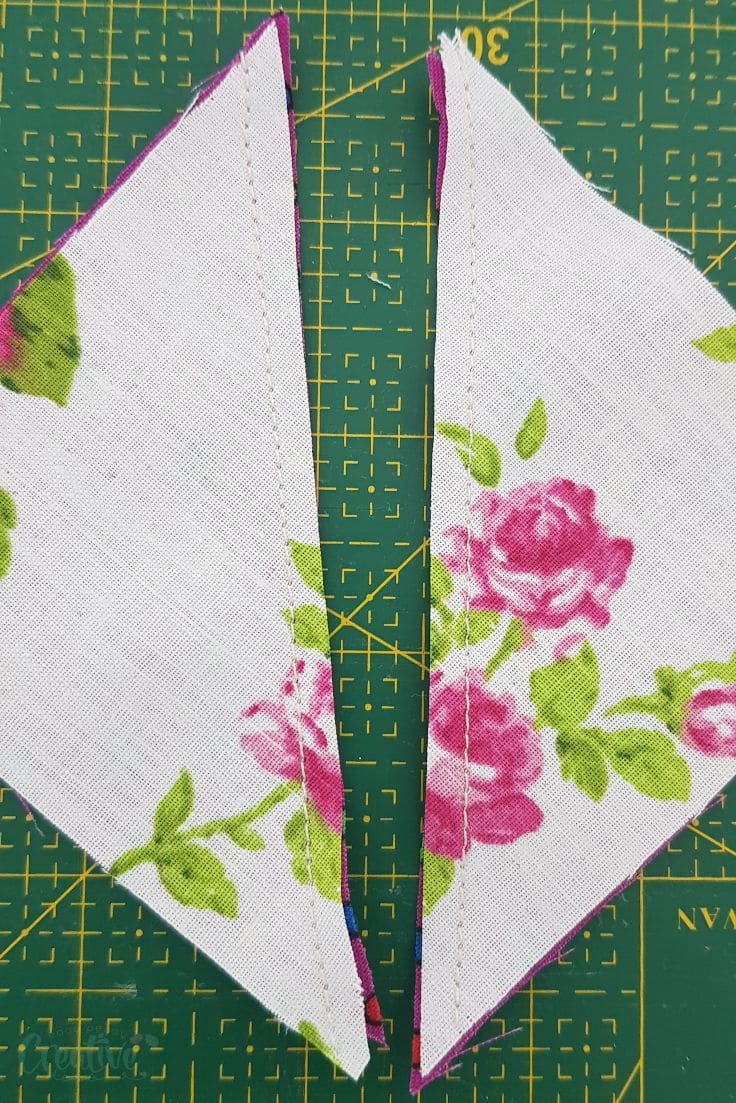
- Press the seams up and trim the little triangles at each end of the seams.
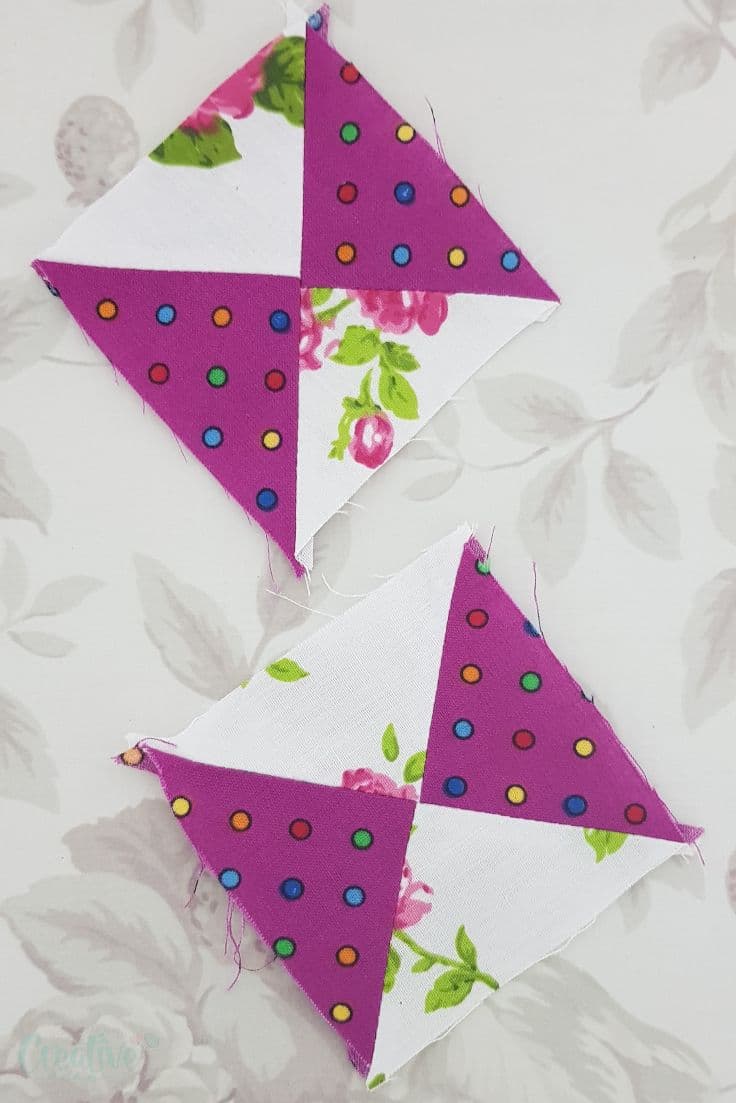
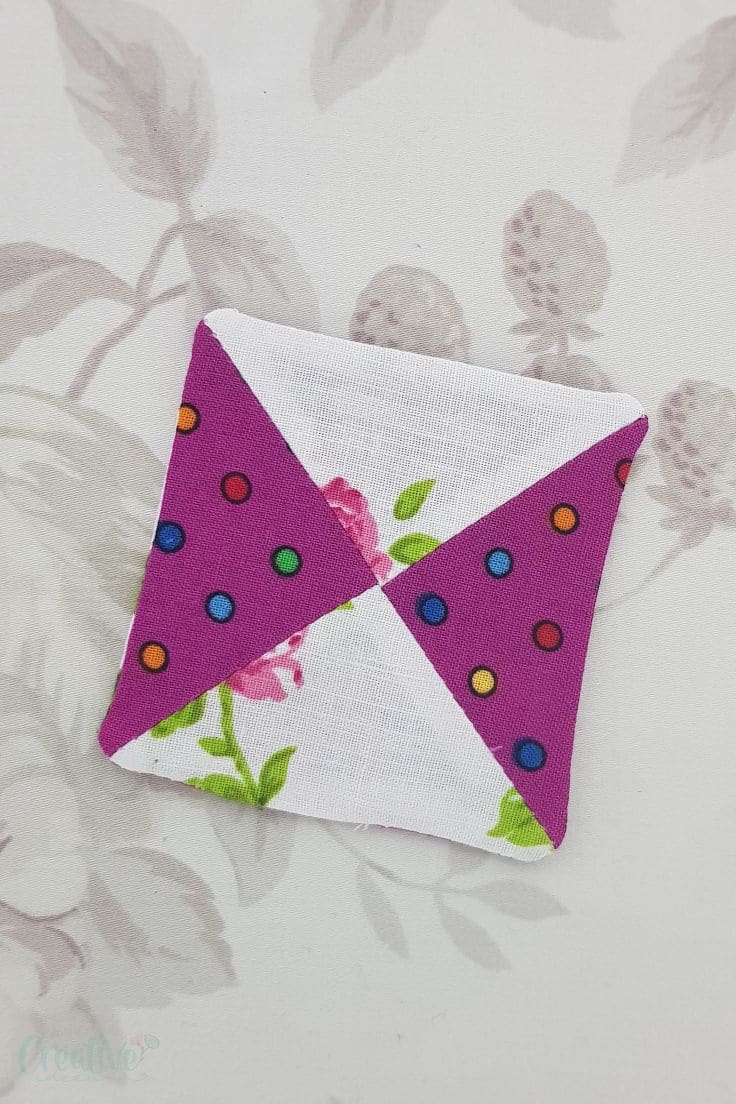
- You now have two new squares.
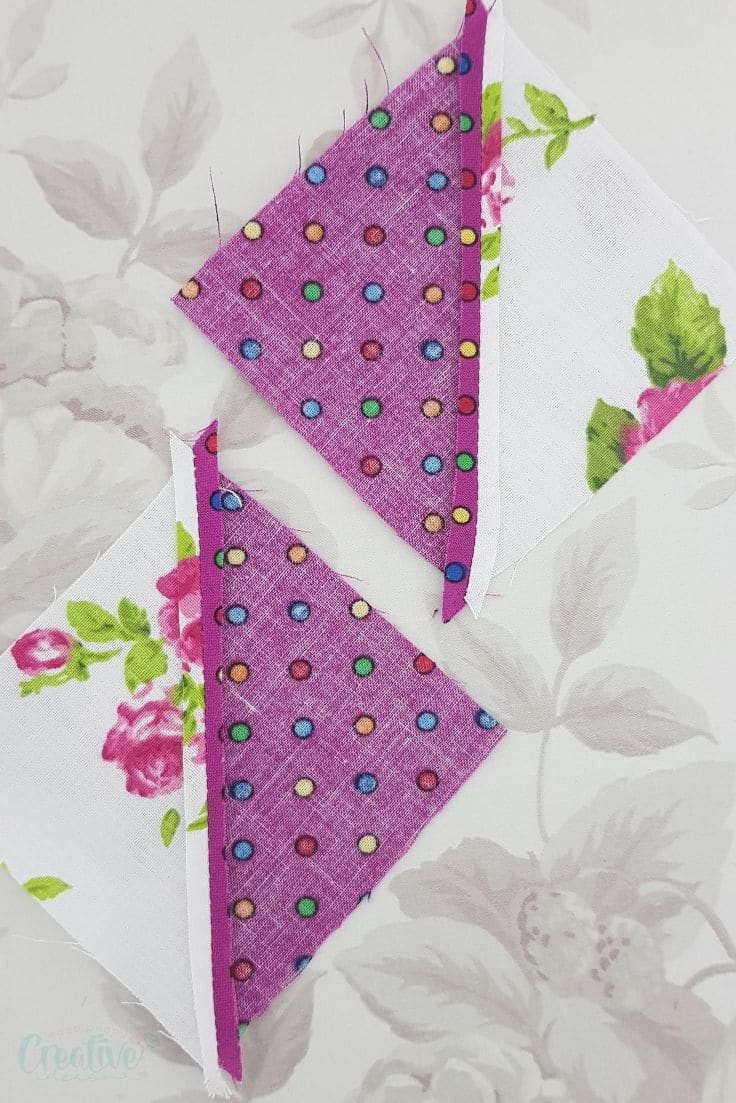
- Place these squares right sides together, with the same color triangles on opposite directions.
- Cut again on the opposite diagonal.
- Sew the diagonal with 1/8″ allowance.
- Press the seam up and trim the little triangles at the end of the seams.
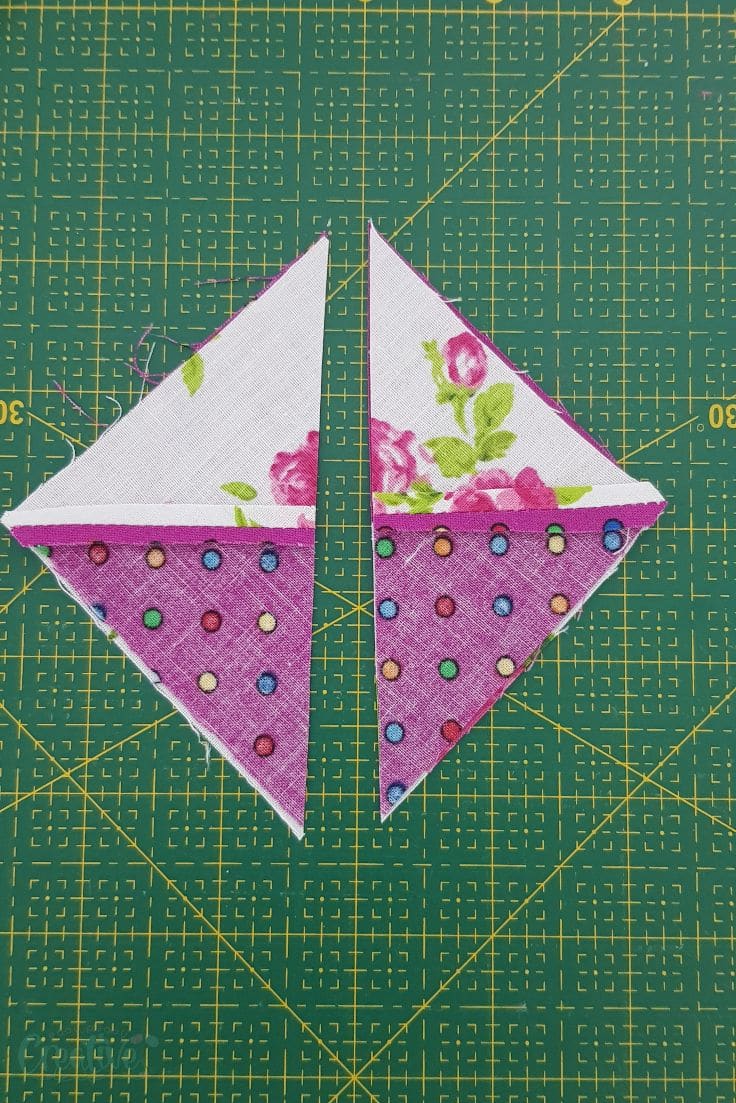
- You now have the final squares you’re gonna use to make the pincushion.
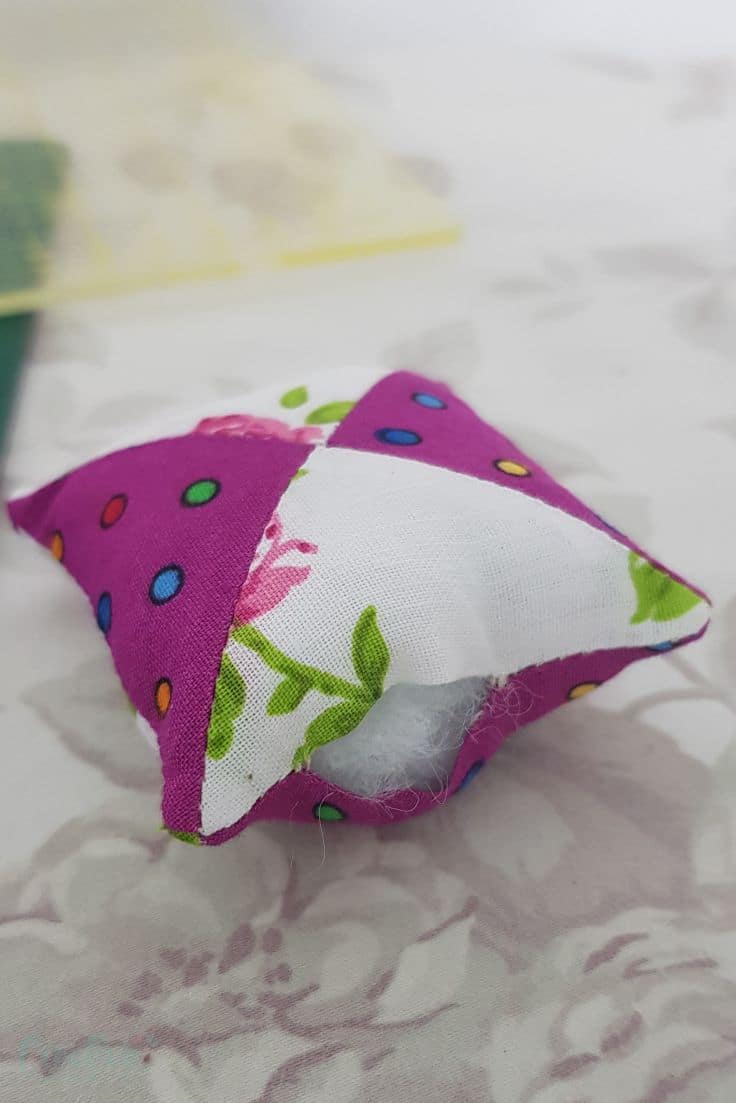
- Place these squares right sides together.
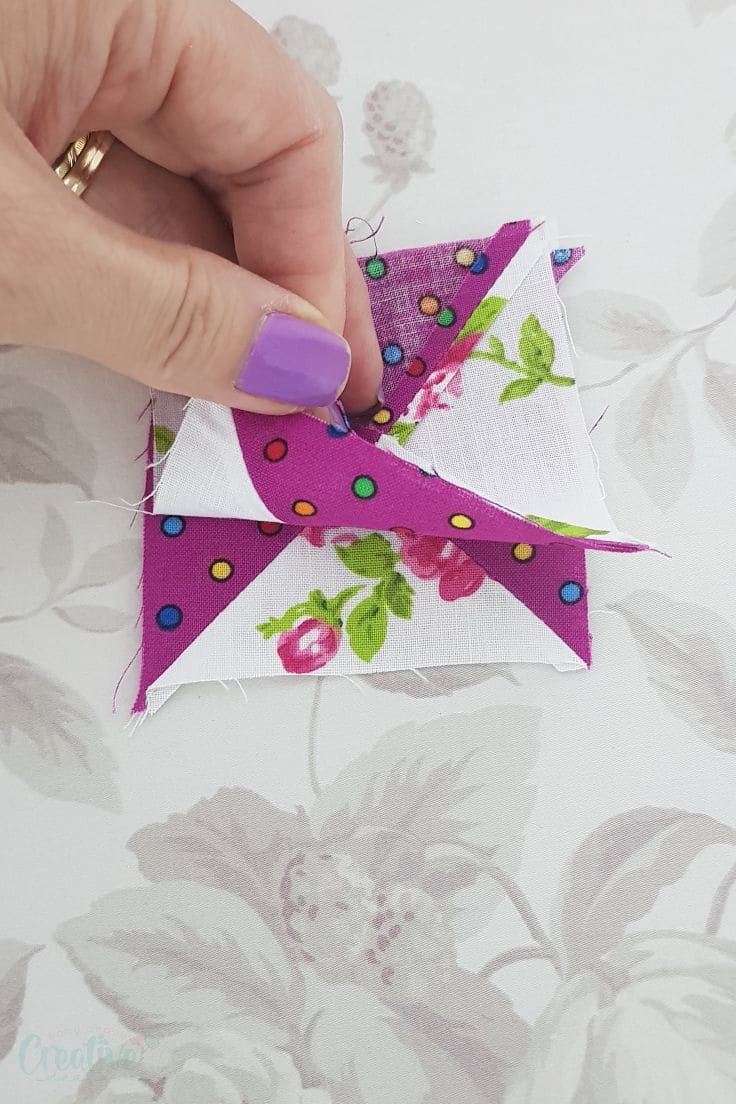
- Pin and sew all sides with 1/4″ allowance, leaving a small gap in one side.
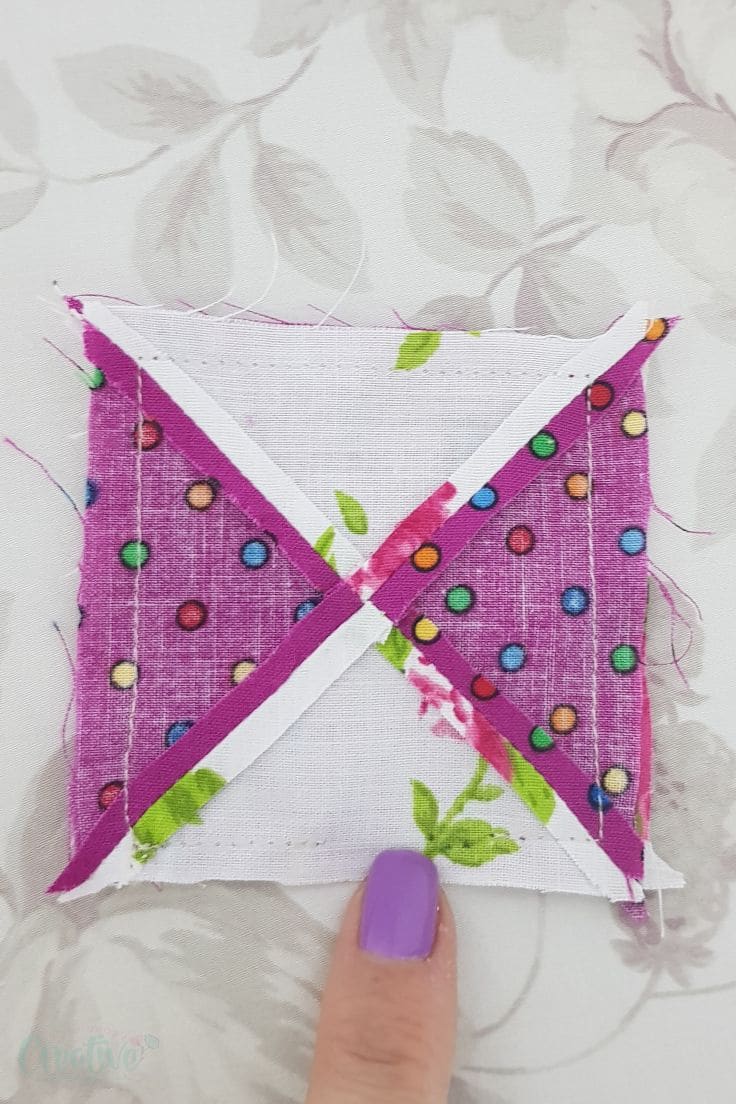
- Clip the corners.
- Trim the sides and upper seams to 1/8″. Do not trim the bottom seam.
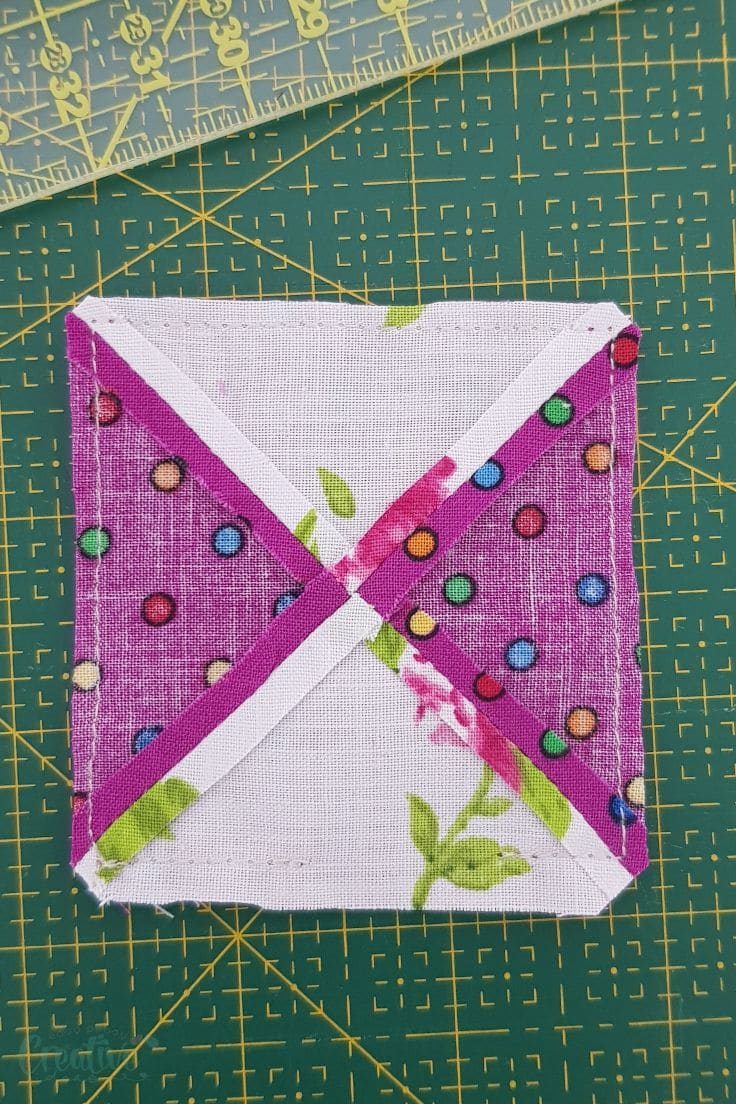
- Open the bottom seam and press it up.
- Turn the pincushion right side out and push the corners out with the blunt tool (or use this method).
- Fill the pincushion with poly-fill through the gap.
- Sew the gap closed using a ladder stitch.
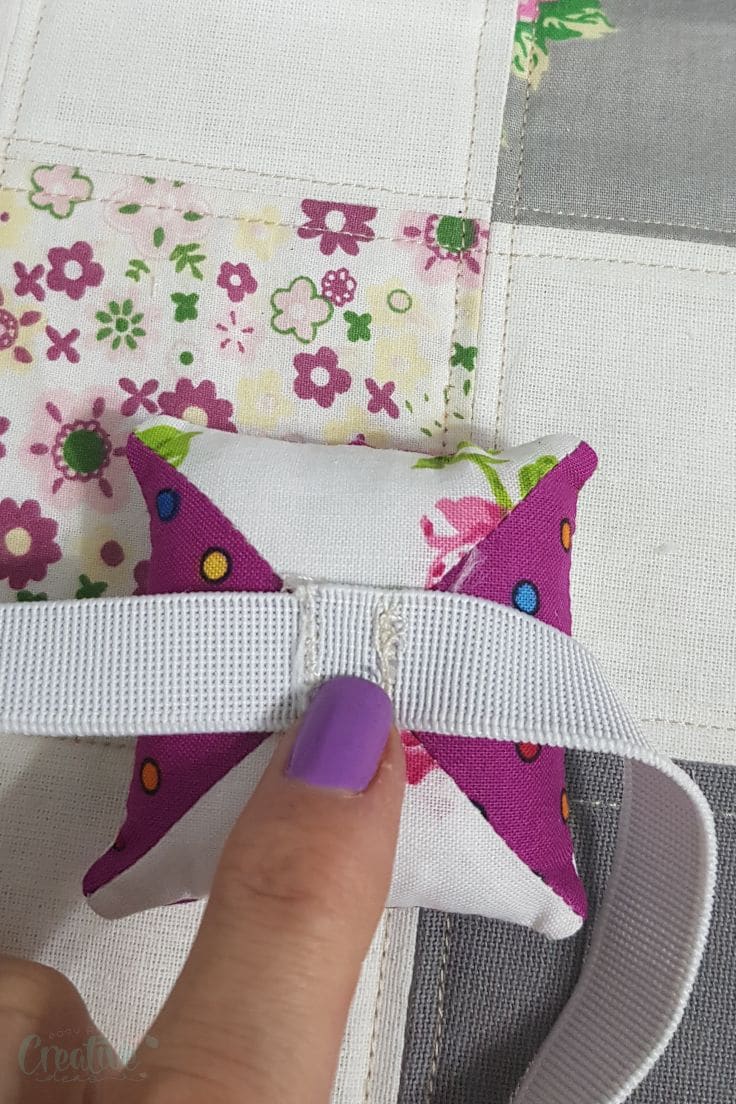
- Get the elastic and sew the ends together to make a circle.
- Sew the elastic to the back of the pincushion.
- Sew a pom pom in the middle of the pincushion.
Your lovely patchwork pincushion is now ready to use! Place the pincushion on your sewing machine in a handy place so you can easily discard the pins without making a mess on your table and surroundings.
More scrappy ideas you’ll love:
- Cloud baby mobile
- Chicken fabric weights
- Sewing needle holder pincushion
- DIY lavender sachets
- Quilted sewing mat with thread catcher
- Pumpkin trio pincushion
I simply love how this adorable patchwork pincushion turned out! It’s a great scrap project idea, it’s crazy easy to sew, making it perfect for beginners and it’s a wonderful way to learn a new quilting technique: half-square triangles! Plus it’s ideal for the neat freaks like me since all the pins end up organized, all in one safe place!
Article may contain Amazon & affiliate links. As an Amazon Associate I earn from qualifying purchases at no additional cost to you.
ABOUT PETRO
Hi, I’m Petro, author and founder of Easy Peasy Creative Ideas. Sewist, crafter, avid DIY-er, foodie, photographer, homemaker and mommy to one. I’m an expert at coming up with quick, clever sewing tips, recycling crafts and simple, easy recipes! You can find my ideas featured in reputable publications such as Country Living, Good House Keeping, Yahoo News, WikiHow, Shutterfly, Parade, Brit & Co and more. Thanks for stopping by and hope you’ll stay for a while, get to know me better and come back another time. Stick around for real fun projects! Read more…