

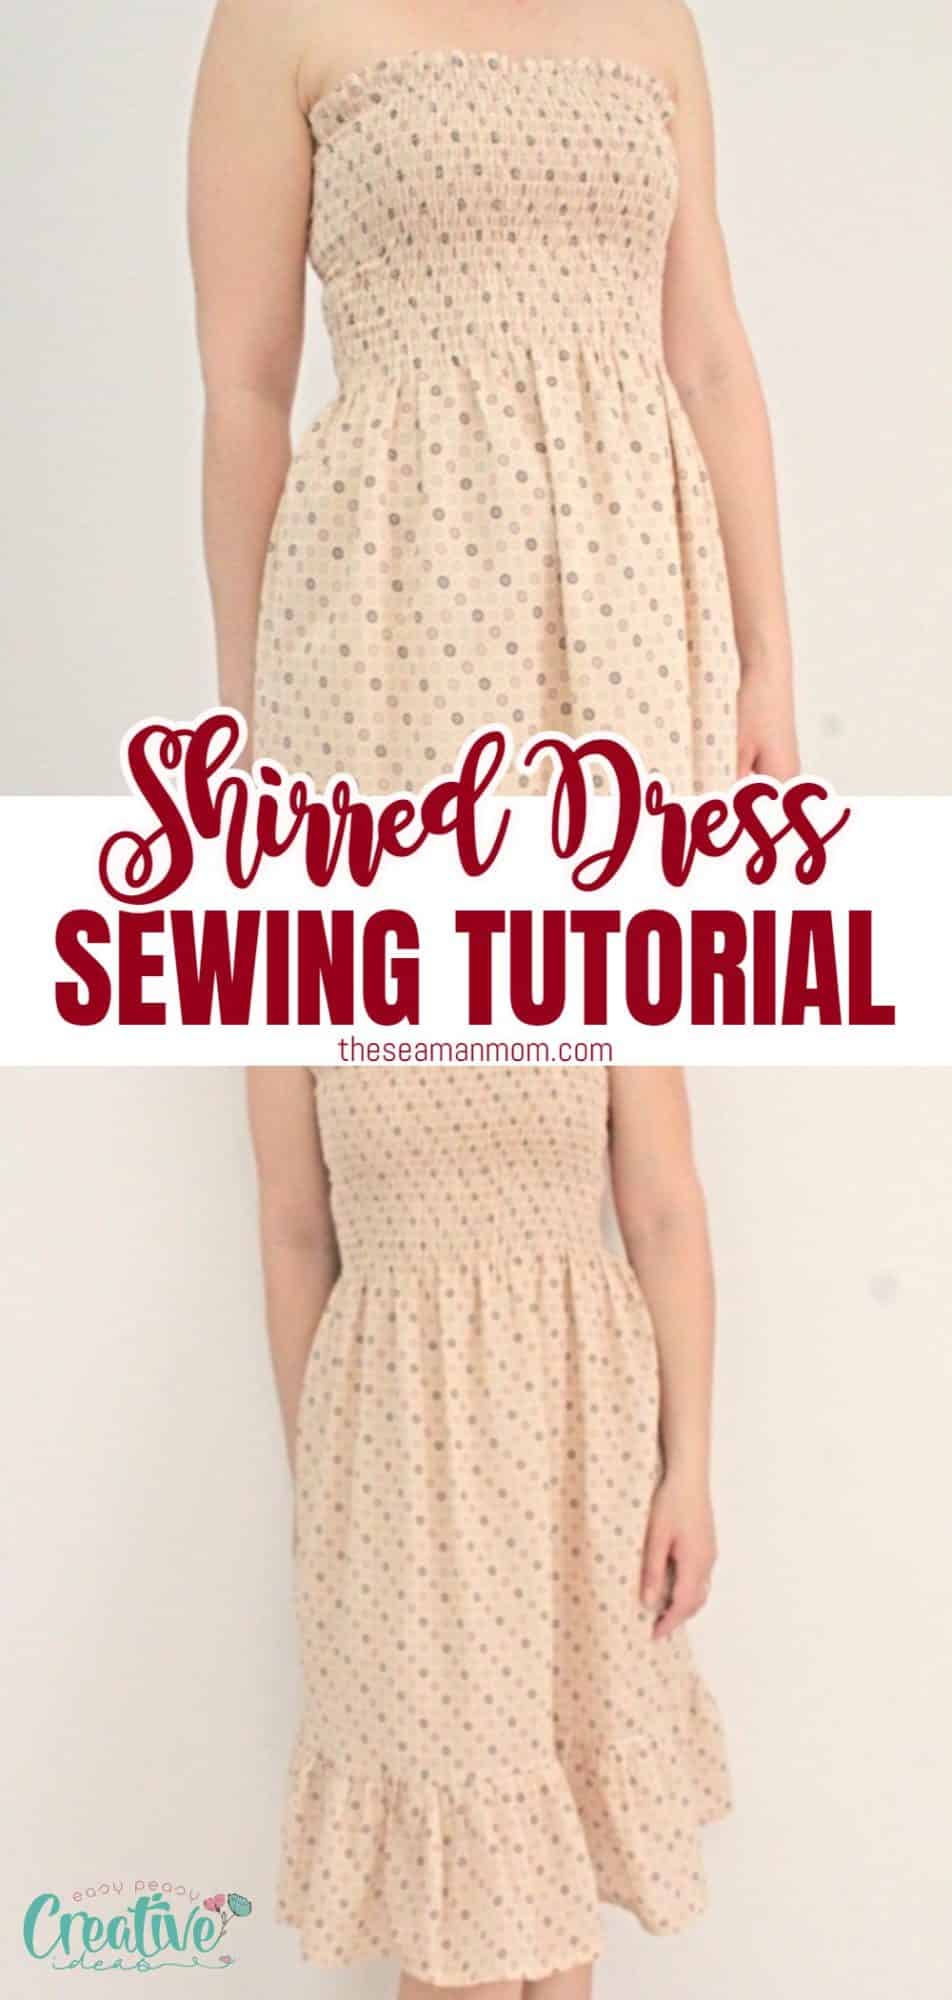
How to sew a shirred dress
When it comes to summery style, there’s no faster way to put together a stunning look than with this shirred dress! Easy enough for beginners and completed in minutes – this charming sundress is the ideal addition to your wardrobe.
Shirred dress sewing tutorial
Recently, I’ve noticed that some extra pounds have been finding their way onto my body. As a result, most of my summer dresses don’t flatter or comfort me like they once did. Fortunately, with this shirred dress the perfect balance was found; it looks good and provides concealment for any possible tummy bulge – all while feeling great!
Though I’m doing all that I can to avoid gaining additional weight, my body is beyond me at this stage in life. But fortunately for me, this stretchy dress with lots of room around the waist and hips will fit even if I do put on a few extra pounds. Not only does it give plenty of comfort from its shirring design, but it’s also ideal as a maternity dress and perfect for breastfeeding moms! This easy-to-wear garment makes pregnancy days much more comfortable and postpartum period hassle free.
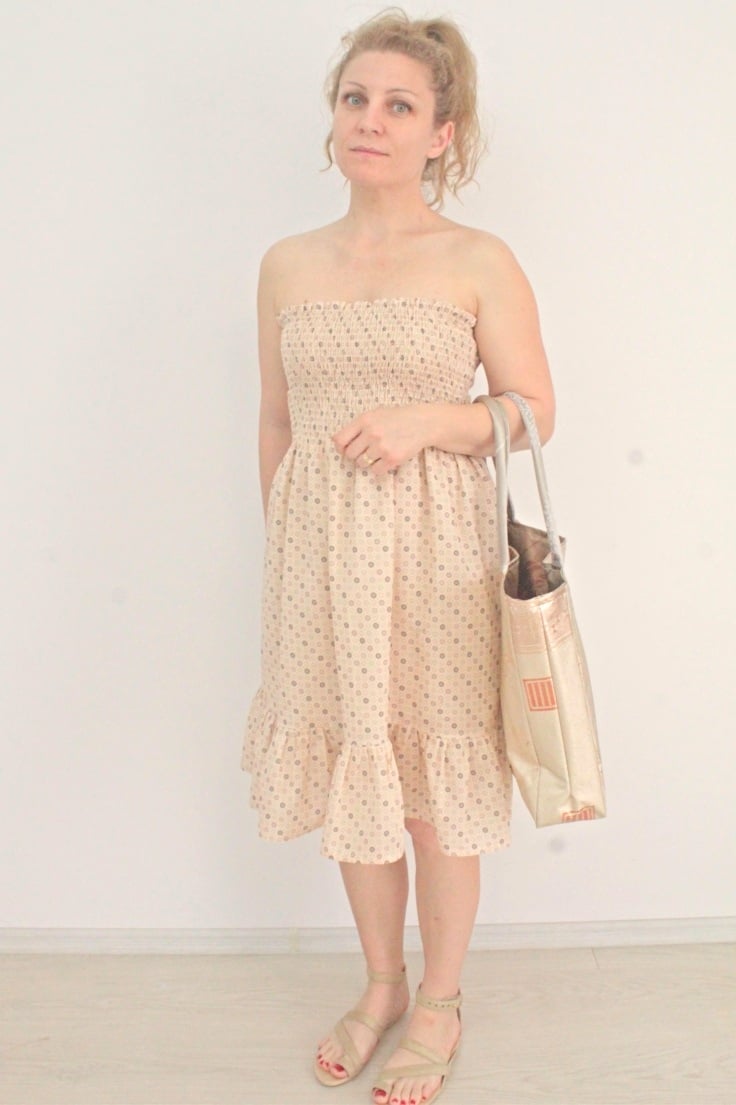
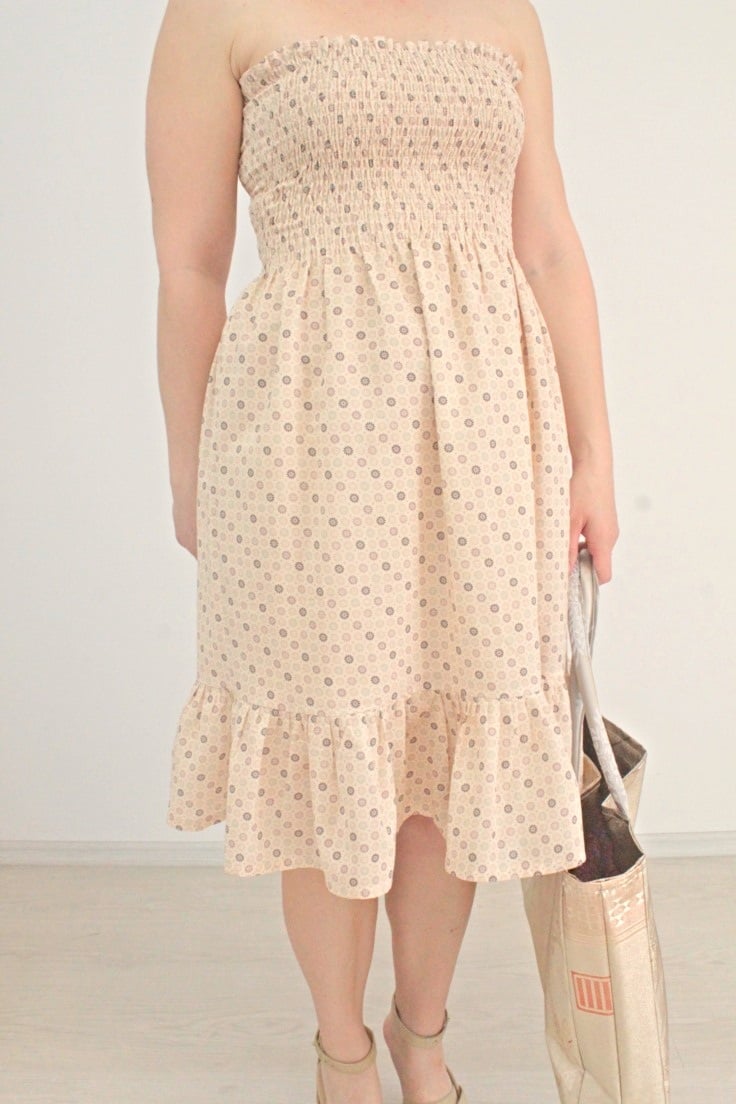
I decided to go strapless for my shirred dress tutorial but straps are so easy to add once the dress is ready. I’m planning on adding some soon, just to be on the safe side, as I tend to be quite careless when I run errands, can’t risk to put myself in the situation of flashing someone with my “goodies” lol.
Other dress ideas you might like:
- Cross back dress tutorial
- Dress pattern making tutorial
- V neck dress pattern
- How to sew a v neck
- Gathered waist summer dress
- Striped knit dress with pockets
- Off the shoulder dress pattern
This adorable comfy dress with shirring is also very versatile. You could wear yours as an every day dress, a party dress or a beach dress. It all comes down to the fabric choice and the shoes you’re wearing with this cute dress.

What is shirred fabric?
Shirring is a sewing technique that is used to gather the fabric into a smaller area, creating a stretchy, elastic effect. It’s also a great way to add texture and interest to your dress. Shirring can be done by hand or machine (typically with a sewing machine since hand sewing can be very time-consuming).
Are shirred dresses flattering?
Shirred dresses are very flattering! The ruching of the fabric helps to conceal lumps and bumps, while also accentuating curves. This makes them perfect for any body type! Plus, since shirring is a stretchy technique, it will allow the dress to move with you – no more tugging or pulling at your clothes!
What fabric is best for shirred dresses?
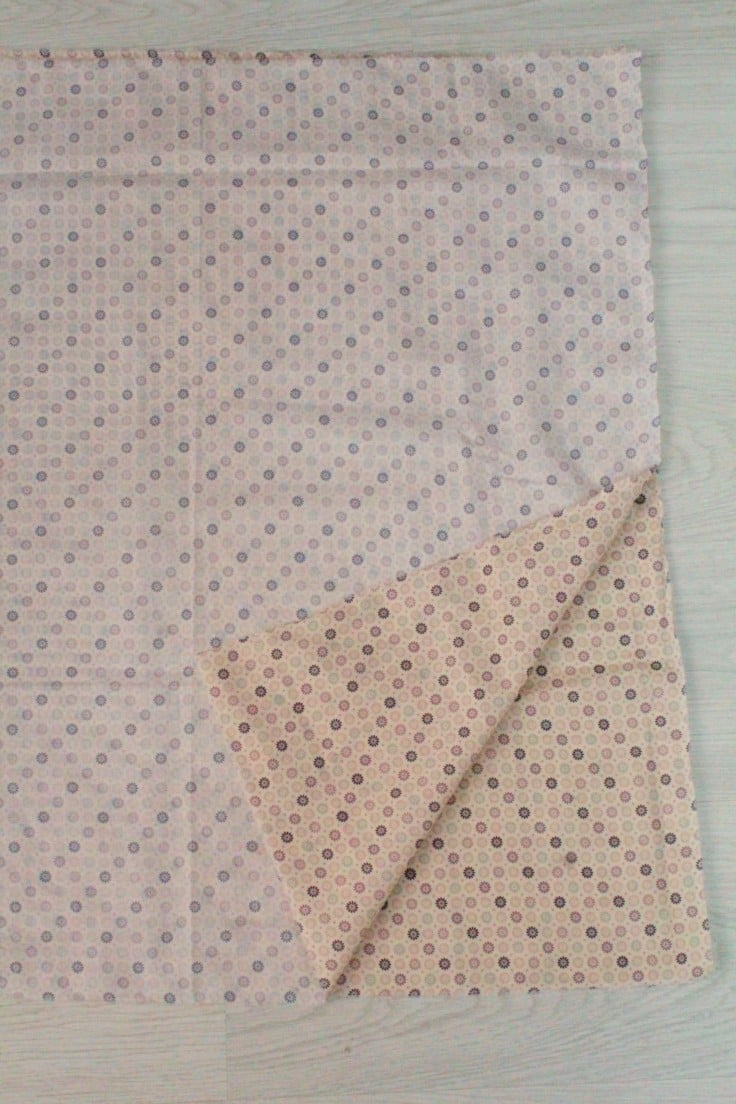
The best fabric for shirred dresses is medium to lightweight cotton or jersey. This will allow the dress to move with you, while also providing plenty of give in the areas where you need it most. You’ll also want to make sure that the fabric is pre-washed and dried before sewing, as this will help to ensure that the shirring remains in place and keeps it’s shape.
How to do shirring on a dress?
Before proceeding to making your own dress if you’ve never shirred before, you might wanna take a look at this shirring tutorial.
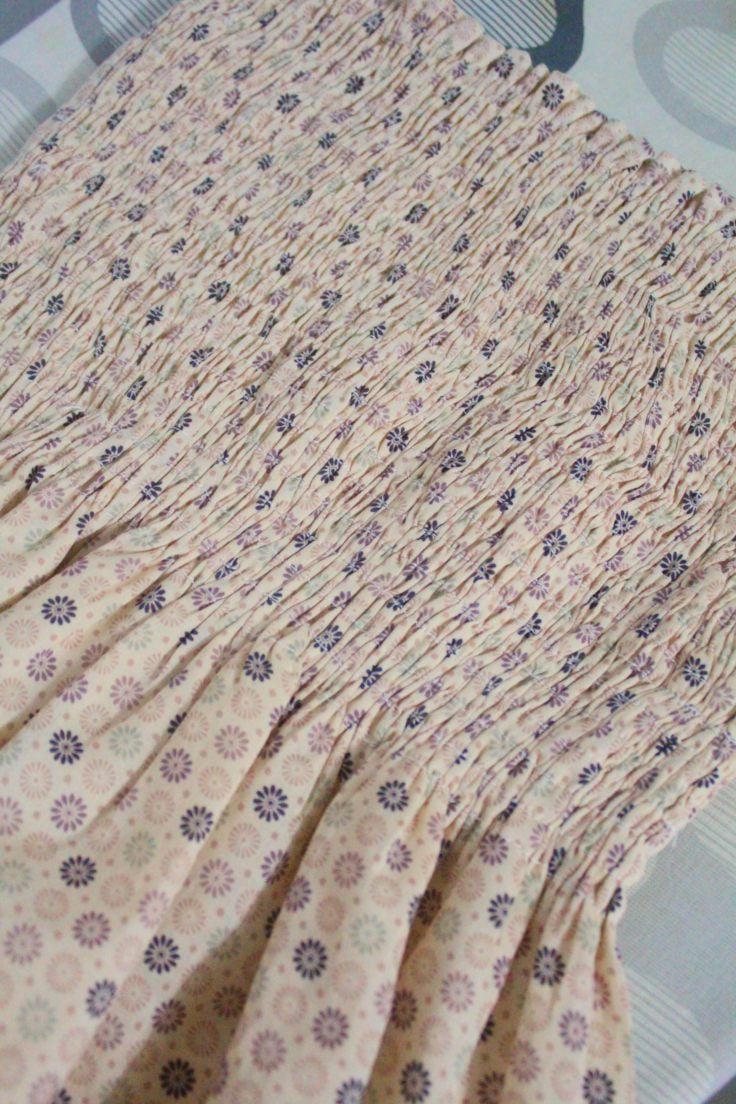
When making this shirred dress pattern I’ve shirred about 22 rows using elastic thread so my dress is shirred the entire bodice down to the waistline. You can sew as many rows as you like to make your dress feel comfortable and fit your own body. For larger chest areas you may need to add more rows than on small chest areas. Also the closer the shirred rows the tighter the dress.
Because my fabric was quite see-through I had to add lining. I used rayon lining while my dress is cotton but if you’re a beginner I advise you use the same type of fabric fro main dress and lining (if any is needed). If you don’t need to add the lining, just skip the steps where I go over the instructions on adding lining.
Why is my shirring not stretchy?
If your shirring is not as stretchy as you’d like it to be, it may be possible that you’ve used the wrong thread type. Make sure you use thin elastic thread for shirring, sew the sirred rows not too close to each other, and add enough rows of shirring to make your dress fit (in other words don’t go overboard with shirring). Also, choose a stitch length that is appropriate for the fabric and the elastic thread you’re using.
Shirred top dress step-by-step tutorial
Materials:
- cotton fabric for dress, ruffle and lining – optional (the yardage depends on your own body measurements that I’ll indicate below) – similar fabric here and here
- yardstick
- marking pen
- seam guide foot – optional
- elastic thread
- scissors
- matching thread
- pins
- sewing machine
How to make a shirred dress?
How do you measure for a shirred dress?
- For the bust measurement, measure around your entire bust and multiply by 1.5. This is the width of your fabric (front and back).
- Measure from armpits down to where you want your hem, subtract 6″ and add 1″ allowance. This is the length of your dress.
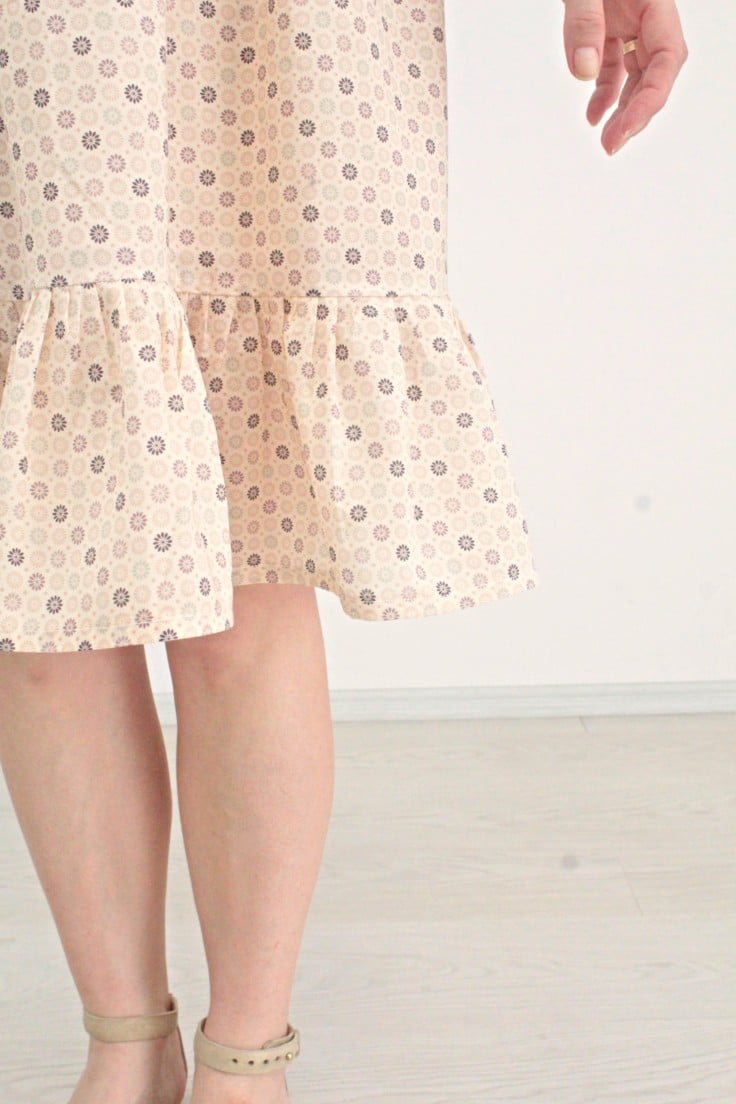
- To calculate the ruffle: the width is 6″ plus 1/2″ allowance plus hem (I added about 1″ for hem); the length is double the width of your dress.
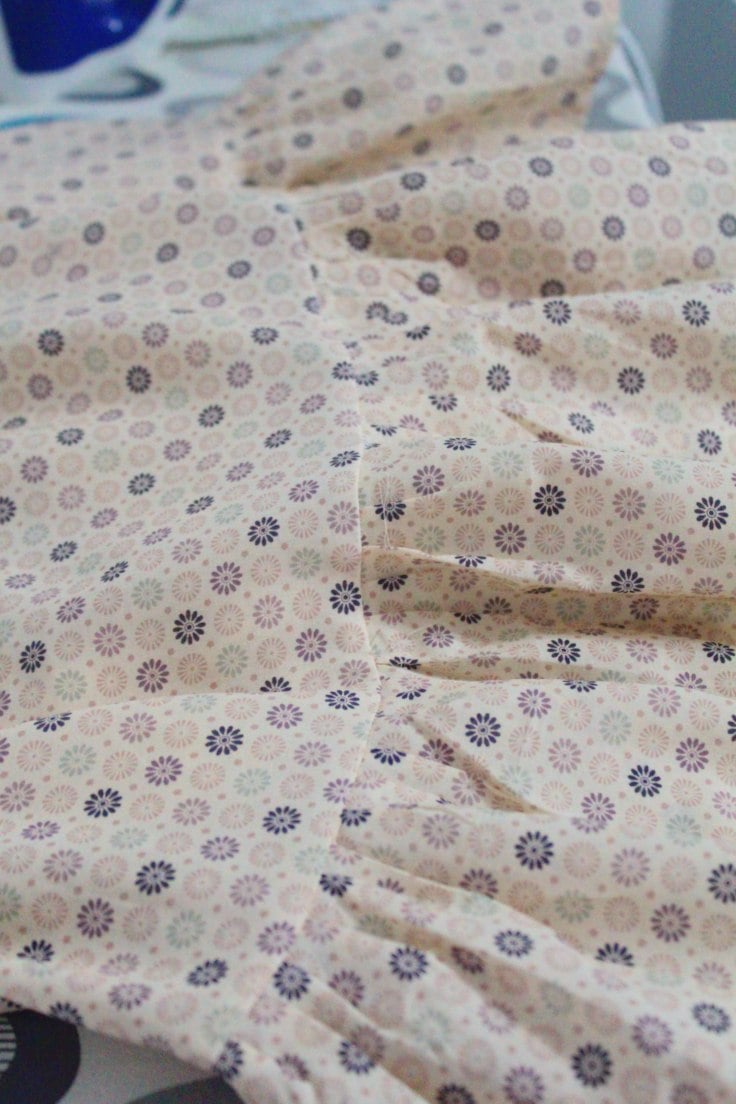
Cutting the fabric
- Using the measurements for the dress cut a large piece of fabric, fold in half lengthwise and cut.
- Repeat for the lining if using any.
- For the ruffle cut a long strip using the measurements above fold in half lengthwise and cut.
Sewing the shirred sundress
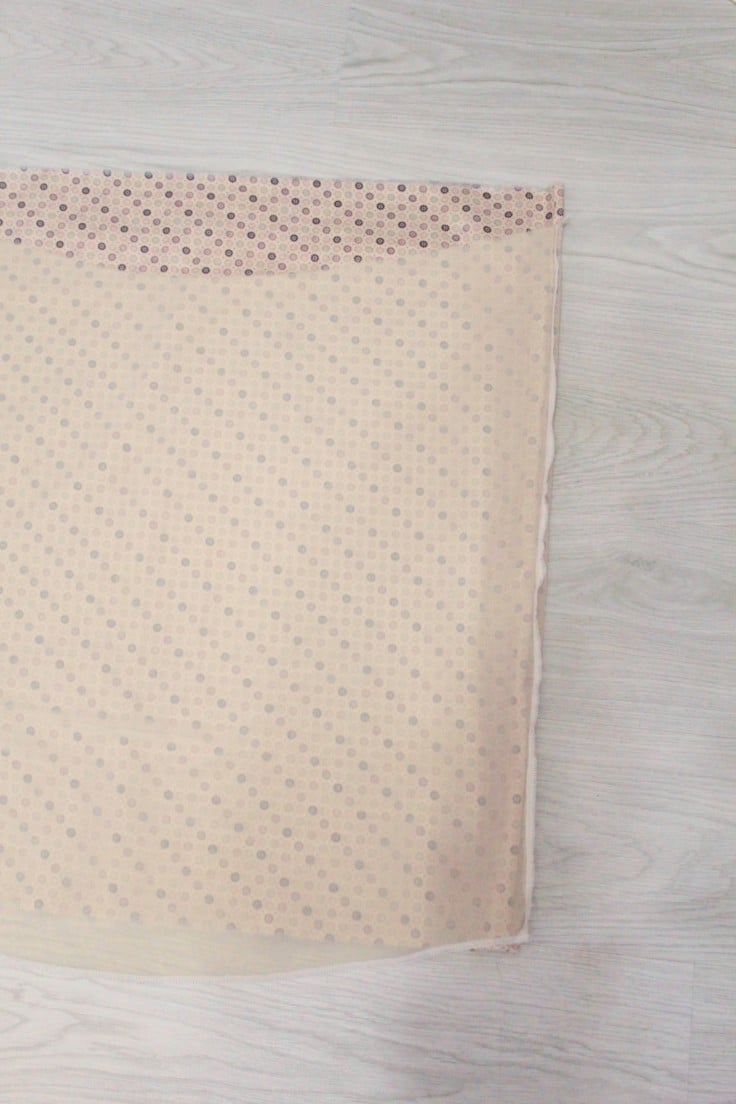
- Place the dress pieces right sides together
- Pin the side seams, sew with 1/4″ seam allowance and serge or finish with a zig zagstitch.
- Repeat these steps for the lining then serge or zig zag the hem on the lining. If you don’t need lining skip this step.
- With the dress right side out and the lining wrong side out (so the right sides are matching) slip the dress inside the lining until the tops match perfectly.
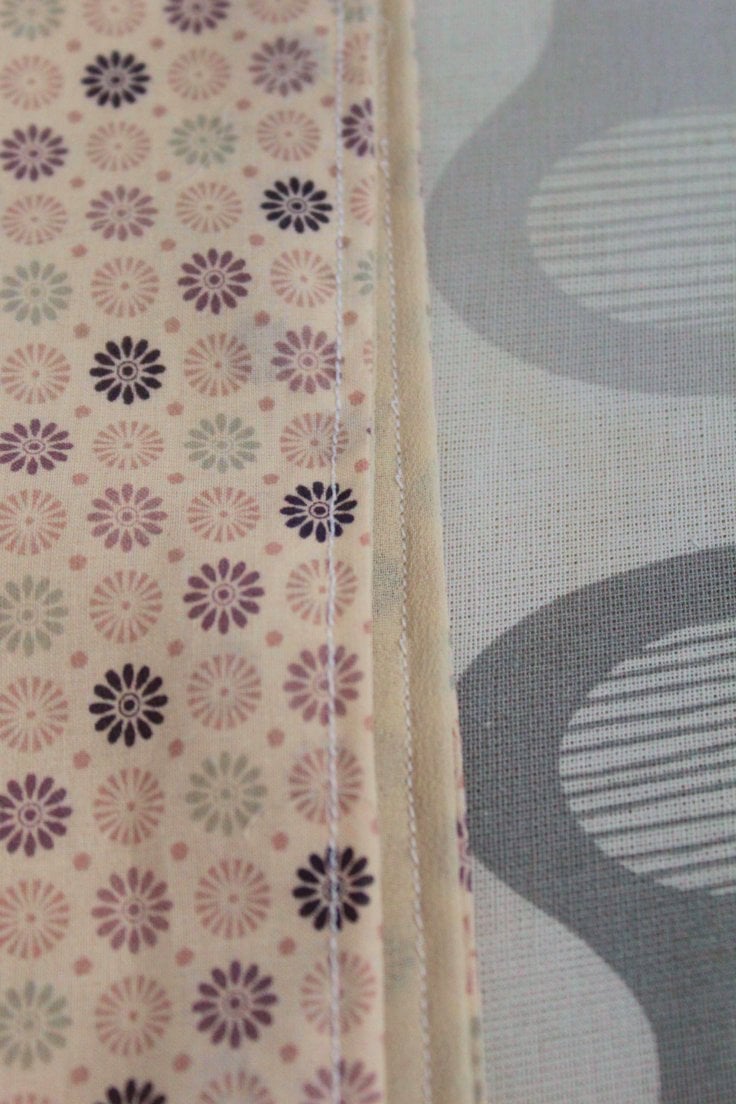
- Pin the tops and sew with 1/2″ allowance.
- Fold the lining inside the dress, press the tops and sew around the top with 1/8″ allowance.
- If you don’t use lining skip the above 3 steps. Just do a regular hem for the top of your dress to hide the raw edge.
Making the ruffle
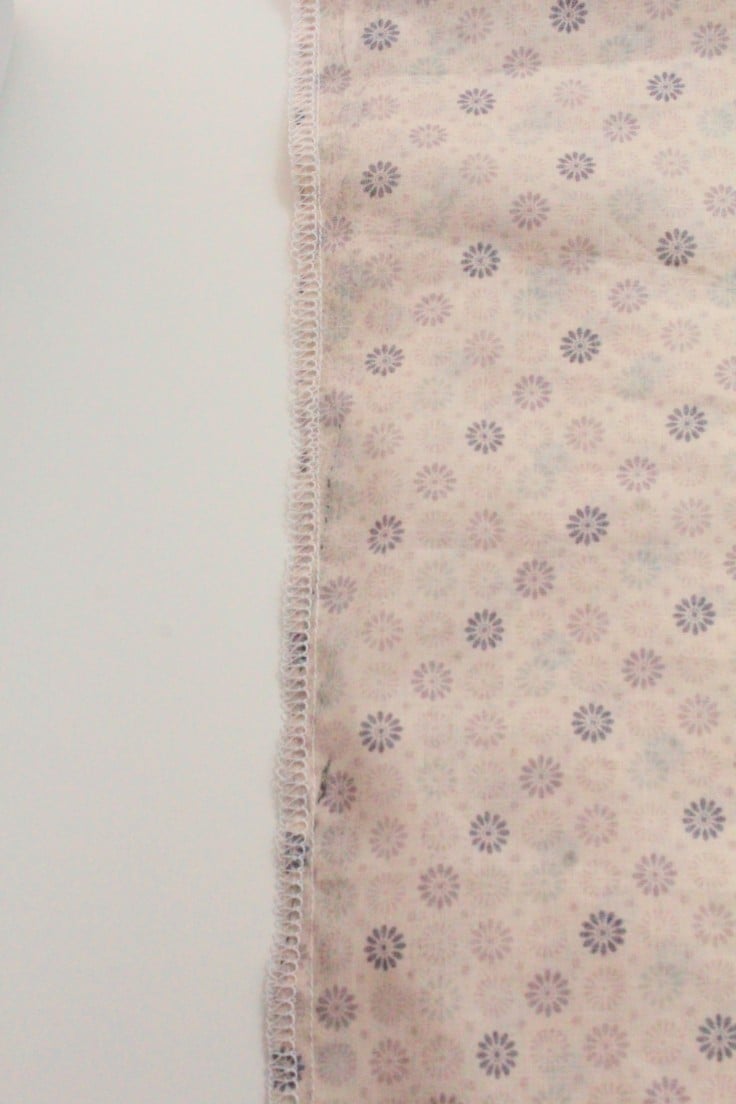
- Take the ruffle strips, sew together at one end with 1/4″ allowance then hem the whole strip.
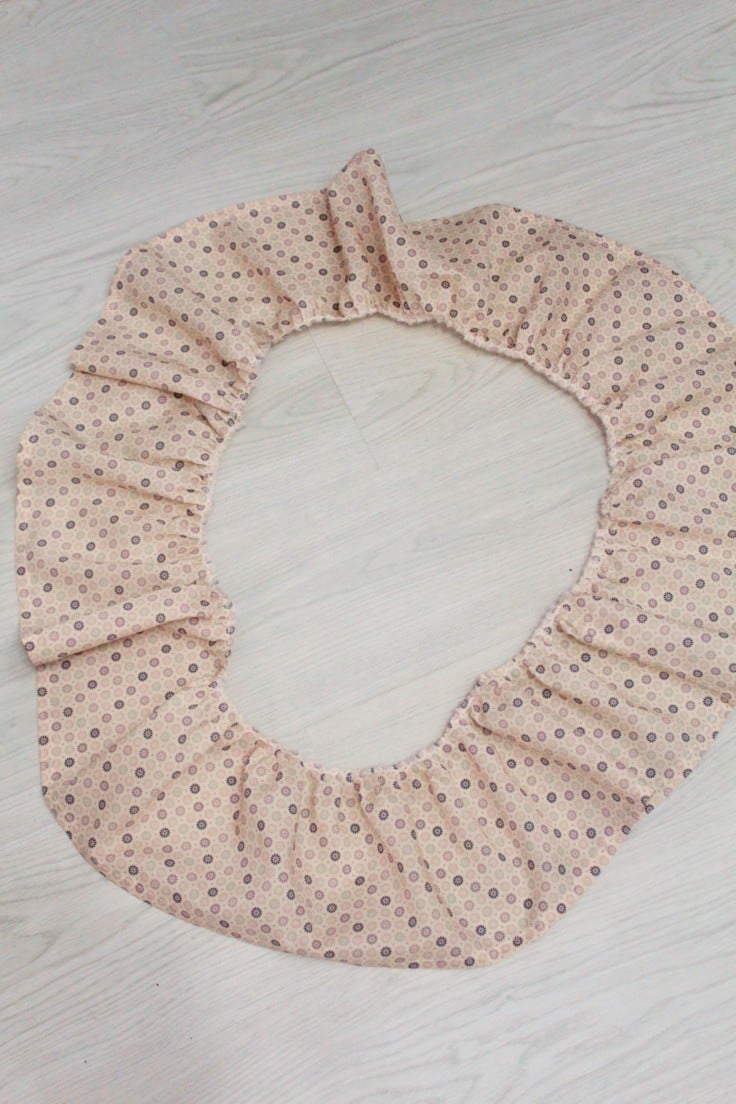
- Using a ruffler or this method, gather the fabric at the opposite edge to create a ruffle that matches the hem of the dress.
- Sew the ruffle at the second end with 1/4″ allowance so it’s now into a circle.
- Finish both seams with a serger or a zig zag stitch.
Putting pieces together
- With the dress right side out and the ruffle wrong side out match the hem of the dress and the raw edge of the ruffle.
- Pin and sew with 1/2″ allowance then serge or zig zag.
- Fold the ruffle down and push the seam up.
- Give the dress a good press
Finishing the dress
- If you added lining match the seams of the lining with the seams of the dress and pin. This will help the lining stay in place when you shirr.
- Prepare your sewing machine for shirring by loading the bobbin with elastic thread and setting the tension as indicated in this shirring tutorial
- Shirr parallel rows the top of the dress.
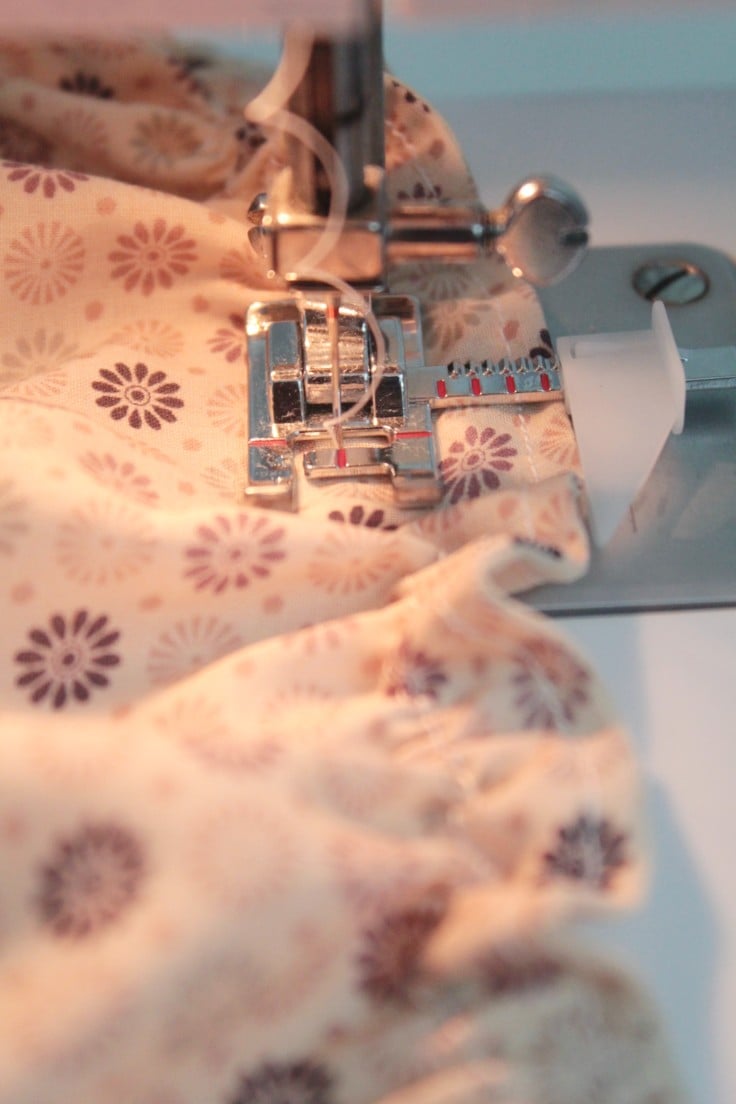
- Sew a few rows then try your dress on to see if you need to add more rows or stop where you are. Stop when you feel you have enough shirring to the top of your dress to cover your bust and a bit under the bust.
- The distance between my rows was about 1/2″.
With patience, practice, and some creativity you will be able to create the perfect shirred dress, whether it’s for yourself or as a gift for someone special! So go ahead and start sewing – you won’t regret it!
Pin to save for later
Most popular sewing projects:
- How to make corded bag handles
- Tips for sewing a round hem
- Flutter sleeve dress pattern
- How to laminate fabric


Article may contain Amazon & affiliate links. As an Amazon Associate I earn from qualifying purchases at no additional cost to you.

Hi, I’m pear shaped – with small boobs and big hips, will this style of measuring work for my dress or should I use my hip measurement as my guide rather than the chest?
I’m thinking could always add straps to stop the top from falling down if it’s too loose?
Hi Elizabeth. Yes, I would recommend using the hip measurements. I made a similar dress for my daughter with straps & it looks great
Thank you for this tutorial! I recently started sewing but so far I only made small projects and was scared to start sewing clothes. I made a dress using your tutorial and it turned out perfect!! I also added a pocket which put it on another level. Your instructions were clear enough for a beginner and even though it was my first time making a ruffle and shirring fabric it all went well thanks to tour tutorials!
Hi, I love your tutorial. I am full chested so I sewed my shirring closer together before and after my bust area.
I sewed a few rows at a quarter inch before the half inch and after it to the waist. It made it fit more comfortably for me. I also added straps which I tied in bows on the shoulders.
Very best wishes and I look forward to your other tutorials.
Thank you
Thank you so much for the tutorial! I am new to sewing and have saved it for when I’m ready to tackle clothes.
I was wondering if there is a way to add lining to a store bought shirred dress?
I would like there to be lining between the elastic thread and the skin. I’m not sure how to properly measure the lining and attach it to the already shirred fabric.
Thank you!
Hi, Amanda. Thanks for your lovely comment, I’m happy you enjoyed my tutorial! As for your dress, I would add a bodice from lining.
Thanks for your tutorial! I was searching everywhere how to make shirred dress with lining!
Can I just ask how you finished the top edge of the dress? Sorry I didnt quite understand how you made the top edge so neat with the lining!
thanks :)
Hi, Mish. With the dress right side out and the lining wrong side out (so the right sides are matching) slip the dress inside the lining until the tops match. Pin the tops and sew with 1/2″ allowance. Push the lining inside the dress, press the tops and sew around the top with 1/8″ allowance.
I love your dress! How perfect for the warm, humid days of summer! Thanks so much for sharing your pattern. You’ve inspired me. : )
Hi, Jan! Thanks so much! I’m glad you liked my idea, I hope you’ll give it a try :)