You need to make this simple and easy v neck dress now! Sizes 6 to 16 available
Take the plunge and make yourself a cute and comfy dress with this v neck dress pattern! Simple and easy to make, this adorable neck floral dress is great for spring and summer as it’s made with lightweight fabric!
V Neck Dress Pattern
It’s been a while since I showed you this super easy method for sewing a v neckline. I did that tutorial with this v neck dress pattern in mind and I actually had great plans for this dress tutorial too. But as always, life got in the way and prevented me from following my plans.
I did manage to make up the pattern in sizes 6 to 16 my size though so yay! your life just got easier. But you can always make your own pattern if you follow this tutorial. Just pick a dress in your closet that fits you loosely, make the pattern as indicated in the tutorial I just mentioned and cut a v neck to make your own v neck dress pattern. It truly isn’t hard to make your own pattern! I did it so you can do it too!
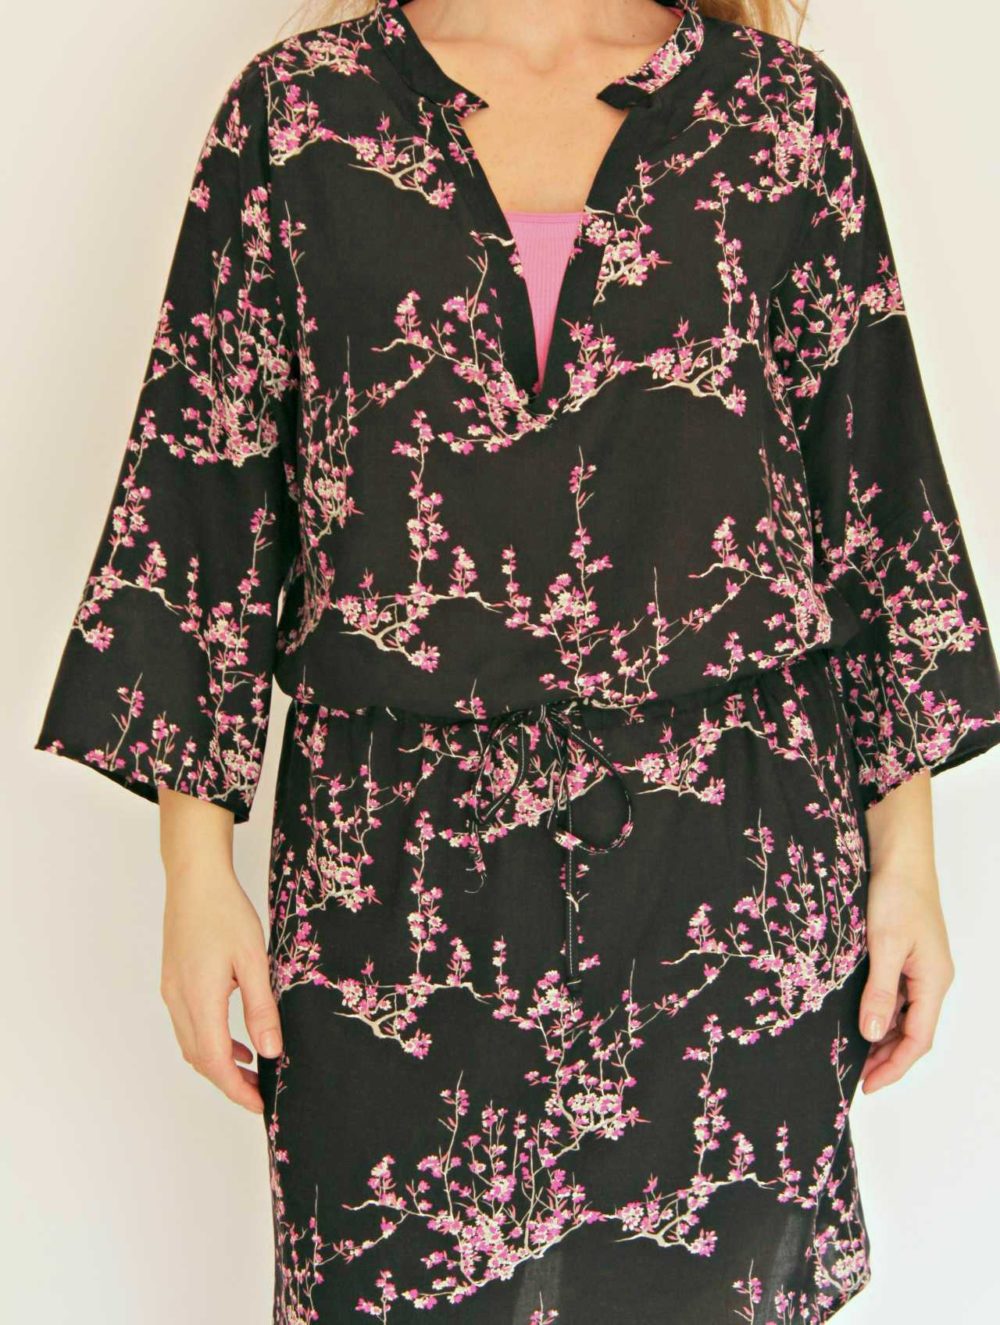
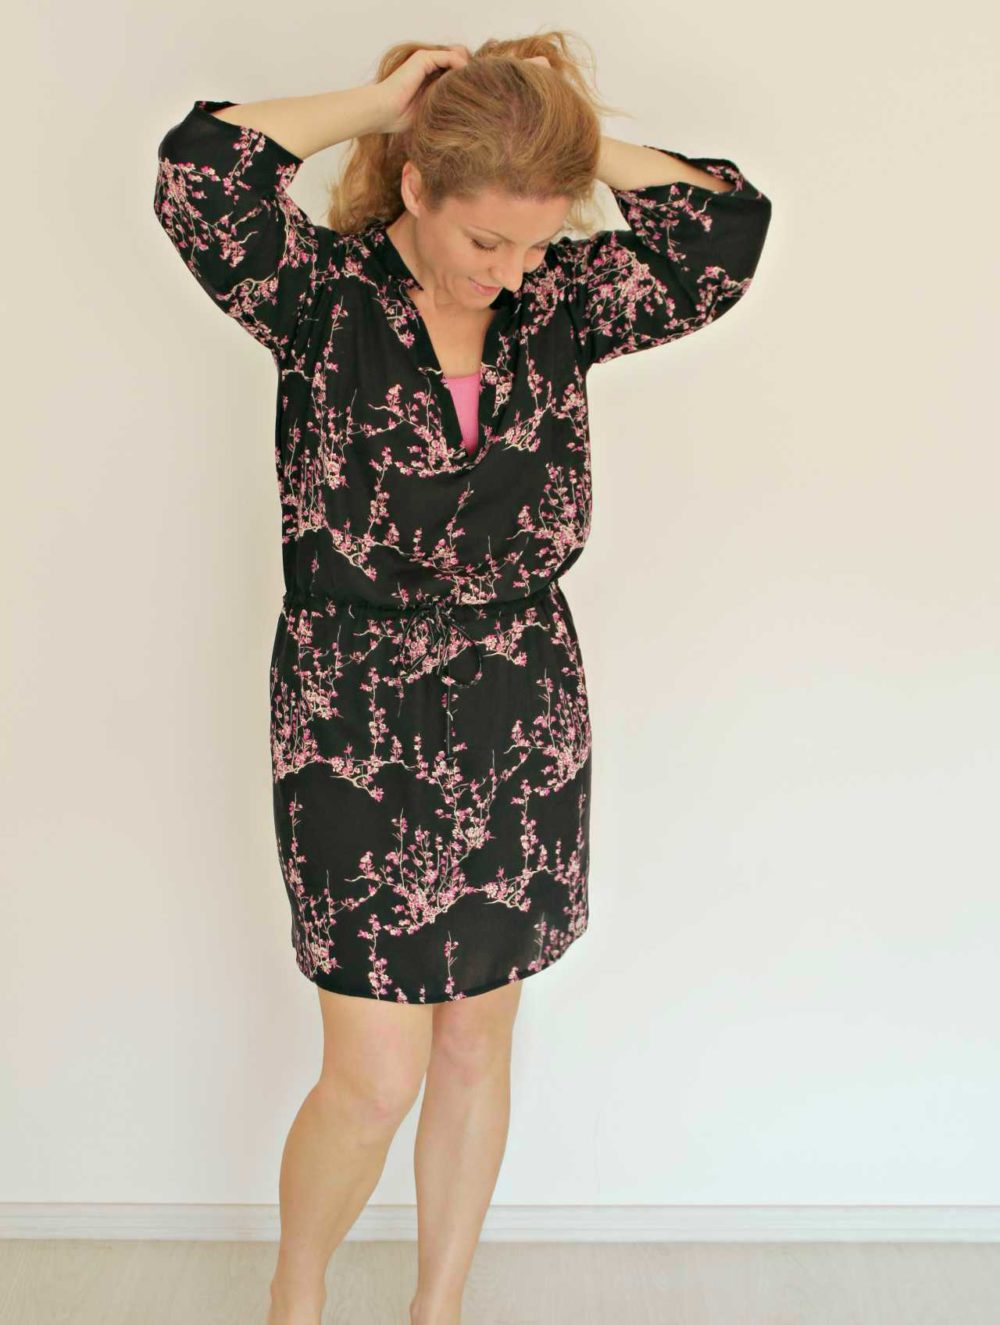
This simple pattern is for a v neck casual dress but if you’re more experienced you can always turn it into something more sophisticated, for a formal gown. I also made my v neck dress pattern with 3/4 sleeves which you can either remove or make longer, depending on your style, the fabric choice and season you’re planning to wear this dress in.
Similar posts you will love:
- Cross back dress pattern
- Gathered waist summer dress
- Easy knit dress with pockets
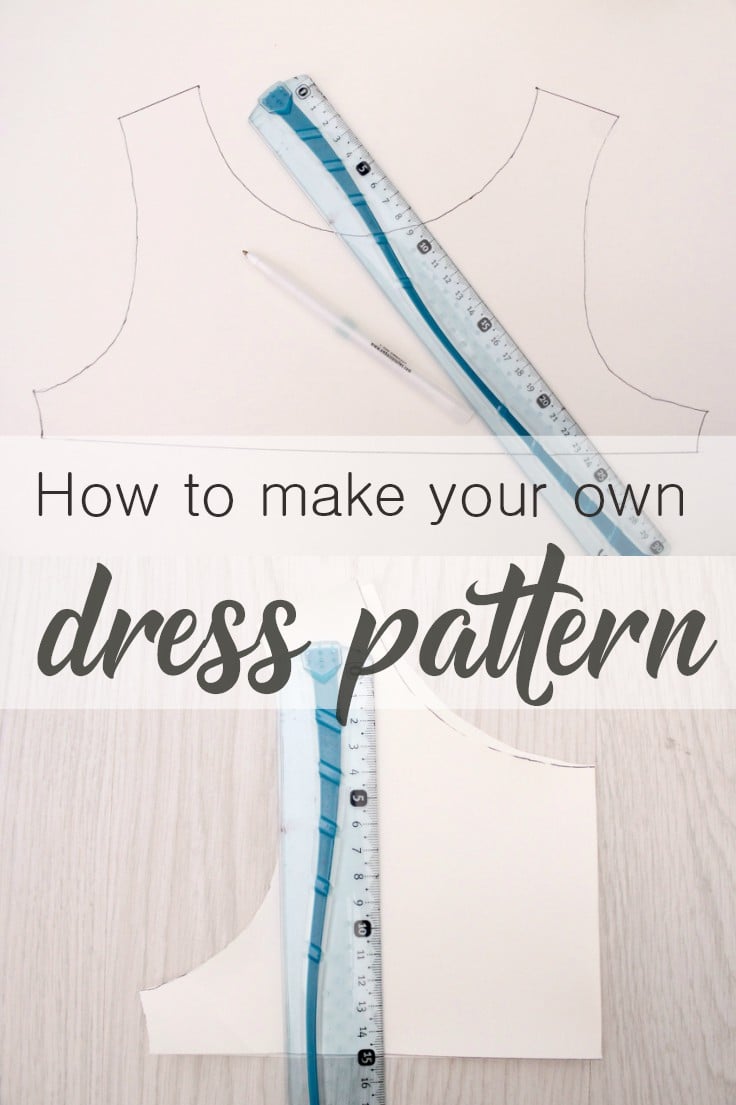
- How to make your own dress pattern
- Pillowcase dress for women
- Off the shoulder dress
- Shirred top dress
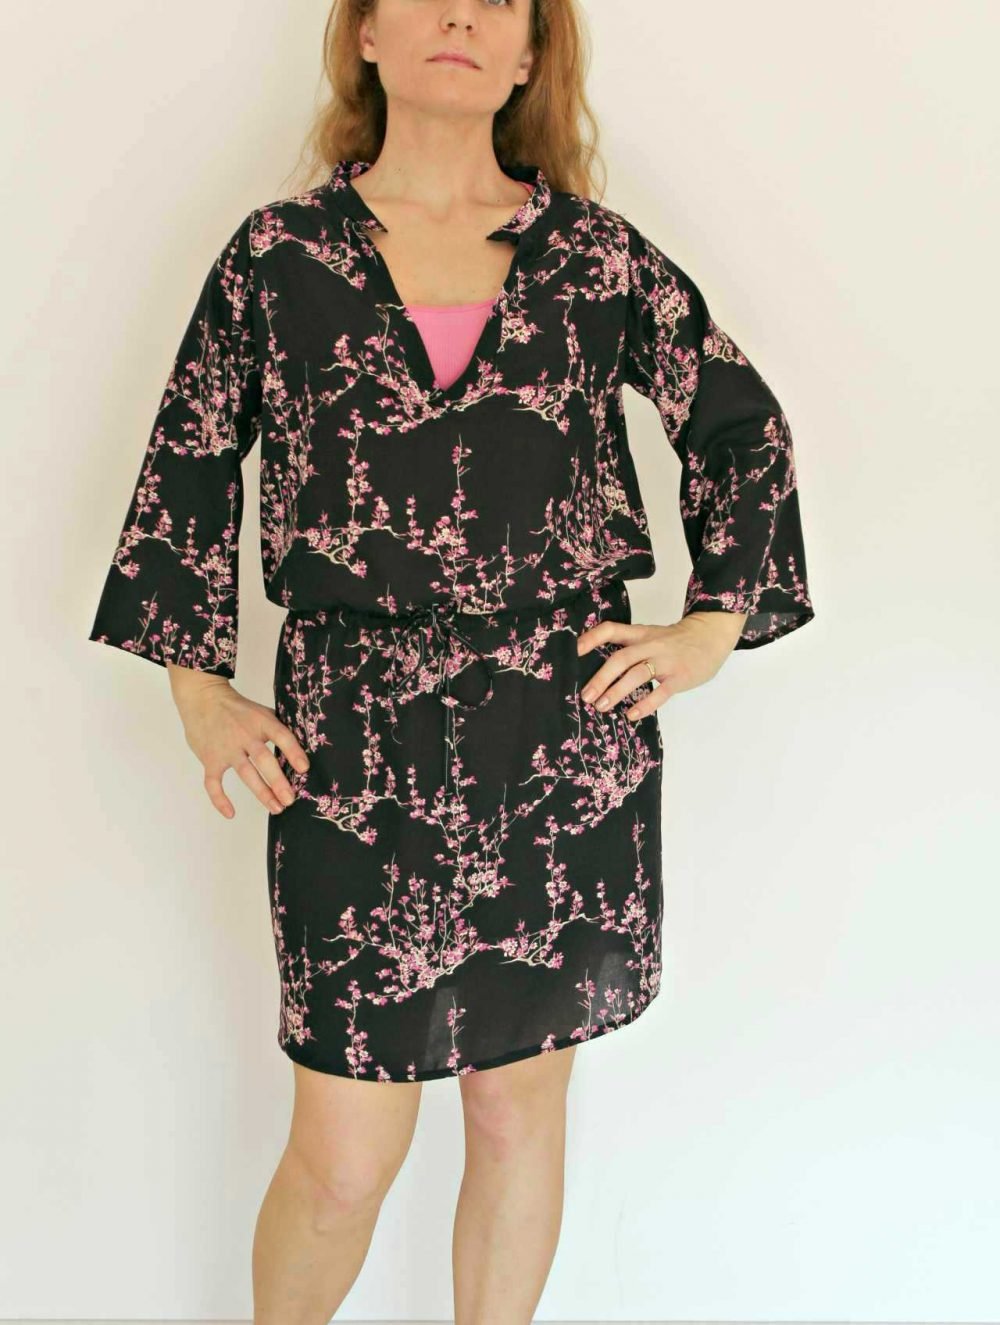
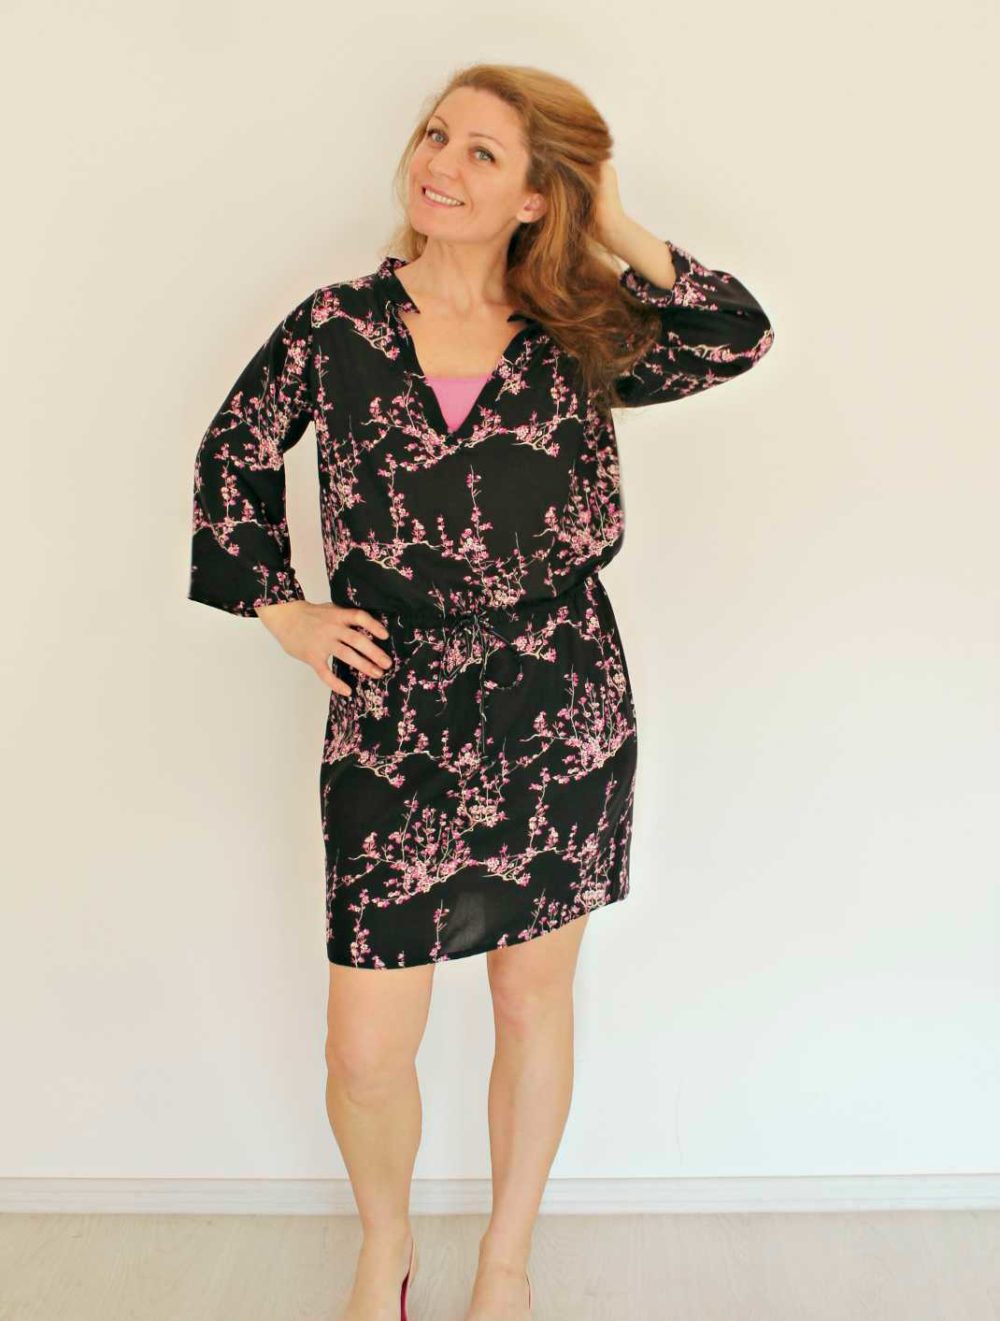
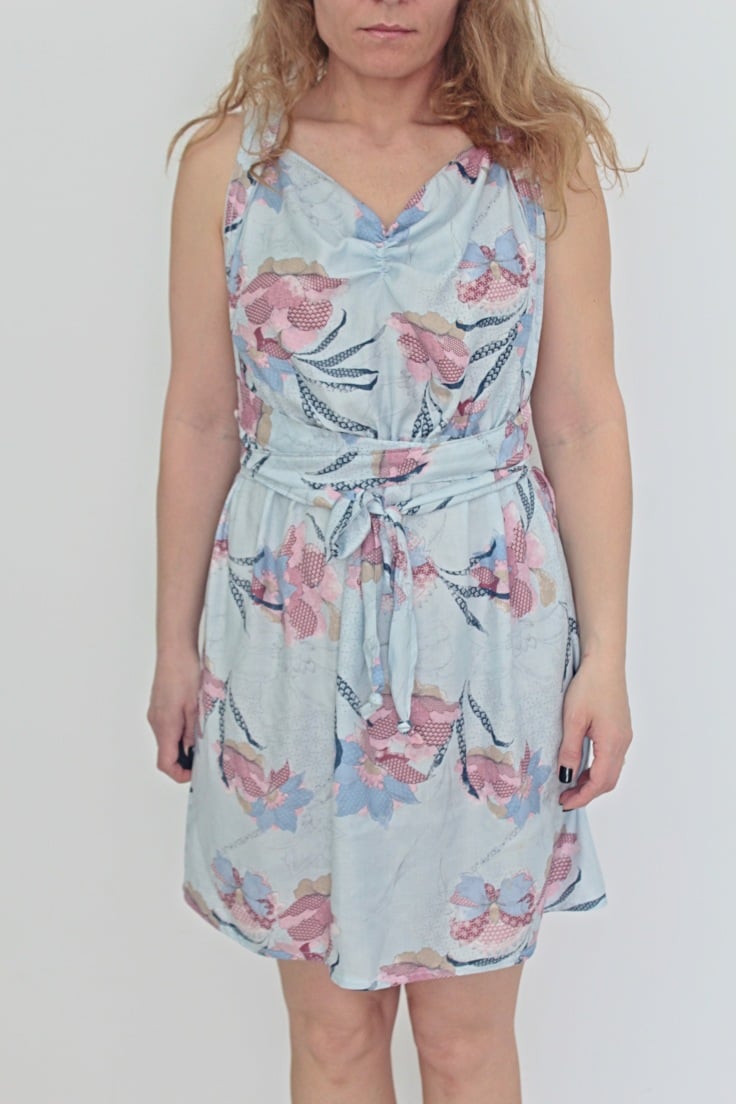
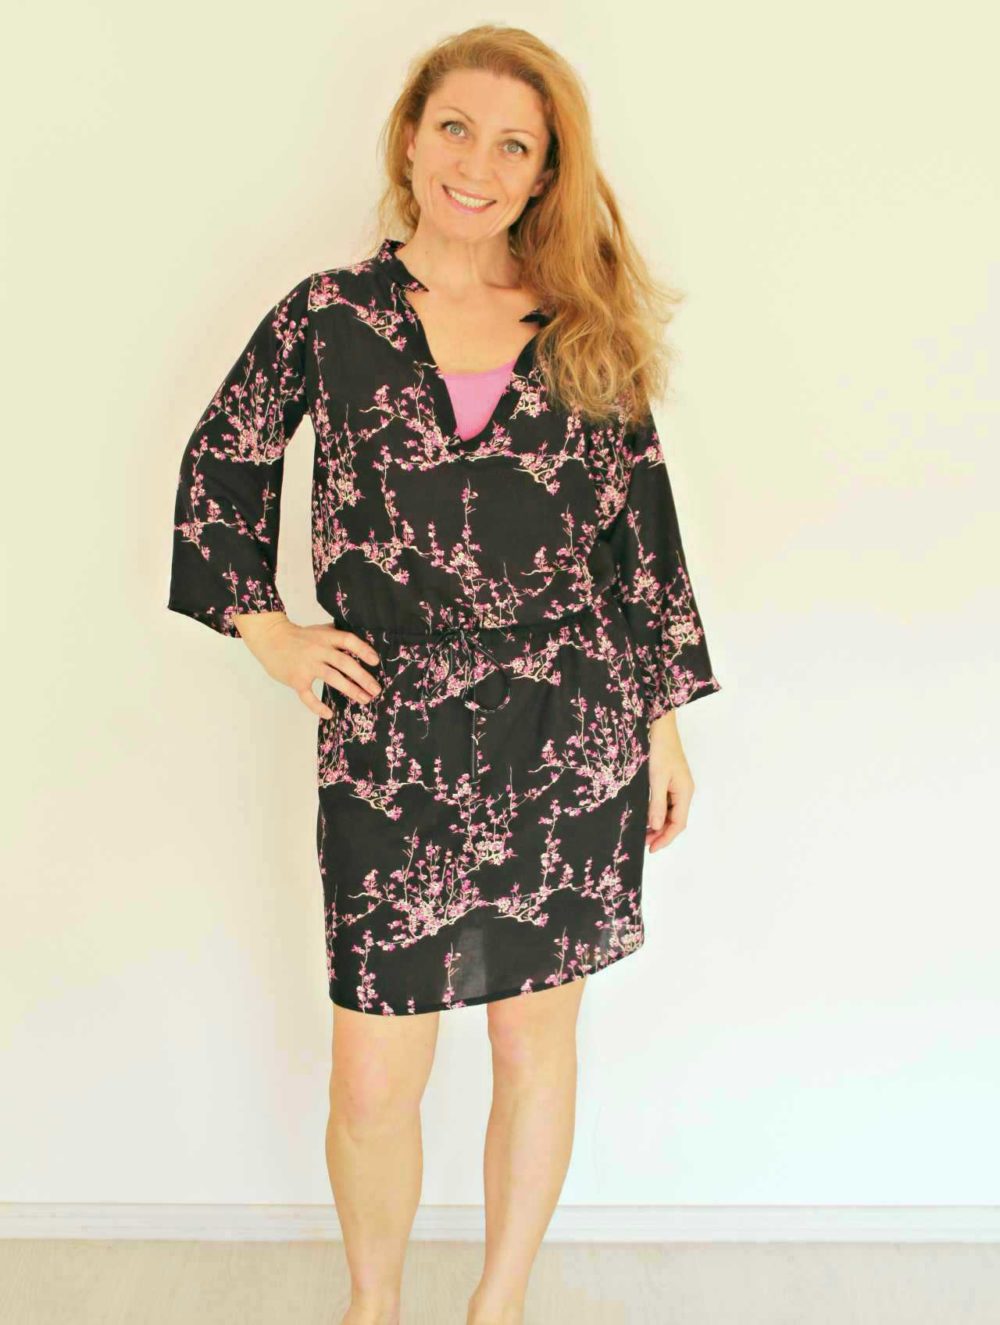
For my v neck short dress I used rayon challis fabric but any lightweight fabric with a good drape will do (like cotton voile, cotton lawn and chambray). I also chose not to make a full v neck line but to build it with 2 pieces, for the front neckline and for the back neckline so that it looks slightly different than a regular v neck, as you may have already noticed in the photos.
My v neck dress with sleeves has 3/4 sleeves so that I can wear it in spring with a light jacket but also be able to wear it in summer too and not be hot. The fabric choice makes this dress feel super comfy, light and loose perfect for those hot summer days. Mini and midi dresses are my favorites and skirts and for this time I made a mini dress but you can simply adjust the length to match your style.
I made a very deep neckline for my v neck dress pattern because I intended to wear it with a bandeau and also wanted to make this dress a good option for nursing mamas. When I was breastfeeding Ellie I used to have a similar neckline blouse and it was a wonderful help!
This dress pattern is available in sizes 6 to 16 and is available to purchase here.
V Neck Mini Dress
Materials:
- 4 yards lightweight fabric with a good drape (like challis, cotton voile, cotton lawn or chambray)
- dress pattern available here in sizes 6 to 16 here.
- scissors
- tape measure
- pins
- sewing machine
- safety pin
- pressing iron
Directions:
Prepare the fabric
- Access and print the pattern from here
- Place the pattern on the fabric, pin or keep in place with fabric weights and cut your fabric as follows: 1 x on fold for the front, 1 x on fold for back, 2 x on fold for sleeves.
Make the v neckline
- Cut the fabric for the neckline and do the v neck on the front panel of the dress as indicated in this tutorial.
- Take the front and the back pieces of the dress and join at the shoulders, pin and sew down. Finish with a serger or a zig zag stitch.
- To finish the neckline, you’ll need to add a separate band to the back of the dress after you join the front and back of the dress. Get a strip of fabric of the same width as the v neck strips, with the length matching the length of the back neckline, plus 1/2″ on each end. Fold the strip in half and press. The fold the edges in, 1/4″ and press. Fold the ends in, 1/4″ and press. Place the dress wrong side up. Open the strip and pin to the dress, right side facing the wrong side of the dress, then sew down along the 1/4″ fold. Flip the strip up, then fold the strip down over the dress and pin the other side onto the dress, wrong side of the band facing the right side of the dress. Edge stitch as close as possible.
Sew the rest of the dress
- Attach the sleeves to the dress, with both the sleeves and the dress facing right side together. Serge or zig zag then hem the sleeve (do a tiny hem as indicated in this tutorial)
- Join the sides of the dress and the sleeves, with the front and back facing right sides together. Finish with a serger or do a zig zag stitch.
- Hem the dress with a tiny hem as above.
- Decide where you want the cord to fall on your waist (I wanted mine slightly below the waist as it’s more comfortable for me).
Add the cord
- Make the casing for the cord. Cut a strip that 2 1/2″ wide and is as long as the width of the dress, front and back together, minus 1/2″. Fold the long edges in, 1/4″ and press. Place the casing over the dress where you want the cord to be. Start with one end in the middle of the front side of the dress. Pin down all the way through to the other end. Sew down onto the dress, all around the waist.
- Make the cord. Cut a strip of fabric that is 1″ wide and twice as long as the casing, then fold the strip in half and press. Open the strip and fold in each of the halves then press. Sew down along the open edge to close the cord. Knot the ends then thread the cord through the casing, using a safety pin.
And your v neck dress is ready! Enjoy!
Pin to save for later
Most popular sewing projects
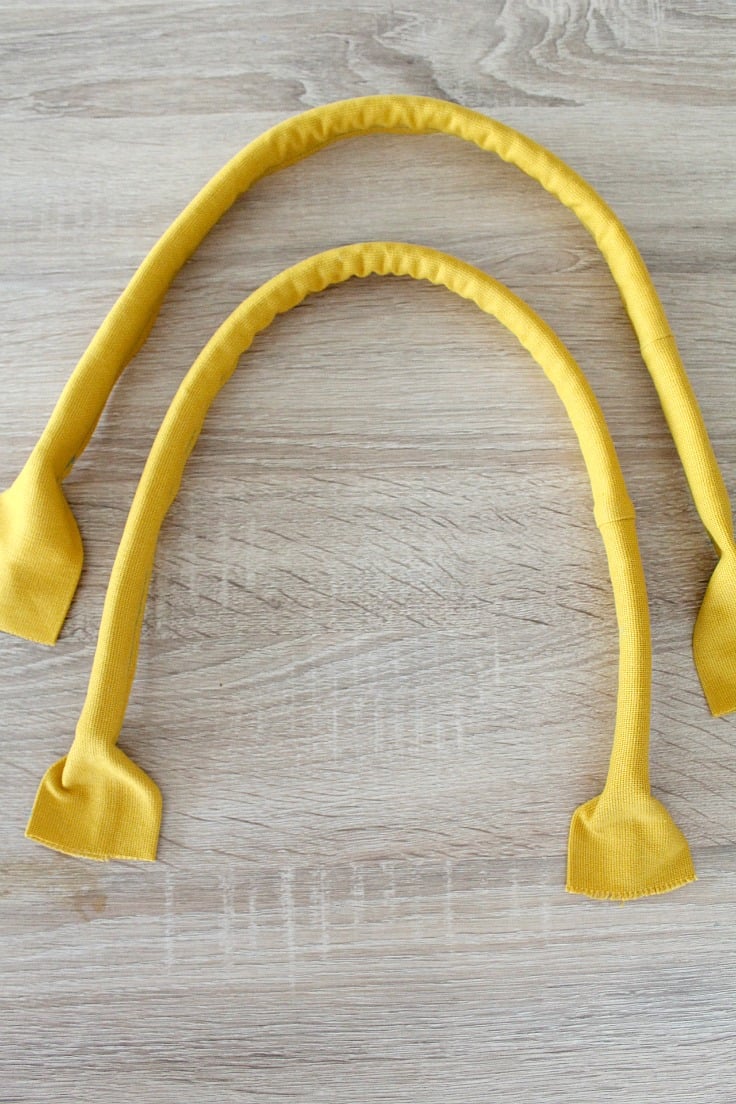
- DIY corded bag handles
- Flutter sleeve dress pattern for girls
- How to sew a perfect round hem
- How to laminate cotton fabric
Article may contain Amazon & affiliate links. As an Amazon Associate I earn from qualifying purchases at no additional cost to you.





ABOUT PETRO
Hi, I’m Petro, author and founder of Easy Peasy Creative Ideas. Sewist, crafter, avid DIY-er, foodie, photographer, homemaker and mommy to one. I’m an expert at coming up with quick, clever sewing tips, recycling crafts and simple, easy recipes! You can find my ideas featured in reputable publications such as Country Living, Good House Keeping, Yahoo News, WikiHow, Shutterfly, Parade, Brit & Co and more. Thanks for stopping by and hope you’ll stay for a while, get to know me better and come back another time. Stick around for real fun projects! Read more…