

Quilted zipper pouch sewing tutorial
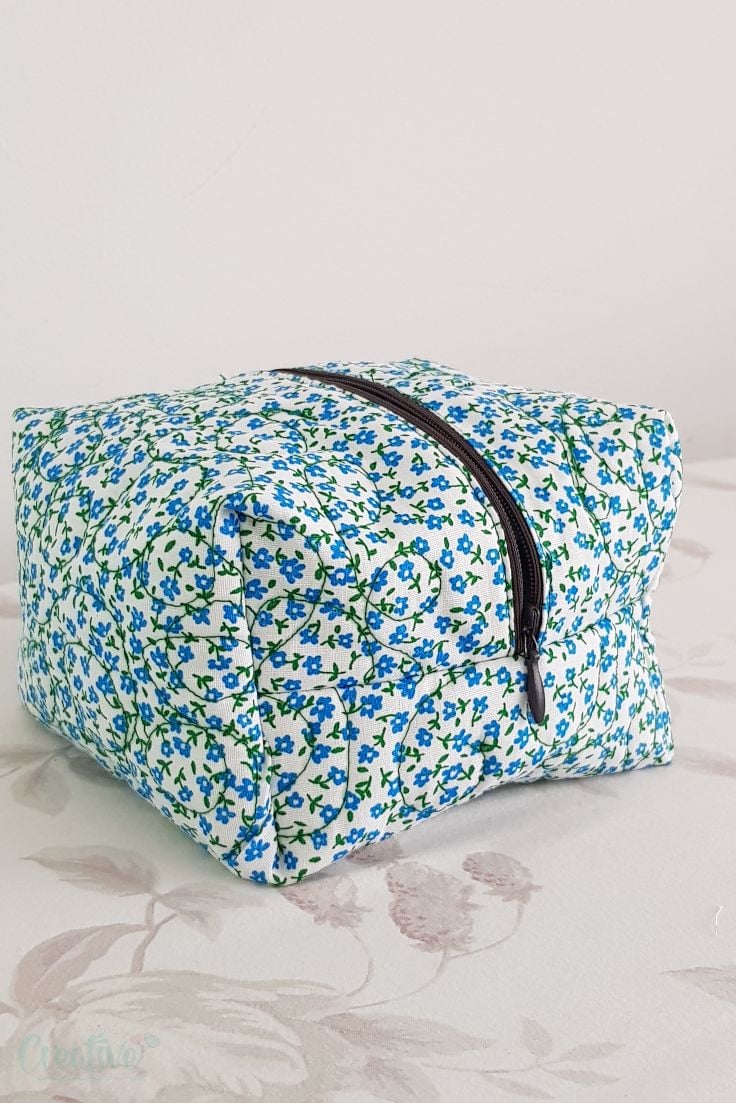
Learn how to make a quilted zippered pouch in a very short time with this easy sewing tutorial! If you need to add a new small zipper pouch to your collection of bags & pouches, this quilted pouch is super fun to make, chic and so useful to have around!
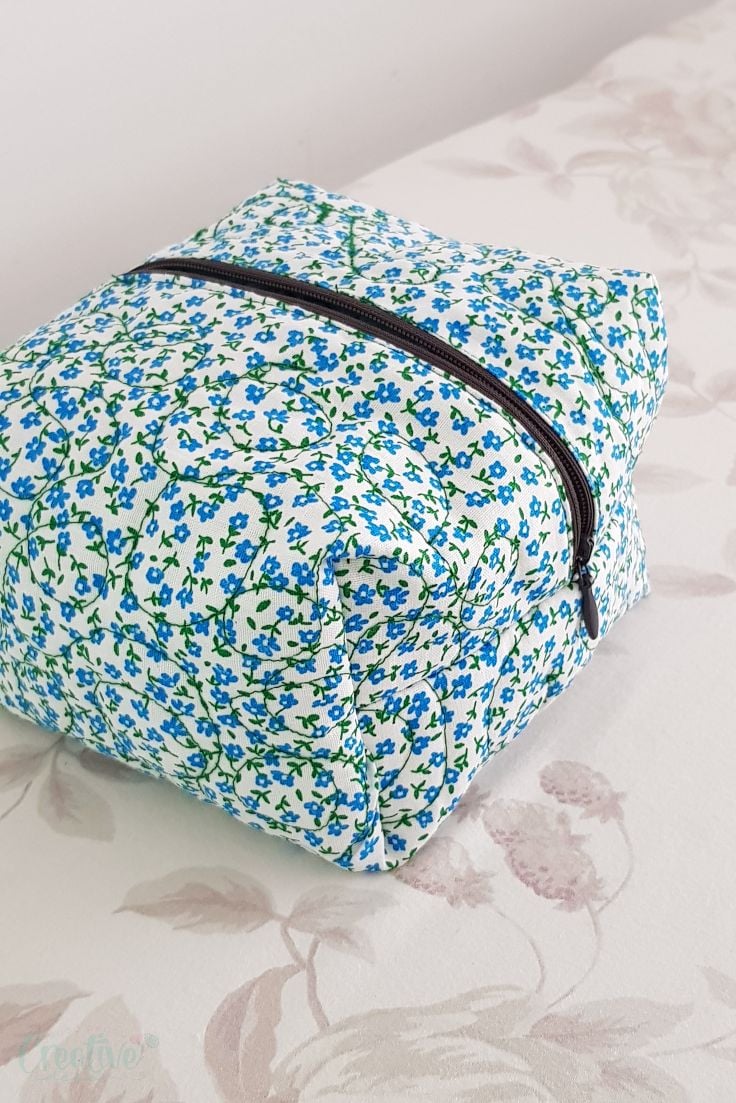
I’m back with another gift-worthy project: a lovely quilted zipper pouch with boxed corners. No worries, sewing zippers isn’t as scary as you think! And the most surprising thing about this fabric zipper pouch is that, while it looks labor intensive, it’s actually very quick and easy sew!
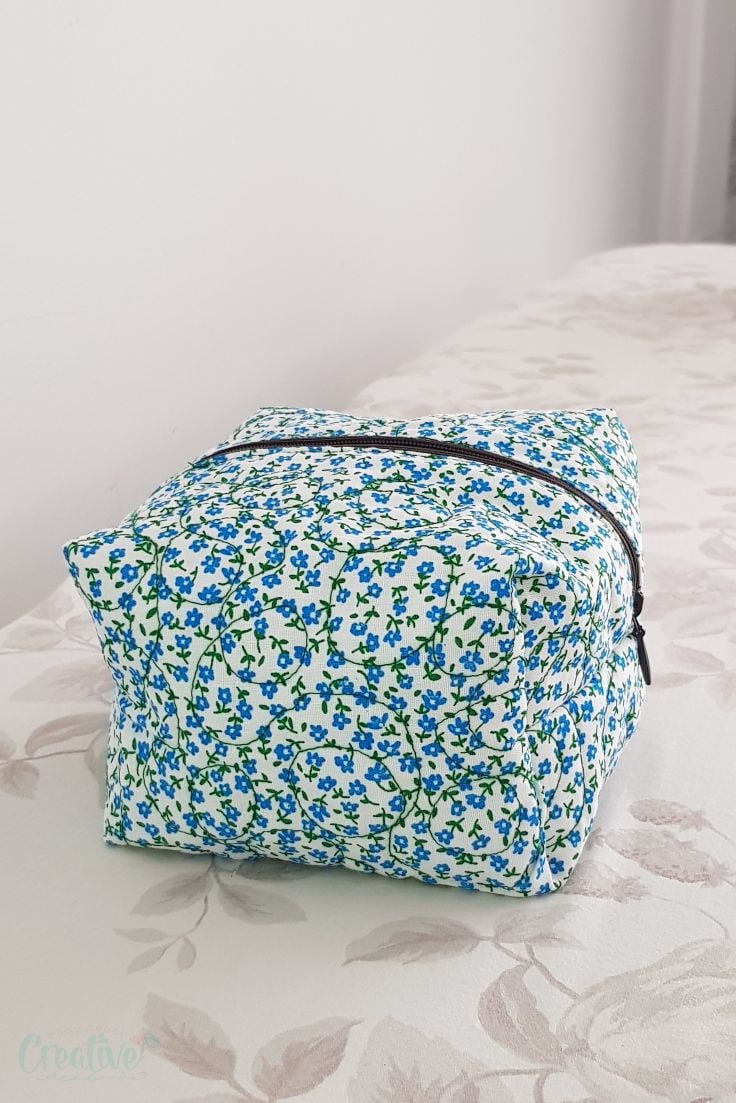
Before getting into the details of making this cute quilted zipper pouch, I have a confession to make. This wasn’t a planned tutorial, I didn’t even check if I have all the supplies I needed. All I knew was that I needed a new small pouch to carry a few makeup items when I’m on the go so I must make me one asap!
I just adjusted the steps as I was sewing, based on what I have available. So you’ll probably notice some inconsistency in my tutorial, like the fact that when I started sewing my fabrics were larger than at the end. I had to trim the sides to match my zipper (which I thought it’s much bigger than in reality). Or the fact that I used an invisible zipper but sewn it as a regular zipper because I found it much easier to deal with it this way for this particular pouch.
There was also another detail I didn’t think of in advance. Because I was sewing with three layers of fabric, I should’ve used a thicker thread. But I didn’t have any in the color I wanted so I chose to sew with the one I have which made my free motion quilting a little uneven in some places.
In spite of the hiccups, I’m happy with the end result and now I’m the proud owner of a (yet another) cute pouch! Let’s me show you how to make one too!
How to sew a quilted zipper pouch
Materials you need
- 2 fabric strips in different color (one for the outside and one for the inside of the pouch)
- batting or fleece
- scissors
- quilting ruler
- cutting board
- rotary cutter
- sewing machine
- matching thread
- quilting clips
- zipper
- zipper foot
- pressing iron
Step-by-step instructions
Quilt the fabrics
- Cut the batting 1/2″ narrower than the fabrics.
- Place the inner fabric wrong side up, top with the batting then top with the outer fabric, right side up.
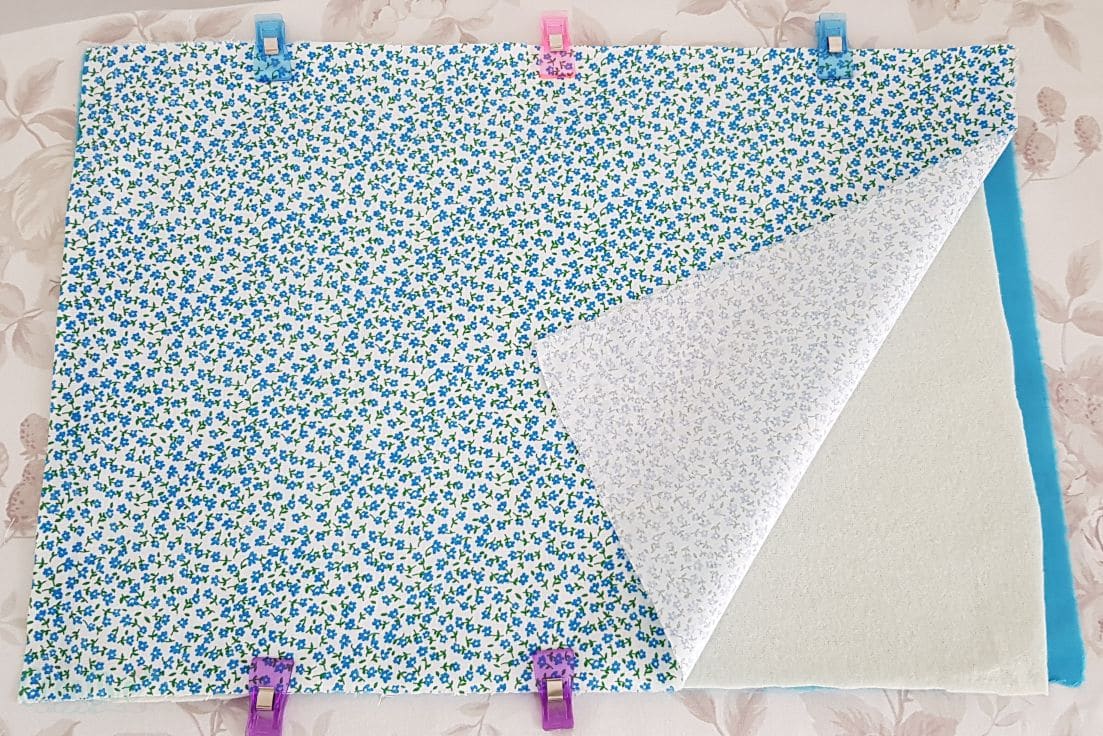
- Pin in a few places or clip the sides to keep the fabrics together.
- Do some free motion quilting on the entire surface, except for 1/2″ on both sides.

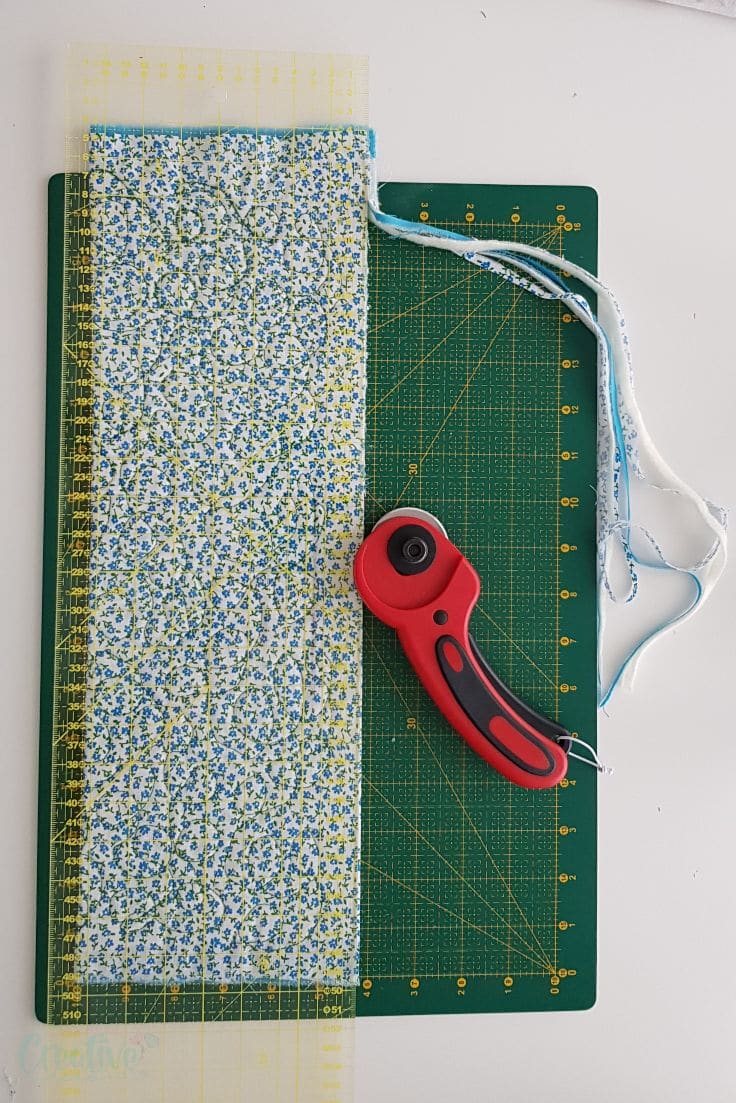
- Fold the quilted fabric in half, lengthwise and trim all sides so all layers are of the same size (they move a little during quilting so they’re not even at this point).
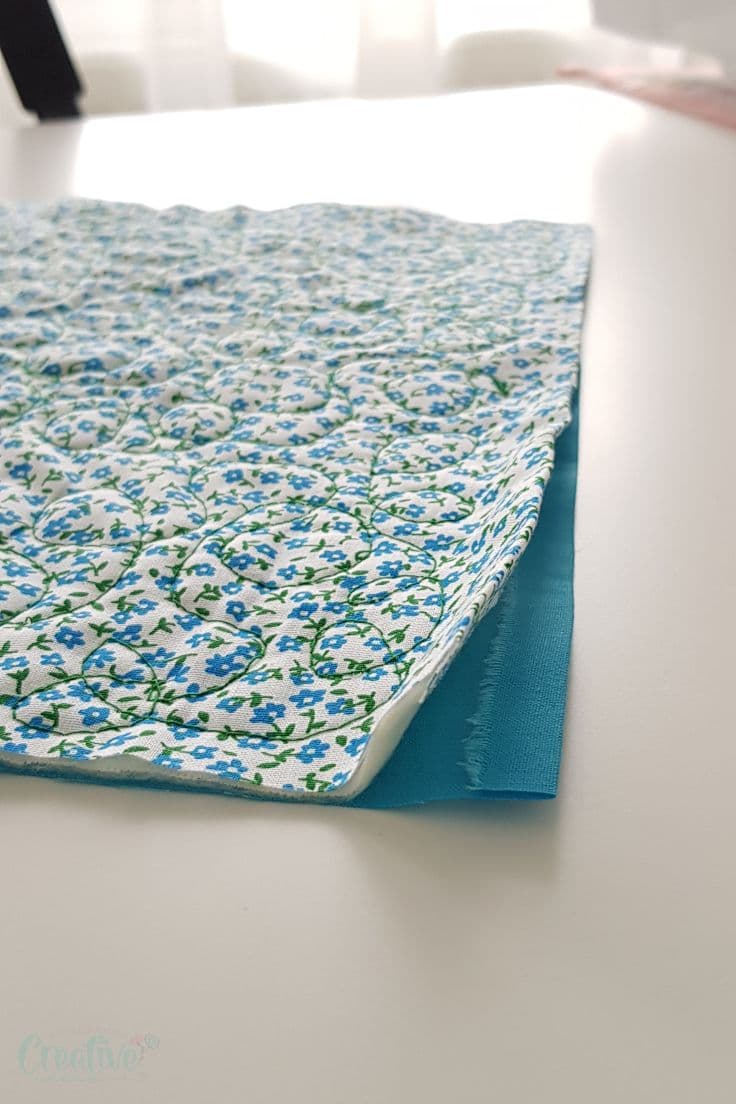
- Fold the sides in 1/4″ and press well with the iron on steam.
Sew the zipper
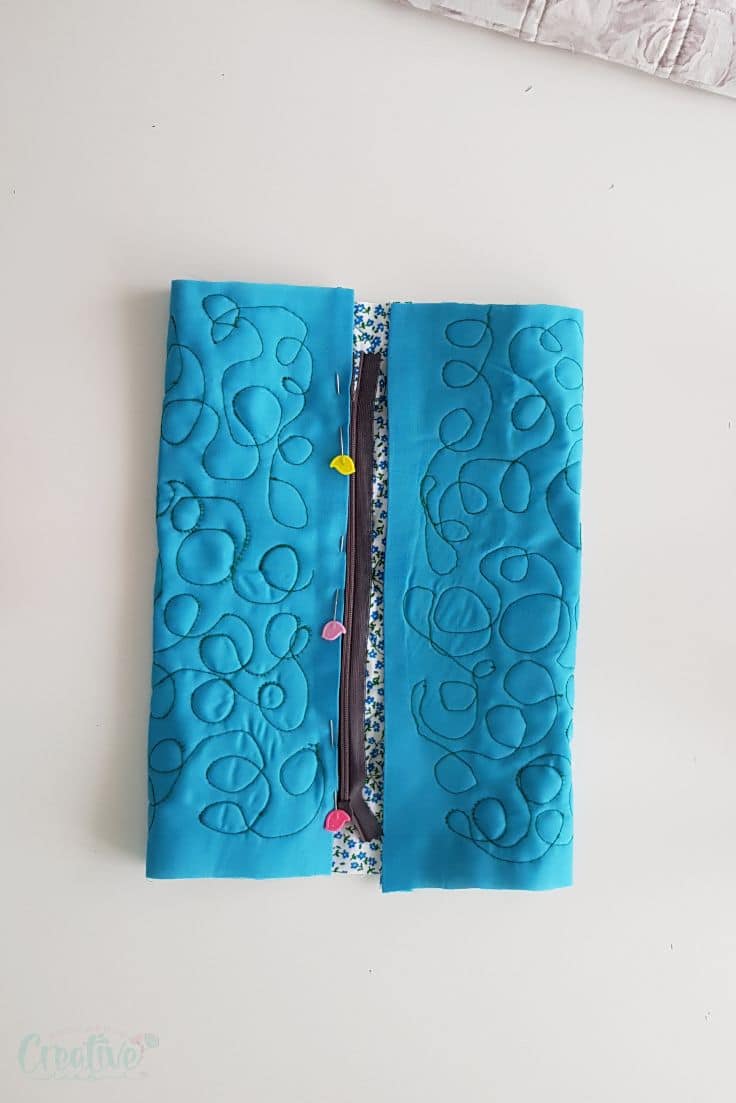
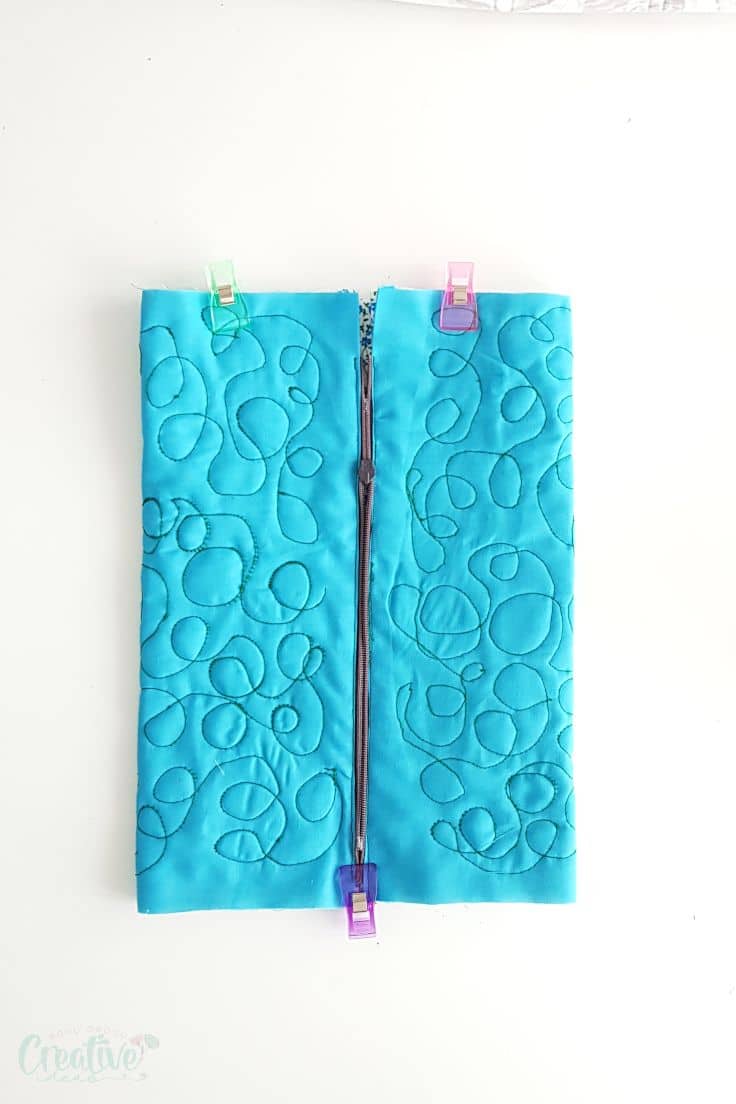
- Place the quilted fabric right side out, with the folded sides now as the top and bottom, and fold the sides towards the middle.
- Insert the zipper in one side, sandwiched between the folded outer and inner fabrics.
- Change the foot to a zipper foot.
- Sew the zipper as close to the teeth as possible.
- When you get close to the zipper slider, stop sewing, backstitch, lift the needle and move the slider out of your way, behind the sewing machine foot. Lower the presser foot and continue sewing where you left to the end of the zipper.
- Repeat for the other side of the zipper on the other side of the fabric. You might find this is a little hard to do so it may help if you open the zipper and sew like this for the most part. You will need to keep the zipper open at least 1″ anyway, so you are able to turn the pouch right side out when done sewing.
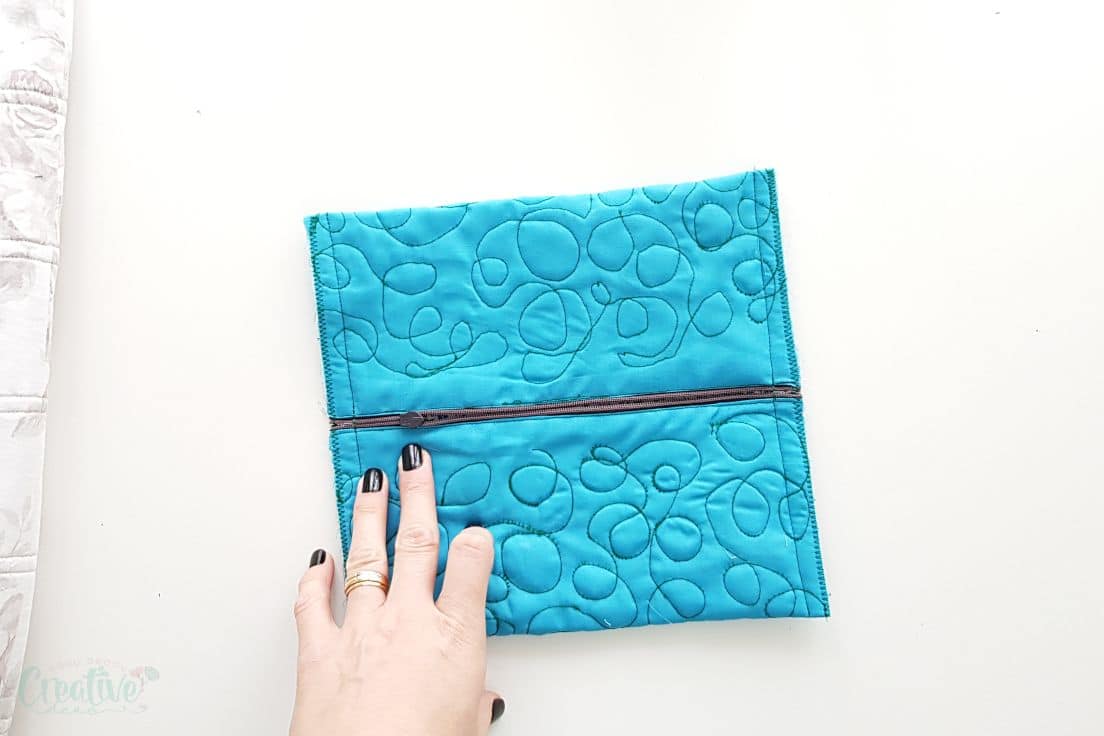
- Sew the sides just over the zipper ends, sewing very slow when the needle passes through the zipper teeth.
- Trim the excess fabric at the sides.
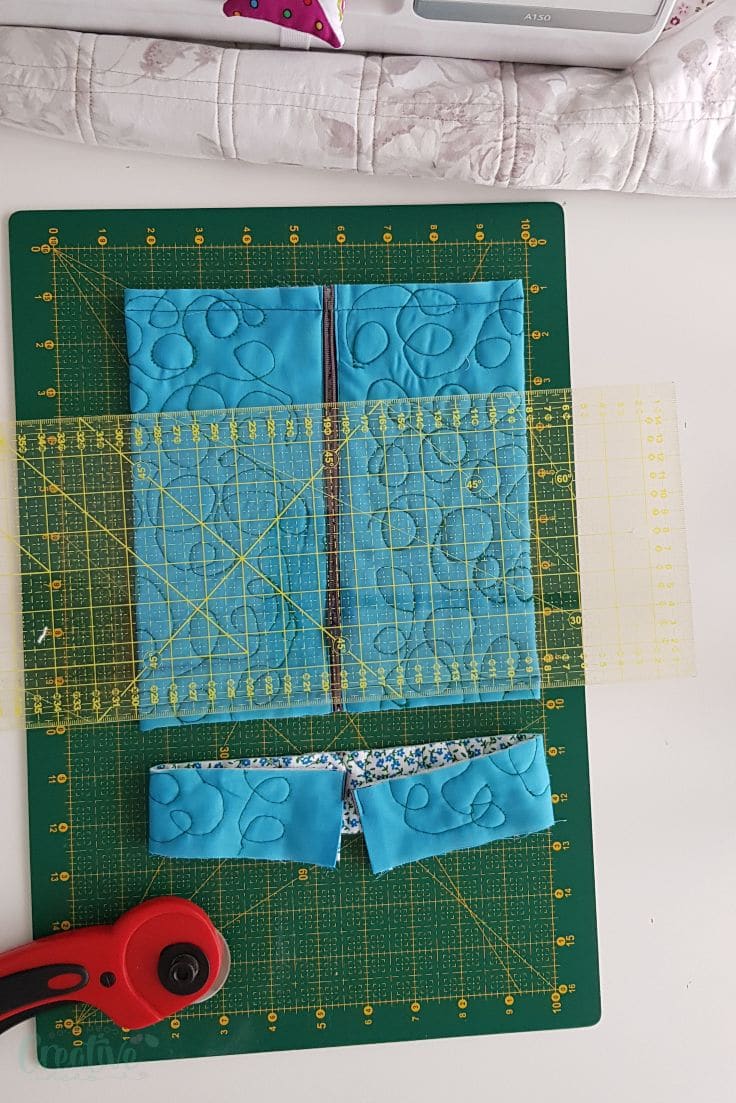
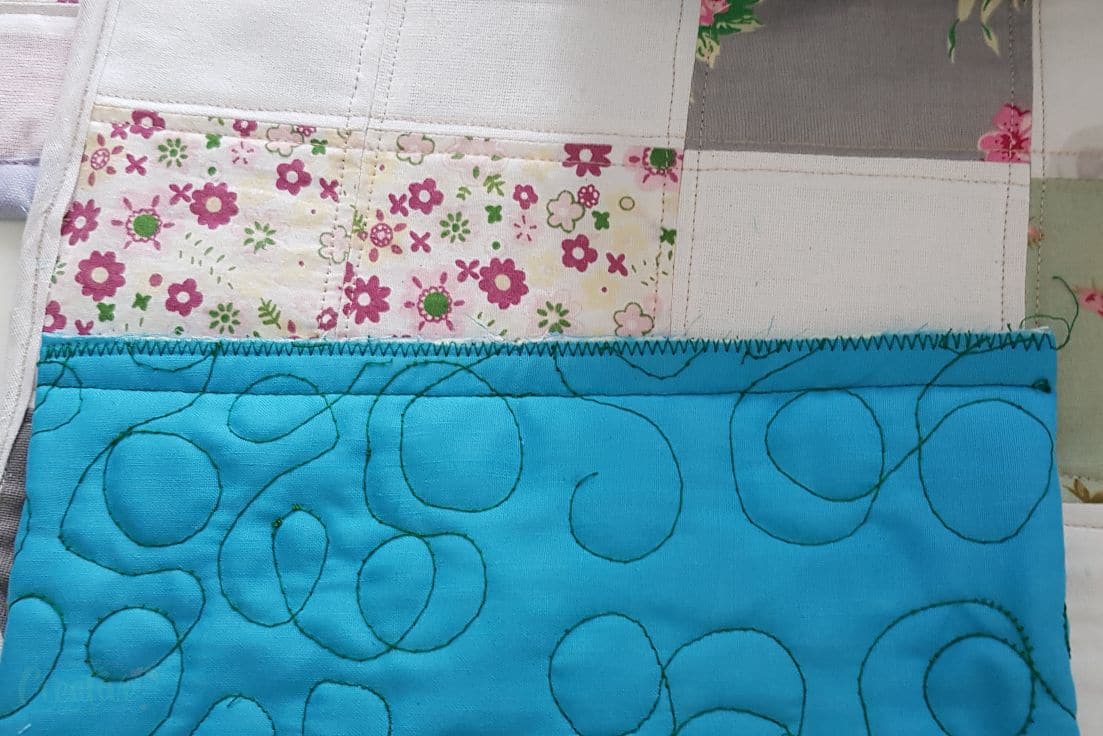
- Zig-zag or serge the raw edges.
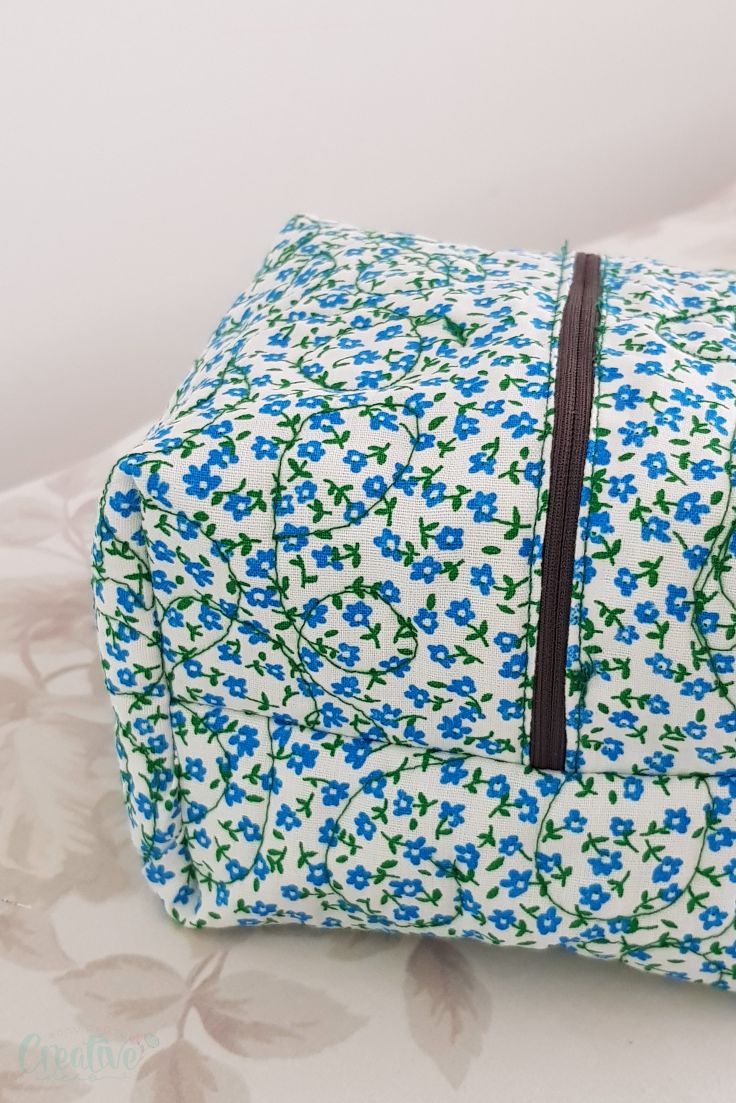
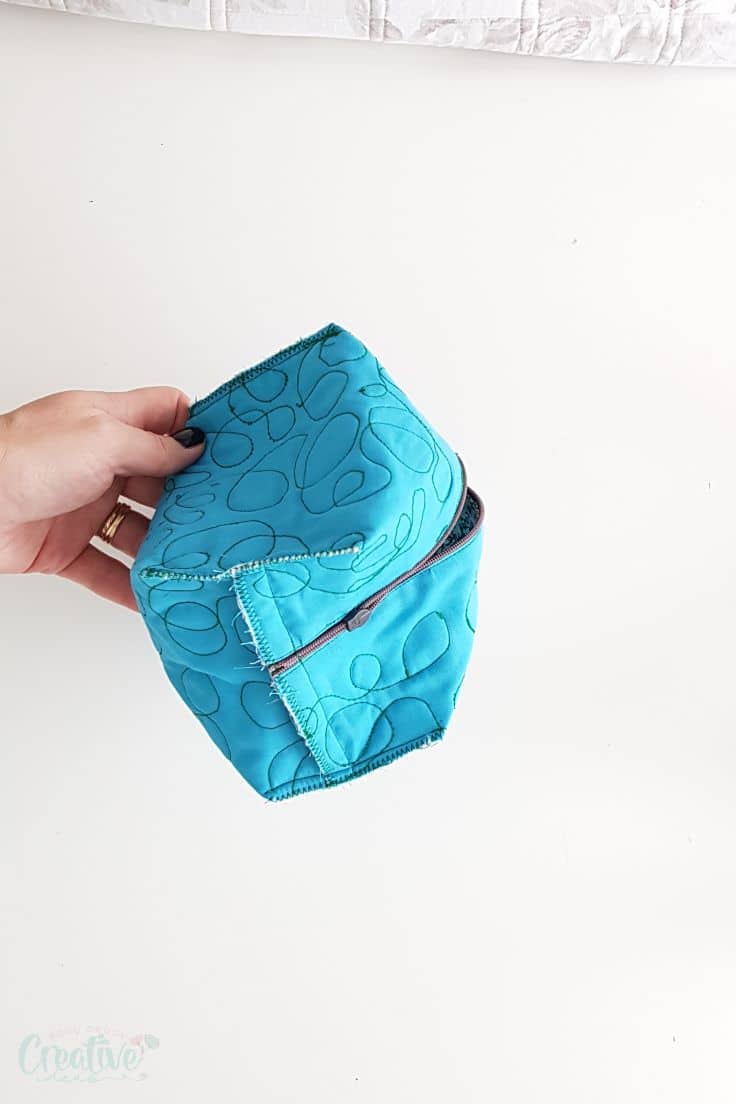
Box the pouch
- Box all four corners of the pouch as indicated here, using method #1 or #2.
- Zig-zag or serge the boxed corners. You can also cover the seams in bias binding or bias tape.
- Open the zipper completely and turn the pouch right side out.
- Push the corners out and press the bottom seam a little.
- And that’s all, the pouch is now ready to use!
More quilting ideas you will love:
- Quilted snap bag
- Quilted sewing mat with thread catcher
- DIY fabric basket
- Fabric cone hanging basket
- French braid sewing mat
- Pumpkin mug rug
- Half square triangle coin purse
- Quilted tissue holder
So what are you waiting for? Go grab some fun pieces from your fabric stash and give this little quilted zipper pouch a try! Let me know how it goes in the comments below and don’t forget to rate this tutorial in the craft card! Thanks!

Quilted zipper pouch sewing tutorial
Materials
- 2 strips of fabric in different color one for the outside and one for the inside of the pouch
- batting or fusible fleece
- matching thread
Tools
- scissors
- quilting clips
- zipper
- zipper foot
- pressing iron
Instructions
Quilt the fabrics
- Cut the batting 1/2" narrower than the fabrics.
- Place the inner fabric wrong side up, top with the batting then top with the outer fabric, right side up.
- Pin in a few places or clip the sides to keep the fabrics together.
- Do some free motion quilting on the entire surface, except for 1/2" on both sides.
- Fold the quilted fabric in half, lengthwise and trim all sides so all layers are of the same size (they move a little during quilting so they're not even at this point).
- Fold the sides in 1/4" and press well with the iron on steam.
Sew the zipper
- Place the quilted fabric right side out, with the folded sides now as the top and bottom, and fold the sides towards the middle.
- Insert the zipper in one side, sandwiched between the folded outer and inner fabrics.
- Change the foot to a zipper foot.
- Sew the zipper as close to the teeth as possible.
- When you get close to the zipper slider, stop sewing, backstitch, lift the needle and move the slider out of your way, behind the sewing machine foot. Lower the presser foot and continue sewing where you left to the end of the zipper.
- Repeat for the other side of the zipper on the other side of the fabric. You might find this is a little hard to do so it may help if you open the zipper and sew like this for the most part. You will need to keep the zipper open at least 1" anyway, so you are able to turn the pouch right side out when done sewing.
- Sew the sides just over the zipper ends, sewing very slow when the needle passes through the zipper teeth.
- Trim the excess fabric at the sides.
- Zig-zag or serge the raw edges.
Box the pouch
- Box all four corners of the pouch as indicated here, using method #1 or #2.
- Zig-zag or serge the boxed corners.
- Open the zipper completely and turn the pouch right side out.
- Push the corners out and press the bottom seam a little.
Video
Article may contain Amazon & affiliate links. As an Amazon Associate I earn from qualifying purchases at no additional cost to you.
ABOUT PETRO
Hi, I’m Petro, author and founder of Easy Peasy Creative Ideas. Sewist, crafter, avid DIY-er, foodie, photographer, homemaker and mommy to one. I’m an expert at coming up with quick, clever sewing tips, recycling crafts and simple, easy recipes! You can find my ideas featured in reputable publications such as Country Living, Good House Keeping, Yahoo News, WikiHow, Shutterfly, Parade, Brit & Co and more. Thanks for stopping by and hope you’ll stay for a while, get to know me better and come back another time. Stick around for real fun projects! Read more…