

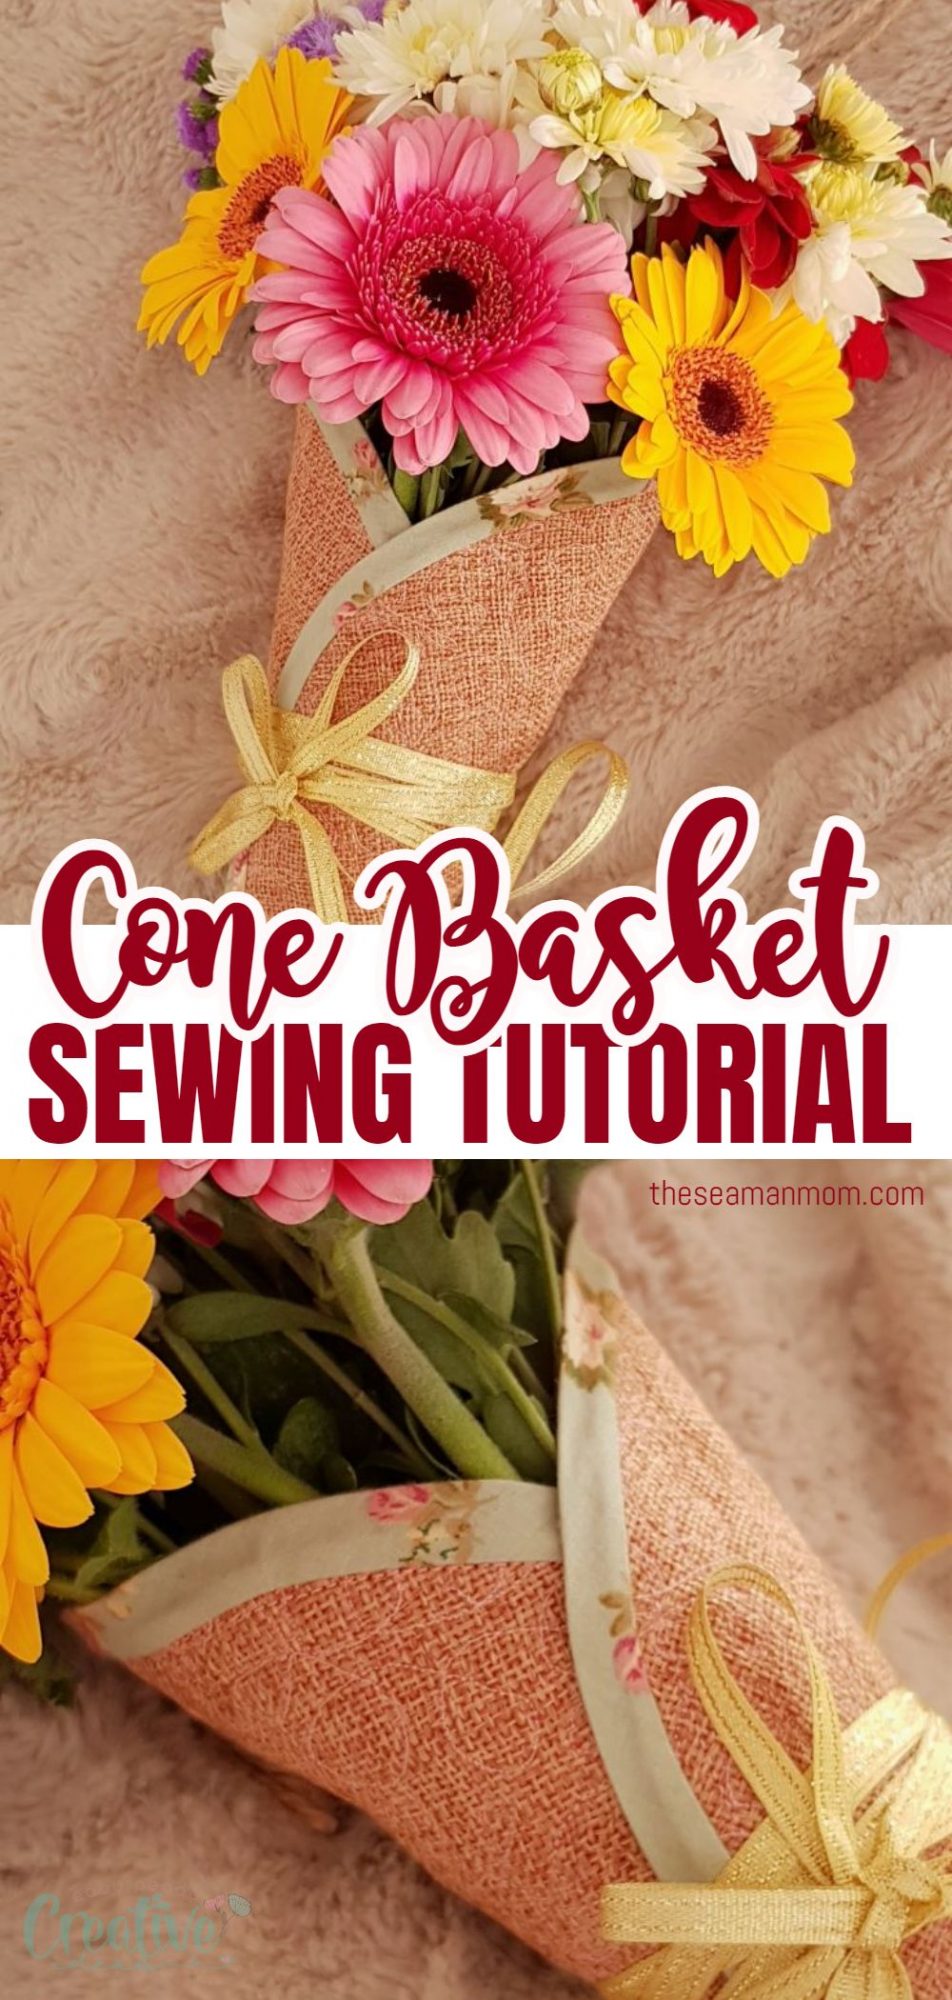
Adorable fabric CONE HANGING BASKET you need to sew today
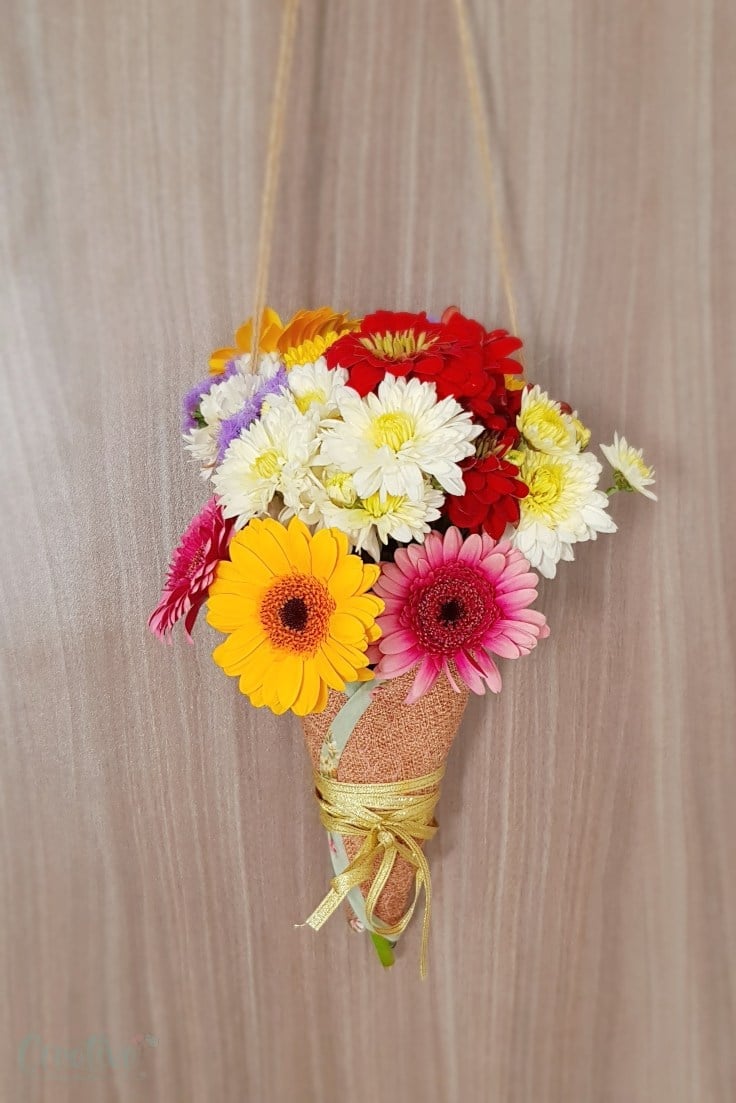
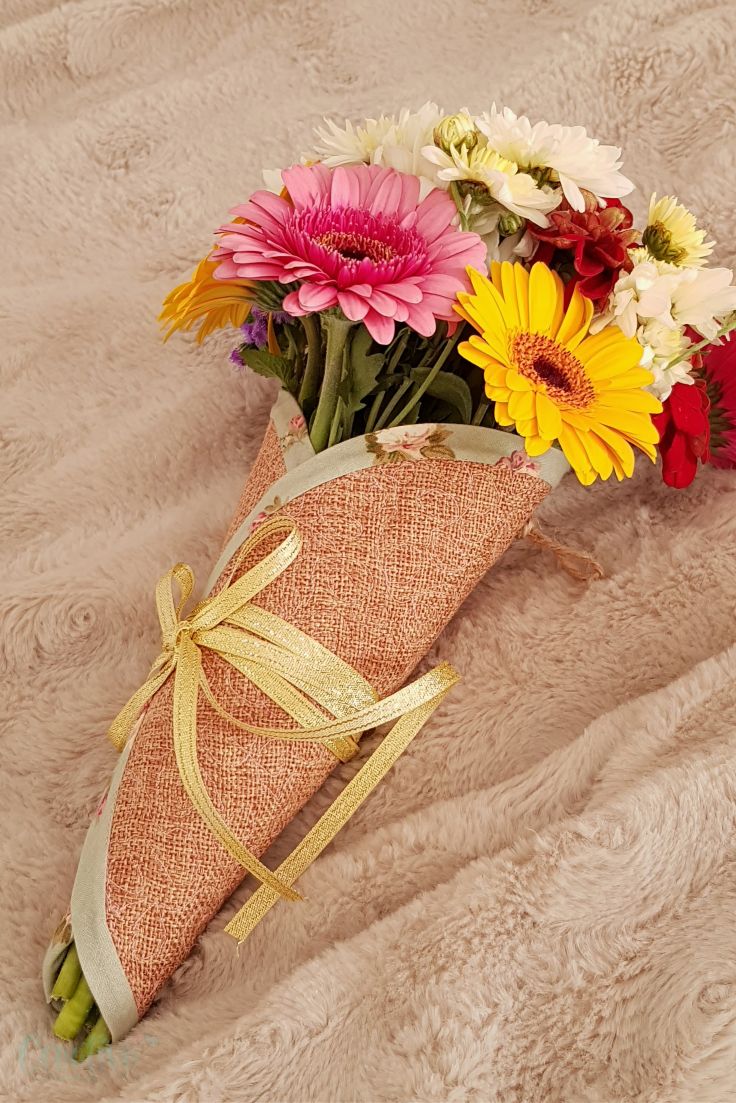
Are your empty walls feeling a little lonely? Or maybe you need to add a little bit of a happy vibe to your front door? Add a little floral flair with an adorable cone hanging basket! Ready in no time, this lovely flower cone is the perfect front door décor in any season!
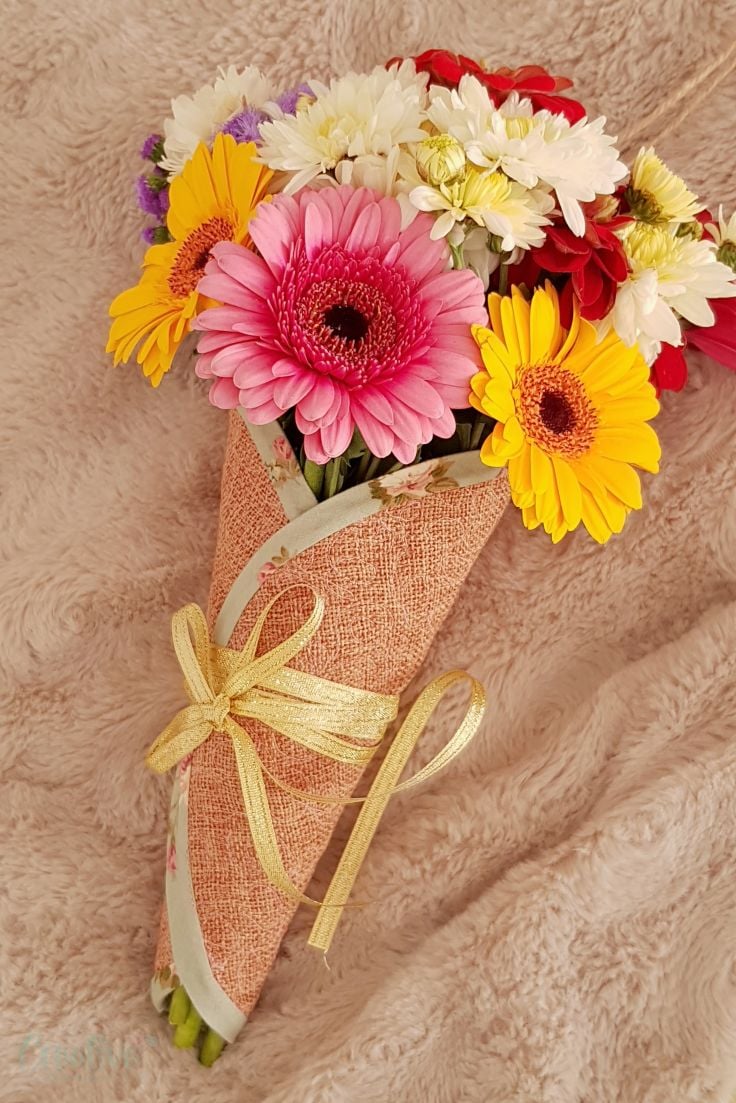
Cone hanging basket
Hey guys! Today I wanted to combine my love for sewing and crafting into one super duper fabric cone project! I made this wonderful cone hanging basket in fabric but crafters who don’t sew can easily adjust the tutorial by using paper, wicker cones or even clay!
I love decorating my front door and this cute flower door hanging is great in any season! Just add seasonal flowers or other decorations specific to the season you’re in and hang on your door! These are also perfect for indoor decorations and look fantastic on an empty wall, such a lovely splash of color! Great for weddings as flower cones too or for garden parties! The possibilities are endless!
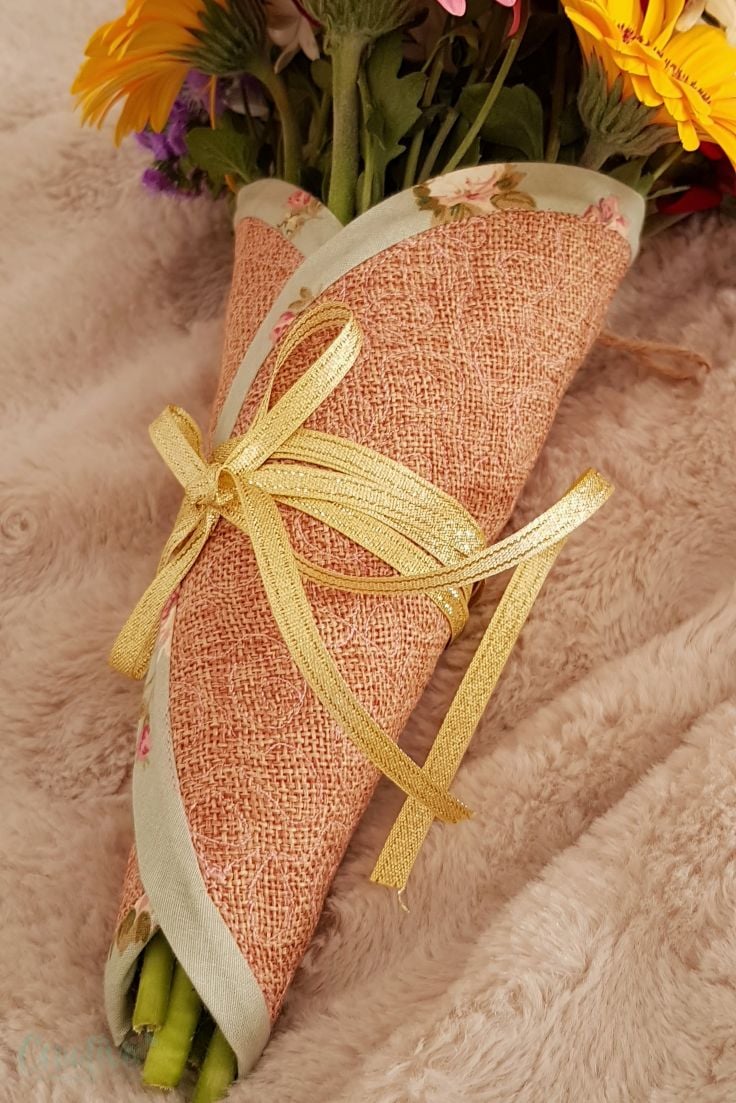
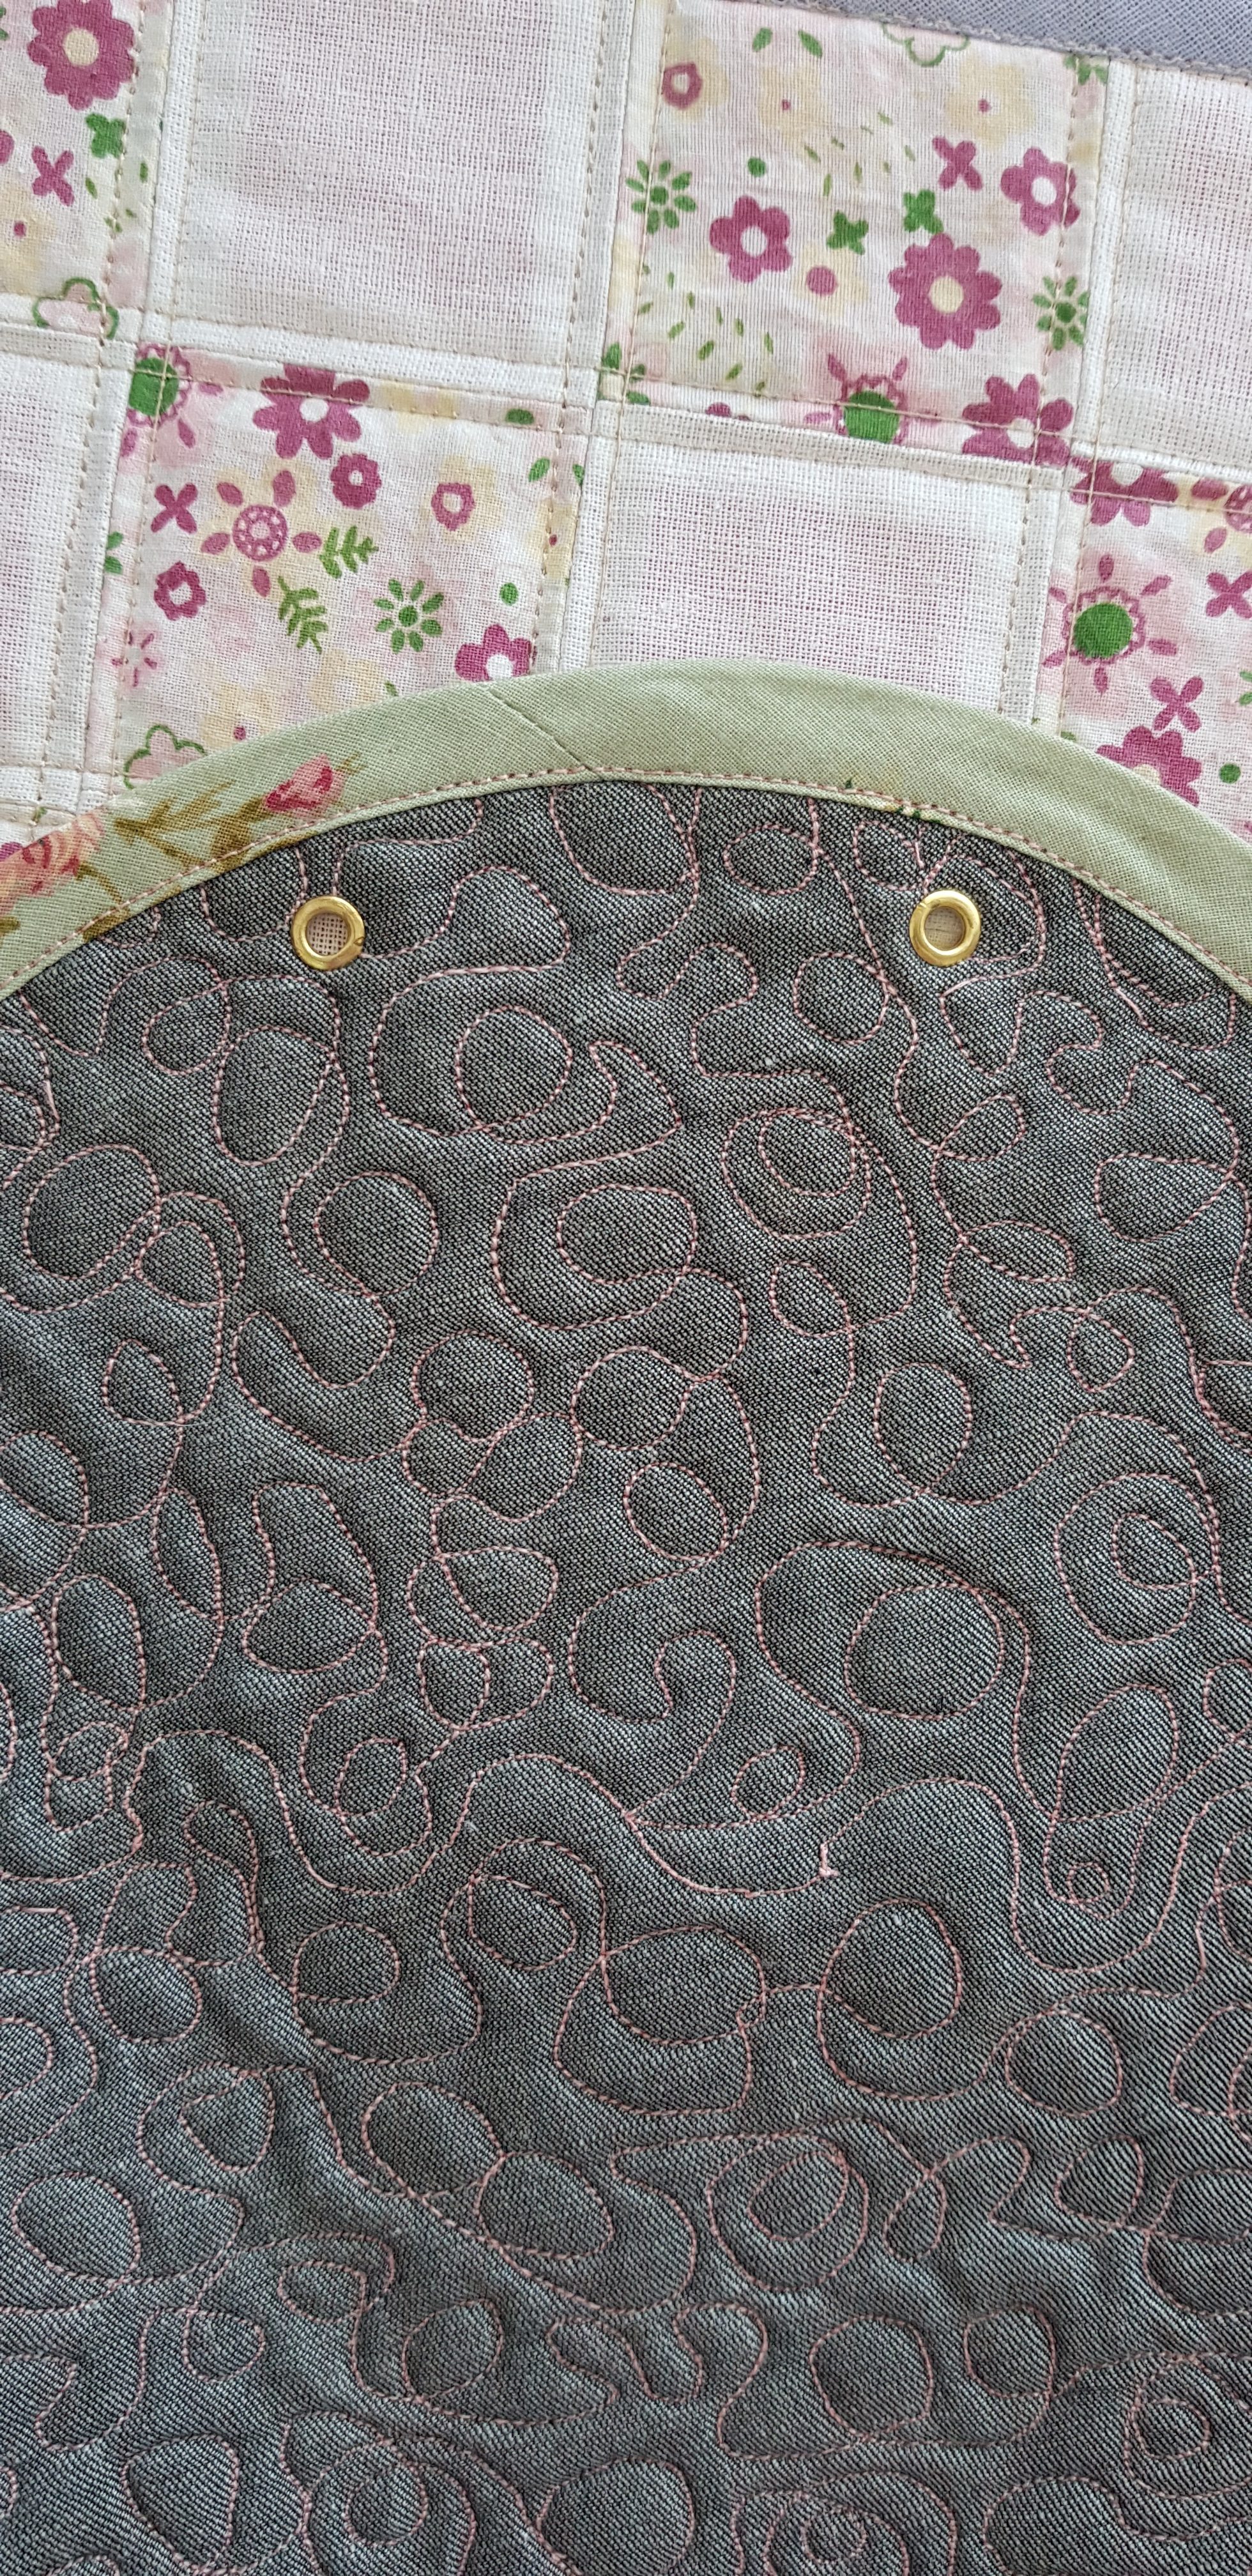
This cone hanging basket is such an easy and quick project and if you’re a beginner sewist, this fabric cone gives you the opportunity to work on your bias tape skills as well as sewing round shapes. The only hard part who also took most of the time spent on sewing this cone, was decorating the cone with free motion quilting. I’ve done a random design, just as I was sewing, nothing planned in advance but there are plenty of free designs out there you could use if you’re not feeling inspired to do one yourself.
More easy quilting projects:
- French braid sewing mat
- Pumpkin mug rug
- Quilted snap bag
- Quilted sewing mat with thread catcher
- Adorable quilted hand bag
- Quilted tablet case
- Fun and easy quilted potholders
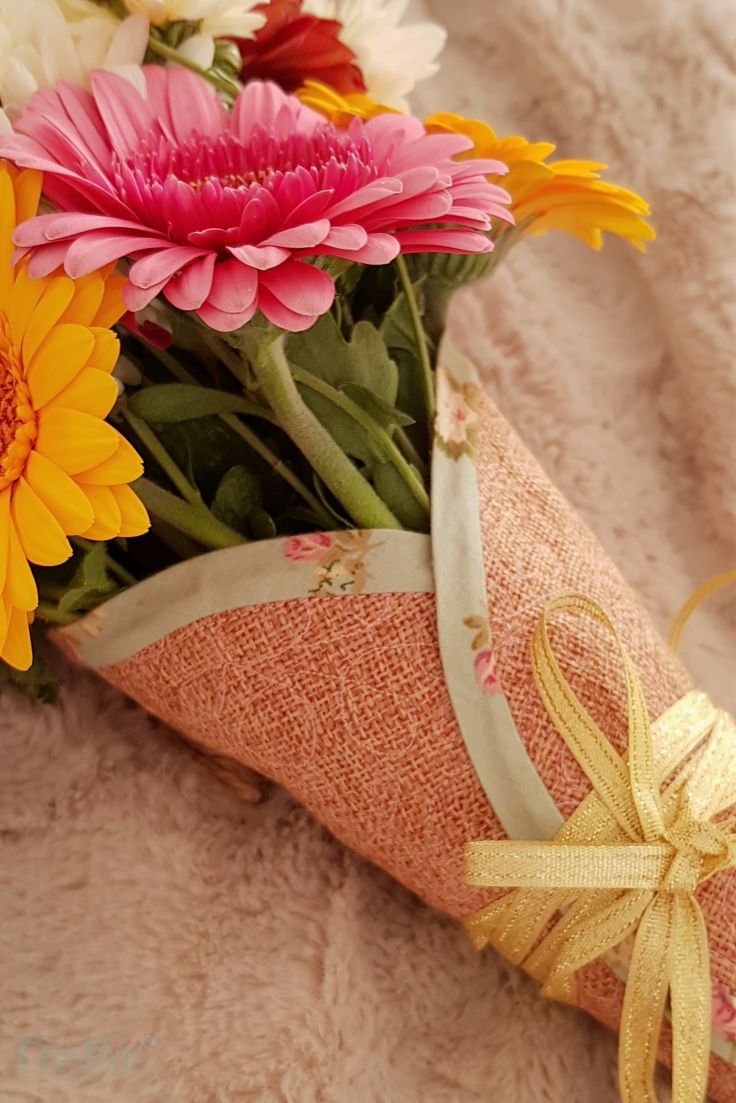
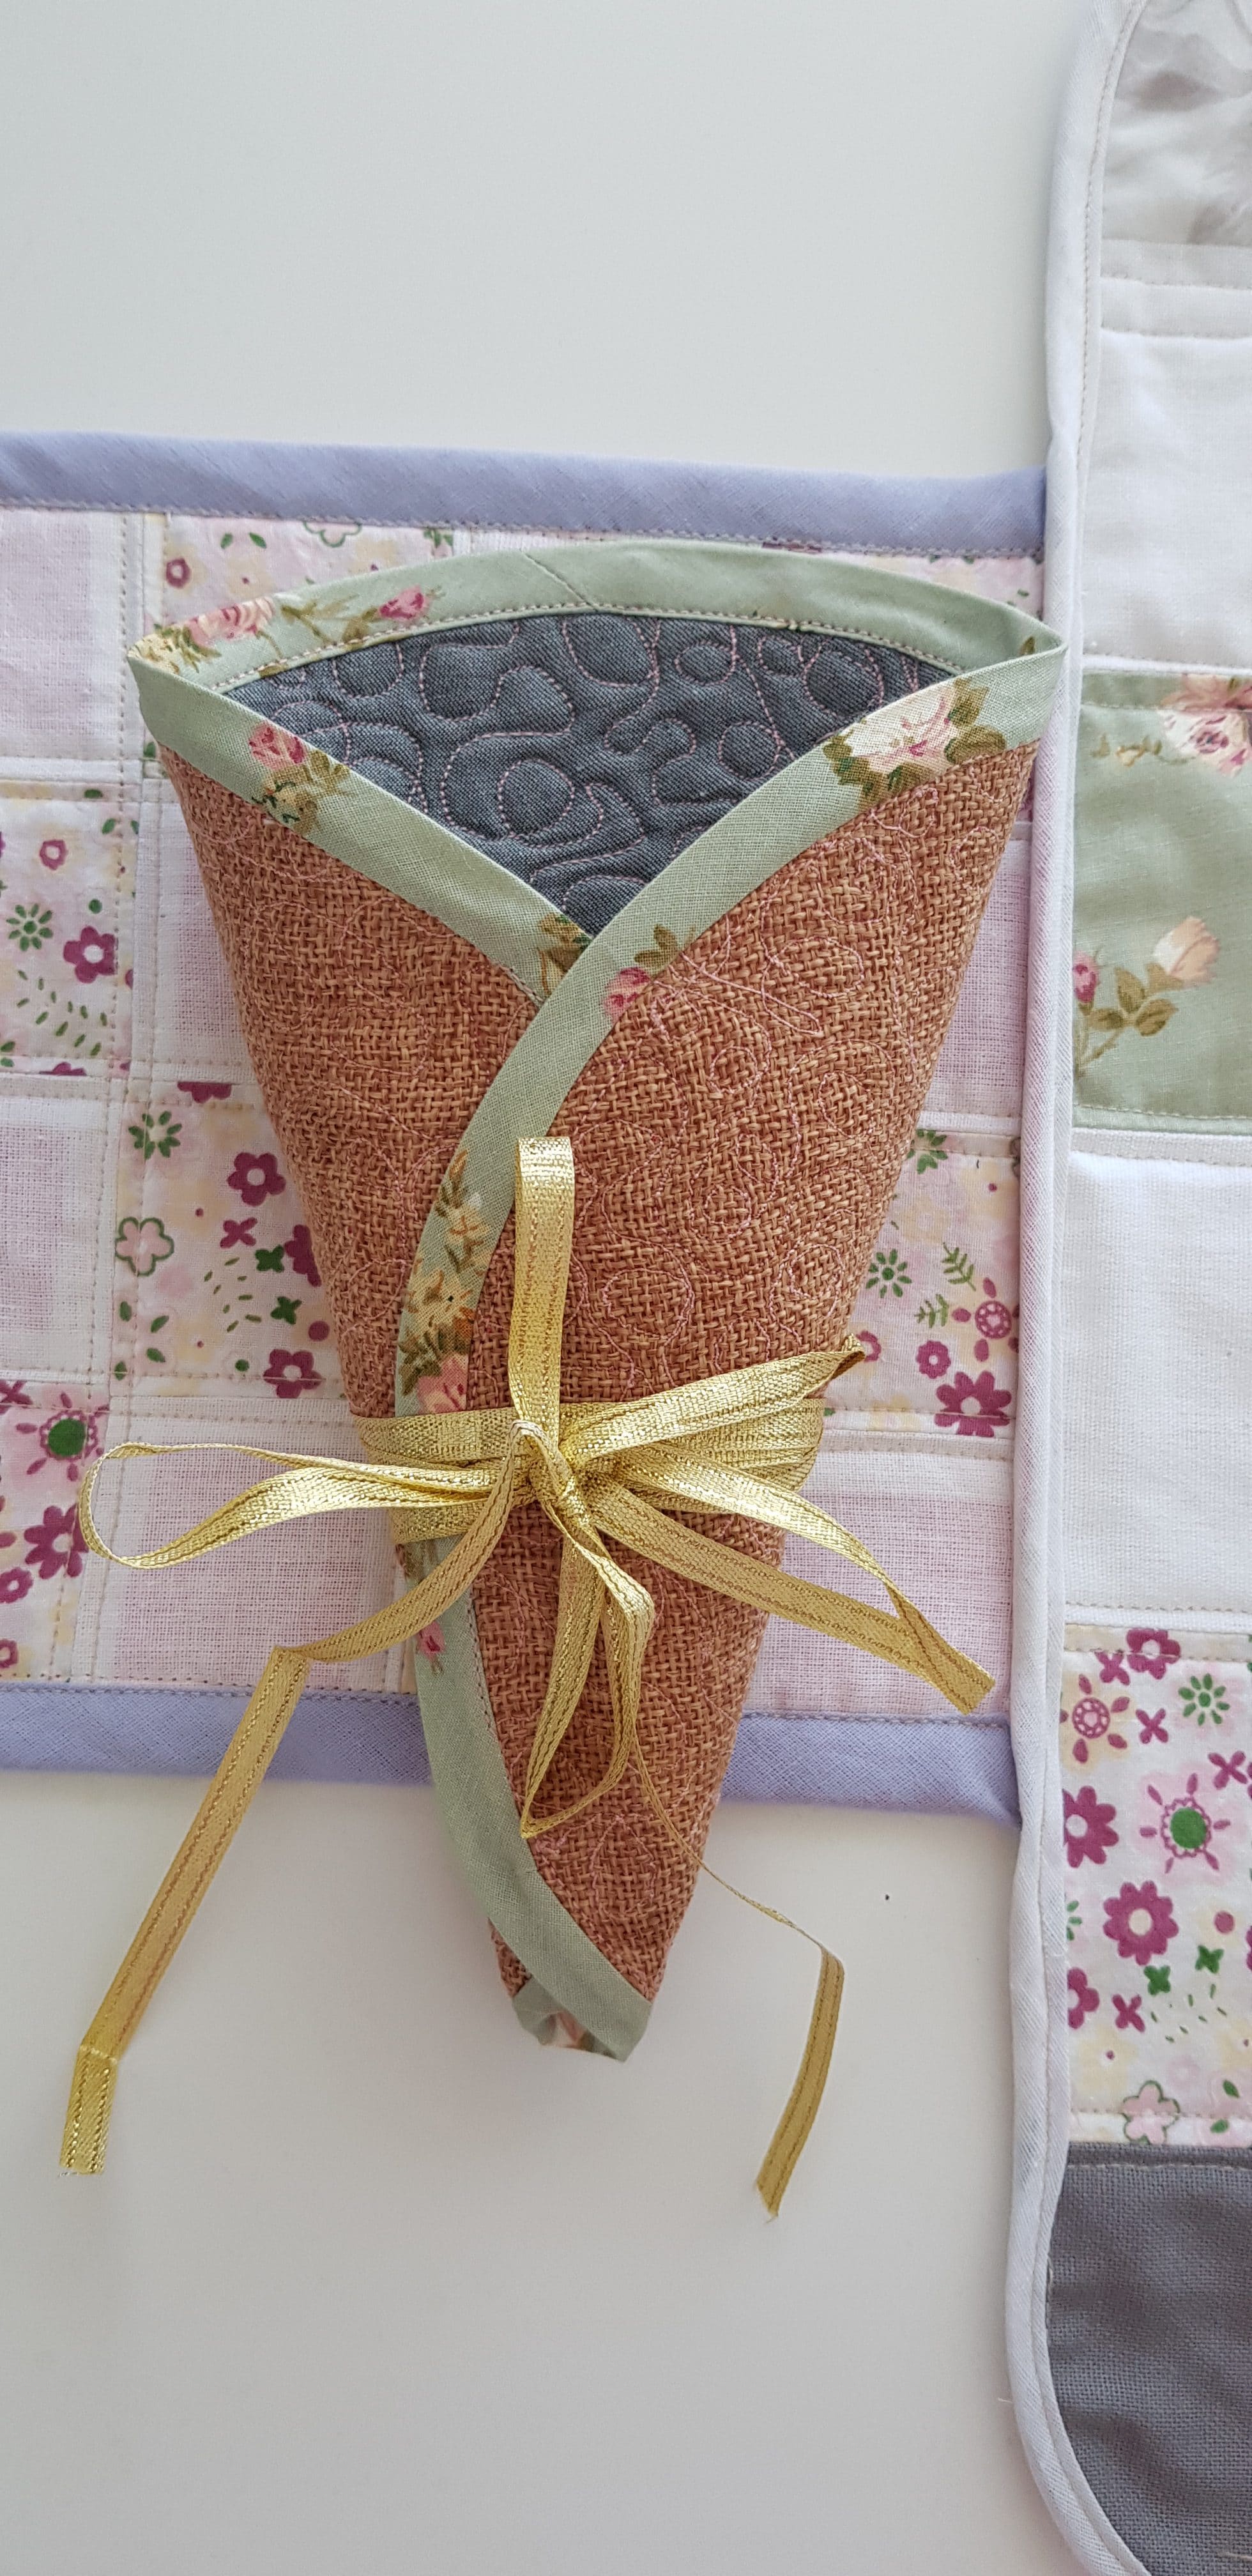
This simple cone hanging basket is actually a round mat, folded and tied with ribbon. I quilted the mat so this is also a great opportunity to experience or practice quilting if you’re a beginner. I decided to not fasten the cone at the fold because I made this fabric cone reversible and I plan on using both sides. Not fastening the cone makes it easier for me to use both sides of the cone.
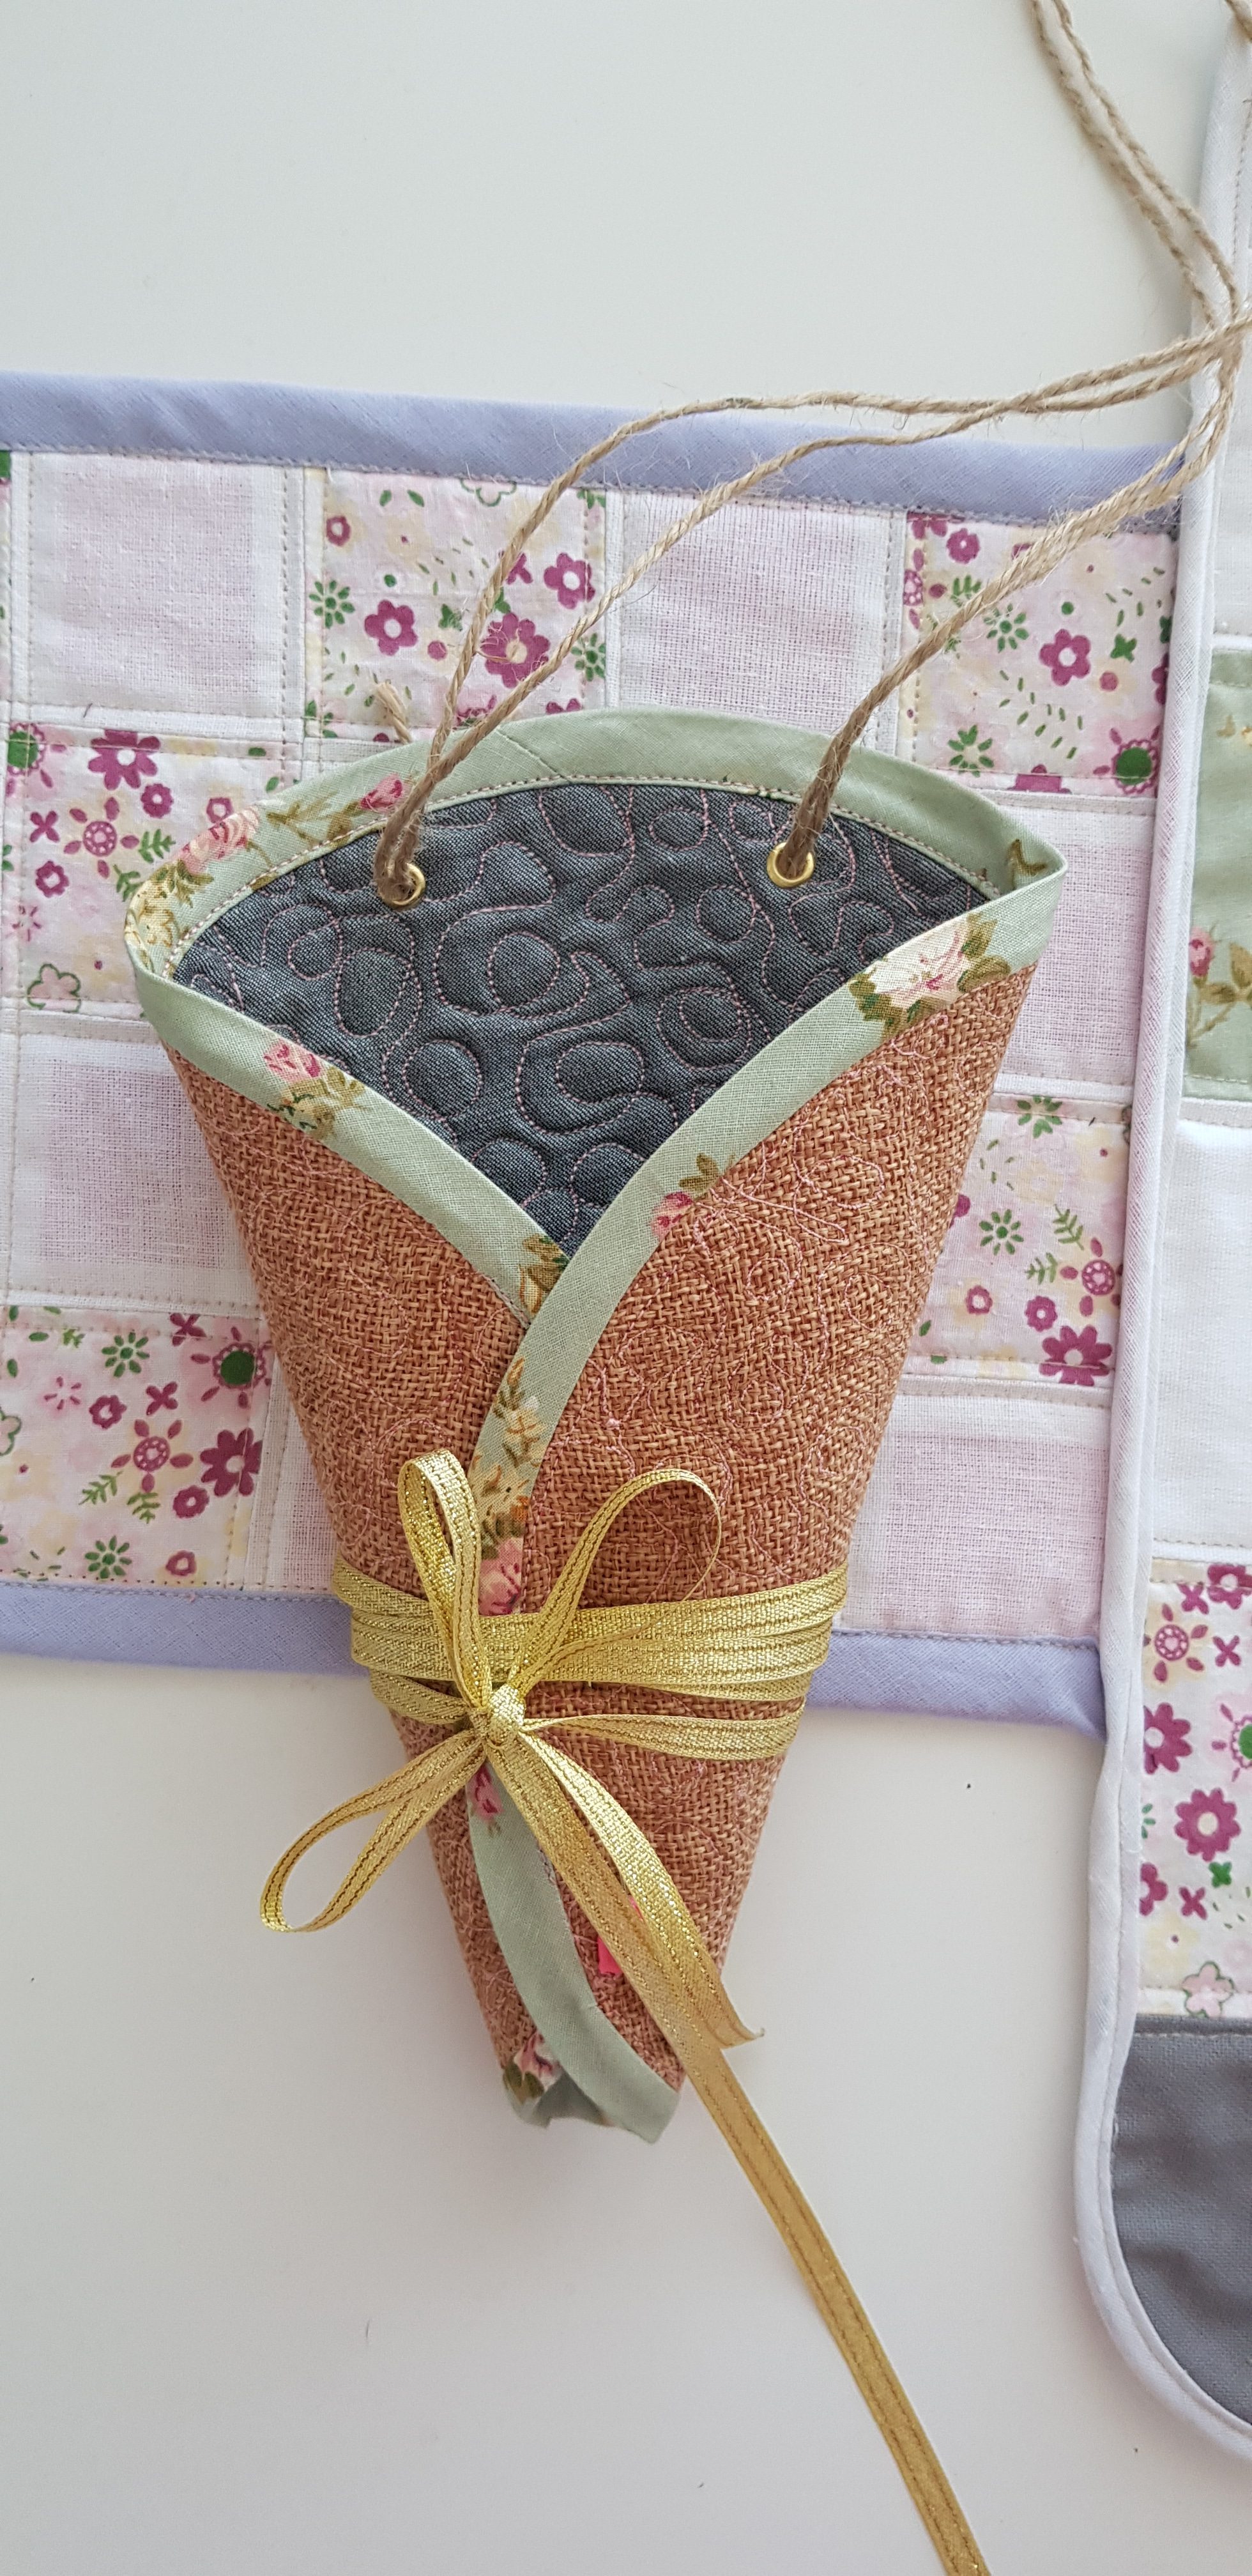
I used ribbon to tie this cone but you could also use a large, pretty safety pin, buttons or a brooch. I also punched a couple of holes in the top of the cone and I threaded some twine through the holes to hang the cone. These can easily be replaced with large buttons (just sew a couple of buttons to the top, tie some twine or ribbon to those buttons and hang the cone).

As you can see, this cone hanging basket is so versatile, you can play around with the design as much as you like, such a fun project! Oh, and if you decide to fill with flowers as I did but want to make sure the flowers last longer, just wrap the bottom of the stems in wool cotton soaked in water and then wrap the cotton in plastic before inserting the flowers into the cone, to avoid dripping.
Flower door hanging tutorial
Materials:
- fabric scraps for the outer cone and the backing
- fusible fleece or batting (simple fleece would work too)
- double fold bias tape (make your own using this tutorial)
- cutting mat
- rotary cutter
- scissors
- large plate or other round object
- pins
- quilting clips
- sewing machine
- matching thread
- quilting foot or darning foot if you decide to free motion your cone (optional though)
- ribbon
- twine
- hole puncher kit with eyelets
Directions:
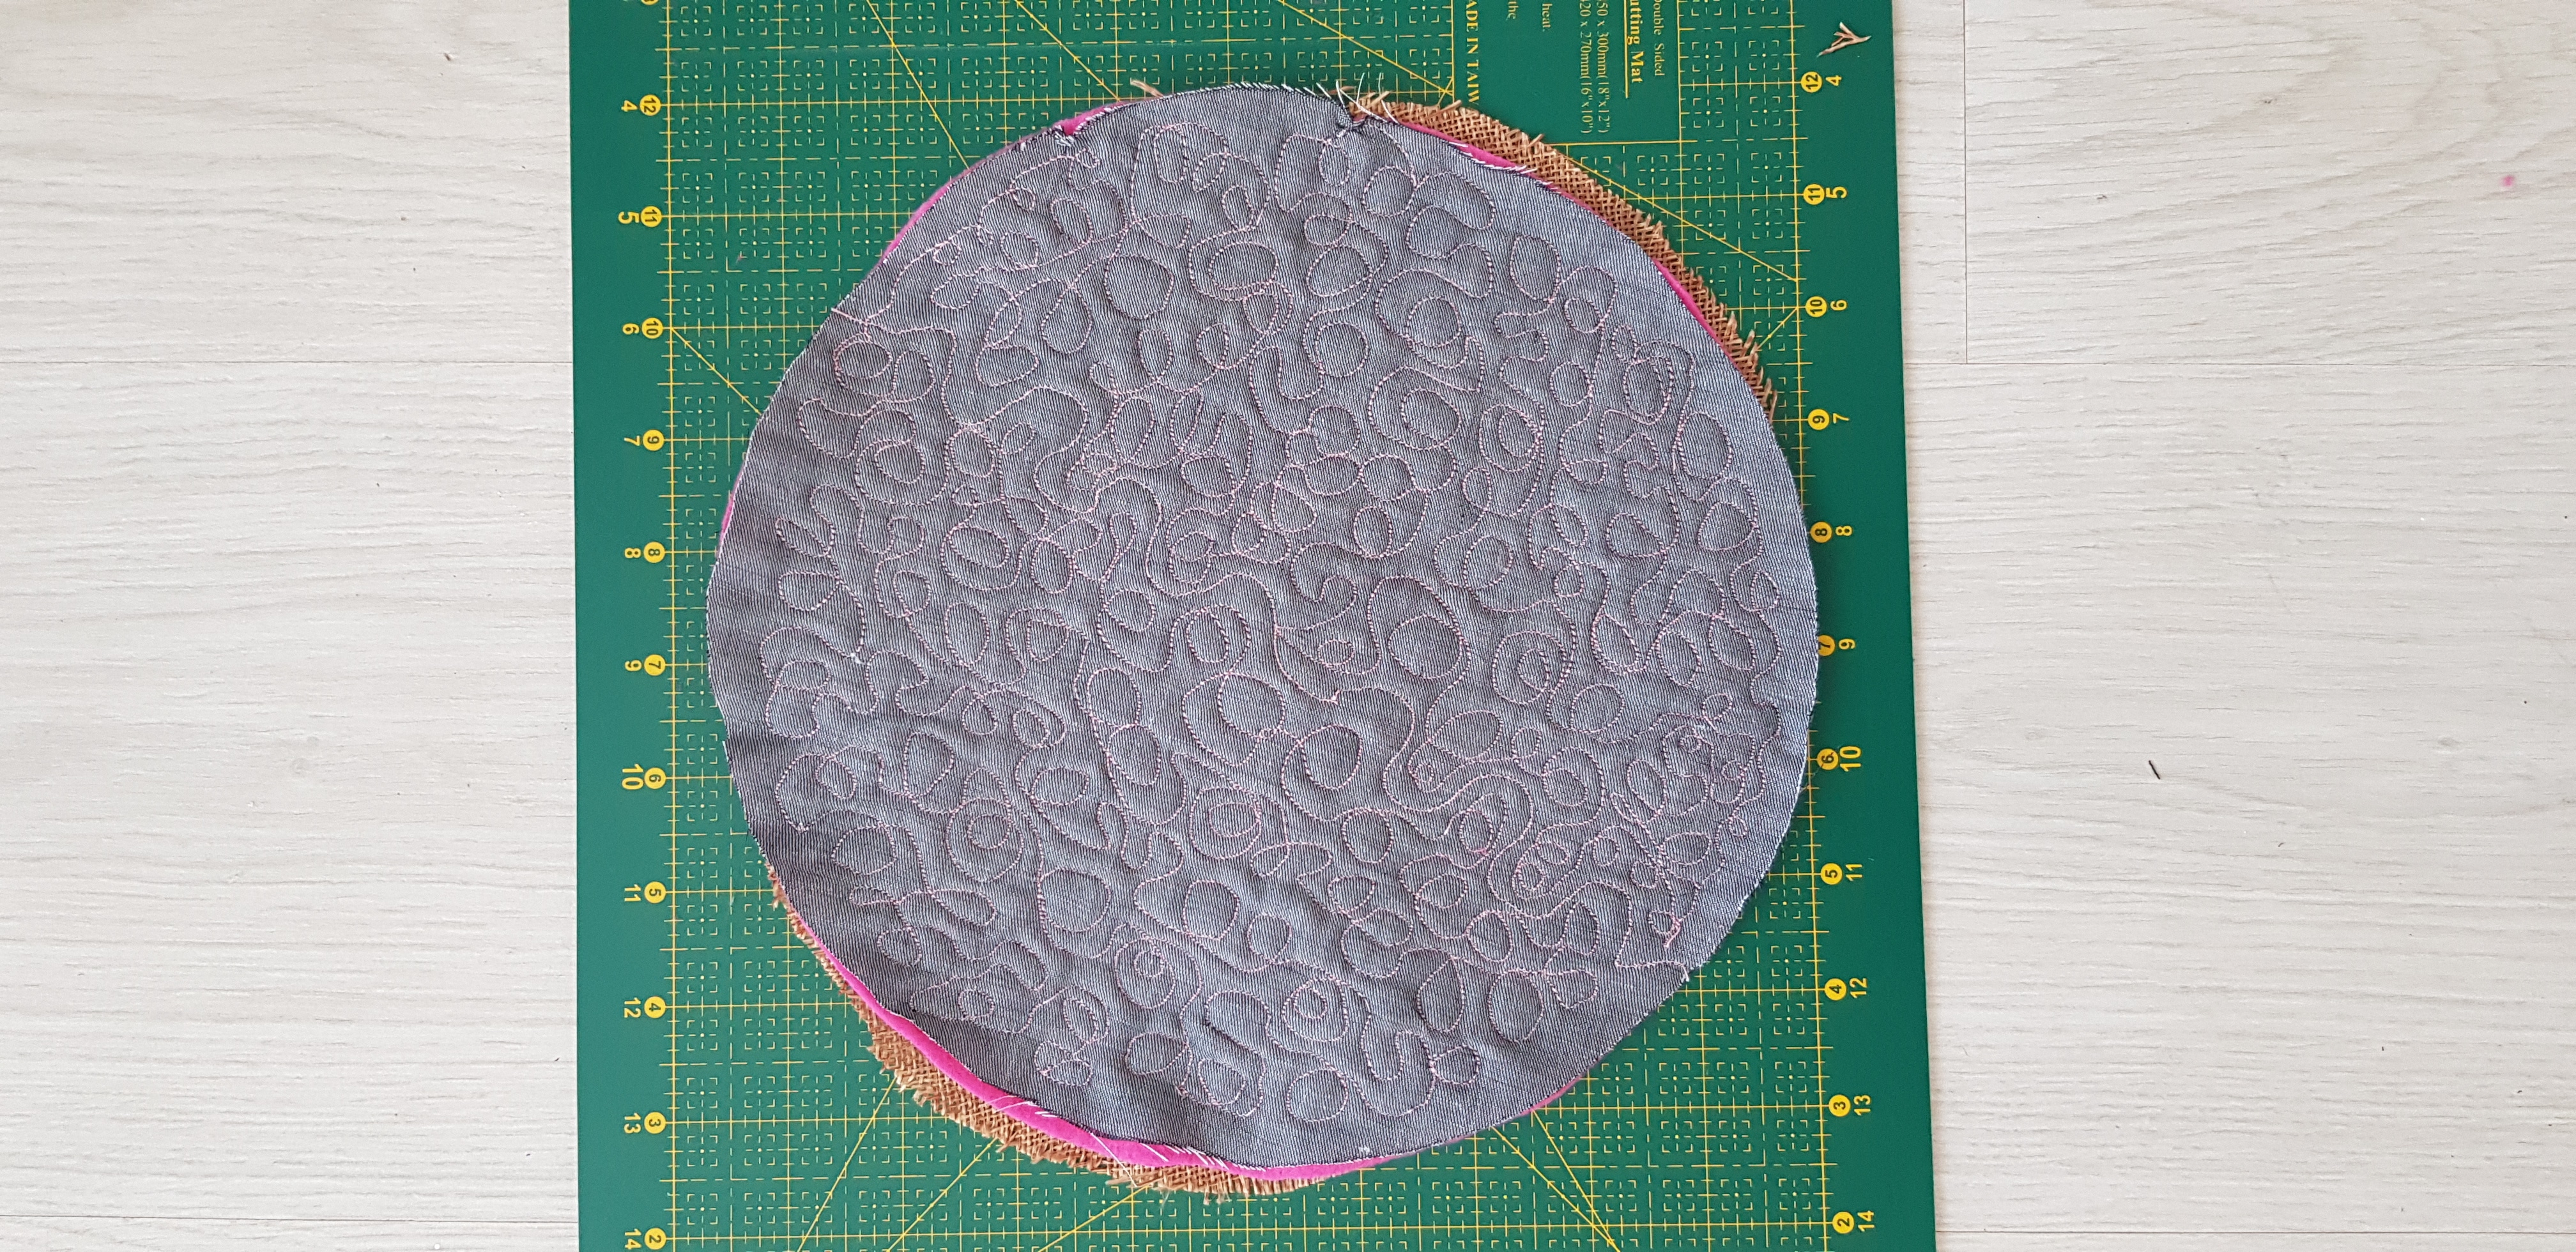
- Place your main fabric on the cutting mat.
- Get a round object and place it over the fabric. The size of the object will decide the final size of your cone. My cone is a medium size as I used a plate but you can go as big or as small as you like.
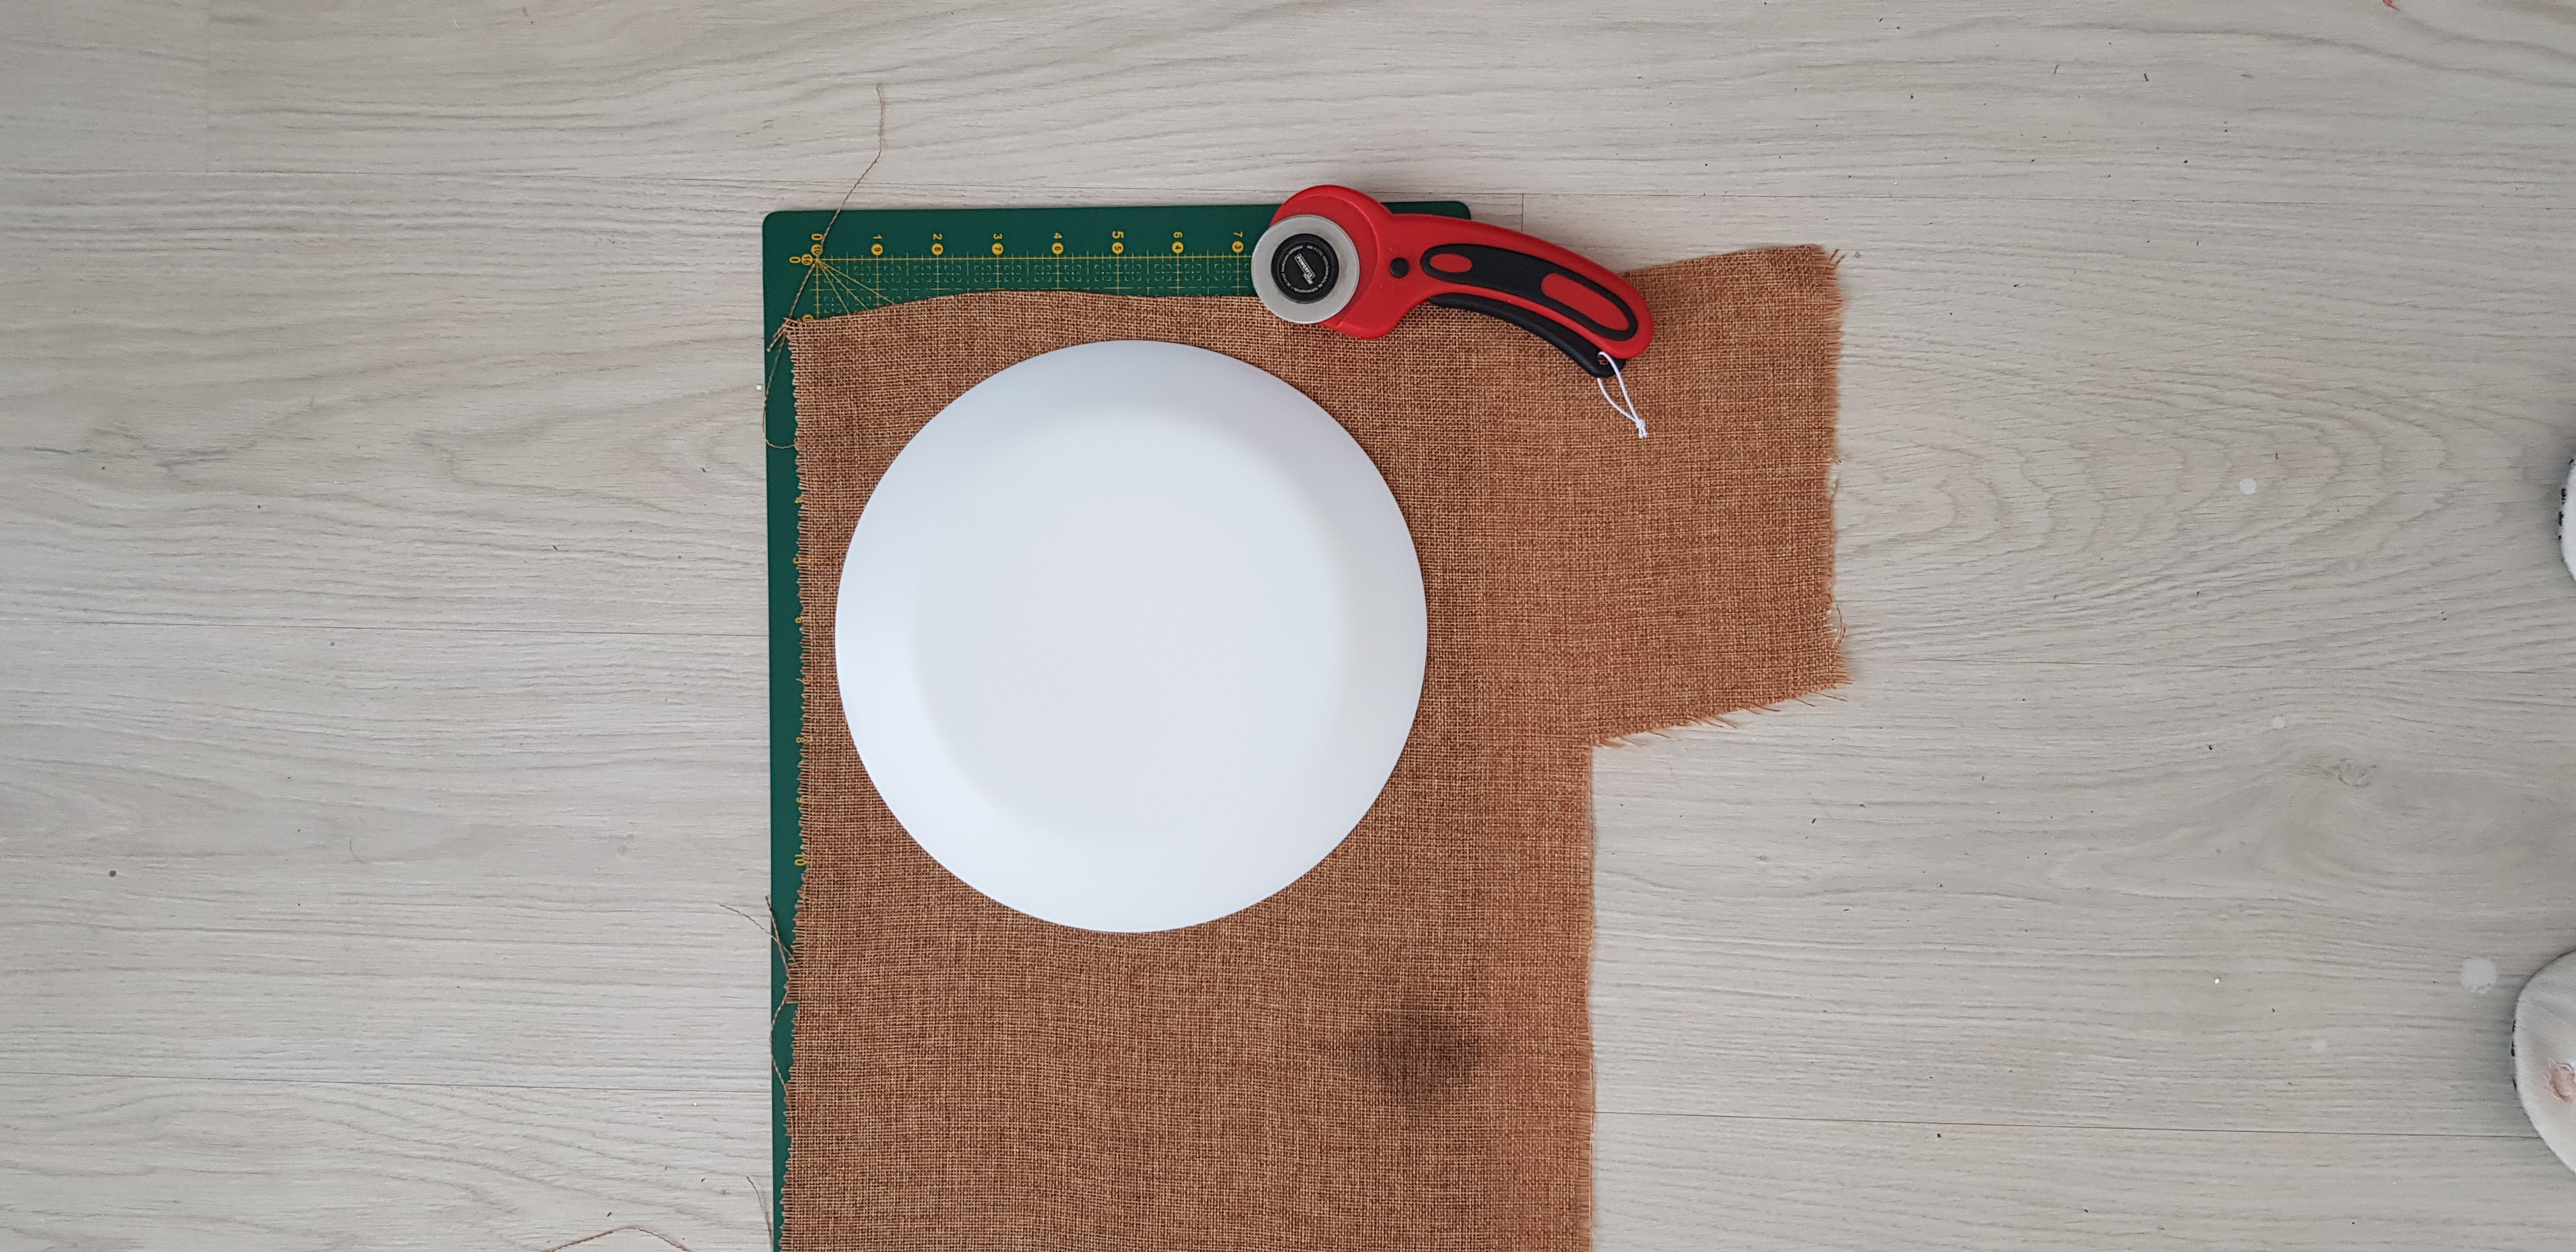
- Using your rotary cutter, carefully cut out the fabric. Be aware the cutter tends to cut straight so pay good attention on the cutter and cut in small sections, moving slow.
- Repeat for the backing fabric and the fusible flee (or batting/regular fleece)
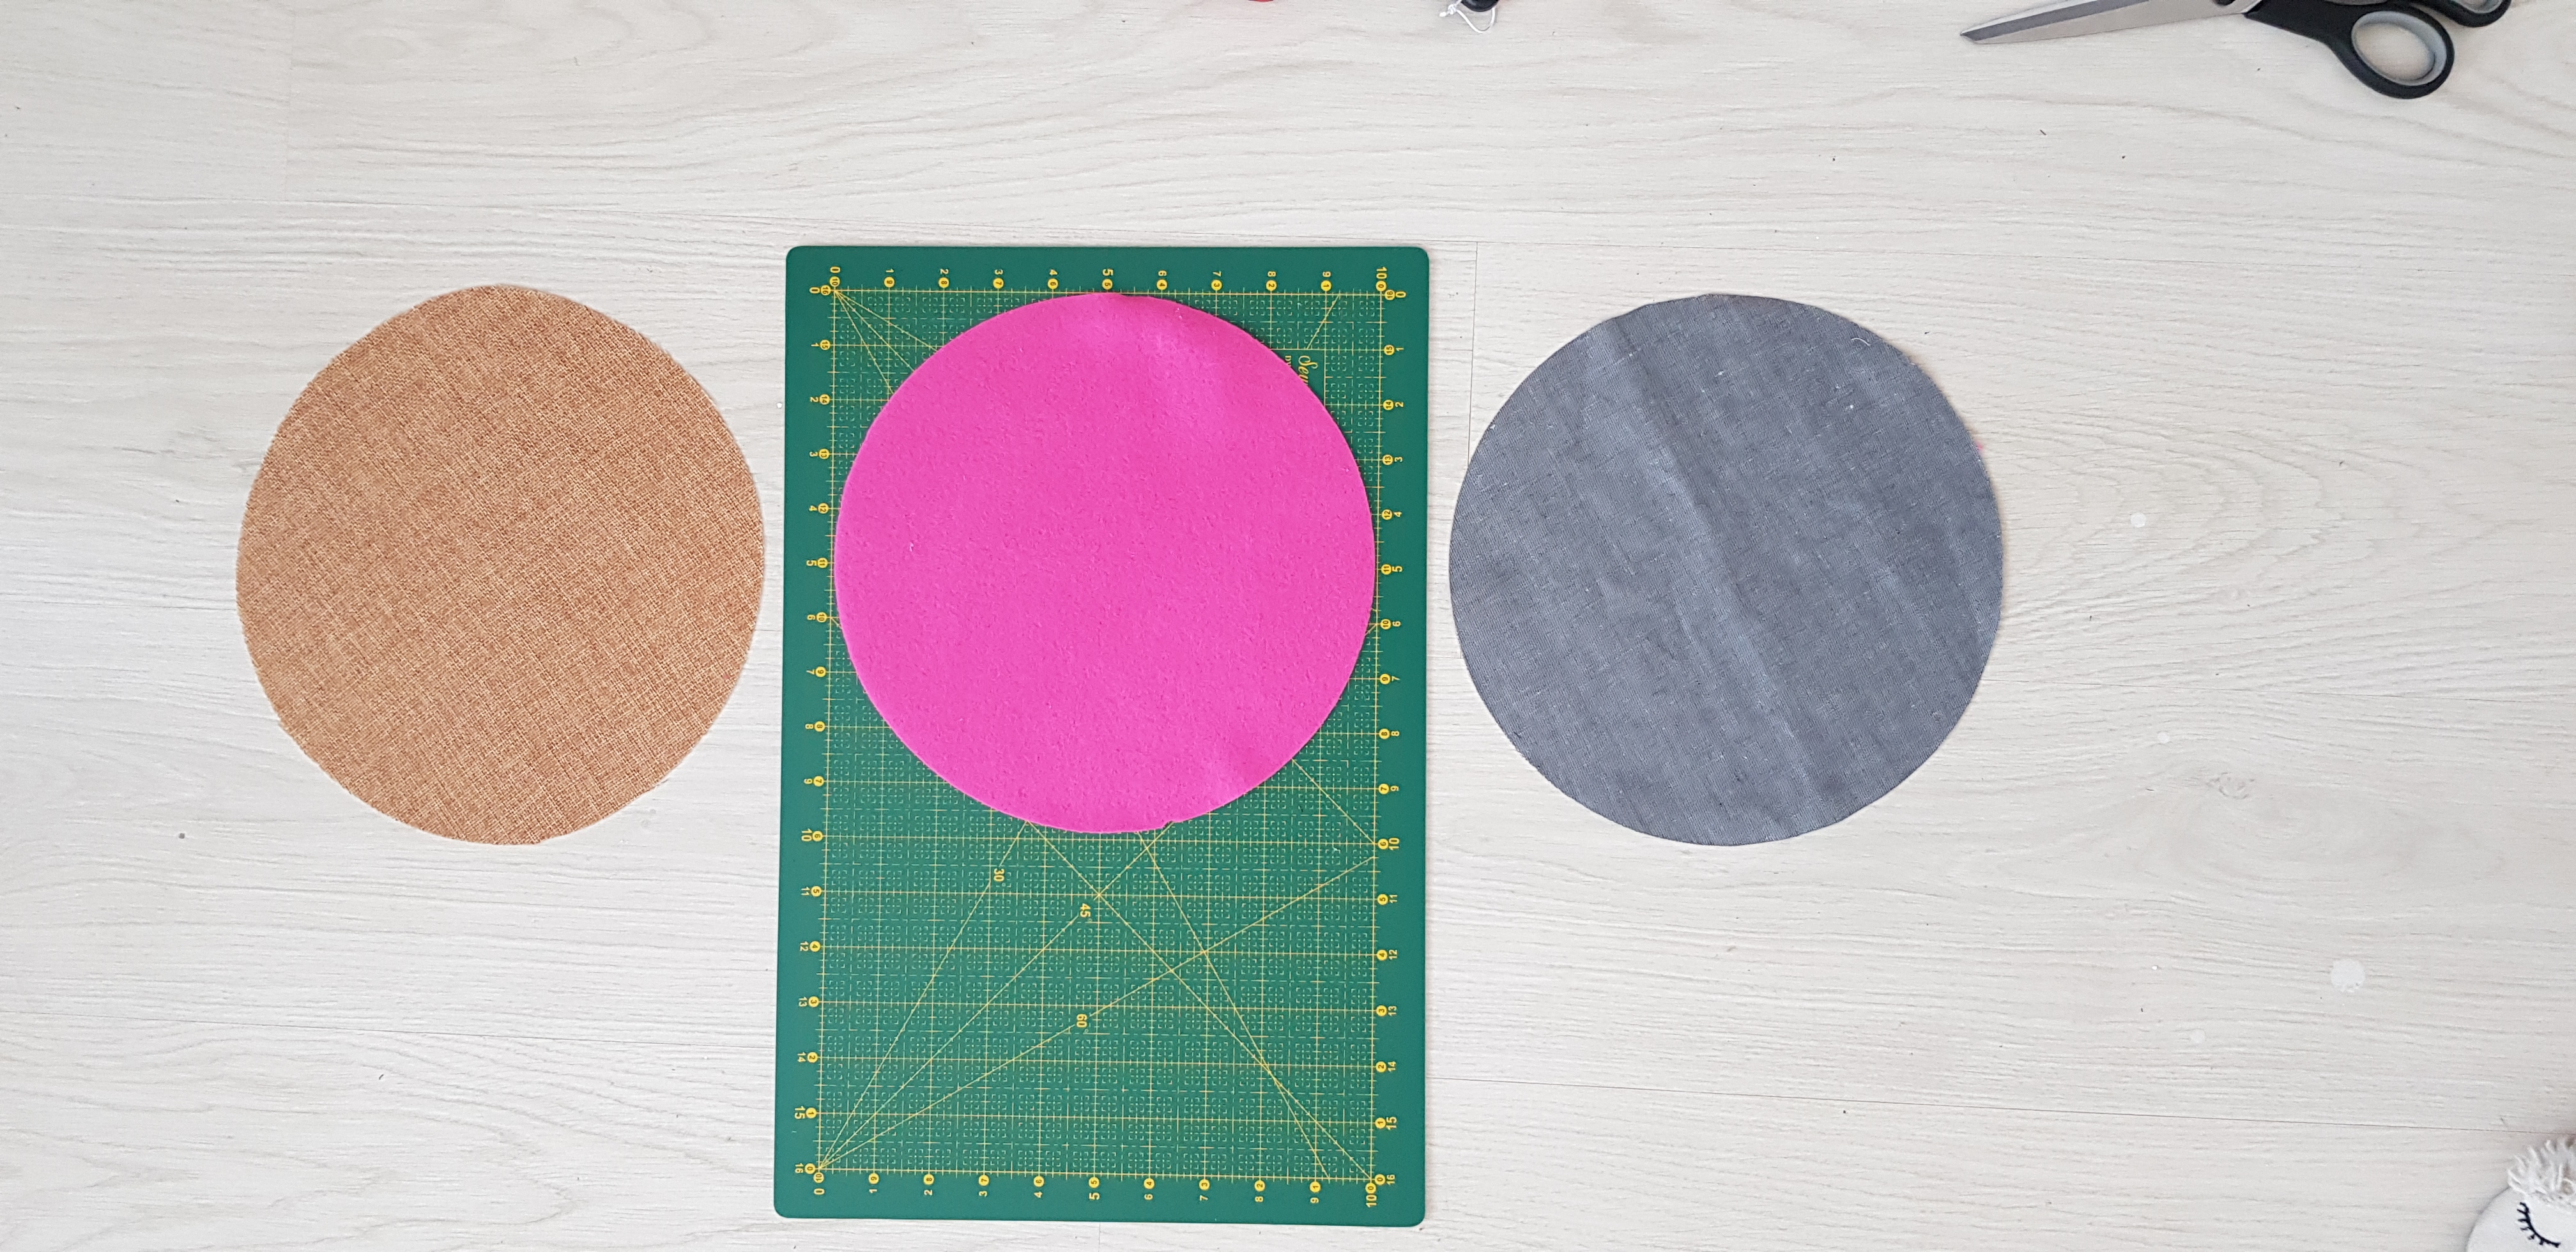
- Place all three circles on top of each other, with the main fabric and the backing fabric sandwiching the fleece in between them.
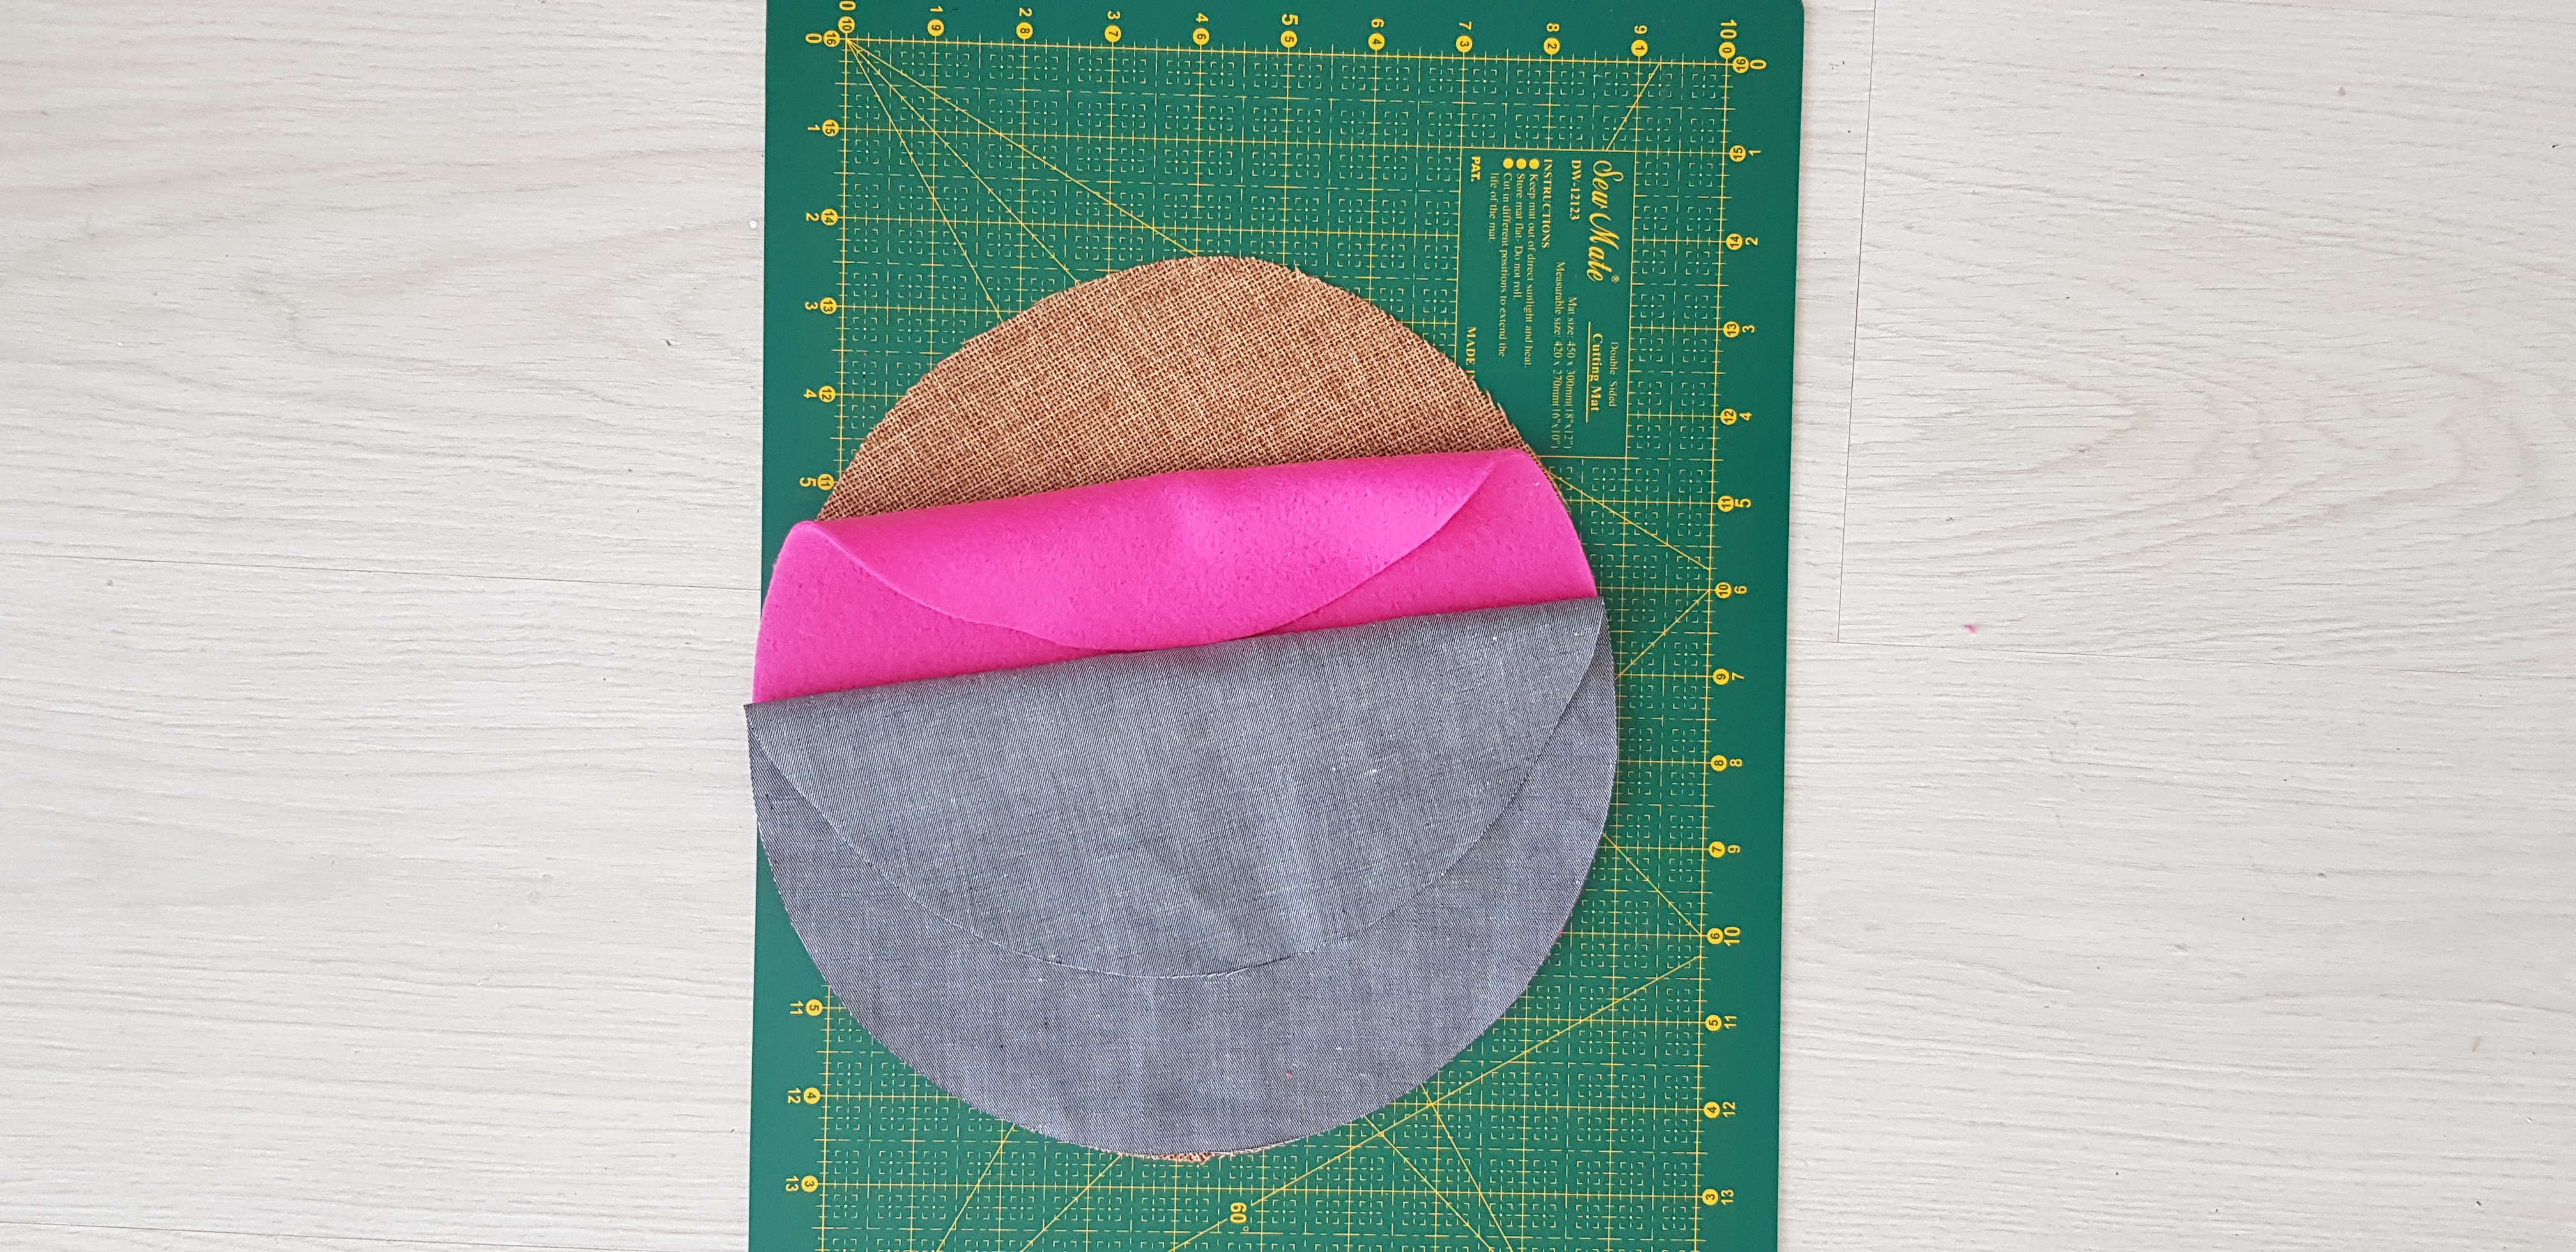
- Use large pins to keep all three layers together then start free motion sewing across the entire surface.
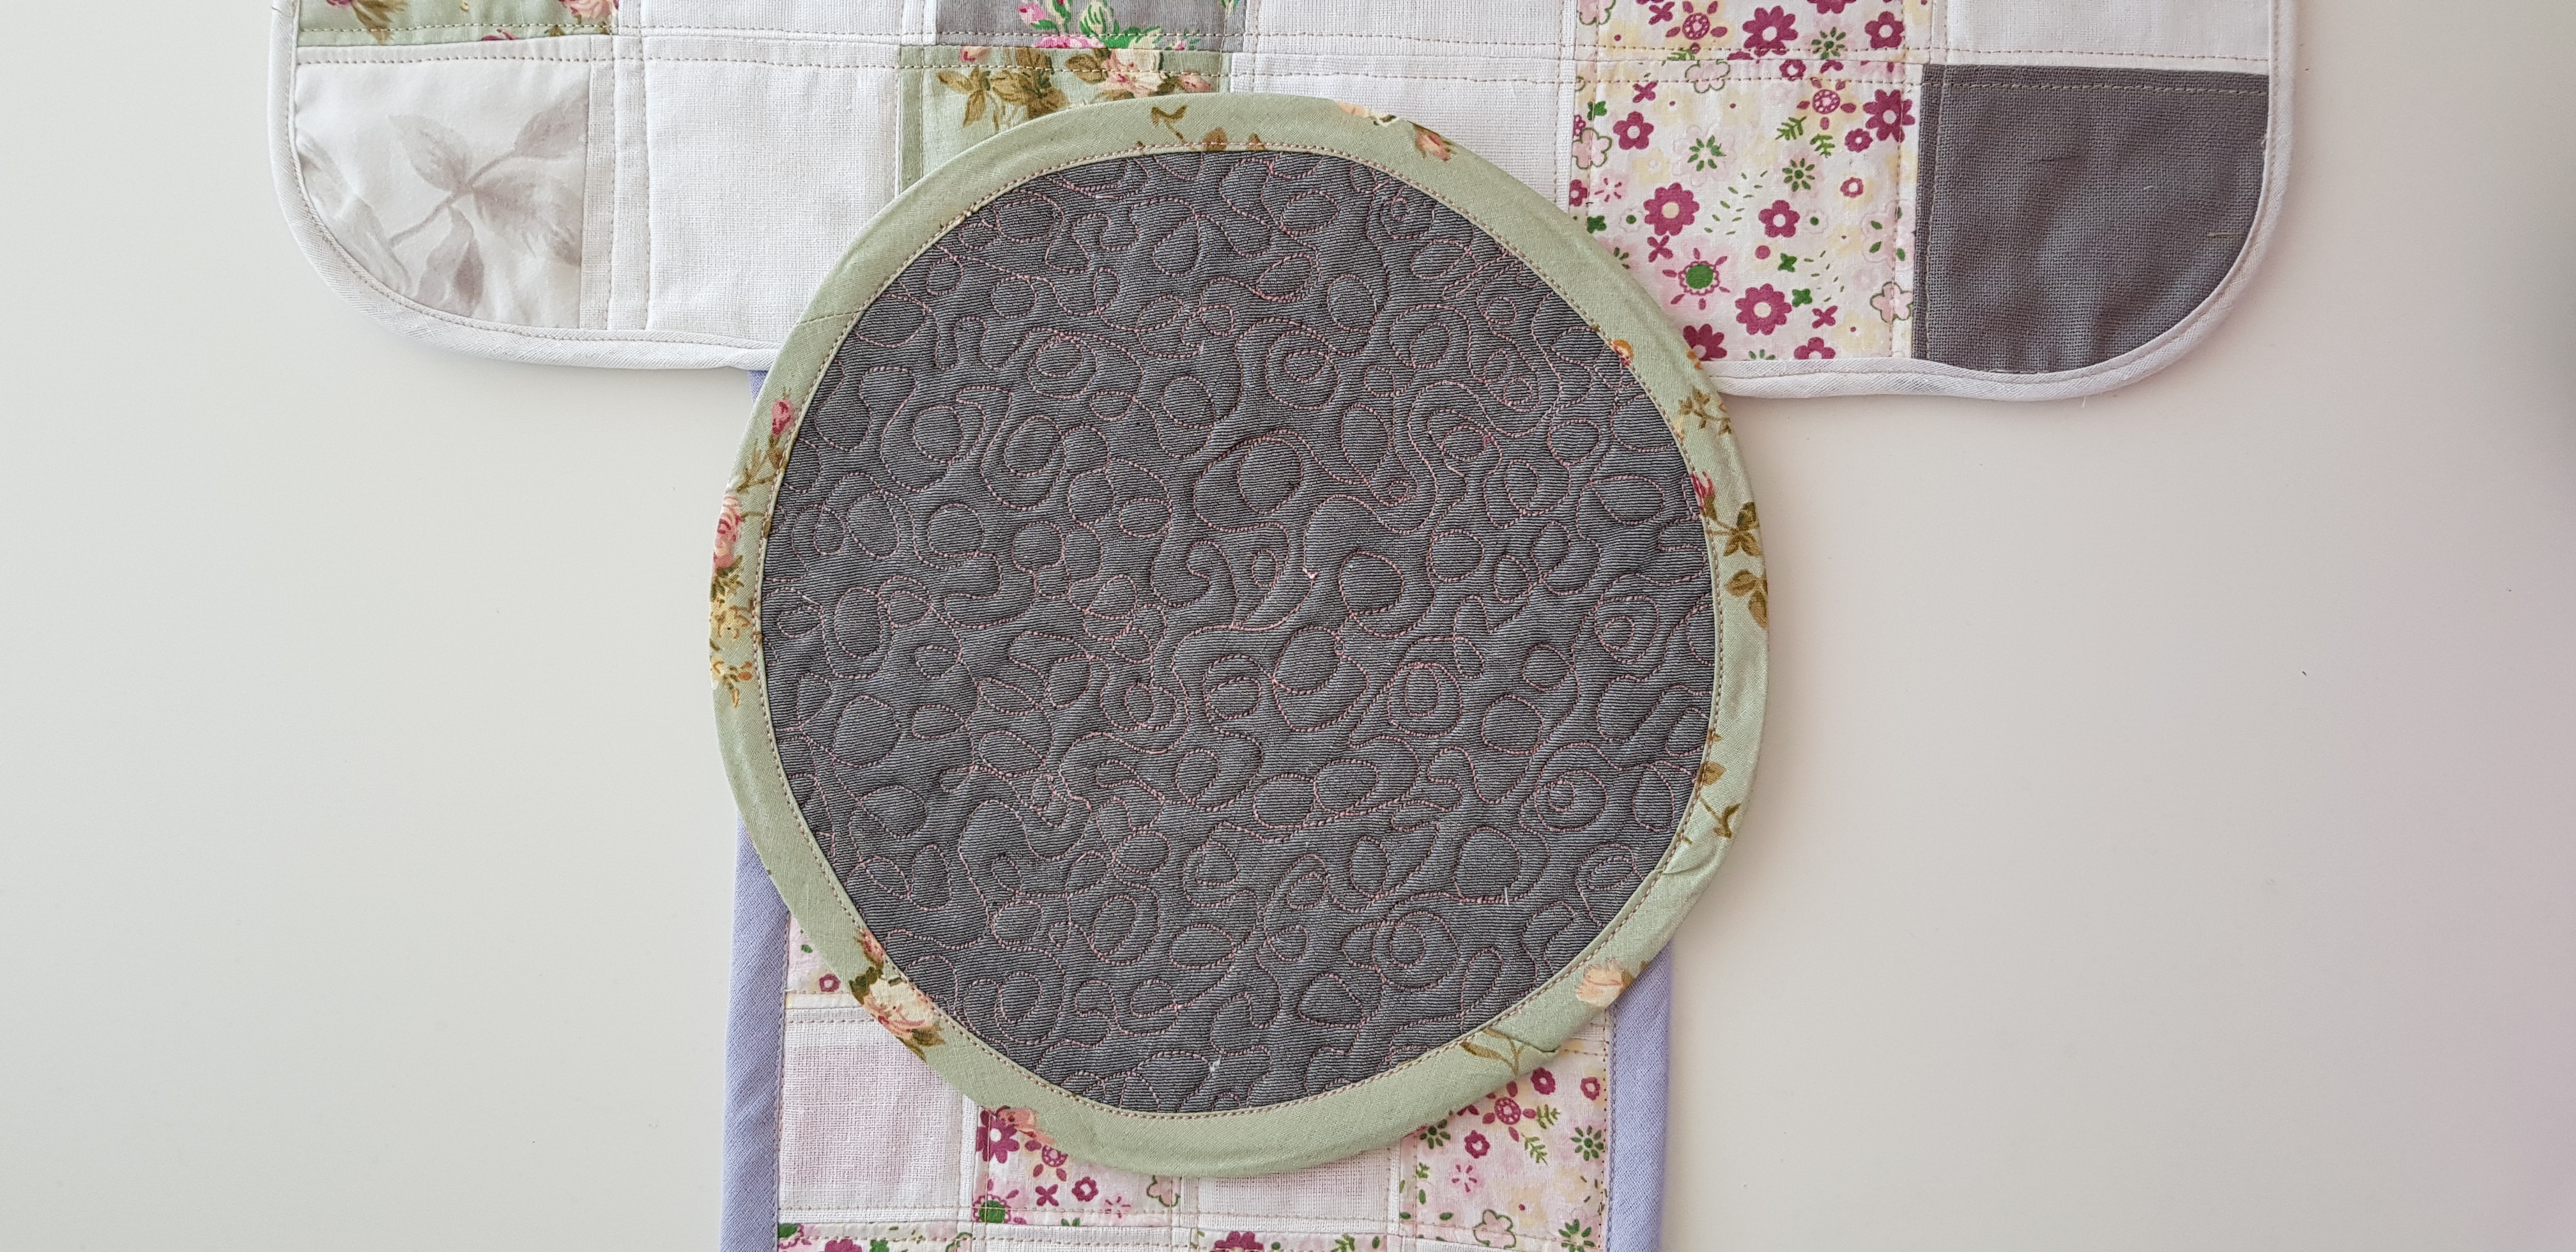
- When done free motioning, trim the edges.

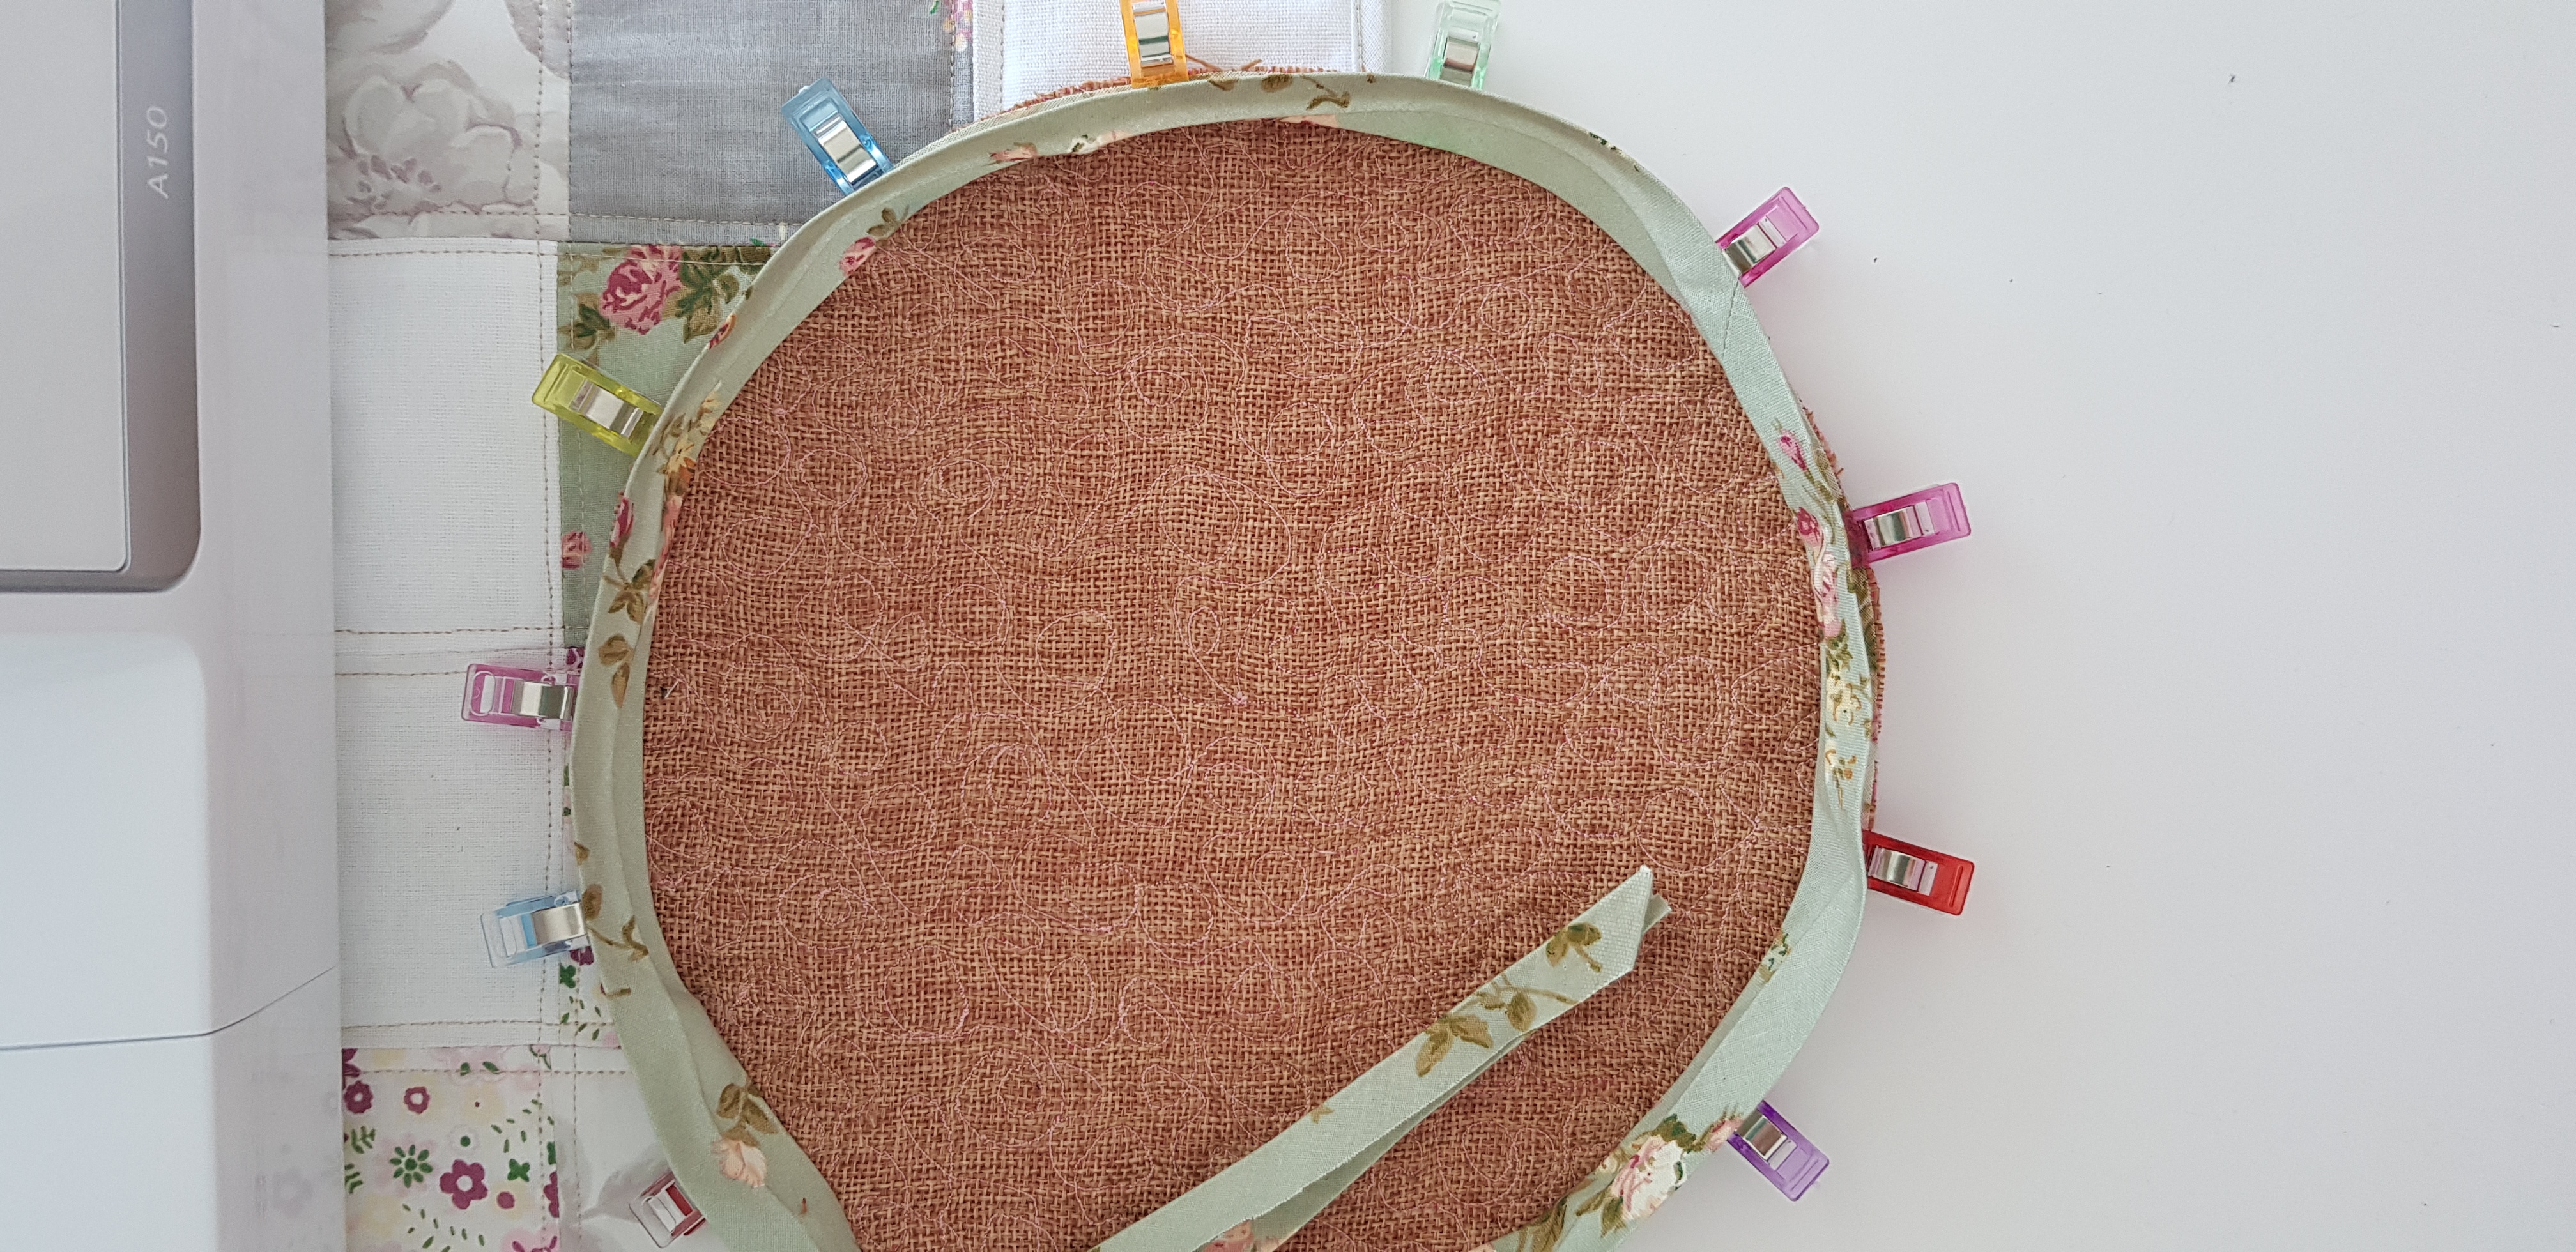
- Grab the double fold bias tape and apply all around the quilted circle. If you need help figuring out how to sew double fold bias tape, check out this tutorial! Or you can replace double fold bias with binding.

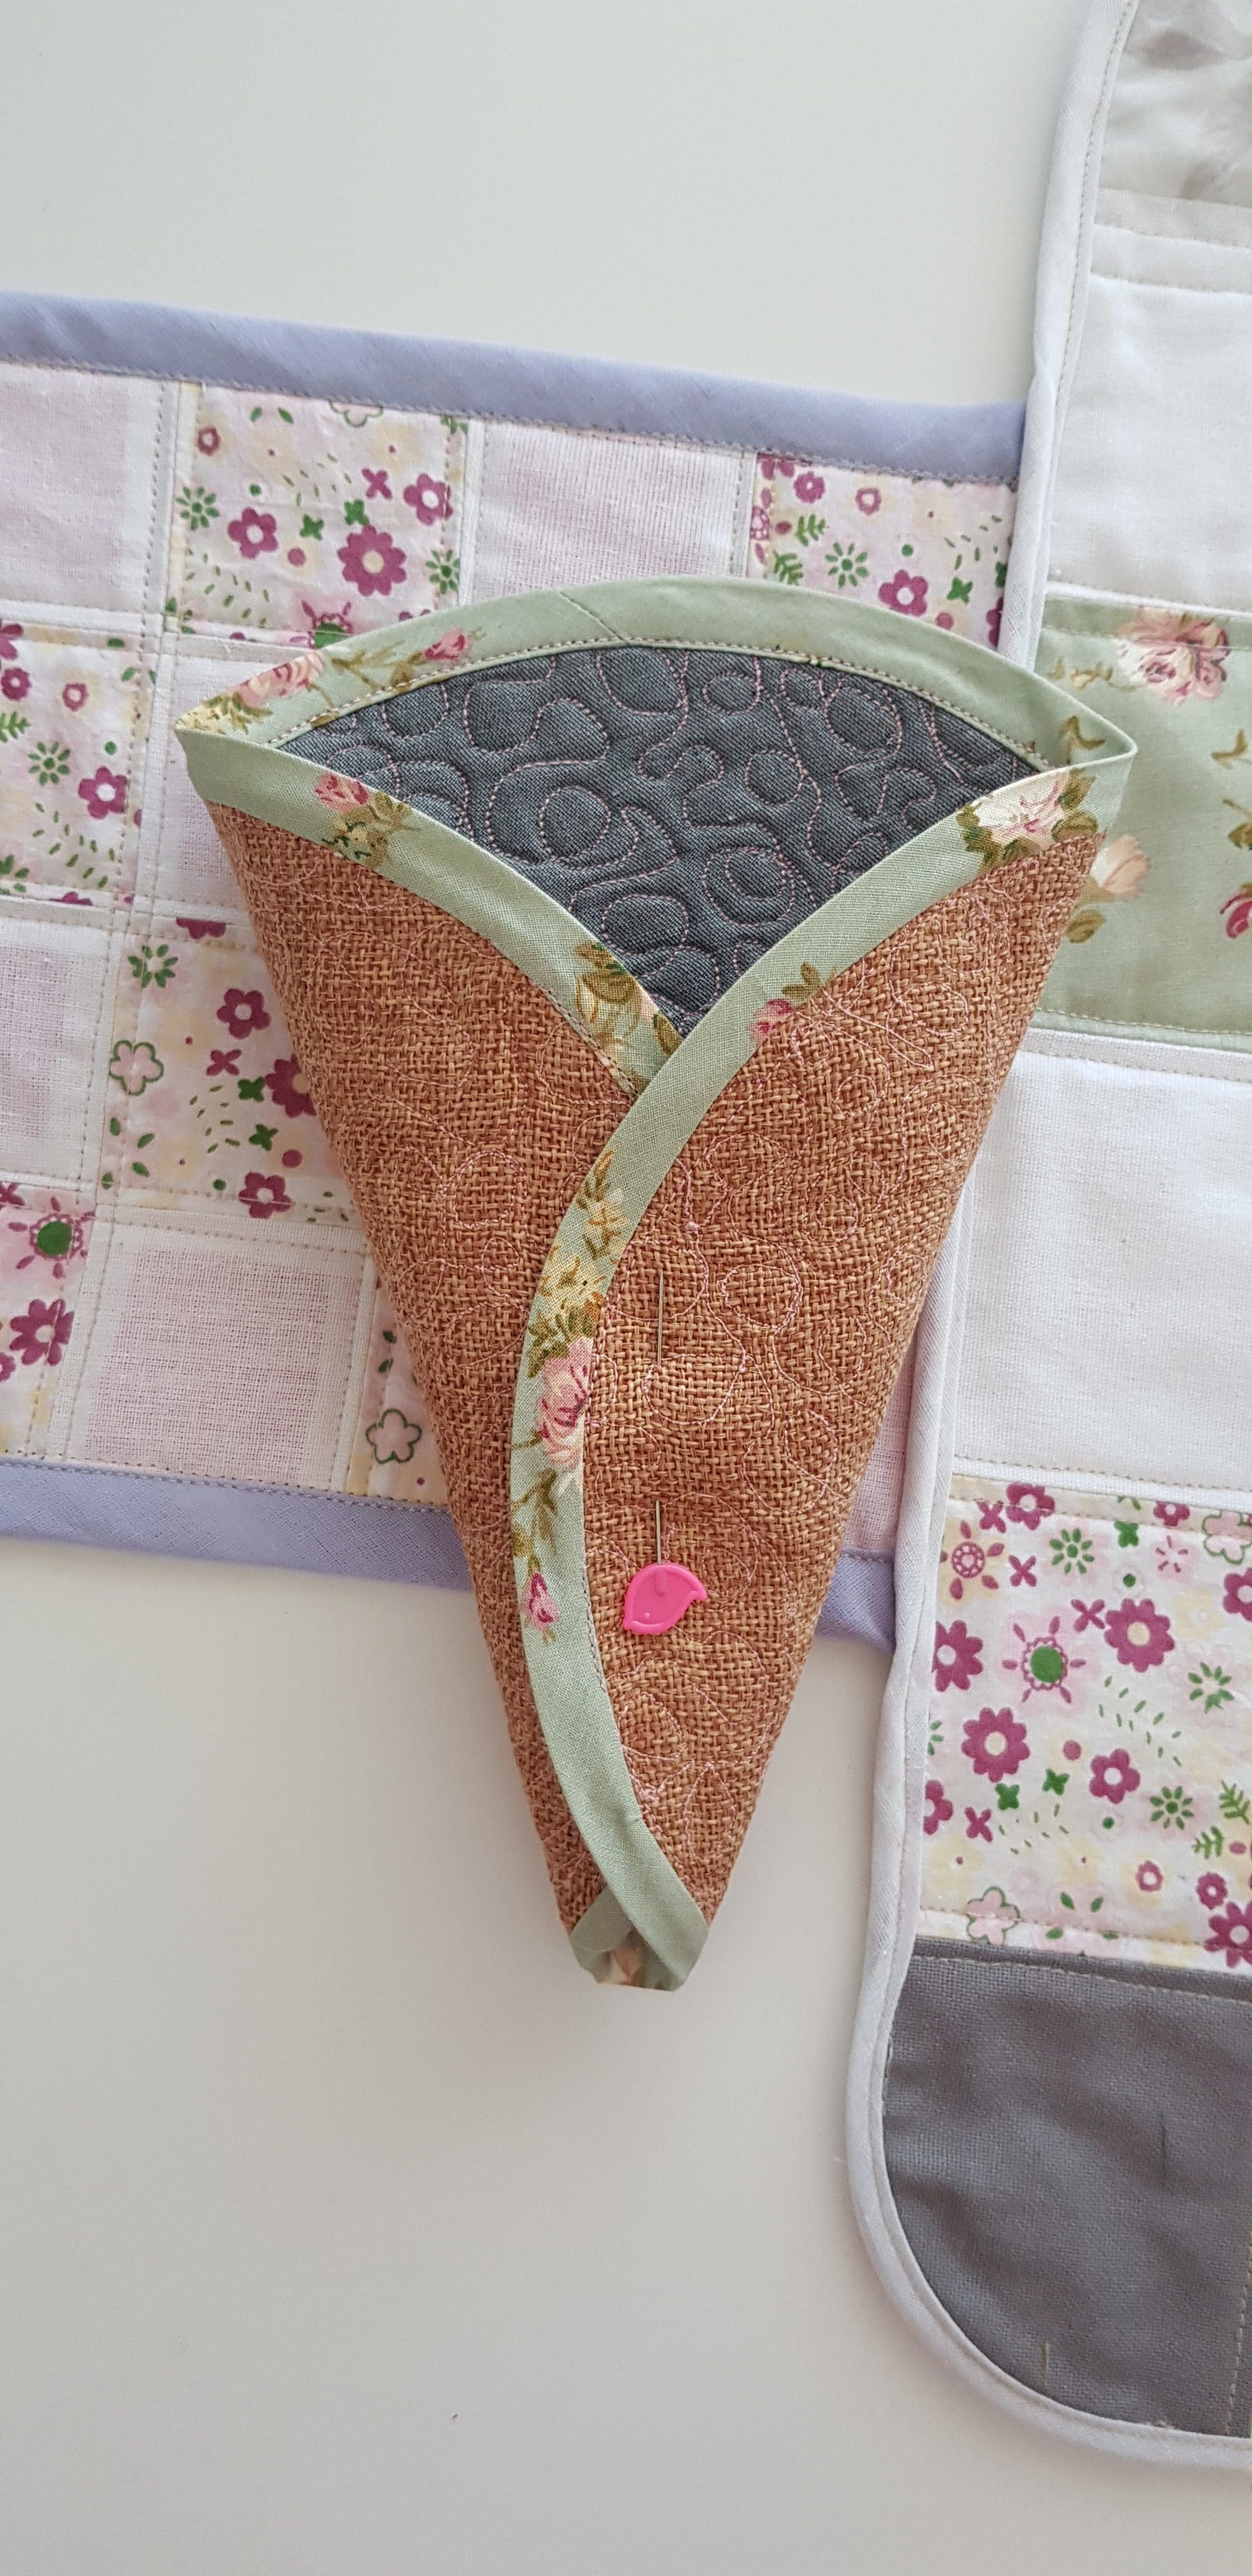
- Next step is to gather the sides of the quilted circle towards the center to form a cone.
- Pin the cone in the middle and either keep together with ribbon, twine, buttons or simply hand stitch.
- Punch two holes in the top or the sides of the cone and apply eyelets to the holes using pliers.
- Thread some twine through the holes, fill the cone with flowers or other seasonal decorations and hang on the door or a wall.
Pin to save for later
Most popular sewing projects:
- Tips for sewing a round hem
- Corded bag handles
- Flutter sleeve dress pattern
- How to laminate cotton fabric


Article may contain Amazon & affiliate links. As an Amazon Associate I earn from qualifying purchases at no additional cost to you.
ABOUT PETRO
Hi, I’m Petro, author and founder of Easy Peasy Creative Ideas. Sewist, crafter, avid DIY-er, foodie, photographer, homemaker and mommy to one. I’m an expert at coming up with quick, clever sewing tips, recycling crafts and simple, easy recipes! You can find my ideas featured in reputable publications such as Country Living, Good House Keeping, Yahoo News, WikiHow, Shutterfly, Parade, Brit & Co and more. Thanks for stopping by and hope you’ll stay for a while, get to know me better and come back another time. Stick around for real fun projects! Read more…