

Reversible fabric headband pattern
Looking for a fabric headband pattern that fits just right? Try making your own with this easy tutorial! The best part is you can use leftover fabric scraps to craft stylish, custom headbands that are uniquely yours!
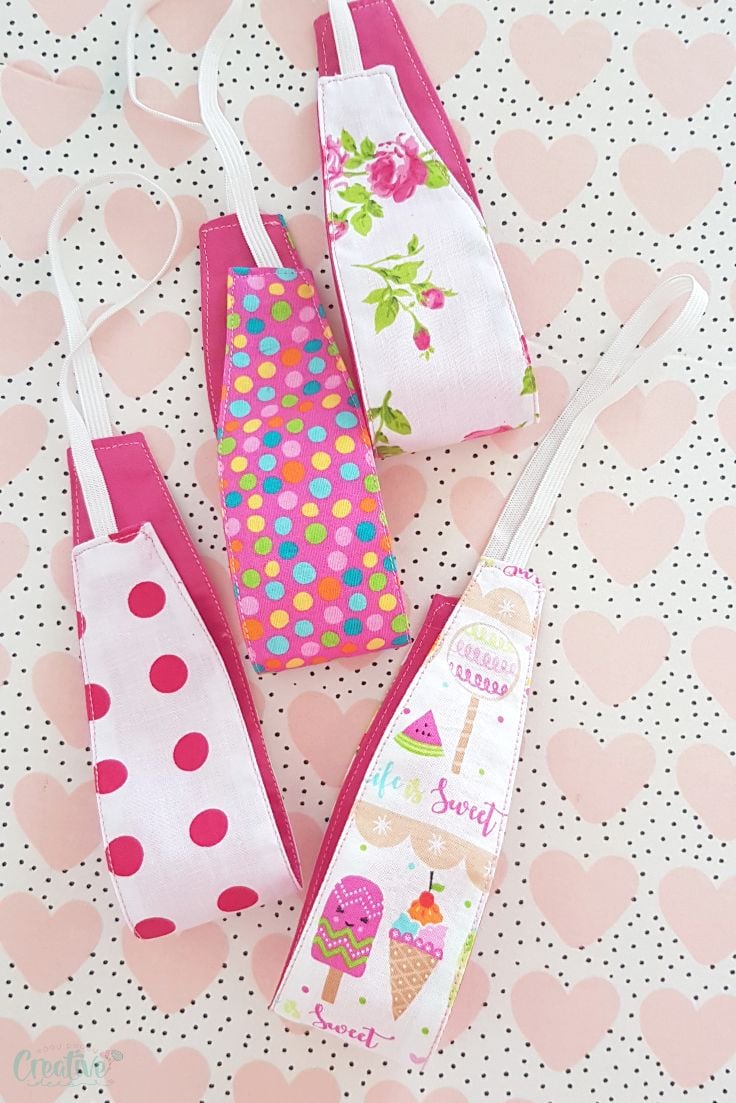
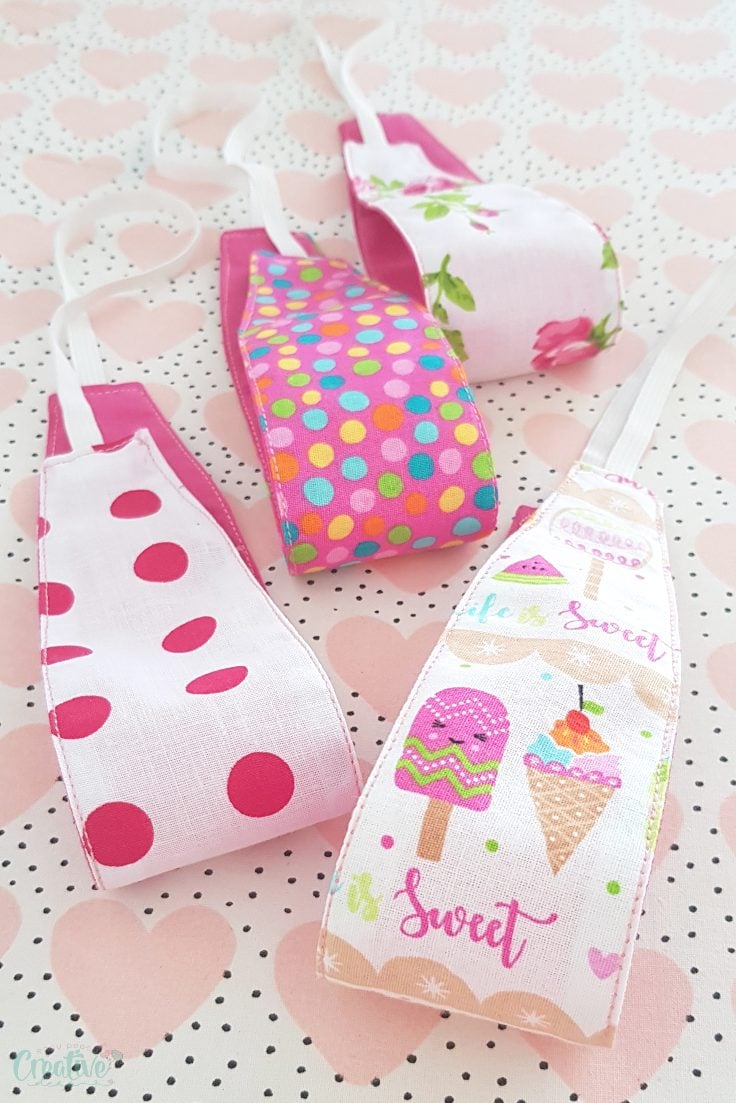
If you’re searching for a fabric headband pattern to try, look no further! These headbands are super cute, super easy to make, and the best part—they’re reversible! You can style them in multiple ways to match any outfit or mood!
These cute handmade headbands are perfect for working in hot environments, offering a cooler alternative to my previous pattern. Made with reversible cotton fabric, they’re also great for beginners who may find sewing with knits a bit intimidating.
I made my reversible fabric headband with elastic at the back. If you’re low on elastic, you can extend the fabric part and use a small piece of elastic to ensure the headband fits.
Fabric headband pattern – How to make
Materials:
Creating a fabric headband is a fun and practical sewing project. Here’s everything you’ll need, along with helpful tips for each item:
- Headband Pattern – This specific pattern is reversible, making it perfect for creating versatile headbands with multiple fabric designs. Simply download, print, and cut it out to get started.
- 100% Cotton Fabric Scraps – Use cotton fabric scraps for comfort and durability. Cotton is breathable, easy to sew, and perfect for headbands that are gentle on the skin. Plus, using scraps makes this project eco-friendly!
- 1/4″ Elastic – This narrow elastic is what keeps the headband snug and comfortable. Measure and cut the elastic according to the pattern instructions to ensure the perfect fit.
- Matching Thread – Choose thread that matches your fabric color for a polished, professional look. Using high-quality thread ensures your headband is durable and lasts longer.
- Buttons (Optional) – If you’re sewing headbands for nurses or medical staff, consider adding buttons. They can hold face mask loops, reducing ear strain during long shifts. Choose buttons that match your fabric or stand out as a decorative feature.
Equipment
- Fabric Marker – A fabric marker helps outline your pattern on the fabric. Choose a marker that’s washable or fades over time so your marks won’t show on the finished product.
- Scissors – Sharp fabric scissors are essential for cutting out your pattern cleanly and accurately. Avoid using general-purpose scissors, as they can fray or damage the fabric.
- Safety Pins – A safety pin is a handy tool for threading elastic through the headband’s casing. Attach the pin to one end of the elastic to guide it through the fabric easily.
- Sewing Machine – A sewing machine speeds up the process and ensures clean, even stitches. This machine is beginner-friendly and perfect for small projects like headbands.
- Pressing Iron – A pressing iron is crucial for flattening seams and giving your headband a crisp, finished appearance. Press as you sew to achieve a professional look.
Directions:
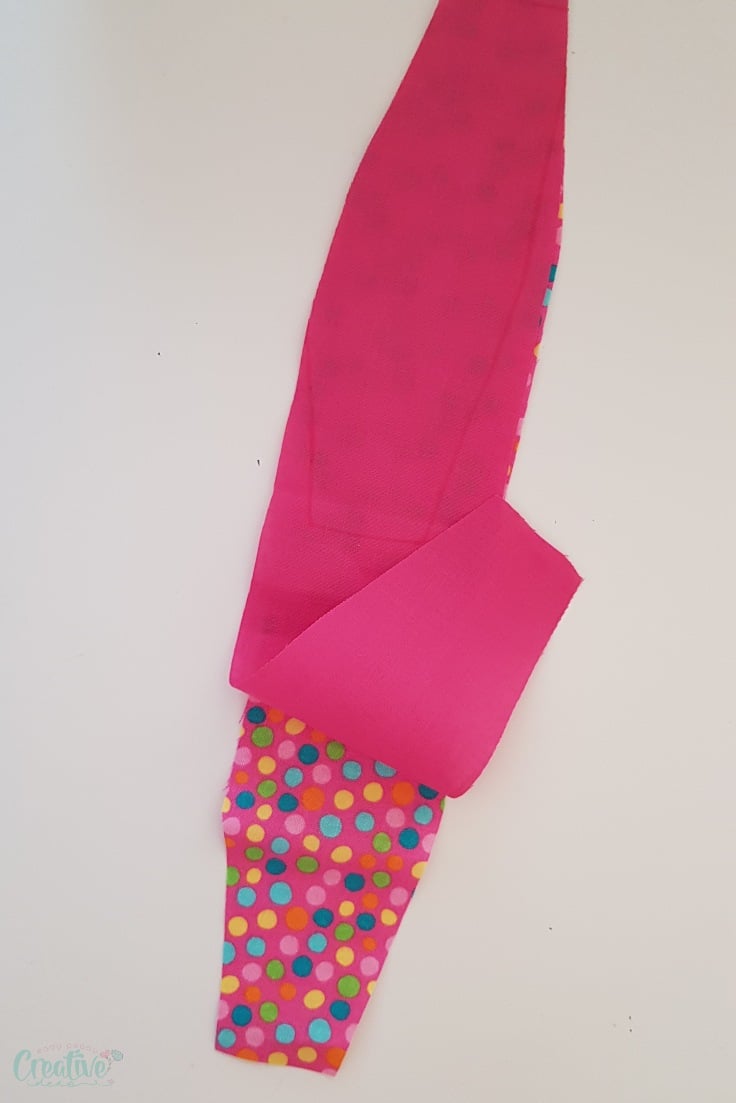
- Place the front and back fabric right sides together and fold.
- Place the pattern with wider end on the fold, trace and cut out.
- Open the strips, pin the two fabrics together and sew the sides with 1/4″ allowance.
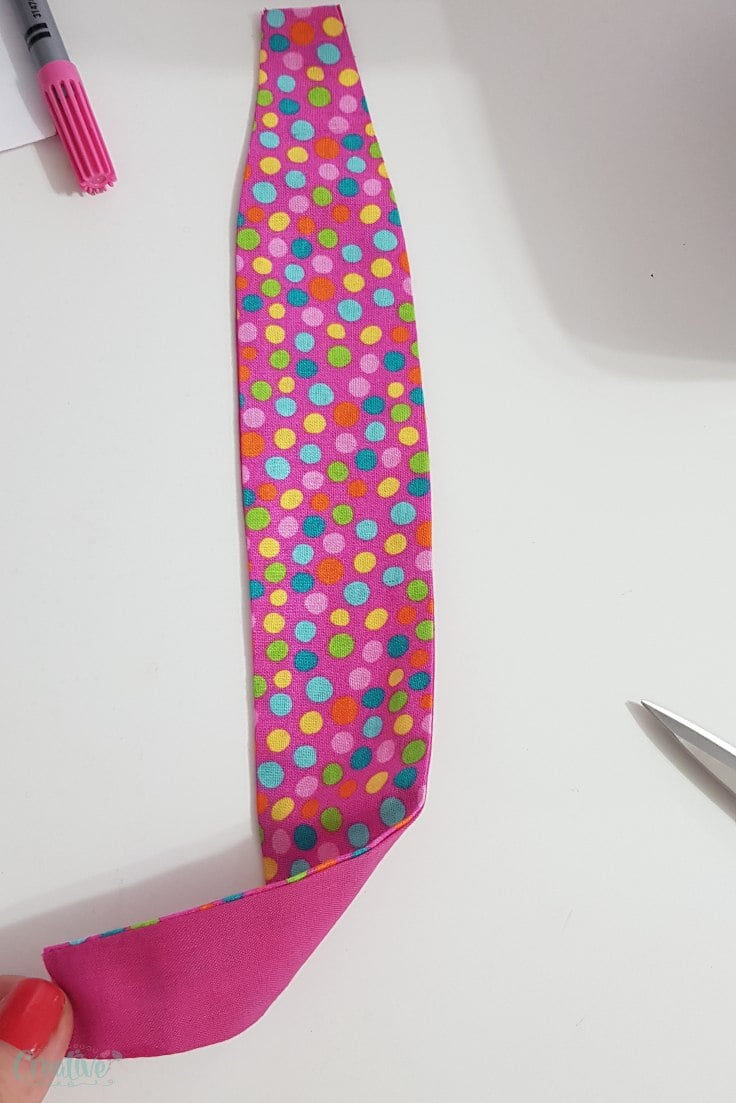
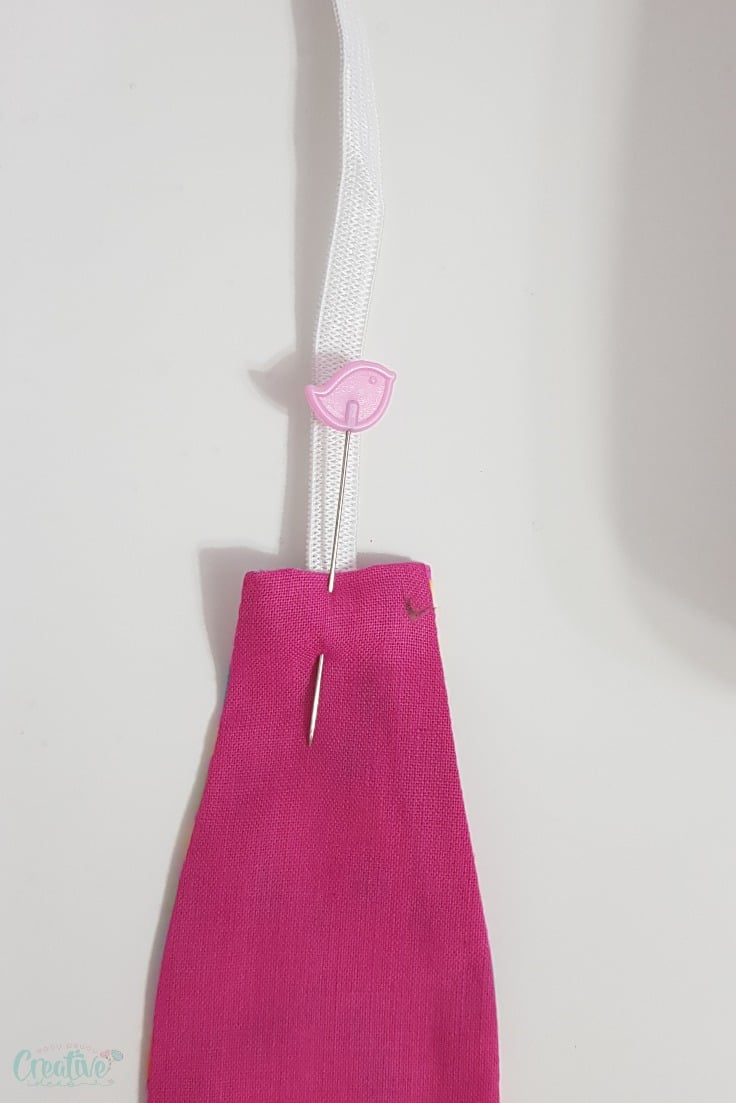
- Turn the tube right side out using a safety pin.
- Smooth out the seams and press the headband.
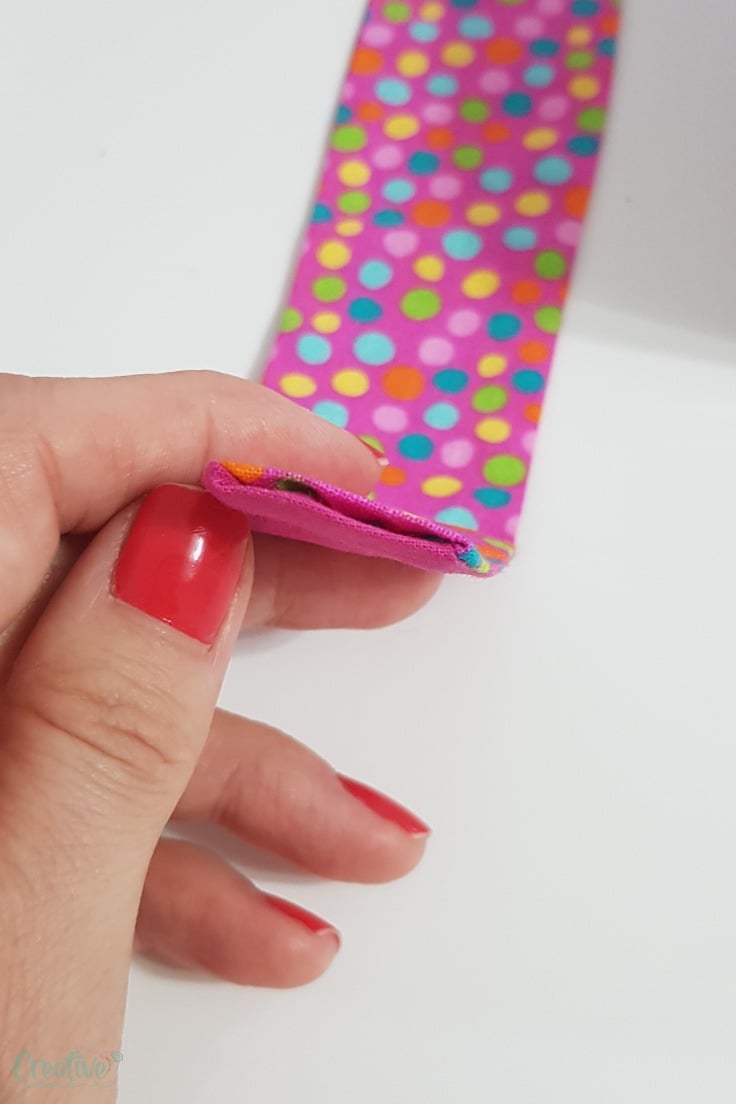
- Fold the ends inside about 1/4″ and press well.
- Place the headband on your head and measure the uncovered area to cut the elastic, a little smaller.
- Place one end of the elastic into one end of the headband and pin. Repeat for the second end of elastic and headband.
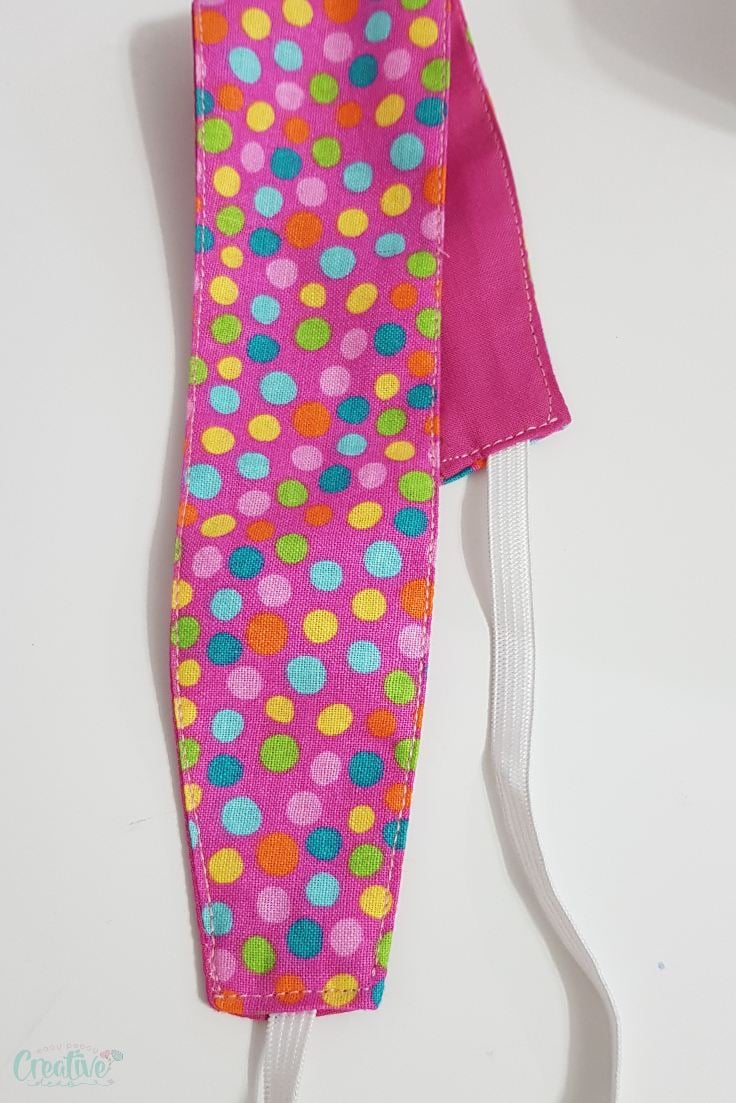
- Top stitch the headband with 1/8″ allowance, catching the elastic too and doing a reinforcing stitch in the elastic area.
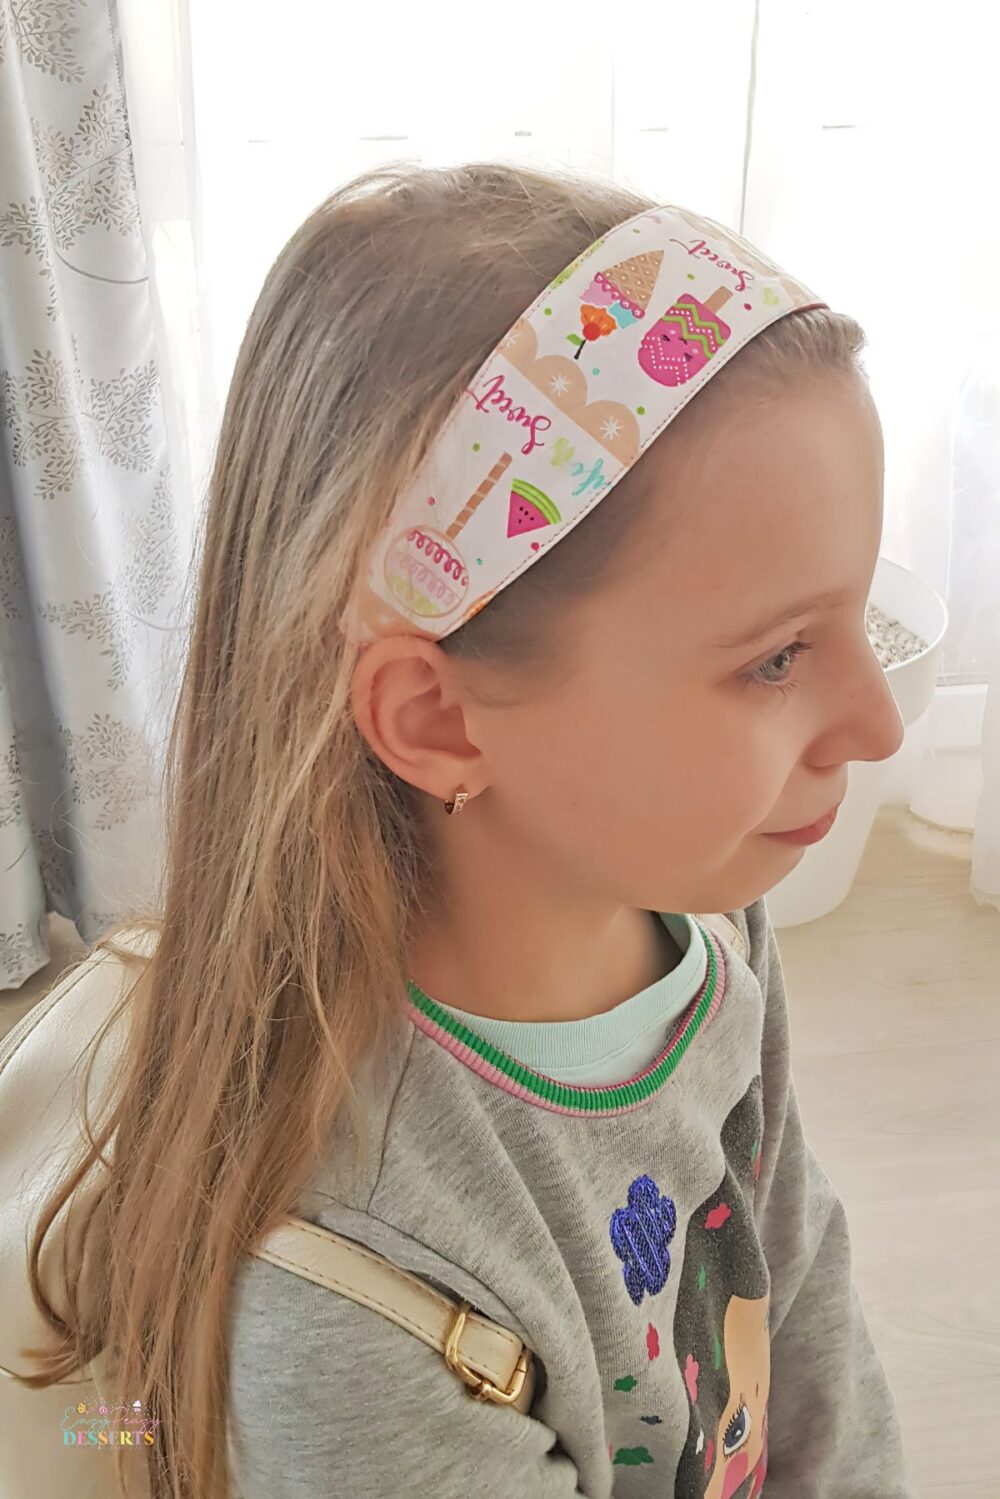
And that’s it! Your pretty fabric headbands are ready to wear two ways!
Tips
- Use fabrics with a bit of stretch for added comfort and a better fit.
- Mix and match different patterns and colors to create headbands for various occasions.
- If you’re a beginner, practice sewing with scrap fabric before starting with your chosen material.
- Always press your fabric and seams during the process for a polished and professional look.
- Store your headbands flat or hang them to prevent wrinkles and maintain their shape.
- Add embellishments like bows, beads, or appliques to your headbands for a unique touch.
- For a softer and more comfortable fit, add a layer of soft felt or fleece inside the headband before sewing it together.
Sewing project variations
- Reversible Headbands: Create headbands with two different fabrics, allowing you to switch between styles depending on your outfit or mood. Use contrasting colors or patterns for a fun and versatile accessory.
- Knot-Twist Headbands: Add a decorative knot, a fabric bow or twist at the front of the headband to give it a chic, modern vibe.
- Wide Fabric Headbands: For a retro-inspired look, sew a wide headband that can also double as a hair wrap. These are perfect for keeping hair in place during workouts or bad hair days.
Similar projects you will love:
- Headband pattern for nurses
- Knot headband tutorial
- Twisted wire headbands
- Easy peasy lace headbands
- Waterproof face mask with filter pocket
- No elastic face mask with filter pocket
Frequently asked questions
How do I choose the right fabric for making headbands?
Consider using woven fabrics such as cotton, linen, or even velvet for a touch of luxury. Always ensure the fabric feels comfortable against the skin and complements the intended design.
Can I make headbands in different sizes?
Yes, headbands can be easily customized to fit various sizes. When creating a headband, measure the circumference of the head and add a little extra for the elastic. This is especially useful when creating headbands for children, as their head sizes may vary.
How can I add embellishments to my headbands?
Embellishing your headband can add a unique and personalized touch to your design. Popular options include adding bows, flowers, or beads. These can be sewn on, glued on with fabric glue, or attached using snap fasteners for easy removal. You can also experiment with different types of fabric trims such as lace or ribbons for an elegant look. Just remember not to make the embellishments too heavy or bulky, as this may cause discomfort when wearing the headband.
How to care for your fabric headbands
Proper care is essential to ensure your fabric headbands remain in good condition and last for a long time. Use a gentle cycle with cold water to prevent shrinking or damage to any embellishments. Hand washing is recommended for headbands with delicate decorations like beads or lace; use mild detergent and gently scrub only the areas that need cleaning.
Always allow the headbands to air dry to maintain their shape and avoid using high heat, as it can weaken the elastic or damage the fabric. Storing your headbands in a designated box or drawer will help keep them organized and prevent them from tangling or getting crushed.
This fabric headband pattern offers endless possibilities for creativity and personalization. Whether you’re looking to make a bold fashion statement or keep your hair neatly in place, fabric headbands are a versatile and stylish accessory that never goes out of fashion. So go ahead, get crafty and make your own collection of fabric headbands today!
Happy sewing!

Reversible fabric headband pattern
Materials
- Headband Pattern
- Cotton Fabric Scraps
- 1/4 Elastic
- Matching Thread
- Buttons Optional
Tools
- Equipment
- scissors
- safety pins
- pressing iron
Instructions
- Place the front and back fabric right sides together and fold.
- Place the pattern with wider end on the fold, trace and cut out.
- Open the strips, pin the two fabrics together and sew the sides with 1/4" allowance.
- Turn the tube right side out using a safety pin.
- Smooth out the seams and press the headband.
- Fold the ends inside about 1/4" and press well.
- Place the headband on your head and measure the uncovered area to cut the elastic, a little smaller.
- Place one end of the elastic into one end of the headband and pin. Repeat for the second end of elastic and headband.
- Top stitch the headband with 1/8" allowance, catching the elastic too and doing a reinforcing stitch in the elastic area.
Most popular sewing projects:
Article may contain Amazon & affiliate links. As an Amazon Associate I earn from qualifying purchases at no additional cost to you.
ABOUT PETRO
Hi, I’m Petro, author and founder of Easy Peasy Creative Ideas. Sewist, crafter, avid DIY-er, foodie, photographer, homemaker and mommy to one. I’m an expert at coming up with quick, clever sewing tips, recycling crafts and simple, easy recipes! You can find my ideas featured in reputable publications such as Country Living, Good House Keeping, Yahoo News, WikiHow, Shutterfly, Parade, Brit & Co and more. Thanks for stopping by and hope you’ll stay for a while, get to know me better and come back another time. Stick around for real fun projects! Read more…