

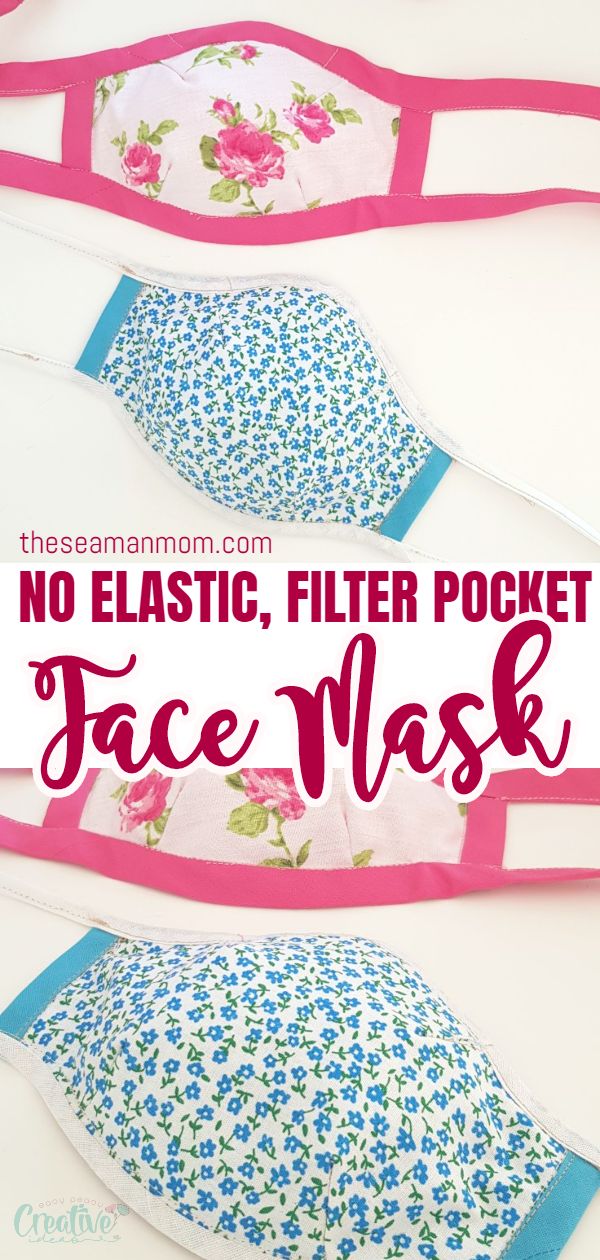
No elastic fabric face mask with filter pocket
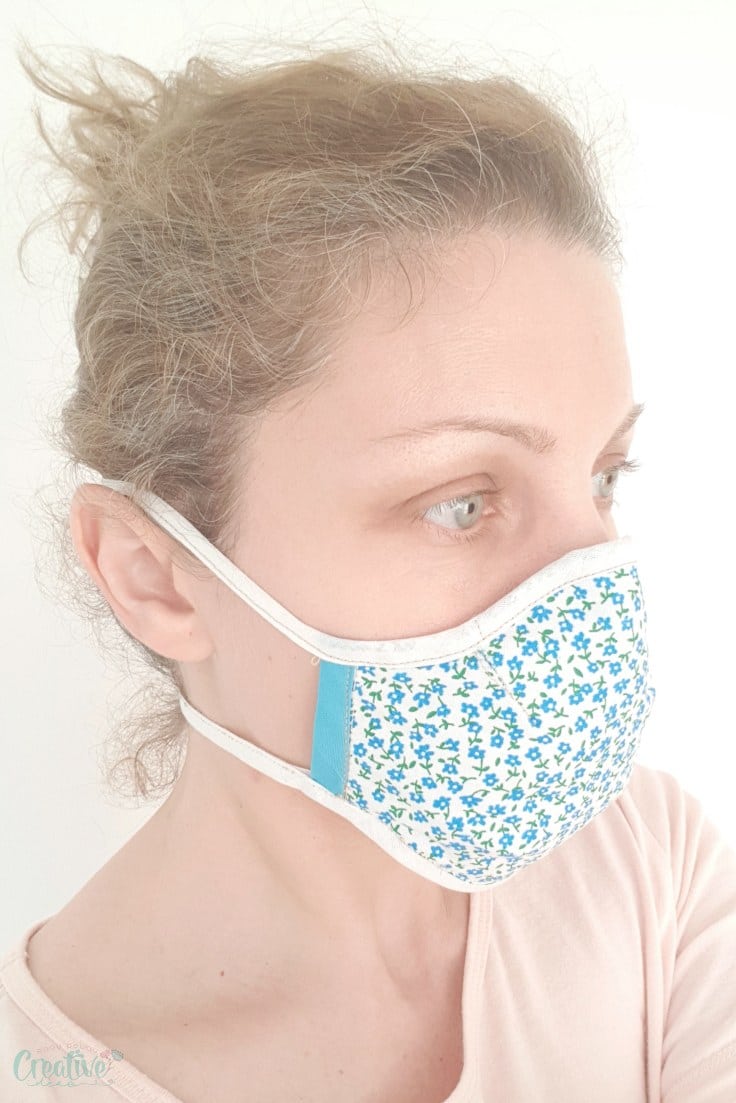
This fabric face mask is the perfect accessory to wear whenever face coverings in public is necessary! Made with a filter pocket, this reusable face mask doesn’t use an elastic so it’s easy to sew with materials you most likely already have on hand!
Fabric face mask

Hey guys! I’m back with another fabric face mask pattern, after a few readers asked for other options when elastics are not available. Instead of using the first mask pattern I made here, I decided to make a whole new and quite different pattern for this no elastic face mask!
While this version is a little smaller than the first one, this fabric face mask is still covering a good portion of the face.
Same as the first version, this face mask with filter pocket features a slot for any filter you might wanna choose to use. You’ll laugh but I even tried using menstrual pads and nipple pads to test efficiency; I’m crazy like that! But you might wanna go the “standard” route in which case, some hospitals recommend any 0.3 micron filter such as:
They’re also recommending to apply adhesive tape to the top, the bottom and the sides of the mask, on the inside, to ensure better contact with your face. I have none available at this point but this fabric face mask still provided good contact with my face.
Similar projects you will love:
- Waterproof face mask with filter pocket
- Fitted face mask pattern
- Headbands with buttons for nurses
- Elastic join tip to reduce bulk or extend short elastics
- Reversible scrub cap pattern
- DIY face shield
- Halloween 3D face mask pattern
- Face mask pouch pattern
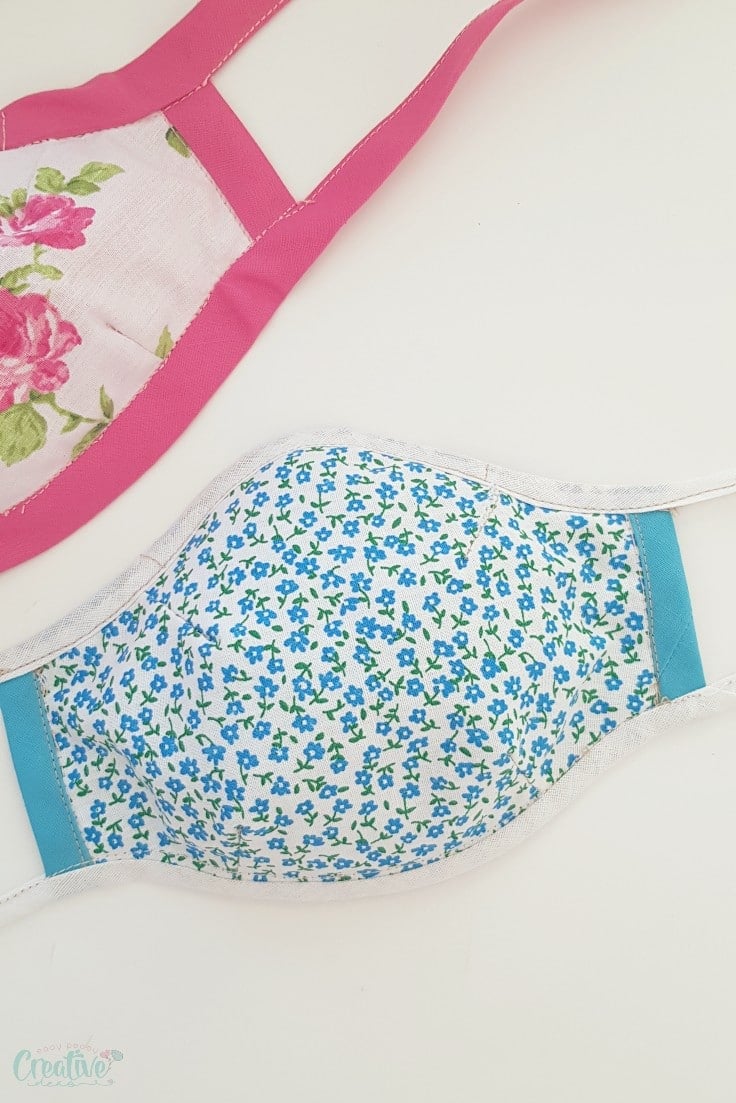
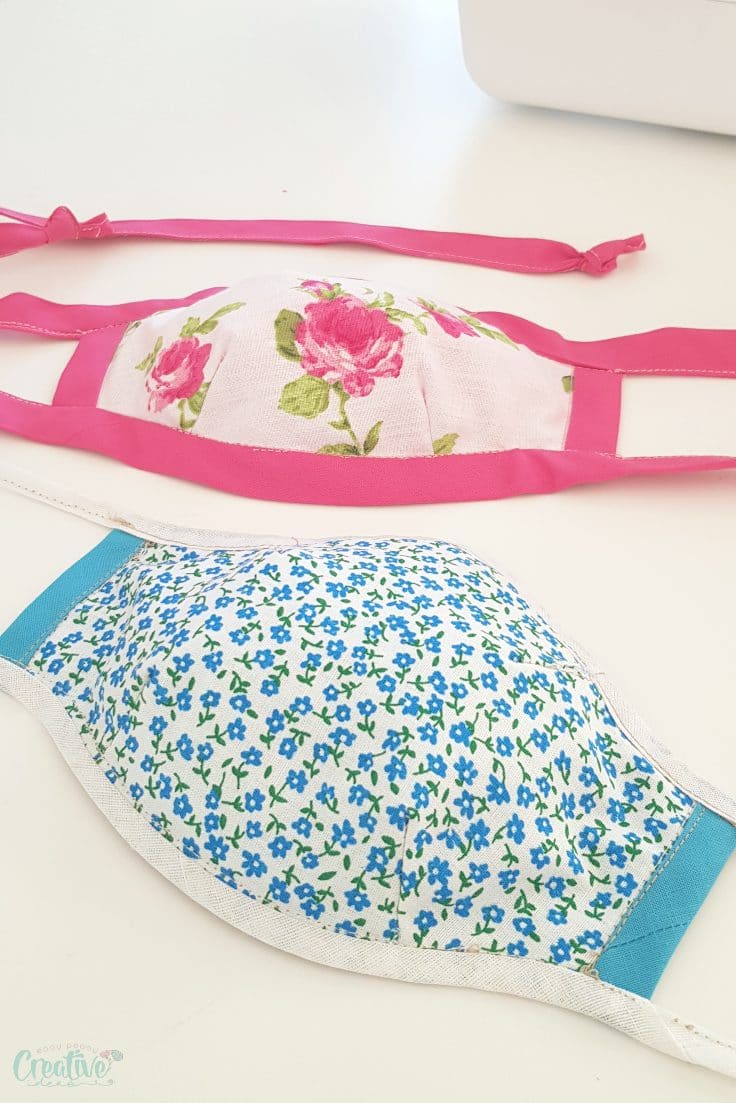
To completely skip using elastic I resorted to handmade bias tape (I used this method to make it), for finishing all four sides of the mask and also use as straps to tie the mask at the back. Same as with the first mask I made, I opted for two layers of straps: one goes around the neck and one around the middle of the head. Because the straps are made out of fabric, they offer pretty good grip and won’t slip and because they’re tied separately, won’t make the mask bend in the middle which exposes your nose and mouth.
The pattern comes in four sizes: toddler, child, woman and man and is available here. I hope you like it and decide to give it a try! Happy sewing!
Fabric mask
Materials:
- face mask pattern
- cotton scraps for outer and inner layer of the mask
- cotton scraps for the pocket
- double fold bias tape (here’s how I make mine)
- optional – lightweight interfacing (if your cotton fabric is too thin)
- fabric marker
- scissors
- pins
- matching thread
- flexible wire (I used garden twist ties)
- sewing machine
- pressing iron
Directions:
Prepare the mask pieces
- Print the mask pattern according to needed size and cut out.
- Mark the pattern on all fabrics (outer, inner mask and pocket)
- Cut 1 from outer fabric, one from inner fabric and 2 from pocket fabric.
- Sew the “darts” with 1/8″ allowance on all 6 pieces of fabric.
Make the pocket
- Place the pocket pieces right sides together and sew the sides only, with 1/2″ allowance.
- Turn the pocket right side out, smooth out and press the seam then edge stitch with 1/16″ allowance.
Sew the mask pieces
- Place the outer fabric wrong side up and top with inner fabric right side up.
- Pin the top and bottom.
- Attach double fold bias tape to both sides.
- Remove pins.
- Place the mask with inner fabric up and top with the pocket.
Finish edges with bias
- Cut 2 strips of bias tape that you can comfortably tie at the back (one for the neck and one for the head)
- Fold the smaller strip of bias in half to find the middle and pin that mark to the bottom of the mask, in the middle.
- Continue pinning to cover the entire bottom of the mask.
- Sew the bias to the mask, then continue joining the bias sides until you reach the end of the strip, on both sides of the mask.
- Fold the longer bias strip to find the middle and pin that middle to the top of the mask, in the middle. Continue
- Continue pinning to cover the entire top of the mask.
- Sew the bias to the top of the mask then stop.
- Cut a piece of wire and insert it in the casing created by the bias tape, at the nose bridge.
- Sew two small lines of stitches right and left of the wire to secure it in place.
- Continue sewing the bias sides into a strip, on both ends.
- Insert your filter and you’re ready to wear your mask! Great job!
Pin to save for later
Most popular sewing projects:
Article may contain Amazon & affiliate links. As an Amazon Associate I earn from qualifying purchases at no additional cost to you.

After printing, cutting out, and sewing darts, I noticed the pattern has 4 darts at the top and 3 at the bottom — however, the video shows 2 darts at the top and 2 at bottom. This is the 2020 Easy Peasy Creative Ideas fitted mask pattern for toddler through men. When I tried to line up the small darts at the top, the mask changes shape. Very disappointing. How do I modify this pattern to make the demonstrated one?
Vicki, this FREE pattern is the most appreciated face mask pattern on the site, with most downloads! The pattern has been modified to feature 4 darts at the top to offer more room and help the mask feel more comfortable on the face, which made it better than the 3 darts version.
Confused. The downloaded picture only shows 2 darts. Does this print out different from the picture?
It doesn’t print out different, Susan. Sounds like a printer settings problems. Make sure you print at 100% & your printer doesn’t add extra white border.
I’d like to make this mask but were do find the pattern you suggest that ” print out pattern”
Hello. The link to the pattern is listed in the materials section.
Where is your pattern for these masks ?
may
The link is listed in materials and above that section
Hola. Es un proyecto precioso, podría decirme las medidas del molde? Puede usarlo un adulto? O es un tamaño para niño. Mil gracias.
Hola, Gloria! El patrón tiene 4 tamaños: ninito, niño, mujer, hombre.
I want to try sewing this mask, it seams more confortable.
I would like to receive the pattern. Thanks.
Hi Josette. Please click the link to the pattern, in the article and download from there. Thanks!
I love the pattern. My suggestions are that you don’t need the bias binding at the sides or as the tie after you have done the area around the mask itself. I spent 5 hours making bias binding and 1 mask. My husband used it to go shopping. After thinking how I could make a mask a little faster I came to the conclusion that the bias binding was only necessary across the curved edges of the mask. I made non-bias tape starting with a 2″ straight grain fabric. I used it to sew to the side of the mask. Then I attached the non-bias tie length to the bias ends about 2″ from the outside edge of the mask. I will probably measure how much bias tape is needed on the mask and attach the non-bias tape before I even sew it to the mask.
I know for anyone who can make the bias tape in a timely manner this may be an extra step they don’t need. For those of us who are just learning how to make bias tape it reduces the amount of bias tape we need to make. I have been sewing for over 60 years. I have just not made bias tape before. Thank you for sharing your pattern.
Thanks for your input, Nancy! There are many ways this mask can be finished, I even used this pattern for a sewing a mask without bias. My tutorials serve as a guideline, everyone is free to adjust them according to their needs or abilities or to simplify the process even more.
I love the results of this pattern. I think the video could be improved by more shots of what is being sewn vs the top of the machine. I am a very basic beginner and learn very well by mimicking movements. I have no clue what you were pointing to in some of the shots because the machine blocked the view.
I wanted to know if I have no bias tape can I add seam allowed to do it without or it’s not necessary I find this model super nice
You can add seam allowance & sew the pices together like you would normally then add straps or elastic to the sides. But you can always make bias, I posted a link to my bias tutorial in this article
I found no pattern for the pocket pieces, AND there were no pictures of the inside so that we could guess what you were talking about. Was a hopeful idea anyway. :(
There is no pattern for the pocket as it’s the same as the mask pattern. If you read the instructions carefully you’ll notice the difference is in constructing the pocket.
Merci pour ce patron . je vais essayer de la faire .
The downloaded pattern does not have the inner piece or the filter pocket peice. Please help. Thank you
Maria, you choose which type of filter you lie and trim it to fit the pocket.
Do you have a pattern for surgical scrub caps with buttons? I’m getting this request a lot!
Sorry, Whitney, no scrub pattern on the site. I was too busy sewing masks and headbands, not much time left.
Thank you so much for sharing your face mask patterns. I gave all my elastic to a friend who was making them in bulk and now that we all need them, I can’t find any elastic. So glad to find your pattern for the mask without elastic.
Hi, Carole! Thanks for your lovely comment! I’m happy you found my idea useful and inspiring! Happy sewing and stay safe! xoxo