Simple soft bread rolls recipe
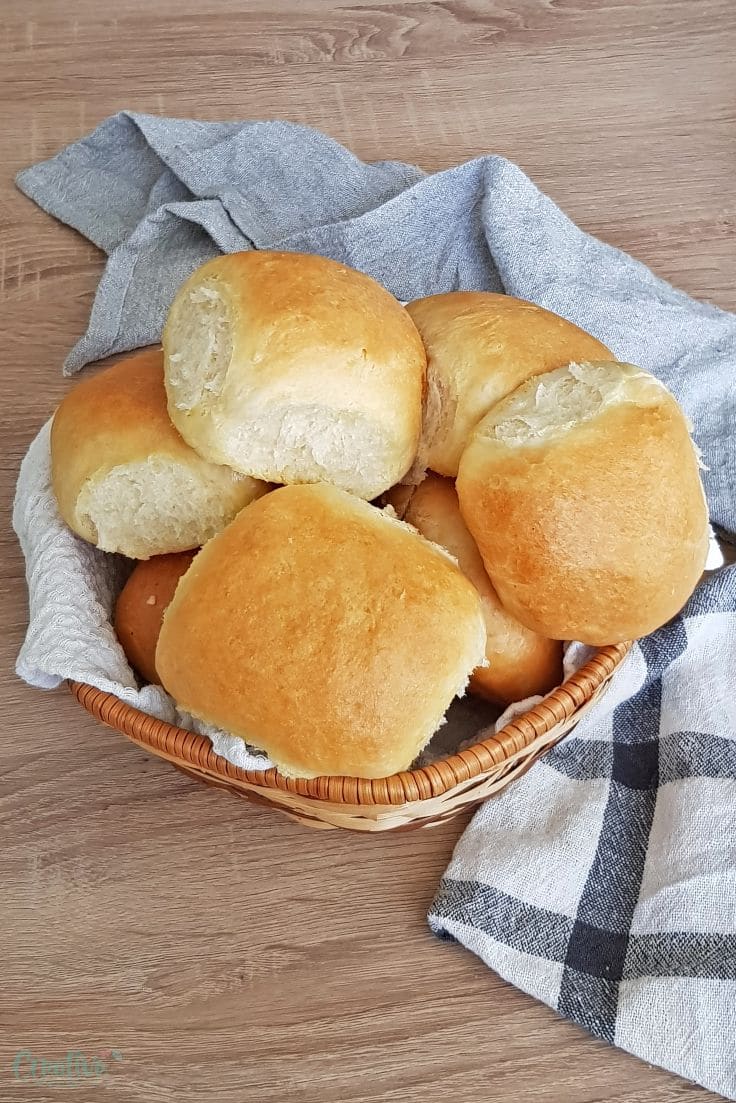
These soft bread rolls are the best and simplest rolls you could ever make! Perfect to serve with any soup, salad or main dish, these easy dinner rolls are super fluffy and light and impossible to resist!
Soft bread rolls
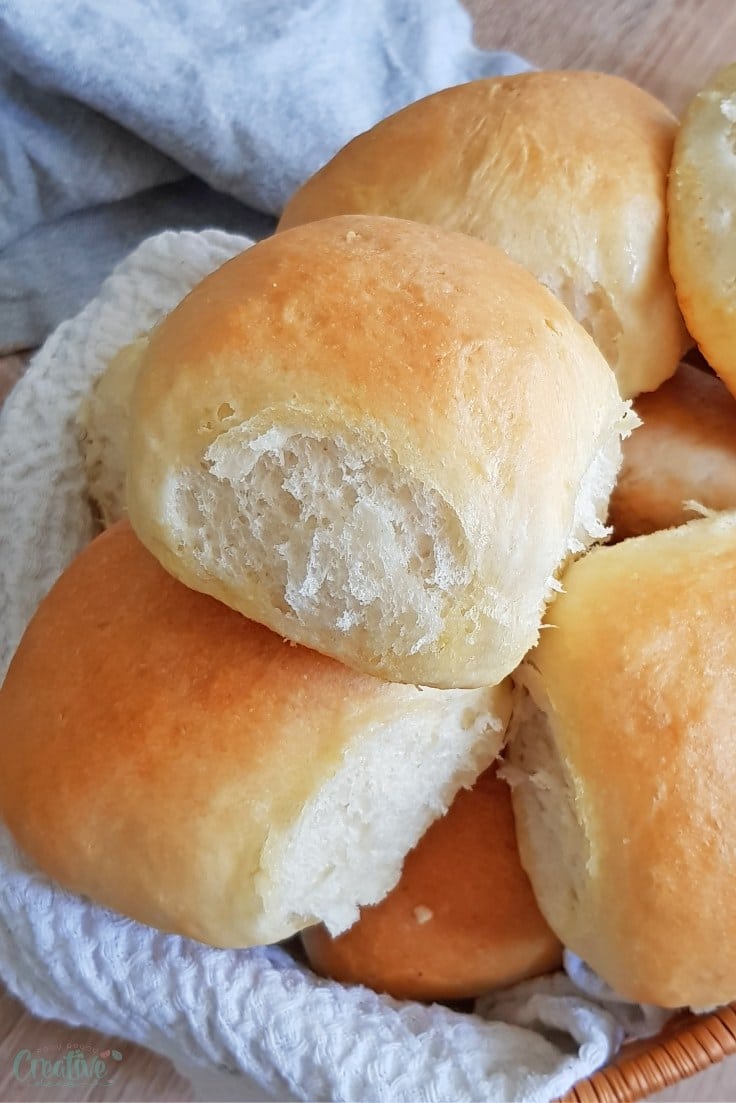
If you’ve never tried making your own dinner rolls, you’ve got to give these soft bread rolls a try as soon as possible! They’re simply perfect and will make any meal taste thousand times better! Plus they’ll add a cozy feeling to your meals!
More bread recipes:
- No yeast herb & cheese bread
- Homemade sandwich bread
- Fluffy basic bread recipe
- Cranberry brie pull apart bread
My daughter is a big fan of homemade bread and I thought I should add a little variety to our bread since making the same classic bread over and over again can get a little boring. She never complains, she loves homemade bread sooo much, she’ll devour half a loaf as soon as I take it out of the oven! But I was sure she’ll enjoy these soft bread rolls even more since they’re pretty cute too in addition to being super delicious!
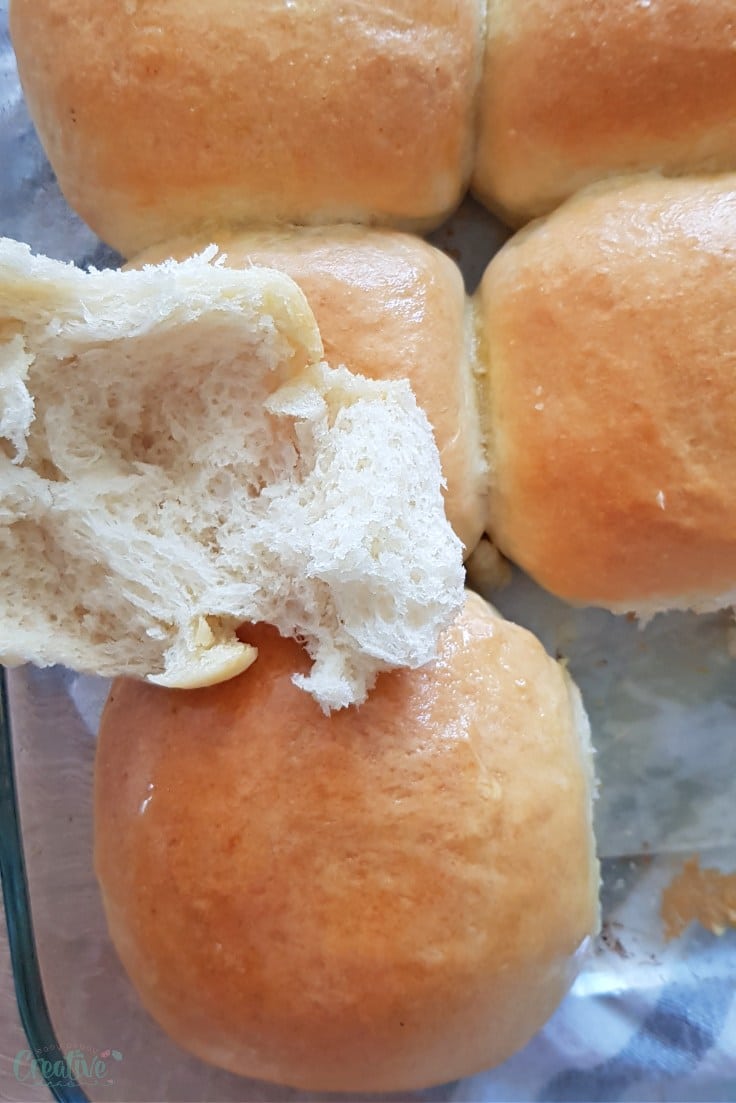
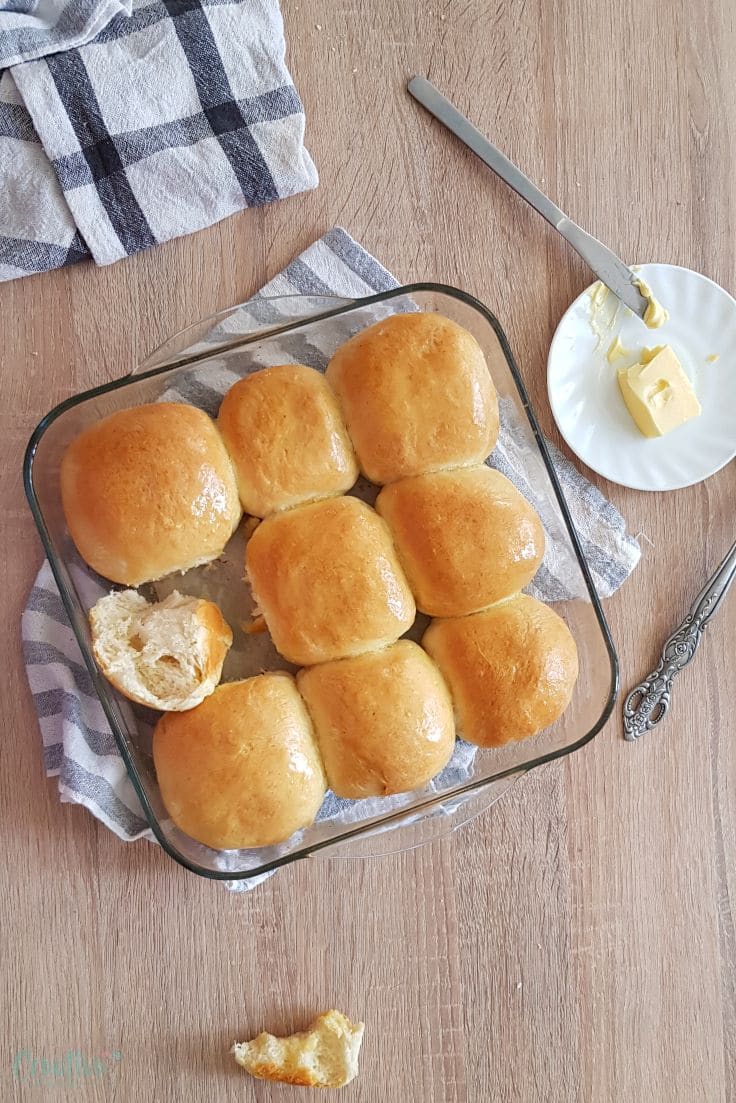
To make these buns I used a pretty classic dinner rolls recipe and very simple, basic ingredients almost everyone already has in the pantry ! And because I sped up the rising process by turning the oven on and placing the dough in a bowl on the stove top, we were able to have these yummy dinner rolls on the table in no time! Of course about half of them were gone in less than five minutes, thanks to the little bread monster mentioned above!
Recipes you can serve these bread rolls with:
- Easy hamburger soup
- Cheddar beer soup
- Spinach stuffed pork chops with ricotta cheese
- Baked balsamic chicken
- Best Swedish meatballs
Easy yeast rolls
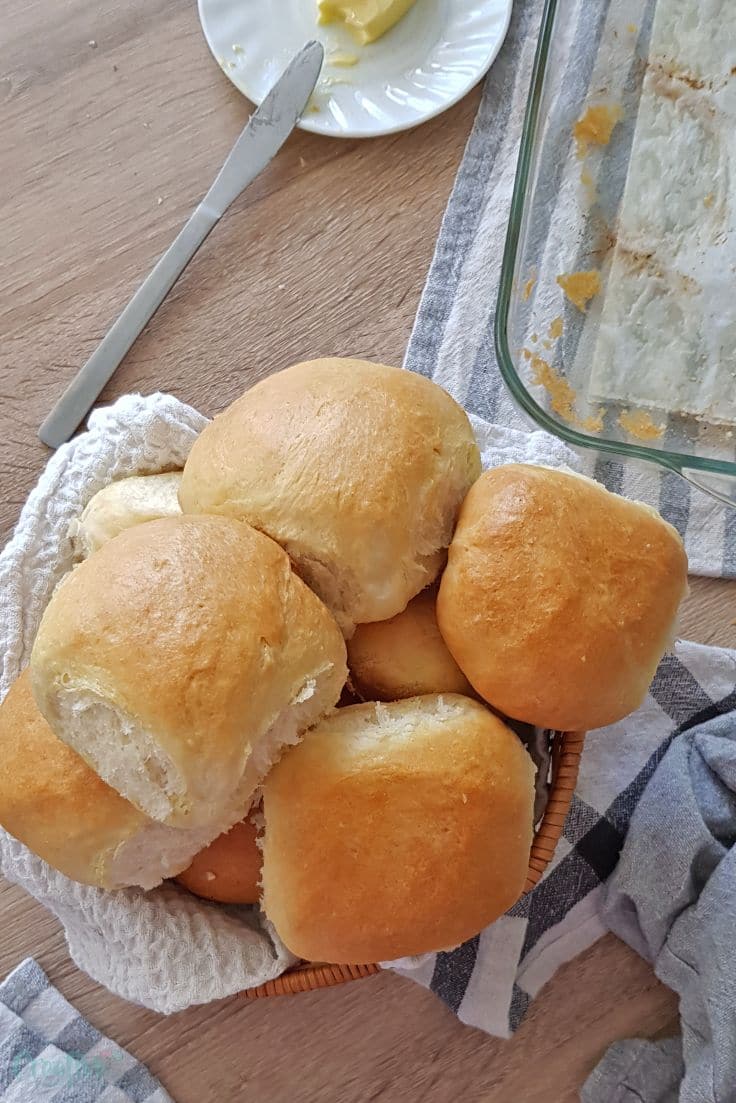
What is a soft roll?
A soft roll is a bread roll made with yeast , with a soft crust and fluffy interior!
In my humble opinion the whole secret of making soft rolls is in the quality of the yeast and good kneading. I like to use fresh yeast and I personally find it’s providing the best results every time. Experts say there’s no difference in the type of yeast used but if you’ve ever made bread using different types of yeast you know for a fact that there is a big difference in taste and softness.
I also found that kneading the dough real good once all the ingredients are mixed together make a huge difference in the fluffiness of the dough as well as taste.
How do you make soft bread rolls?
1. Begin by mixing fresh yeast with warm water until the yeast is completely dissolved. Make sure the water is not hot, this will kill the yeast.
2. Add sugar and mix well until the sugar is dissolved. Allow the yeast to “feed” on sugar for a few minutes before moving to the next step.
3. Place the dry ingredients in a large bowl and mix using a whisk.
4. Make a hollow in the dry ingredients and add the wet ingredients. Mix with a spoon until about half the dry ingredients are incorporated into the wet ingredients.
5. Start kneading with your hands until the dry ingredients are incorporated.
6. Move the dough to a table and knead until the dough is smooth and just a little elastic and tacky but not too sticky; if it sticks to your hands and you can’t get it off easily that’s considered too sticky. If you have a bread machine, using it for kneading is your best option.
7. Place the dough in a bowl and let rise in a warm place until it doubles in size.
8. Gently punch the dough to eliminate air bubbles.
9. Start forming rolls with your hands and place them in a baking dish, lined with baking paper.
10. Let the rolls rise in a warm place until double in size.
11. Bake in the oven until the crust is golden.
How long should I knead?
I found that the longer you knead your bread dough the fluffier the bread gets. I aim at kneading for at least 10-12 minutes after all the ingredients are fully combined. Using a bread making machine for kneading is a better option because it ensures even kneading and saves you from the hard arm work good kneading involves.
How do you speed up the dough rising?
It typically takes about an hour for the dough to fully rise when kept in a warm place. But I like to speed up the process with a very simple trick! I turn on the oven right before I start mixing the ingredients. Once the dough is formed, I place it in a bowl and cover the bowl with plastic wrap. Then I place the bowl on my stove top which by now is warm enough.
I repeat the process after I formed the rolls and I placed them in the baking dish. Each rising step takes about 20-30 minutes so my time spent on making these soft bread rolls is cut in half!
If it’s a sunny, hot day, I keep the rolls in the window, right under the hot sunlight.
Please note: humidity and temperature in the environment can give you slightly different results, depending on your area.
How much dough do you use for each roll?
Everyone has a favorite size! Some people are so obsessed with their rolls coming up perfect and equal, they even measure the dough with a kitchen scale. While I like even rolls, I am not that kind of person and I simply eyeball the dough. I grab 1/3 cup to 1/2 cup dough and form rolls in my hands.
How long do you bake these bread rolls?
When it comes to bread I think not rushing through any of the steps is the key! I like to bake my rolls on low/medium temperature, for about 15 minutes or until I’m happy with the color of the crust.
How do you get a soft crust on these soft bread rolls?
You have the option to make the crust of these rolls soft or crisp. If you want it soft, brush the rolls with butter right before baking them and again right after you take the dish out of the oven, while they’re still hot. After the butter is absorbed into the rolls, cover them with a cotton kitchen towel and let them cool enough to be served.
If you want the crust crispy, skip the butter entirely and don’t cover the rolls. Also brushing the rolls with egg white before baking will give you a slightly crispy crust and will make the rolls look glossy and fancy.
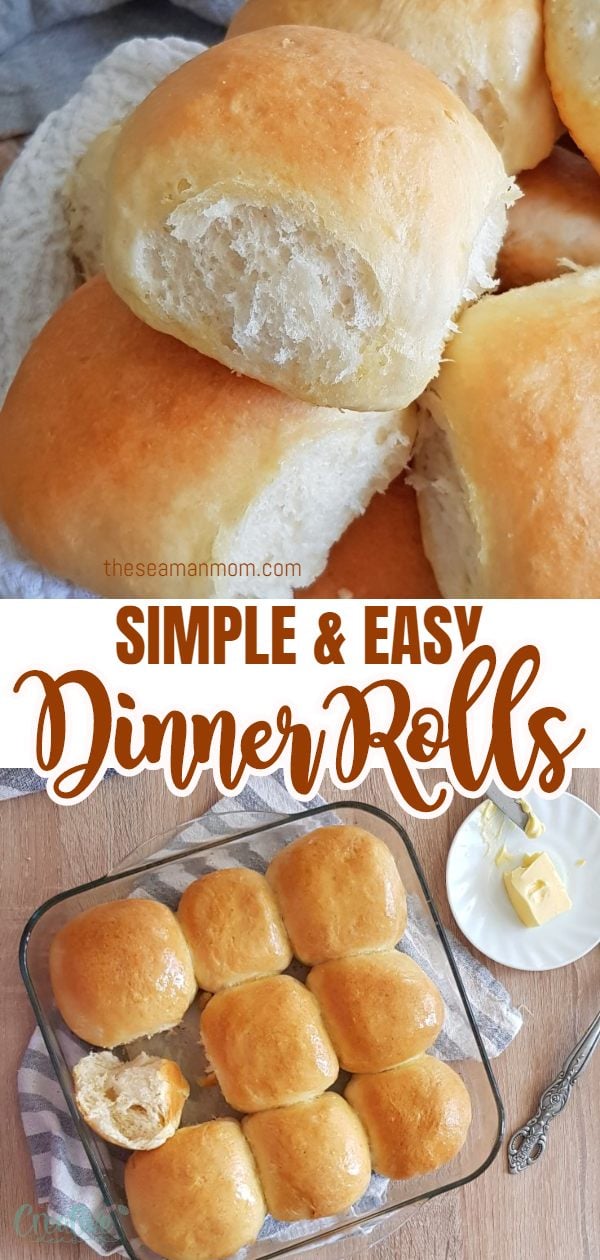
Pin to save for later
Basic soft bread rolls
Ingredients
- 1.5 tablespoons fresh yeast
- 1/2 cup warm water
- 2 tablespoons granulated sugar
- 3 tablespoons vegetable oil
- 1 egg room temperature
- 2-3 tablespoons melted butter
- 1 teaspoon fine salt
- 2 1/2-3 cups flour sifted
Equipment
- plastic wrap
- baking paper
- small bowl
Instructions
- Begin by mixing fresh yeast with warm water until the yeast is completely dissolved. Make sure the water is not hot as this will kill the yeast.
- Add sugar and mix well until the sugar is dissolved. Allow the yeast to "feed" on sugar for a few minutes before moving to the next step.
- Place the rest of the dry ingredients in a large bowl and mix using a whisk.
- Make a hollow in the dry ingredients and add the wet ingredients, mixing with a spoon until about half the dry ingredients are incorporated into the wet ingredients.
- Start kneading with your hands until the dry ingredients are incorporated.
- If needed, add more room temperature water, a little at a time until you're happy with the dough texture and tackiness.
- Move the dough to a table and knead until the dough is smooth and just a little elastic and tacky but not too sticky; if it sticks to your hands and you can't get it off easily that's considered too sticky. If you have a bread machine, using it for kneading is your best option.
- Place the dough in a bowl, cover with wrap and let rise in a warm place until it doubles in size, about an hour. See my tip above for speeding up the rising process.
- Remove the wrap and gently punch the dough to eliminate air bubbles.
- Start forming rolls with your hands and place them in a baking dish, lined with baking paper.
- Cover with plastic wrap and let the rolls rise in a warm place until double in size.
- While the rolls are rising, pre heat the oven at 350 F - 180 C
- Remove the wrap and place the baking dish in the middle of the oven.
- Bake for about 15 minutes or until the crust is golden.
Video
Most popular recipes:
Article may contain Amazon & affiliate links. As an Amazon Associate I earn from qualifying purchases at no additional cost to you.




Bonjour . Quelle est la contenance de votre tasse ? Ou plus simplement quelles sont les quantités en poids de vos ingrédients ? Merci d’avance .
Bonjour! Ils sont tous dans la carte de recette, Vidjonk.
Cant wait to try it with gluten free flour!