Vanilla Tiramisu cake
Looking for a simple but elegant cake for a celebration? This delicious vanilla tiramisu recipe is crazy easy to make and comes together in no time! Impressive and festive, this no bake tiramisu is the perfect last minute dessert for a special event or holidays!
Simple Tiramisu Recipe
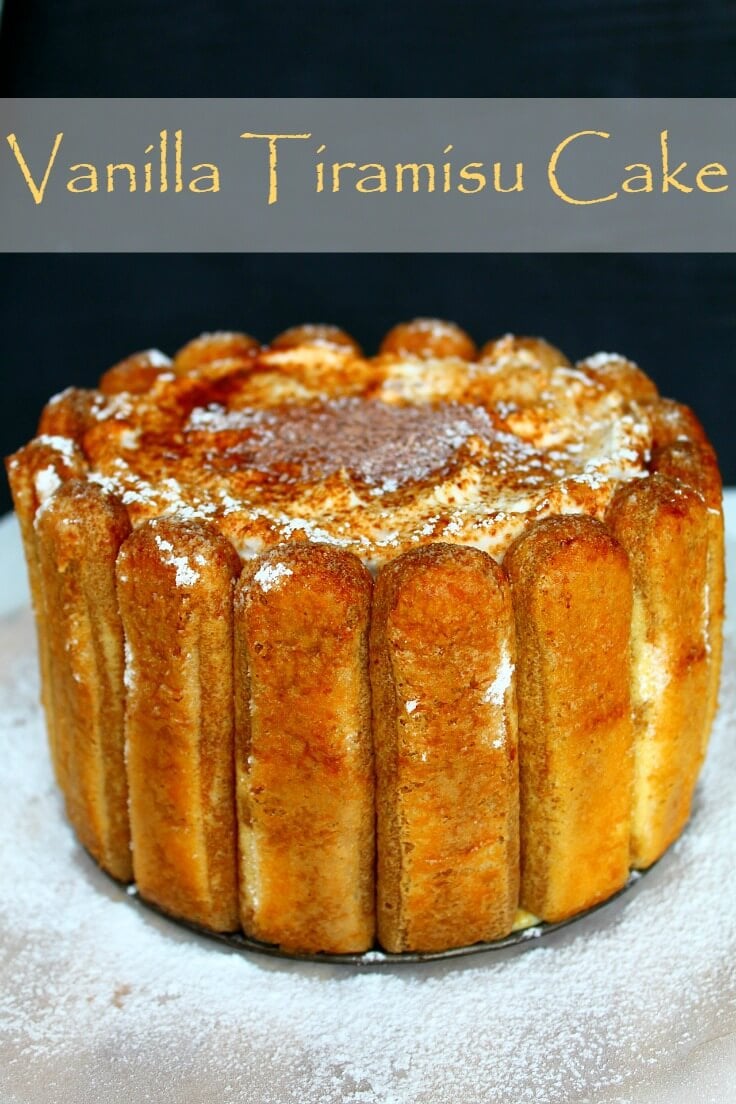
Put a twist on the classic Italian tiramisu with this easy but delicious vanilla tiramisu! This light tiramisu recipe is not only super easy to make as it uses ready made lady fingers and pudding powder mix but it also looks elegant and scrumptious, making it the perfect dessert for any celebration, parties or holidays!
Need more cake recipes?
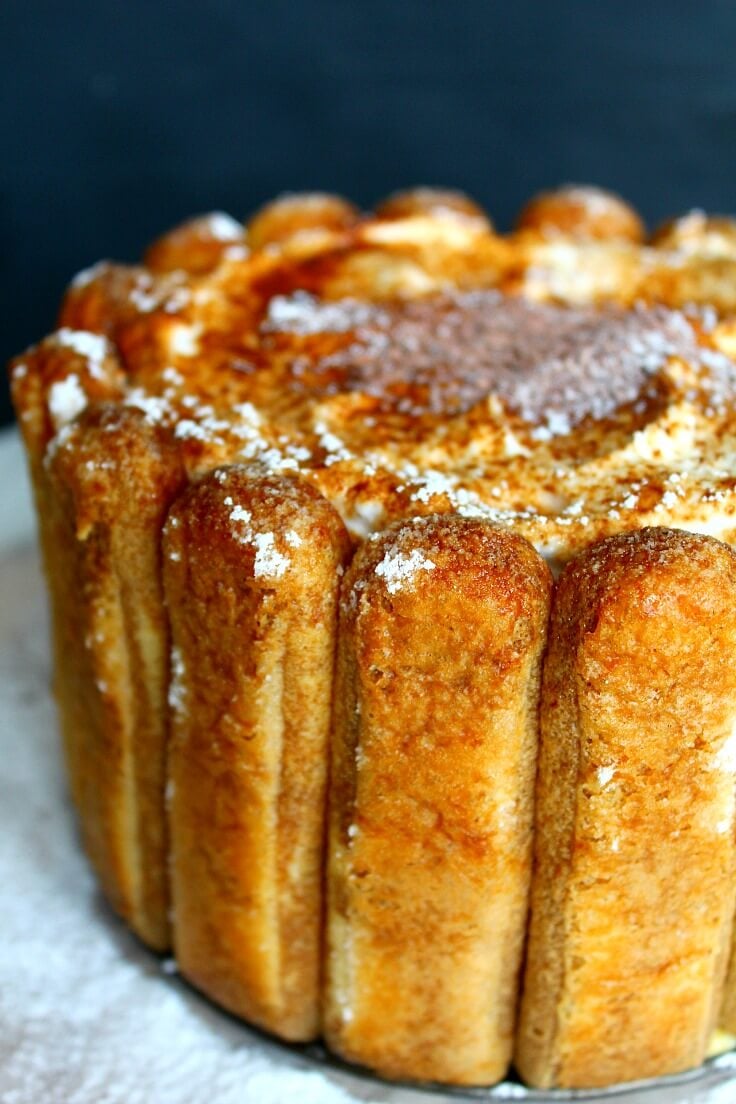
This vanilla tiramisu is one of our favorite cakes as it’s light and fluff, lower in calories and so quick to make, great for a last minute dessert so you might wanna consider this quick tiramisu recipe in case you’re entertaining this season. This easy tiramisu cake has a little something for the chocolate lovers too but it’s definitely the ideal indulgence for all lovers of coffee out there!
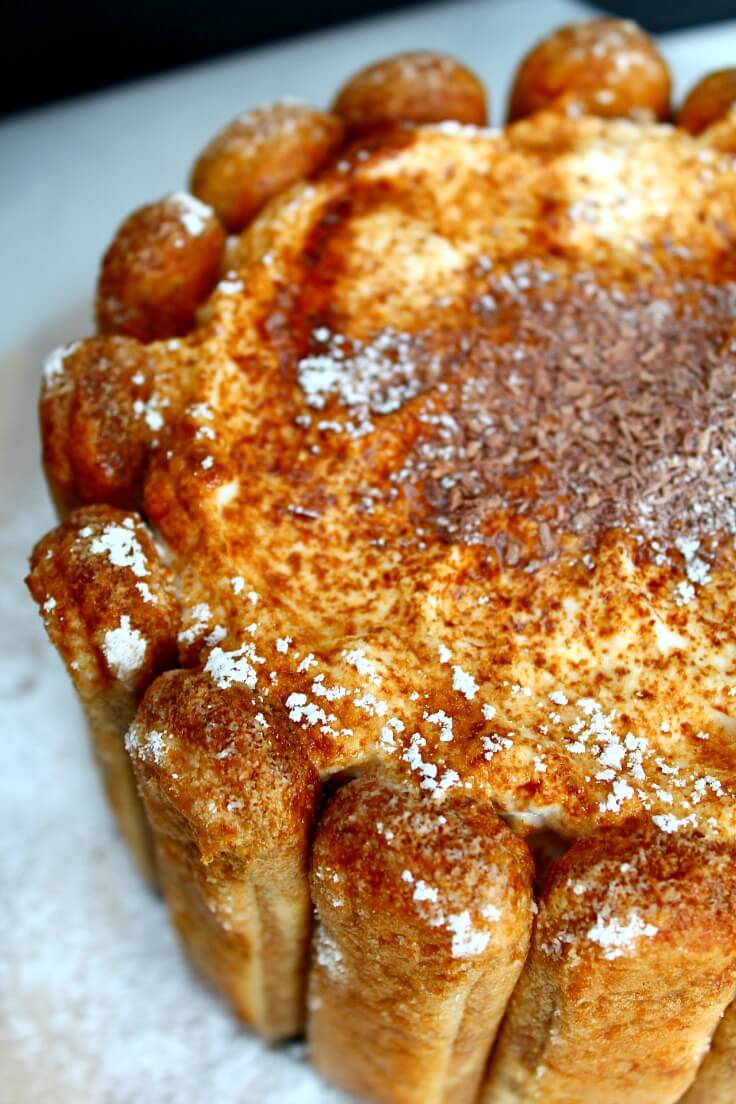
My vanilla tiramisu is a great make ahead as it tastes better the longer it sits in the fridge. It becomes moister, sweeter and more refreshing and it literally melts in your mouth! Just divine! And for those who don’t really enjoy cheese in their desserts, rest assure, this recipe is perfect for you too because it has none! This is a mock version of the classic tiramisu and it doesn’t use cream cheese or mascarpone cheese, just vanilla pudding, whipped cream and a little bit of cocoa dusting with some tiny chocolate flakes.
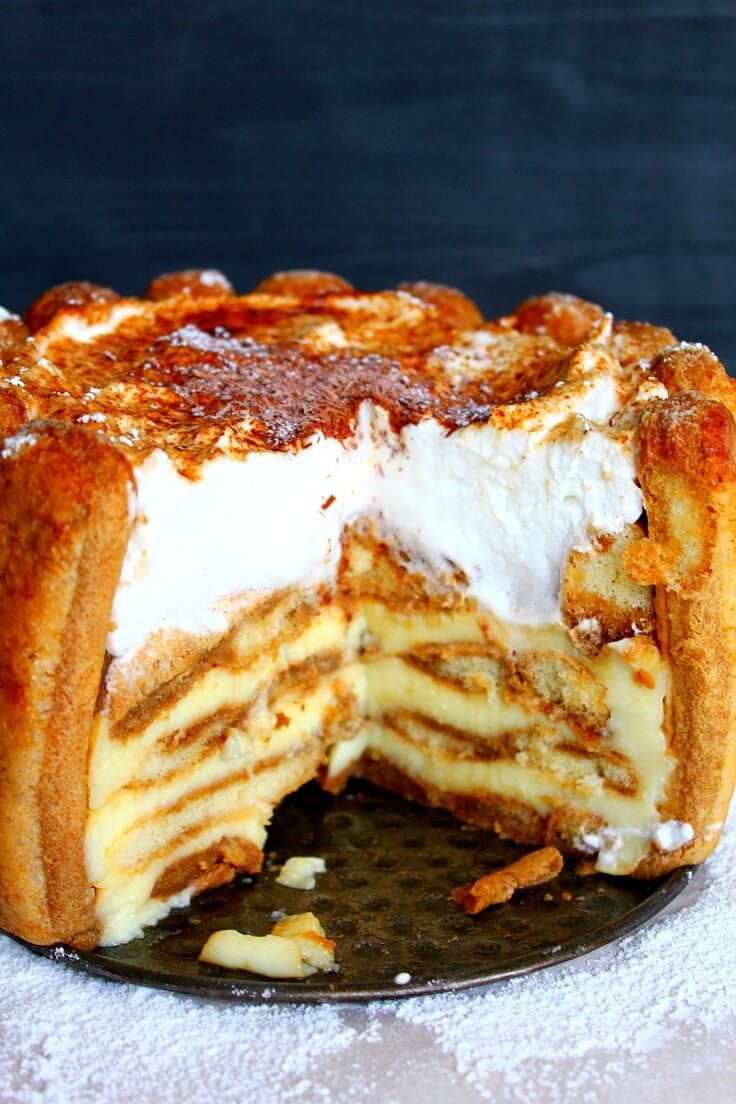
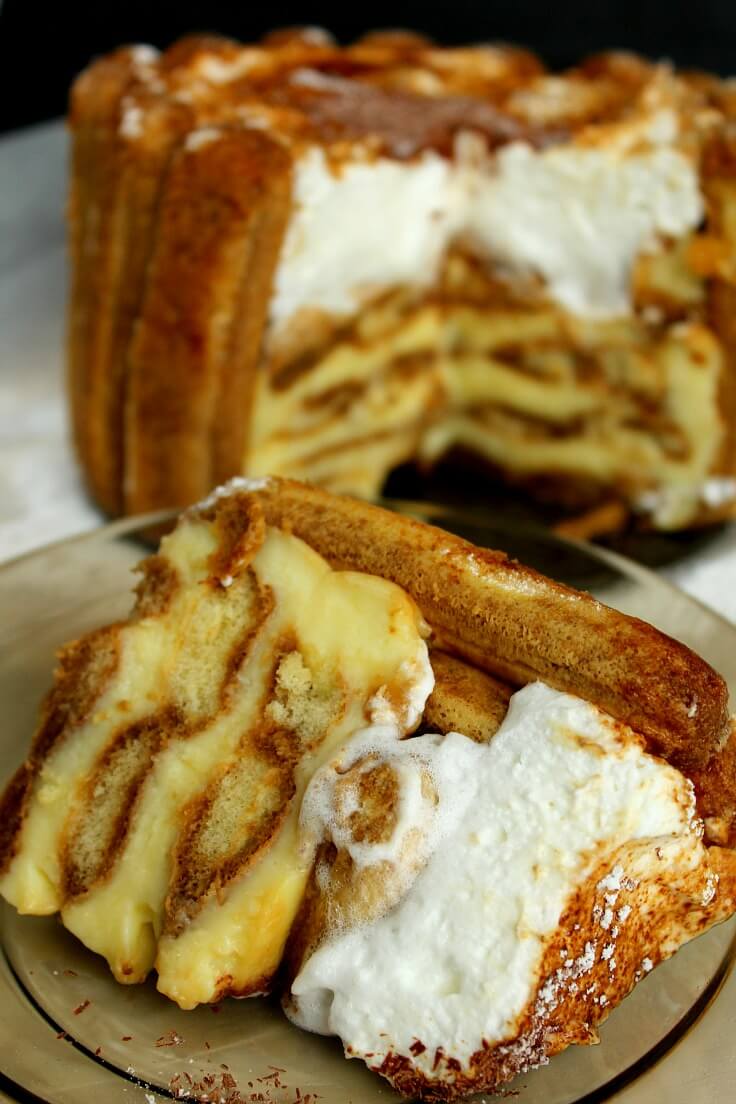
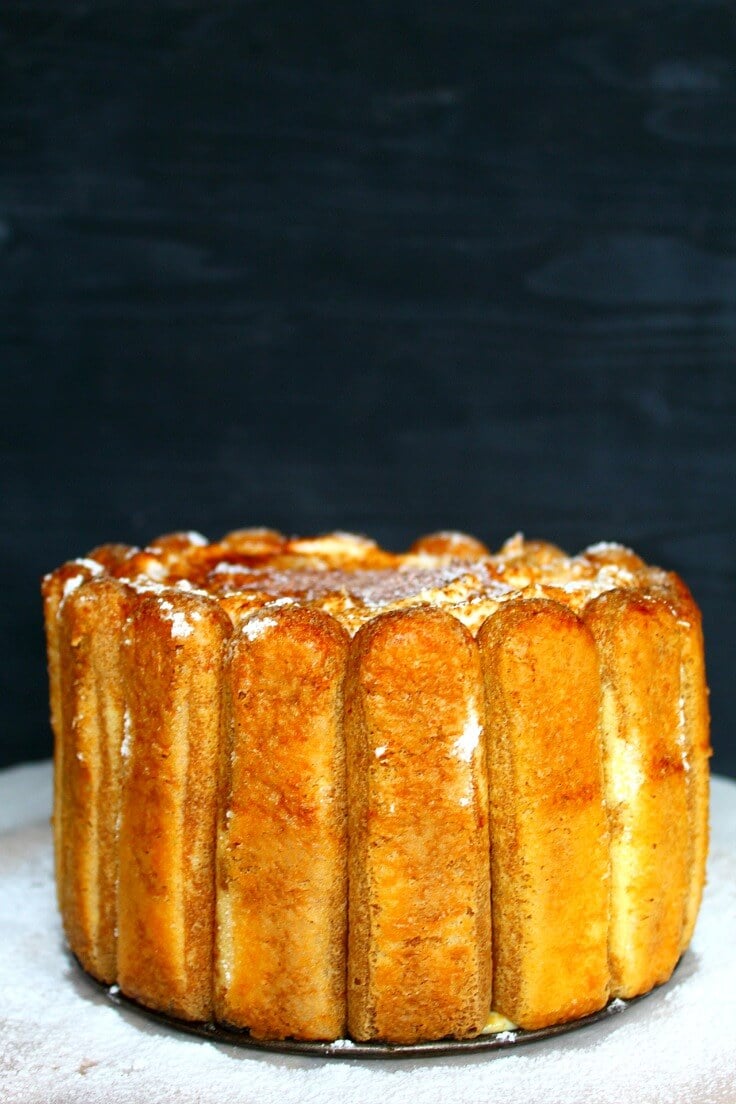
To give it a more festive look I chose to make my vanilla tiramisu recipe in a round cake pan with a removable bottom which made my cake not only more elegant but easier to put together too. But feel free to choose whatever cake pan you have, especially if you don’t plan to make the cake for a celebration but just as a quick, every day dessert.
Vanilla Tiramisu
Ingredients:
- 34 ladyfingers (use more or less as needed; cut to fit where necessary) – or make your own lady fingers
- 1 pouch vanilla powder
- 4 tablespoons sugar
- 17 oz milk (to make the vanilla pudding)
- 4 cups coffee made with instant coffee (I made my coffee pretty light, feel free to adjust according to your taste)
- 2 cups whipped cream
For the whipped cream:
- 2 tablespoons sugar
- 1 cup heavy whipping cream
You will also need:
- 9″ round cake pan with removable bottom
- whisk
- medium saucepan
- tablespoon
- hand mixer
- mixing bowl
- sharp knife
To decorate:
- icing sugar
- cocoa powder
- chocolate flakes
Directions:
- Make the whipped cream. Place the sugar into the mixing bowl and add the whipping cream. Whisk until the cream reaches stiff peaks. Keep refrigerated until ready to use.
- Take a round cake pan with removable bottom and carefully arrange ladyfingers around the sides in a verticla position, and then on the bottom, laying flat (using a sharp knife, cut some of the ladyfingers in small pieces to fit in the gaps).
- Using a tablespoon, add coffee over the ladyfingers at the bottom only, until slightly moist (don’t pour too much coffee!)
- Make the vanilla pudding as instructed on the package.
- Pour a little over the ladyfingers bed at the bottom of the cake pan.
- Immediately add another layer of ladyfingers, coffee and vanilla pudding.
- Continue until you finish the ladyfingers.
- Now it’s time to pour some coffee over the ladyfingers around the sides. Again, don’t pour too much coffee, a little goes a log way!
- End with a generous layer of whipped cream.
- Dust with cocoa powder, icing sugar and sprinkle chocolate flakes, as desired.
- Keep refrigerated for at least 2 hours. Tastes better the longer it sits.
- Remove the sides of the cake pan when ready to serve.
Vanilla Tiramisu cake
Ingredients
- 34 ladyfingers use more or less as needed; cut to fit where necessary
- 1 pouch vanilla powder
- 4 tablespoons sugar
- 17 oz milk to make the vanilla pudding
- 4 cups coffee made with instant coffee I made my coffee pretty light, feel free to adjust according to your taste
- 2 cups whipped cream
For the whipped cream:
- 2 tablespoons sugar
- 1 cup heavy whipping cream
You will also need:
- 9 " round cake pan with removable bottom
- whisk
- medium saucepan
- tablespoon
- hand mixer
- mixing bowl
- sharp knife
To decorate:
- icing sugar
- cocoa powder
- chocolate flakes
Instructions
- Make the whipped cream. Place the sugar into the mixing bowl and add the whipping cream. Whisk until the cream reaches stiff peaks. Keep refrigerated until used.
- Take a round cake pan with removable bottom and carefully arrange ladyfingers all around the sides and then on the bottom (using a sharp knife, cut some of the ladyfingers in small pieces to fit).
- Using a tablespoon, add coffee over the ladyfingers at the bottom only, until slightly moist (don't pour too much coffee!)
- Make the vanilla pudding as instructed on the package.
- Pour a little over the ladyfingers bed at the bottom of the cake pan.
- Immediately add another layer of ladyfingers, coffee and vanilla pudding.
- Continue until you finish the ladyfingers.
- Now it's time to pour some coffee over the ladyfingers around the sides. Again, don't pour too much coffee, a little goes a log way!
- End with a generous layer of whipped cream.
- Dust with cocoa powder, icing sugar and sprinkle chocolate flakes, as desired.
- Keep refrigerated for at least 2 hours. Tastes better the longer it sits.
- Remove the sides of the cake pan when ready to serve.
Pin to save for later
Most popular recipes:
Article may contain Amazon & affiliate links. As an Amazon Associate I earn from qualifying purchases at no additional cost to you.




hello its Sharyn again. I never made this recipe for Easter as I planned. I do intend to make this for either Thanksgiving or Christmas this year. Well I have one more question for you. Are the lady fingers the hard ones or the soft ones? Happy Holiday
I want to make this recipe for this Easter. Regarding the “Pouch of vanilla powder”. How much vanilla extract do i use to equal the Pouch? I have never seen vanilla powder in my local store. I live in lawton ok. local stores hardly carry anything.
Hi Sharyn. I’m sorry, I meant vanilla pudding mix such as this one http://amzn.to/2F3BPyd You can’t replace that mix with vanilla extract, hope you’ll find it in your store.
thank you for answering me so quick. vanilla puddidng it is. thank you thank you. p.s. the dessert looks so yummy, I almost can’t wait for easter to roll around. This dessert is going to look stunning on my easter table, thanks to you. Blessing