DIY Princess Crown Tutorial
Make the little girl in your life feel just like a star with an adorable DIY Princess crown! This glittery princess crown makes a great addition to a birthday party too!
Princess Crown
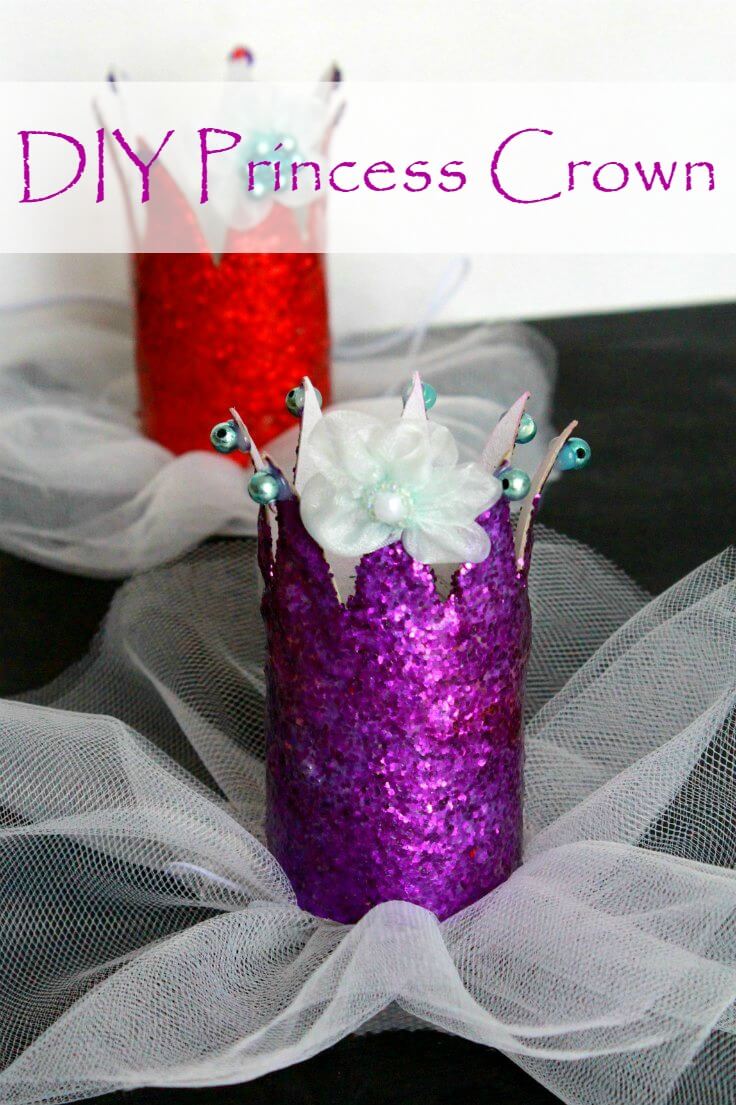
A DIY princess crown is a must for any royal beauty and my little munchkin is no exception. She loves dressing up as a princess and her favorite part is choosing her crown (her favorites were the lace crowns we made a while back). She’s also super girly and anything glitter and tulle is right up her alley so coming up with this glitter crown made total sense!

This simple but oh so adorable craft idea uses such simple materials you most likely have on hand such as toilet paper rolls, glitter, mod podge and tulle. It makes a great way to recycle some of those bad boys lol
Need more toilet paper roll craft ideas? Check out these fun projects!
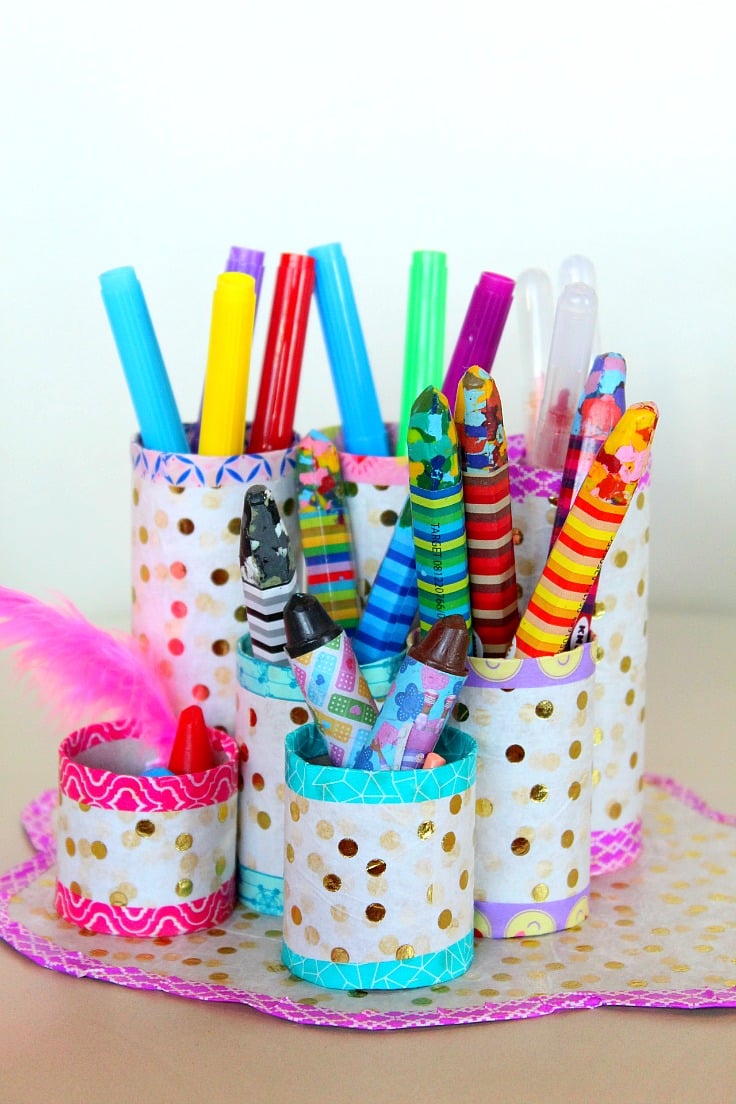
- Toilet paper rolls school supplies organizer
- Cute hearts hanging wall decor
- Adorable mini gift boxes
- Toilet paper pumpkins
- Spooky/cute Halloween bats craft for kids
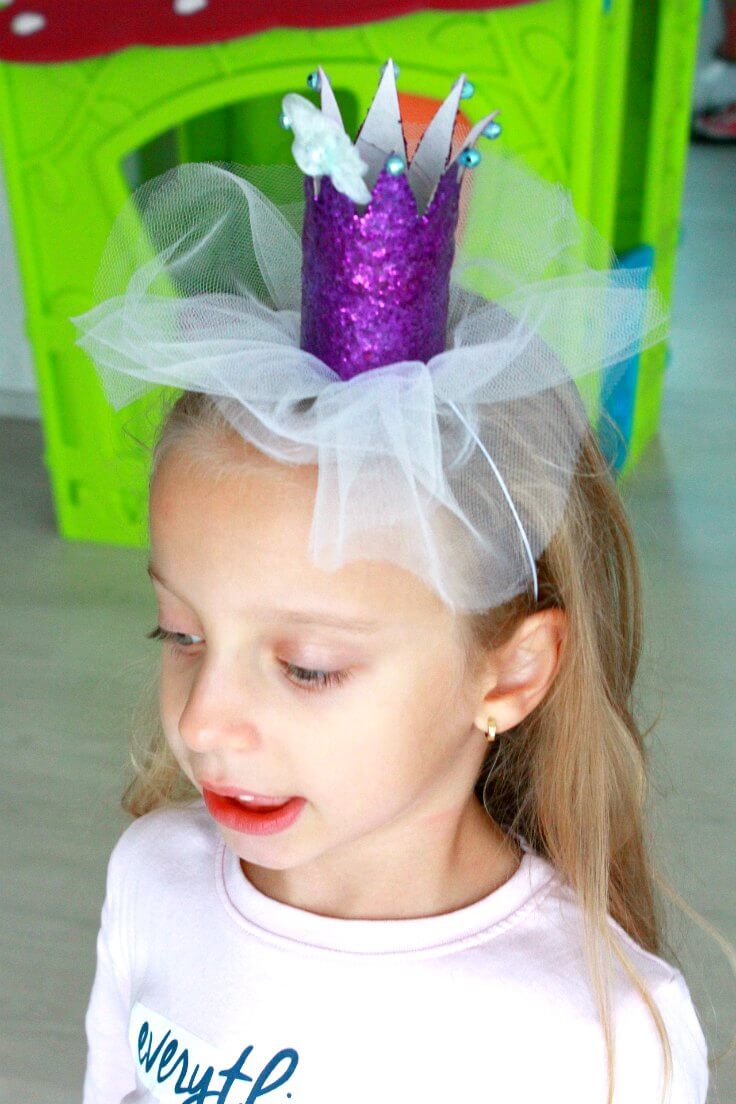
My little munchkin is very, very creative so she gave me suggestions on how to make this DIY princess crown. That’s when I said, why don’t you help me make this adorable DIY paper crown you have in mind? I’m sure team work produces better results not to mention there will be lots of fun involved (need a hint? there’s glitter in this tutorial!!) She obviously jumped on board and our first homemade crown was ready in no time!
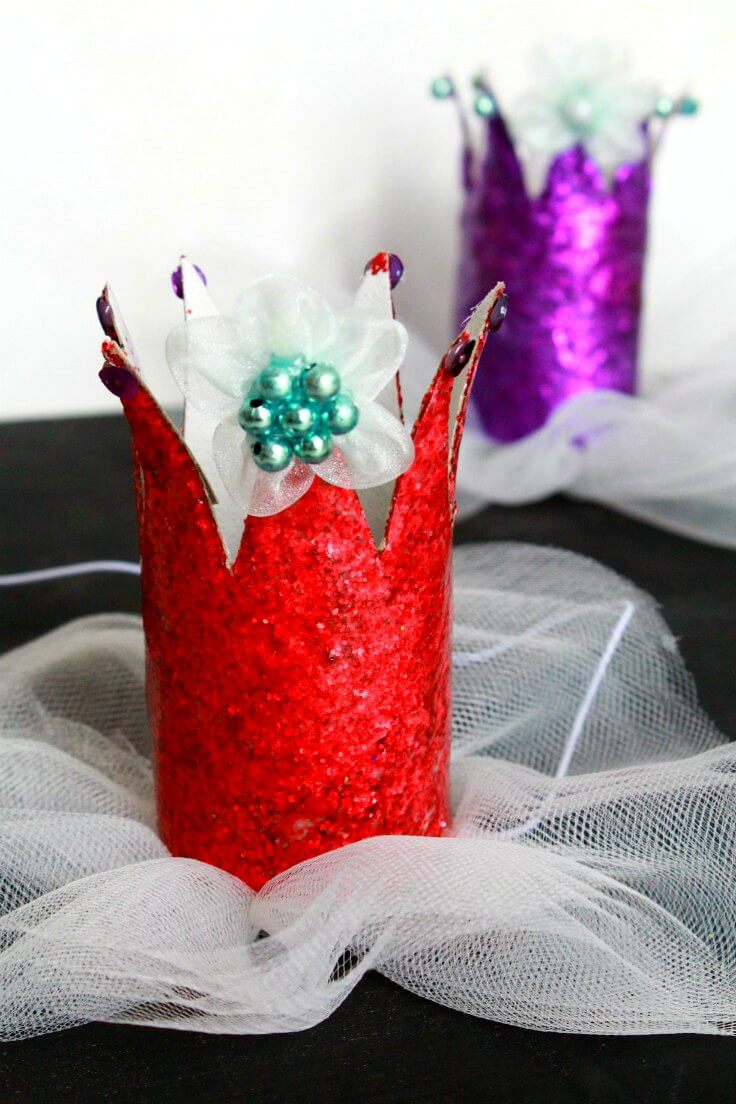
This adorable DIY princess crown is simple and easy to make and a great addition to any birthday party, or to a princess Halloween costume or just for pretend play. Making this easy princess crown is a wonderful way to spend the day with your little ones, having fun, developing new skills and creating a magical, homemade princess crown that any princess would be so proud to wear!
DIY Princess Crown
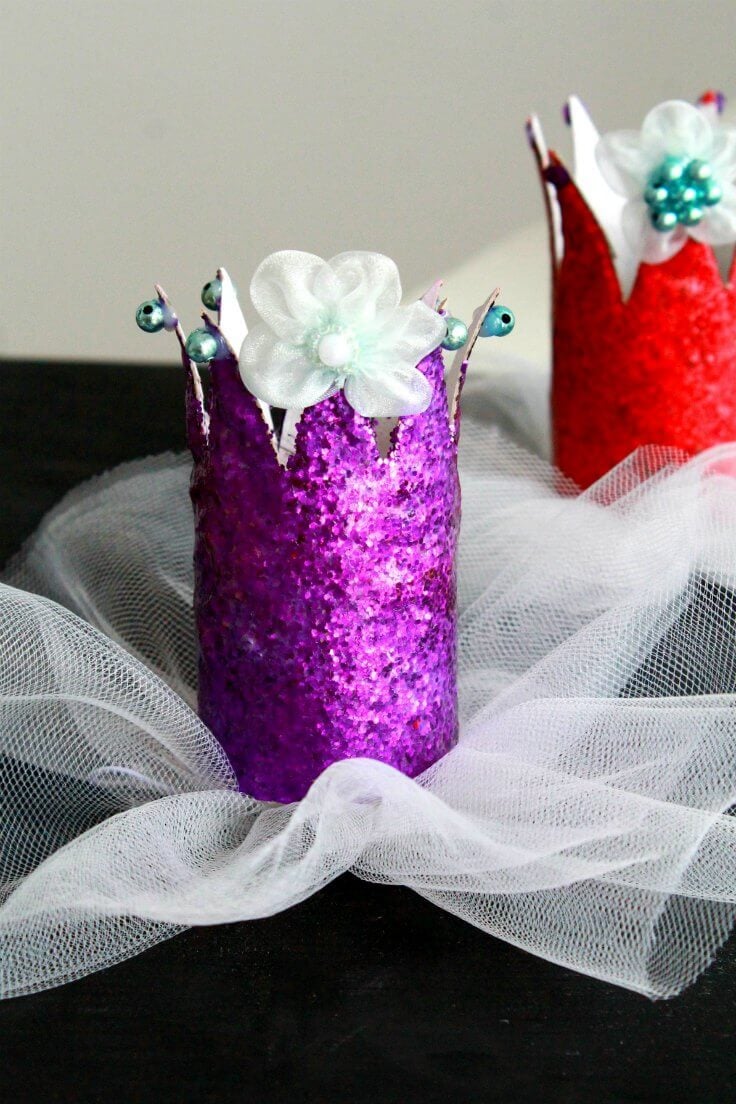
Materials:
- toilet paper tubes
- measuring tape
- marker
- craft scissors
- modge podge
- brush
- glitter
- tulle
- thin elastic
- thread
- needle
- hot glue gun
- hot glue sticks
- embellishments
Directions:
- Using a measuring tape, measure around your paper tube, decide how large you want the “spikes” in your crown and make marks with your marker pen, at about 1/3 down the length of the paper tube. I made mine about 1″ wide.
- Measure the distance between 2 marks and find the middle then start cutting the spikes from that point, towards the marks, first to the mark on one side then to the mark on the other side.
- Using a thick brush apply modge podge all over the tube and immediately sprinkle glitter; try and distribute the glitter evenly. Set aside to dry.
- Apply a second layer of modge podge then another one of glitter and leave to dry.
- Apply a third and last layer of modge podge and leave to dry.
- Meanwhile gather a strip of tulle, using your sewing machine or by hand and arrange it in a circle.
- Cut a piece of elastic, long enough to go around your head and join the ends together with a knot.
- Hand sew the knot area to the gathered tulle circle.
- Once the modge podge is dry, apply embellishments to your crown, using a hot glue gun.
- Apply hot glue to the bottom of the crown and press it on the tulle circle, elastic side down.
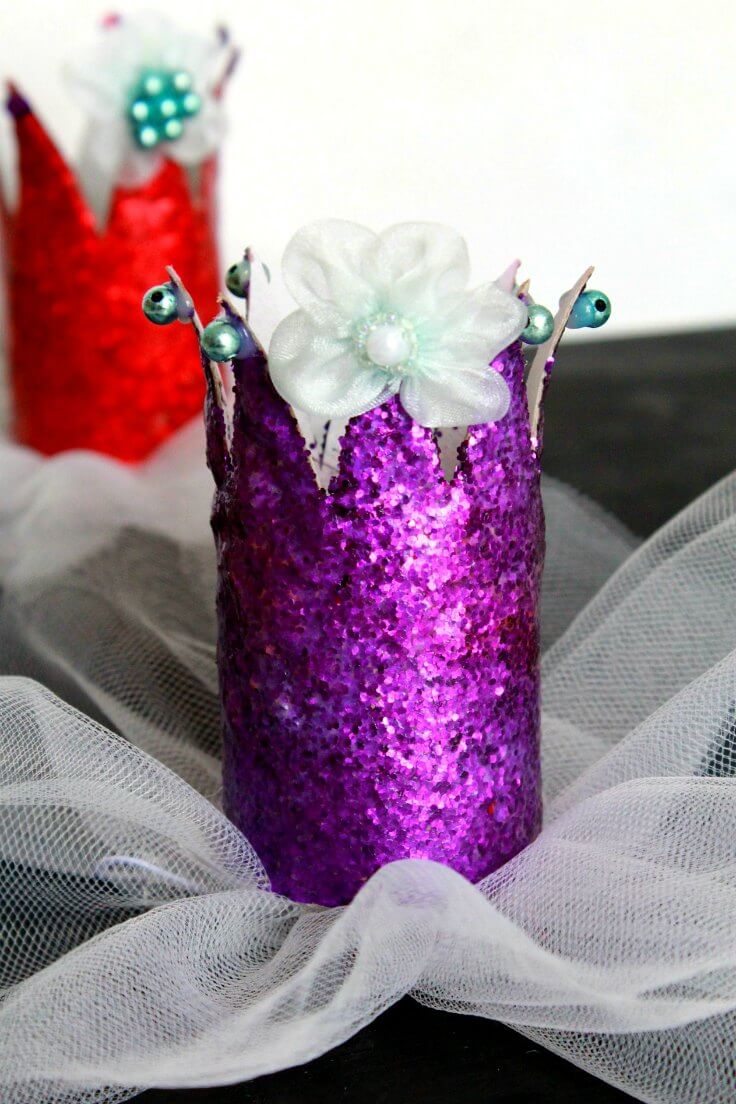
- And you’re done! Your beautiful DIY princess crown is ready to wear. Enjoy!
Pin to save for later
Similar posts you might like
Most popular craft
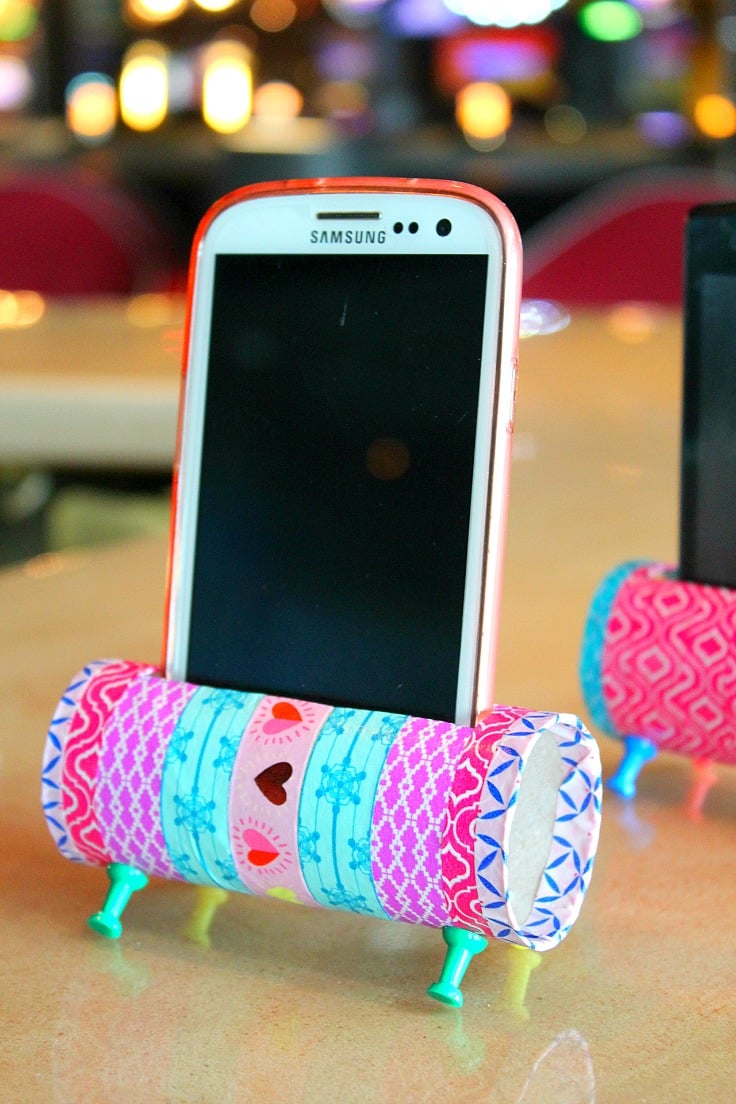
DIY Toilet paper roll phone holder
DIY toilt paper rolls pen organizer
Article may contain Amazon & affiliate links. As an Amazon Associate I earn from qualifying purchases at no additional cost to you.



This princess crown DIY is just too cute! Great idea to use empty toilet paper rolls! Thank you for your submission! Your post just got published!
Thanks so much, Denise! xoxo