Recycled DIY Snack Box With Zipper
Turn your soda bottles into cute and useful snack containers with this easy peasy DIY snack box tutorial! Perfect to hold snacks or treats for kids, small veggies and even elastic bands or small office supplies!
Snack Storage Containers
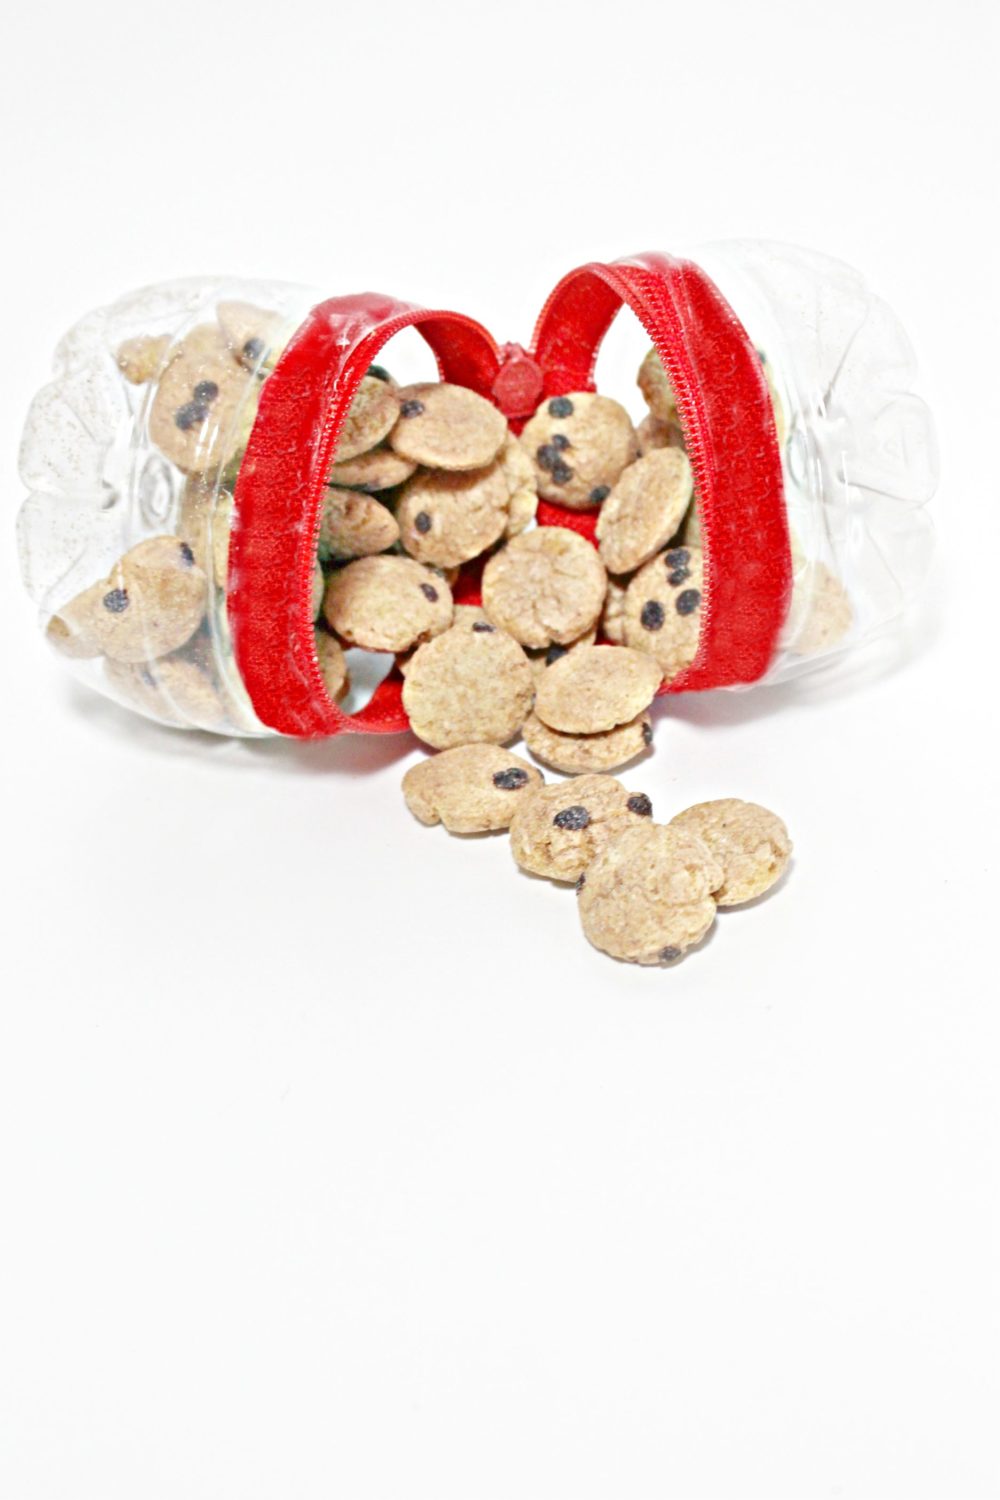
Why spend money on snack boxes or bags when you can easily make some yourself, using simple items like plastic bottles, zippers and glue? This DIY snack box is such a great project to recycle old soda boxes instead of throwing them in the carbage and also a nice way to spend quality time wiht the kiddos. They’ll be so happy to make their own snack organizer!
Need more recycled crafts ideas? You might like these:
- DIY Princess crown with tp rolls
- Paper tube flower wreath
- DIY phone charging station
- No sew beach coverup from man’s t-shirt
- Bird house with milk carton
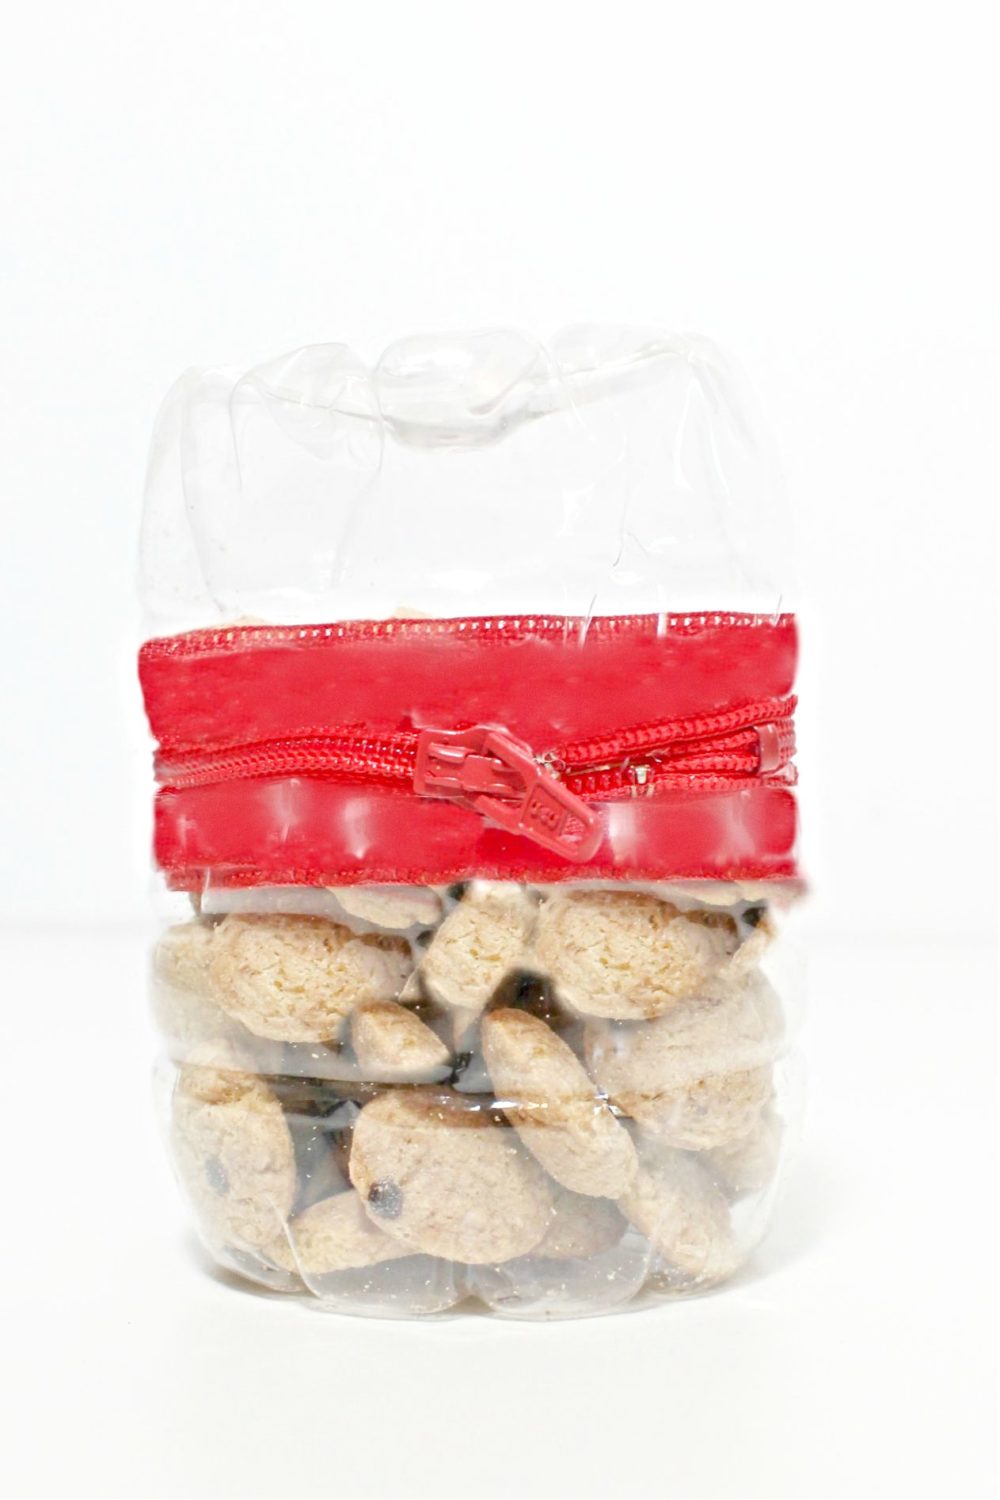
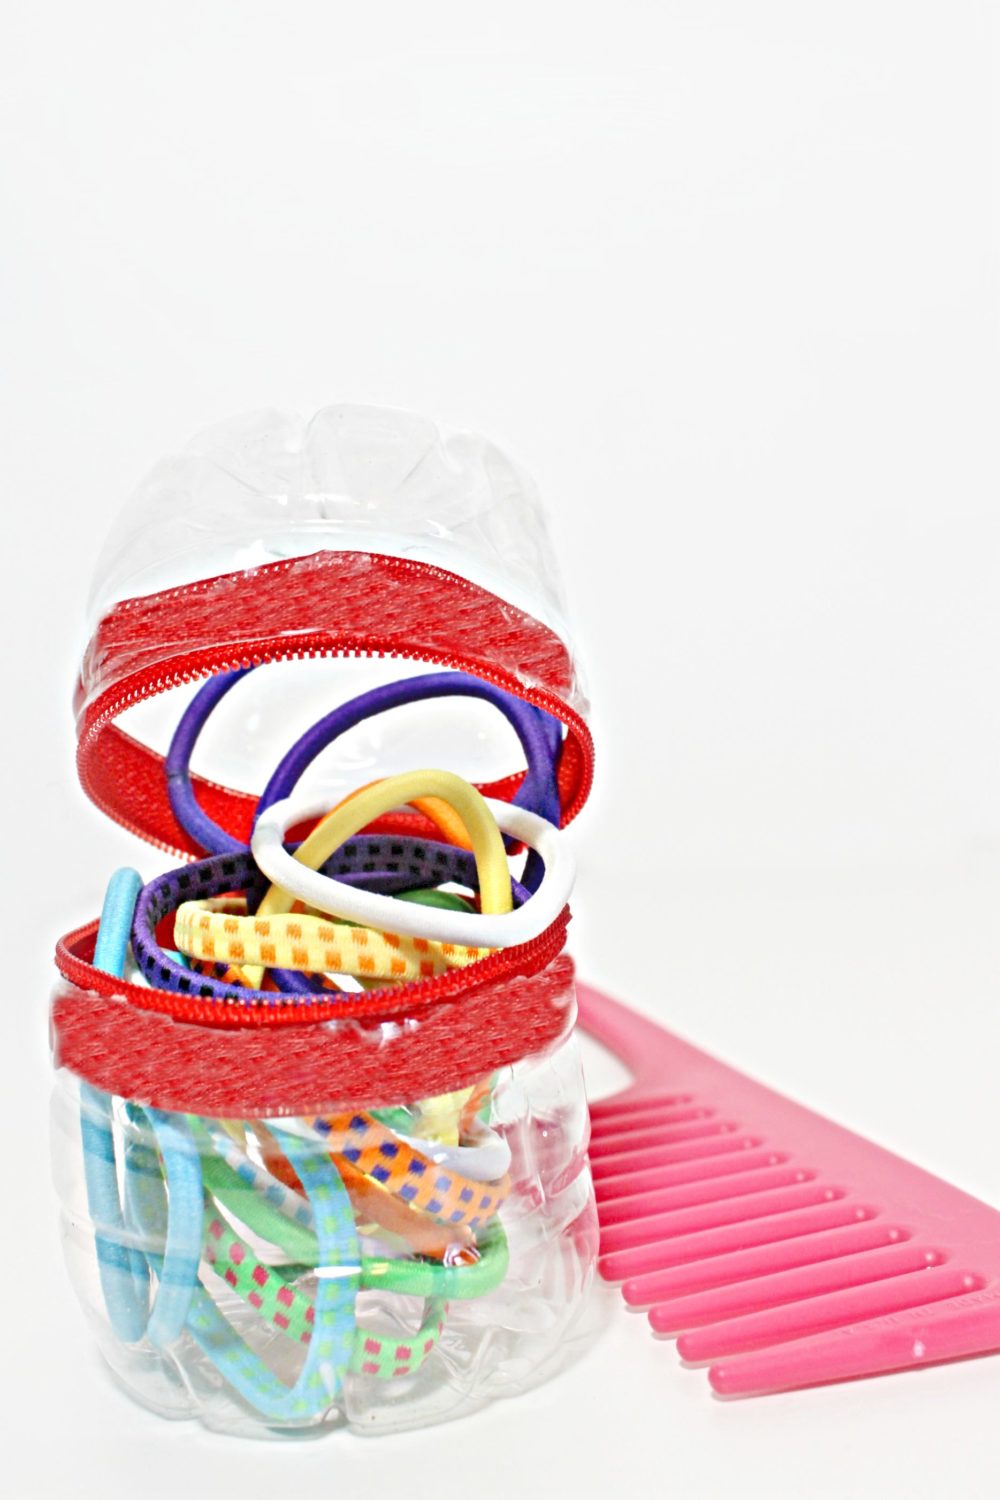
But this easy peasy DY snack box is so much more than just a snack pack! You can always turn this DIY zippered snack box into an organizer for your small craft or sewing supplies or as an elastic band organizer (those get really messy and tend to get lost a lot aren’t they?)
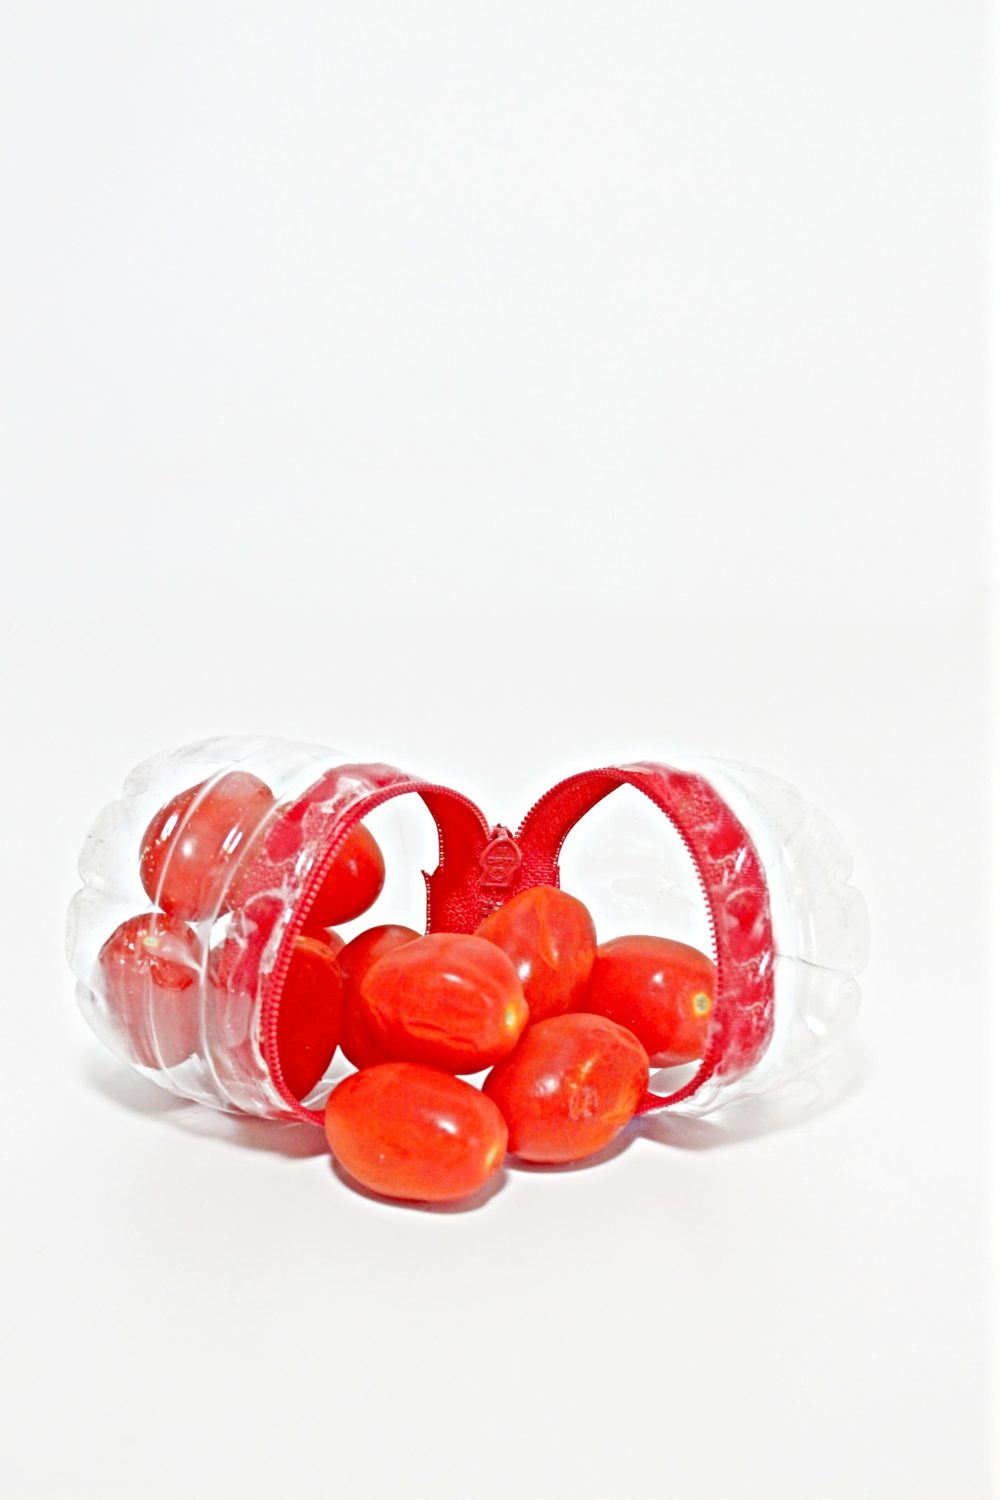
And why not go a little crazier and use this DIY snack box as a cool way to keep your small veggies organized in the fridge? This way they’ll stay fresh for longer and you’ll have easier access to them! The possibilities are basically endless for this plastic bottle snack pack idea! I totally got the bug I absolutely loved making this recycled snack box and planning on making loads of these babies! So convenient, affordable and fun!
I decided to leave my DIY snack box plain but you could totally play around with colors and shapes to make your plastic bottle snack holder to match your style and needs!
DIY Snack Box
Materials:
- Two identical sized plastic bottles (12 oz soda or 16 oz water)
- Zipper about 7 inches long
- Glue gun
- Scissors or exacto knife
Directions:
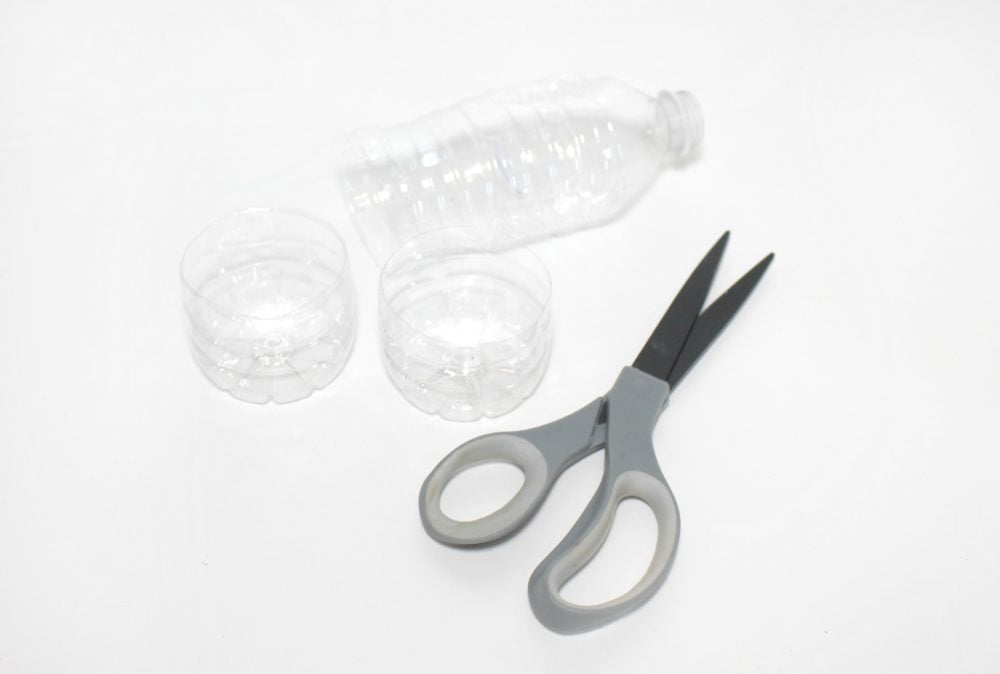
- Step 1. Measure a couple of inches up from the bottom of the bottles to find where the circumference is about 6 ¼ – 6 ¾ inches. Cut both bottles at this point. TIP: You can make one larger and one smaller or make both the same size.
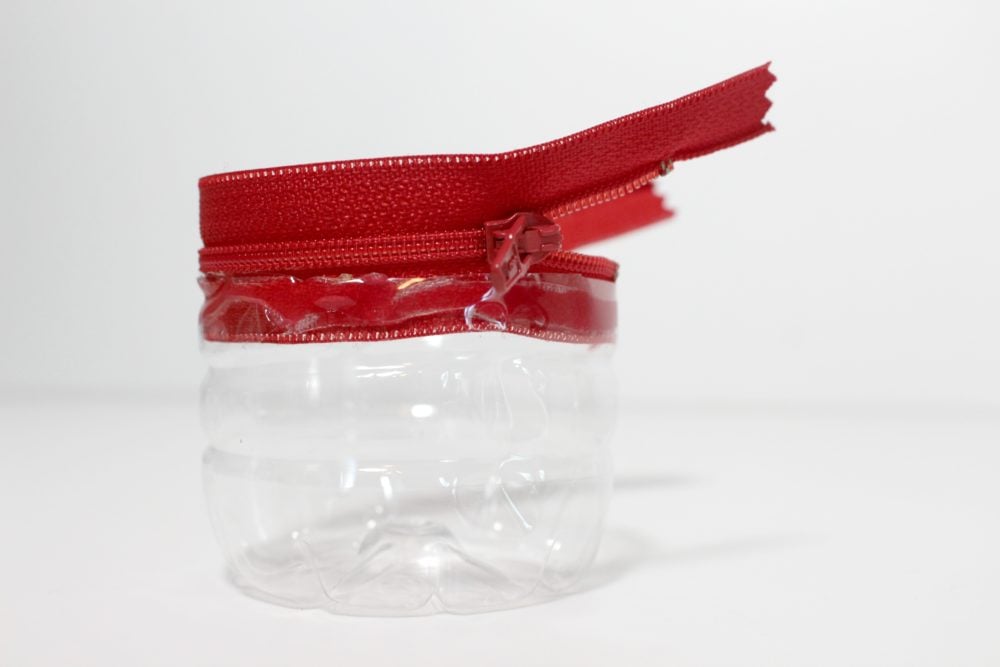
- Step 2. Wrap the zipper around the opening of one of the bottles to ensure that it covers the entire area and actually overlaps a bit (at least ¼ inch).
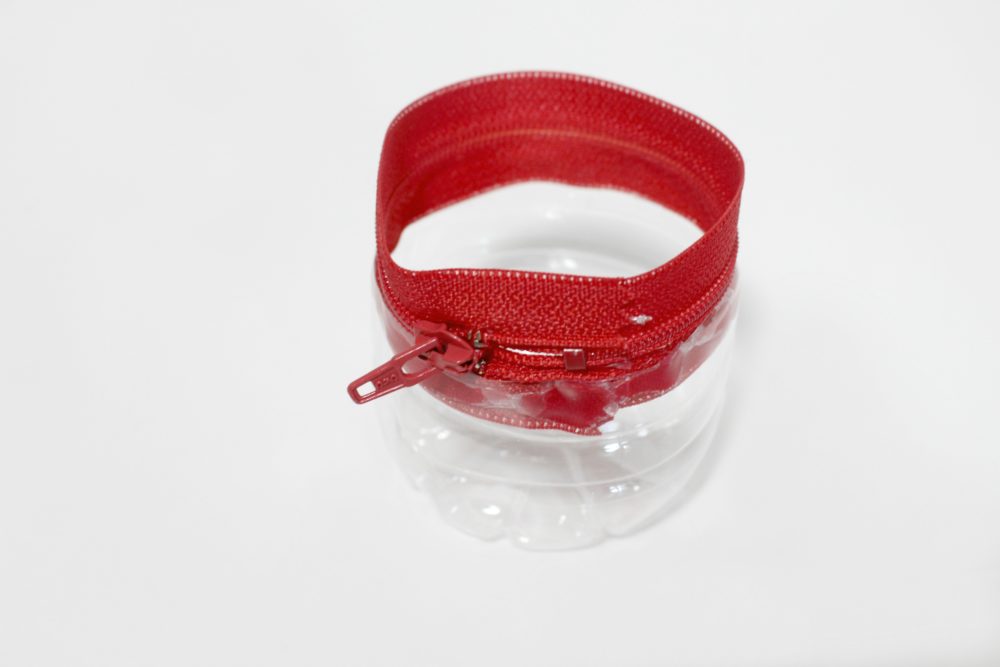
- Step 3. Use the glue gun to adhere one side of the zipper to the inside of one of the containers. Start with the top end of the zipper and overlap the bottom end of the zipper. (see photo)
- Step 4. Use the glue gun to adhere the inside of the other bottle bottom to the other side of the zipper.
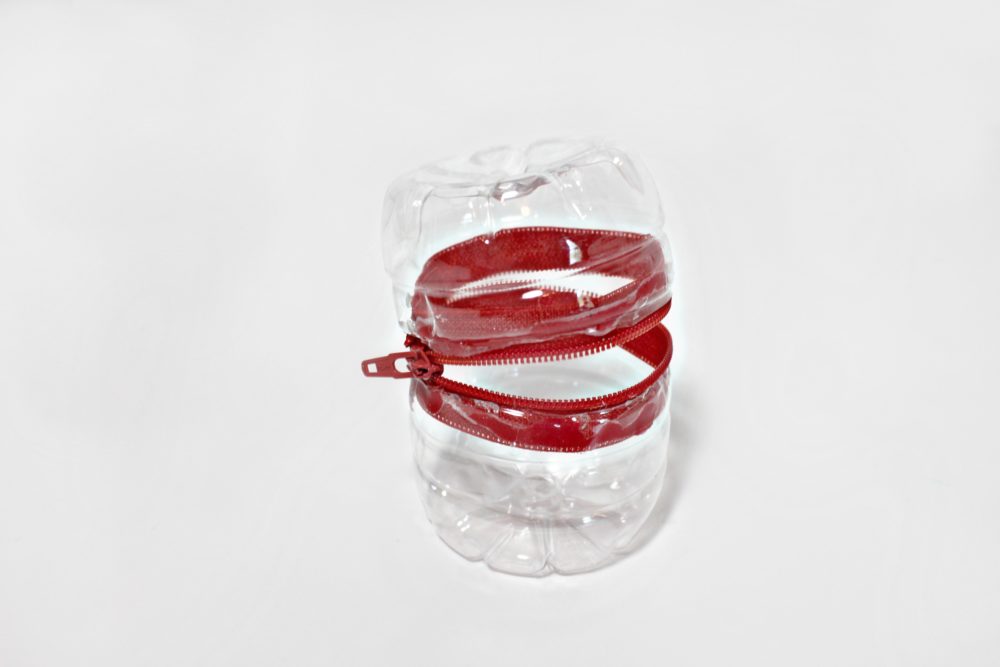
- Step 5. Go around the edges and make sure that the zipper is adhered well to the bottle parts and that the parts around the ends of the zipper are especially sturdy.
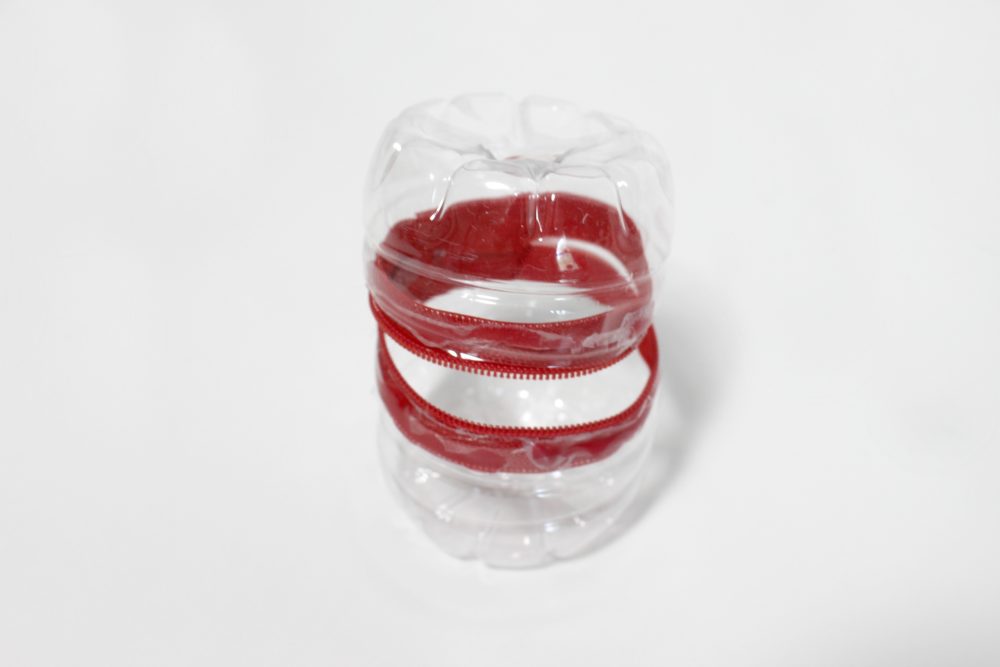
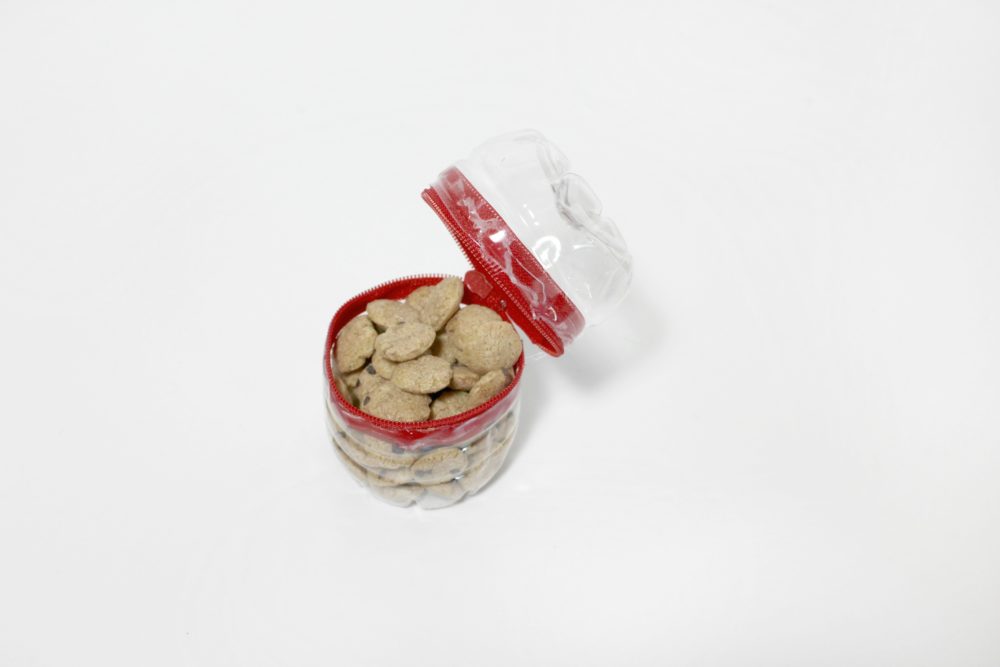
- Step 6. Fill with snacks!
Pin to save for later
Similar posts you might like

Flower vases with plastic bottles

Most popular craft
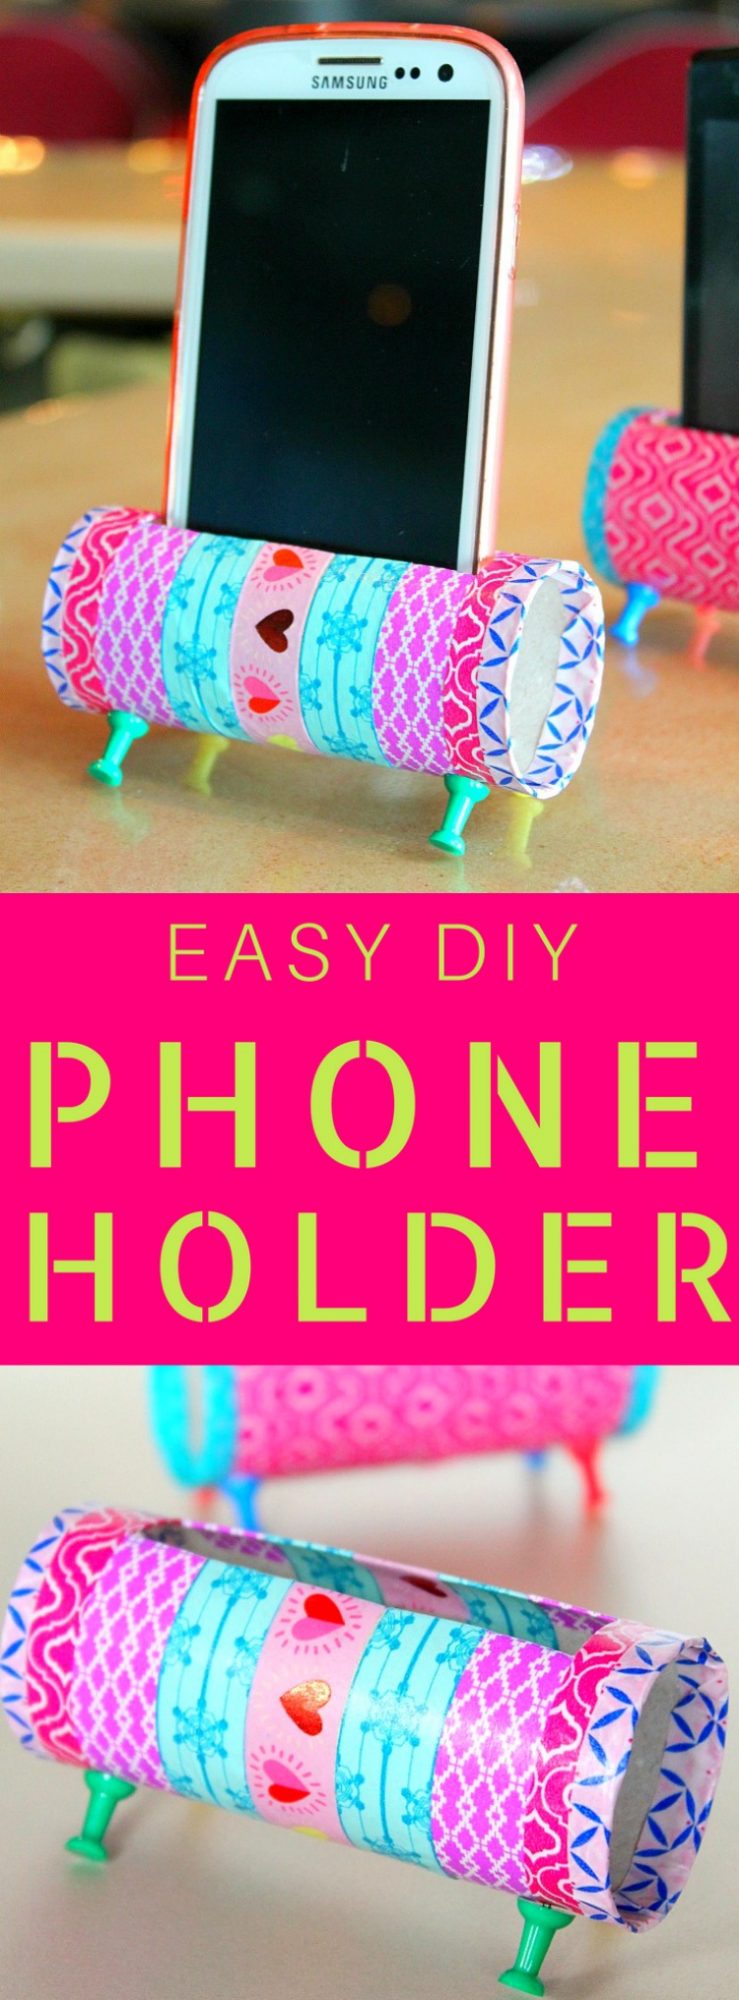
DIY phone stand with recycled tp rolls
Article may contain Amazon & affiliate links. As an Amazon Associate I earn from qualifying purchases at no additional cost to you.


ABOUT PETRO
Hi, I’m Petro, author and founder of Easy Peasy Creative Ideas. Sewist, crafter, avid DIY-er, foodie, photographer, homemaker and mommy to one. I’m an expert at coming up with quick, clever sewing tips, recycling crafts and simple, easy recipes! You can find my ideas featured in reputable publications such as Country Living, Good House Keeping, Yahoo News, WikiHow, Shutterfly, Parade, Brit & Co and more. Thanks for stopping by and hope you’ll stay for a while, get to know me better and come back another time. Stick around for real fun projects! Read more…