

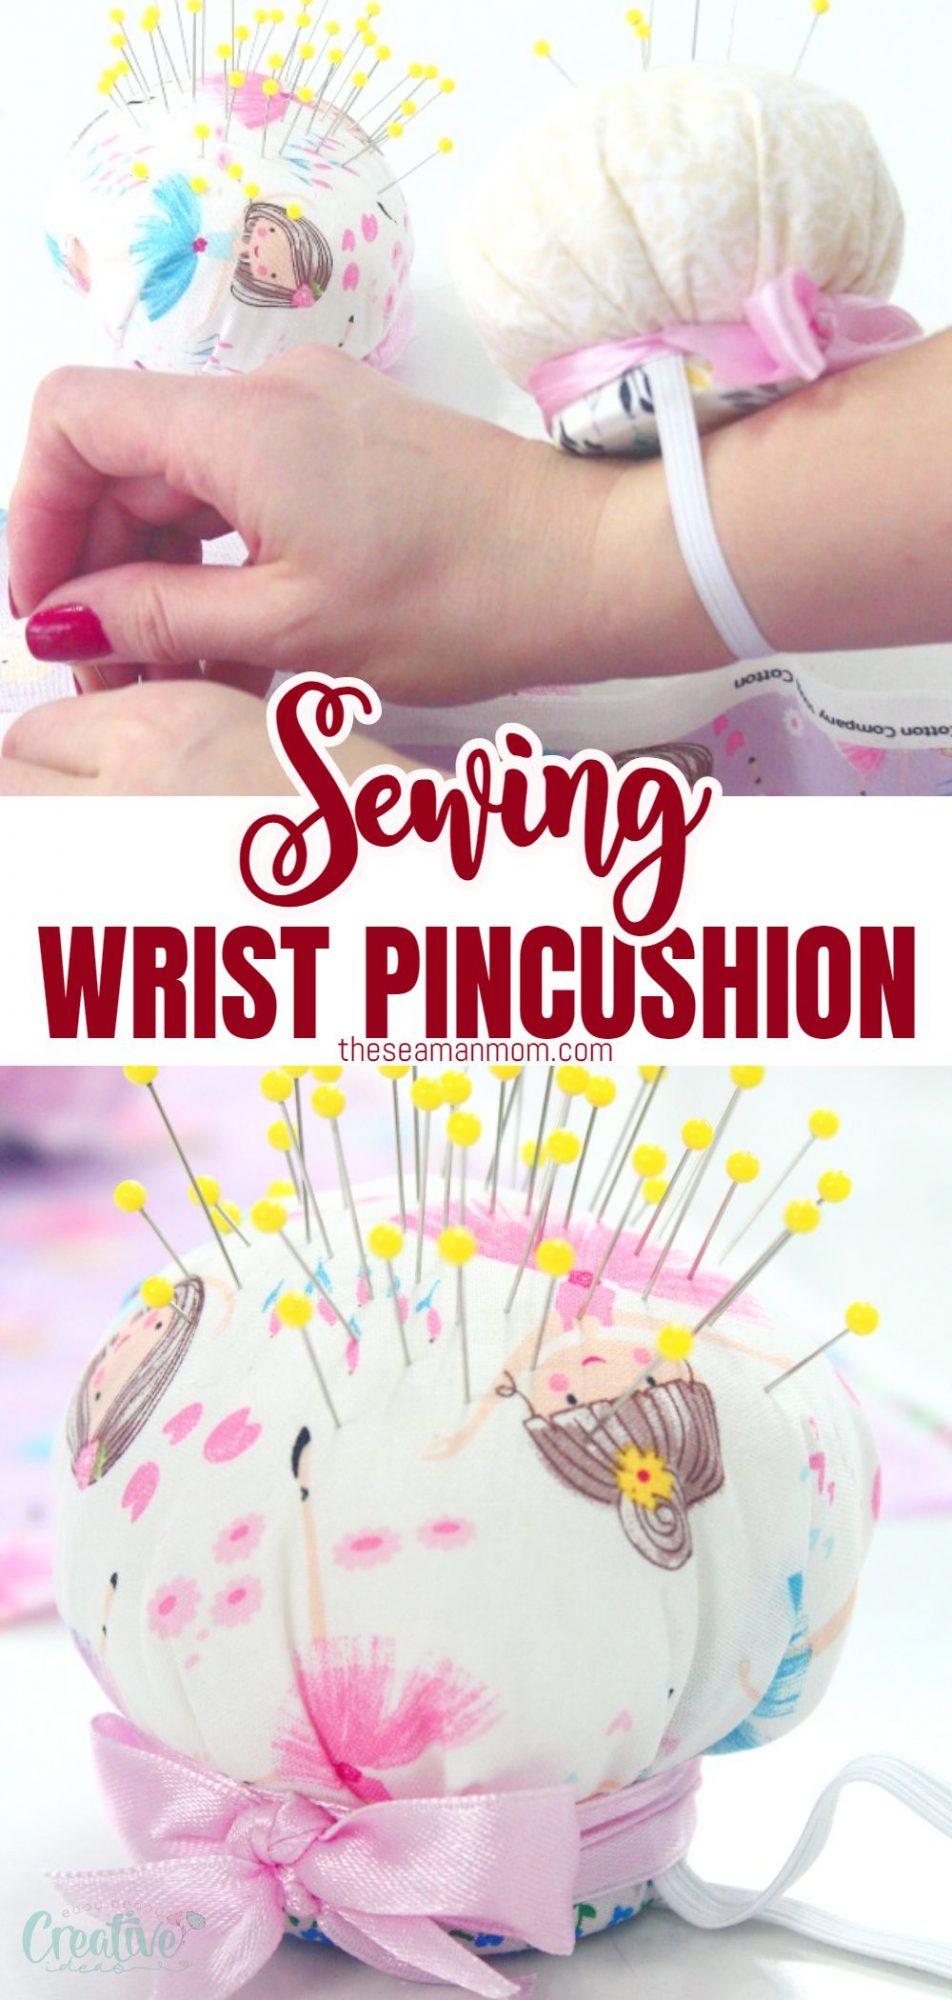
Incredibly cute and useful wrist pincushion you need to make today
Ever needed a pincushion to put your pins away, but still be on hand? There are lots of pincushions you can place around your sewing area and this time I’m going to show you a super easy way of making a DIY wrist pin cushion. You will always have your cute, useful wrist pincushion on hand, literally!
DIY wrist pin cushion
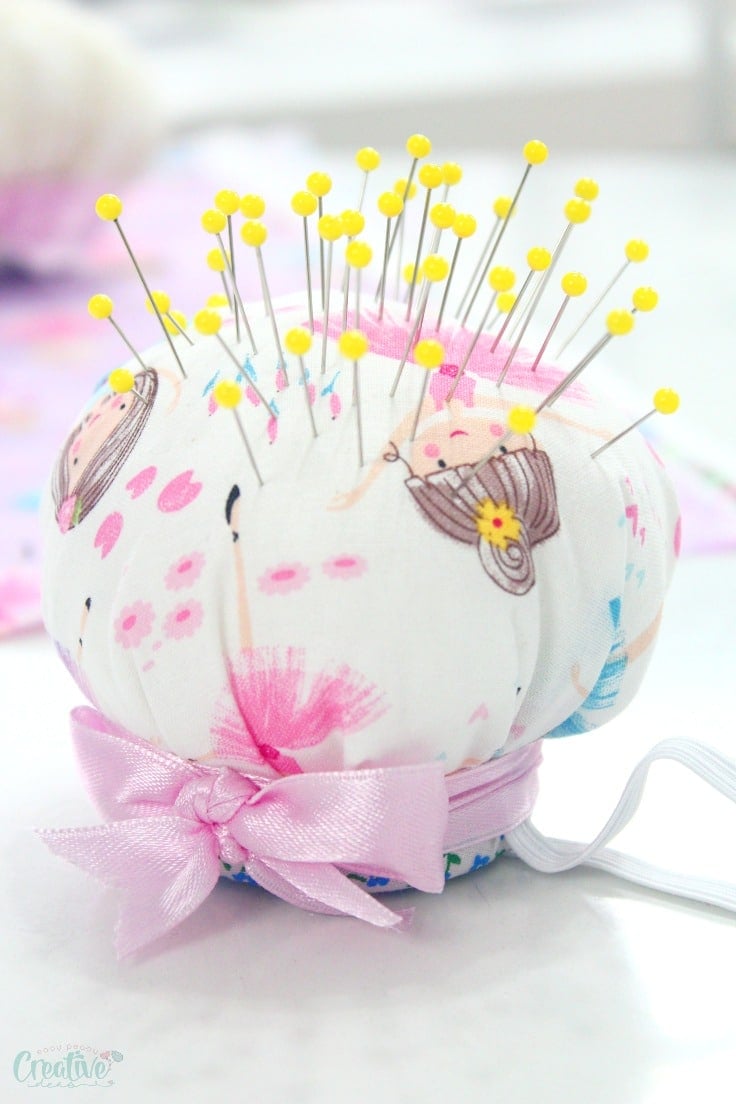
This DIY wrist pin cushion is a cute beginner project for pretty fabric scraps and to make as a handmade gift for a fellow sewist. They will appreciate it a lot, I guarantee you. Most of all, you can make personalized pincushions for the recipient’s taste, so they will love them even more.
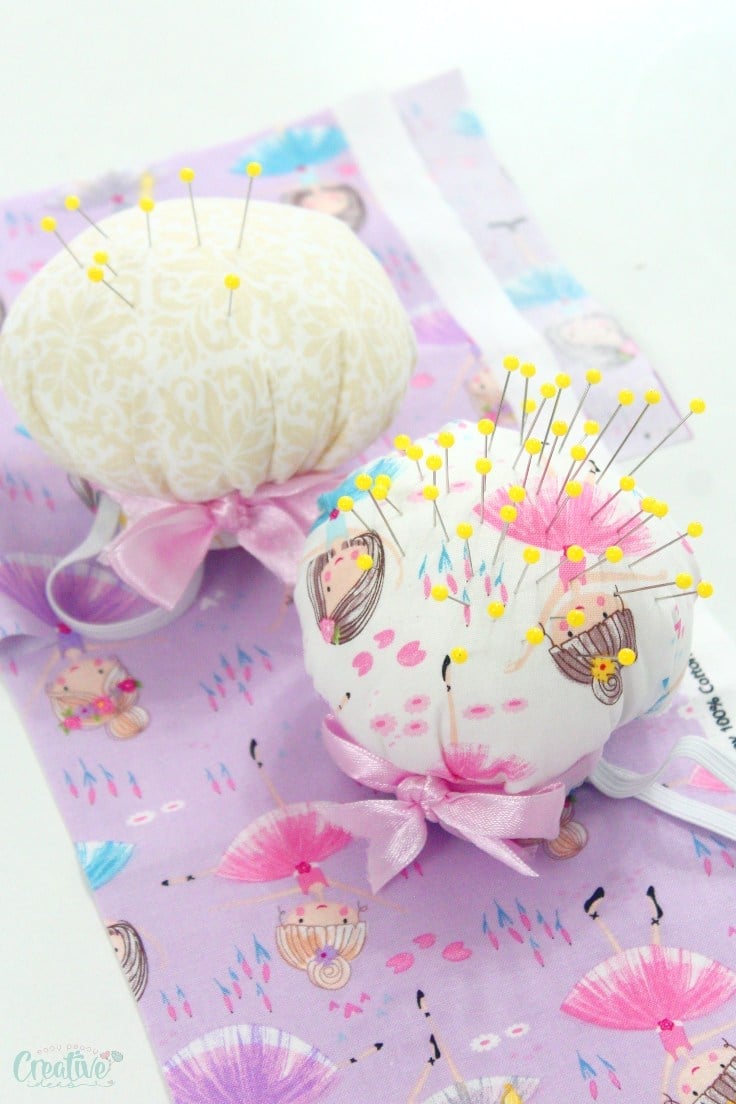
By the way, ever thought of making several pincushions to match your mood any time you get to sew something? There’s not much fabric and sewing involved, after all and you’ll feel so good after.
More pincushion ideas you will love:
Even the most tidy and organized will agree that sewing is messy. Loose threads, bobbins, scattered pins everywhere, it all becomes a chaos after a few cuts and stitches!
Kids can also get involved in making this useful sewing accessory as there is not much sewing involved. As a bonus, they will be happy to use something they made themselves! This way they won’t lose or misplace their wrist pincushion anymore.
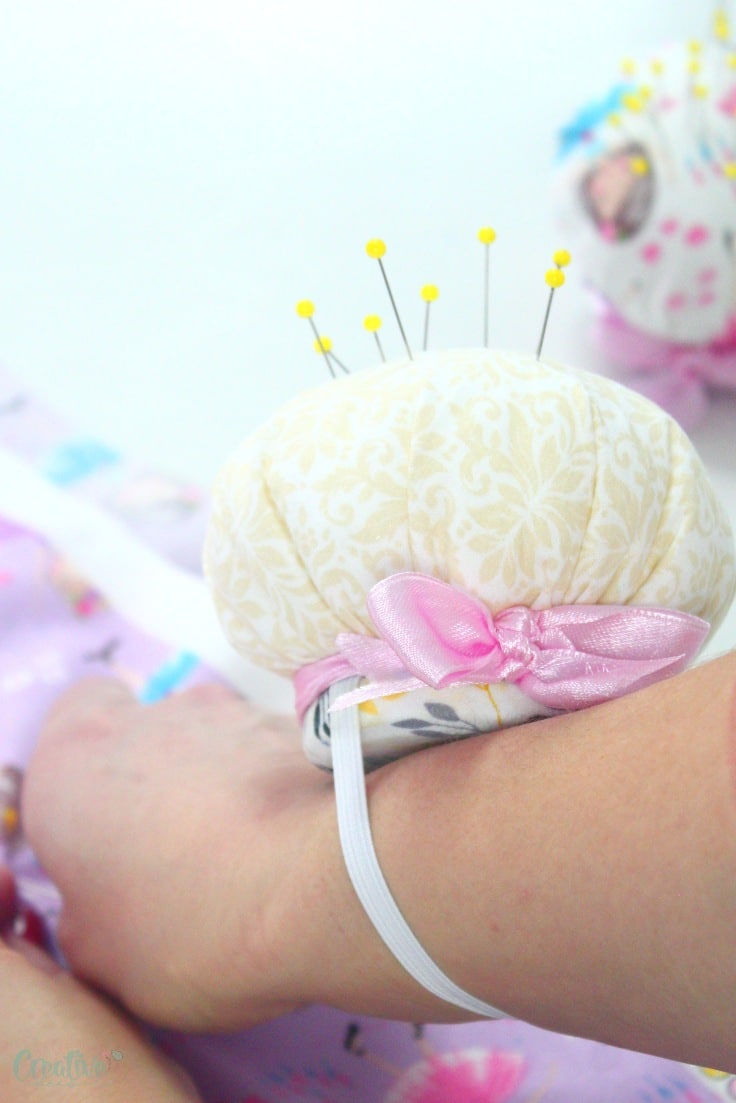
You won’t need to worry about getting poked with a pin if you use a jar lid as I did, as the lid will protect your wrist.
Need some reasons to make more wrist pincushions?
Many sewists like to keep their pins in their mouth. It’s within reach, always on hand and ready to use. But it may get dangerous if you get to swallow one of them. Also, toddlers may imitate this behavior, which can be a lot more dangerous that for adults.
Also, apart from being a lot safer, this DYI wrist pincushion is soo easy to carry around and use at any moment without having to look for the pin box or for the pincushion that is usually lying around the sewing machine, but you can’t seem to find.
To help keep the pins sharp, add steel wool as a filling. They will get sharpened every time they are being pulled in or out of the cushion. Basically, it’s a cushion that sharpens the pins as you use it.
How to personalize your pincushion?
- You can leave the cushion round or shape it like a flower, wrapping a few threads around it to divide the “petals”.
- Love patchwork? Why not make a patchwork pincushion in funny patterns to light up your sewing room. Knitting enthusiasts, why not make a knitted pincushion?
- Other ideas: embroider a smiley face or a sun pattern, add some ruffles at the base to make it look like a flower, shape it like a cactus, hand needle felt, use hair ties to keep it on, just use your imagination, it’s going to be your own pincushion, there are no rules for it.
- For the strap you can use any kind of elastic you are comfortable with, or a fabric strip fastened with Velcro, buttons or snaps.
Never lose your pins again under piles of fabric or in the trash bin! Ever wondered why you always need to get new pins to refill your stock? Well, they weren’t going through a black hole, that’s for sure.
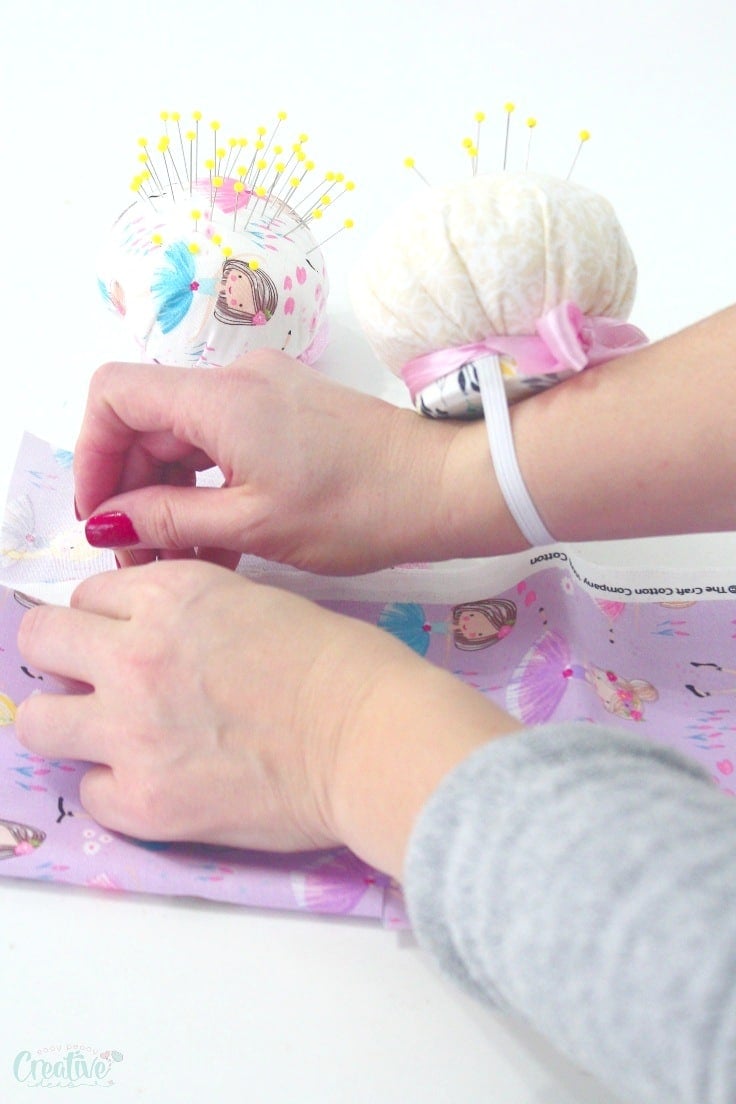
Keep reading to learn how I make my super-easy wrist pincushions.
The wrist pin cushion pattern is available here!
Wrist pin cushion tutorial
Materials:
- wrist pin cushion pattern
- fabric scraps for the lid and for the pincushion
- fabric marker
- scissors
- jar lid
- elastic
- glue gun
- hand needle
- thread
- fabric glue
- poly-fill
- ribbon
Directions:
- Place the lid pattern on the lid fabric, trace it onto the fabric and cut out.
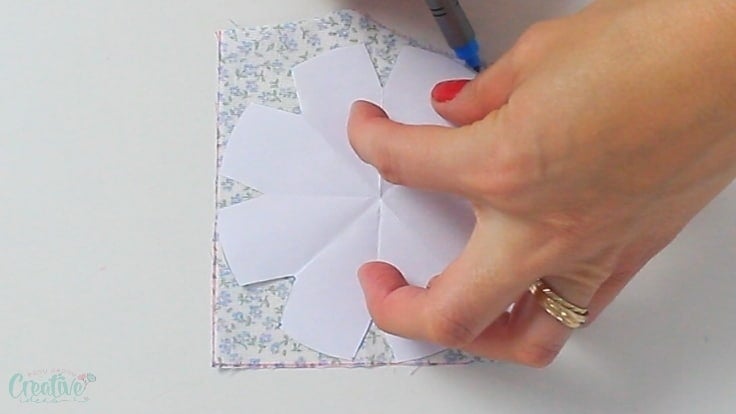
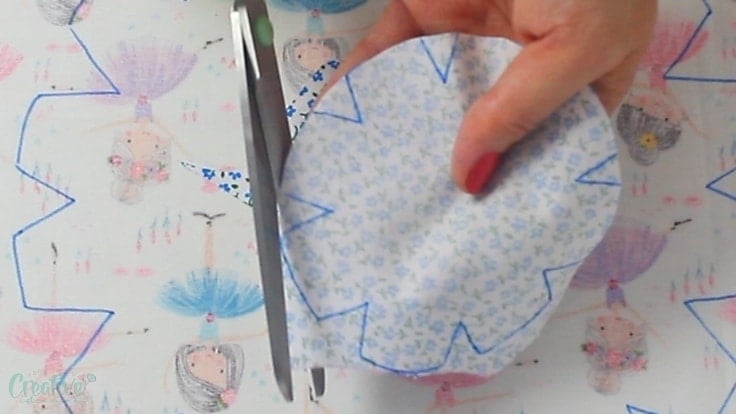
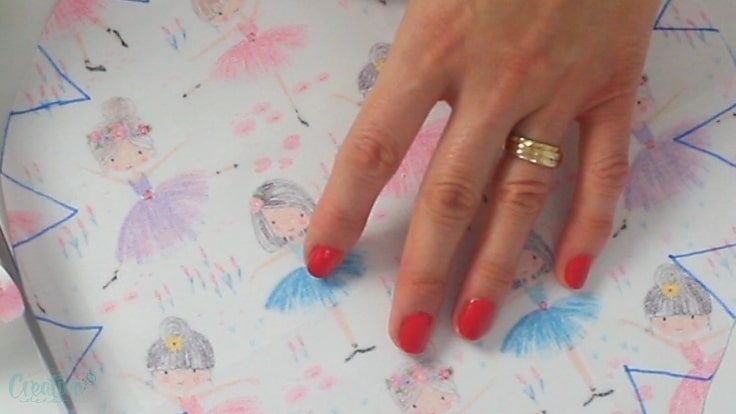
- Place the pincushion pattern on the pincushion fabric, trace it onto the fabric and cut out.
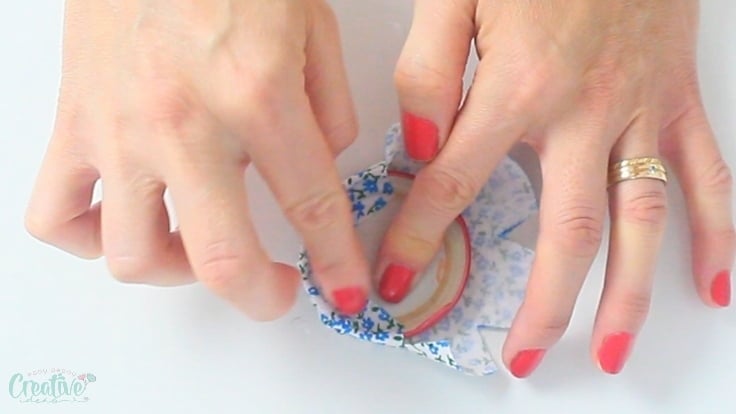
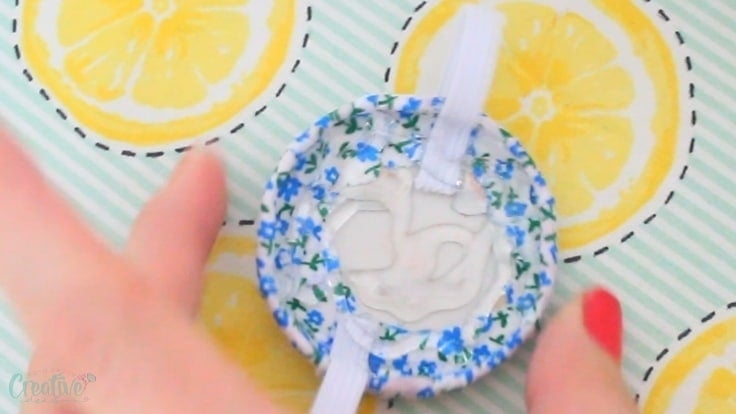
- Apply fabric glue to the edges of the lid fabric, on the wrong side of the fabric.
- Place lid over the fabric, hollow side up.
- Push the fabric inside the lid and press to stick to the lid.
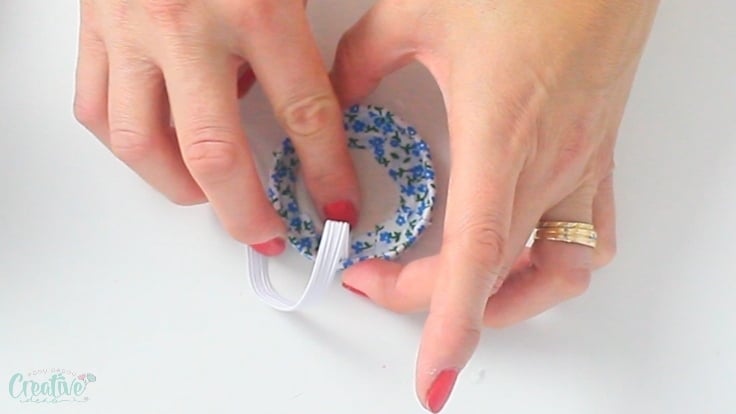
- Apply glue to both elastic ends and stick to the inside of the lid. Allow to dry completely before moving to the next step.
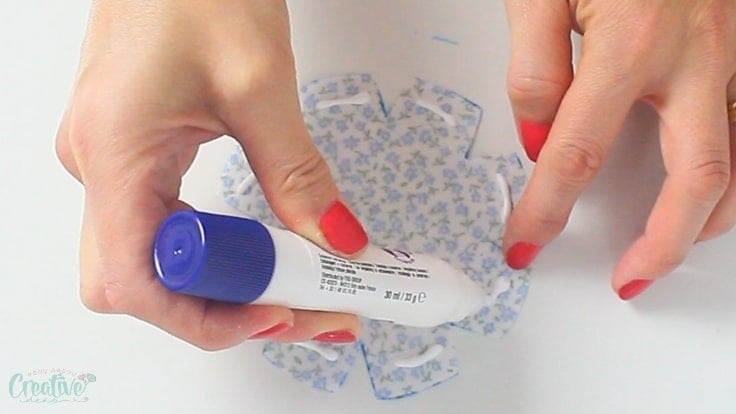
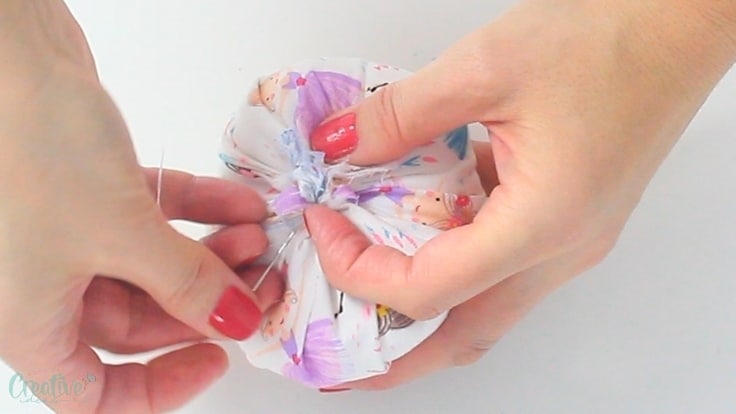
- Meanwhile, thread a hand needle and stitch along the outer edge about 1/8″ from the edge.
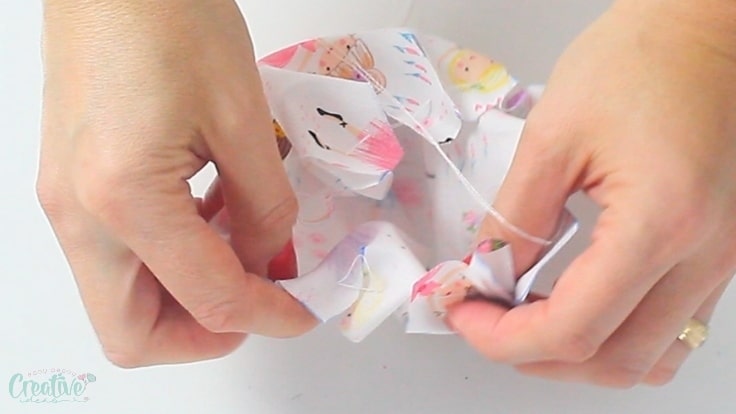
- Pull the thread a little to create a fabric nest and fill it with the filling.
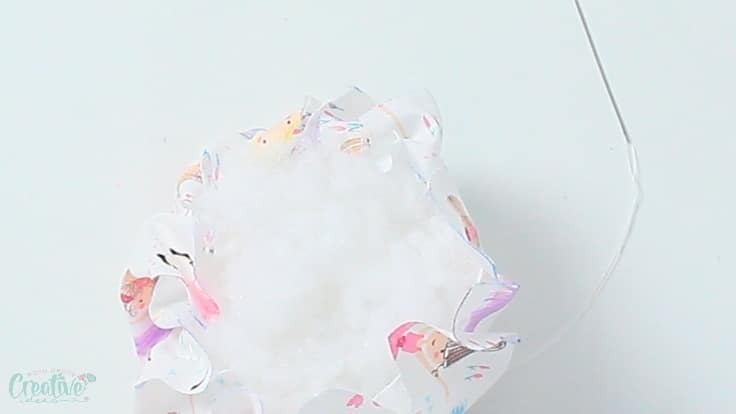
- Close the opening by stitching through the center, a few times. Make a knot at the end, and snip the thread.
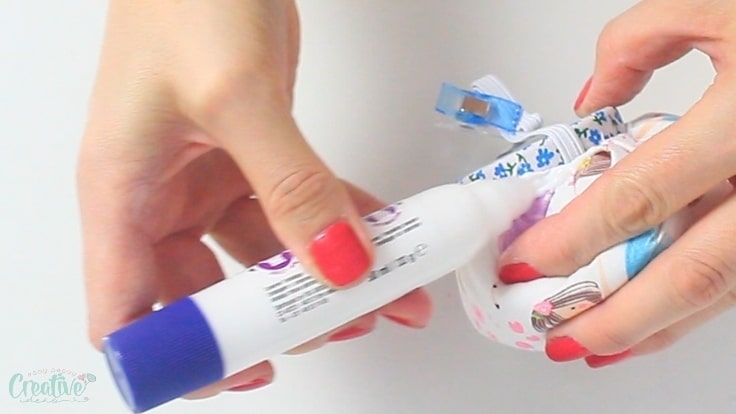
- Apply glue to the inside of the lid. Do a generous layer.
- Press the pincushion onto the lid and press until the glue starts to harden.
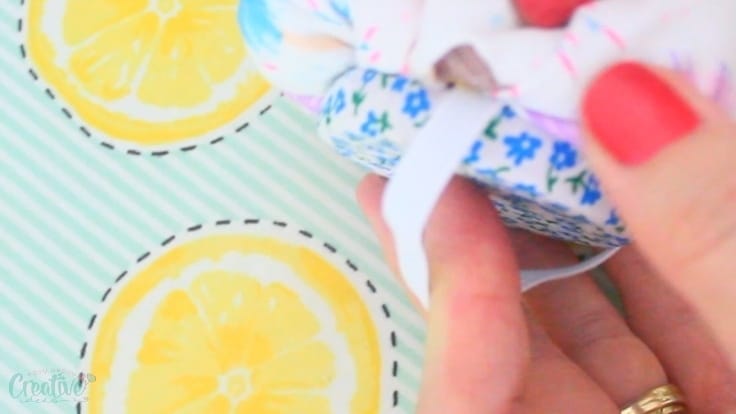
- Apply fabric glue around the base of the pincushion (where the pincushion meets the lid).
- Wrap ribbon around the base and tie into a bow.
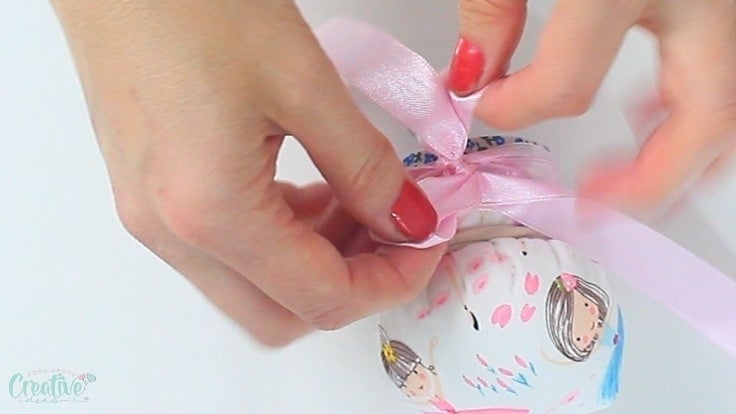
- Allow to completely dry before using on your wrist/arm.
Pin to save for later
Most popular sewing projects:
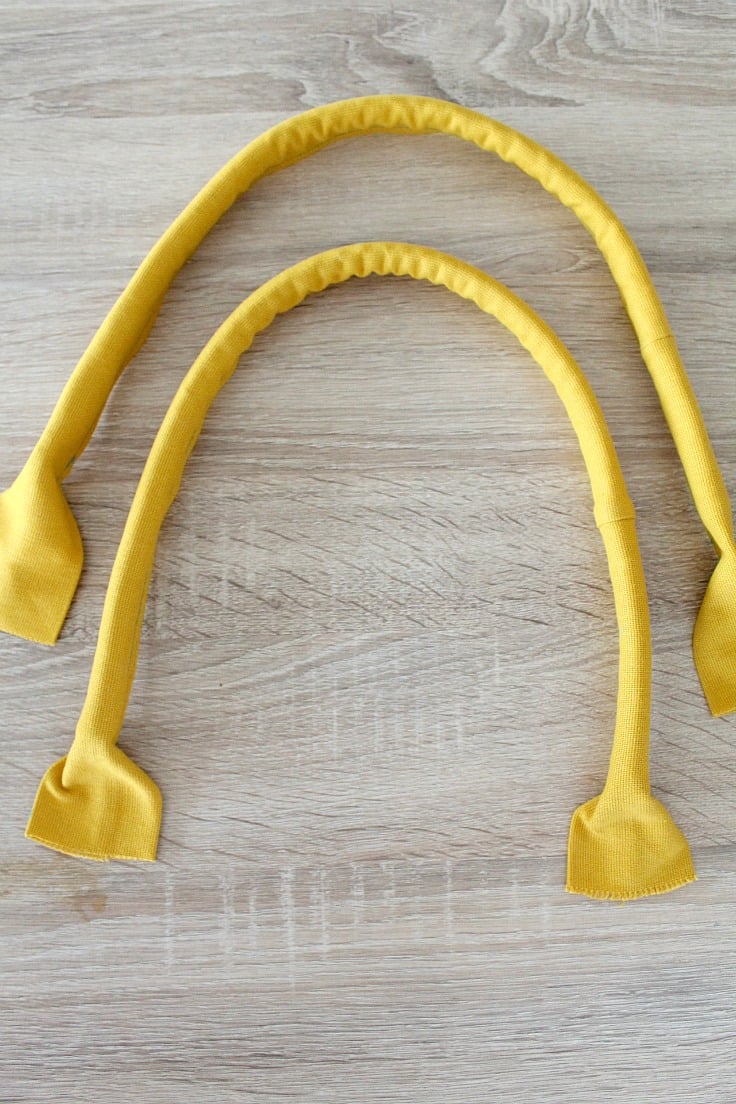
- Corded bag handles tutorial
- How to sew a round hem
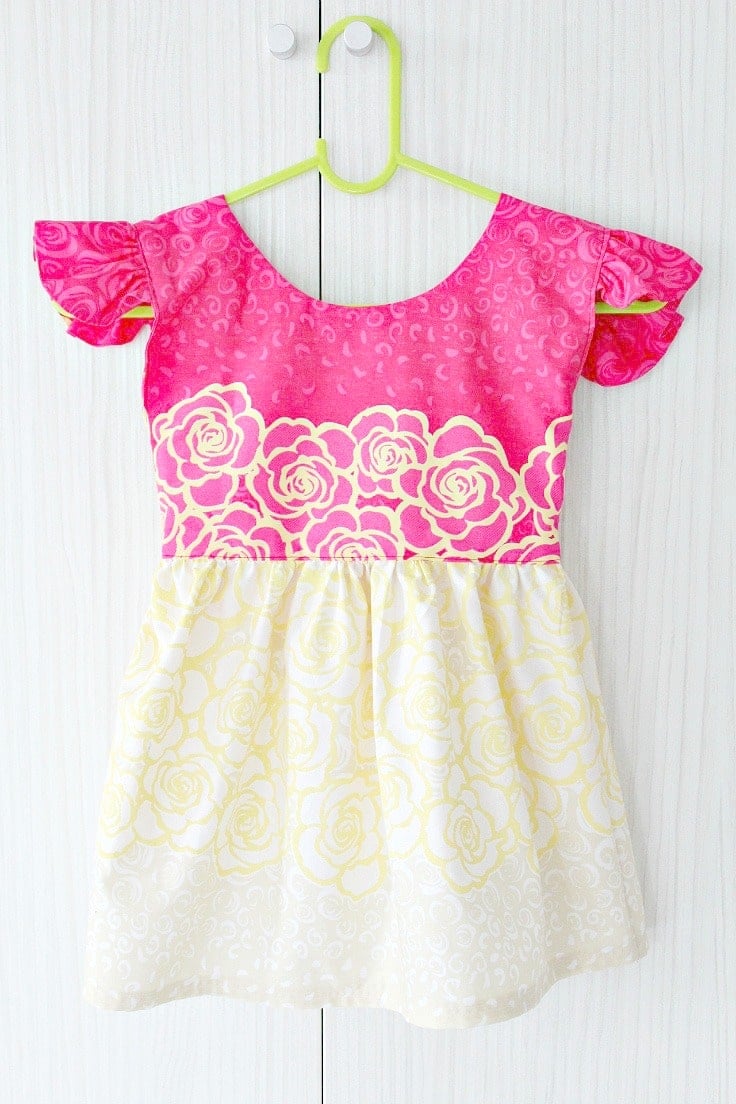
- Flutter sleeve dress pattern
- Laminating cotton fabric


Article may contain Amazon & affiliate links. As an Amazon Associate I earn from qualifying purchases at no additional cost to you.
ABOUT PETRO
Hi, I’m Petro, author and founder of Easy Peasy Creative Ideas. Sewist, crafter, avid DIY-er, foodie, photographer, homemaker and mommy to one. I’m an expert at coming up with quick, clever sewing tips, recycling crafts and simple, easy recipes! You can find my ideas featured in reputable publications such as Country Living, Good House Keeping, Yahoo News, WikiHow, Shutterfly, Parade, Brit & Co and more. Thanks for stopping by and hope you’ll stay for a while, get to know me better and come back another time. Stick around for real fun projects! Read more…