Easter carrot treat bags easy sewing tutorial
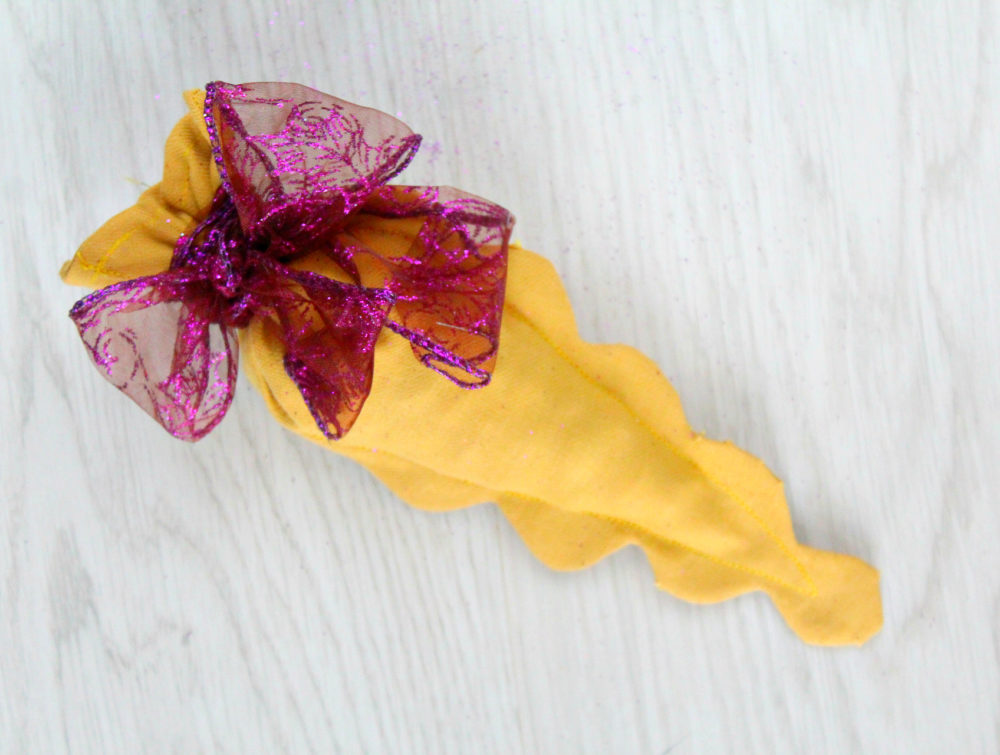
Wondering what to do with all those fabric scraps? These Easter carrot treat bags with cute scallops are a fun and easy Easter sewing project that you can make with some of those!

Making kids happy at Easter is so easy! Quickly whip up a bunch of Easter carrot treat bags with this super quick tutorial! These make such a great gift idea too, not only for kids but friends and family too!
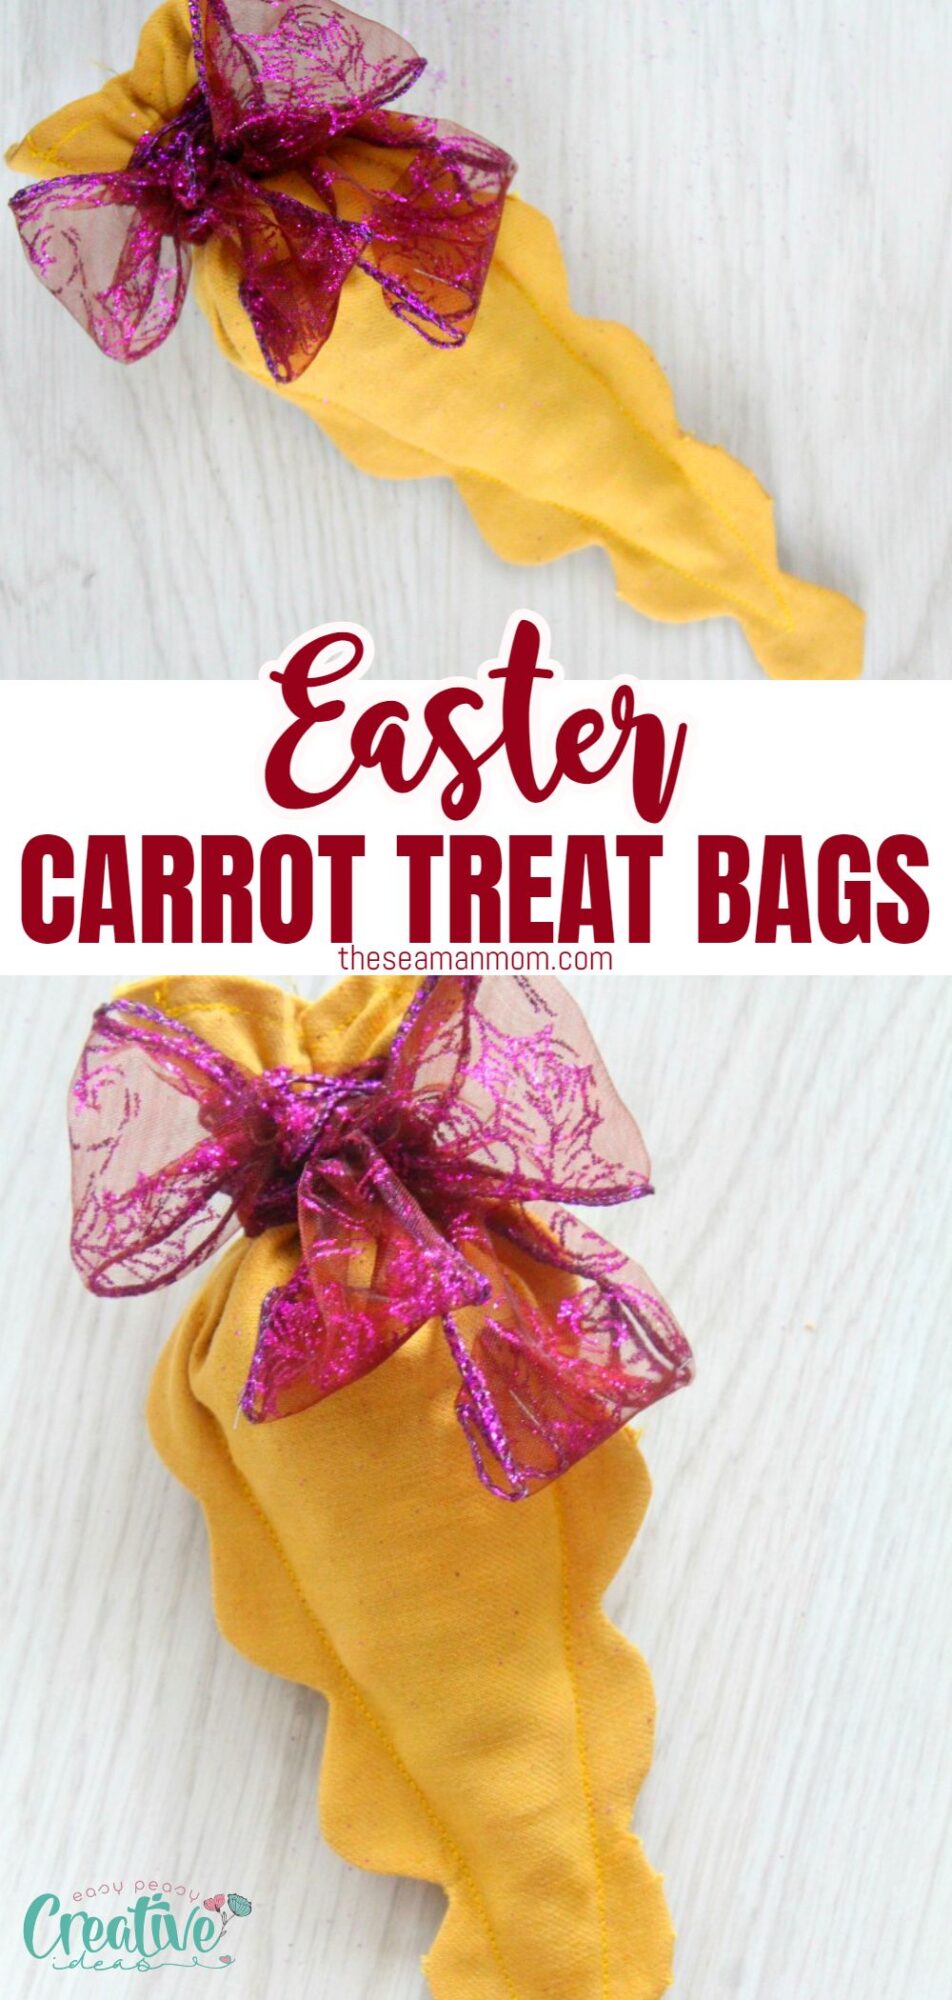
These little Easter carrot treat bags are so darling with all those scallops and the ribbon and are perfect to fill with your kids favorite treats and snacks! Or just make them as home décor and fill them with poly-fill. Great to add to your Easter basket too!
More Easter ideas you will love:
- Bunny drawstring bags
- Bunny pillow or toy
- Easter bunny door hanger
- Adorable chicken pattern weights
- Quick and easy bunny garland

The scallops add so much cuteness and interest to these bags and sewing them is not as hard as one might think. Just go slow and lift, turn and pivot often, as needed. A great opportunity for the beginners to practice on their skills and perfect sewing round shapes.
How to sew Easter carrot treat bags

Materials:
- 2 strips of fabric (size depends on how large you want your bags). Mine measure about 7″x7″.
- scissors
- fabric pen or chalk wheel stick
- ruler
- toilet paper tube
- pen
- pins
- sewing machine
- matching thread
- blunt tool for pushing scallops out
- pressing iron
- wired ribbon
- treats to fill the carrots
Directions to sew the Easter Carrot Treat Bags
- Place fabrics right sides together (RST).
- Looking at the top of the fabric, measure 1″ in from both sides.
- Then find the middle of the bottom and trace a V using these marks.
- Take a toilet paper tube and place it on one side of the V, about 1/3 down and make marks where the tube meets the line.
- Trace around the tube to create a scallop. Using these marks, continue tracing scallops on both sides of the V.
- Pin fabrics and cut around scallops.
- Sew down the scallops with a 1/4″ seam allowance. Sew slow, lifting the presser foot, slightly turning the fabric and pivoting as needed.
- Cut notches in scallops then trim the notches off a bit. Make sure you don’t cut or trim through the seam.
- Turn carrot right side out (RSO), gently pushing the scallops out with your fingers or a blunt tool then press.
- Turn the top edges in, press and sew down, all around the top of the carrot
- Using your chalk and a ruler, trace another V, inside the scallops and sew down.
- Fill carrot with treats then wrap a ribbon around the top.
- And your Easter carrot treat bags are done!

Carrot treat pouch sewing tutorial
Materials
- 2 strips of fabric size depends on how large you want your bags. Mine measure about 7"x7"
- matching thread
Tools
- scissors
- fabric pen or chalk wheel stick
- ruler
- toilet paper tube
- pen
- blunt tool for pushing scallops out
- pressing iron
- wired ribbon
- treats to fill the carrots
Instructions
- Place fabrics right sides together (RST).
- Looking at the top of the fabric, measure 1" in from both sides.
- Then find the middle of the bottom and trace a V using these marks.
- Take a toilet paper tube and place it on one side of the V, about 1/3 down and make marks where the tube meets the line.
- Trace around the tube to create a scallop. Using these marks, continue tracing scallops on both sides of the V.
- Pin fabrics and cut around scallops.
- Sew down the scallops with a 1/4" seam allowance. Sew slow, lifting the presser foot, slightly turning the fabric and pivoting as needed.
- Cut notches in scallops then trim the notches off a bit. Make sure you don't cut or trim through the seam.
- Turn carrot right side out (RSO), gently pushing the scallops out with your fingers or a blunt tool then press.
- Turn the top edges in, press and sew down, all around the top of the carrot
- Using your chalk and a ruler, trace another V, inside the scallops and sew down.
- Fill carrot with treats then wrap a ribbon around the top.
- And your Easter carrot treat bags are done!
Most popular sewing projects:
- Corded bag handles tutorial
- How to sew a round hem
- Flutter sleeve dress pattern
- Laminating cotton fabric
Article may contain Amazon & affiliate links. As an Amazon Associate I earn from qualifying purchases at no additional cost to you.


ABOUT PETRO
Hi, I’m Petro, author and founder of Easy Peasy Creative Ideas. Sewist, crafter, avid DIY-er, foodie, photographer, homemaker and mommy to one. I’m an expert at coming up with quick, clever sewing tips, recycling crafts and simple, easy recipes! You can find my ideas featured in reputable publications such as Country Living, Good House Keeping, Yahoo News, WikiHow, Shutterfly, Parade, Brit & Co and more. Thanks for stopping by and hope you’ll stay for a while, get to know me better and come back another time. Stick around for real fun projects! Read more…