

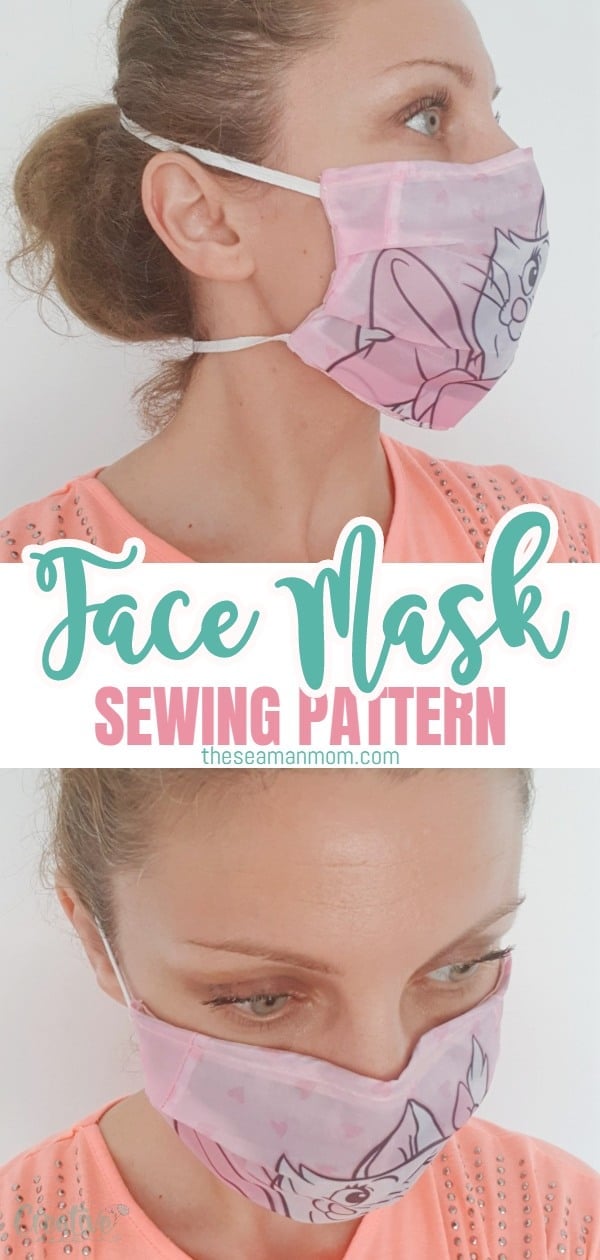
Face mask pattern
Make your own reusable face mask that is breathable, comfortable to wear and easy to sew with this simple face mask pattern! An adorable fabric face mask pattern made in the fabric you love!
Face mask pattern
Hey, guys! Today I’ll be sharing with you a little project I wasn’t very happy to make: a face mask pattern! This project was inspired by the illness situation we’re all going through right now! It wasn’t a happy project because I would very much rather spend my time sewing other stuff that is fun and enjoyable instead of sewing because there’s no other choice at the moment.
Other similar projects you will love:
- No elastic face mask pattern
- Fitted fabric face mask pattern
- DIY ear savers for face mask
- Headband with buttons for face mask
- Reversible scrub cap pattern
- DIY drawstring laundry bag for medical workers
- Halloween 3D face mask pattern
I’ve been looking for face masks about two weeks ago! I found a few but the price was insane and the drug store wouldn’t sell more than 5 to each person. We obviously needed a lot more than that considering these masks are not reusable and they get wet pretty easily meaning we should change them every couple of hours or so. I made a quick. math and I wasn’t happy with the money I was gonna spend on these low quality masks, even if I could find more to stock up on!
And then my husband suggested I should make my own face mask pattern and sew a few for each of us! It was the best suggestion I heard lately! I know doctors don’t recommend wearing a face mask unless we’re sick or around sick people, but I’d rather be safe than sorry so I went ahead and proceeded to my plan.
More quick scrap projects:
- DIY knot knit headband
- Bunny hair clip tutorial
- Butterfly hair bows
- DIY fabric covered buttons
- DIY fabric key chains
I decided to make our masks reusable and to increase our chances of some protection I made them with two layers of fabric and left a gap in between these layers for an extra layer of “air filter” which can be played by a wet tissue that’s been dried up first or just regular tissue paper. Also the inner layer of fabric was interfaced for additional filtering purposes. All these were extra measures which might seem a bit unnecessary because of the outer layer of fabric which is waterproof. But as mentioned above, better safe than sorry!
UPDATE: I just found out some hospitals recommend using a 0.3 micron filter in our masks, such as these air conditioning filters or these vacuum cleaners bags. It’s also recommended to apply adhesive tape to the top, the bottom and the sides of the mask, on the inside, to ensure better contact with your face.
I had almost everything I needed in my stash except for the outer fabric which I had to be waterproof to provide a shield for mouth and nose in case someone sick sneezes or coughs in a close proximity. I figured an inexpensive child size umbrella would do the trick so I bought a cheap one, removed the fabric and traced my pattern over. It worked like a charm and sewing this kind of fabric was a breeze, nothing scary or difficult as I expected!
Features of this face mask
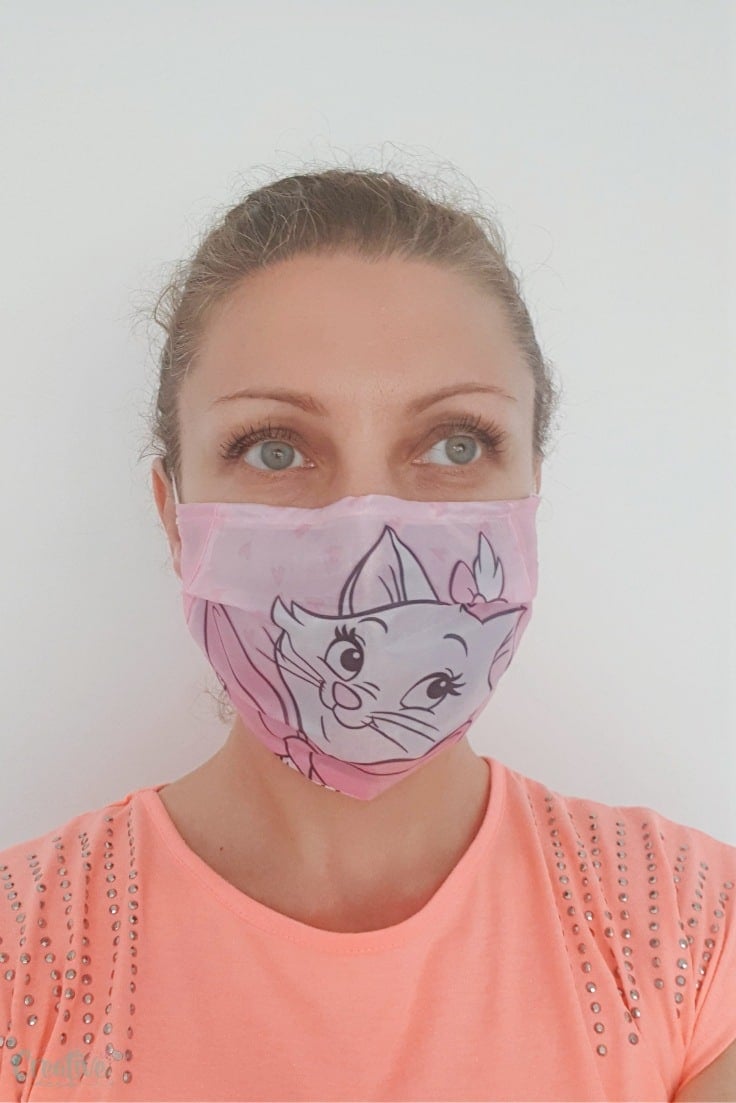
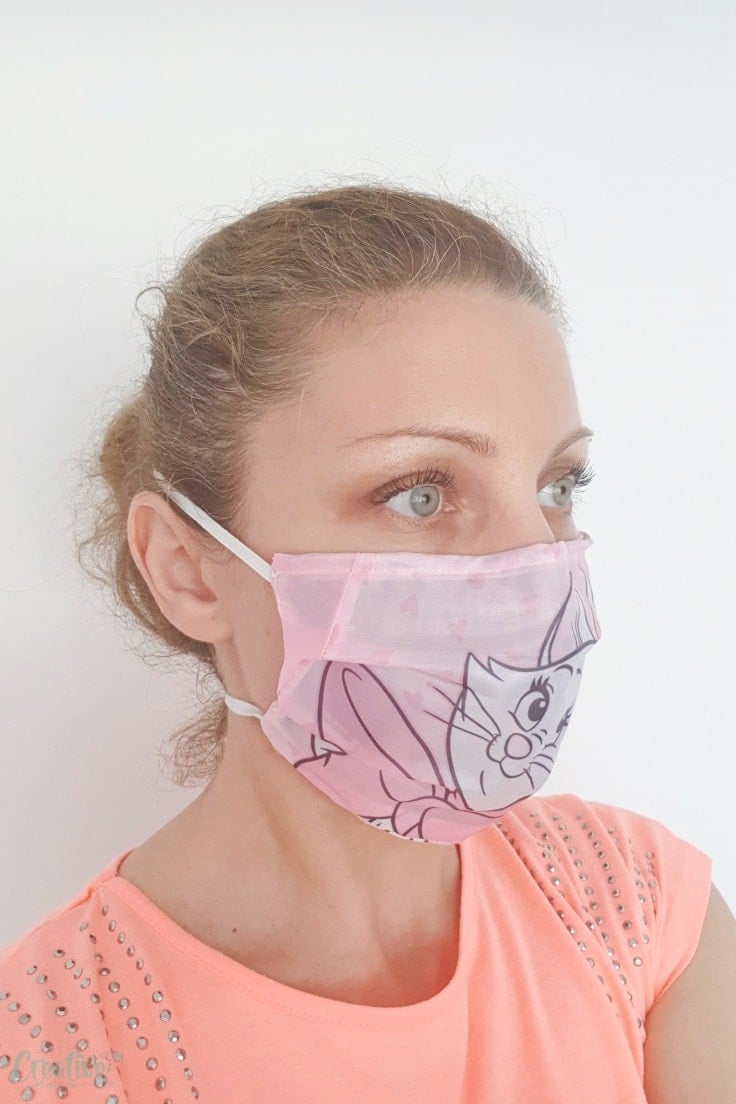
- Made in waterproof fabric for the outer layer, this handmade face mask won’t get wet from droplets accidentally sprayed towards your face.
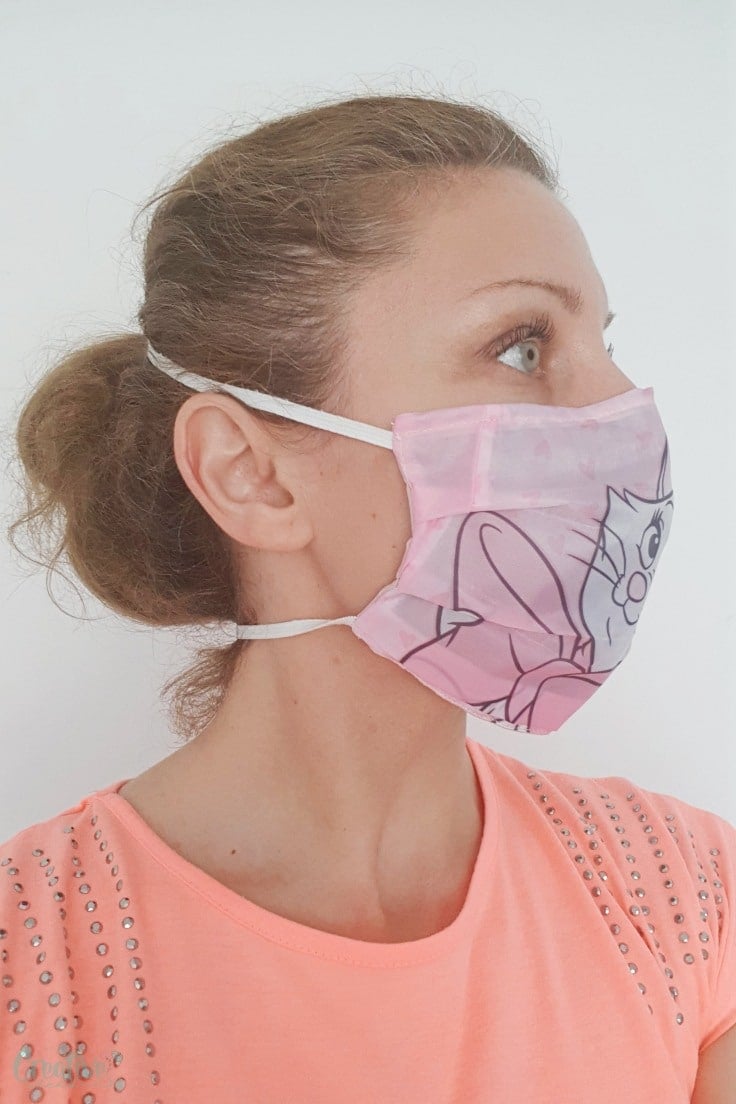
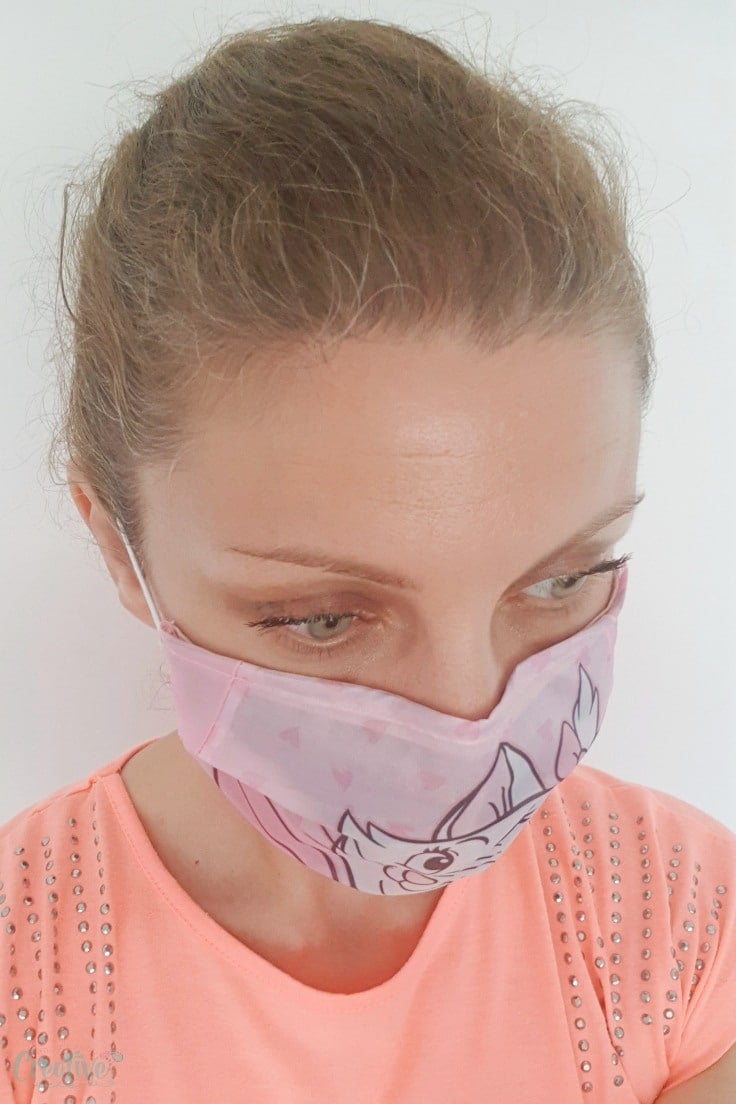
- It doesn’t have a gap on the sides like the regular masks do, thanks to the position of the elastics which help the mask fit your face perfectly.
- This mask features 3 protective layers, made out of breathable fabrics. Even if you wear the mask for several hours, chances are the inner layer won’t get wet from breathing and will feel comfortable for the entire duration of wearing.
- The top of the mask is reinforced with a piece of flexible wire which allows you to perfectly shape the mask around your nose so.
- This pattern comes in four sizes: for toddler, for child, for women and for men.
Ready to make your own? Here is the face mask pattern and below are the step by step instructions (also included in the pattern file)! The proceeds from this pattern are being used for supporting my community with handmade masks. If you are a newsletter subscriber, this pattern is free to download from the sewing library.
Note: my face is pretty small so I used the kiddo size pattern, something you might wanna consider if your face is small too.
Face mask sewing pattern
Materials:
- face mask pattern
- thin waterproof fabric for the outer layer (use an umbrella)
- thin cotton fabric for the inner layer
- lightweight interfacing for the inner layer
- elastic
- thin flexible wire (I used garden twist ties)
- fabric scissors
- craft scissors or pliers
- quilting clips
- sewing machine
- pressing iron
- serger (optional)
- tool for pushing corners
- for the filter – these air conditioning filters or these vacuum cleaners bags.
- adhesive tape to apply to the top, bottom and sides of the mask.
Directions:
- Cut the outer fabric, the inner fabric and the interfacing as per your pattern size.
Make the layers
- Get the outer fabric piece and create the 3 pleats by matching the colored marks and pressing the folds down. For example, match mark A with second mark A, press the pleat down with your fingers and clip in place with a quilting clip. Repeat for all marks on one side then repeat the steps for the other side.
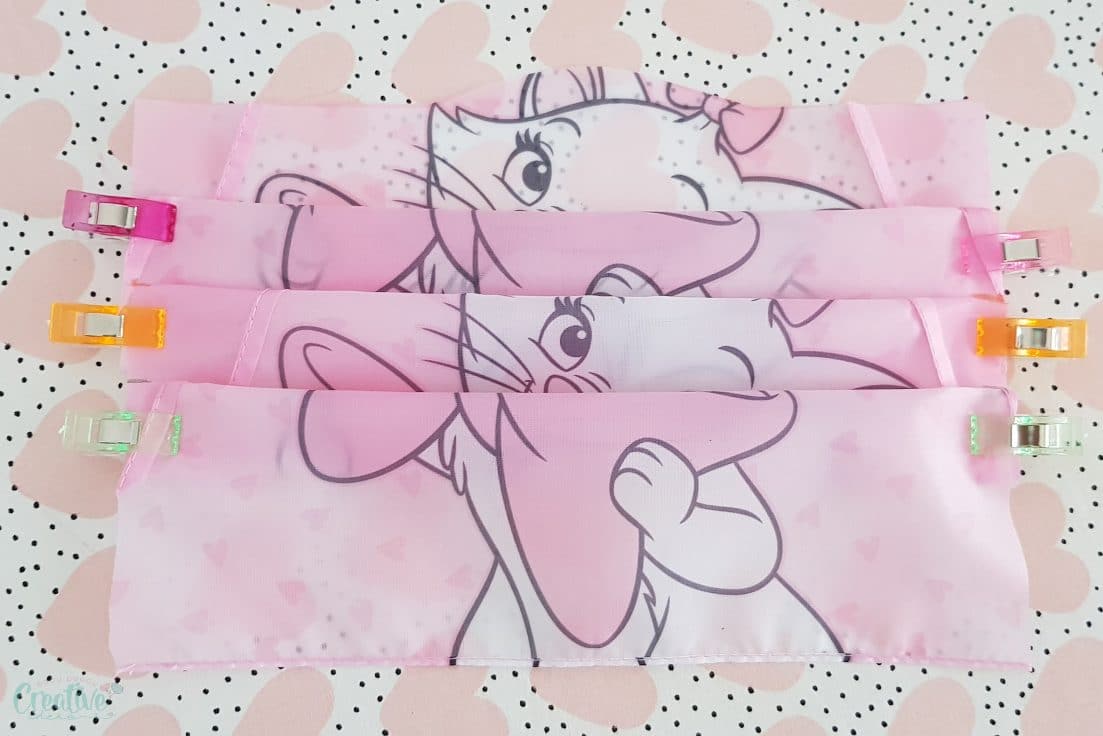
- Bring the outer piece to your sewing machine and sew down the sides with 1/4″ allowance.
- Press the pleats with your pressing iron on a low setting so the waterproof fabric doesn’t melt.
- Grab the inner fabric and interface it then repeat the steps for the pleats highlighted above.
Insert the wire
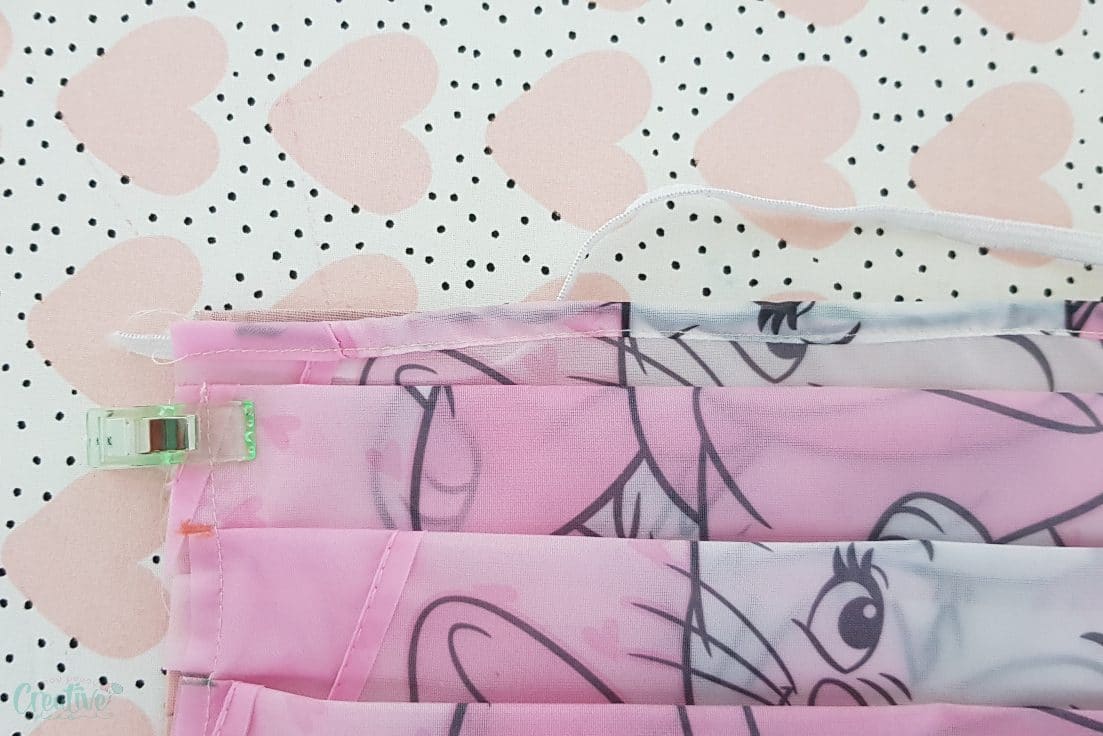
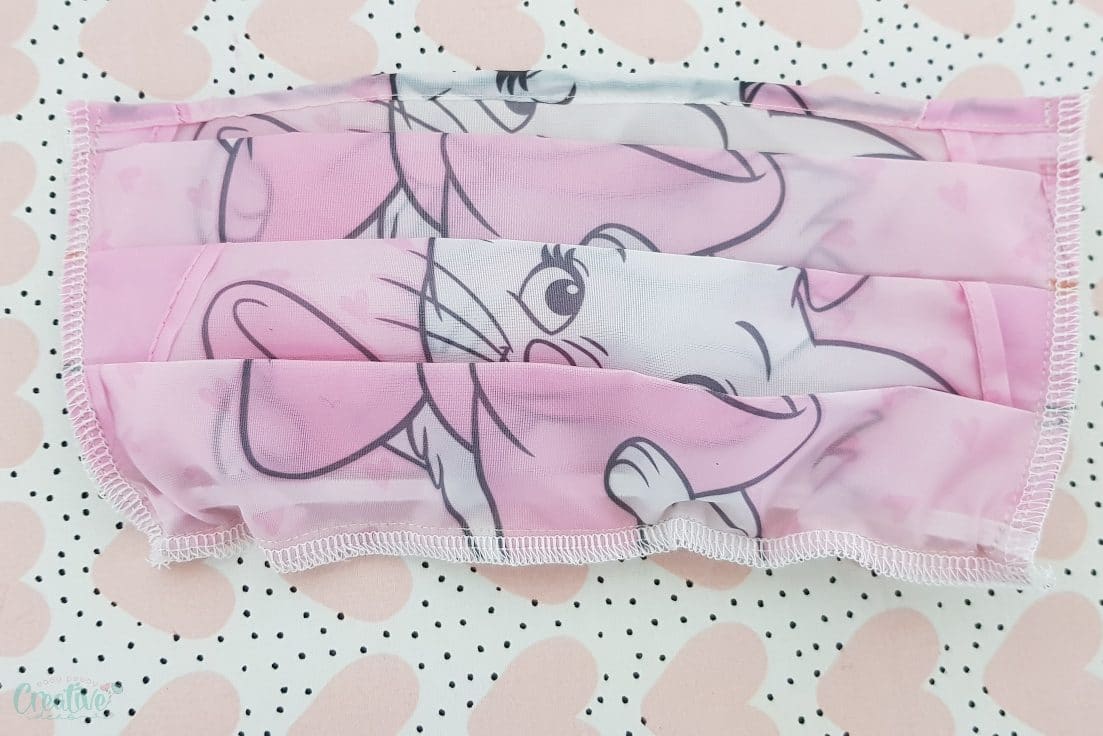
- Hem both the outer and inner fabric along the top by double folding the fabric in 1/4″ and sewing as close to the edge of the hem as possible.
- Grab the wire and measure a piece that is about 1/2″ smaller than the top of the outer layer. Cut and insert the wire in the hem casing of the outer layer.

Cut the elastics
- Measure the elastics. You will need two pieces of elastic, one longer that will hold the top of the mask and one shorter for the bottom of the mask. The top elastic will go around your head through the back so measure starting from one cheek bone to the other, going around the back of your head, then cut the elastic a little shorter than that measurement. For the bottom elastic, this one will go around your neck so measure starting from one angle of your jaw to the other, going through the back of your head, then cut the elastic a little shorter than that measurement. Make sure your entire head fits through this second elastic. You don’t want the elastics too loose but also not too tight as you need to fit your head through the gaps but also need the elastics to hold the mask tight on your face.
Assemble the pieces together
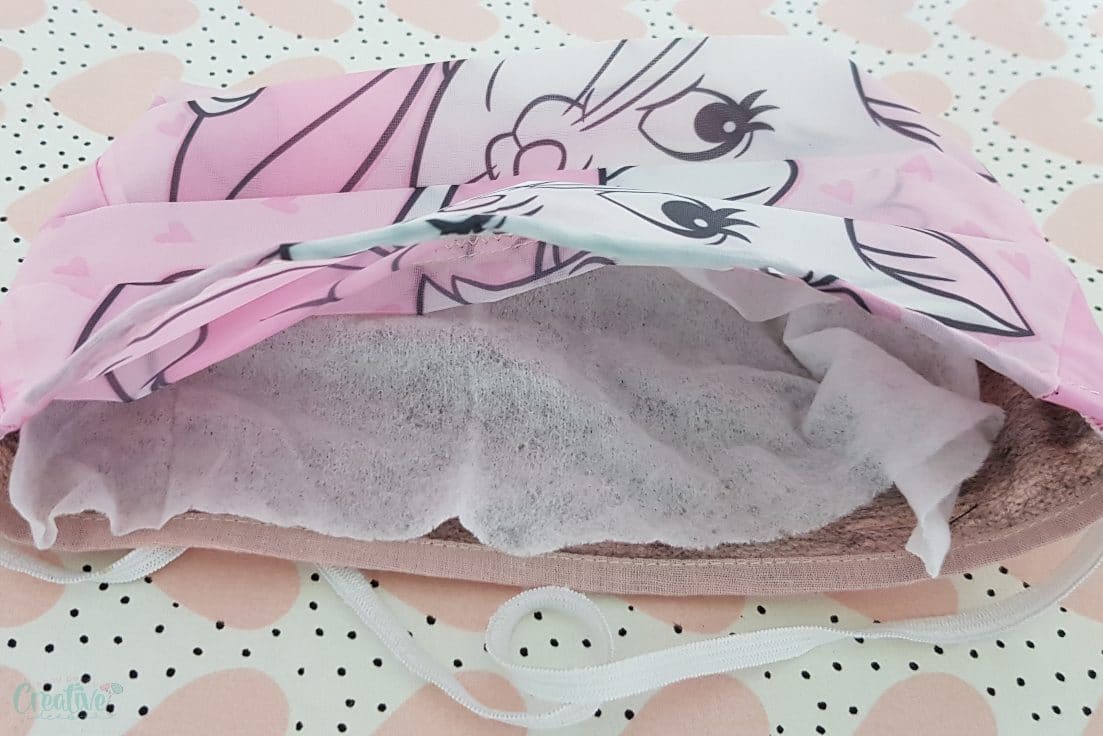
- Place the outer layer wrong side up and top with the inner layer right side up.
- Sandwich the ends of the top and bottom elastics between the sides of the fabrics.
- Clip with quilting clips and sew down the sides and the bottom with a seam allowance that is a little over 1/4″, pivoting at corners.
- Serge the raw edges or do a zig zag stitch (or pick your favorite way of finishing seams from this tutorial)
Finish the mask
- Turn the fabrics right side out and push the corners out with a blunt tool.
- Edge stitch along the bottom seam.
- Give the mask a last press then you can add an extra layer of tissue paper between the outer and inner layer. This is optional and if you think your mask is thick enough and provides enough protection you can skip this step and sew the 2 layers together along the top too, keeping the wire away from the sewing machine needle.
Note on the filter
As mentioned above it came to my attention that some hospitals recommend using a 0.3 micron filter in our masks. Such as these air conditioning filters or these vacuum cleaners bags. They also recommended us using adhesive tape to the top, the bottom and the sides of the mask, on the inside, to ensure better contact of the mask with our faces.
I hope you liked this tutorial and found it useful! I would love to know your feedback so please don’t hesitate to leave a comment below. Thanks and happy sewing!
Pin to save for later
Article may contain Amazon & affiliate links. As an Amazon Associate I earn from qualifying purchases at no additional cost to you.

I would like to know how to down load your pattern for the face mask
Doris, we sent you a welcome email with link and password to the sewing library where the pattern is located. I see you’ve opened the email but didn’t click on that link yet.
Thank you for the amazing pattern. I’ve been looking for one with the nose piece and elastic that goes around the head that doesn’t pucker at the cheeks.
Would it be possible to use for small business commercial purposes? Especially if I pay for the pattern and then attribute it to you in the Etsy listing?
Hi Jessica. Thanks so much for your lovely comment! I’m afraid this pattern is for personal use only.
just subscribed but cant make out how to get this pattern free..
Hi Rebecca. We’ve sent you a welcome email withe the link and password to the sewing library where the pattern is located.
SOOOOO Happy I found your pattern info…I have an acupuncture medical clinic & could not find masks …sssoooo I would love your free pattern….,God bless you for your service !! Now my patients & I will be safer !!!
Hi Joyce! Thanks for your kind comment! Stay safe! xoxo
I love that the elastic doesn’t go around the ears and the wire is brilliant! I’m using framing wire, which I bet is still widely available. I shall report back when I have a completed mask! :)
Hi Karen. Thanks so much for your lovely comment! I hope my pattern is a good fit! Happy sewing!
Hi, I just downloaded your pattern and am excited to give this a try! I’m just wondering, what are the total dimensions for the outer fabric before sewing the pleats for the women’s size? I’m just a little confused with how to put the two pages of the pattern together. Thank you!
Hi Lisa. The pattern measures about 11″ by 9″. You place the papers next to each other so you have the A A B B C C marks all aligned at the top and again at the bottom. Hope this helps!
Thank you! That’s kind of what I figured after I cut out the pattern, but I just wanted to double check.
Yay! Glad you figured it out! And thanks for letting me know, Lisa! Happy sewing!
Hi, thank you for the pattern and tutorial for the face masks. I have a question, can you explain better where to put the adhesive tape. I am not understanding that step. Thank you
Hi Elizabeth. The adhesive tape is optional but if you choose to add it, it will go on the inside of the mask on all 4 edges so that it sticks to your face when you have the mask on.
I have also been looking for a way to make face masks and found your website and was very impressed with the comments other people made and your response!
Thanks so much, Patricia! I appreciate your kind comment
I would like to buy this pattern, however when I try nothing shows up. There is no cart.
Hi Karen. Something on your computer might be blocking popups or images so you don’t see the cart. You can always join my newsletter and get the pattern free, as well as free access to my entire sewing library.
How do we join your newsletter? I don’t see a link?
Hi Mindy. There’s a sign up form above the tutorial and there’s also a popup form.
Thank you! When/how do you put the wire inside?
Hi Michelle. It’s all detailed in the tutorial, video too.
can’t wait to get pattern
Fantastic ideas thank you! I will be looking into your other sewing projects.
Just subscribed but cant make out how to get this pattern free.. Have daughters & granddaughters with allergies & would love to make this mask for them, especially now. Thanks.
Hi Delora. We sent you a welcome email with the link and password for the sewing library where the face mask pattern is located.
just subscribed but cant make out how to get this pattern free.. have family in New York I want to help!
Hi there. The pattern is available in the sewing library. We’ve sent you a welcome email with the link and the password.
How can waterproof fabric be breathable? Would like to do this but have this concern
Hi, Mona! Thanks for your interest in my pattern. Not all waterproof fabrics are breathable because they’re usually thin. It’s not the case with fabric used for umbrellas, that’s why I used this kind of fabric. It’s not as thin as cotton but it’s the thinnest waterproof fabric I could find and breath through with ease.
Love this idea! Just the pattern I was looking for since all the others have the “ear” elastic and they become uncomfortable quickly. Question…since I am making these for a nursing home and staff, what size elastic should I use? I don’t want them to fall of but be secure, yet not too tight. Thank you!
Hi, Karon! Thanks so much for your wonderful review! What I do for the elastic is measure my husband’s head for male masks and measure mine for women’s mask and add 1/2″ allowance. I noticed that people who found these measurements a little too large for their head simply tied the extra elastics at the back so it all worked out wonderfully for everyone. Also I used elastic that is quite stretchable so those with a bit larger measurements didn’t have troubles fitting the masks over their head. Hope this helps and happy sewing!
Hi: I recently discovered your site and really like it. You are quite imaginative and industrious. The only problem I have today is with there being a charge for the face mask pattern. I printed it out from you video and other parts of the post, but it will take me a bit to put into a readable pattern form. With the situation the world is in now and the generosity coming from many sources, it would seem that a pattern for one of the most important items to keep this disease from further contaminating our country, you would not charge for the face mask. Thank you for sharing your projects with us.
Hi Anna. The pattern is free for my email subscribers, feel free to join us!
Can the material hold up to washing it after use? I am just thinking about how to get the germs off of it after use.
Christina, this is new & still testing. But I washed mine a few times & still looks good. I guess it depends on the fabric used too.
Love the pattern, but why not make it free ? I can’t spend any money right now and I’m making them for my elderly neighbors.
Hi Susan. Because same as you I sew for my community family & hospitals & I can’t aford buying the fabric, I don’t make money from this blog.
I think the kitty is terrific !! I’d wear that and I’m nearly 70!! Nobody would know that you are smiling really big !!!
Take care and God bless you all. Keep sewing.
Orah
Aww, thanks so much! Stay safe! xoxo