

10 Minutes pillowcase apron sewing tutorial
This easy-to-sew pillowcase apron is perfect for sewing enthusiasts looking for a quick and delightful creation. With just a few materials and basic sewing skills, you can make your own half apron using a pillowcase in just 10 minutes. Get ready to add a new favorite item to your kitchen wardrobe with this tutorial!
In today’s tutorial we’ll explore the fun of turning a simple pillowcase into a stylish and handy pillowcase apron. This easy-to-make apron is perfect for anyone who loves sewing and is on the hunt for a quick, enjoyable project. With just a few materials and some basic sewing skills, you can whip up this adorable half apron from a pillowcase in no time.
As someone who loves to cook and bake, I always have an apron on when working in the kitchen. But sometimes, I want something more lightweight and effortless to put on. That’s when I stumbled upon the idea of a pillowcase apron. It’s not only quick and easy to make, but it also looks cute and functional at the same time and has a pocket for any kitchen items I might need on hand.
I adore this pillowcase apron project for its simplicity and charm. It’s a wonderful way to repurpose a pillowcase and add a personalized touch to your kitchen attire. Ready to learn how to make a half apron form an old pillowcase? Let’s explore the easy and quick steps!
How to sew a pillowcase apron
Materials Needed
- 1 standard pillowcase
- Matching thread
- Ribbon or fabric for ties (I used binding scraps from an old project because nothing goes to waste)
Substitutes
If you don’t have a pillowcase on hand, feel free to use any cotton fabric to build your apron from scratch. It will defeat the purpose of this tutorial (super quick upcycling idea) but it will still be easy and fast to sew.
Instead of ribbon or fabric or binding for ties you can use any sturdy string or even repurpose old fabric belts or fabric straps. The goal is to secure the apron around your waist comfortably and with ease.
Equipment required
- Sewing machine
- Iron and ironing board
- Scissors
- Sewing pins
How to make an apron from a pillowcase – steps by step instructions
Preparations
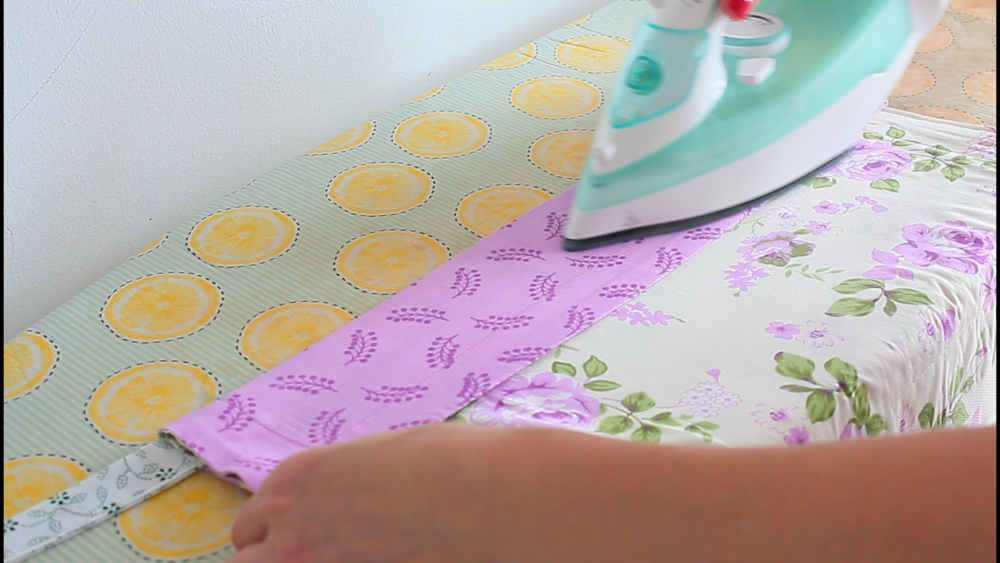
- Start by ironing your pillowcase to remove any wrinkles.
- If you’re using an envelope pillowcase, pin the opening area of the pillow (where you insert the pillow).
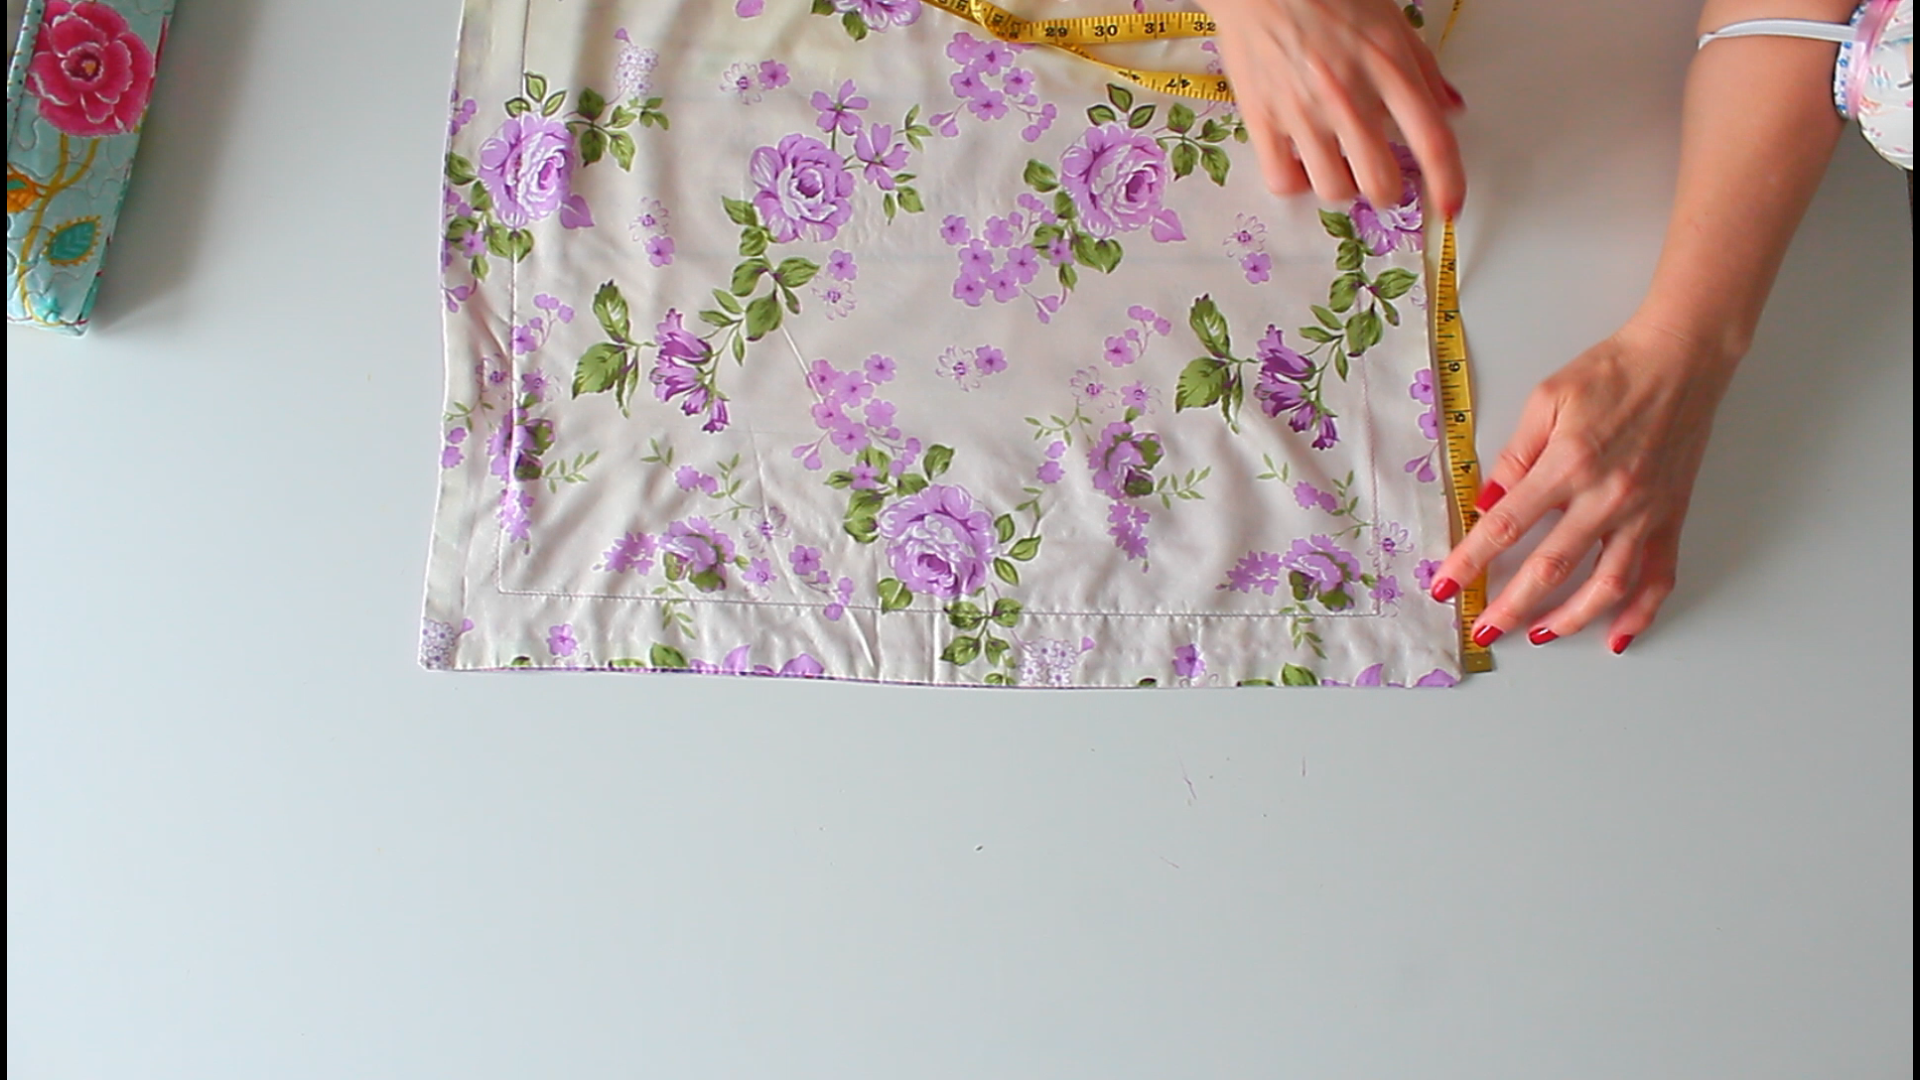
- Measure and cut the ties to fit around your waist. Some people prefer long ties that go around the back and then tie in front. So adjust to fit your preferences.
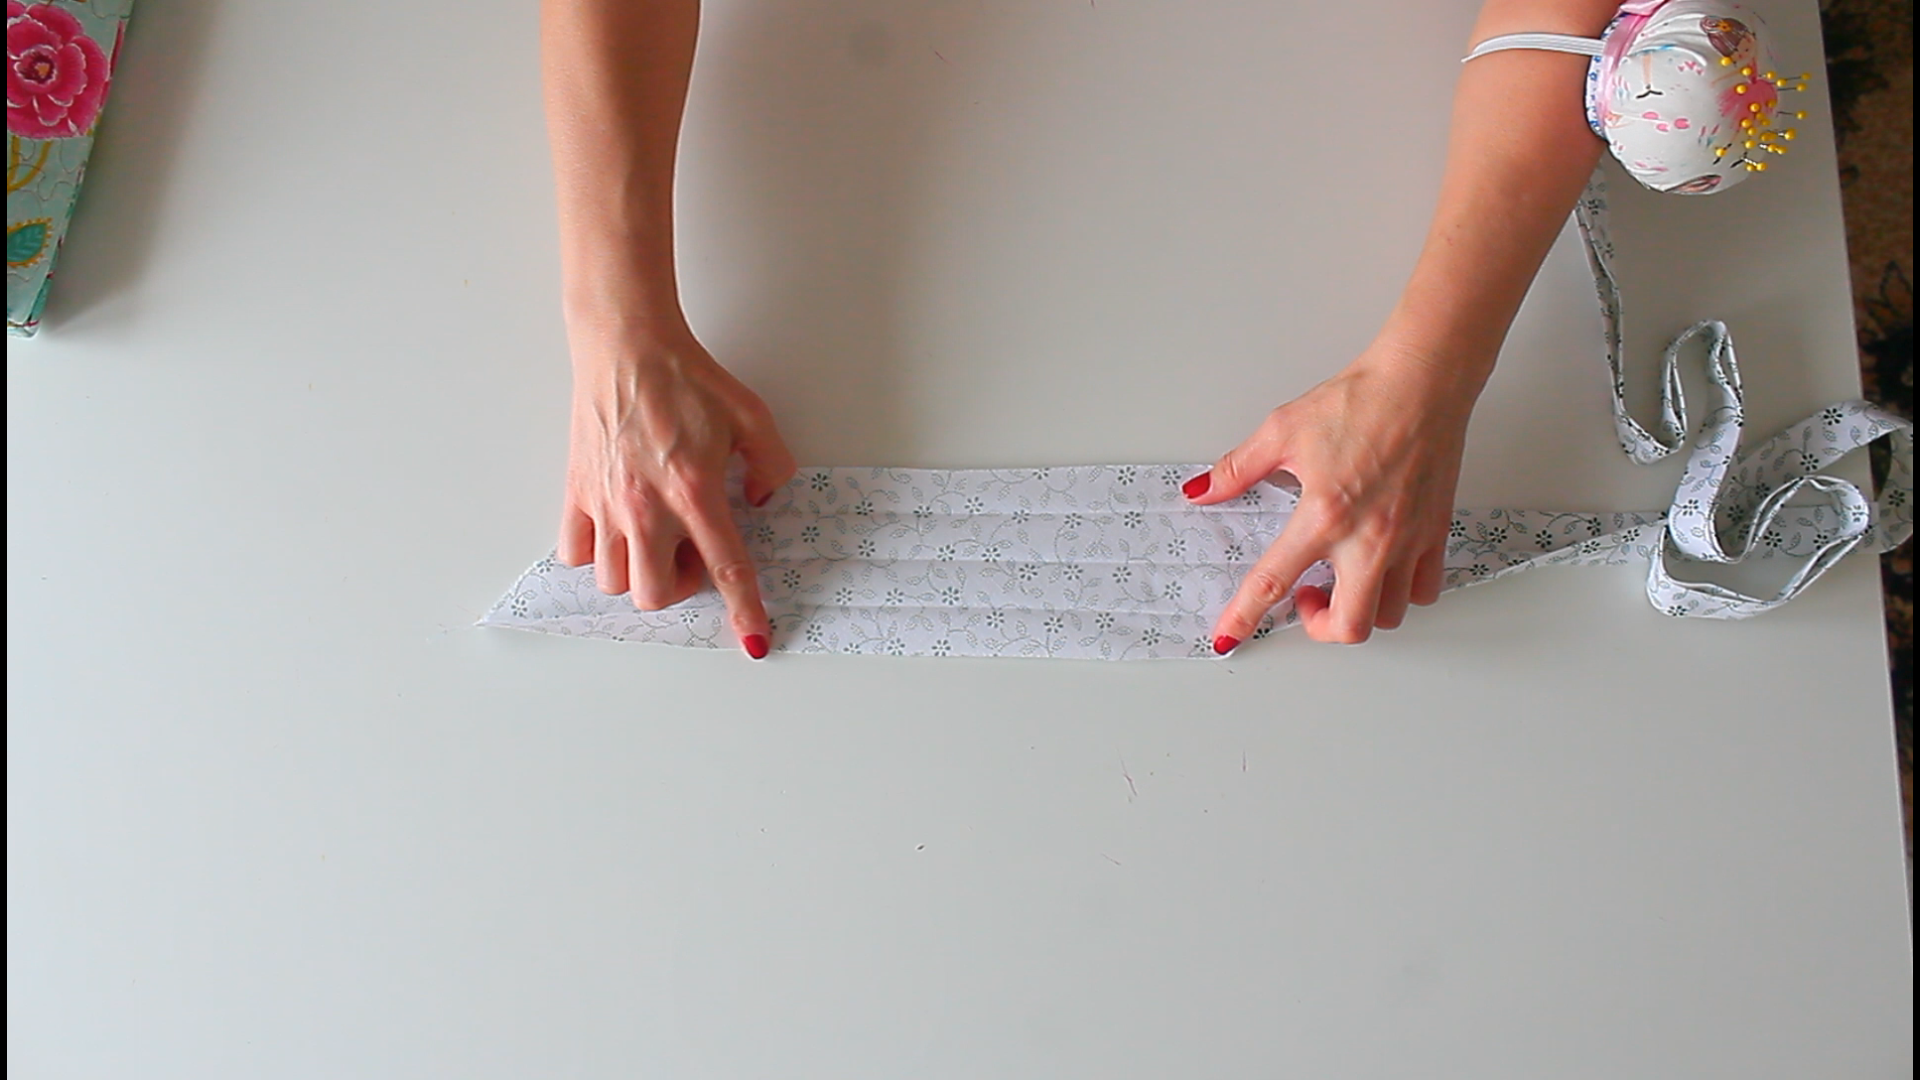
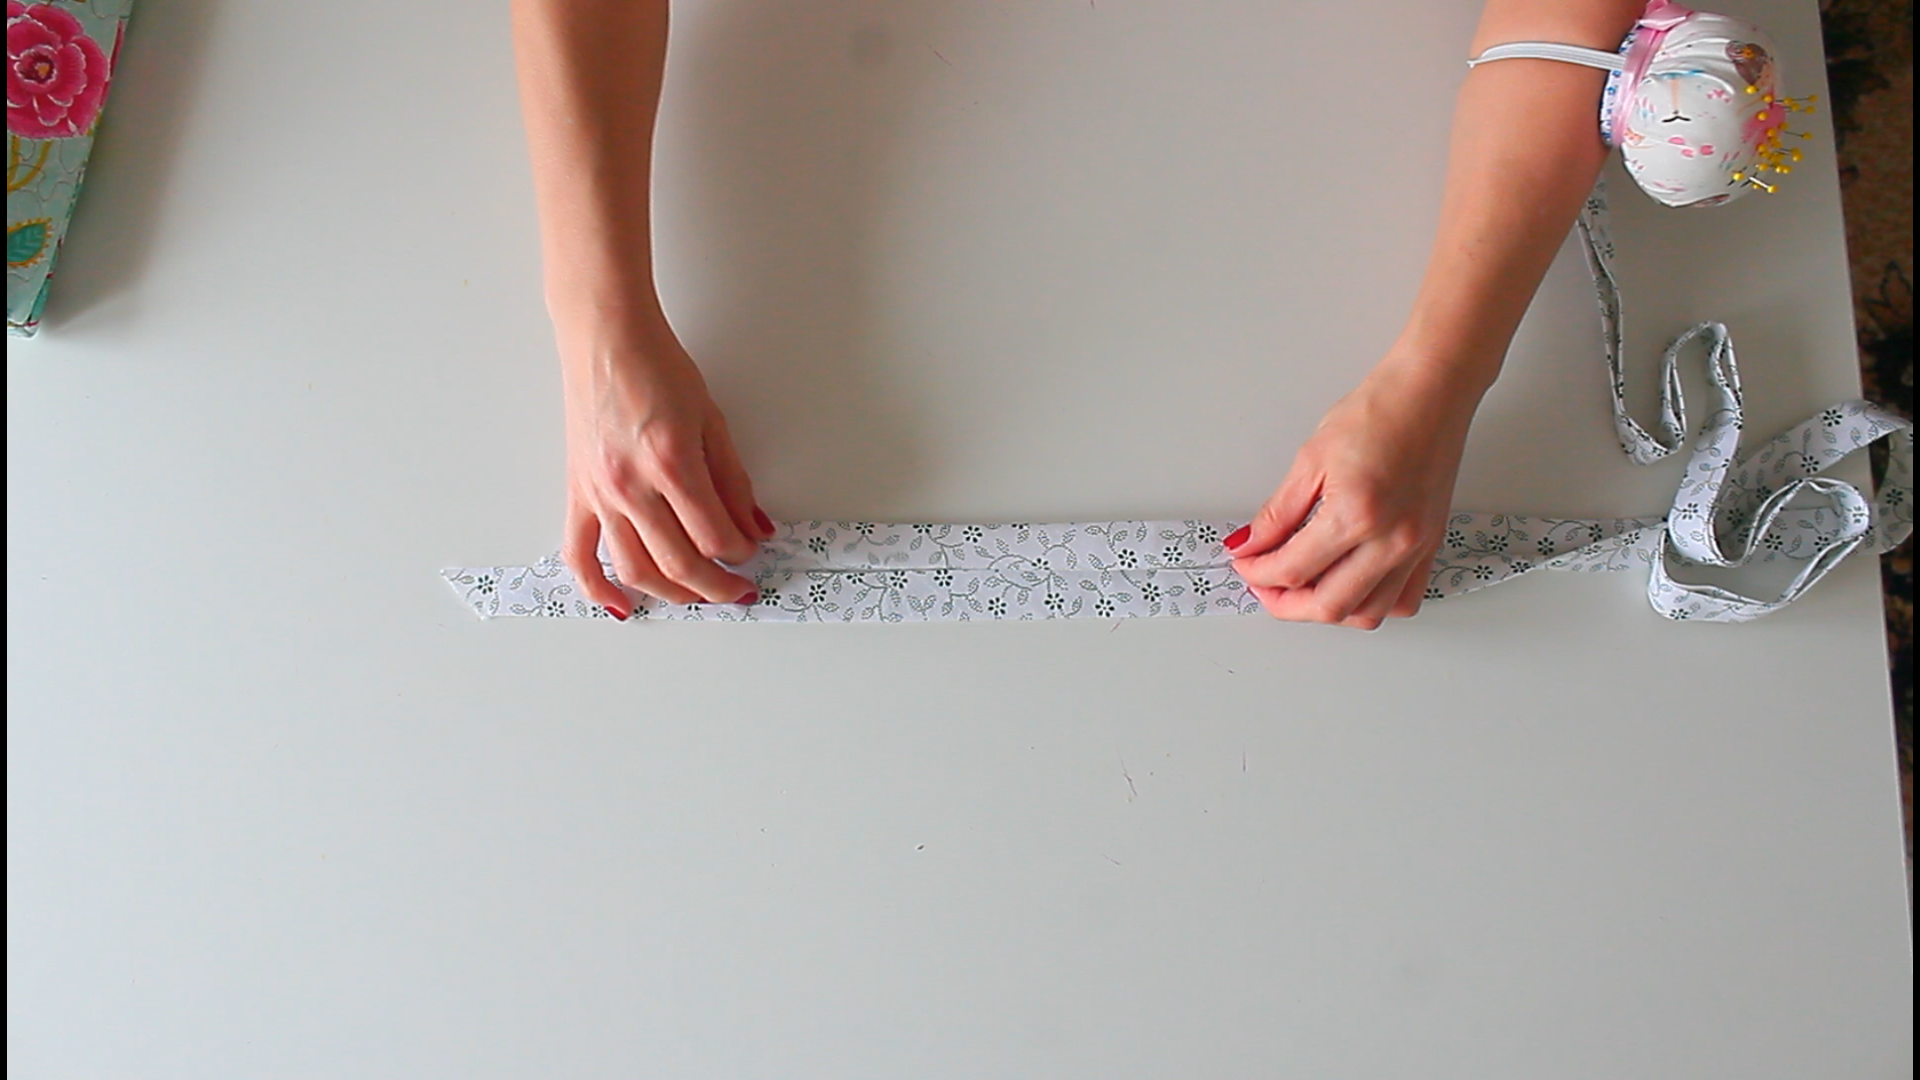
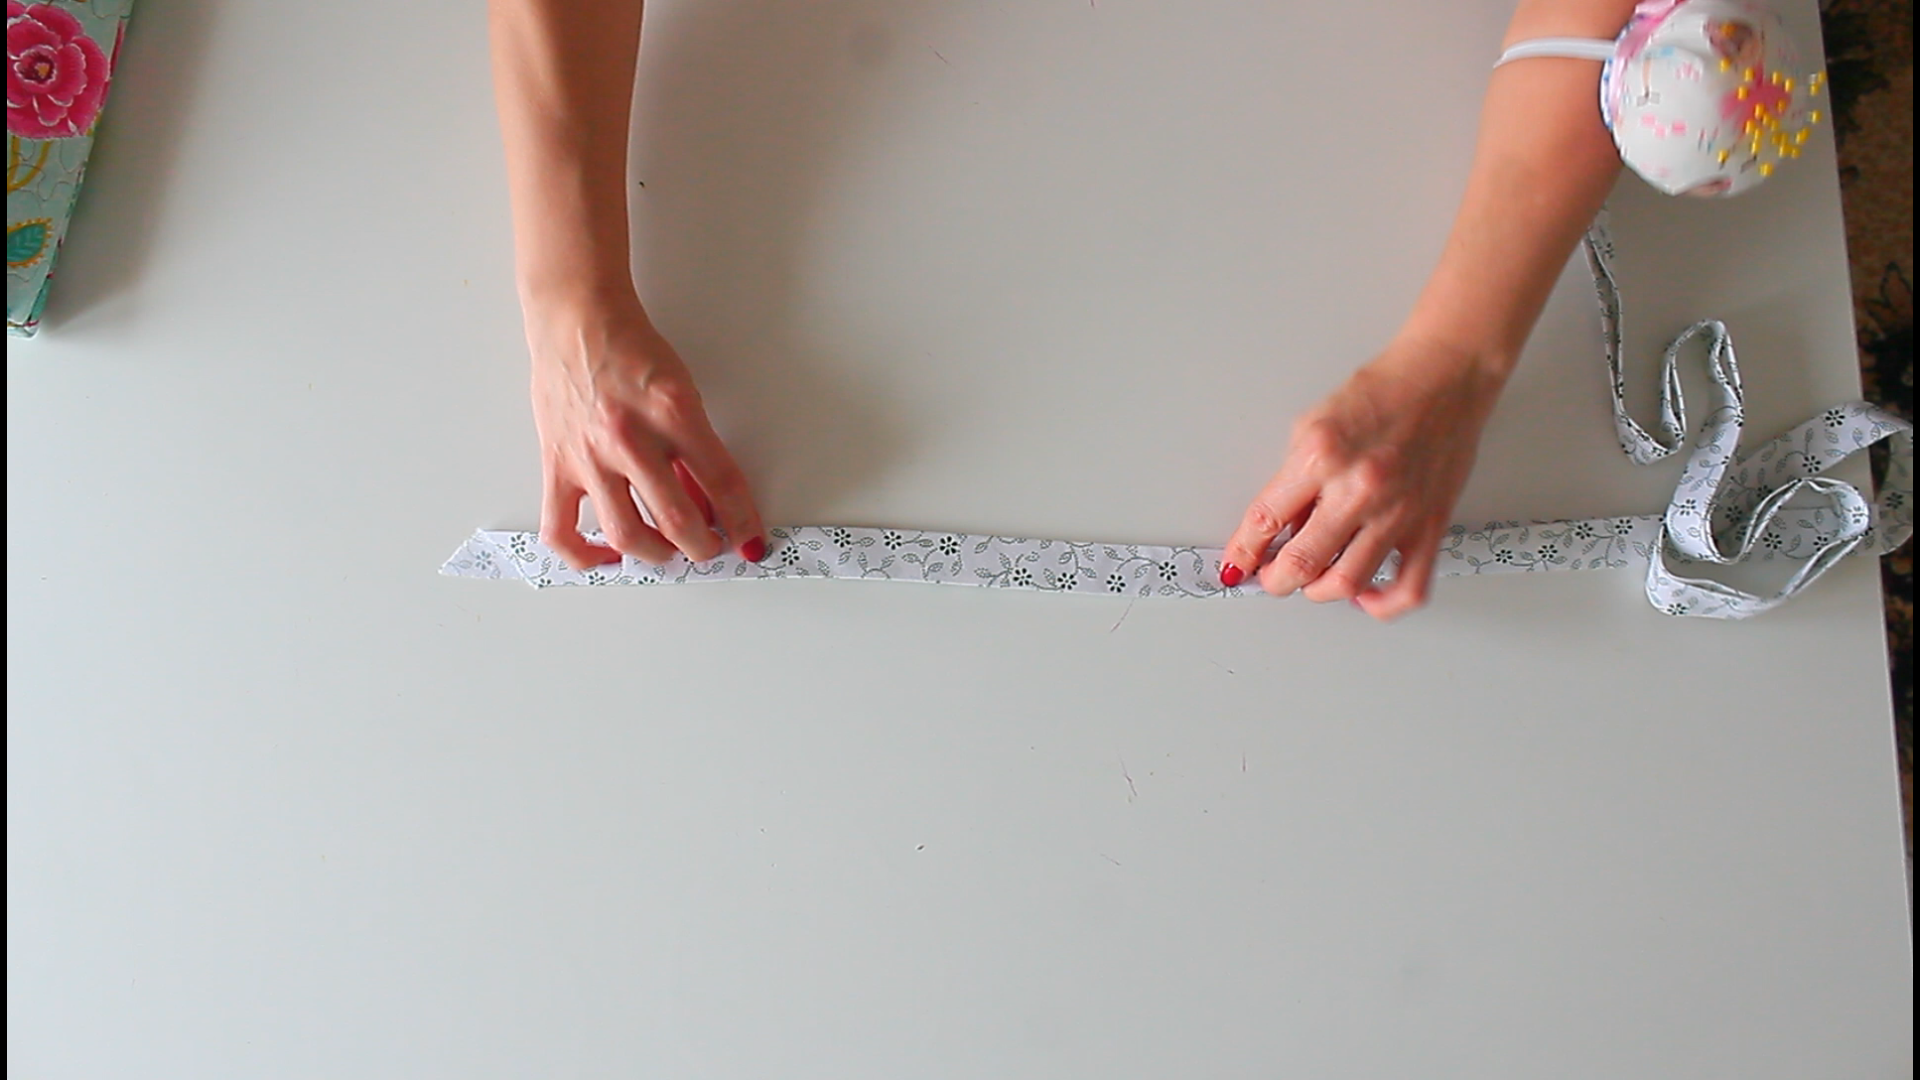
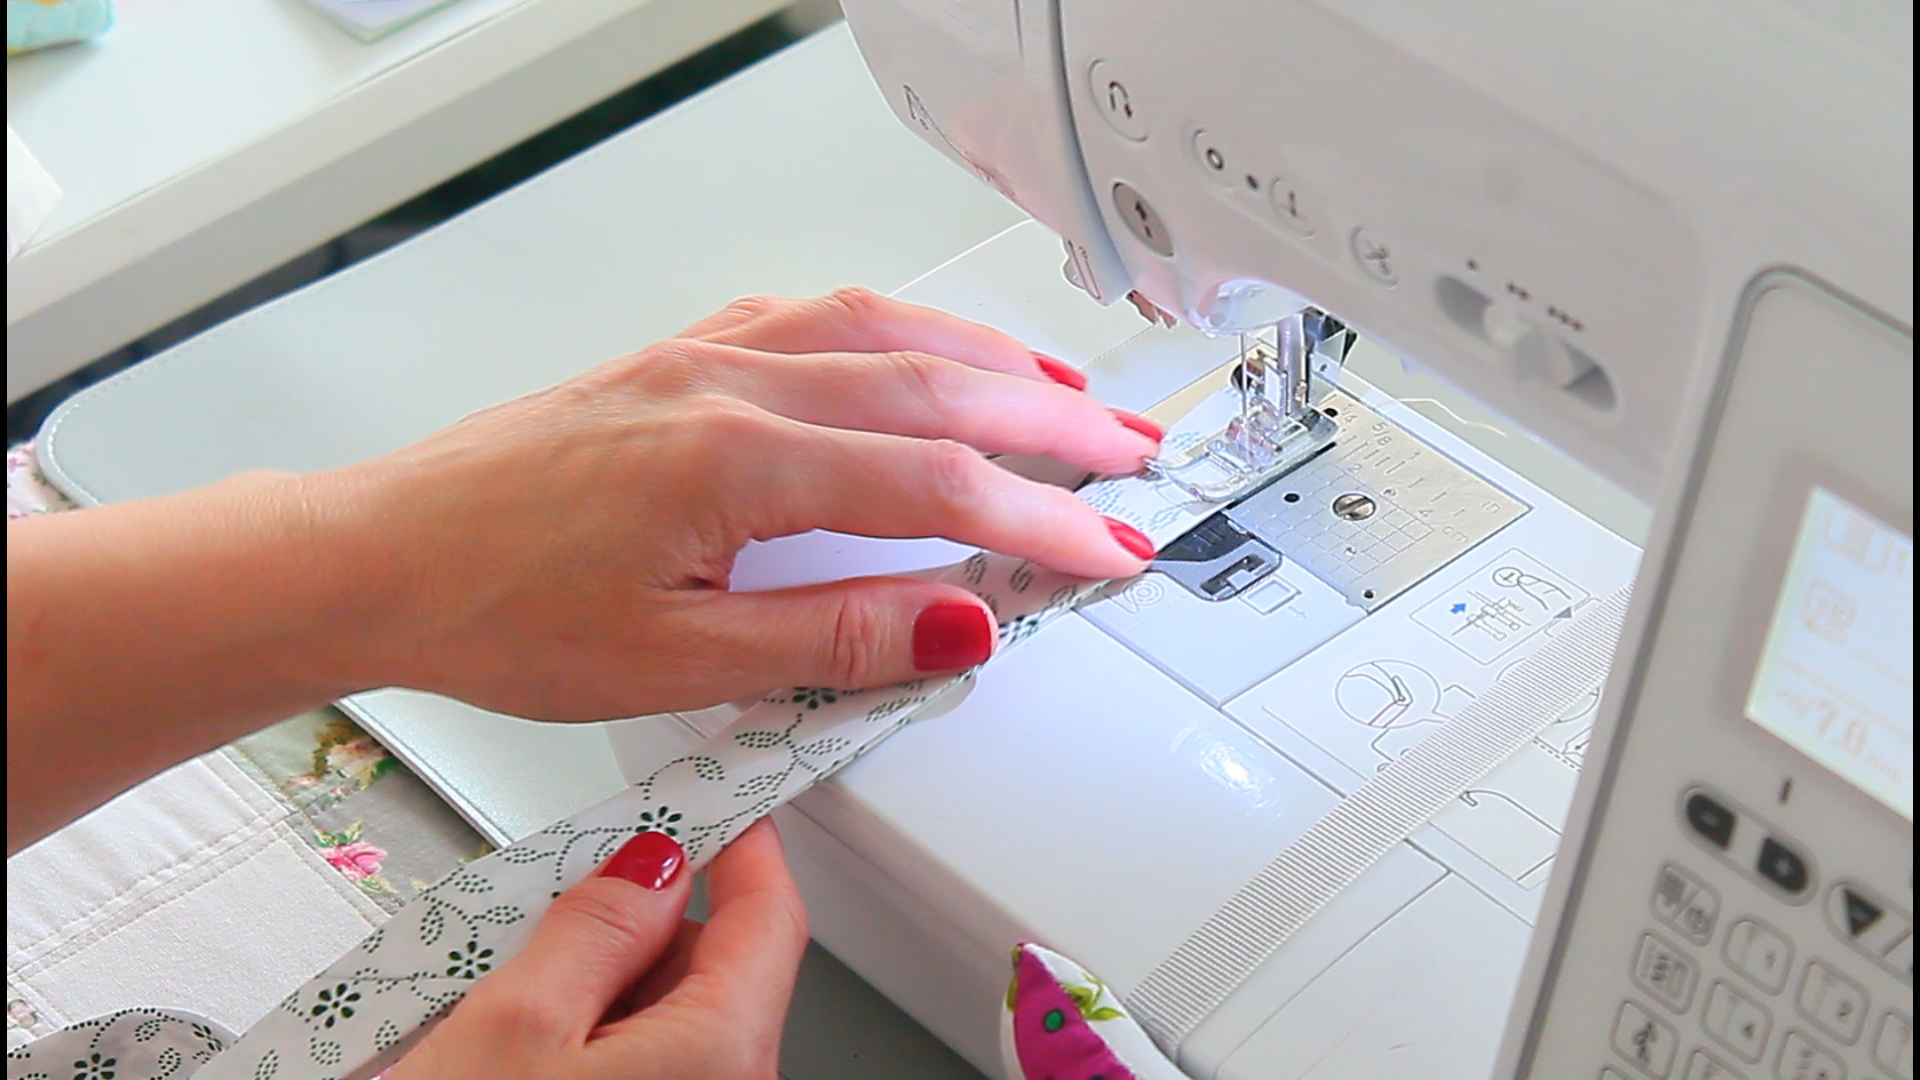
- If you’re using binding scraps as I did, fold and sew them into ties. I folded the ends in, and pressed. Then I folded the sides towards the middle, I pressed, then I folded the entire strip in half, pressed and edge stitched it. Then I sew the ends closed.
Sewing
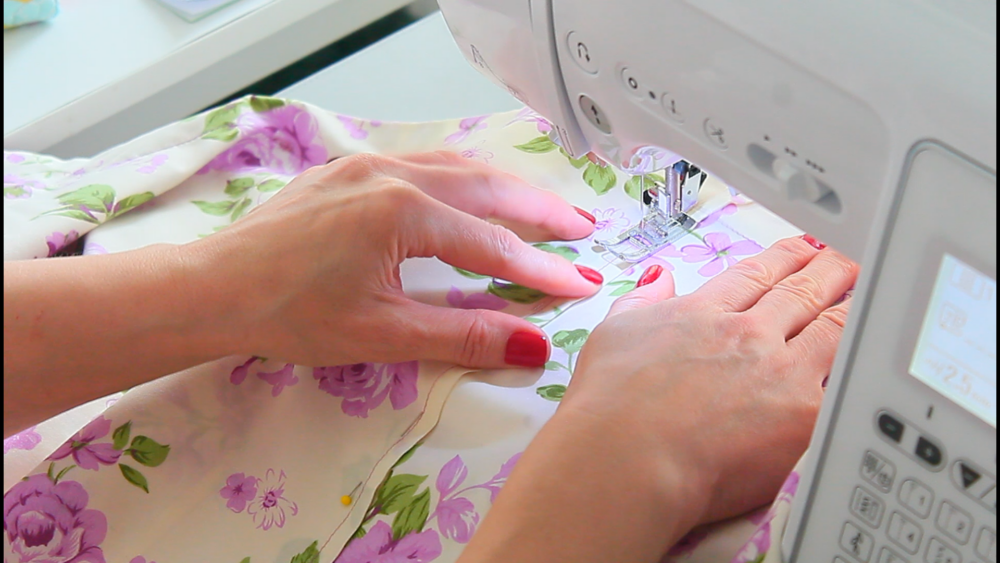
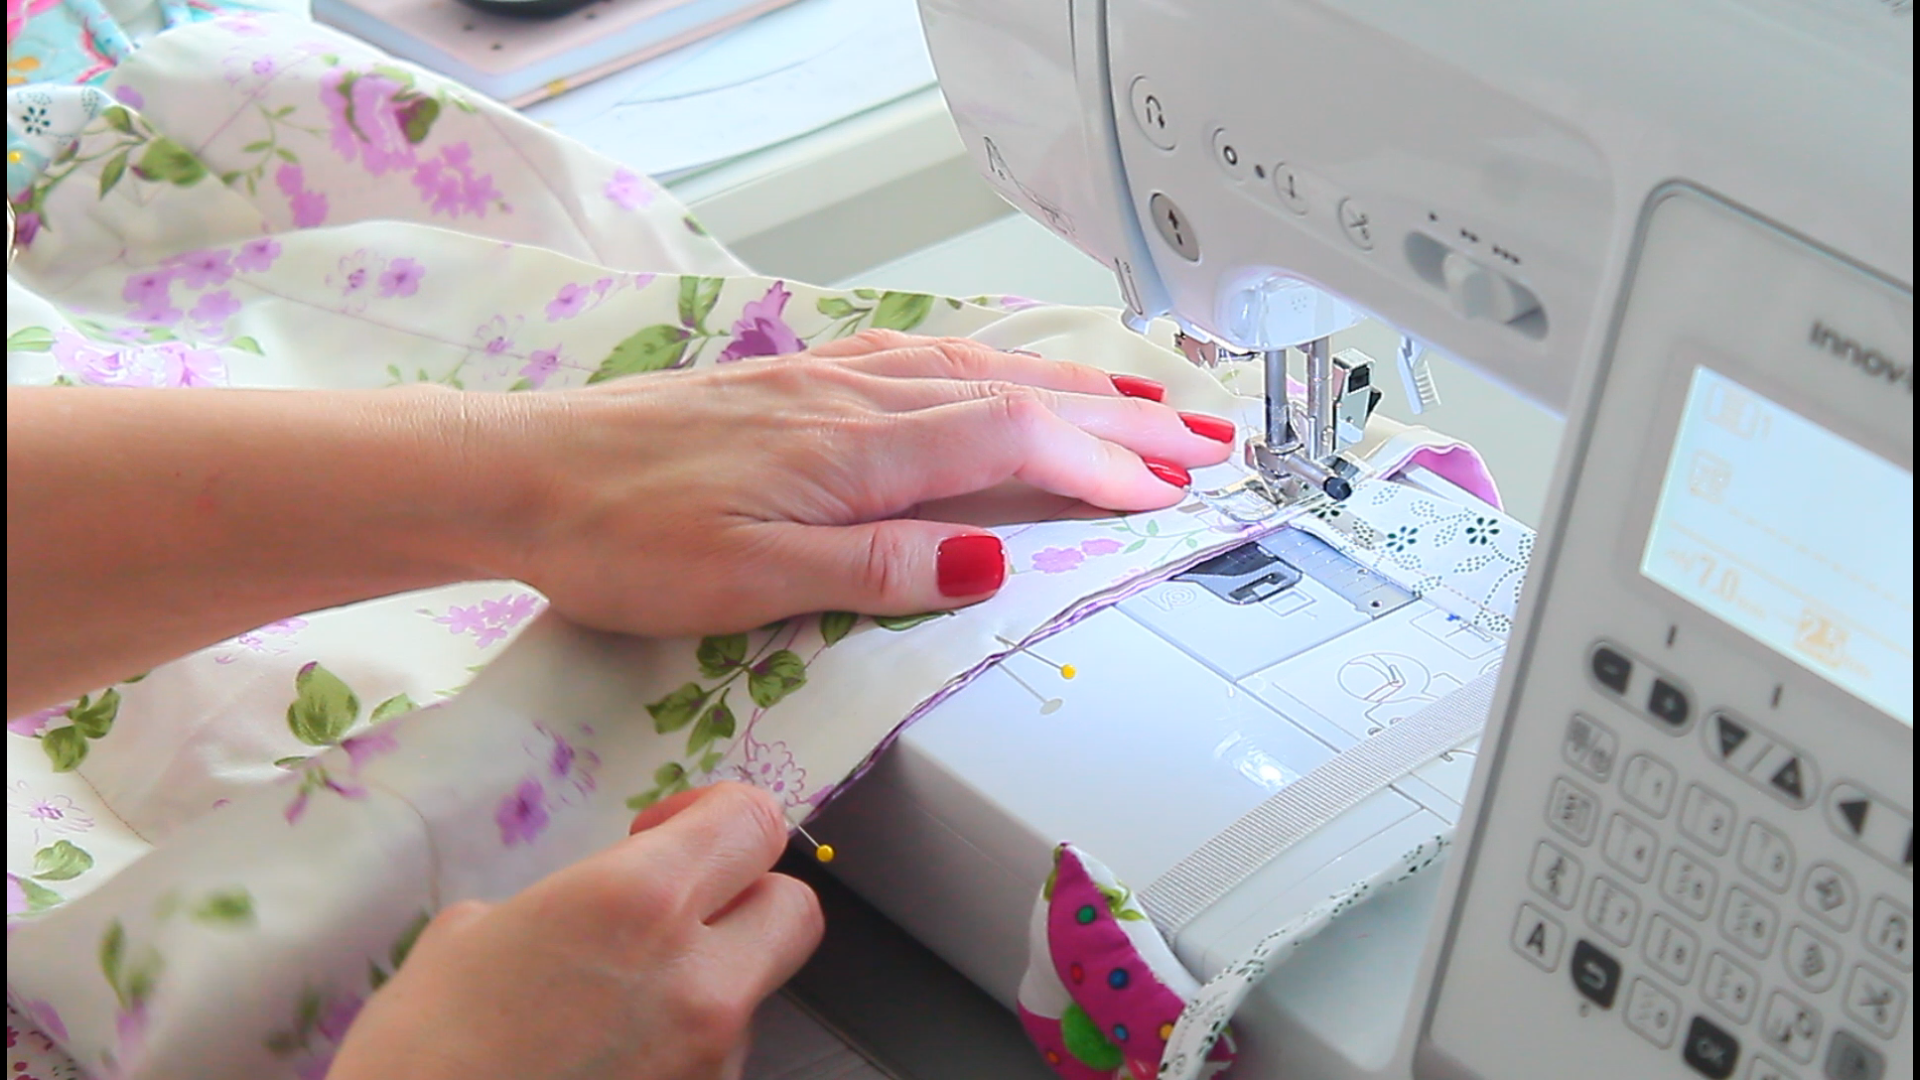
- Sew the opening in the pillowcase. Use matching thread as the seam will be visible on the other side of the pillowcase.
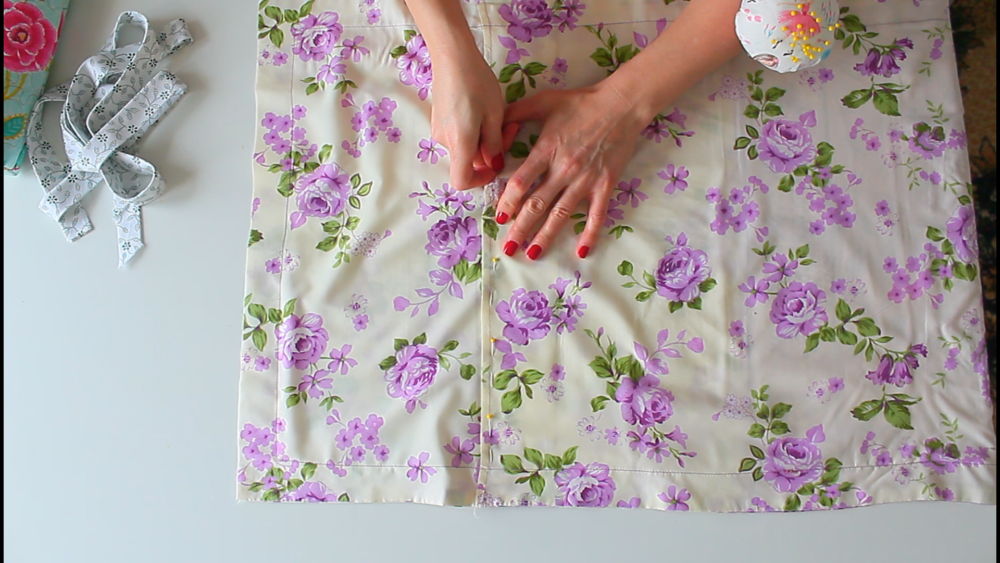
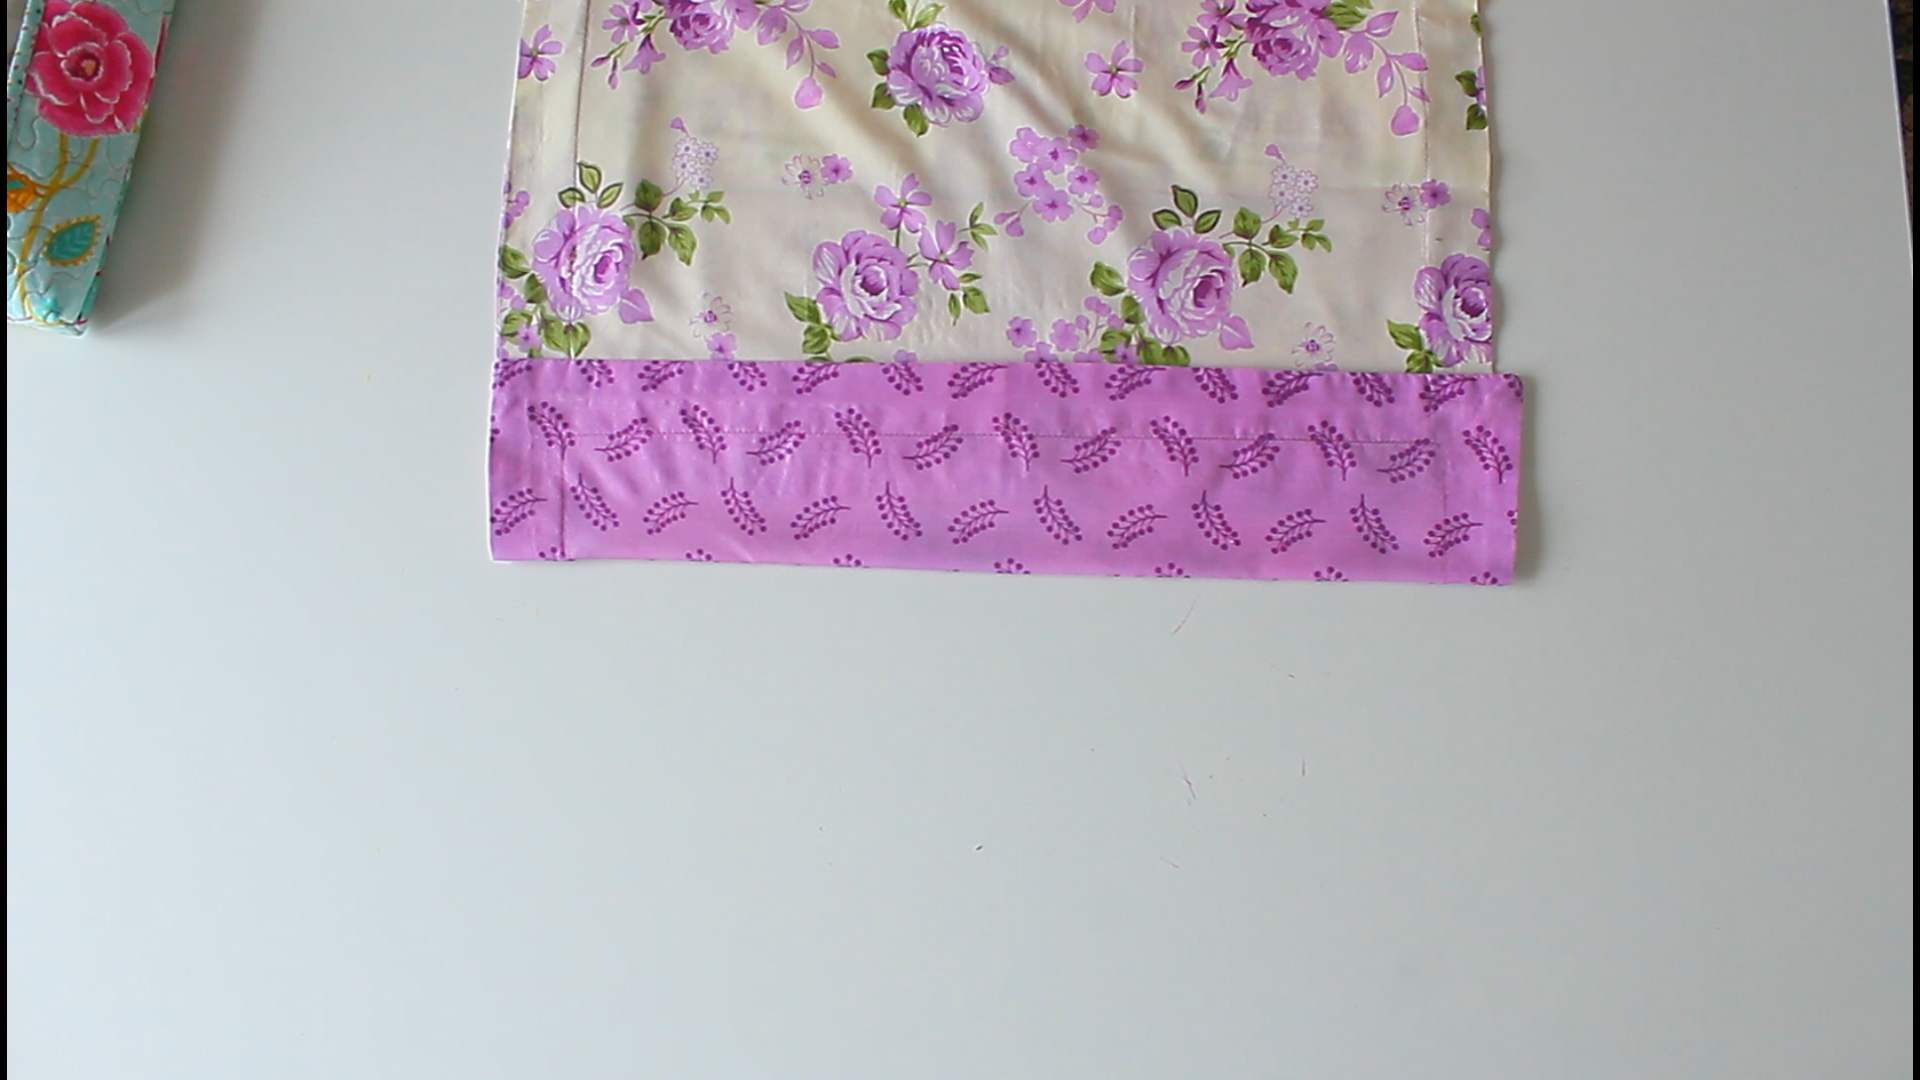
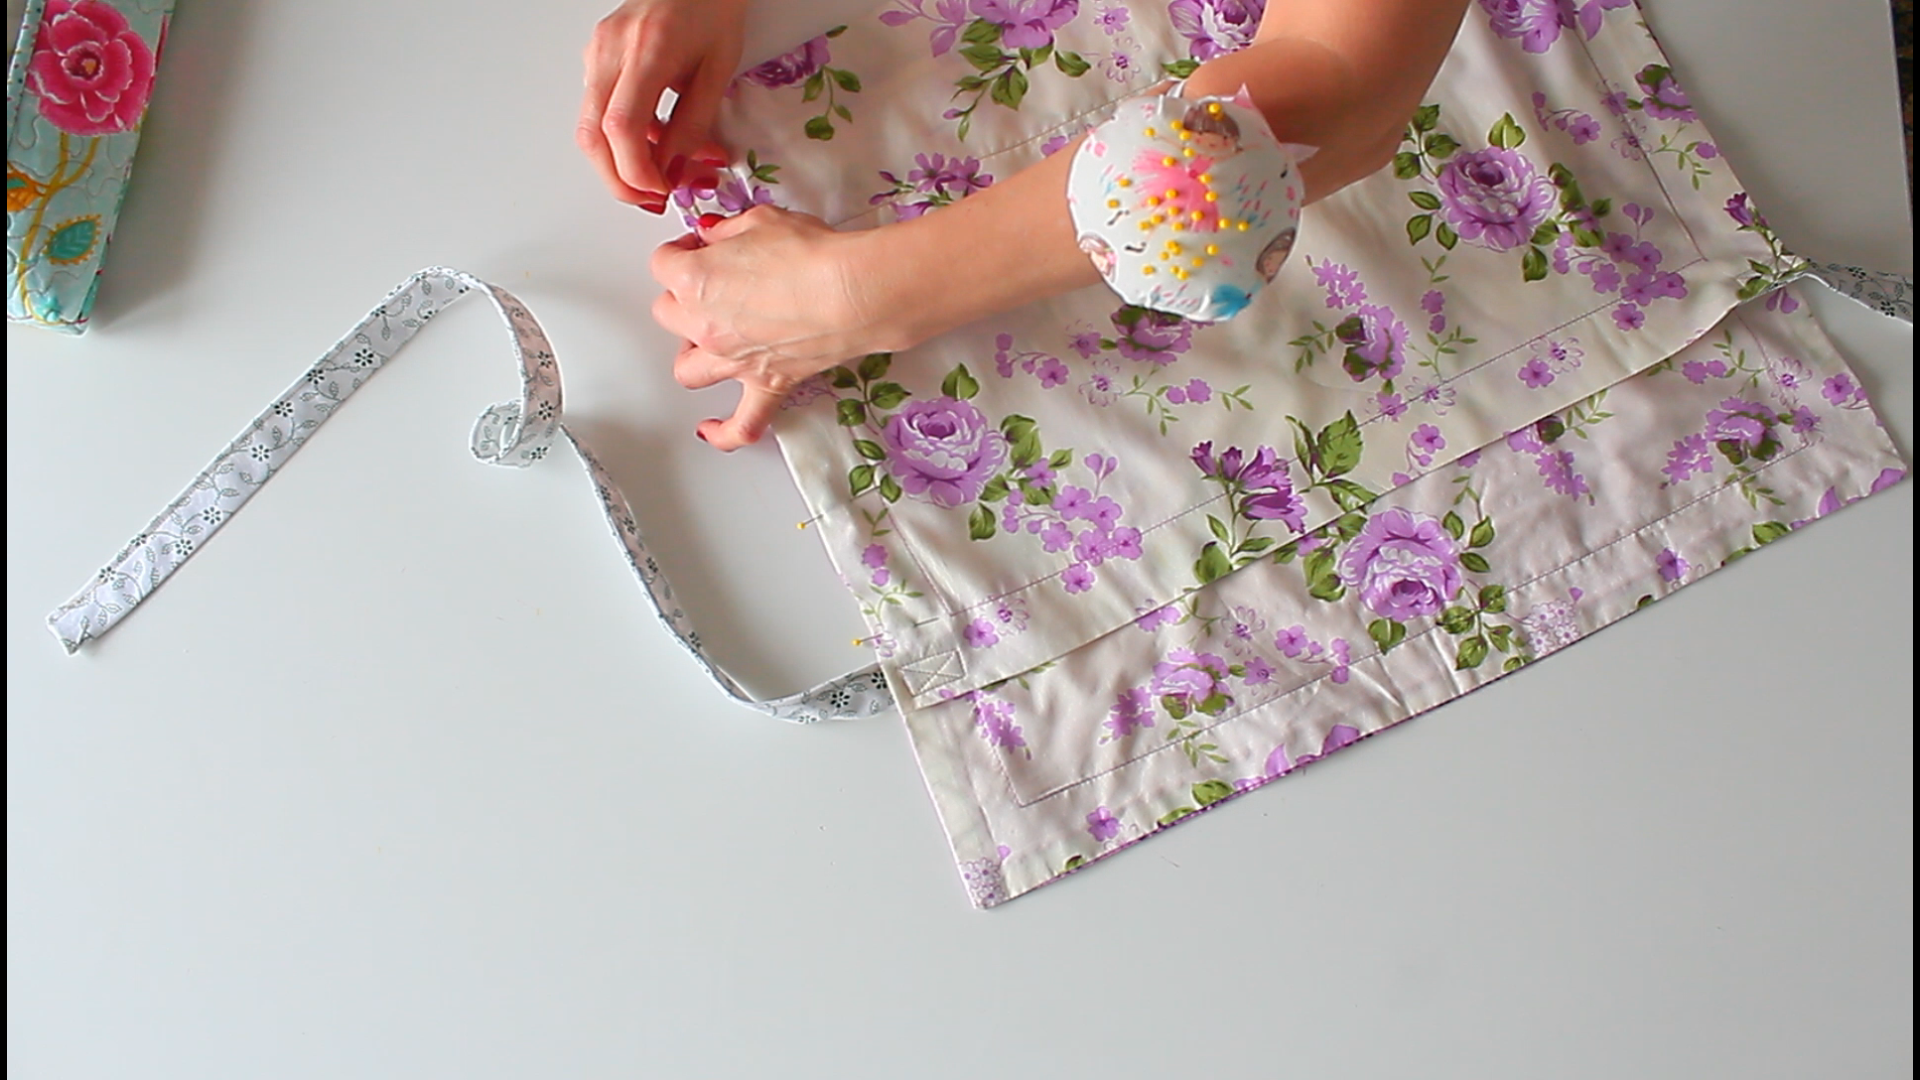
- Lay your pillowcase flat on your table and then fold. You can fold in half or you can allow for a flap at the top as I did. I measured 4″ from the top down for the flap, then I folded the flap down at that mark, then I folded the pillowcase to cover the flap.
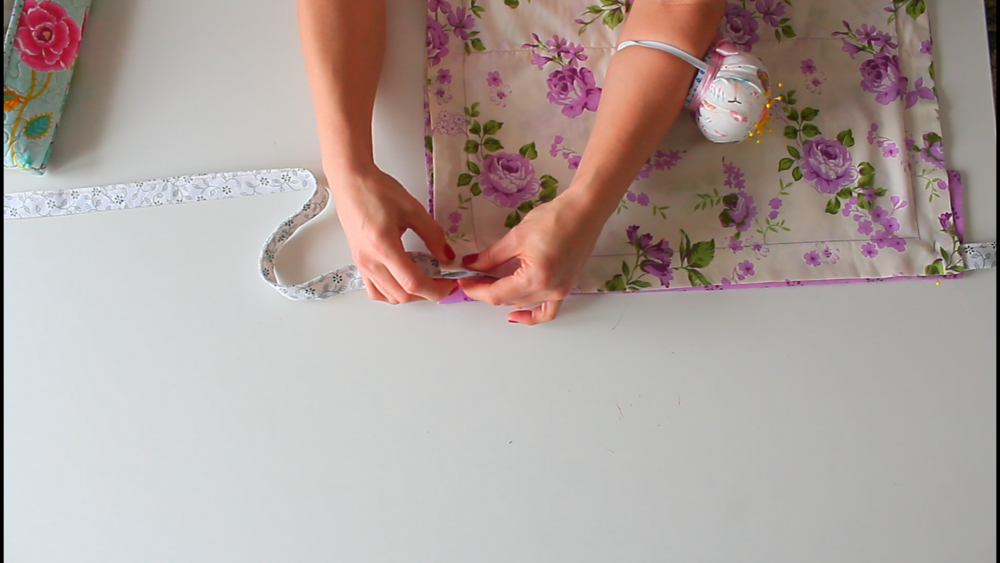
- With the pillowcase folded as such, place one of the ties in the inside corner of the top of the pillowcase, and pin to. Sew down to the pillowcase. Repeat for the second tie on the opposite side of the pillowcase.
- Return the pillowcase to the table and fold it up again, as above. Flip the flap up. Pin and sew along both open sides to finish the apron.
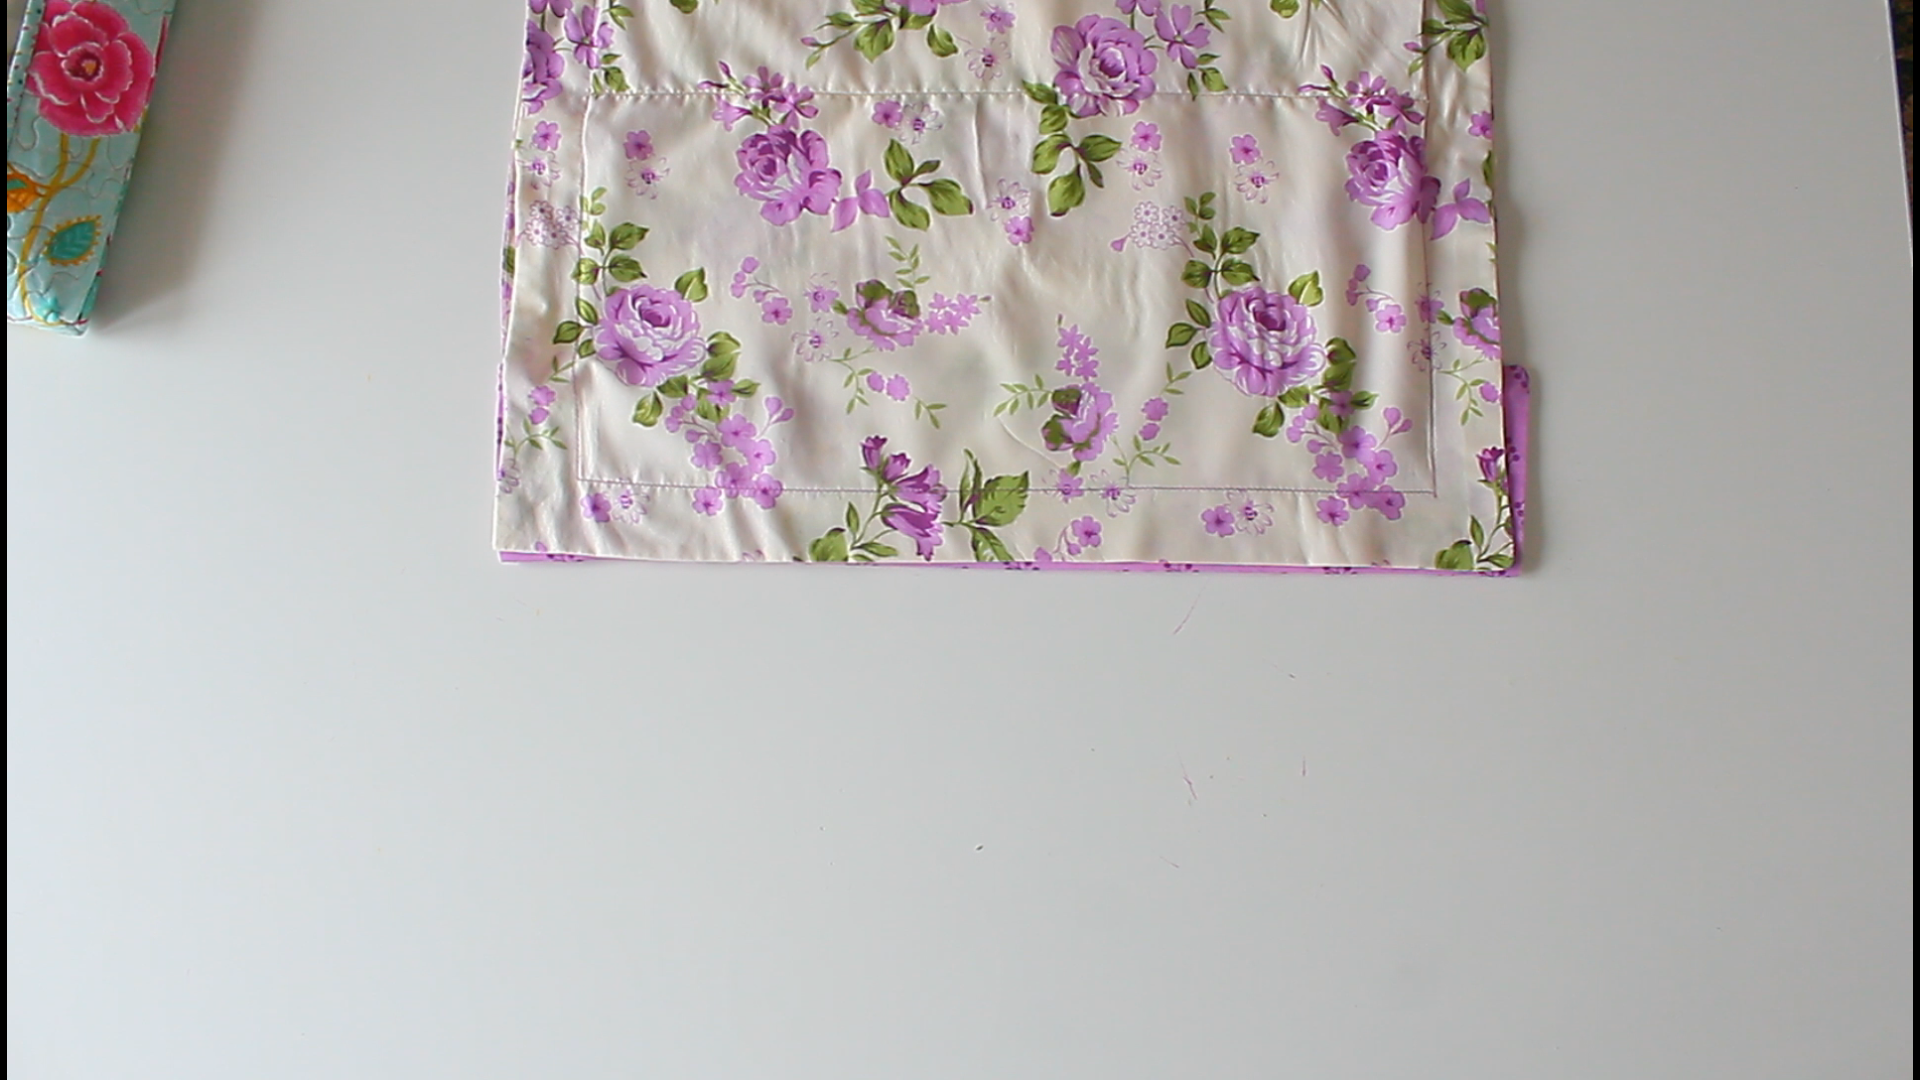
- Fold the flap down, over the front side of the apron, and press well.
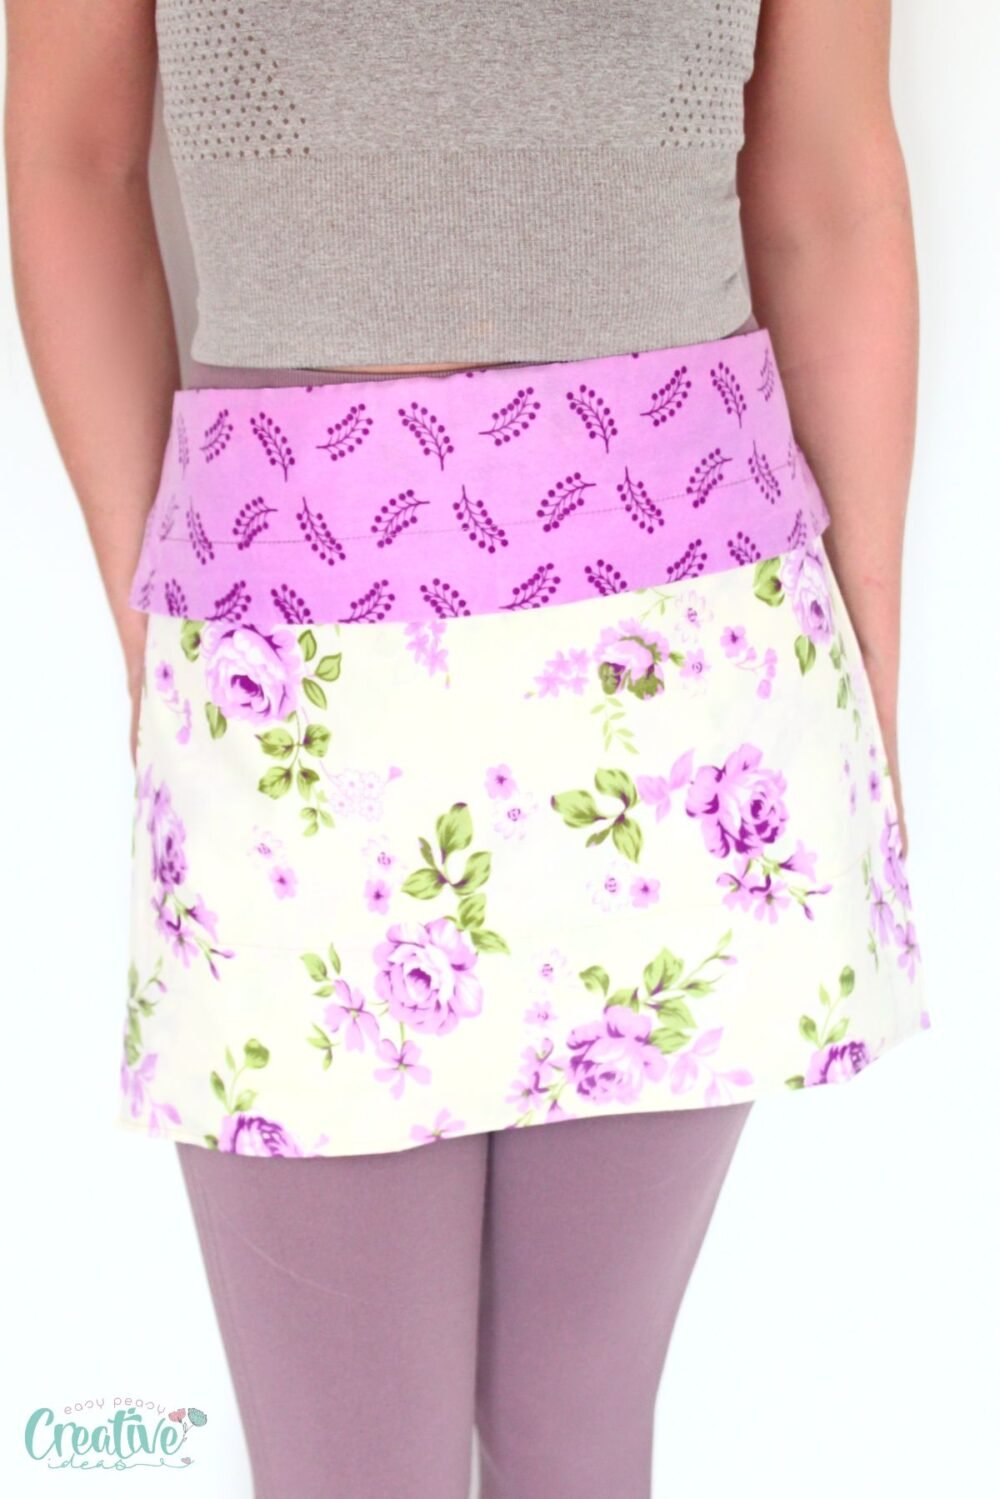
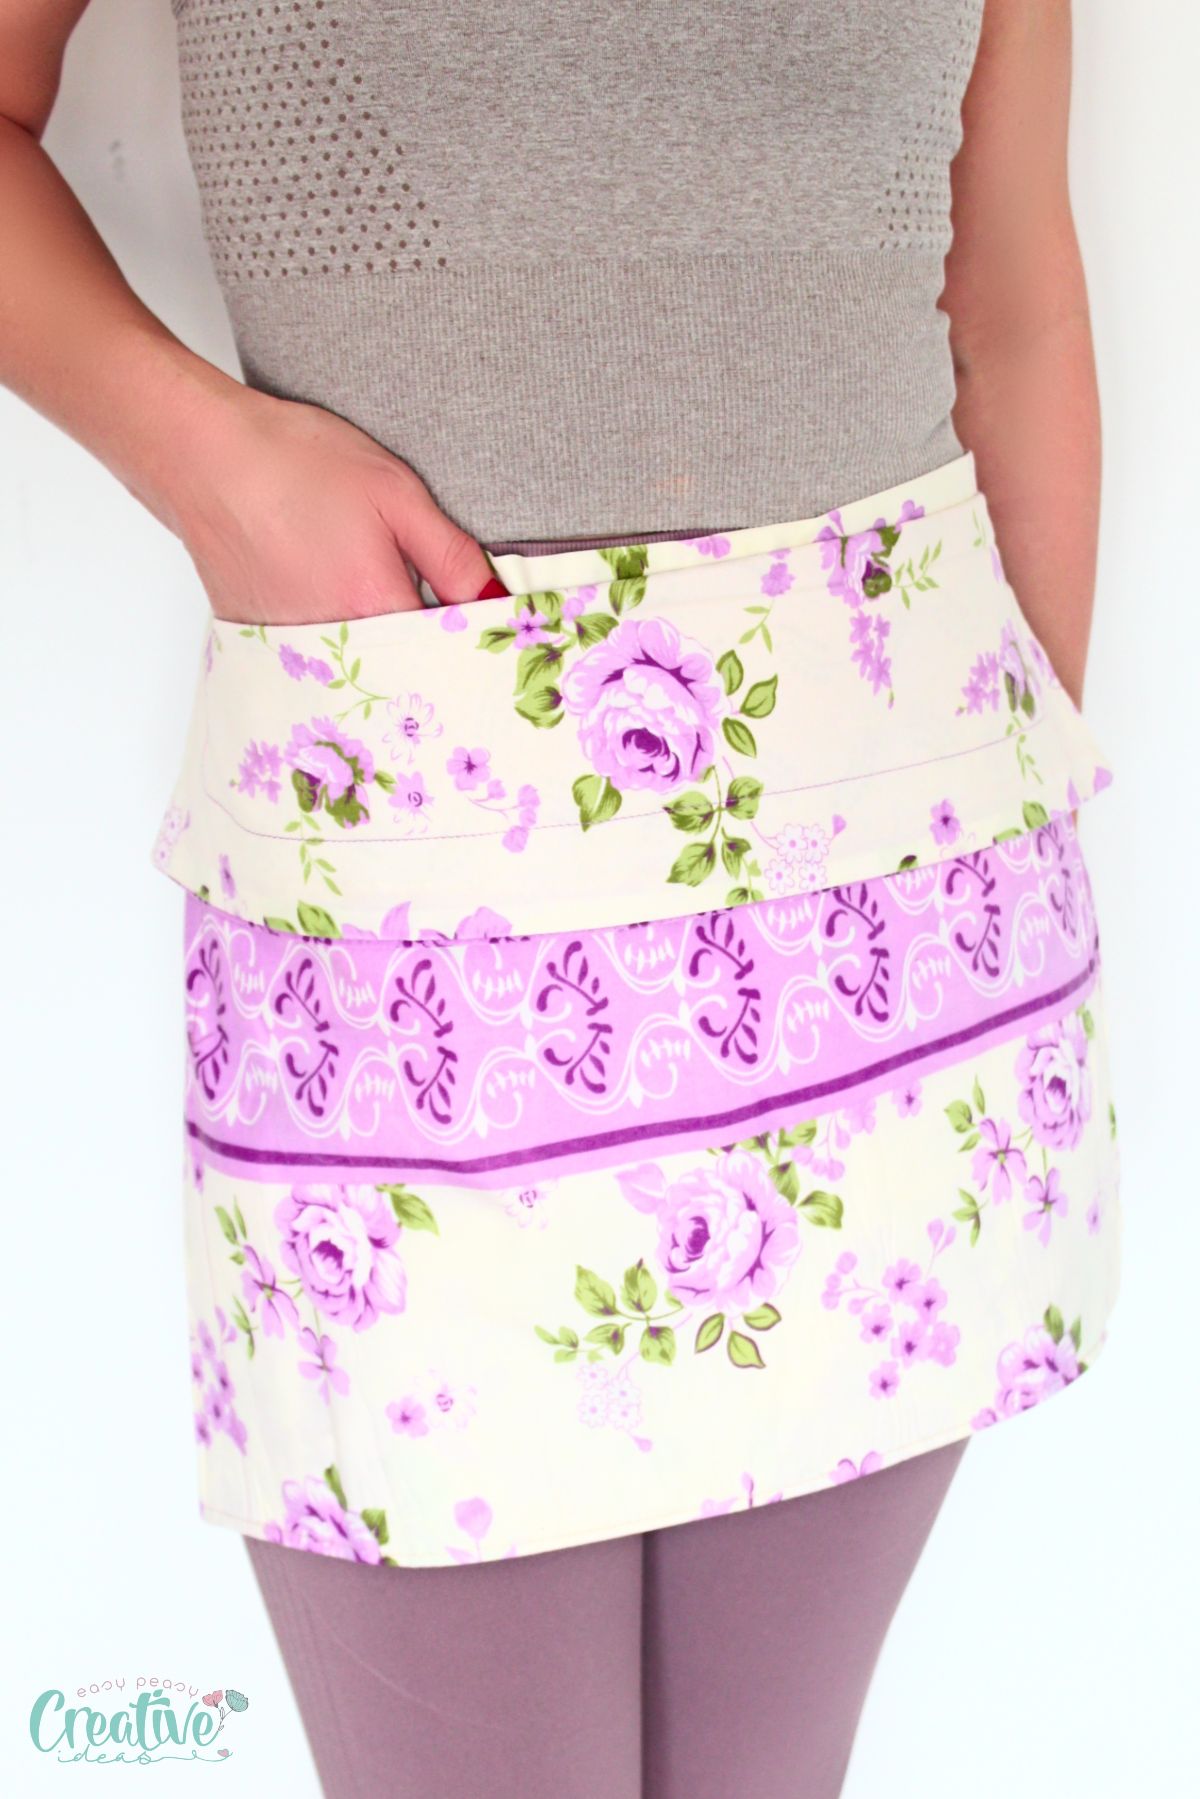
And you’re done! Your beautiful half apron is ready to wear! I love how versatile this apron is, I don’t have to worry about using it the wrong side! If I feel like it, I can wear my pillowcase apron both sides, it looks good both ways. I can also wear it with the pocket open or closed (with the flap down), also both ways.
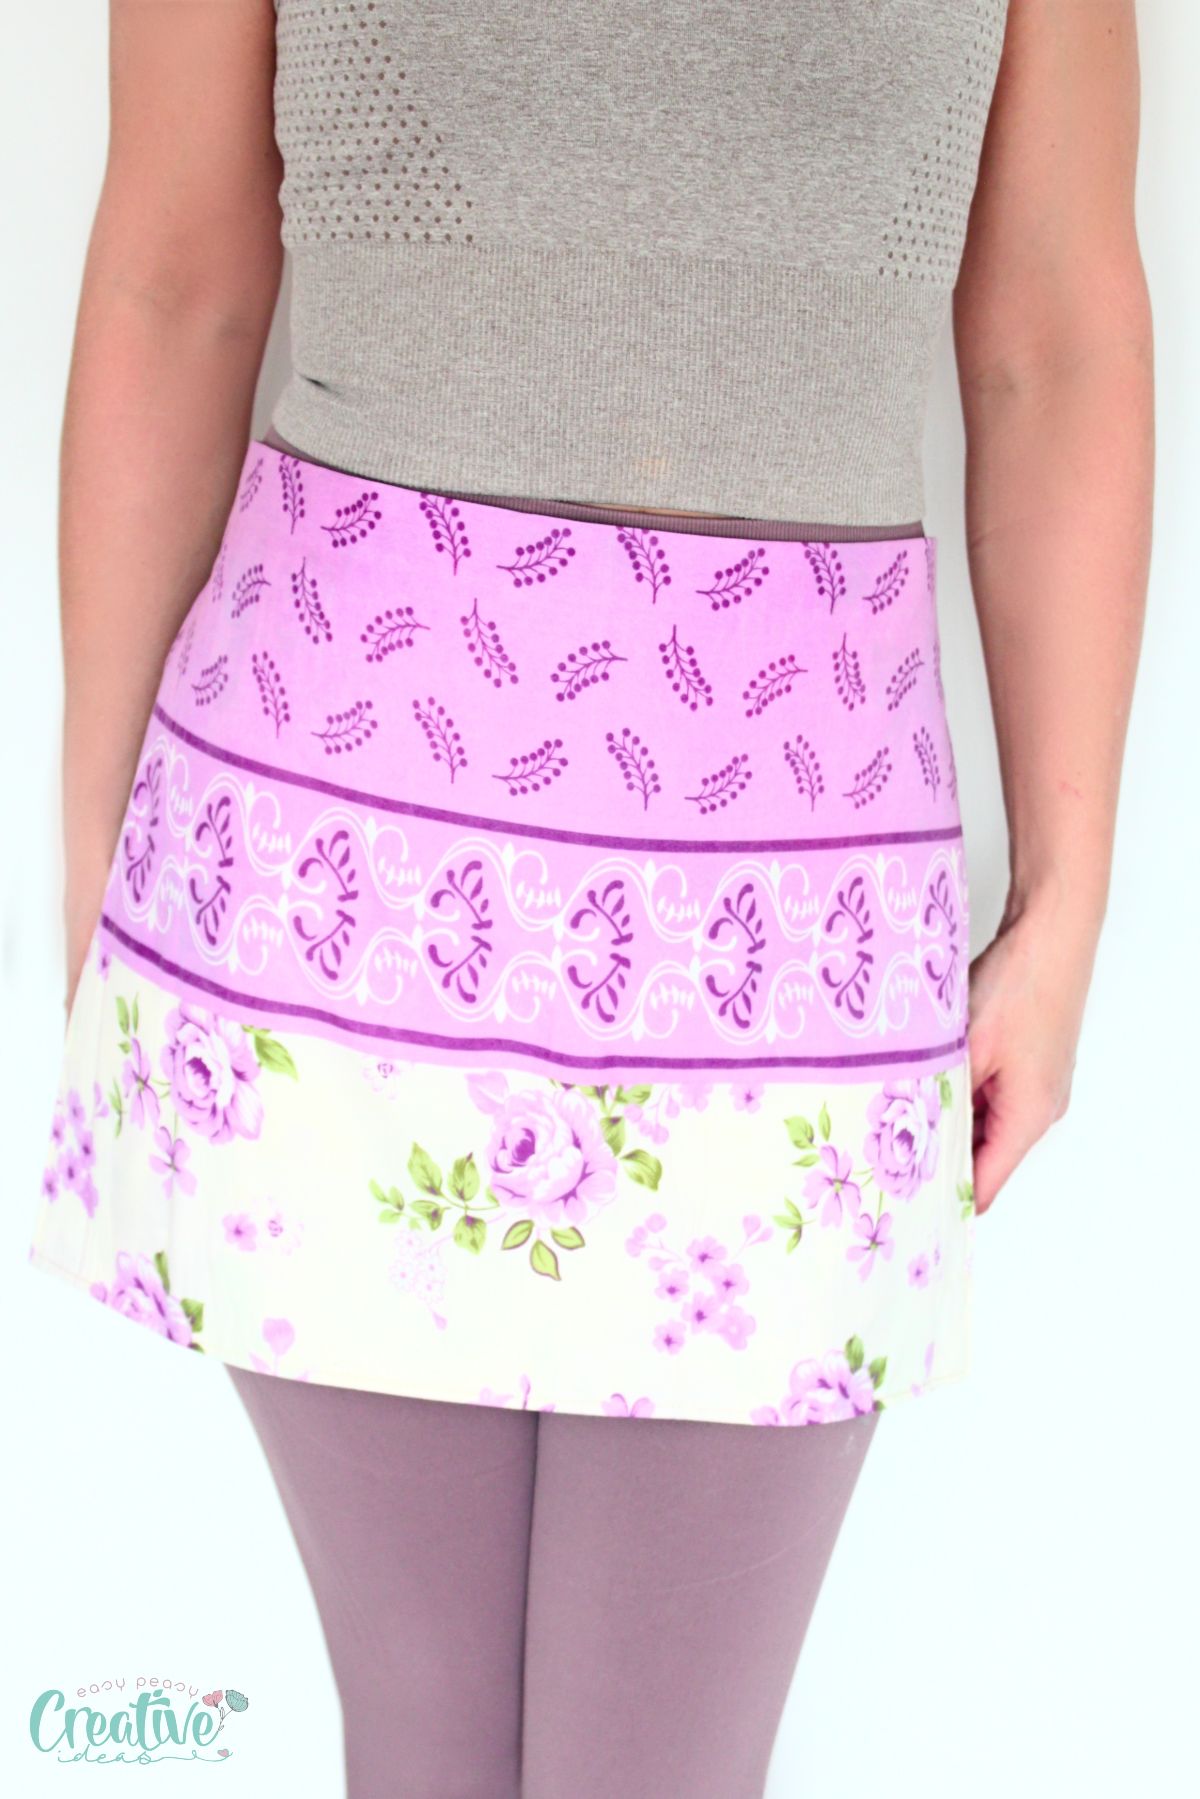
This is how it looks on the front side, with the flap down, and then the flap up (if I’m cooking something that might involve a lot of splashing)
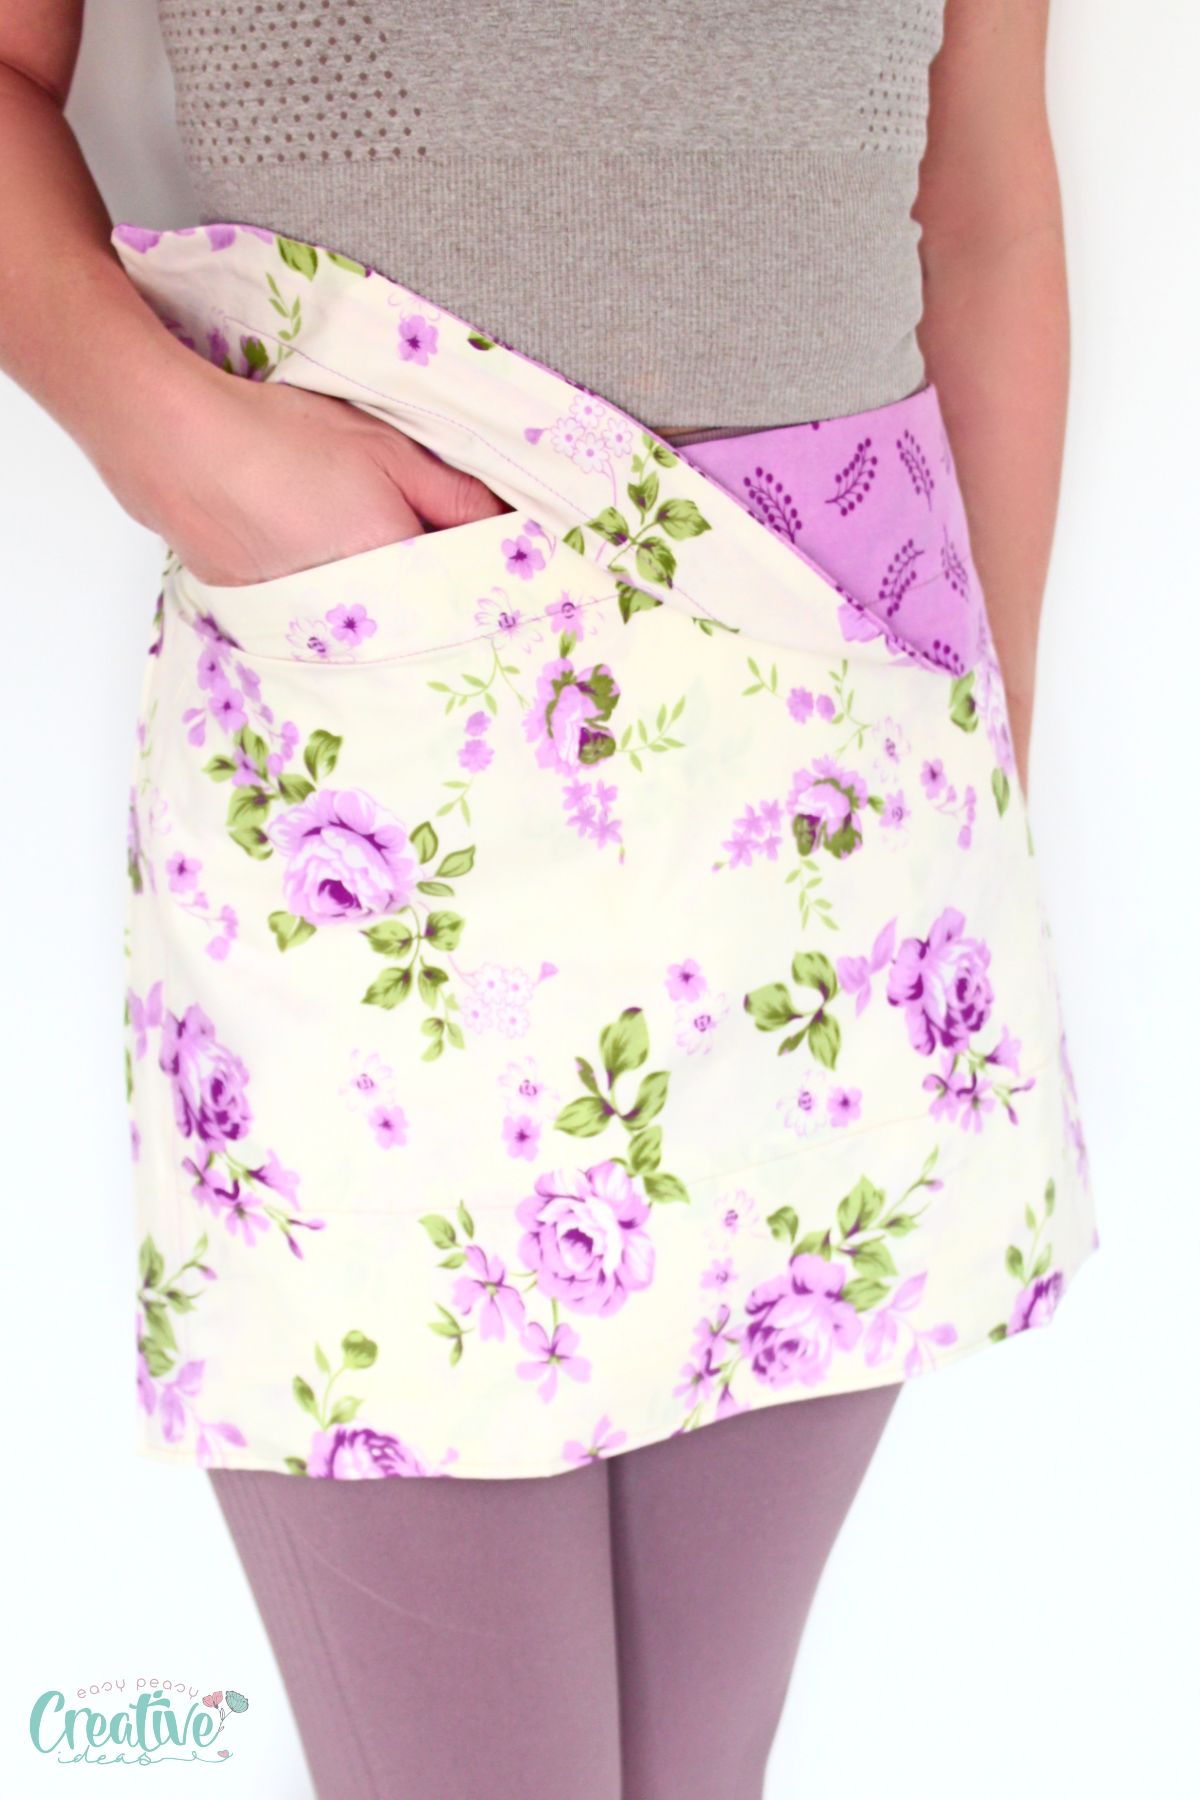
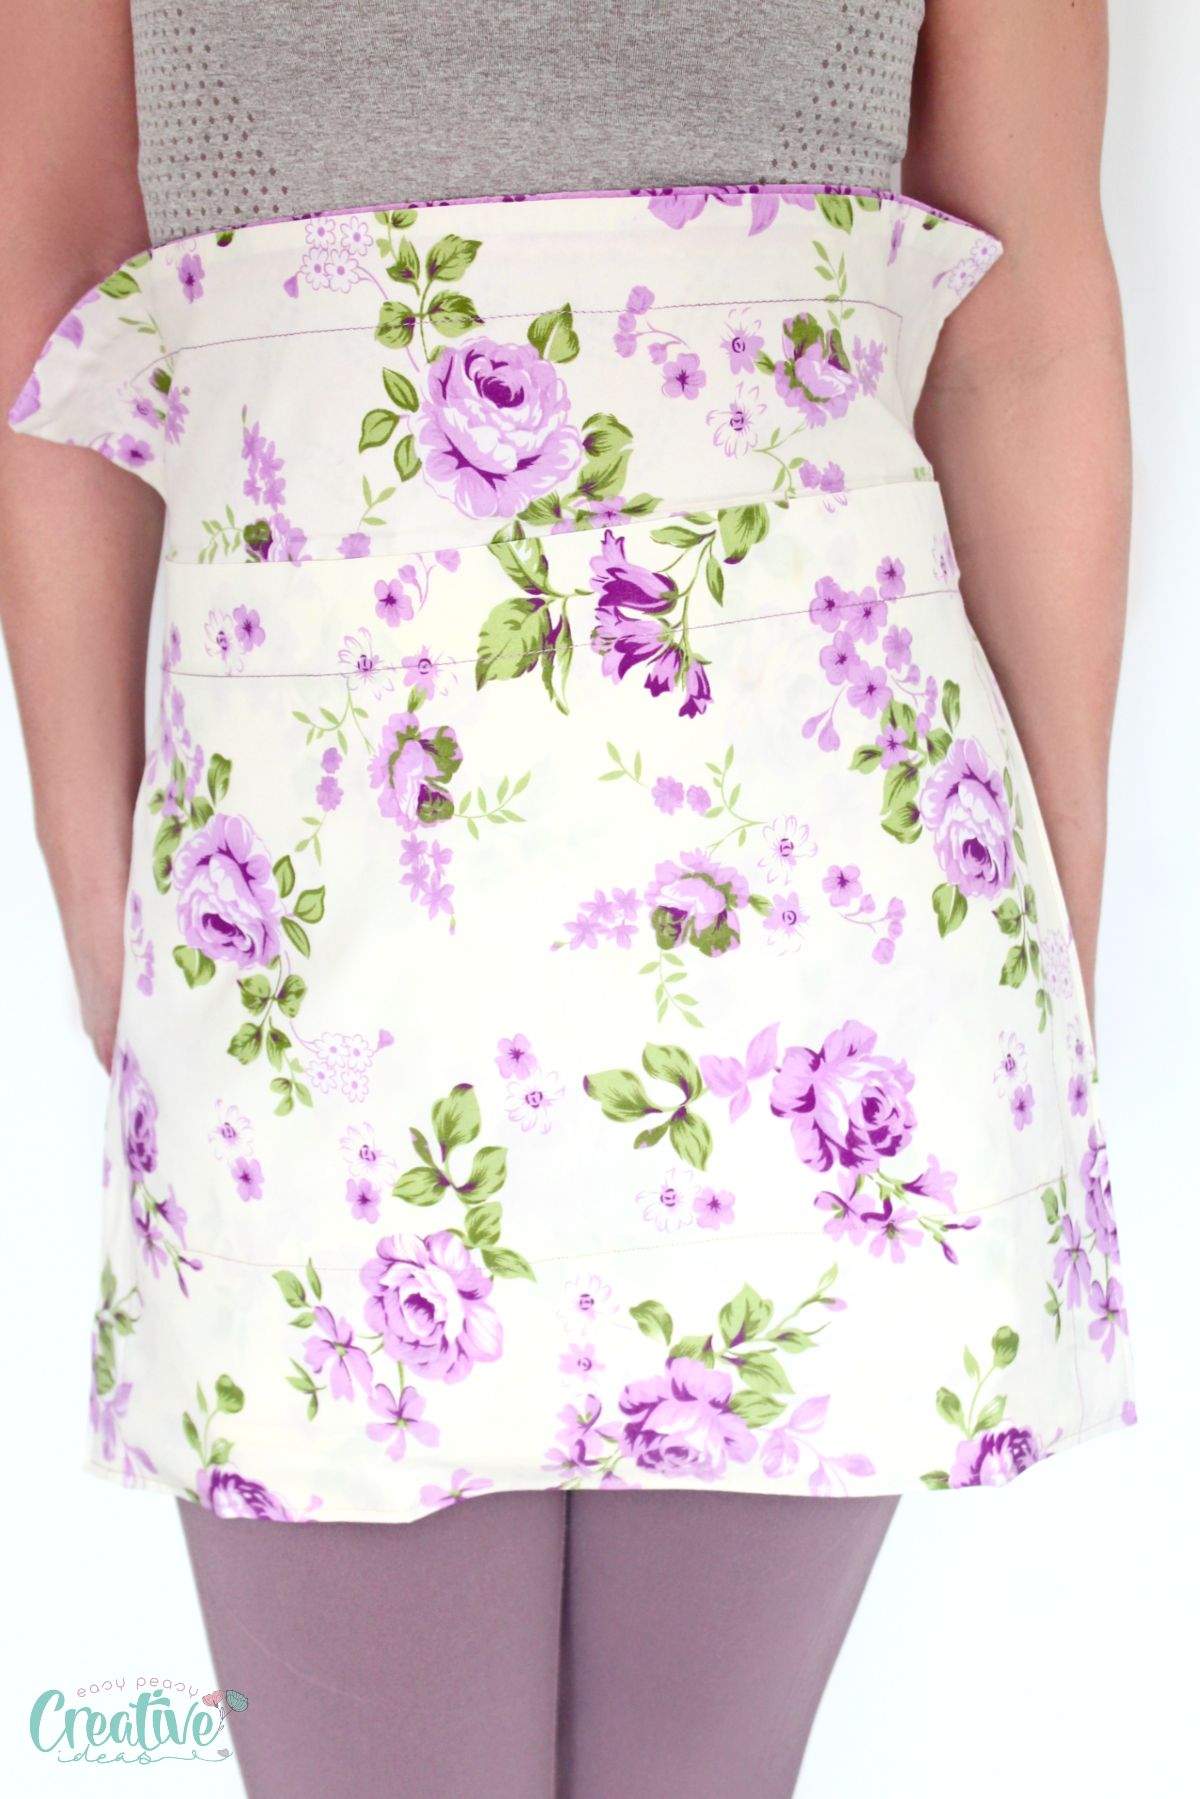
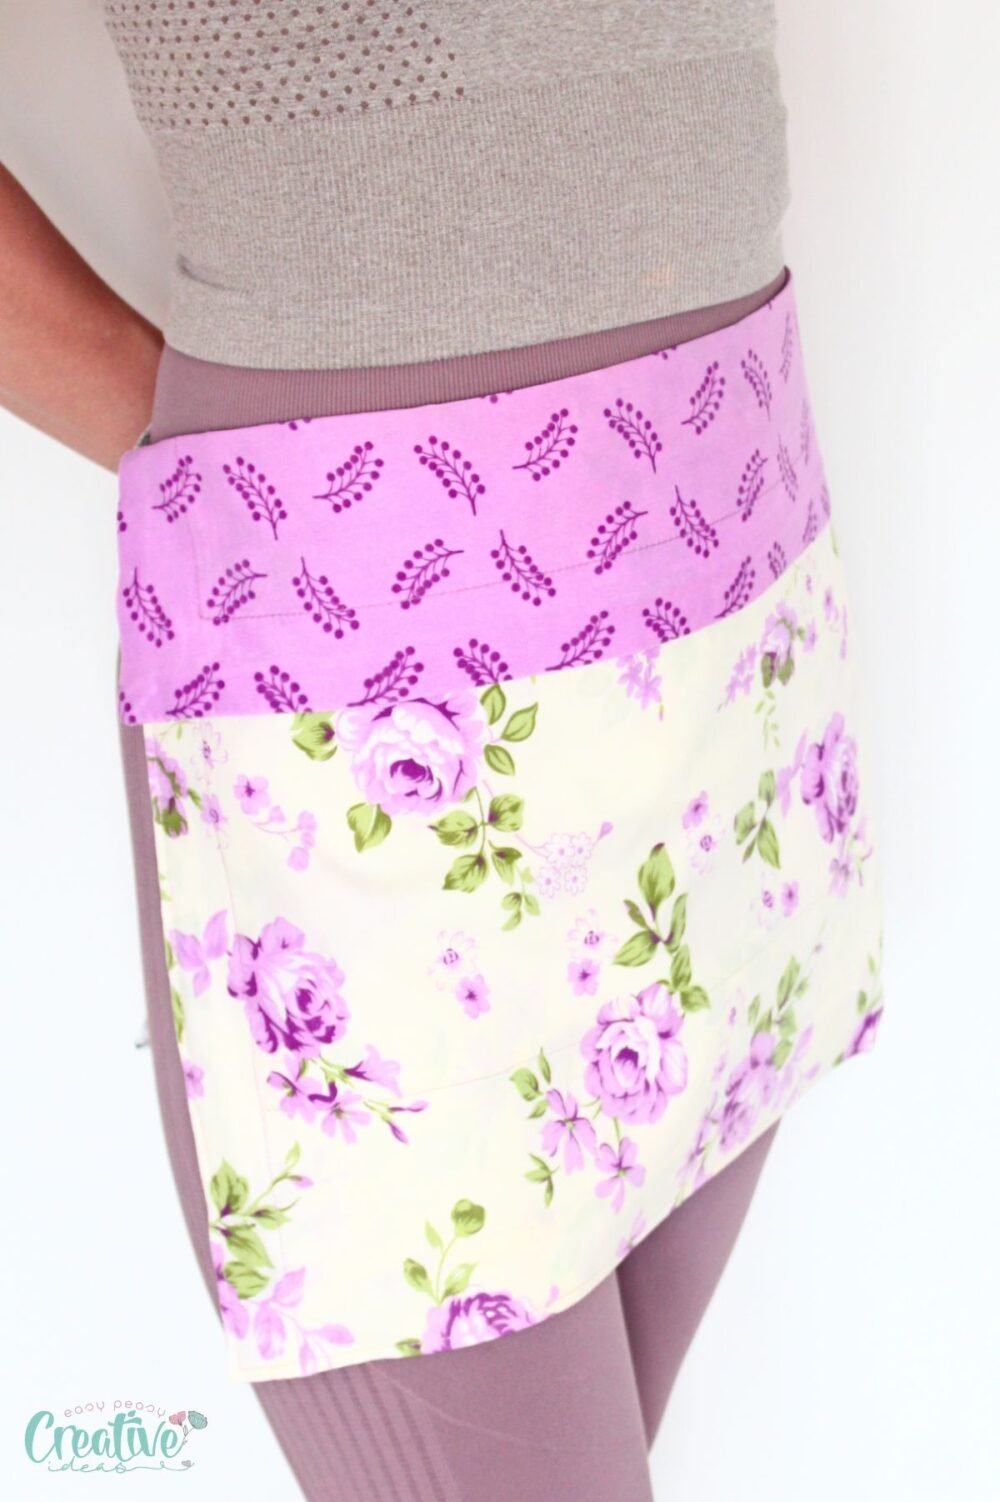
And this is the back, with the flap folded inside (towards me) and then outside, when I need to use the pocket in the apron.
Tips
- For a snug fit, measure the ties to wrap around your waist and tie comfortably in the front.
- Add smaller pockets by using fabric scraps, perfect for holding small kitchen essentials.
- Use different pillowcase patterns for a fun and unique look.
Project variations
- Embroider your initials for a personalized touch.
- Use a vintage pillowcase for a retro-inspired look.
- Add lace or ruffles for a feminine touch.
- Use contrasting fabric for the ties and pocket.
What to pair this pillowcase apron with
- For a complete kitchen set, pair your pillowcase apron with matching pot holders, hot pads and oven mitts.
- Add a coordinating dish towel or hand towel tucked into the front pocket of your apron
Frequently Asked Questions
Can I use a king-sized pillowcase for this project?
Yes, but you may need to adjust the dimensions accordingly.
Is this project suitable for beginners?
Definitely! This is such an easy introduction to sewing!
More sewing projects you’ll enjoy
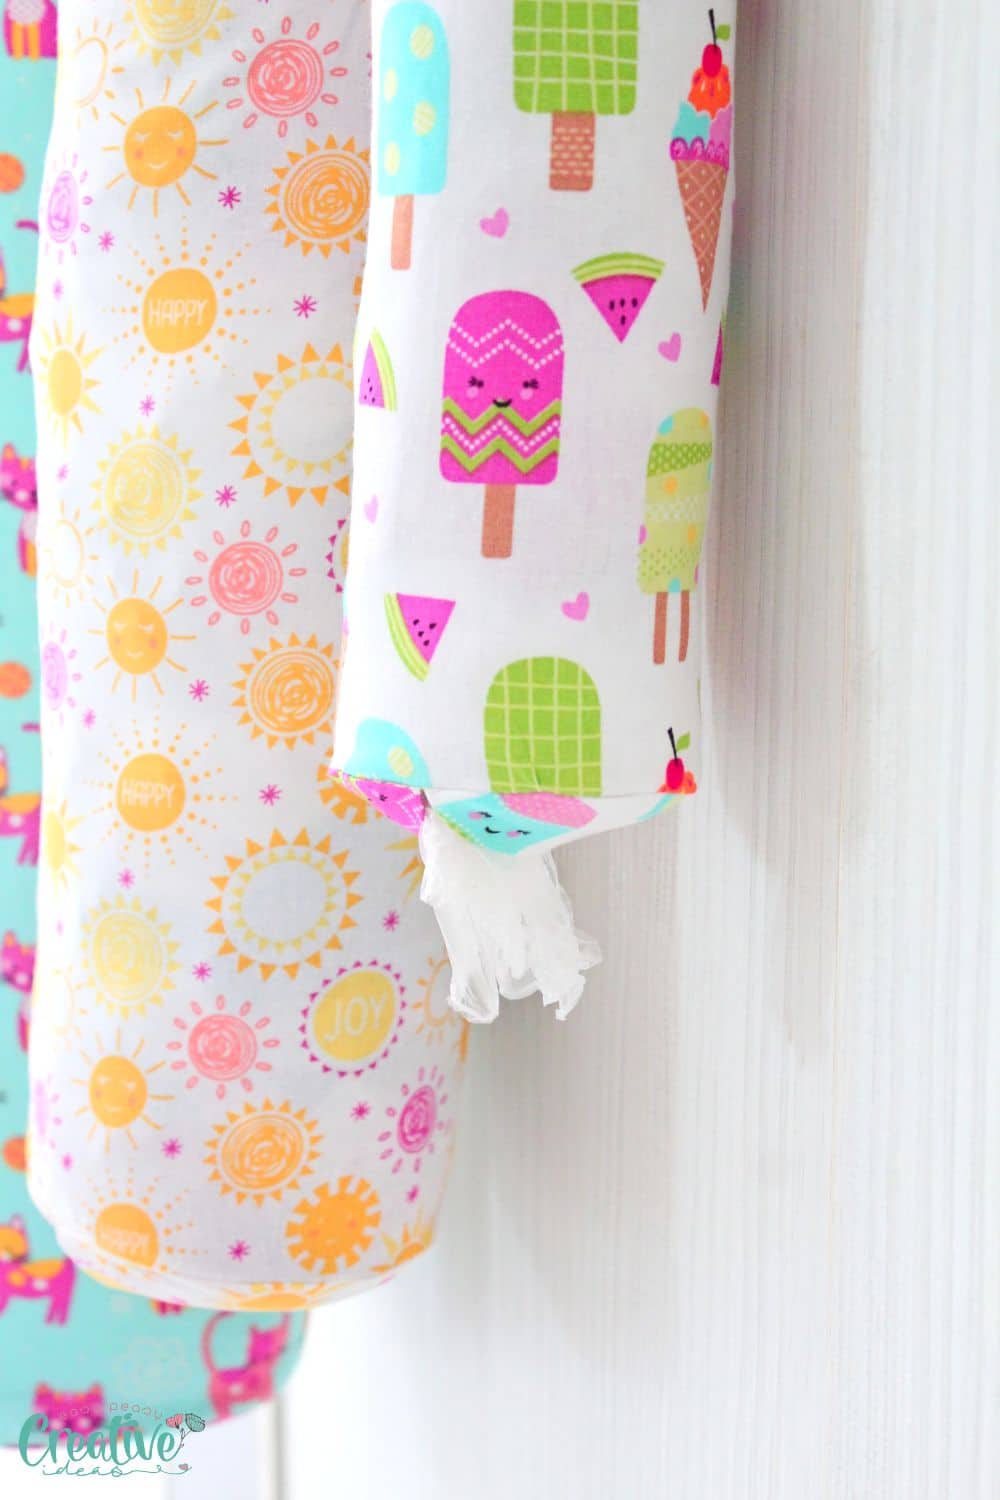
- Easy to sew plastic bags holders
- Crazy easy cutlery holders
- How to sew fabric trivets from fabric twine
- Reusable fabric bowl covers
- Sew cute mug rug
Size
This is a half apron, meaning it will cover you from below the waist. It fits most people and it’s easy to adjust from the ties.
Creating a pillowcase apron is not only a quick and easy project, but it also allows for personalization and versatility in the kitchen. With just a few materials and basic sewing skills, you can have a functional and stylish apron in just 10 minutes. So why not give this project a try and add a new favorite item to your kitchen collection. Happy sewing!

Pillowcase apron sewing tutorial
Materials
- 1 standard pillowcase
- matching thread
- ribbon or fabric for ties
Tools
- scissors
- Iron and ironing board
Instructions
- Start by ironing your pillowcase to remove any wrinkles.
- If you're using an envelope pillowcase, pin the opening area of the pillow (where you insert the pillow).
- Measure and cut the ties to fit around your waist. Some people prefer long ties that go around the back and then tie in front. So adjust to fit your preferences.
- If you're using binding scraps as I did, fold and sew them into ties. I folded the ends in, and pressed. Then I folded the sides towards the middle, I pressed, then I folded the entire strip in half, pressed and edge stitched it. Then I sew the ends closed.
- Sew the opening in the pillowcase. Use matching thread as the seam will be visible on the other side of the pillowcase.
- Lay your pillowcase flat on your table and then fold. You can fold in half or you can allow for a flap at the top as I did. I measured 4" from the top down for the flap, then I folded the flap down at that mark, then I folded the pillowcase to cover the flap.
- With the pillowcase folded as such, place one of the ties in the inside corner of the top of the pillowcase, and pin to. Sew down to the pillowcase. Repeat for the second tie on the opposite side of the pillowcase.
- Return the pillowcase to the table and fold it up again, as above. Flip the flap up. Pin and sew along both open sides to finish the apron.
- Fold the flap down, over the front side of the apron, and press well.
Video
Article may contain Amazon & affiliate links. As an Amazon Associate I earn from qualifying purchases at no additional cost to you.

Hi
I visited your site. So beautiful you sharing your knowledge & experience. Wonderful easy sew apron froma pillow case. Nice creative.