

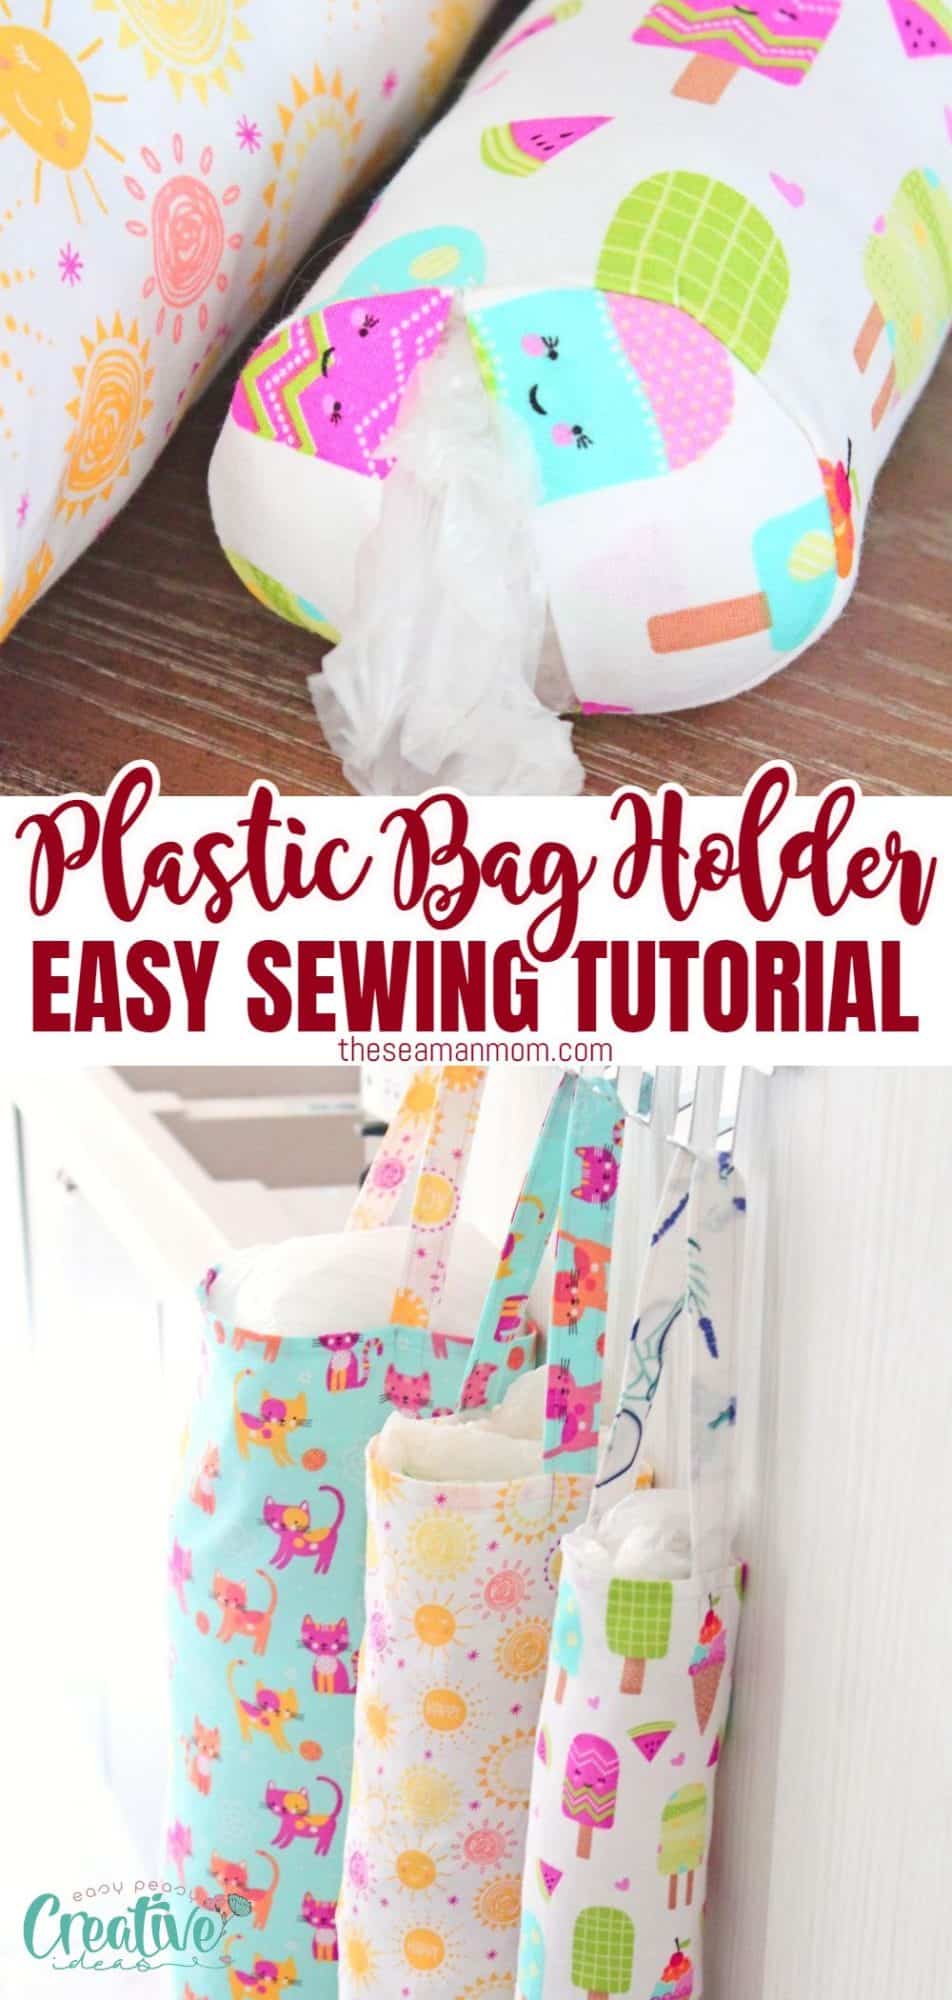
How to sew a plastic bag holder
Learn how to sew a plastic bag holder and say goodbye to that pile of plastic bags you’ve been keeping in the back of your pantry! Creating your very own plastic bag dispenser is easier than ever with this easy peasy sewing tutorial. Not only does it provide convenience in terms of storage, but it is also environmentally friendly. Get ready to enjoy the convenience of a personalized holder!
In this tutorial you’ll discover how to sew a plastic bag holder in just a few minutes! Say hello to a stylish and organized holder for all of your shopping and grocery bags! With this simple sewing tutorial, you can make a charming DIY plastic bag organizer that is sure to keep your shopping and grocery bags organized in style!
This article has been converted to a PDF file, available to purchase here! However this tutorial is free to read on the website.
The best part about creating your own plastic bag holder is that you can customize it however you’d like. Choose fun fabrics and patterns to make a statement, or keep it subtle with neutral solids. Whether you’re decorating for the season, making gifts, or just looking for creative ways to organize your plastic bags, this tutorial will provide you with all the easy steps you need to get started.
You can easily create your own plastic bag holder with just a few simple materials and tools. This fabric holder is the perfect way to stay organized and environmentally friendly and keep all of your plastic bags in one place – it’s a great way to make sure you always have a plastic bag handy!
How to sew a plastic bag holder
Materials needed
To make one holder, you will need:
- plastic bag holder pattern for the bottom and the body (below you’ll find instructions to make your own)
- cotton fabric for the body of the holder, the bottom and the handle
- scissors
- matching thread
- sewing machine
- pressing iron
Step-by-step instructions
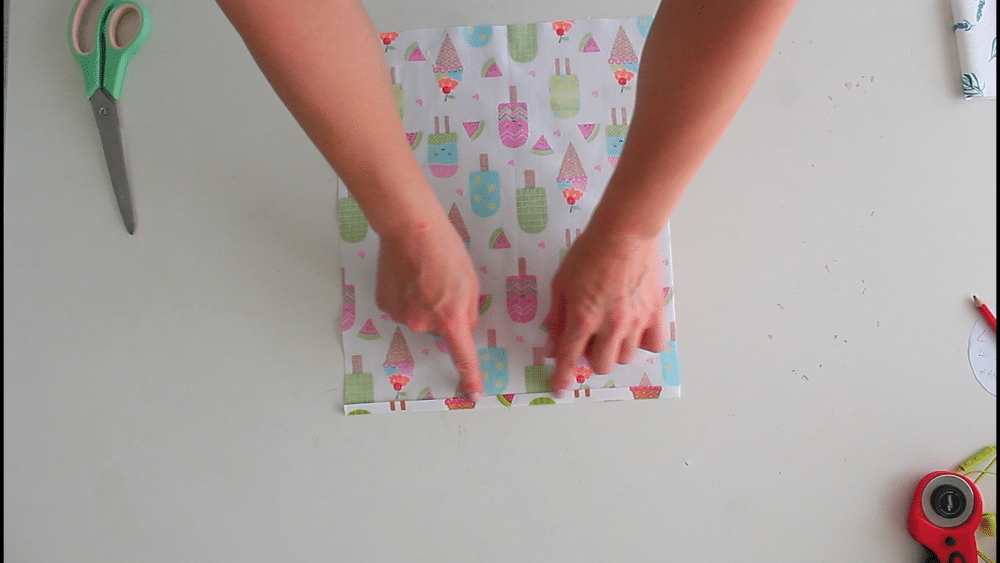
Prepare the fabrics
Start by cutting your fabrics according to the size needed. You’ll need 2 circles, 1 rectangle and 1 handle strip for each of the holders.
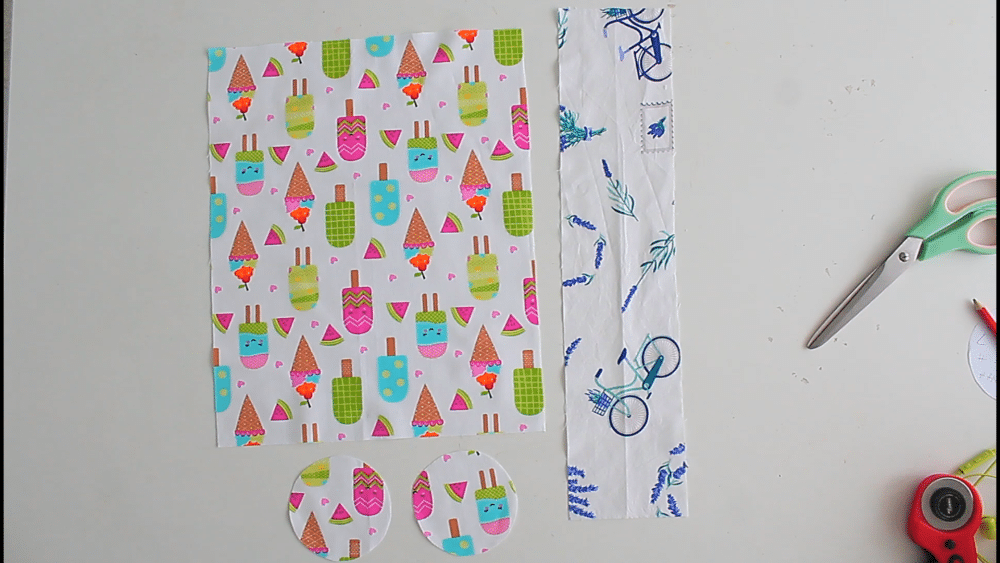
I made 3 holders for us and here are the measurements if you wish to use these:
- For the small holder: the circle is 3 1/2″ diameter, the rectangle is 10 1/4″ (width) by 14 1/2″ (height), the handle is 17 1/2″ by 4″
- For the medium holder: the circle is 5 1/2″, the rectangle is 16 3/4″ (width) by 20 1/2″ (height), the handle is 17 1/2″ by 4
- For the large holder: the circle is 7 1/2″, the rectangle is 23″ (width) by 26″ (height), the handle is 17 1/2″ by 4
To make the cylinder
- Fold the circles in half and press
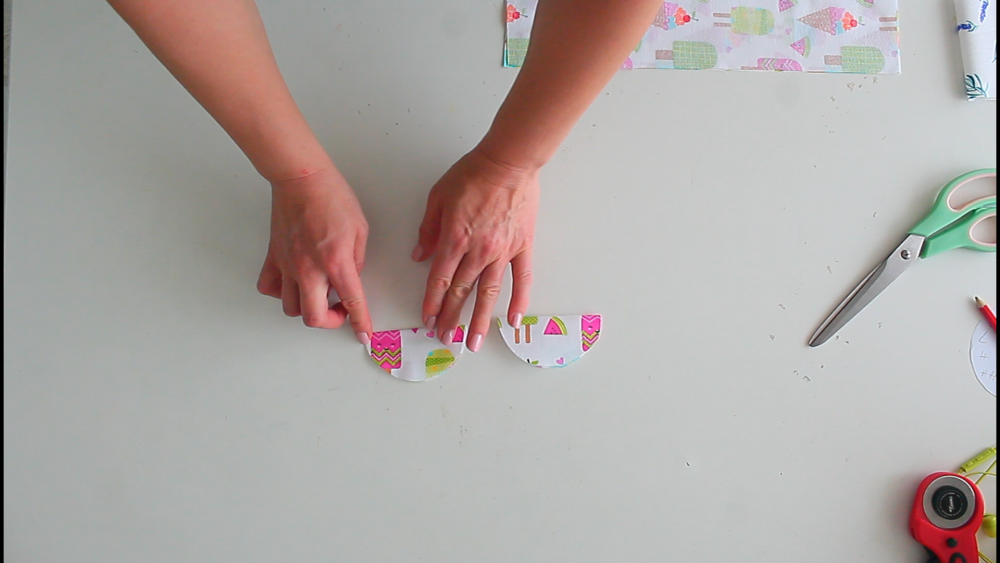
- Sew the raw edges with 1/4″ seam allowance and finish with a zig zag stitch or a serger
- Fold the top of the rectangle in 1/2″ and press
- Fold again and press
- Sew the top with a 3/8″ seam away from the edge.
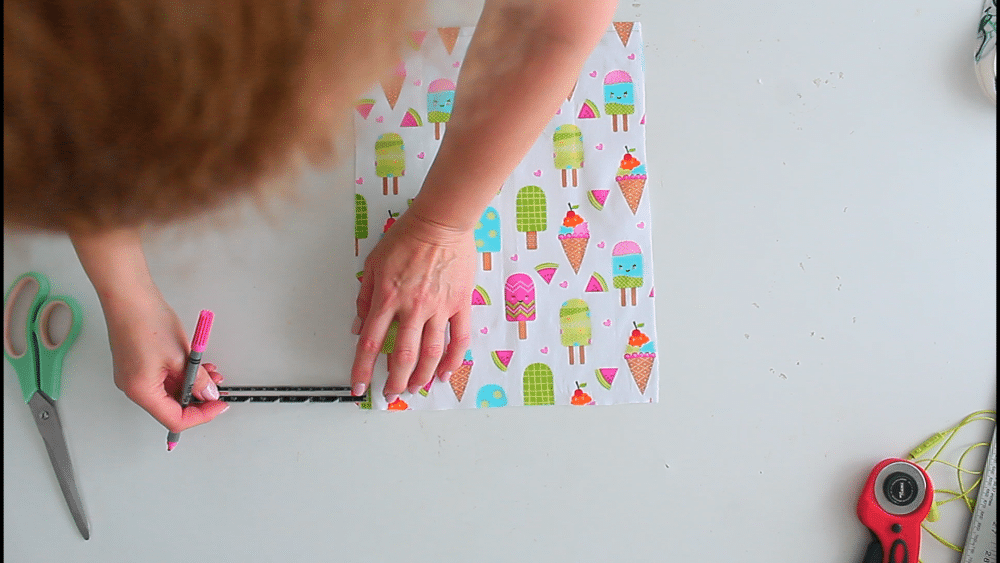
- Mark 1/4″ away from both sides of the rectangle, onto the bottom raw end.
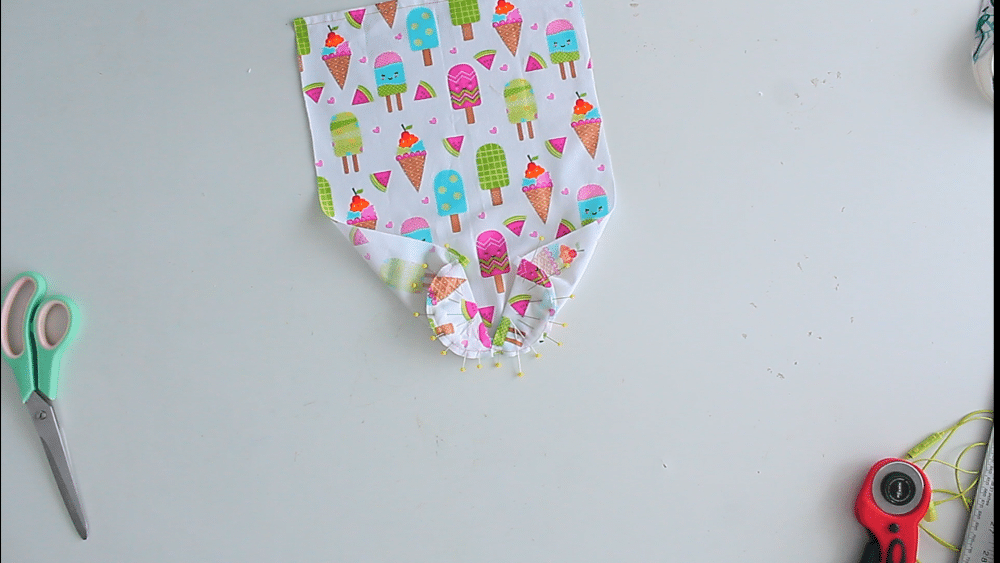
- Pin the half circles to the raw end, starting from these marks towards the middle of the rectangle.
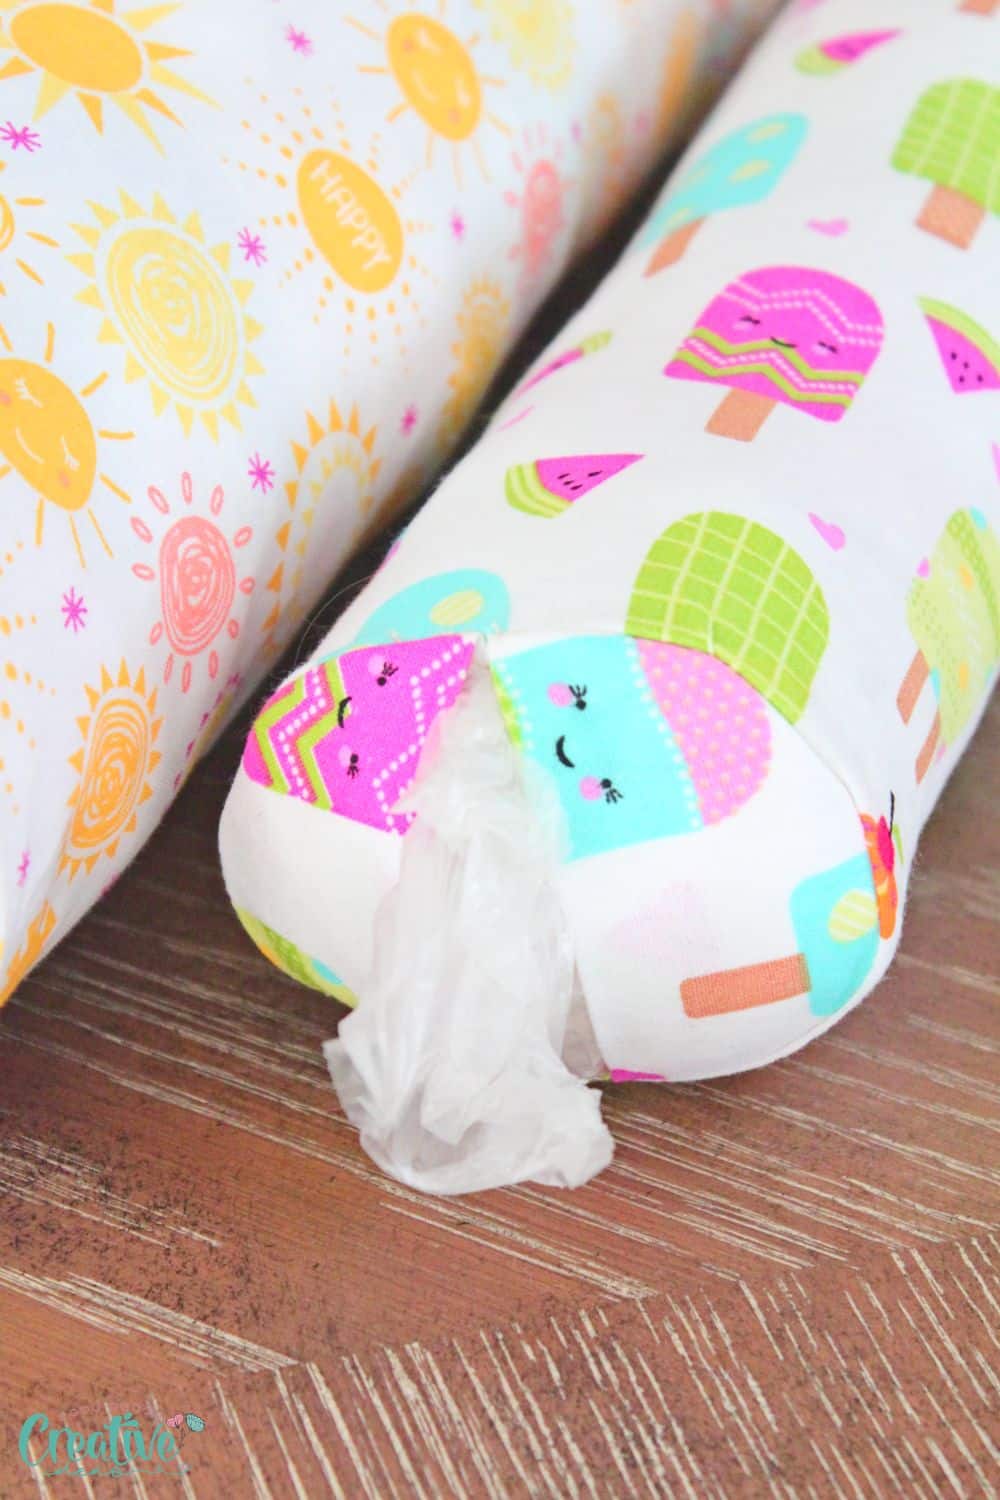
- Sew with 1/4″ allowance and finish the raw seam with a zig zag stitch or a serger.
- Turn right side out, smooth out the seam and press
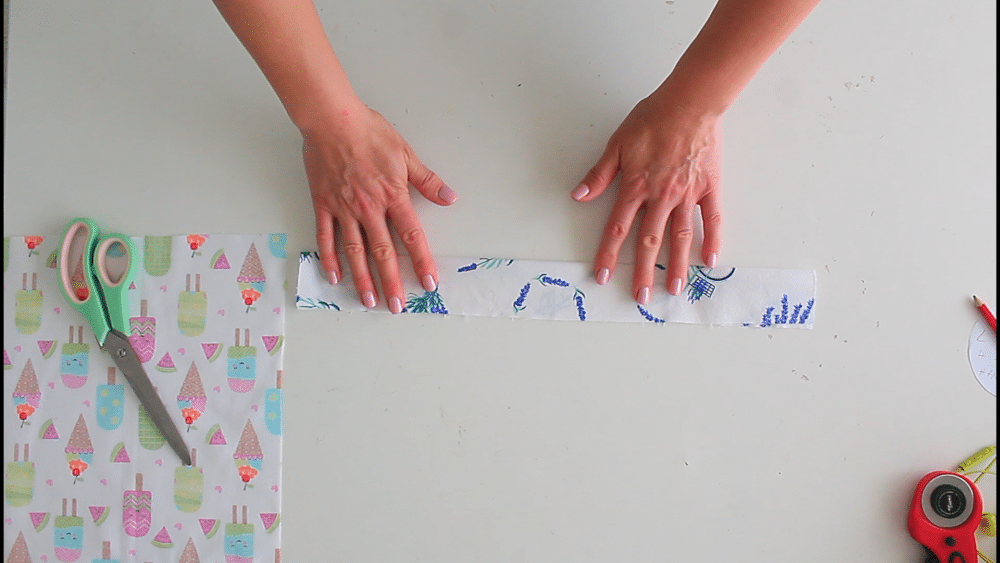
Make the handle
- Fold the handle strip in half, wrong sides together and press.
- Open the strip and fold each half in half then press
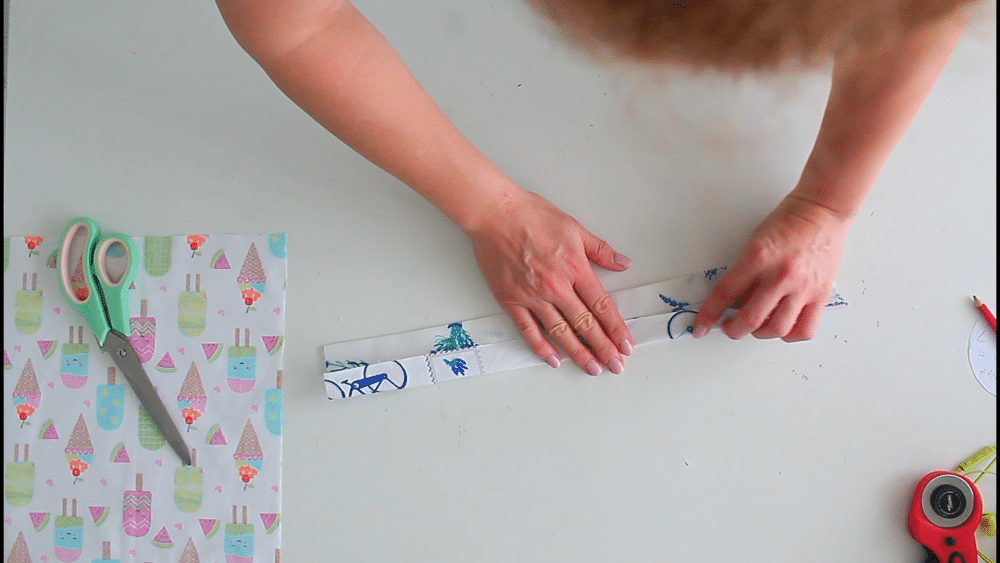
- Fold again one more time and press.
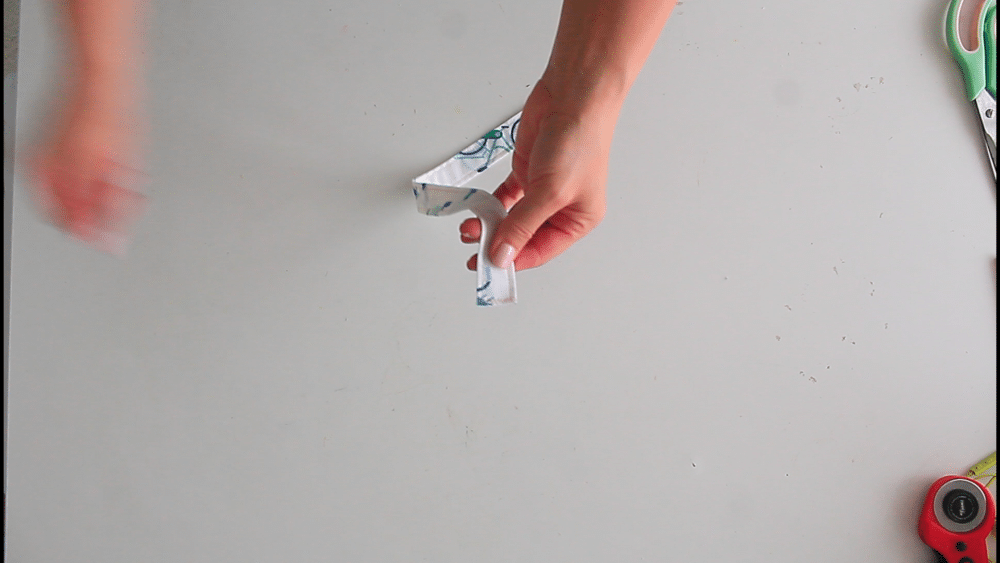
- Edge stitch both sides of the strip.
- Finish the raw ends with a zig zag stitch or a serger.
Put all pieces together
- Mark the middle of the rectangle at the top.
- Mark the middle of each half of the rectangle and pin the handle to these marks.
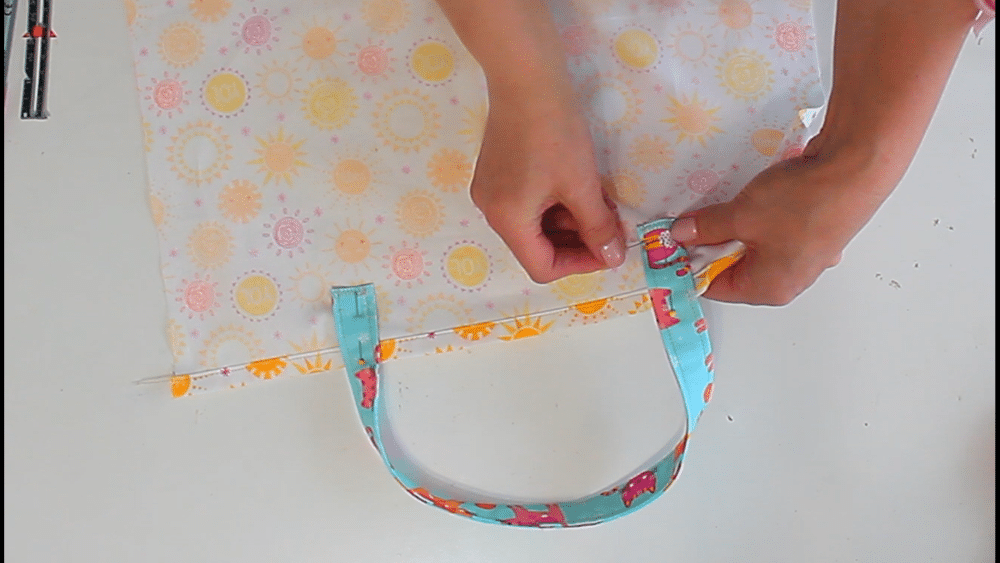
- Sew the handle to the bag on the sides and the bottom.
- Flip the bag right side up and fold in half.
- Pin the raw side and sew with 1/4″ allowance. Finish the seam with a zig zag stitch or a serger.

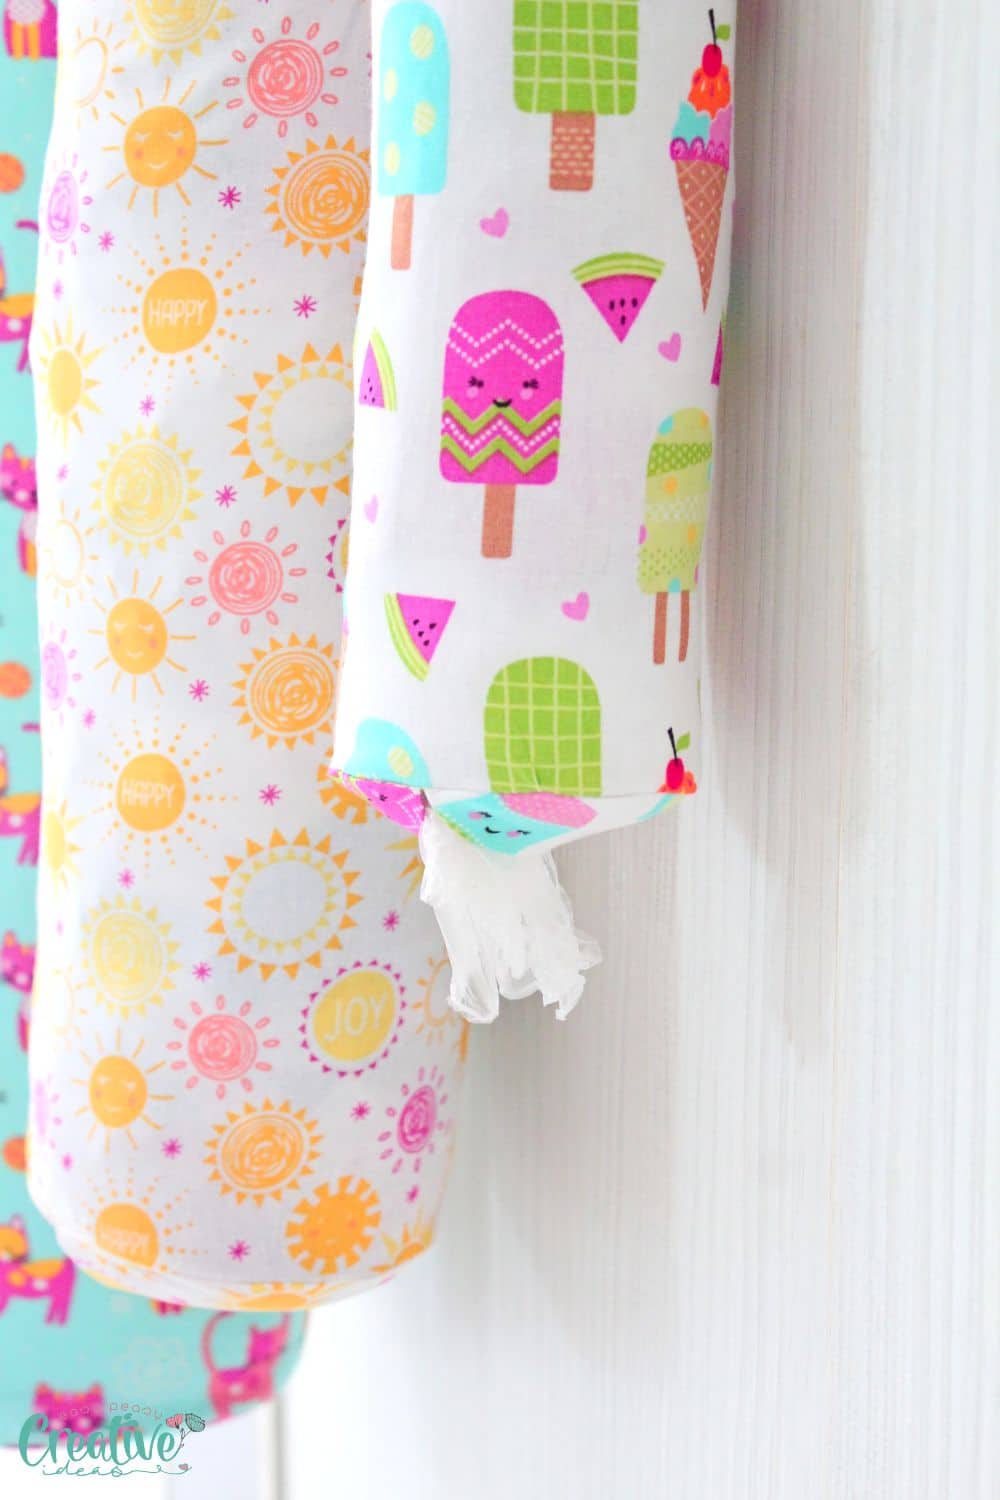
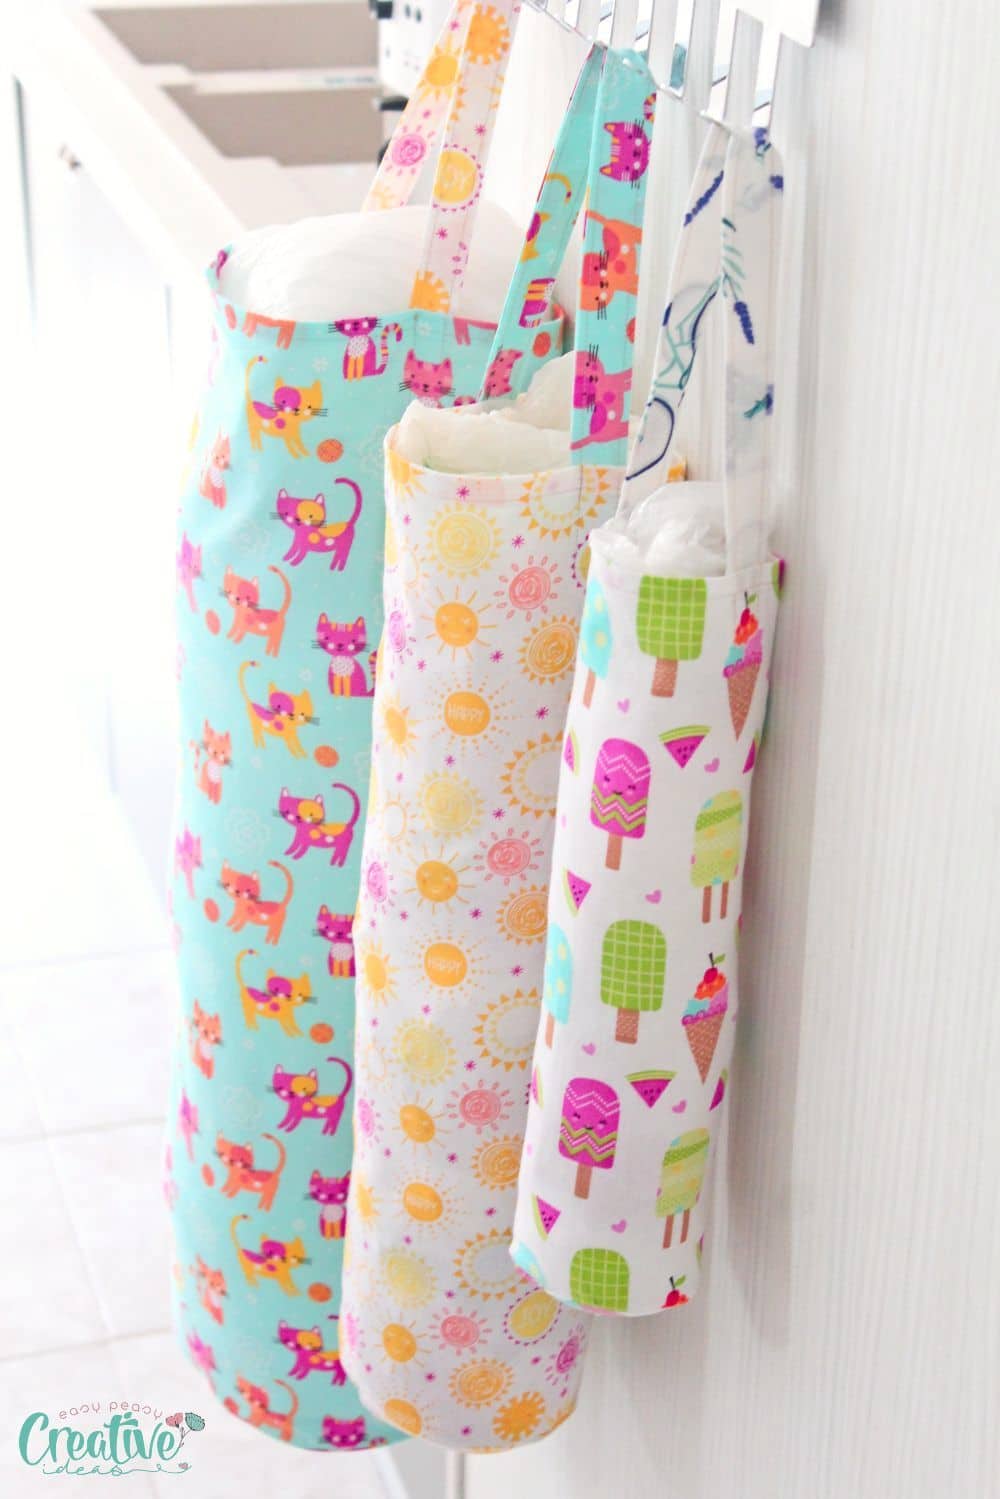
- Turn the holder right side our and press.
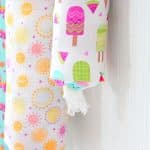
Congratulations on completing your plastic grocery bag holder! Now place them on a hanger in your pantry (or even in the garage) and start using those plastic bags in a more organized way.
Frequently asked questions that you might find helpful
How big should my grocery bag holder be?
The size of your plastic bag holder depends on how many bags you want to store and their sizes. For an average-sized holder, it should be around 10” by 10”.
What kind of fabric works best for this holder?
Any type of light or medium-weight cotton fabric can be used for this project. I used fat quarters for this project. Try experimenting with fun prints and patterns, or use neutral colors for a more subtle look.
If you want to make your holder more sturdy, add interfacing or use home décor fabric.
What are the benefits of having a plastic bag holder?
A plastic bag holder is a great way to stay organized and environmentally friendly. It helps you store your bags in one place so they’re always handy. It reduces the amount of waste from single-use plastic bags as you’re most likely to reuse the bags once they’re organized like this. Plus, with DIY options like this tutorial, you can customize your holder to match your home décor!
How long does it take to sew this?
The amount of time it takes to sew a plastic bag dispenser will depend on the size and complexity of the project. For a basic dispenser, it typically takes about 30 minutes. If you are adding any embellishments or quilting details, it will take longer. To ensure an efficient process, be sure to have all your materials and tools ready before you begin sewing and that you have a plan for the project. With a bit of preparation, you can create your own plastic bag dispenser in no time!
Can I quilt this project?
Yes, you can quilt this project to add extra texture and design and make the bag more durable. You can also add quilting motifs or other decorative elements for a unique look. Happy creating!
More projects to sew for home that you will love

- Crazy easy cutlery holders
- Easy fabric bowl covers
- Square kitchen potholders
- Quilted patchwork potholders
- Easy peasy pillowcase
I hope that this tutorial has helped you create a stylish and functional holder for all your plastic grocery bags to help reduce waste and make your home tidy. Don’t forget to sign up to my newsletters if you wish to receive more easy and quick step-by-step tutorials and sewing patterns. Happy sewing!
How to sew a plastic bag holder
Materials
- plastic bag holder pattern for the bottom and the body below you'll find instructions to make your own
- cotton fabric for the body of the holder, the bottom and the handle
- matching thread
Tools
- scissors
- pressing iron
Instructions
- Start by cutting your fabrics according to the size needed. You'll need 2 circles, 1 rectangle and 1 handle strip for each of the holders.
- I made 3 holders for us and here are the measurements if you wish to use these:
- For the small holder: the circle is 3 1/2" diameter, the rectangle is 10 1/4" (width) by 14 1/2" (height), the handle is 17 1/2" by 4"
- For the medium holder: the circle is 5 1/2", the rectangle is 16 3/4" (width) by 20 1/2" (height), the handle is 17 1/2" by 4
- For the large holder: the circle is 7 1/2", the rectangle is 23" (width) by 26" (height), the handle is 17 1/2" by 4
- Fold the circles in half and press
- Sew the raw edges with 1/4" seam allowance and finish with a zig zag stitch or a serger
- Fold the top of the rectangle in 1/2" and press
- Fold again and press
- Sew the top with a 3/8" seam away from the edge.
- Mark 1/4" away from both sides of the rectangle, onto the bottom raw end.
- Pin the half circles to the raw end, starting from these marks towards the middle of the rectangle.
- Sew with 1/4" allowance and finish the raw seam with a zig zag stitch or a serger.
- Turn right side out, smooth out the seam and press
- Fold the handle strip in half, wrong sides together and press.
- Open the strip and fold each half in half then press
- Fold again one more time and press.
- Edge stitch both sides of the strip.
- Finish the raw ends with a zig zag stitch or a serger.
- Mark the middle of the rectangle at the top.
- Mark the middle of each half of the rectangle and pin the handle to these marks.
- Sew the handle to the bag on the sides and the bottom.
- Flip the bag right side up and fold in half.
- Pin the raw side and sew with 1/4" allowance. Finish the seam with a zig zag stitch or a serger.
- Turn the holder right side our and press.
Video
Most popular sewing projects:


Article may contain Amazon & affiliate links. As an Amazon Associate I earn from qualifying purchases at no additional cost to you.

I have two of these now. One in sturdy furnishing fabric and one in pretty quilting cotton.
Since we in Britain now have to pay for plastic carrier bags I have gone over to reuseable but the holders are ideal for kitchen towels. Instead of folding my fabric kitchen towels and cleaning cloths or looking for some way to make them tidy yet accessible, I keep them in these for quick and easy access. One is for cleaner jobs and quick wipe ups, the other is for very dirty jobs where I will likely need to throw the rag away after.
So this way it is still encouraging a very environmentally friendly habit.
Thank you.
Awesome! Thanks for sharing your experience with us, Sheena! I never would’ve thought of using these for other purposes!
I like the finished look of the bottom with the half circles instead of the usual elastic. Is the size of the rectangle in the small and medium supposed to be the same? Thanks for this pattern
Hi, Susan! They’re different sizes, it’s a typo I’ve just corrected. Thanks for catching that and for letting me know! xoxo