Quilted small coin purse
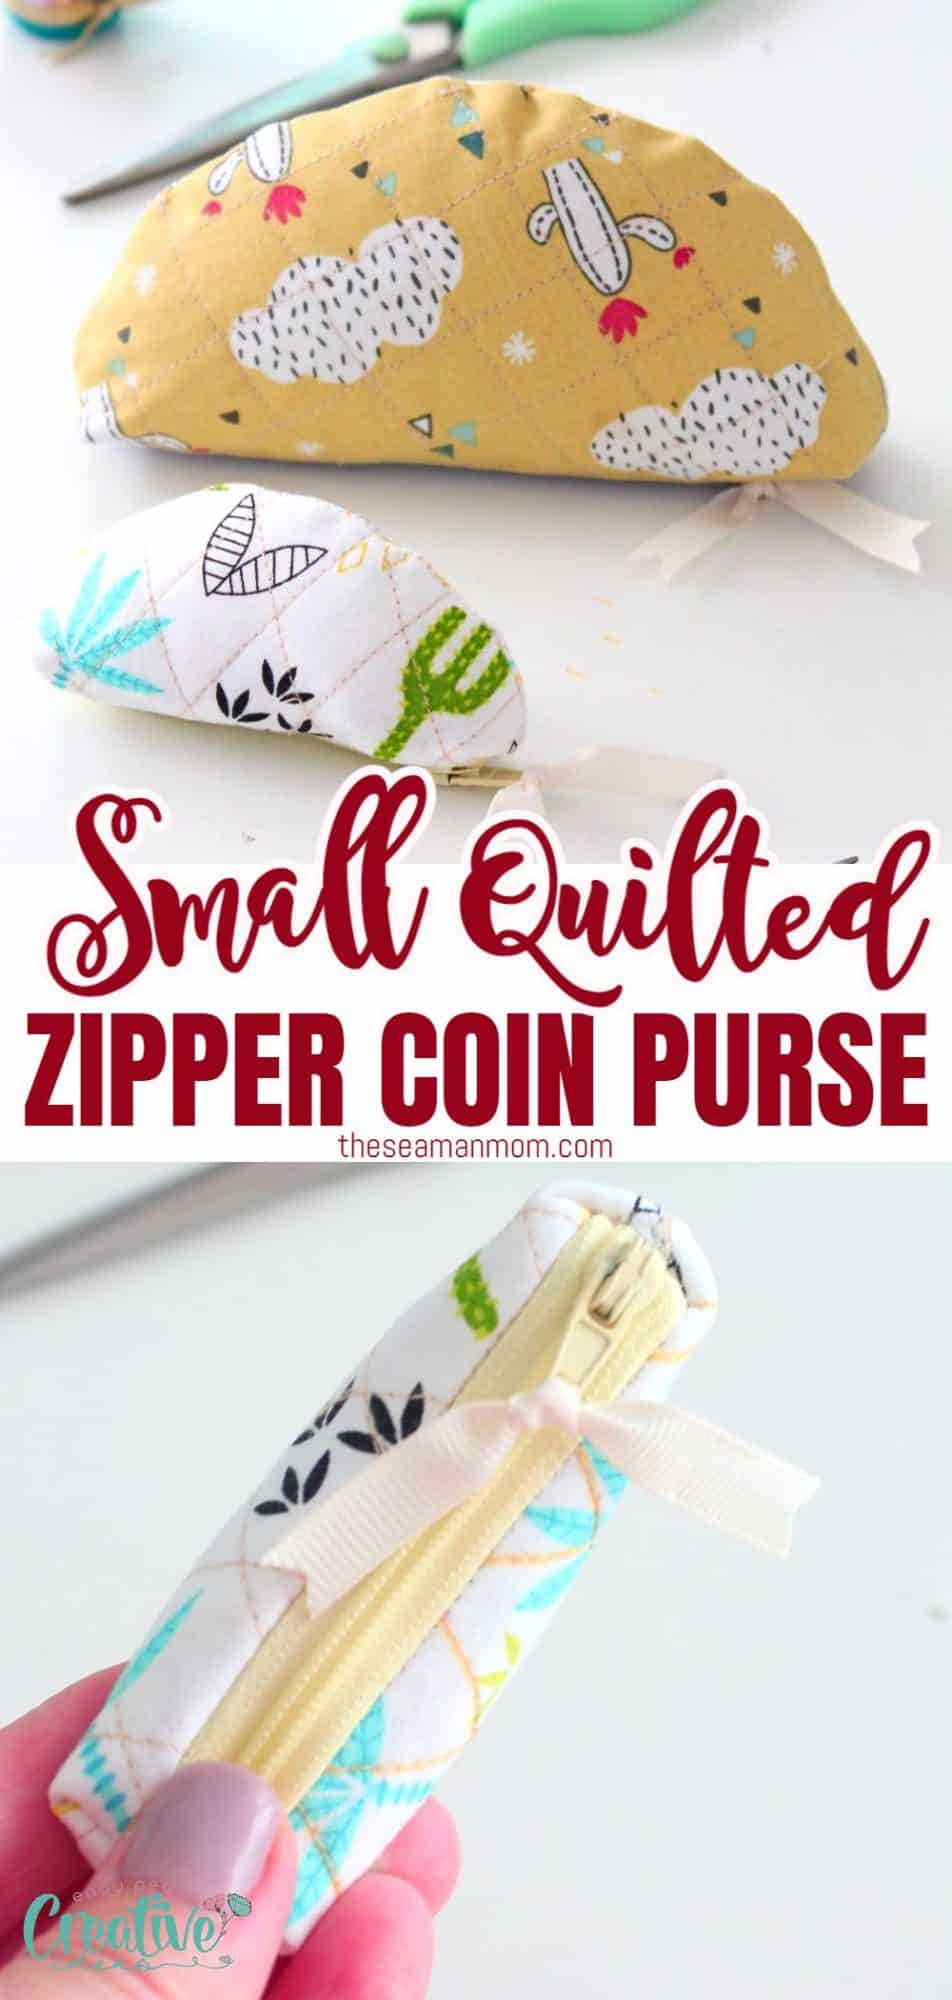
This small coin purse is the perfect way to keep your tiny treasures safe and secure. With a few simple steps, you can transform fabric scraps into a beautiful quilted mini coin purse!
Small coin purse sewing tutorial
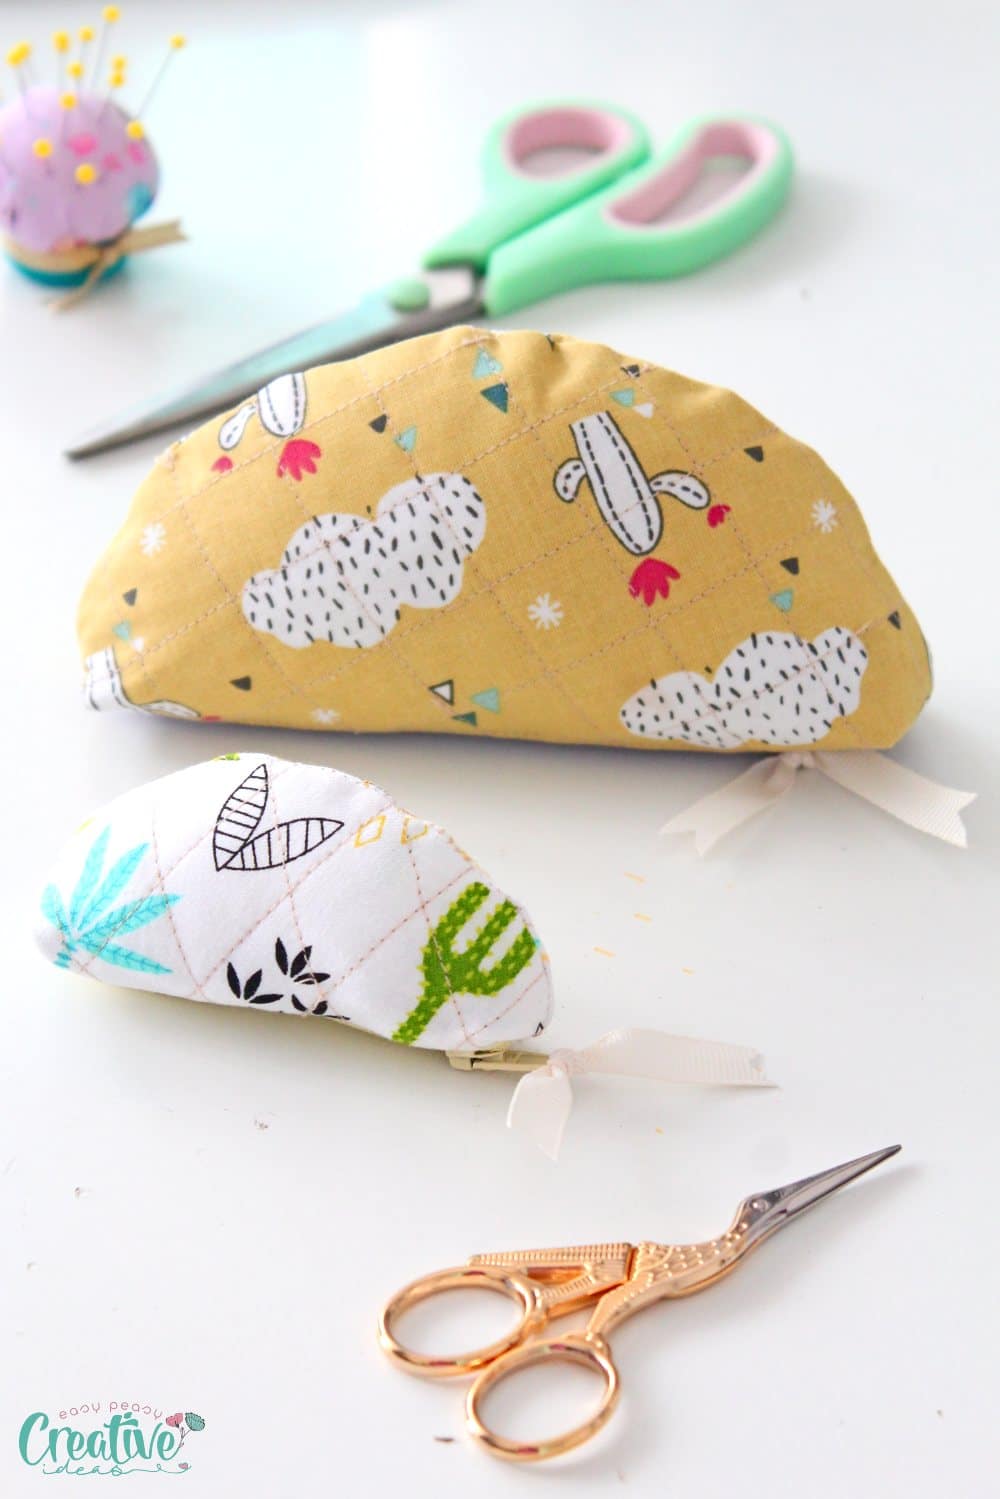
Start your quilting journey with a mini masterpiece! Crafting a small coin purse is the perfect way to use up fabric scraps and create something truly unique. This project is ideal for those new to quilting, requiring minimal supplies and time. Create this sweet little accessory in no time, for a special gift or for yourself!
This article has been converted to a PDF file, available to purchase here! However this tutorial is free to read on the website.
With this mini coin purse, you’ll be able to easily make a timeless piece that will last. Whether you’re looking for a handmade gift or an everyday accessory, this tutorial will help you make an adorable small zippered coin purse that can be enjoyed for years to come.
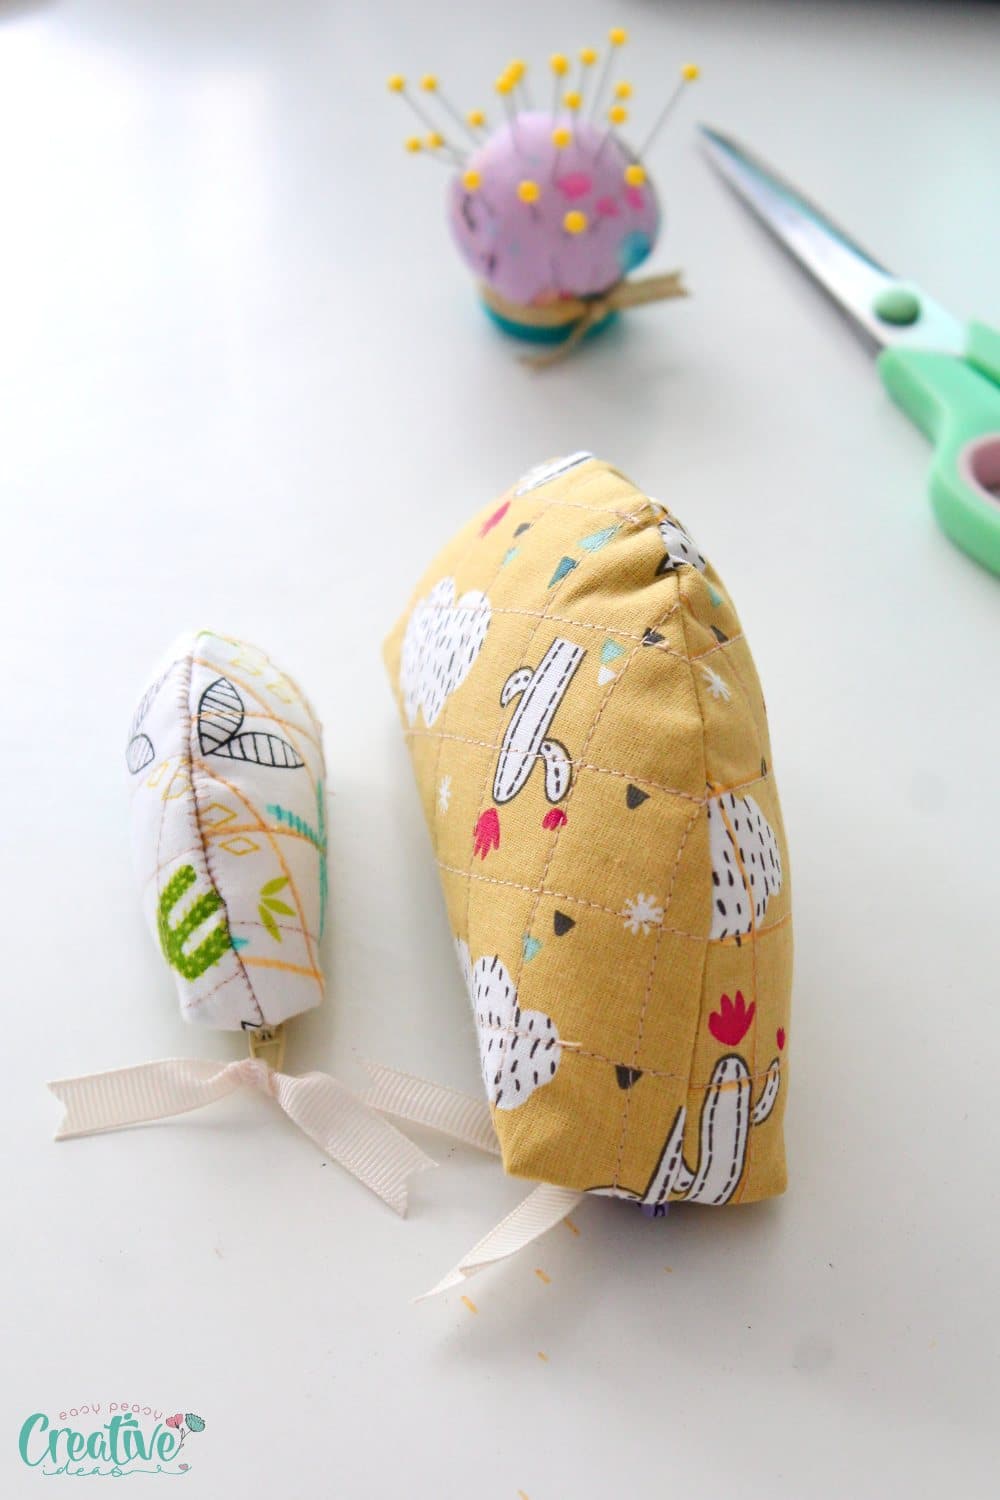
This project is a great scrap buster and probably the easiest quilting project a beginner can make. I made my purses from a couple of quilted scraps I had from previous projects here (where I made a mistake and miscalculated the circles so I had no choice but to throw or recycle them).
More quilting ideas you will love:
- Quilted zipper pouch
- Oval pocket potholders
- Quilted mug shaped containers
- Quilted snap bag
- Easy quilted tablet case
- Quilted phone charger holder
- Quilted tissue holder
Is this project suitable for beginners?
At first glance, sewing a coin purse may seem like a difficult project. But it’s much easier than most beginners expect. If you’re new to quilting, this is a great opportunity to practice your skills and make something sweet and functional.
How long does this small coin purse take to make?
This small zippered coin purse can be completed in about half an hour or about an hour if you’re a beginner, depending on your speed and skill. With basic supplies, my easy instructions and a little bit of planning, quilting a small coin purse like this is a simple project that yields great results.
What is the standard size of coin purse?
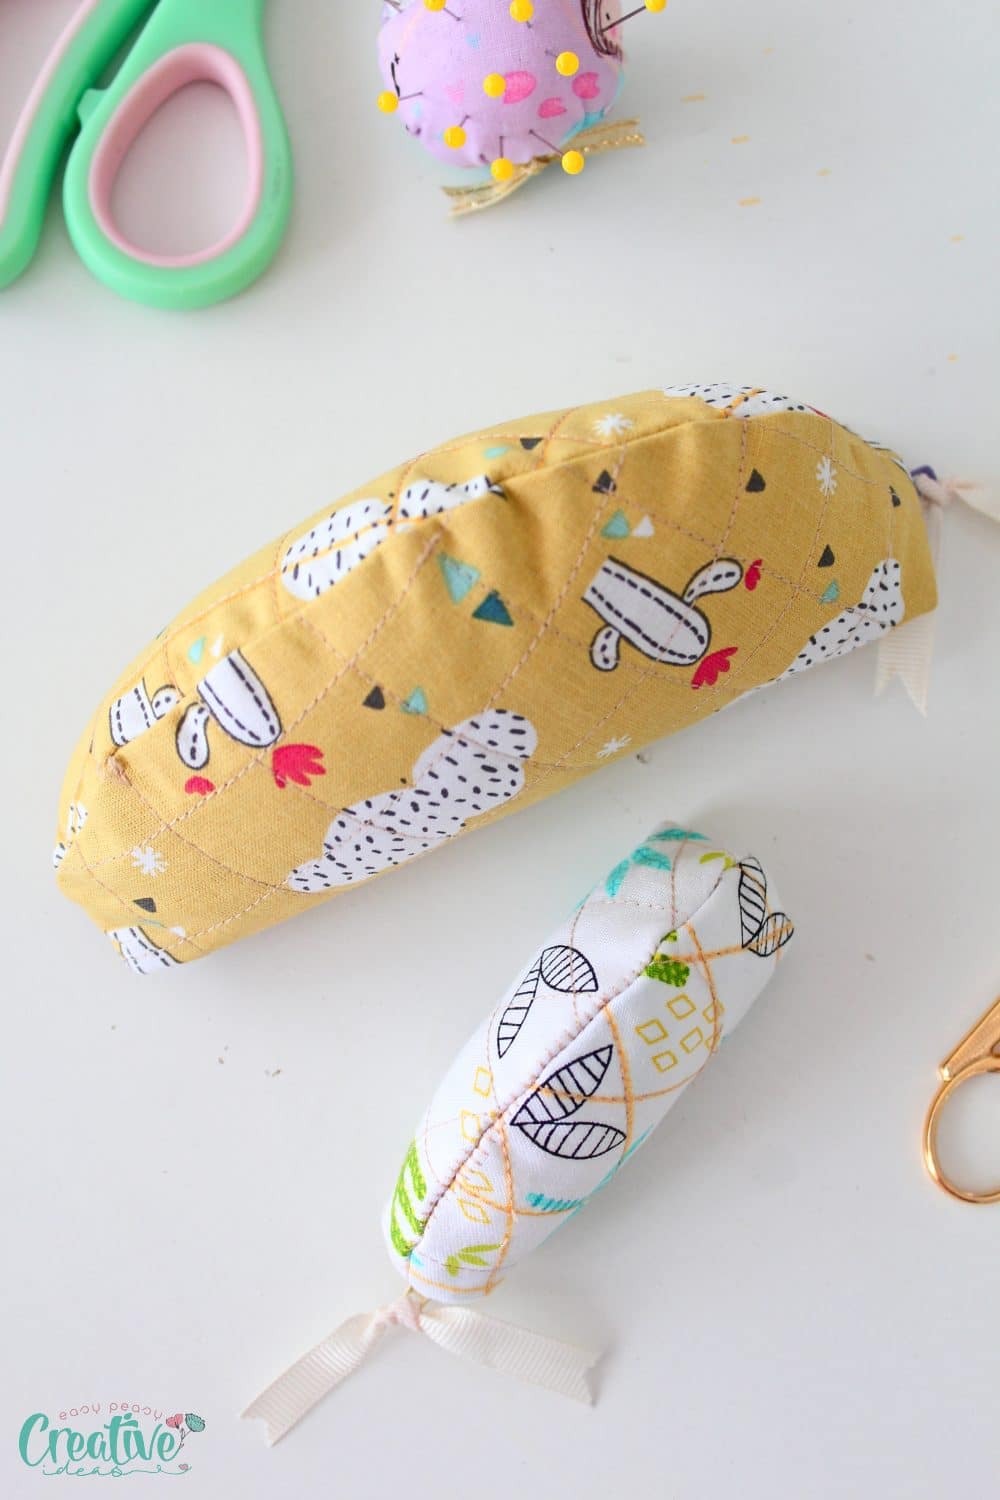
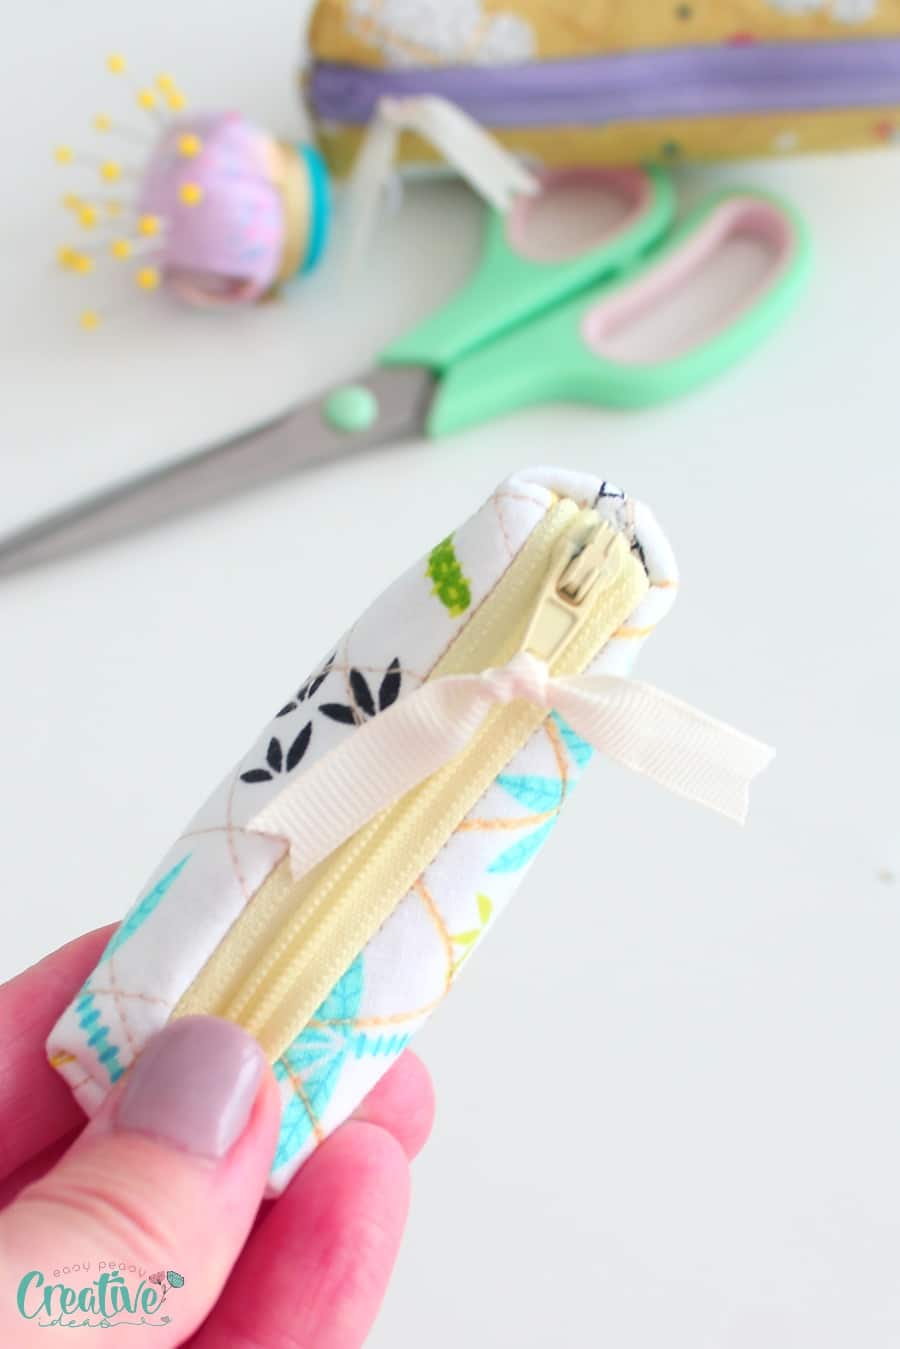
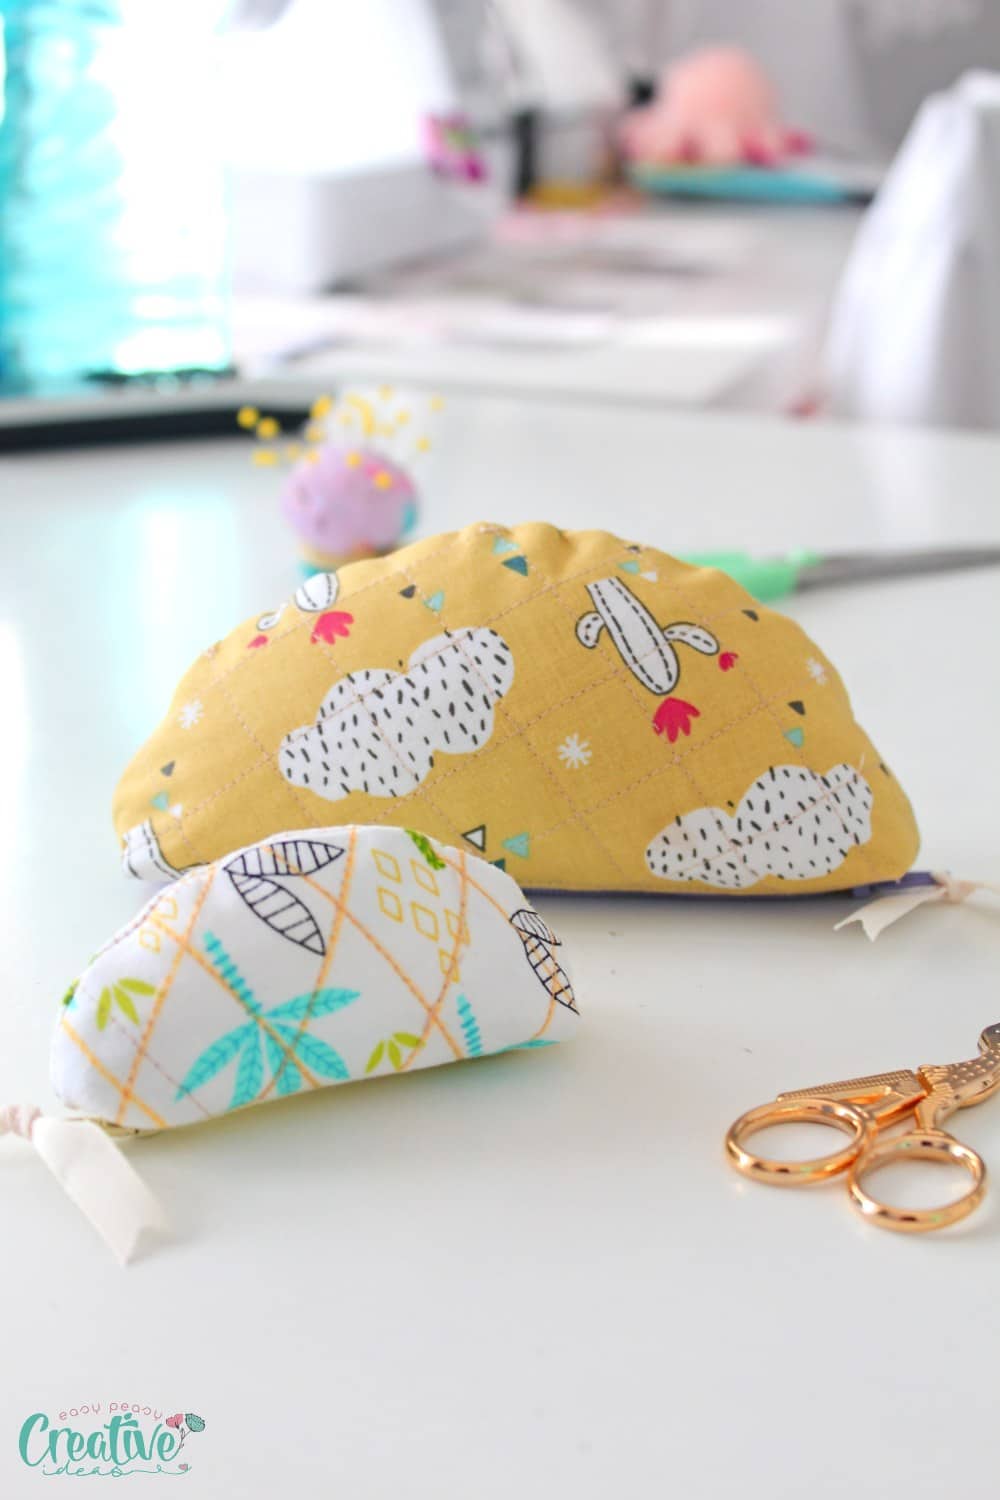
A standard size for a mini coin purse is 4 to 5 inches square when finished. This small coin pouch is not square as you can tell from the photos but the mini purse is made from a 5″ circle in diameter and the larger one is from a 7″ circle. The tutorial below provides clear instructions on how to measure and cut your fabric to the correct measurements, as well as how to quilt and assemble it together. You can make a quilted coin purse in any size you like and need, it’s super simple and easy to adapt this tutorial to whatever size you wish.
Can I use a coin purse as a wallet?
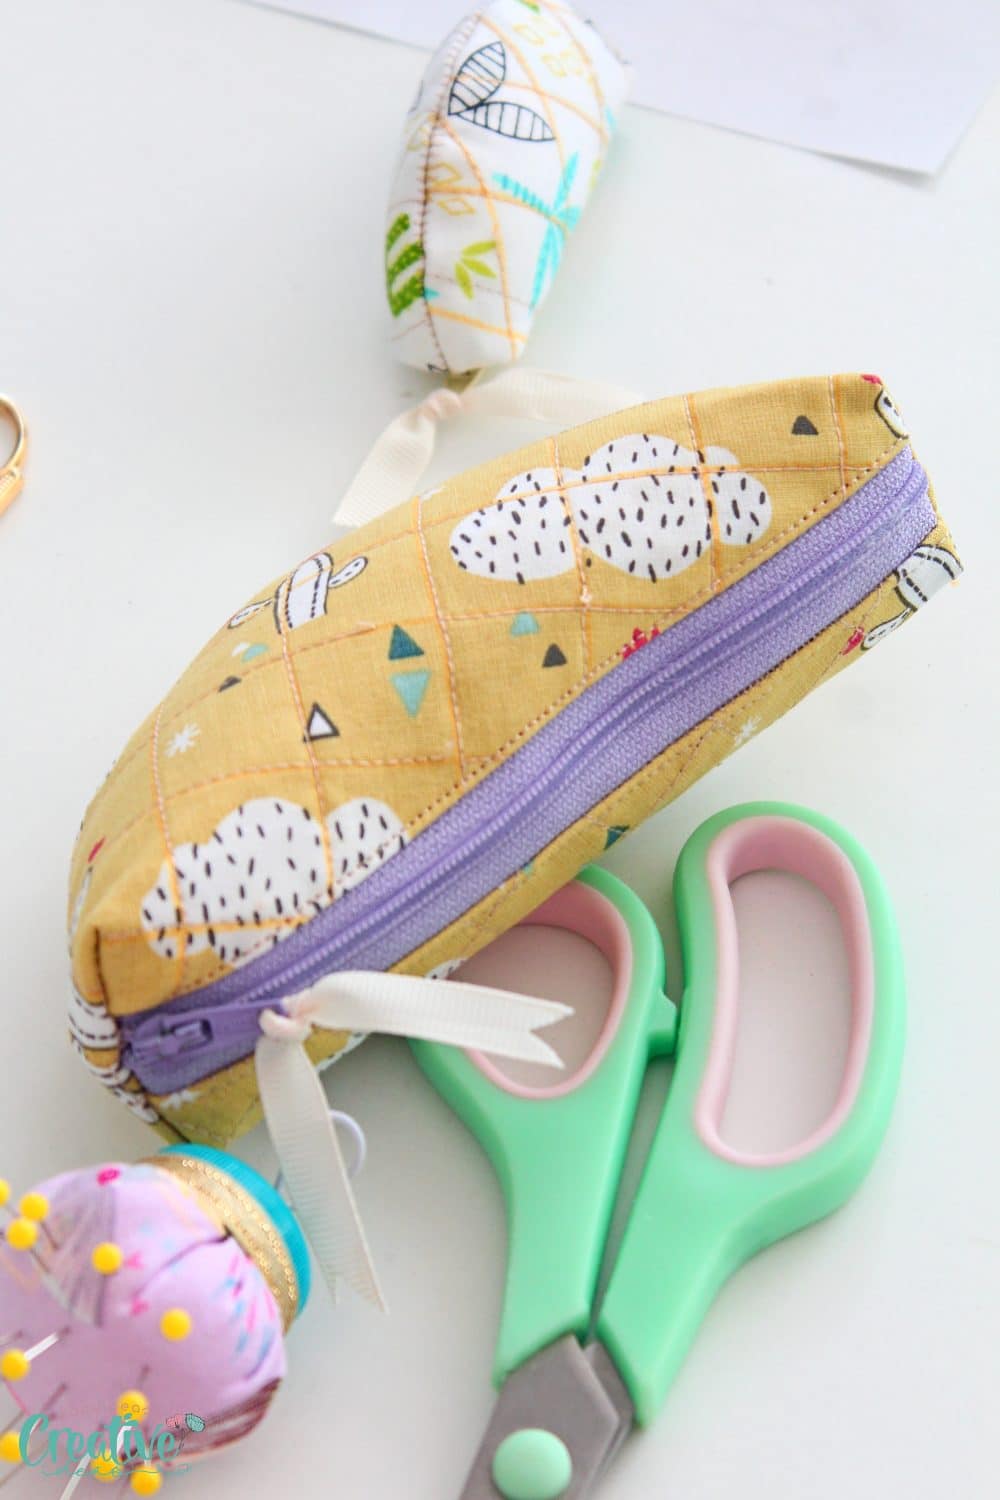
Yes, this small coin pouch makes a great wallet. It’s just the right size to hold your cards, cash and coins. You can also use it to store jewelry, lip balm, candy or other tiny treasures! It’s very easy to add a couple of pockets inside the purse or sew a couple of elastics to keep the items such as lip balm or credit cards in place.
How to personalize this small coin purse?
You can personalize this mini coin purse to make it unique and special for the recipient or yourself. Here are a few ideas:
- Add a monogram or a name
- Add a tab piece when you sew the zip or on the side of the top seam.
- If you opted for a tab you might as well add a keyring or a d-ring to that tab.
- Use fabrics in contrasting colors
- Decorate them with ric rac trim, lace or felt appliques.
- Cover the seams in contrasting double fold bias tape or bias binding, including the zipper seams.
- Add a pocket on the outside or inside.
- Decorate the zipper with lace or ribbon.
Do I need a zipper foot for this project?
While it may seem necessary, you don’t really need a zipper foot. However, it is helpful if you have one. If not, a regular sewing foot works just as well. My machine and foot allow me to move the needle very close to the zipper so I didn’t need a zipper foot.
Are there any tips to make this project easier?
Yes! Here are a few tips:
- Use lightweight interfacing to make the purse more sturdy.
- Choose fabrics that will be easy to sew with and won’t fray. Quilting cotton is the best option for this project.
- Make sure you mark the quilting lines on the wrong side of your fabric.
- If you have a serger and you are not in a rush to sew your mini coin purse, use it to finish the seams instead of a zig zag seam as I did here. Better than a serger, covering the raw seams in bias binding would make the small pouch look really neat. Both options will make your project look more professional.
Whether it’s for a special occasion or just an everyday accessory, this small zippered pouch can be used to store important items safely. Let me know how you personalize yours in the comments below! If you’re ready to get sewing, follow the tutorial below and soon you’ll have a beautiful quilted mini coin purse.
What materials do I need?
For this project, you will need basic supplies like:
- scraps of cotton fabric
- light double sided fusible interfacing or fusible fleece
- small zipper that matches the diameter of your circle
- matching thread
- scissors
- rotary cutter (optional)
- cutting mat
- quilting clips or pins
- quilting ruler
- fabric marker
- iron
- a geometry compass
- pencil
- sewing machine
How to sew a small coin purse?
Prepare the fabric pieces
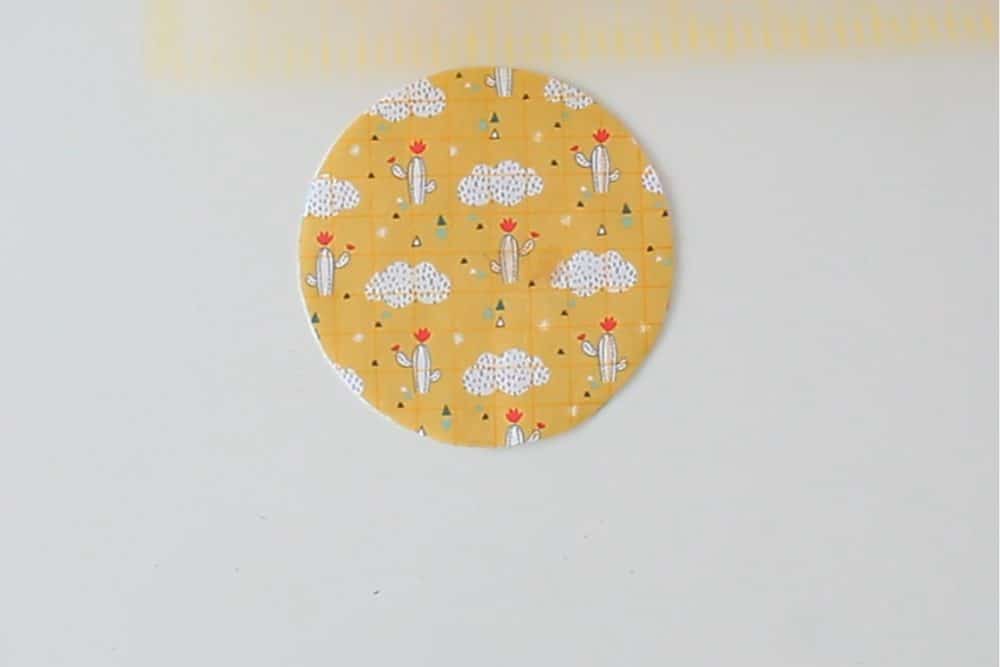
- Start by drawing a circle onto one piece of paper, in the size you want, to make a template. As mentioned above I used 2 size circles of 5″ and 7″ in diameter. And I felt comfortable enough to trace directly onto the fabric pieces, placed wrong sides together.
- Place the fabric scraps wrong sides together and trace the circle onto fabric if you haven’t already. Pin the fabrics together and cut the circle out.
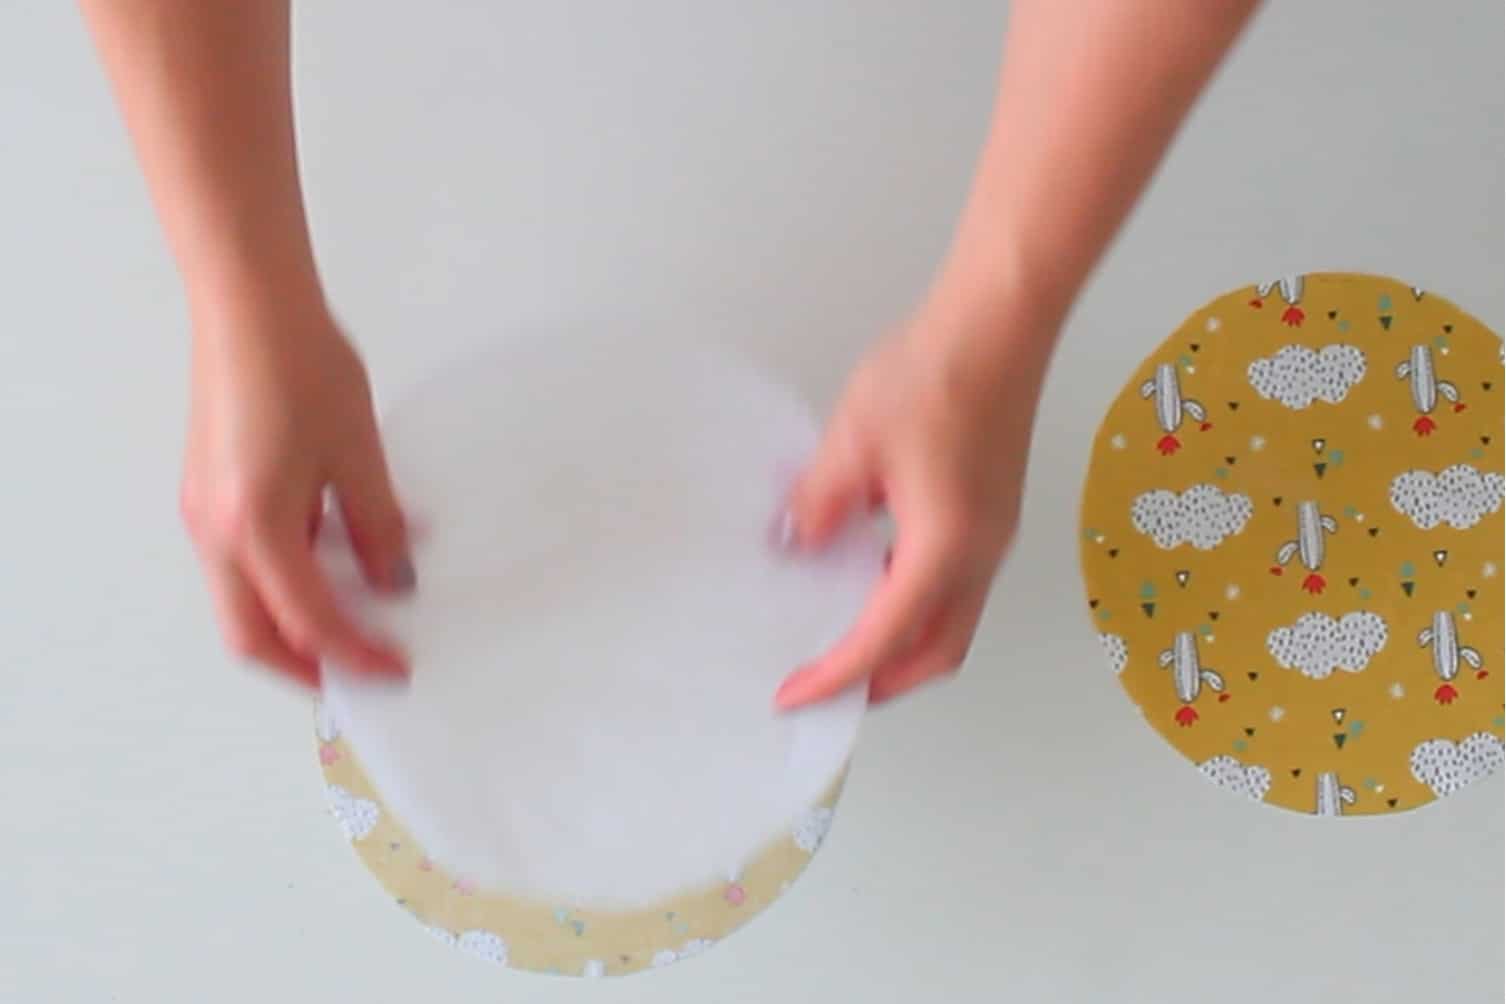
- Repeat for the interfacing. Cut 2 pieces of interfacing.
Quilt the circle
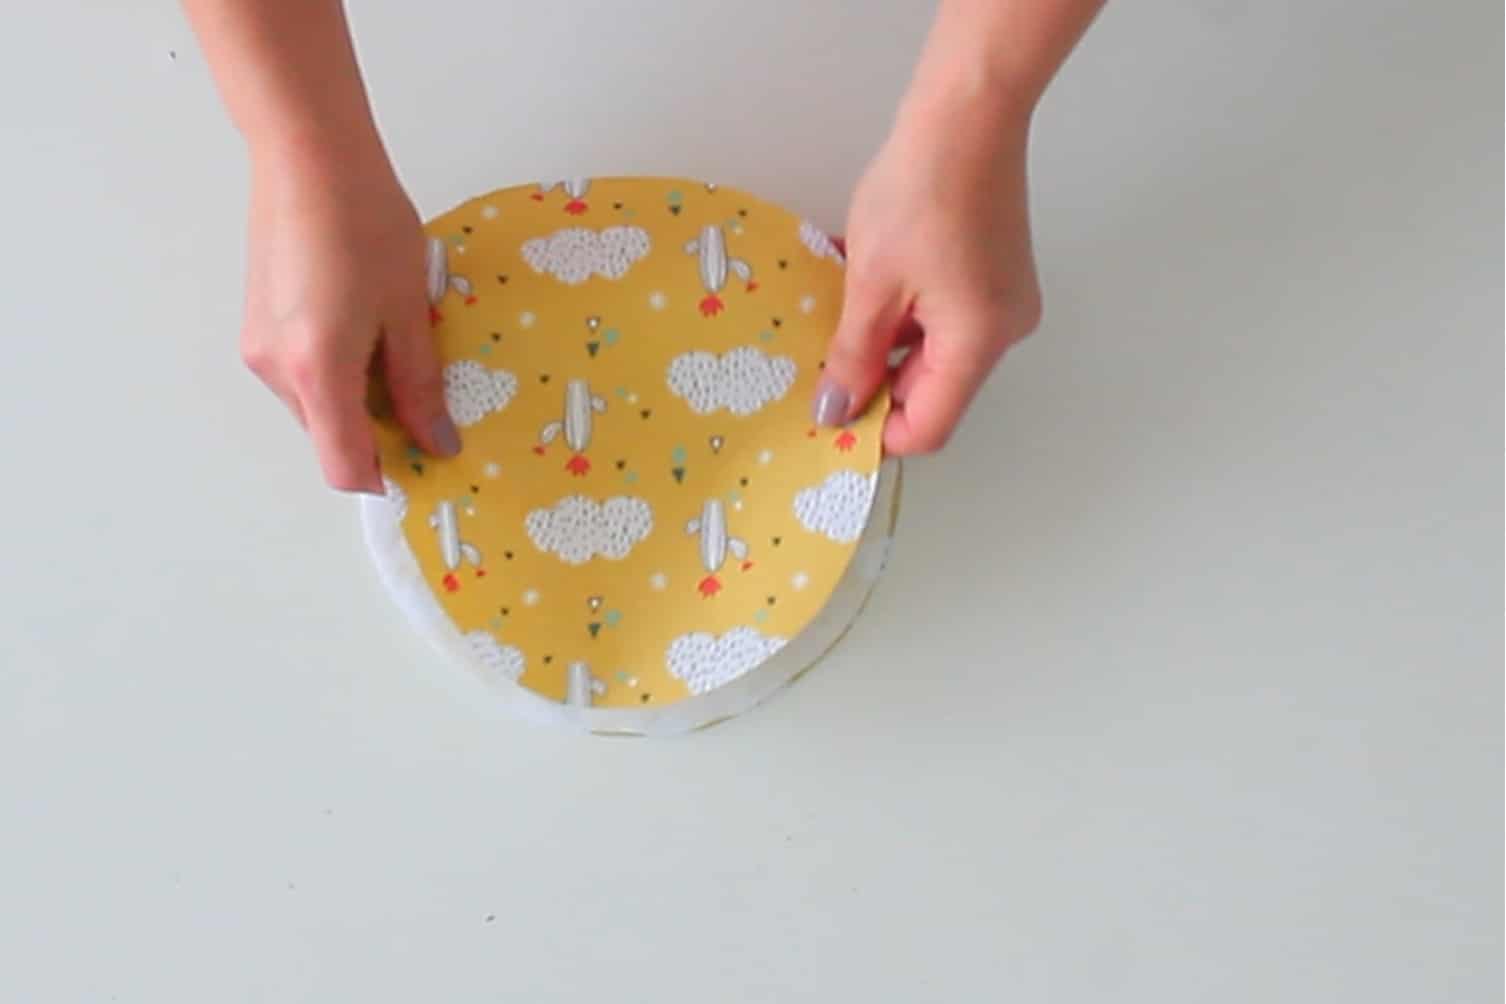
- Place the layers as follows: 1 fabric wrong side up, top with interfacing, top with 2nd fabric right side up. Press well on both sides.
- Using the quilting ruler and the fabric marker trace lines onto the circle, 1″ apart from opposite directions, to form rhombus shapes.
- Sew over those lines to finish quilting the circle.
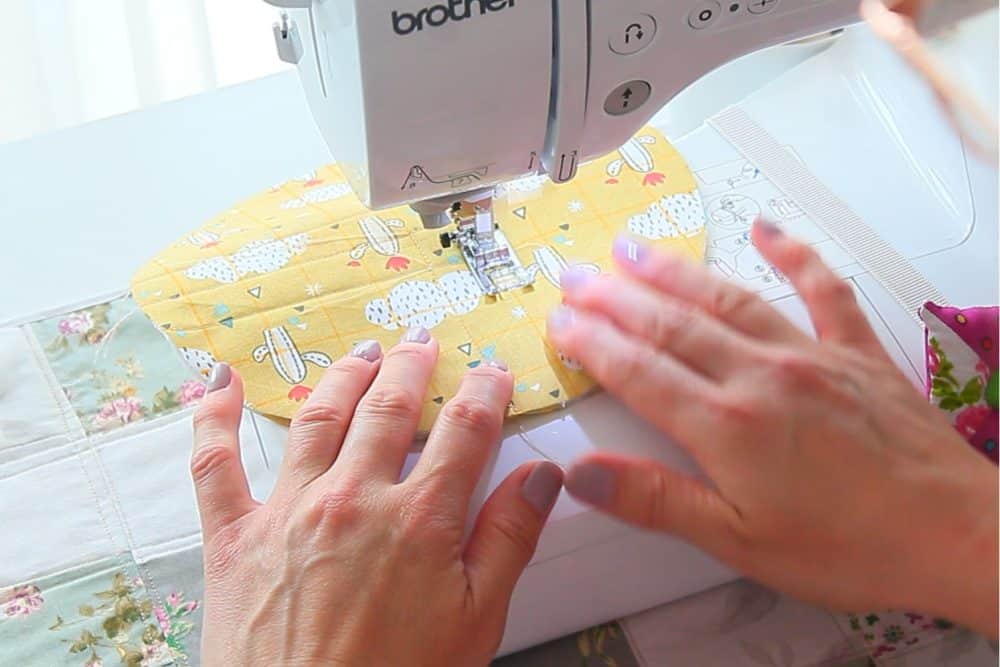
- Sew a zig zag stitch around the circle to finish the raw seam.
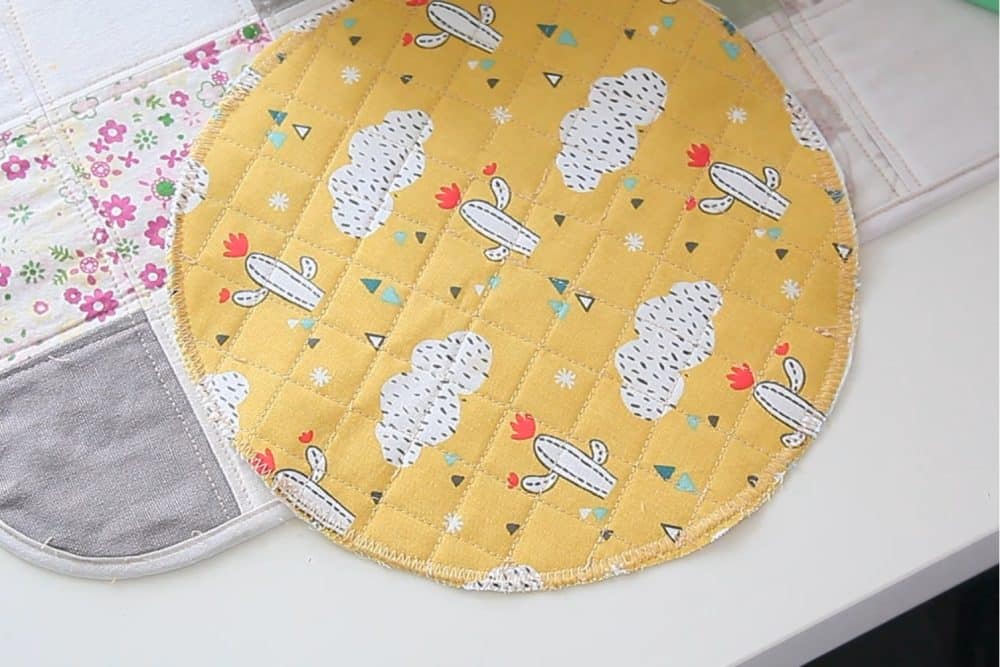
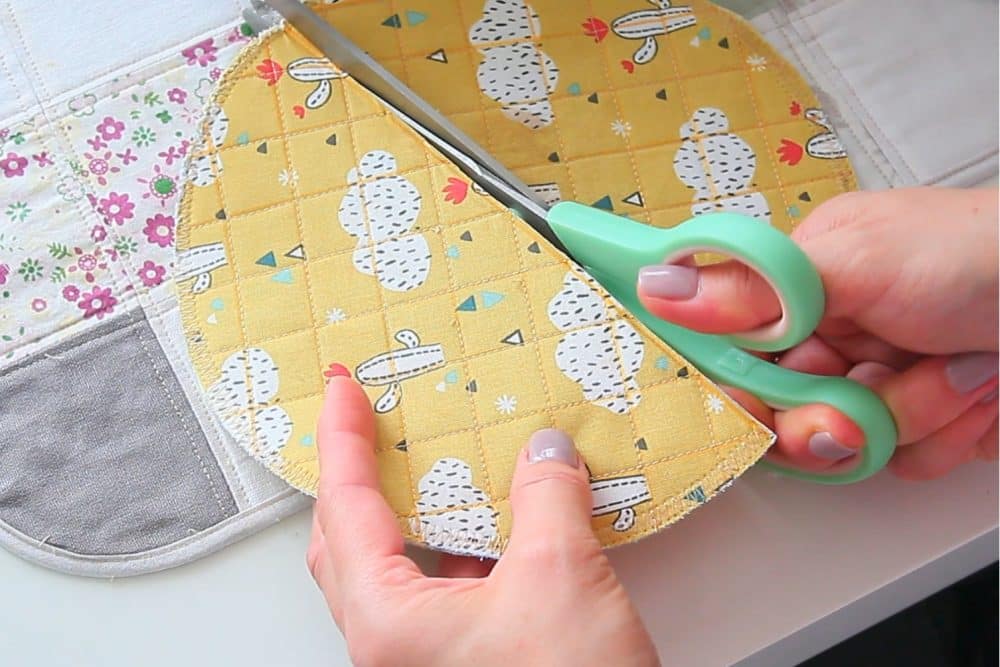
- Fold the quilted circle in half and cut through the middle.
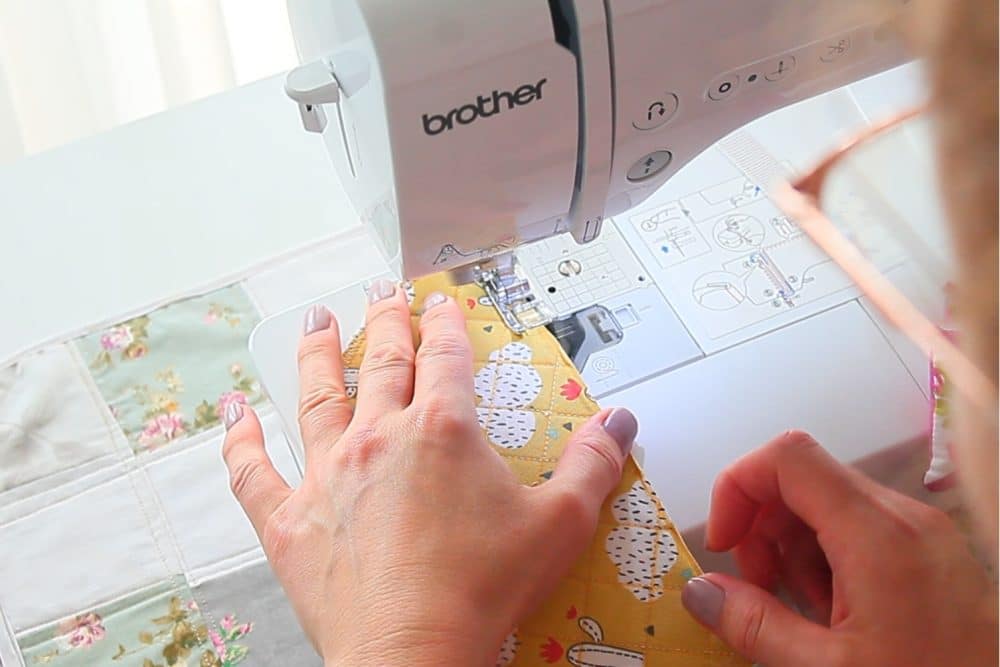
- Serge or zig zag stitch the raw edges.
Sew the zipper
- Sew the zipper to the middles of the circle. Place one half right side up (this will be the side without the traced lines) and the zipper wrong side up, the tape of the zipper aligned with the straight line of the half circle. Sew with 1/4″ seam allowance. When you are about half way, push the zipper pull away from the needle.
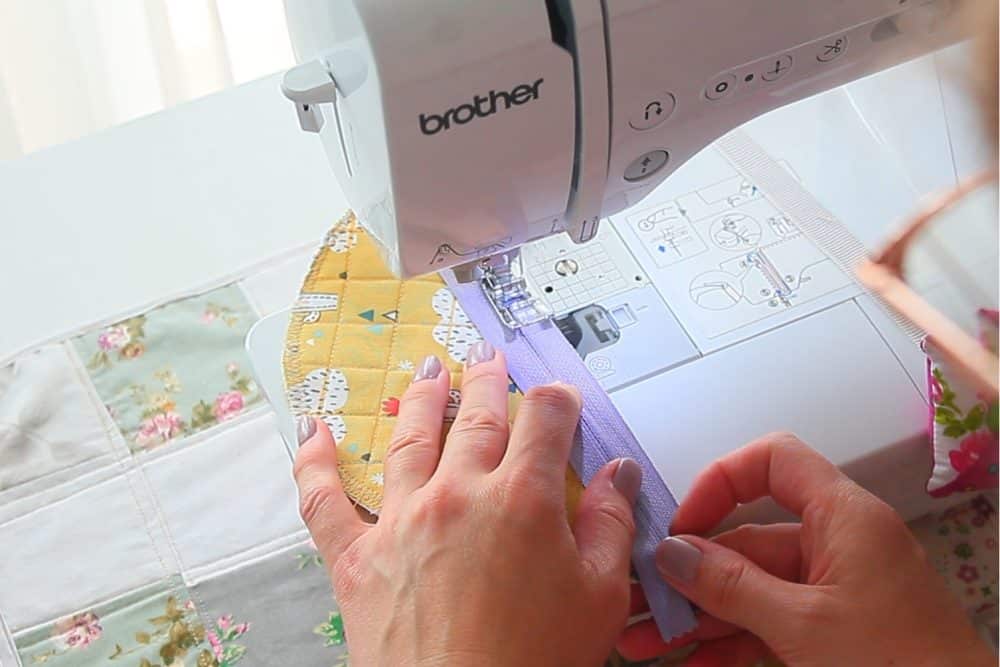
- Repeat for the other half circle on the opposite side of the zipper.
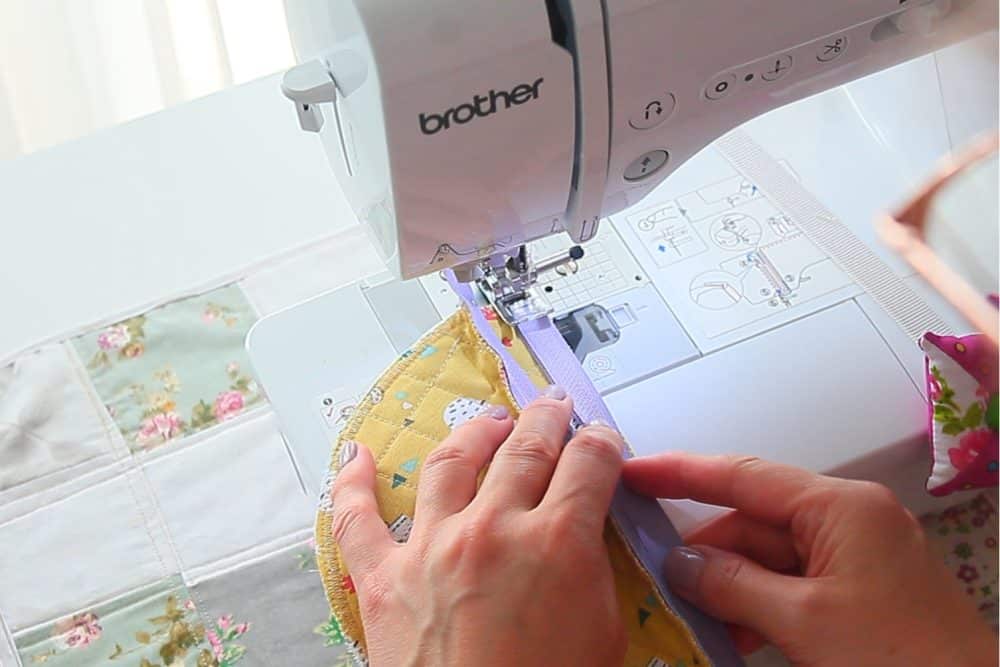
- Fold the seams and top stitch.
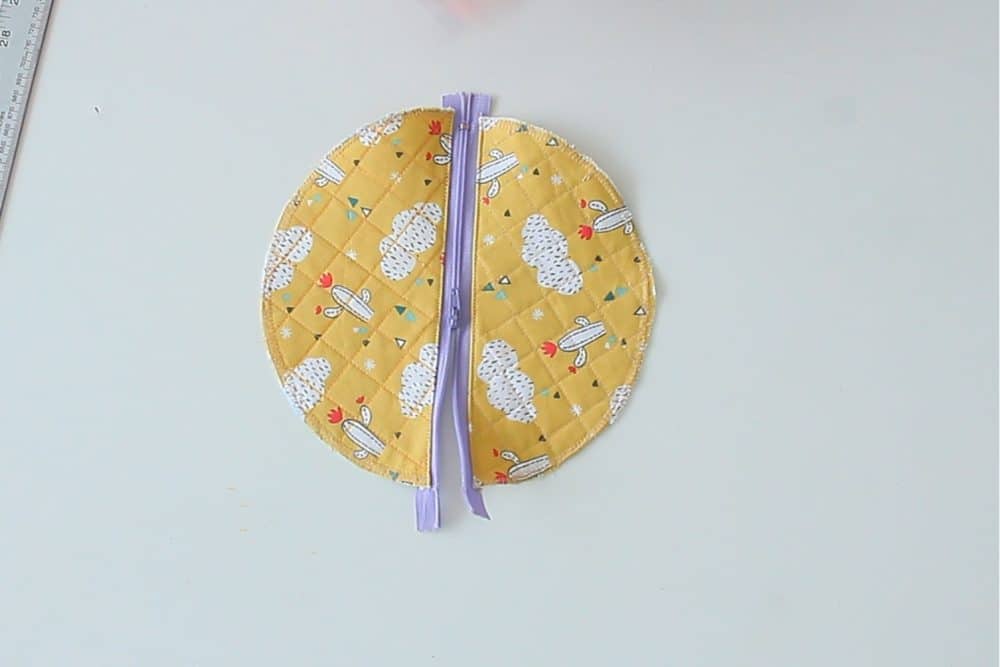
Finish sewing the mini coin purse
- Fold the entire piece in half with the zipper half opened. The right side of the zipper should face the inside of the purse.
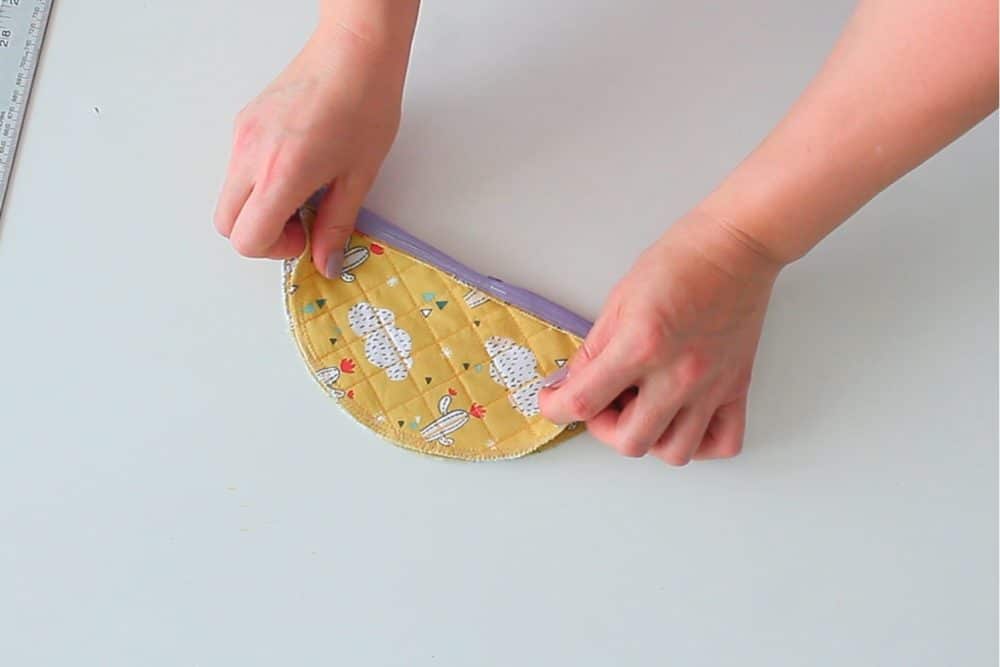
- Sew the rounded edge with 1/4″ allowance. Sew slow when you get to the zipper teeth area.
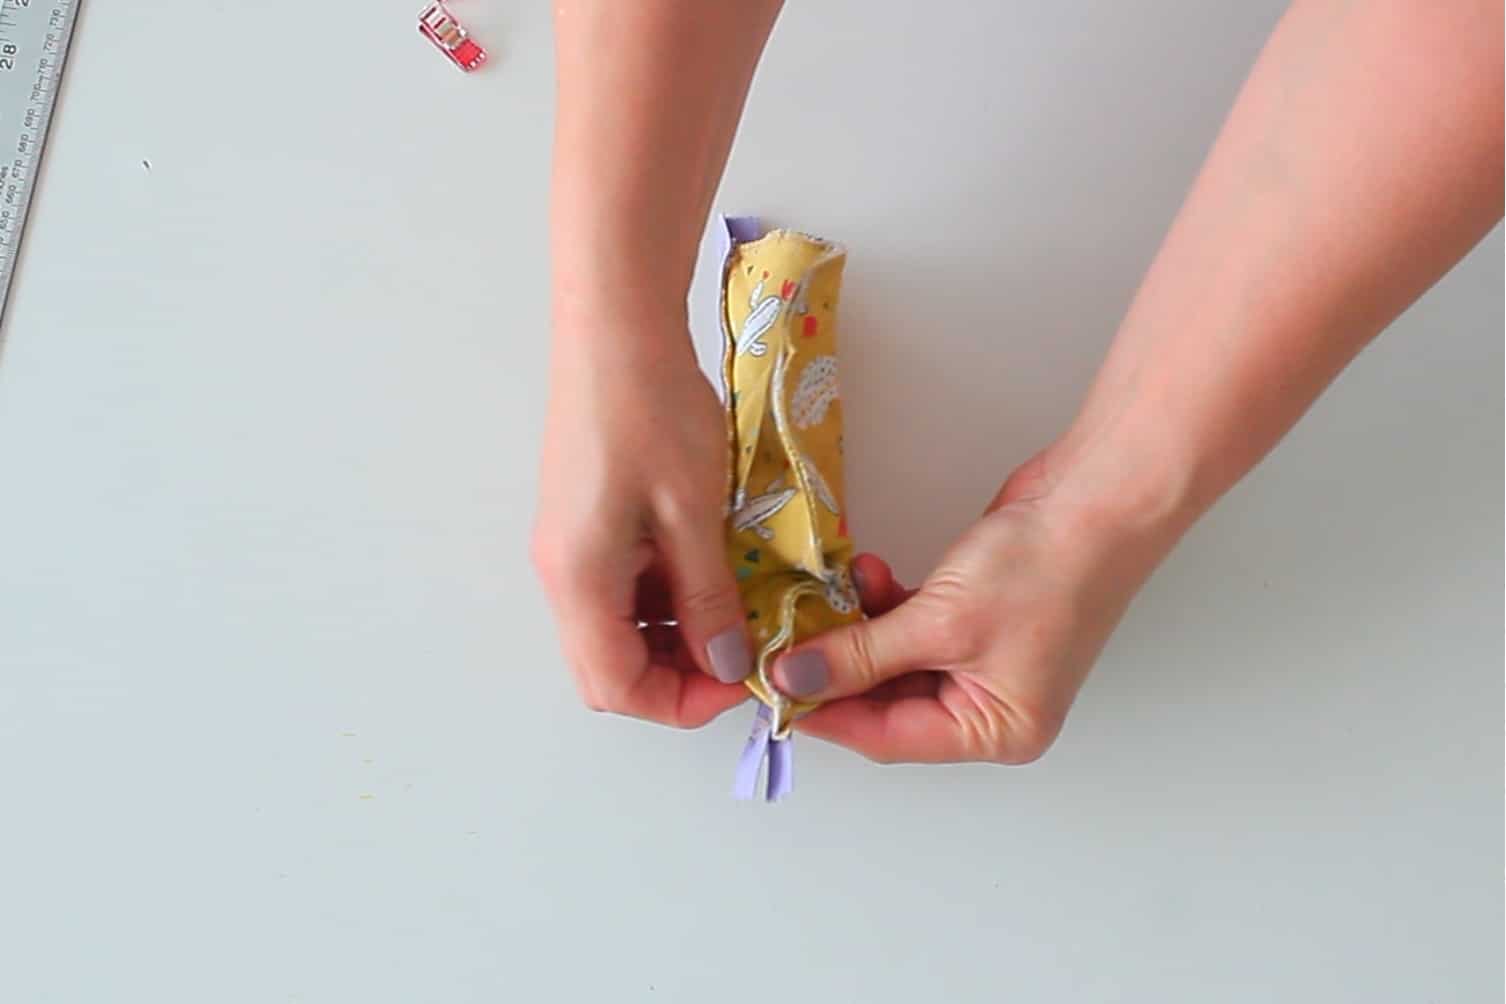
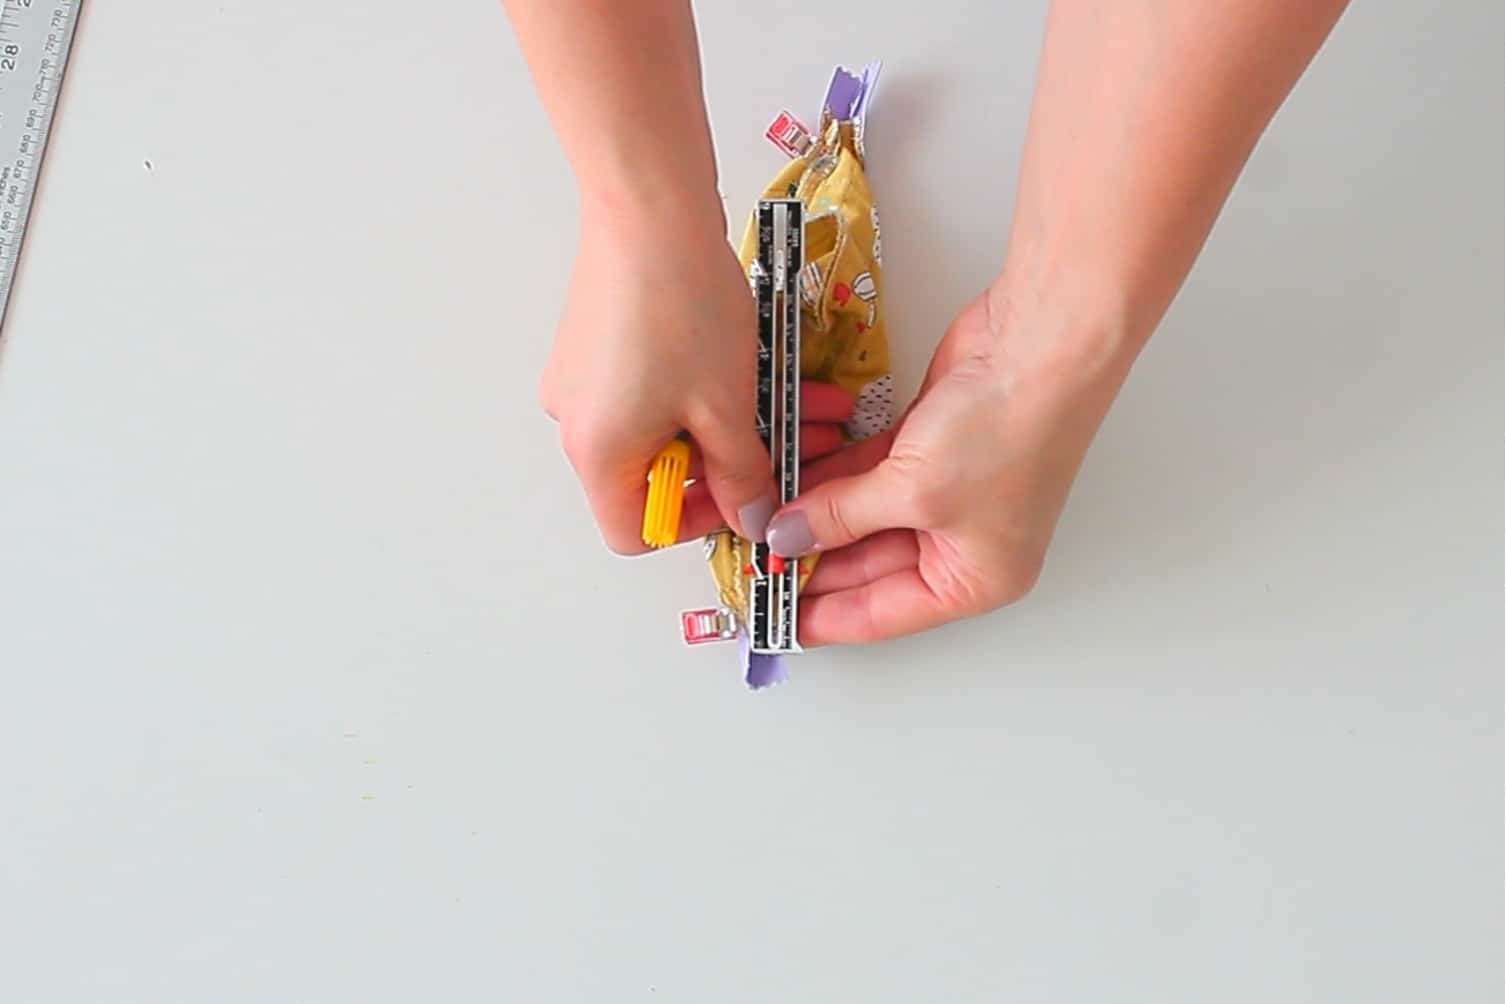
- Pinch the corners to match the top seam and the zipper. Mark 1″ in. Clip and sew at the mark to “box” the purse.
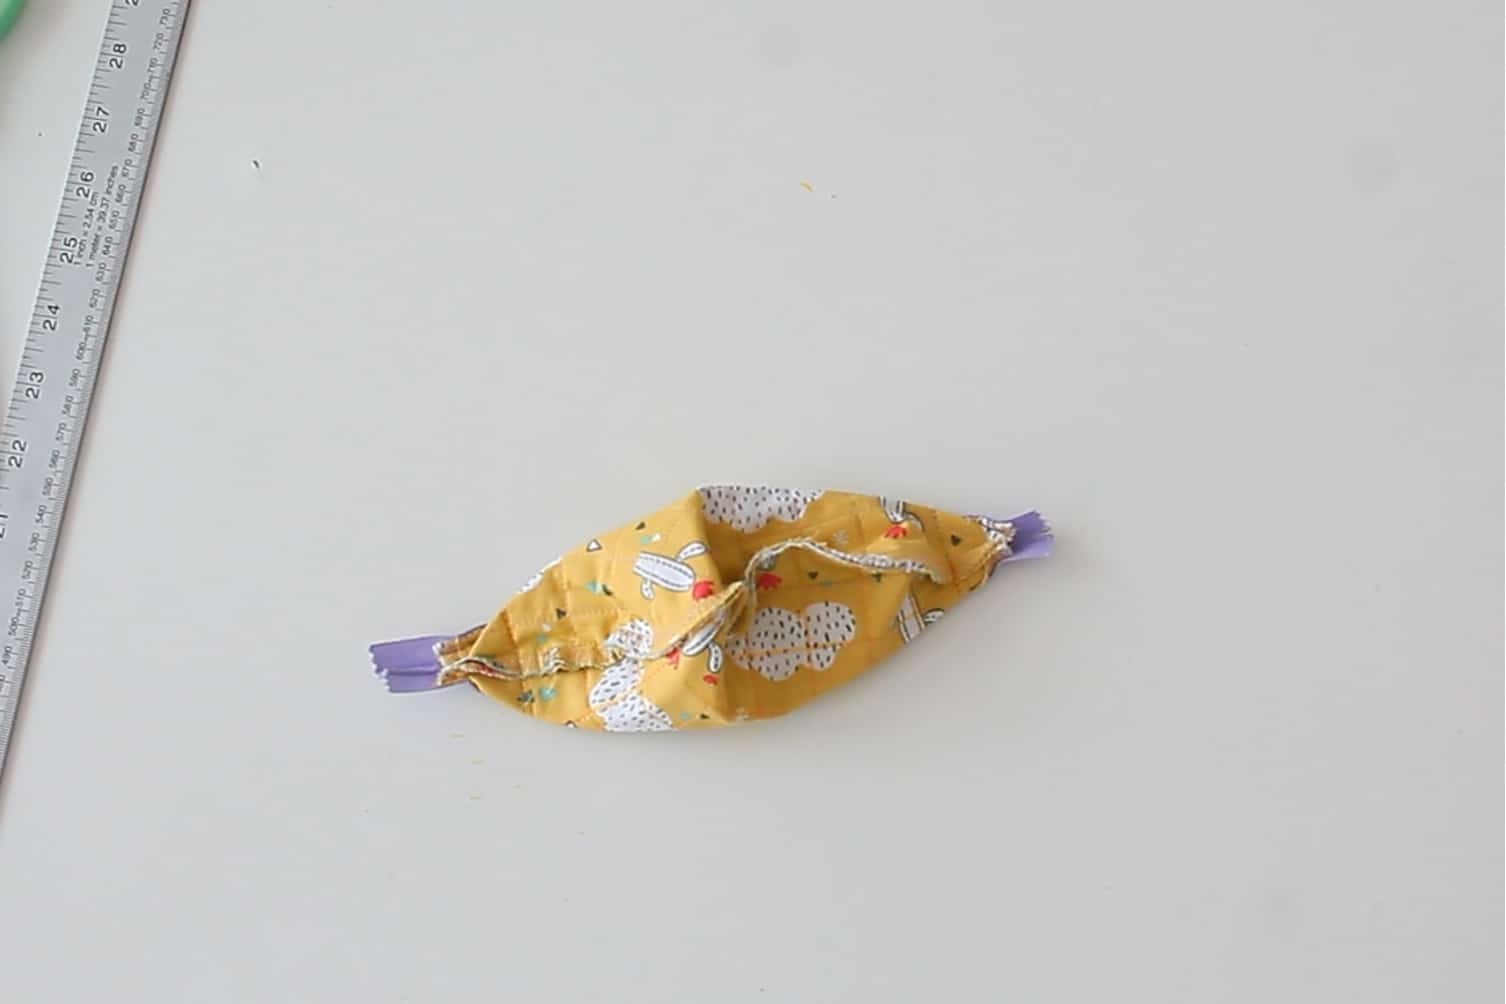
- Trim the bottom and the top of the zipper that is in excess to a 1/4″ seam. Finish the raw seam with a zig zag stitch or a serger.
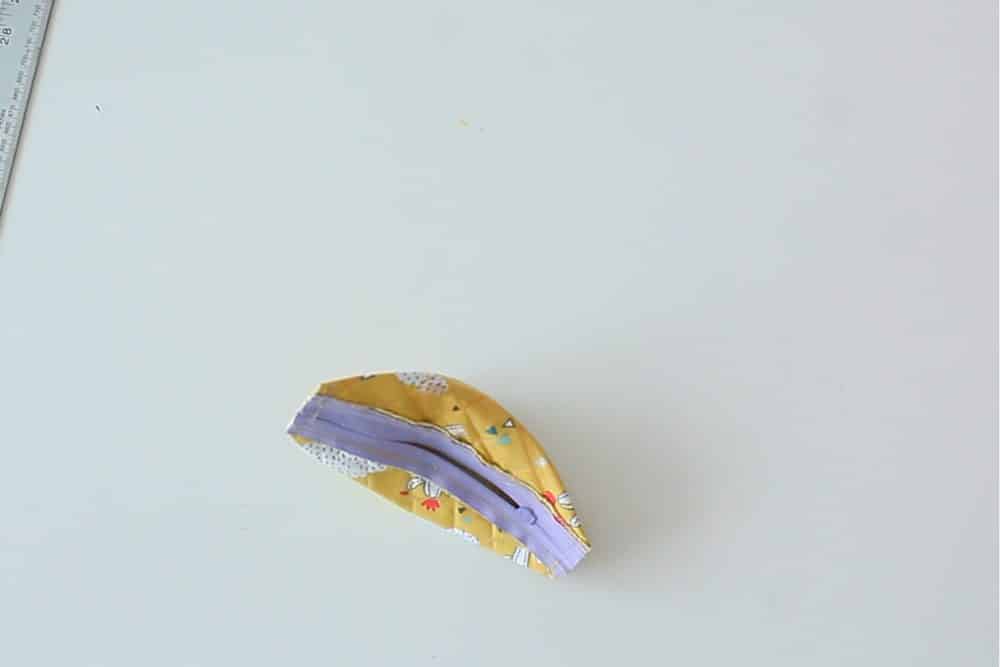
- Turn the purse right side out through the opening in the zipper.
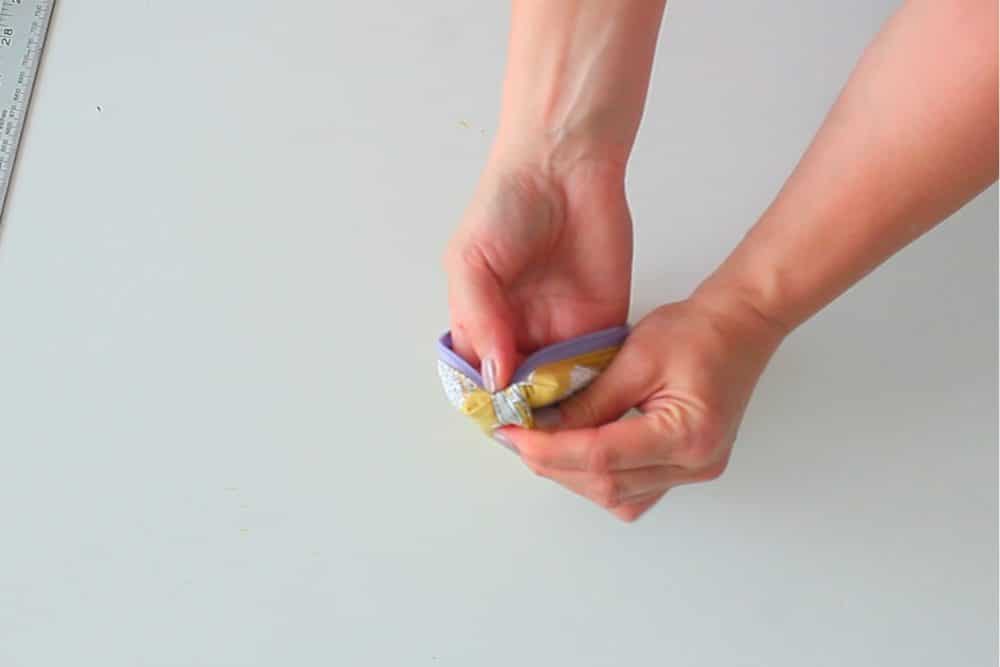
- Push the corners out, smooth out the seams, press the zipper seams and you’re done!
Whether you’re creating a small coin purse as a gift or just to treat yourself, the end result is sure to be appreciated. Once you get the hang of it, why not try out different sizes and colors for your coin zipper pouches? Have fun with it and enjoy your new mini coin purse!
I hope this sewing project was helpful. If you have any questions, please feel free to ask in the comments below. I’m always happy to help! And if you’re new here, don’t forget to sign up for my newsletter to get more easy and quick sewing tutorials and patterns!
Happy Sewing!
Pin to save for later
Most popular sewing projects:
- Tips for sewing a round hem
- Corded bag handles
- Flutter sleeve dress pattern
- How to laminate cotton fabric
Article may contain Amazon & affiliate links. As an Amazon Associate I earn from qualifying purchases at no additional cost to you.




ABOUT PETRO
Hi, I’m Petro, author and founder of Easy Peasy Creative Ideas. Sewist, crafter, avid DIY-er, foodie, photographer, homemaker and mommy to one. I’m an expert at coming up with quick, clever sewing tips, recycling crafts and simple, easy recipes! You can find my ideas featured in reputable publications such as Country Living, Good House Keeping, Yahoo News, WikiHow, Shutterfly, Parade, Brit & Co and more. Thanks for stopping by and hope you’ll stay for a while, get to know me better and come back another time. Stick around for real fun projects! Read more…