

A line dress pattern sizes 4T-10
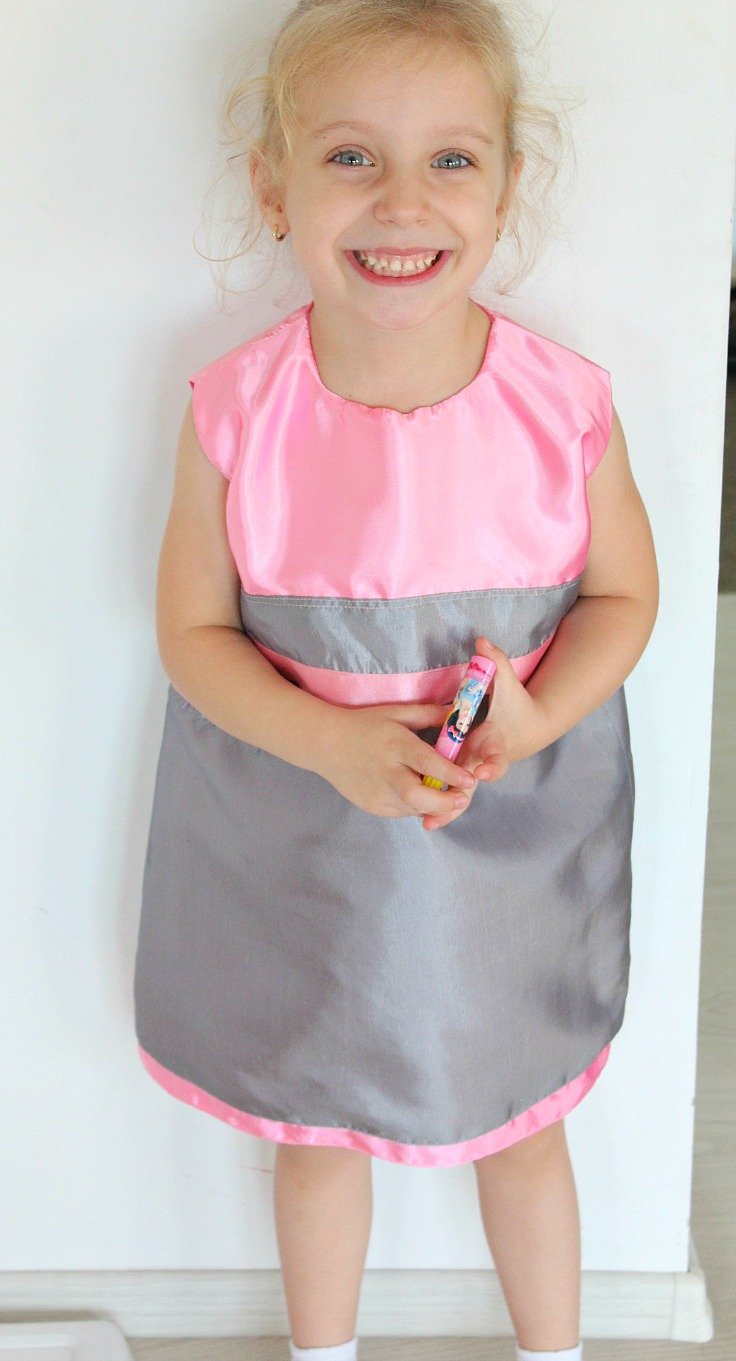
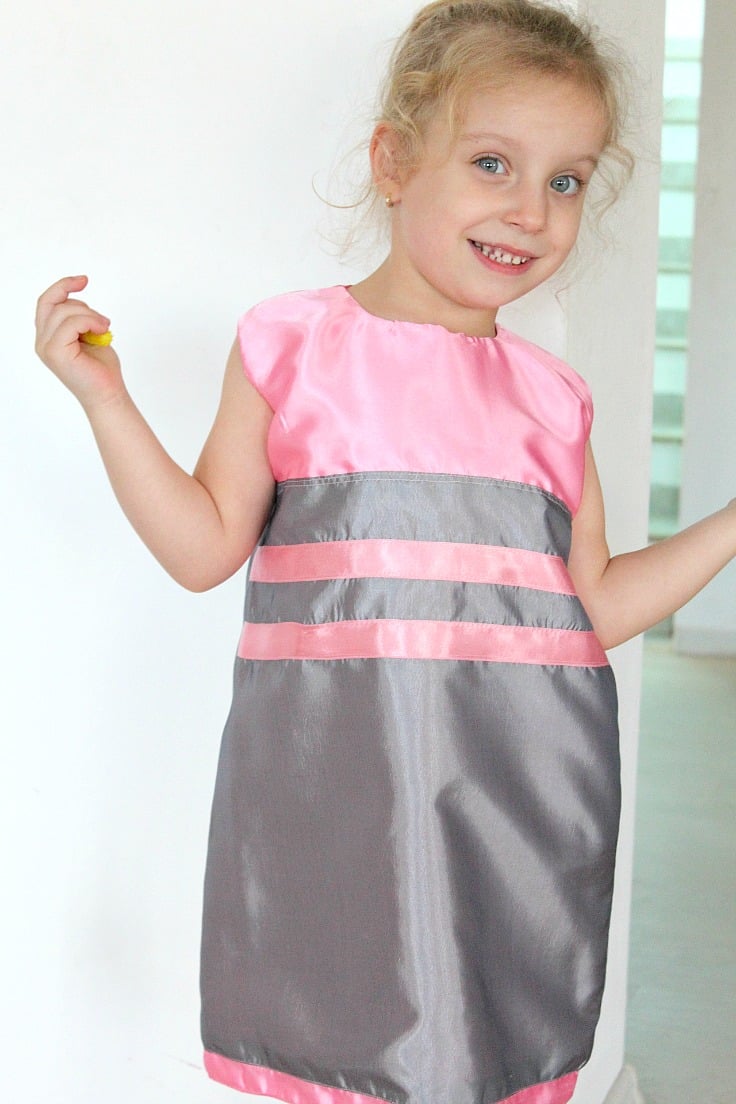
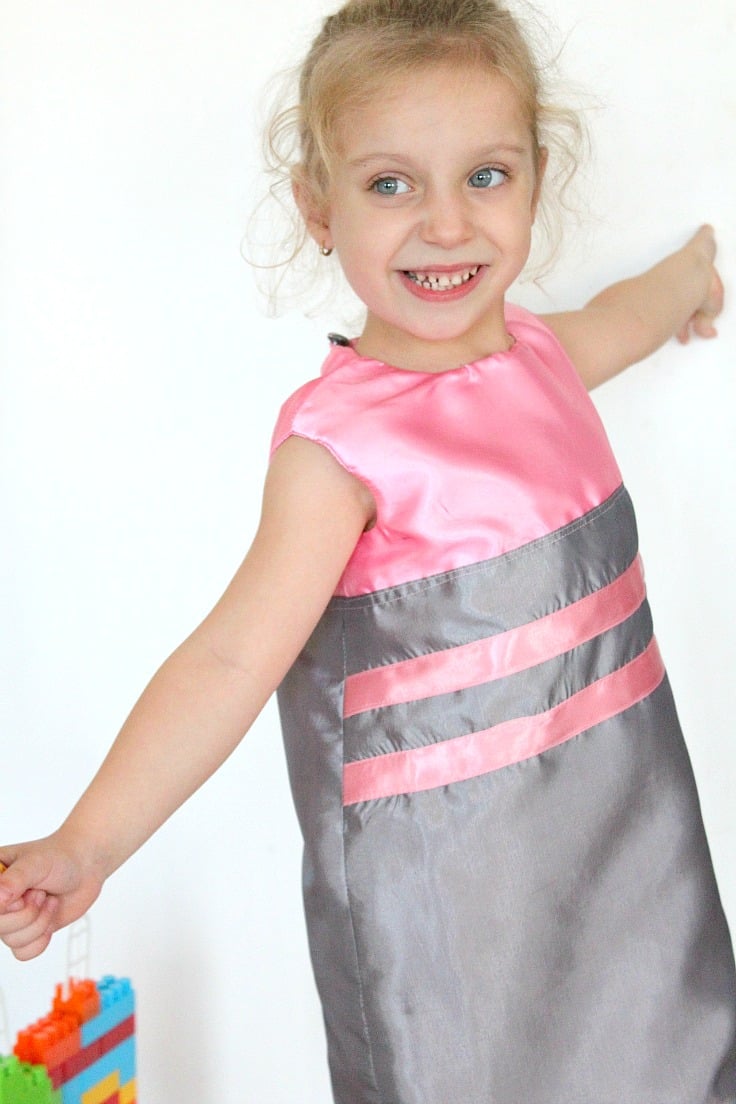
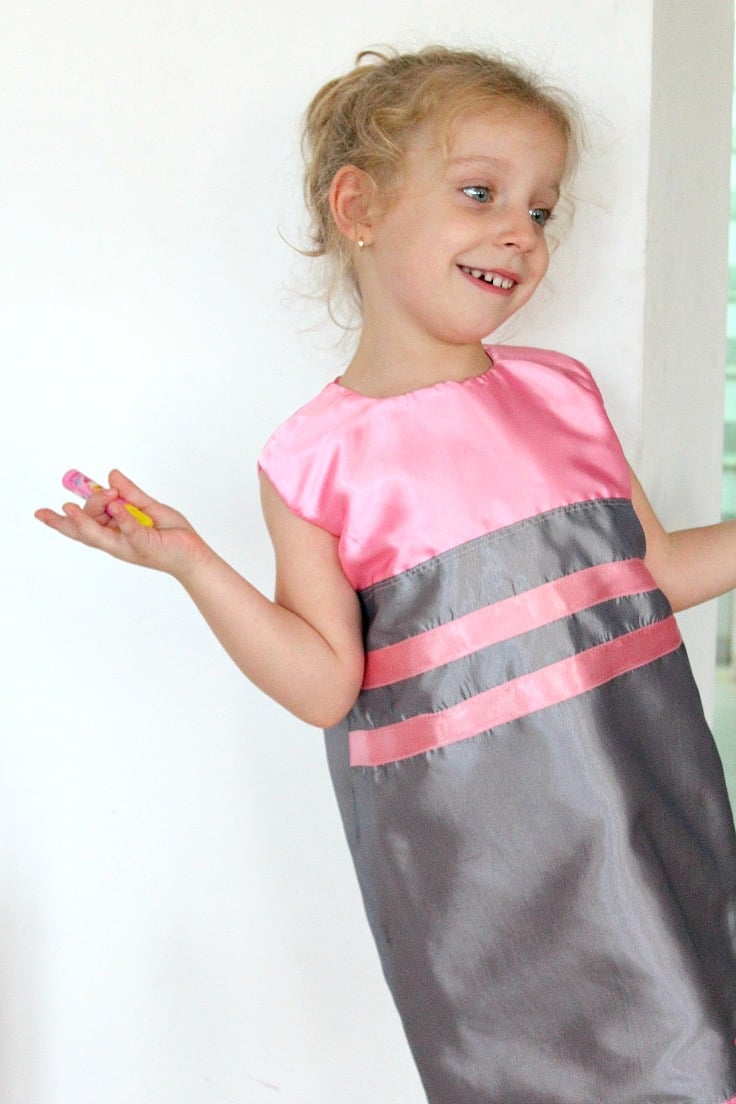
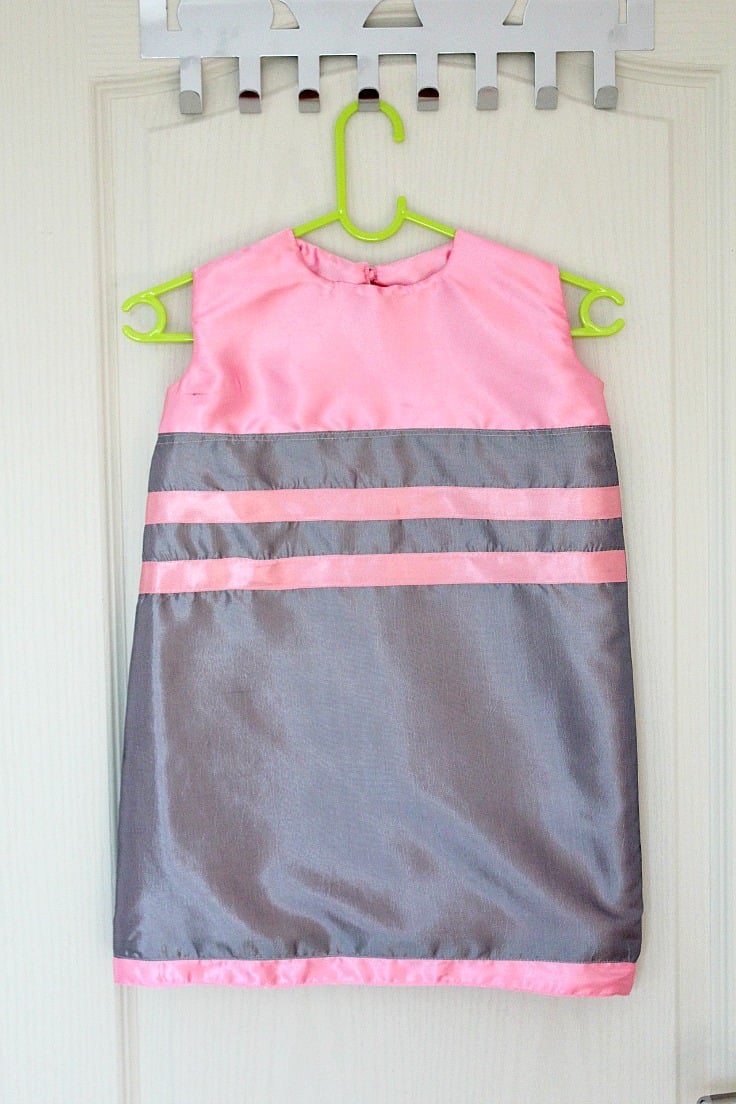
Do you need an easy-to-follow pattern for a stylish and cozy dress for kids? This sleeveless A line dress pattern with two-tone colors and ribbon accents is a perfect sewing project for your little girl!
A line Dress Pattern
I enjoy creating clothes for my daughter. Taking on new challenges and stitching new items, such as this charming A line dress pattern, is the key to improvement.
My daughter loves slipping into beautiful, comfy dresses and I love making them for her so this is a match made in heaven! I’m also super thrilled because she’s agreed to model this simple girls dress pattern for me so I can shoot a couple of photos and show you how cute this dress is! Unlike the other time when I made her this cute polka dot Pillowcase Dress. She got bored pretty quickly though, as you may notice in one of the photos below but hey, I take what I can get!
Need more similar dress patterns?
- Flutter sleeve dress pattern
- Gathered dress pattern
- Easiest pillowcase dress
- How to make your own dress pattern
- V neck dress pattern for women
- Women’s gathered dress
What is a line dress pattern?
A line dress pattern is a style of dress that has a fitted bodice and a slightly flared skirt. The skirt gives the impression of an “A” shape, hence the name A-line. The A-line dress can be short or long, depending on your preference. This pattern is great for kids because it’s super comfortable and doesn’t require any complicated sewing techniques.
Are a line dresses easy to make?
Yes! A-line dresses are a great beginner sewing project. This pattern is simple, quick, and easy to make. All you need is a small amount of fabric and basic sewing supplies like scissors, thread, pins, and a sewing machine.
How much material is needed for A-line dress?
It depends on the size you pick/need. What I suggest is measure your child and prepare the fabric according to the measurements. For this pattern, you’ll need about 1.5 yards of fabric for sizes 2-4, 2 yards of fabric for size 6, or 2.5 yards of fabric for size 8-10.
This A line dress pattern would’ve been a much easier project if I was gonna trace a pattern from an old t-shirt or an A line dress! But I decided to go one step forward and try my hand at pattern making from scratch which is not my strongest skill. If you’ve been a follower for a while you might know that I come from a family with a long tradition in sewing. That comes with lots of amazing information and tips and tricks passed down the generations, which I try to embrace and use when making new clothes. I’s not the case with pattern making, this is actually a big challenge for me and it takes me a lot of time to draw and edit the digital pattern into what I consider a decent pattern.
I made this girls dress pattern a bit loose and without sleeves as Ellie hates tight clothes. She’s so restless, she moves a lot and loves running and climbing on about anything and nothing would stop her from having fun, not even a formal dress, as this A line dress pattern was originally designed. She needs room to move in her dresses so this had to be a loose design.
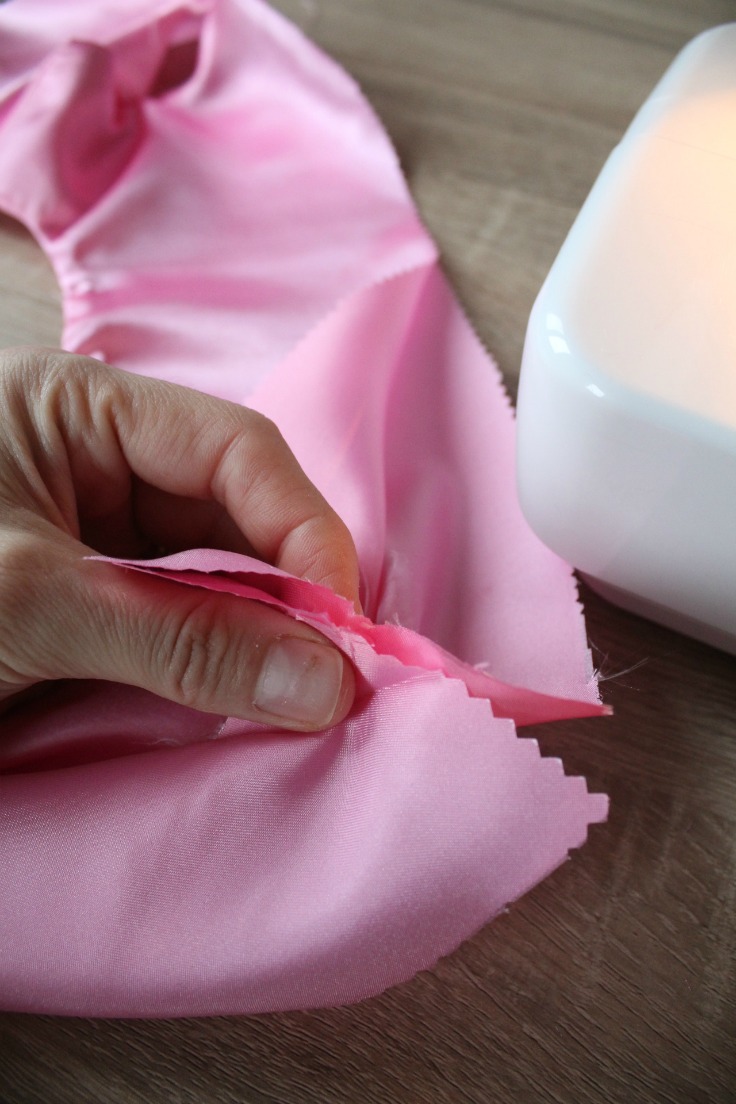
I hate how my machine finishes seams, and I didn’t have a serger on hand at that time I made this girls A line dress, so I wanted all my seams enclosed to look neat. Which turned out great and made me realize that with the right fabric and pattern this dress could actually be converted to a reversible dress. Even though the seams are enclosed I think it’s best advised to use pinking sheers with satin as it frays so fast! It’s crazy!
How long would it take a beginner to sew a dress?
With this simple A line dress pattern it’s pretty easy to make a beautiful, quite elegant dress that will take 2-3 hours to sew (probably faster if you use a friendlier fabric). In fact, it took me longer to draft the pattern and cut the fabric than the actual sewing process! But you’re in luck, you will skip the pattern making part as I’ve got you covered for sizes 4T to 10 years old.
A few notes before getting into the step-by-step instructions:
- The fabric I chose wasn’t the easiest option, satin and crepe satin is not an easy to work with fabric. So if you’re not very confident in your sewing skills, choose a fabric that is easier to work with such as cotton or linen.
- As if my project wasn’t challenging enough I decided to add lining to this dress and add even more stress by using satin as lining. This step is not necessary, you can use a different fabric for the lining and make this project much easier or simply skip the lining!
- This dress can be modified to be reversible. You can make the process easy by simply sewing 2 dresses in different fabrics, join them wrong sides together and finish the neckline, the armholes and the hem with binding or bias tape.
- If you’re looking for more inspiration to add variations to this dress here are a few options: make a v-neckline, add a full skirt to the bodice, or a sleeve, add darts to the bodice (either to the front piece or back piece or both), or decorate the bodice with a bow, making it into a knee length or maxi dress, adding zips to the back opening (invisible zip looks better if you’re comfortable with sewing one) or simply sew 2-3 small buttonholes and add pretty buttons to the closure.
What should I use to line my dress?
For this DIY dress, I used the same fabric for lining and dress. But you can choose a different fabric to line your dress. For example, you can use voile if you are looking for something lightweight or cotton if you need something a bit more robust. Other options include silk or rayon which are more appropriate for a intermediate or experienced sewist. In general you should stick to light weight to medium weight fabrics.
Sleeveless dress pattern and tutorial
Materials:
- 39″ x 47″ gray color fabric (I used crepe satin)
- 39″ x 47″ pink skirt lining (I used satin)
- 20″ x 39″ pink bodice & lining (satin)
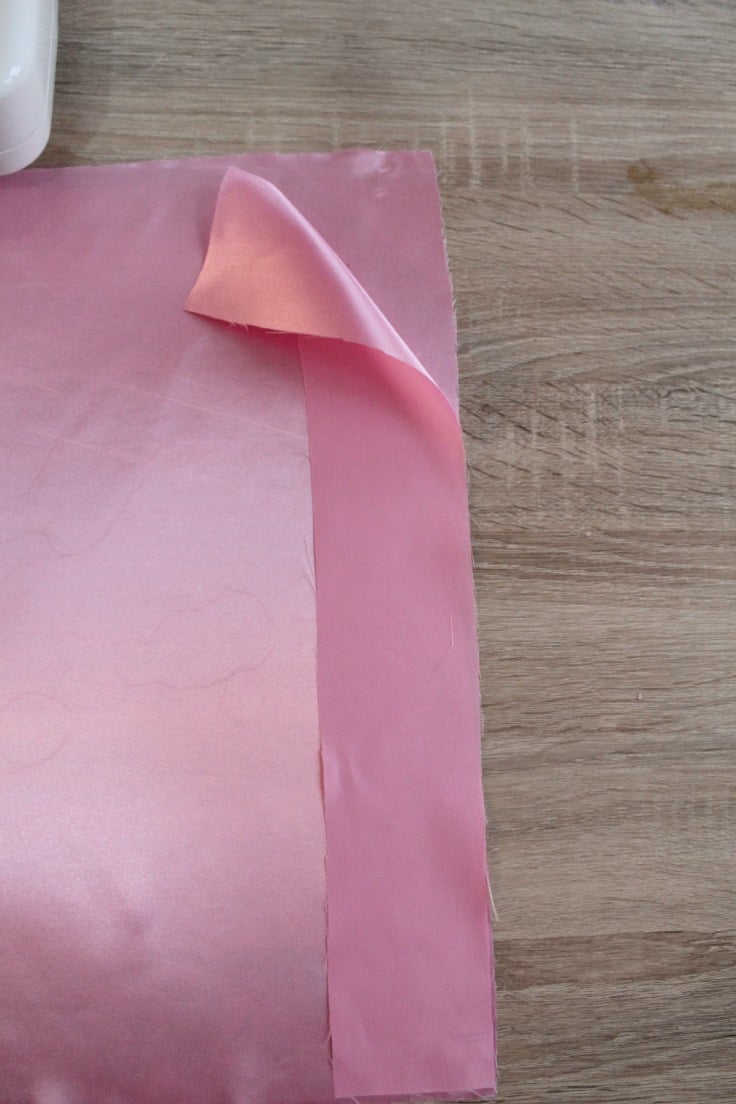
- 2″ x 39″ pink border for the hem (satin)
- sharp needle if using satin or lightweight fabric
- sewing machine
- pinking sheers
- scissors
- matching thread
- button
- pink ribbon (or use satin to make the pink trim at the top of the skirt)
- Sewing Patterns for sizes 4T to 10 (available here)
How to sew the A line dress sewing pattern
Prepare the fabric
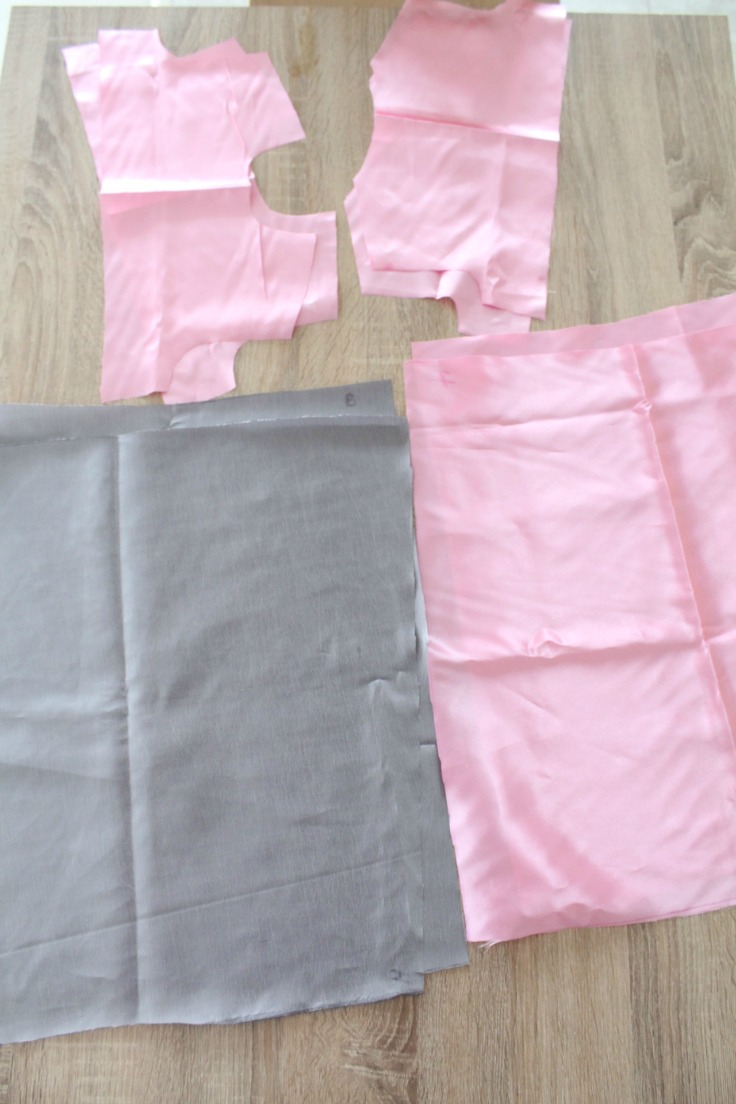
- Print the pattern (1/4″ seam allowance included in the pattern).
- Then cut the fabric. If you’re making the dress lined, cut two on the fold for the front bodice. Cut four of the back bodice piece (2 for each side), adding 1/2″ to make room for turning the seam inside. Don’t cut on the fold for these 2. Cut two of the skirt pieces (back and front), on the fold. Also cut 2 small strips of fabric for the little loop at the back of the bodice where you’ll button the dress.
Make the bodice
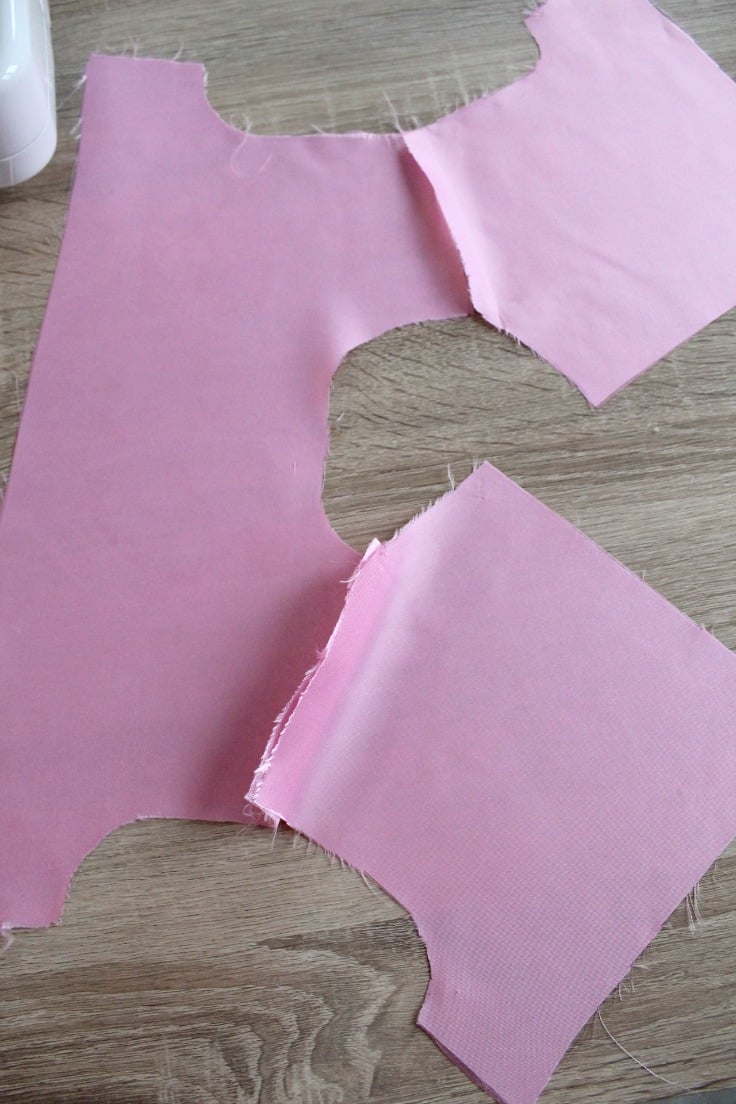
- Now pin the front bodice to the back bodice pieces, at the shoulder seams, and sew together, right side together (RST). Do this for both sets.
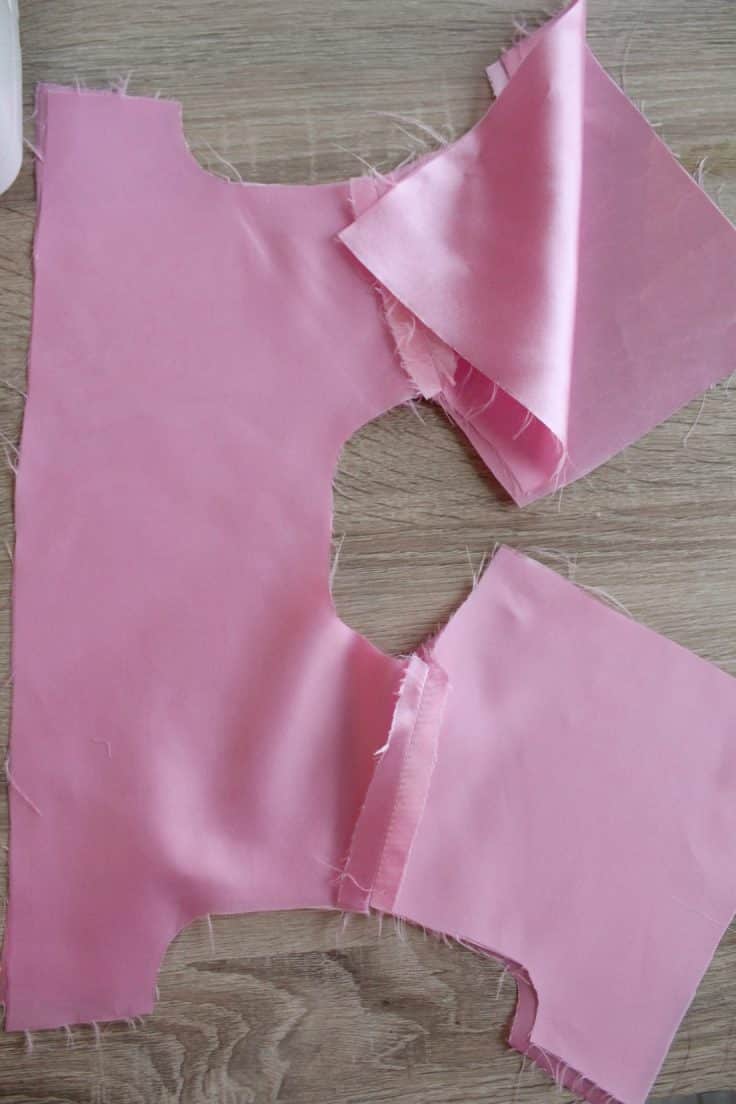
- Press your shoulder seams open, then lay the bodice pieces right sides together, lining up the shoulder seams again. Pin around the neck and armholes. Sew along where you pinned. Clip curves if needed and turn right side out. Iron press.
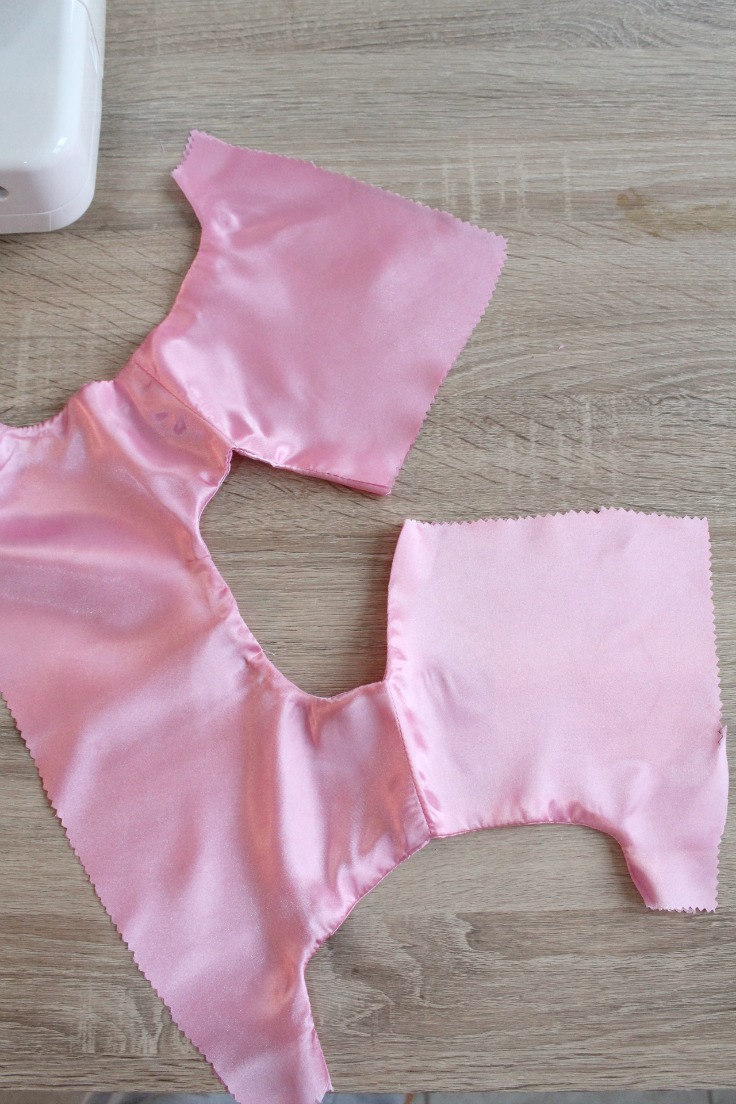
- Then grab one side of your bodice piece, where the armpit ends. Open the two pieces of fabric. Do the same with the other side of the armpit, and pin right side together. Sew, repeat for the other side and iron press.
Make the skirt
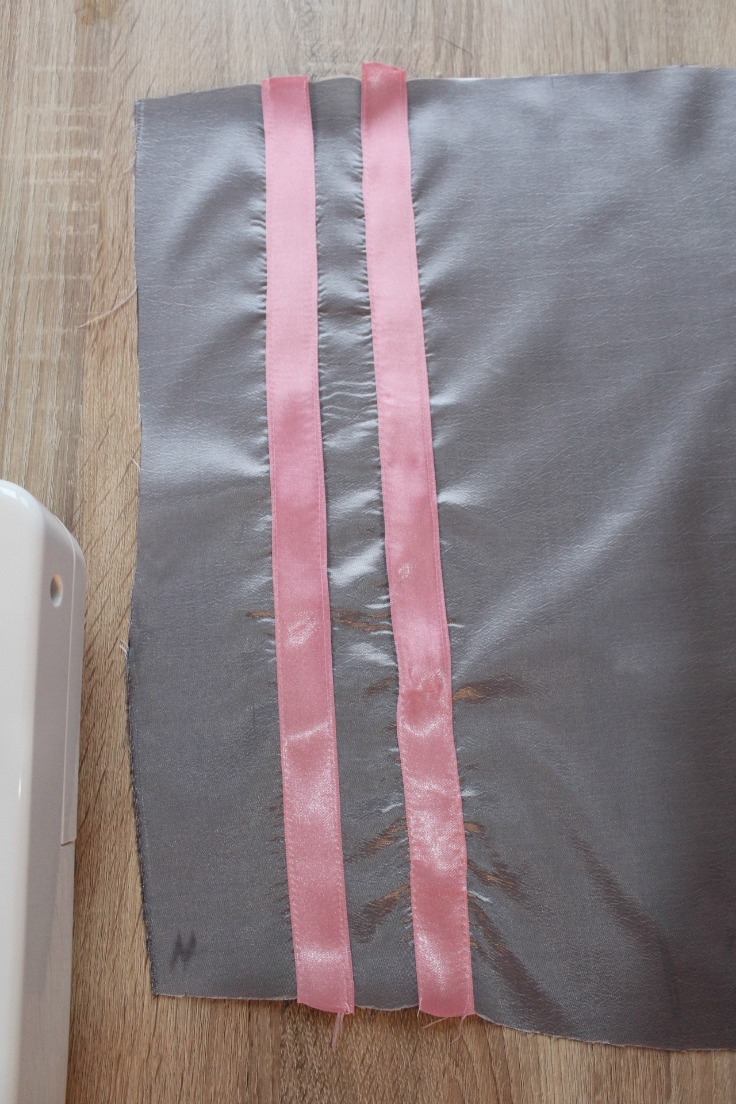
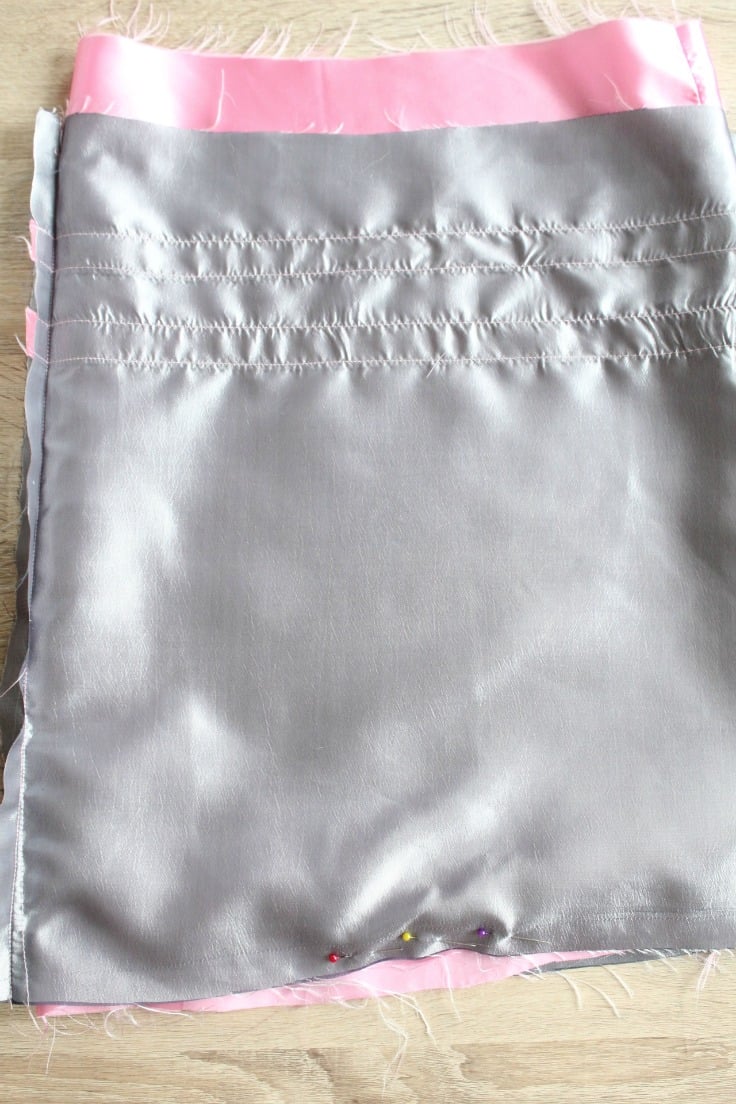
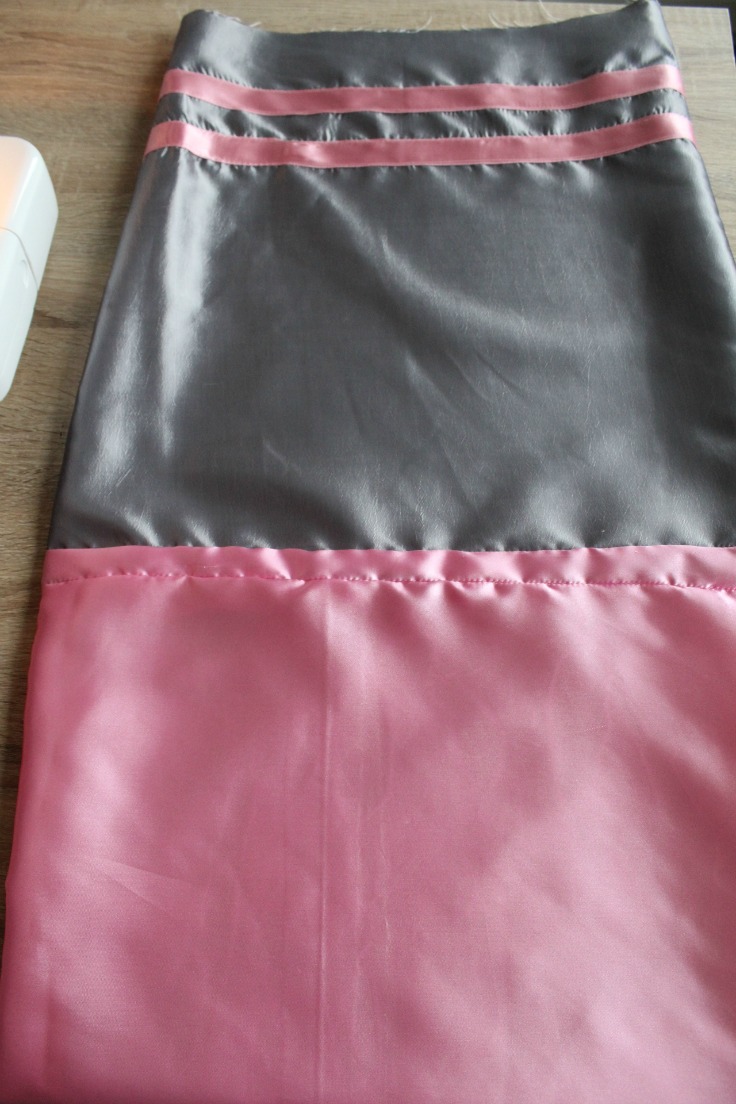
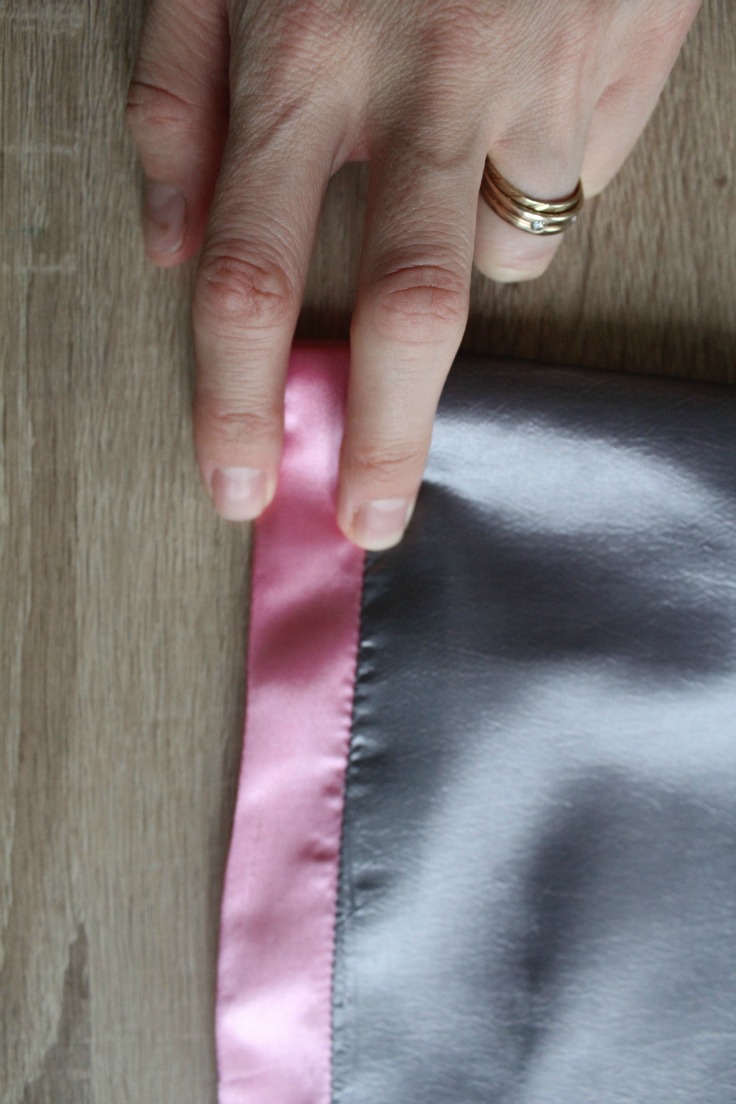
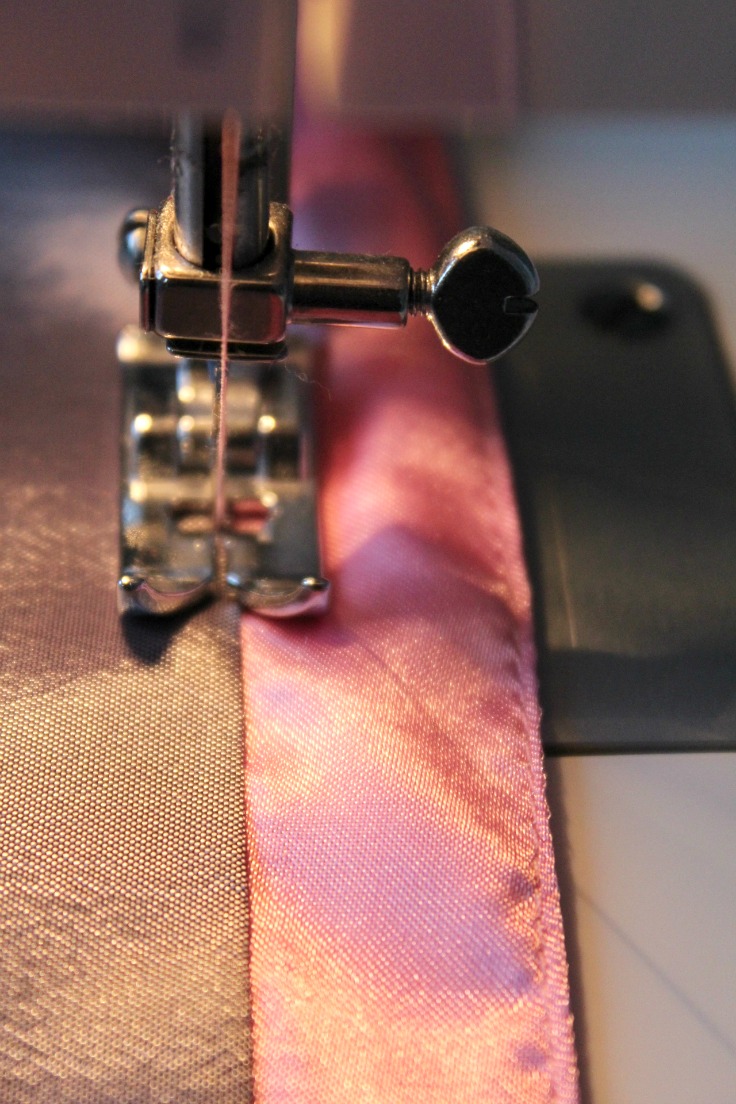
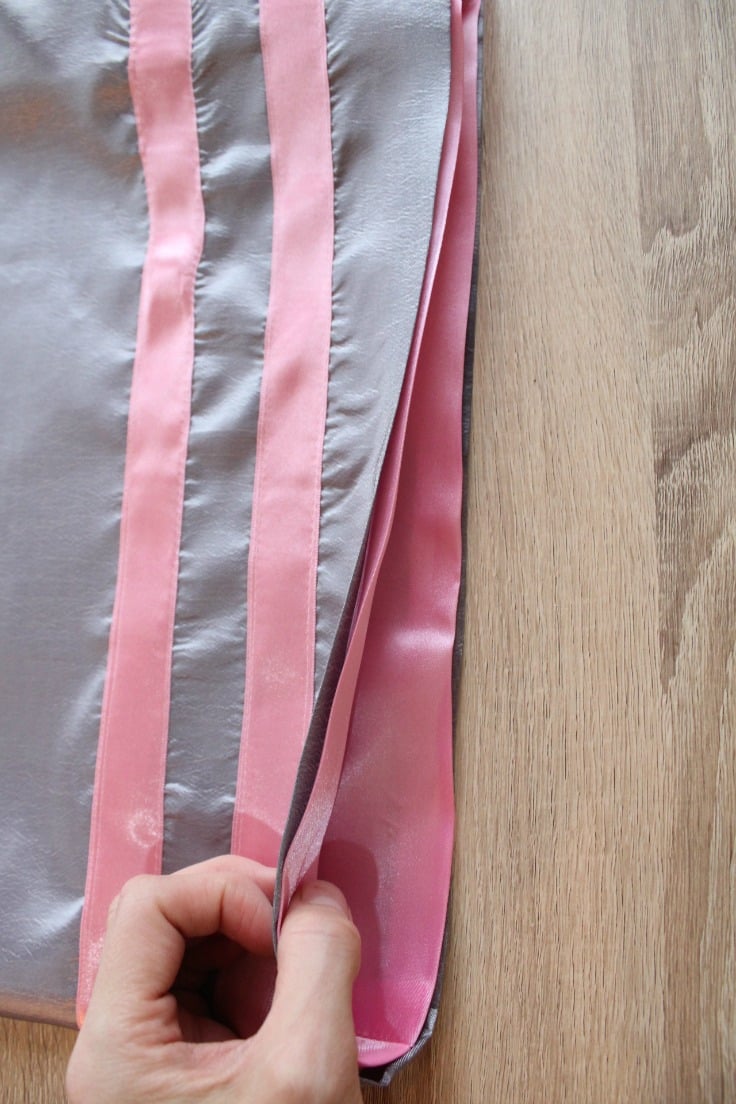
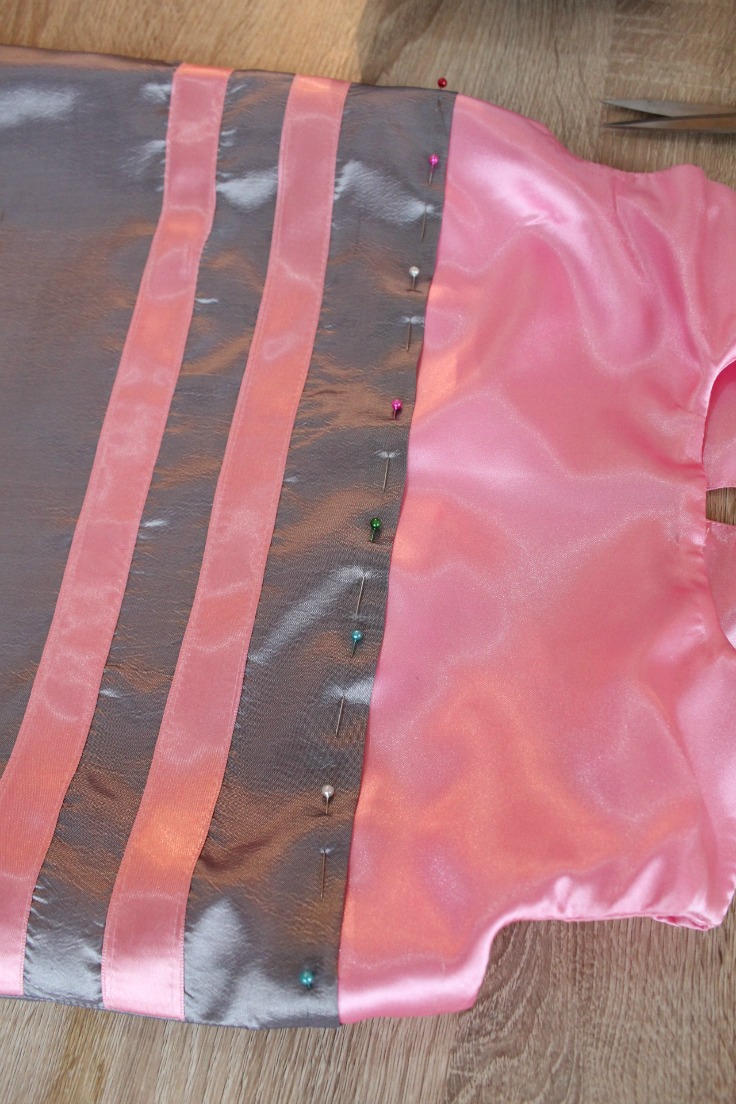
- Take some ribbon in the color of your bodice and pin 2 lines to the front skirt piece, along the seam line. They should be placed somewhere in the waist area. Sew along both sides of each ribbon piece.
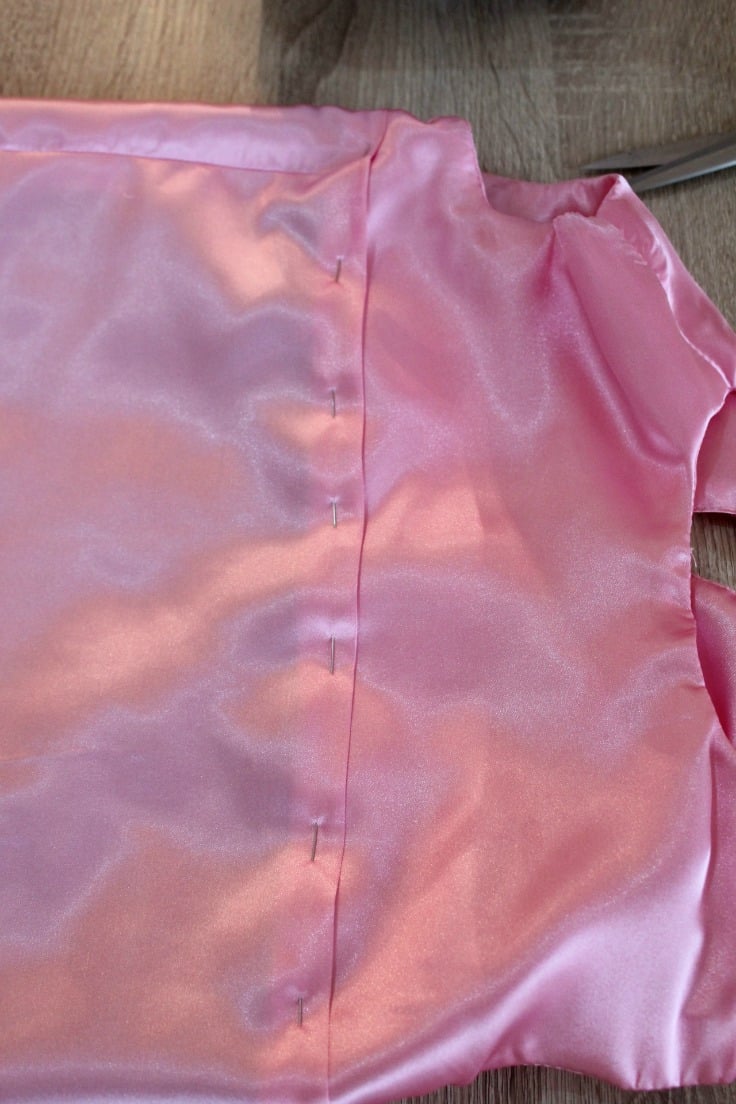
- Lay the two skirt pieces RST, and sew the sides together.
- Grab 1 pieces of the border at the hem and 1 piece of skirt lining. Place RST at the bottom of the lining and sew. Do the same with the other 2 pieces.
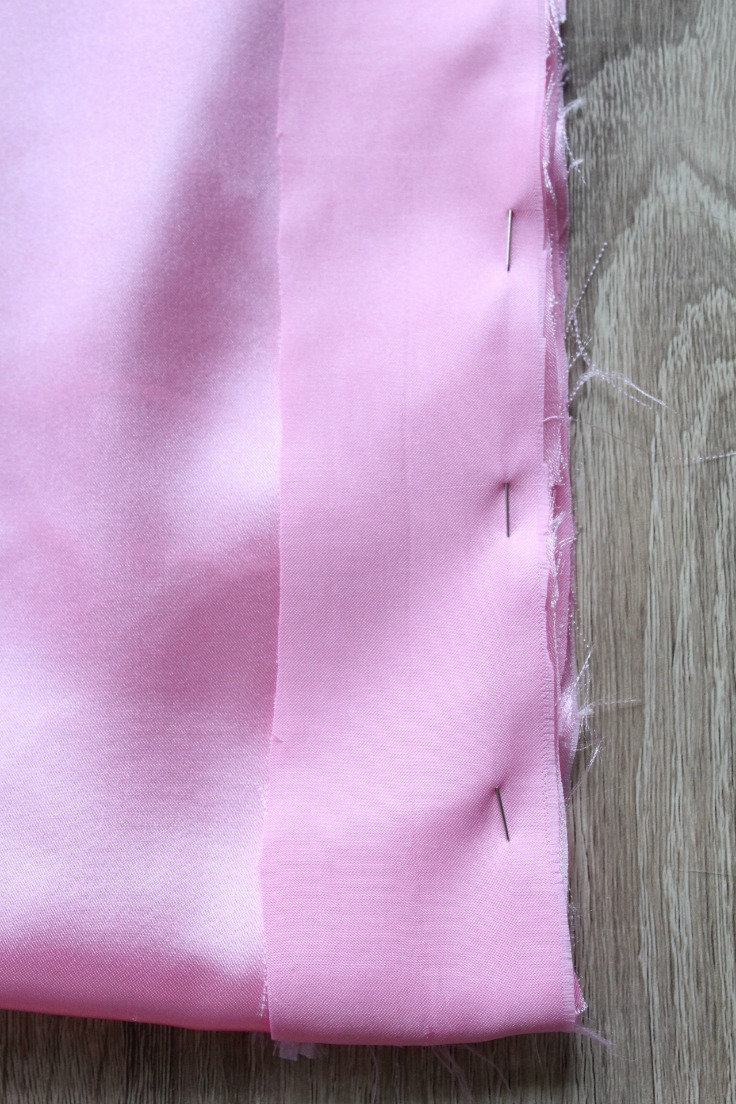
- Put both skirt lining panels RST and sew at the sides.
- Turn the skirt wrong side out.
- Slip the skirt lining inside the skirt so they face RST. Pin at the bottom and sew.
- Turn skirt right side out.
- Slip the skirt lining inside the skirt, through the bottom. Leave the lining border out like this.
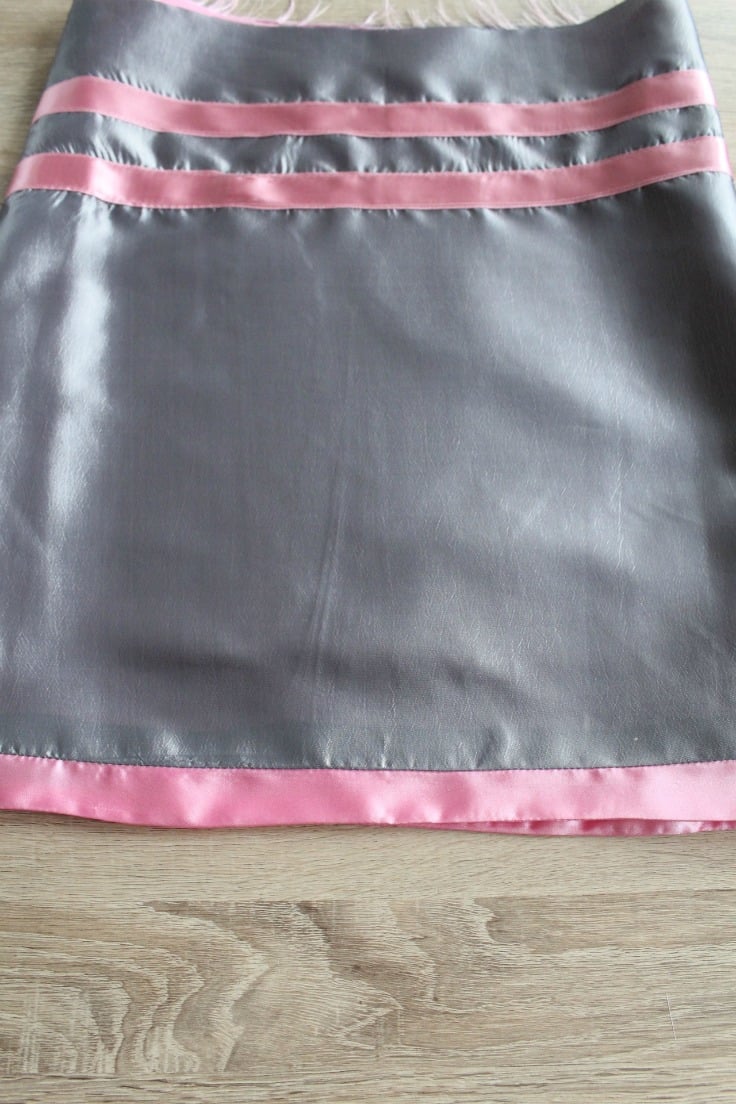
- Topstitch the border at the bottom and also the skirt at the bottom.
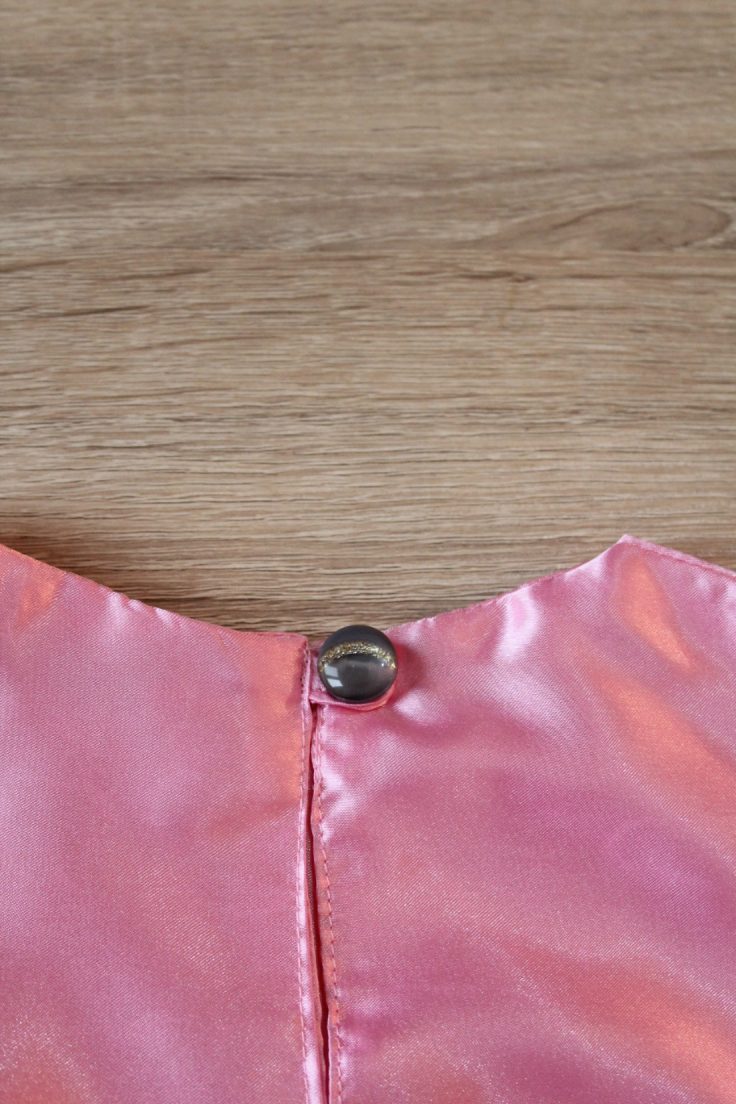
Sew the loop for the button
- Make a loop for the button. Take the 2 small pieces of fabric with a triangular shape at one end, put them RST and sew on the sides and at the pointy tip. Turn right side out and iron.
- Grab your bodice and looking at the edges, turn the seams inside.
- Insert the loop on one side, in between the 2 layers of fabric and pin the edges.
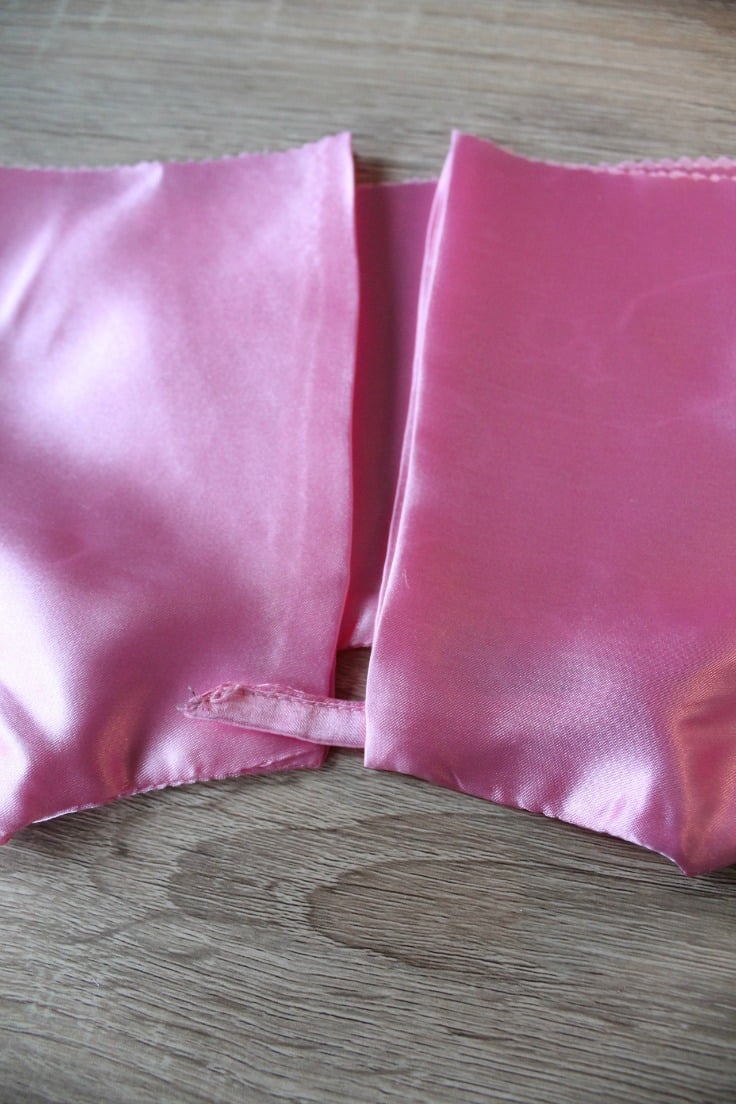
- Sew the bodice edges, over the loop too.
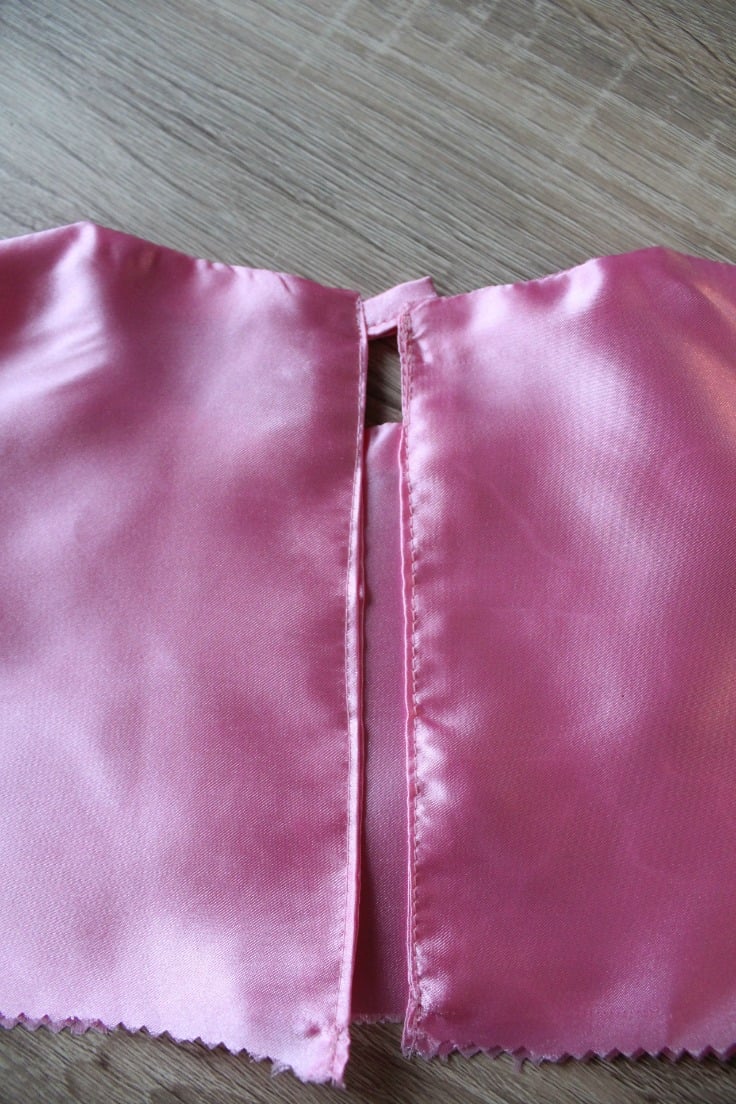
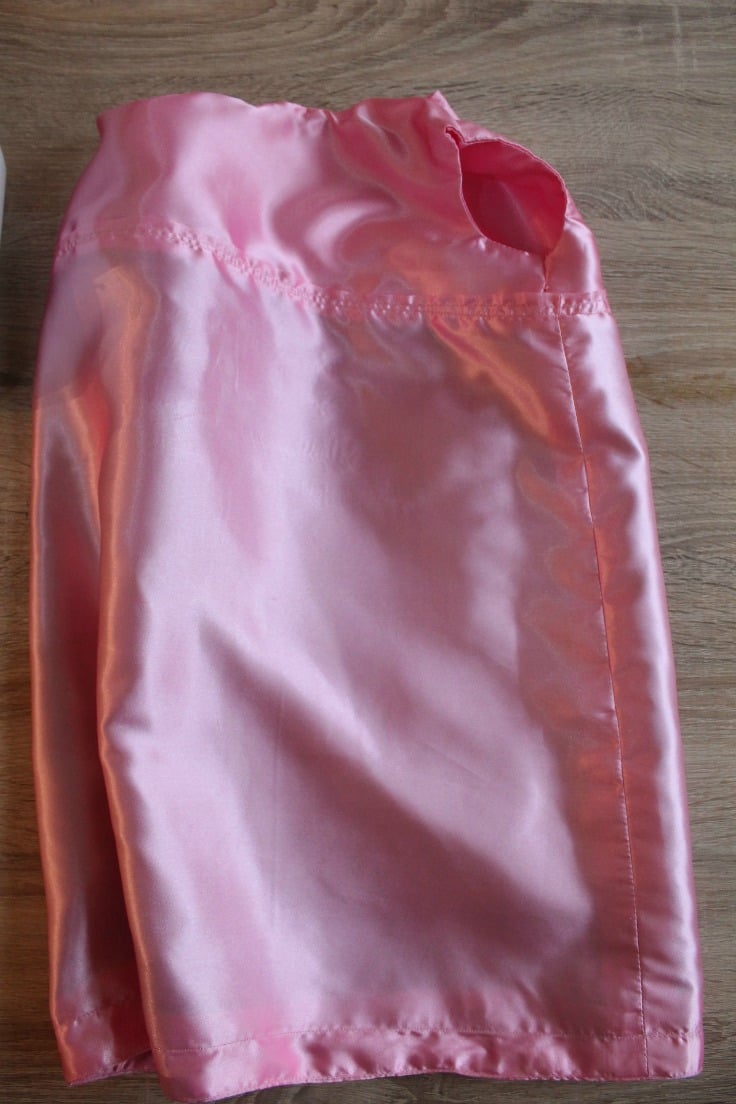
Attach the bodice to the skirt
- Looking at the top of your skirt, trim the extra fabric left after attaching the border to the bottom, then turn the seams inside.
- Insert the bottom of the bodice in between the skirt and the skirt lining, then pin and sew all around.
- Add the button at the back, give the dress another finishing press and you’re done.
I love it! All seams are enclosed and while my sewing on satin wasn’t perfect, it’s still a huge step for me.
This A line dress pattern is perfect for special occasions, or just any day when you want your little one to feel extra special. With the right fabric and materials, you can make this adorable dress in no time at all!
Thanks for joining me on this sewing journey! If you enjoyed this tutorial or decide to recreate it yourself, please share your feedback with me in the comments below. I’d love to hear it!
Happy sewing!
Pin to save for later

Most popular sewing projects:
- Tips for sewing a round hem
- Corded bag handles
- Flutter sleeve dress pattern
- How to laminate cotton fabric


Article may contain Amazon & affiliate links. As an Amazon Associate I earn from qualifying purchases at no additional cost to you.
ABOUT PETRO
Hi, I’m Petro, author and founder of Easy Peasy Creative Ideas. Sewist, crafter, avid DIY-er, foodie, photographer, homemaker and mommy to one. I’m an expert at coming up with quick, clever sewing tips, recycling crafts and simple, easy recipes! You can find my ideas featured in reputable publications such as Country Living, Good House Keeping, Yahoo News, WikiHow, Shutterfly, Parade, Brit & Co and more. Thanks for stopping by and hope you’ll stay for a while, get to know me better and come back another time. Stick around for real fun projects! Read more…