Women’s Gathered waist summer dress pattern
A gathered waist dress pattern is the perfect clothing item for summer! Fun and easy to sew, this simple summer dress pattern and tutorial is suitable for all levels.
Simple summer Dress Pattern

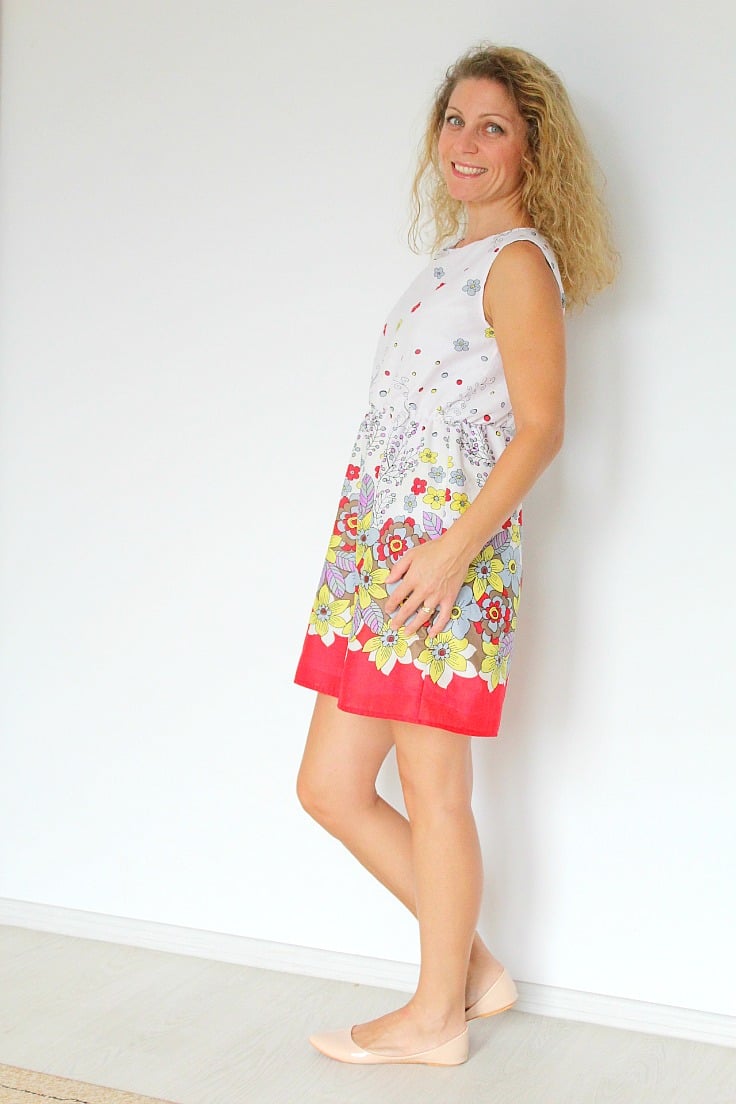
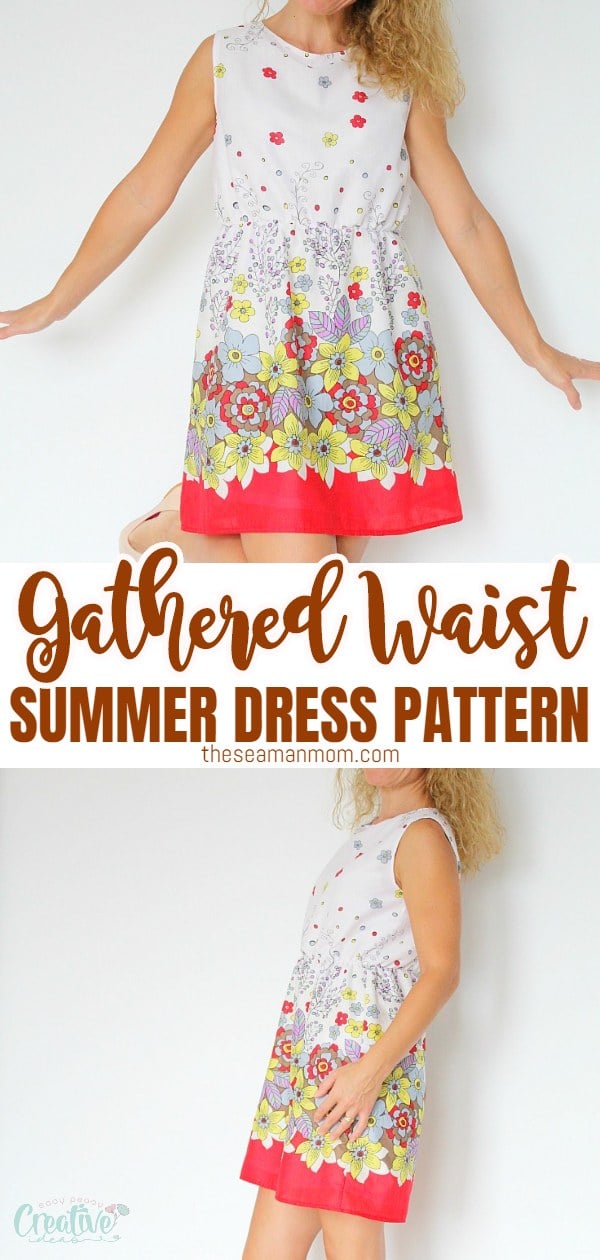
I love dresses, especially in summer when the weather is too hot to bear! This simple summer dress pattern for women is both cute and elegant for day, it feels comfortable without compromising style and looks great on lots of body shapes.
I love a lot of things about this womens summer dress pattern but the feature I appreciate the most is the slightly higher and loose waist as I kind of hate anything tight on my waist! I also think that it elongates my figure so that I appear slimmer and taller, just like a real super model (just kidding, haha!)
More women’s patterns you will love:
- Boat neck dress pattern
- How to make your own dress pattern
- V-neck dress pattern
- Easy Women’ Skirt tutorial
- Bubble skirt tutorial
- Batwing top from a scarf
- Vintage apron sewing pattern
- Wide leg pants sewing tutorial
- 30 Minutes knit pencil skirt
- Pleated blouse pattern
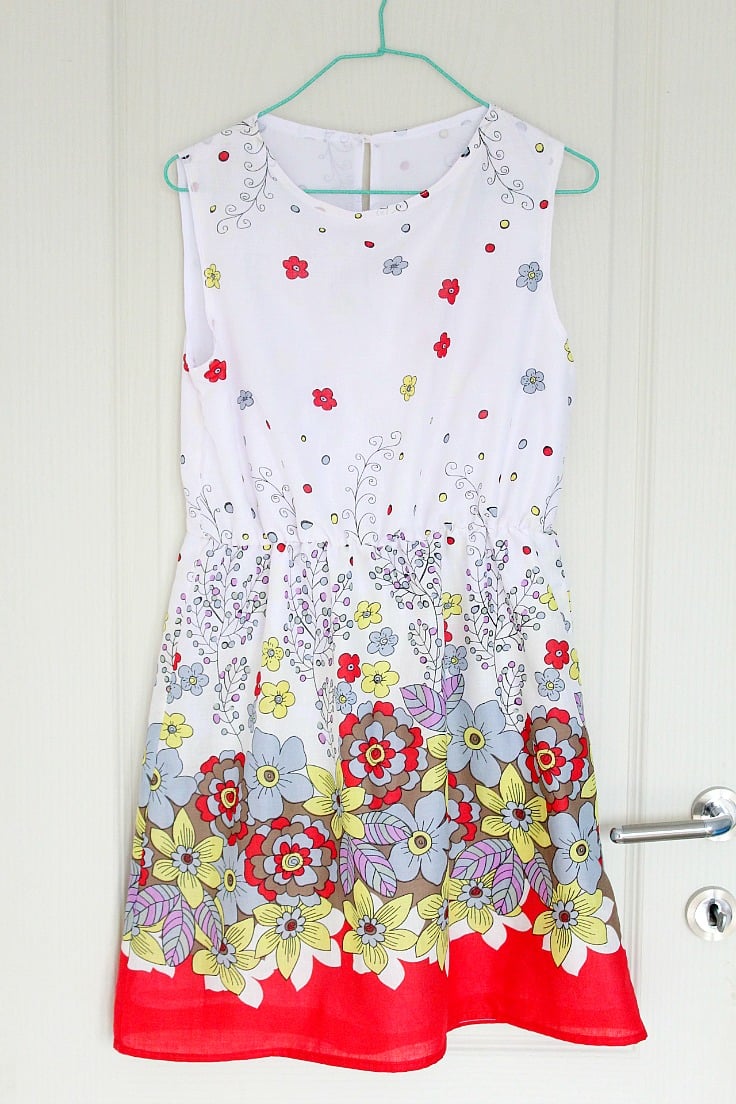
And it’s so incredibly easy to make! This gathered waist dress pattern is basically an A line dress with a slightly gathered waist. I wanted to make my simple summer dress pattern as easy as possible by eliminating the use of bias tape for neckline and armholes. Because let’s face it, bias tape can be a pain when used to finish those tricky areas.
I couldn’t do anything about eliminating the lining because my fabric was pretty sheer so that part involved a bit of an effort but nothing to worry about!
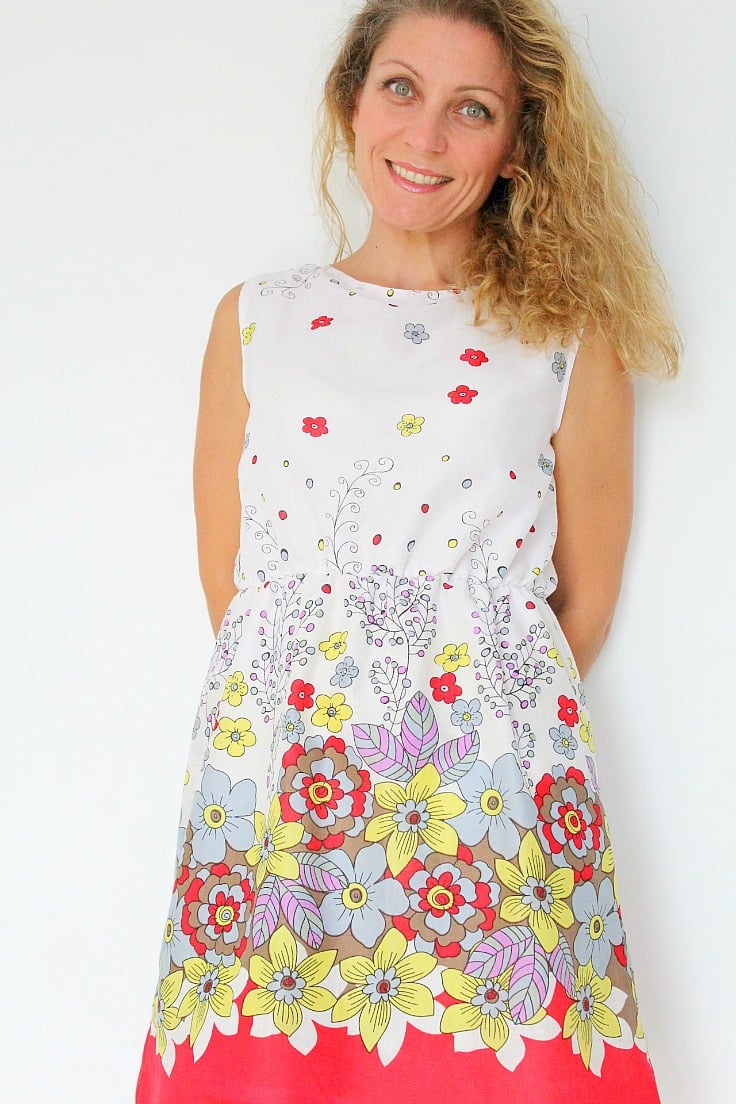
I wanted a quick and easy sew and that’s what I got with my womens summer dress! This dress looks simply fabulous, mostly because of that cute fabric! And I had so much fun making and modeling it, with my little 6 years old niece taking the photos; it was a hoot! Isn’t she so talented?


If you like my dress and decided to give it a try, you can purchase my pattern here, available in sizes 4 to 18.
Summer dress pattern
Materials:
- Fabric for dress 2 yards (I used a soft cotton) – similar here
- fabric for lining 2 yards (I used white chiffon)
- 1/8″ elastic
- button
- fabric pen
- pins
- scissors
- matching thread
- sewing machine
- pattern
Directions:
Prepare the fabrics
- Start by washing and ironing your fabric and lining.
- Access and print the pattern from here.
- Cut the fabric and lining pieces, on the fold, making sure to add 1/4″ allowance and about 2″ for the hem.
Sew the dress pieces
- Match the back pieces for dress and lining.
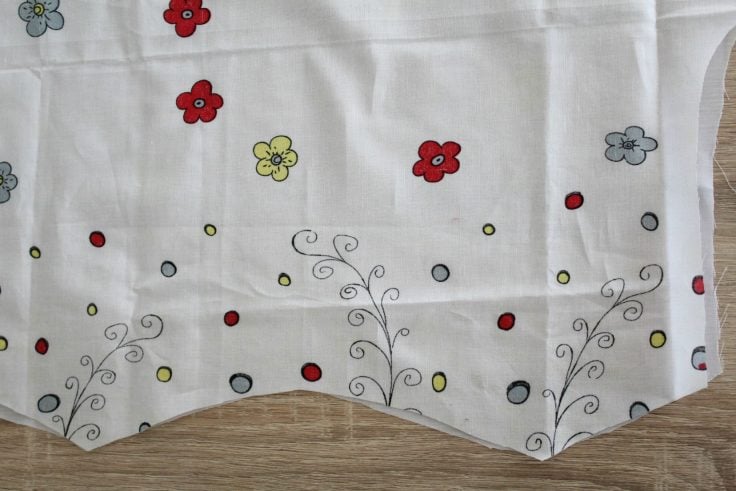
- Fold in half
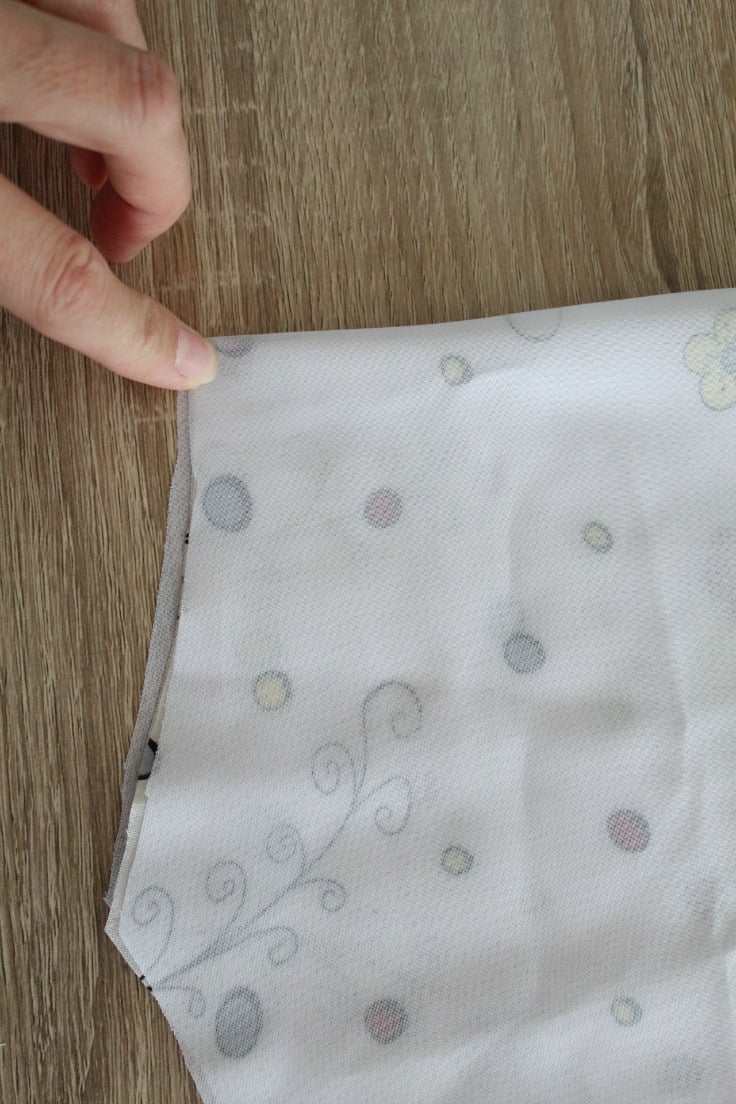
- And cut a slit of about 6″ just down the middle
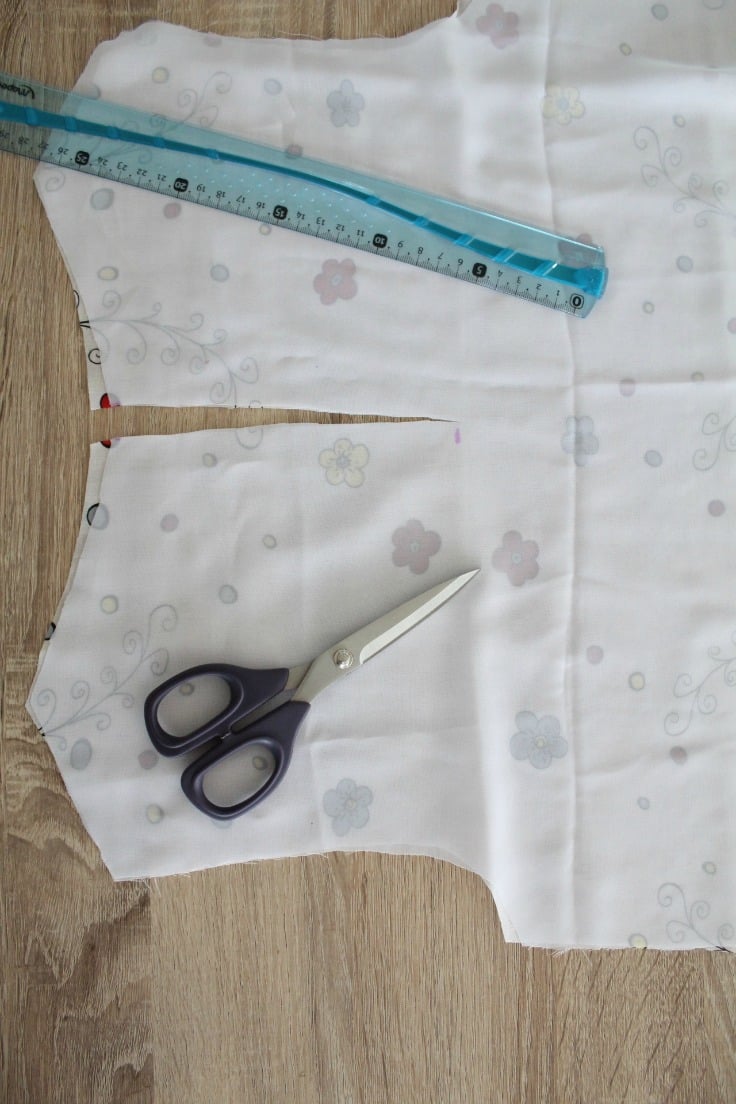
- Match the dress pieces, right side together, pin at the shoulders and sew. Do the same for the lining pieces.
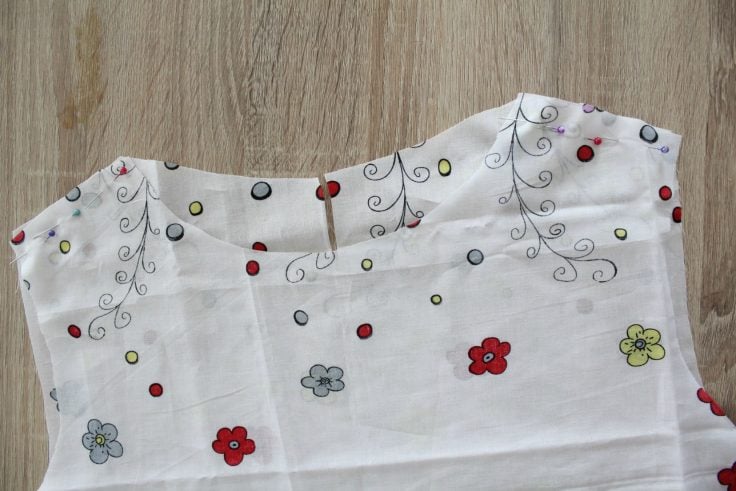
Make & insert back loop
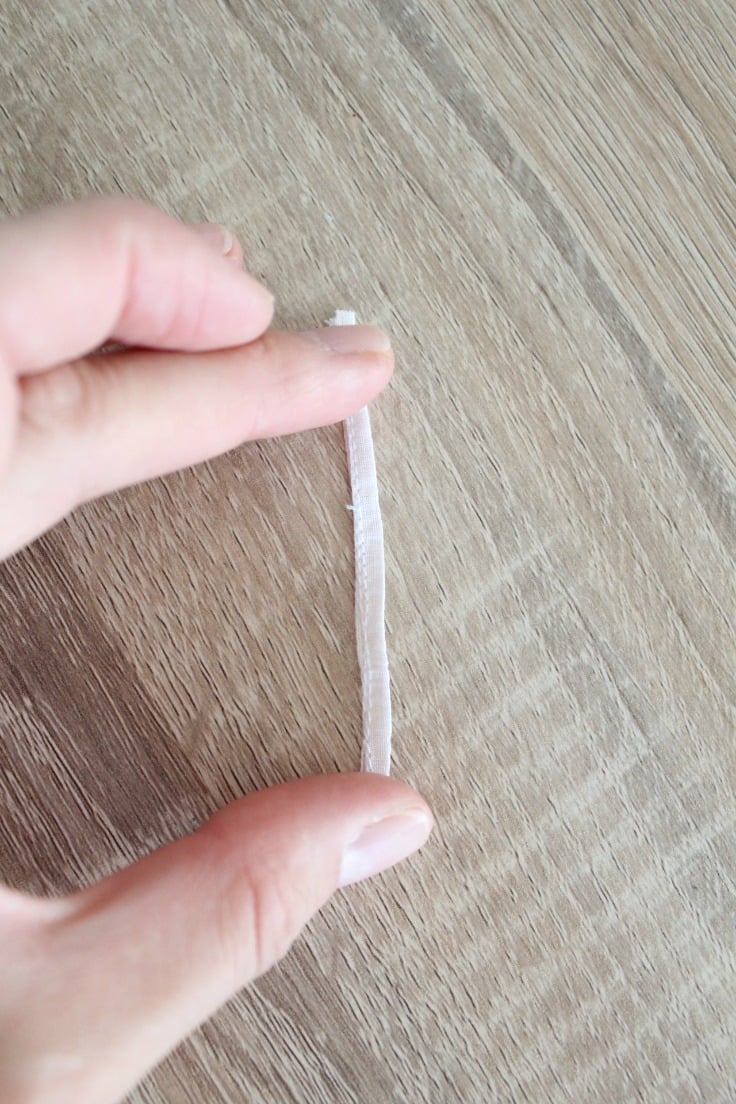
- Make a tiny button loop. Take a small piece of fabric of 3″ by 1/2″, fold in half and iron, then fold each side in half and iron, then fold one more time using the initial fold and iron. You will probably find this loop to long and will need to trim once you attach it to the dress.
- Match dress pieces and lining pieces, wrong sides together and pin all around the neckline.
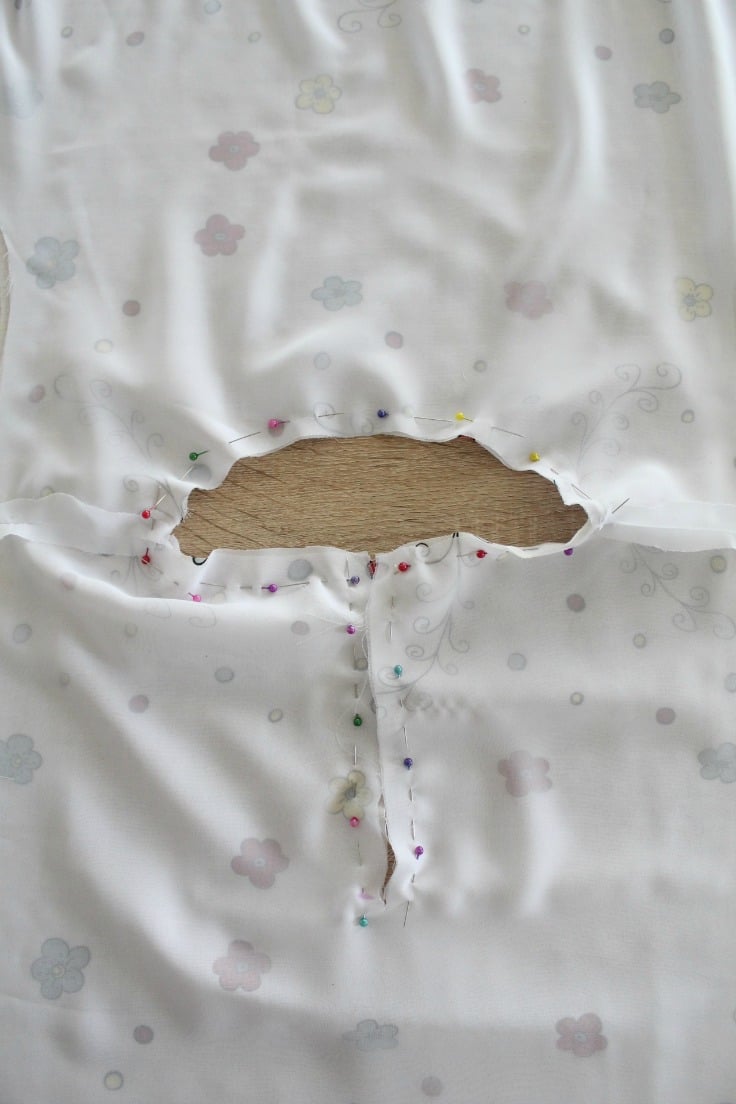
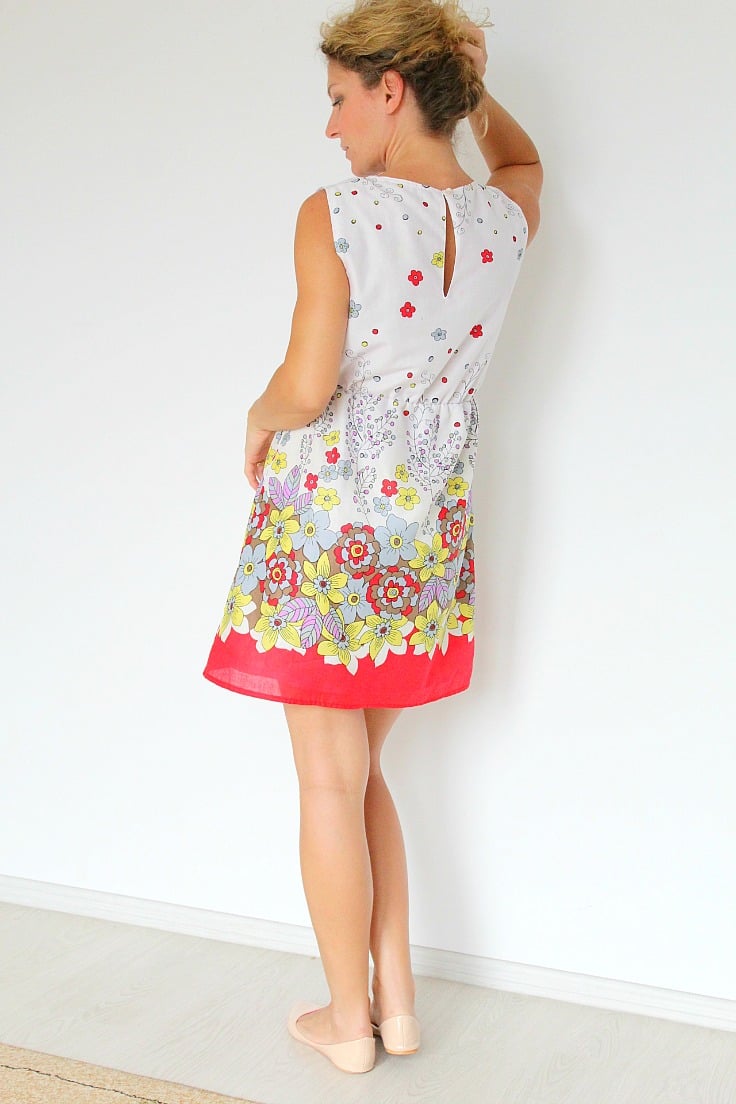
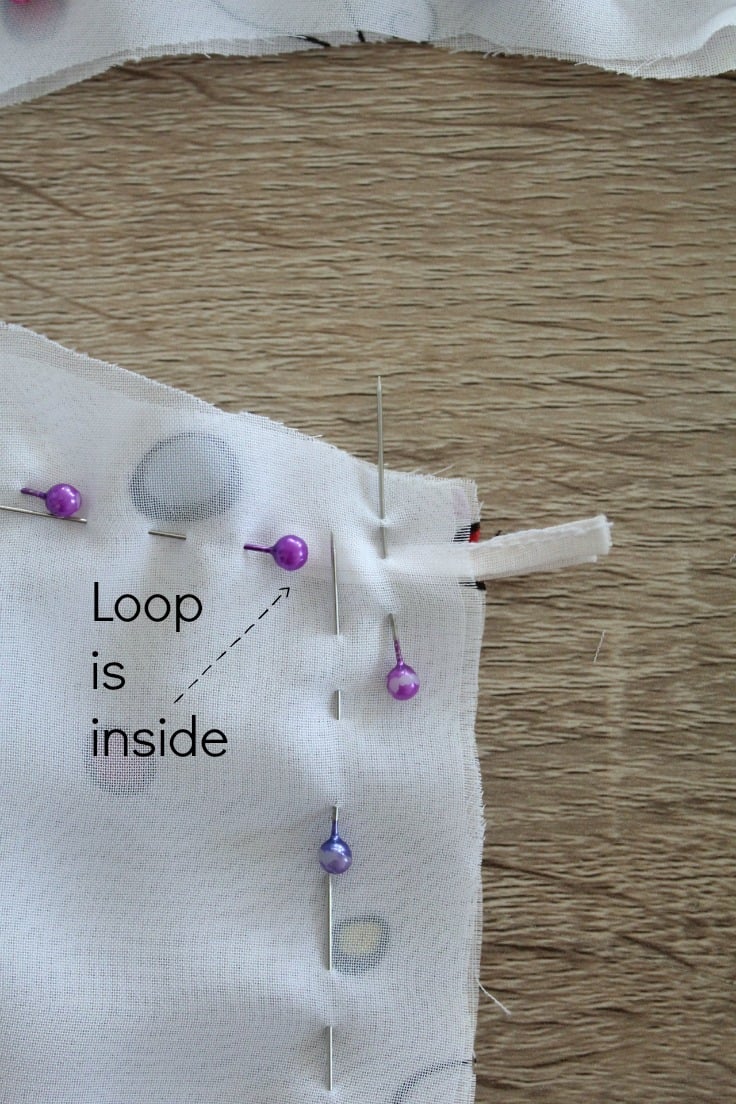
- Insert the little strip of fabric you just made as in the photo below.
Turn dress right side out
- Turn the dress right side out by dropping the lining through the neckline.
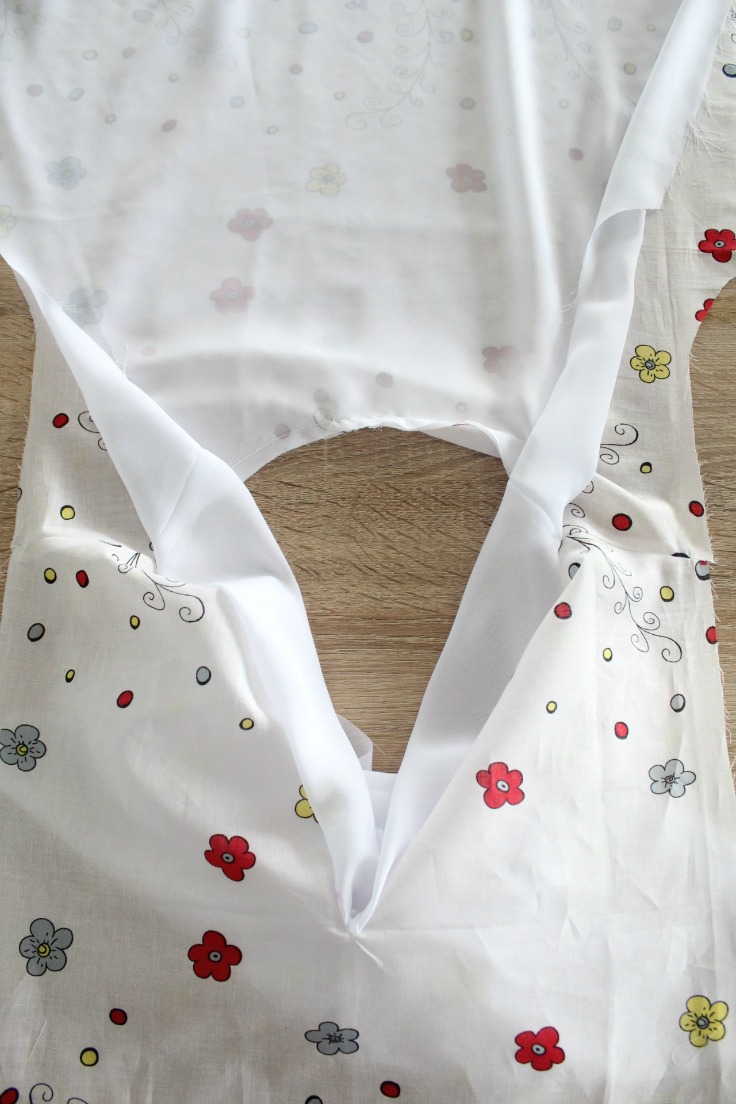
- Trim the corners then gently push the out .
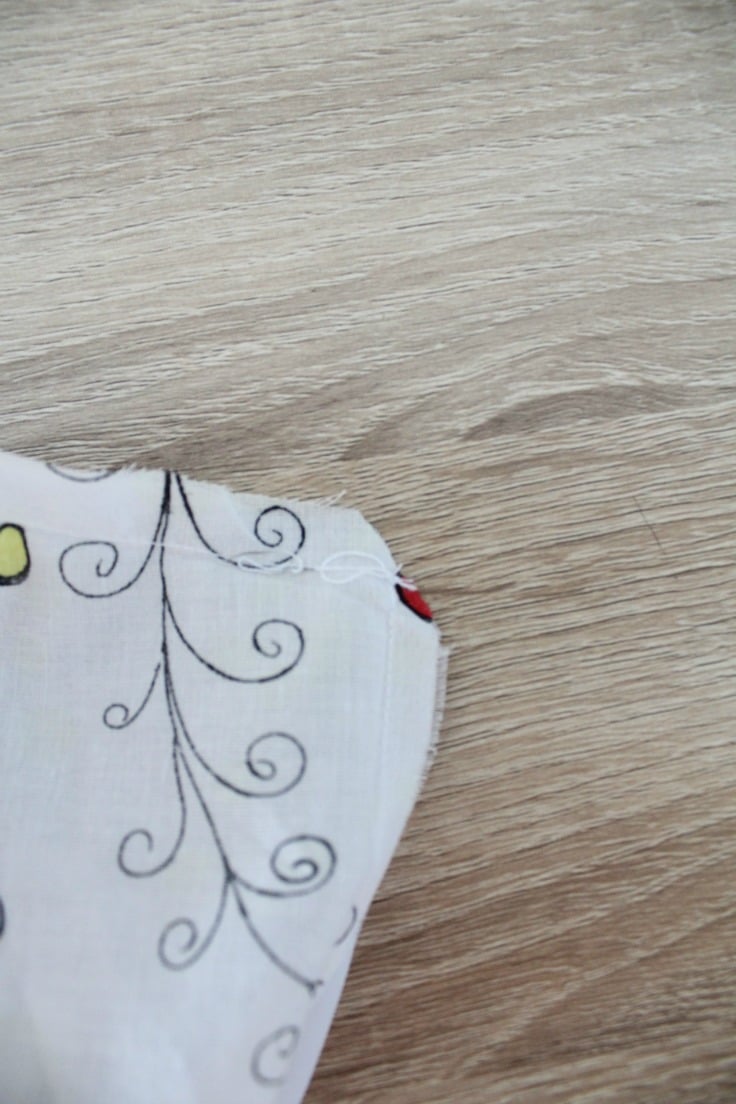
- Top stitch the slit as close to the edge as possible.
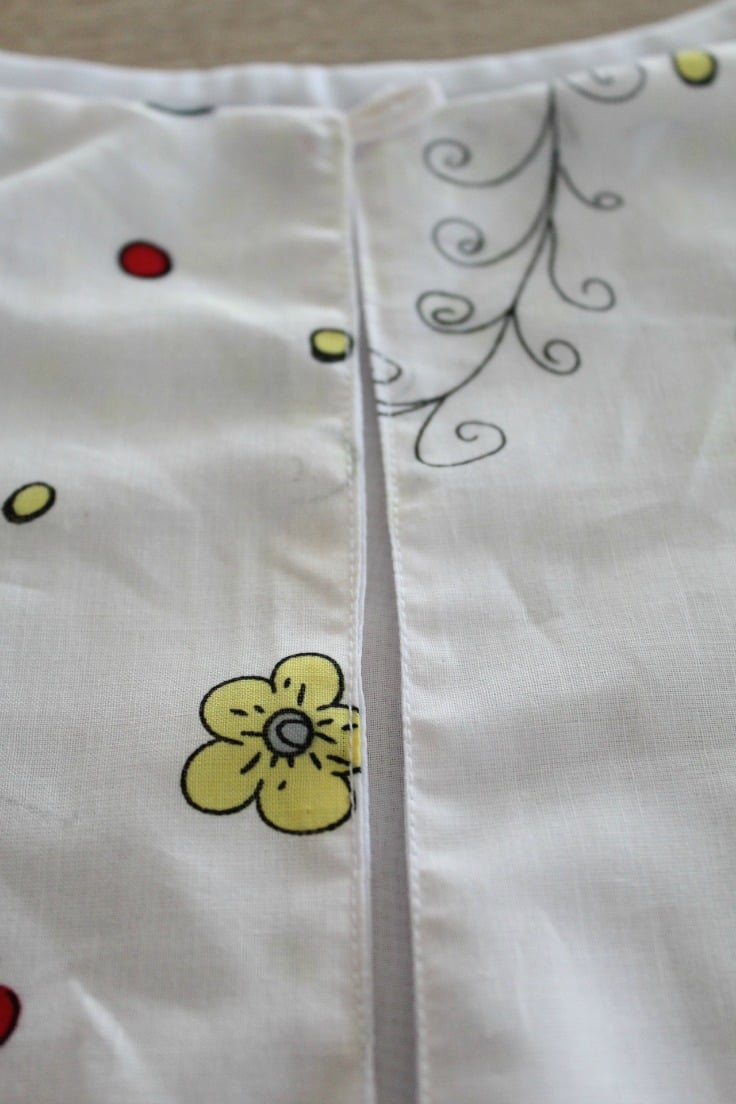
- Sew around the neckline a 1/4″ seam then again as close to the edge as possible.
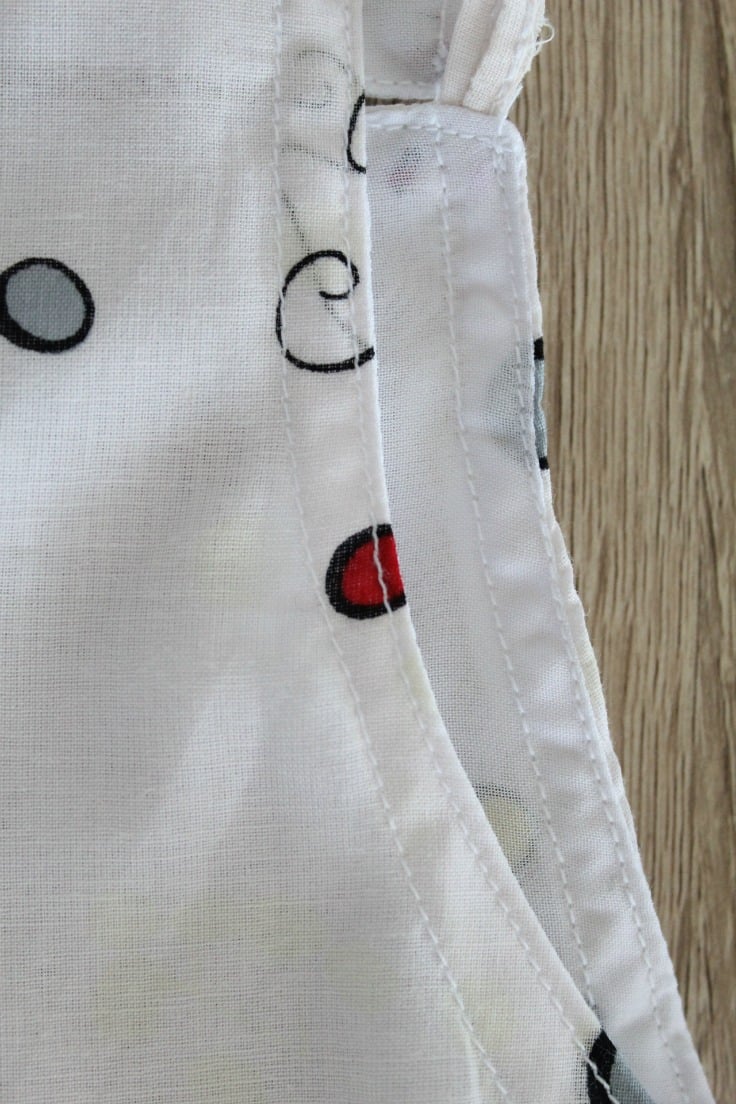
- Sew the sides together on both the dress and the lining, making sure they’re facing inwards so they’re enclosed when the dress is done. Serge or zig zag to finish the seam.
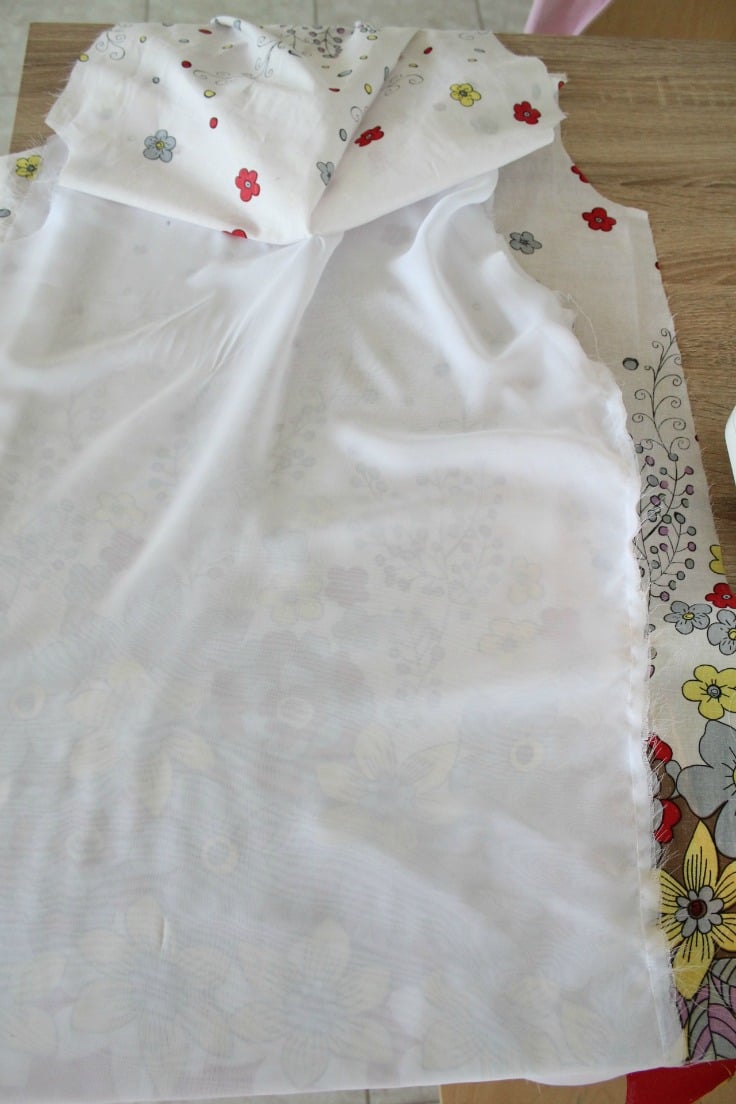
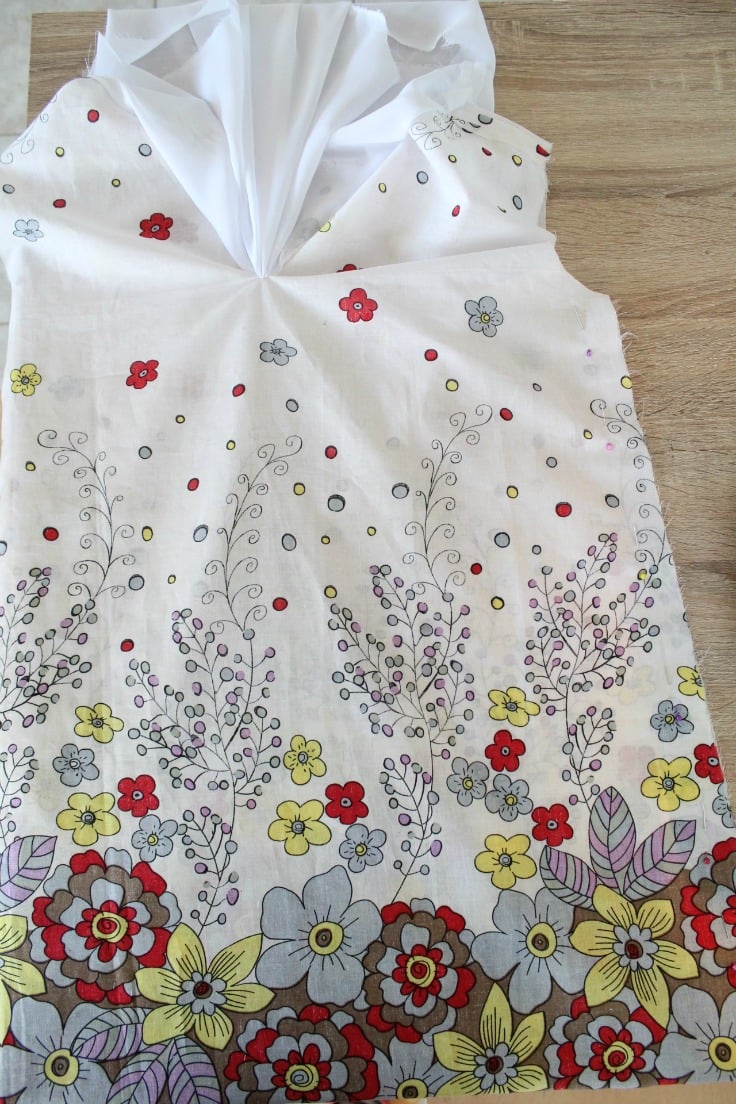
Sew the armholes
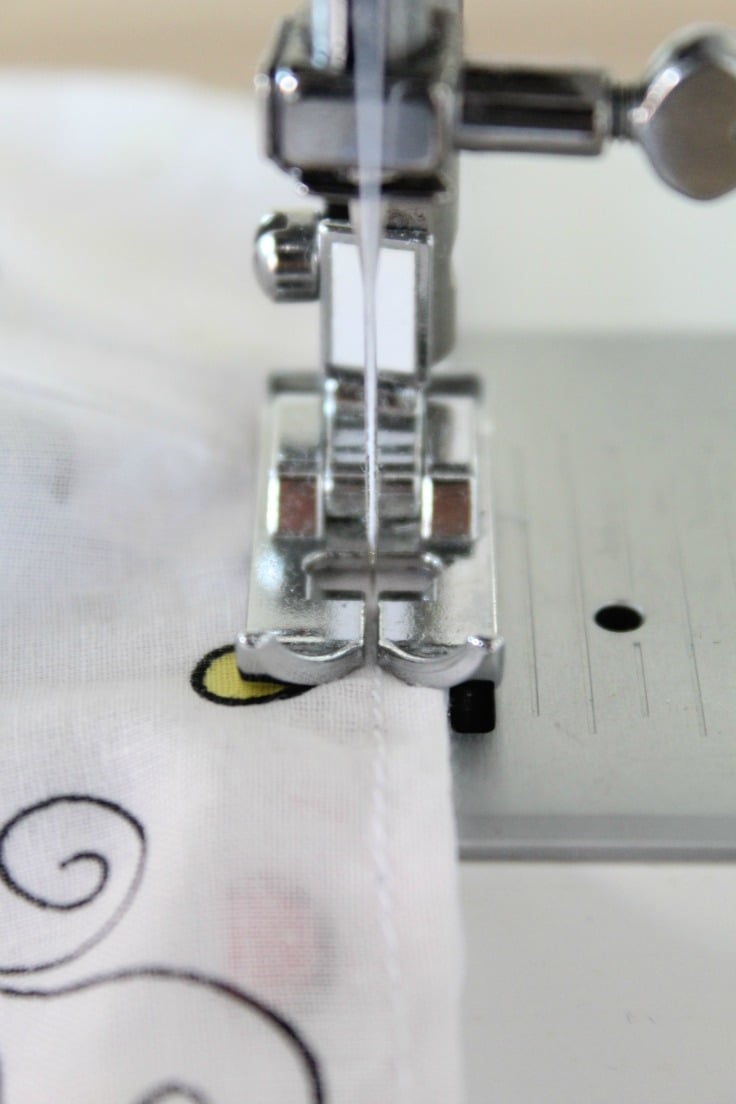
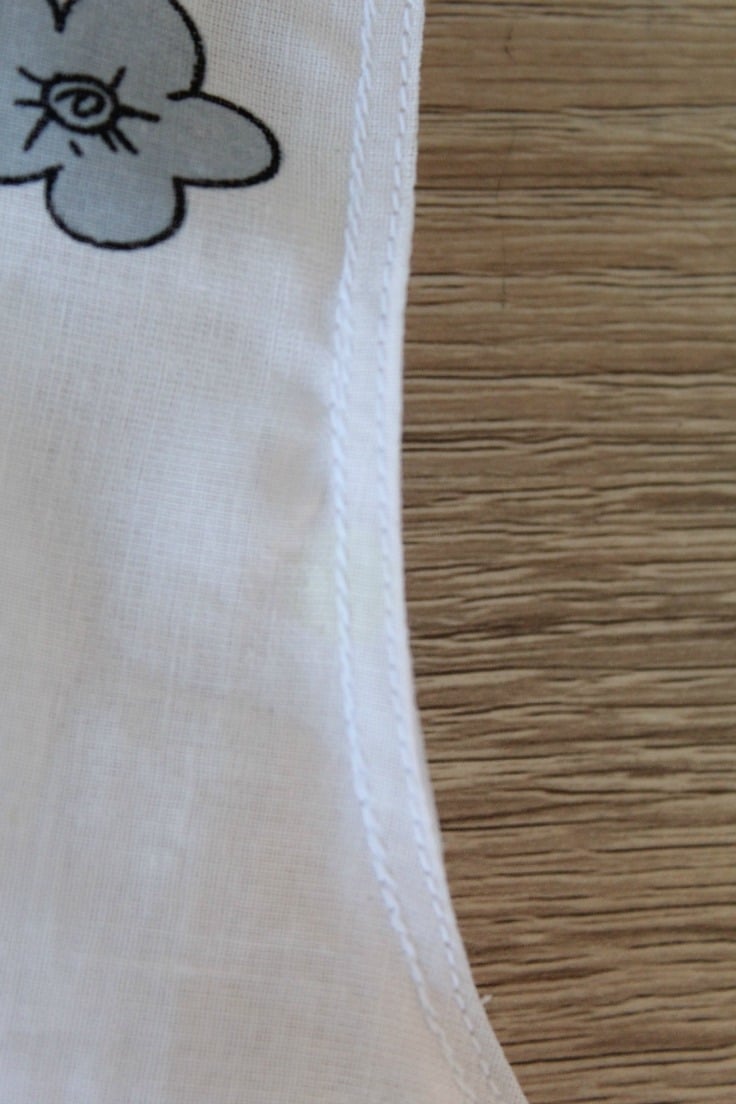
- With the dress right side out, work on the armholes. Turn the seam inside, all around the armhole, on both the dress and the lining so that the raw edges are facing together. Pin and sew, first the dress then the lining.
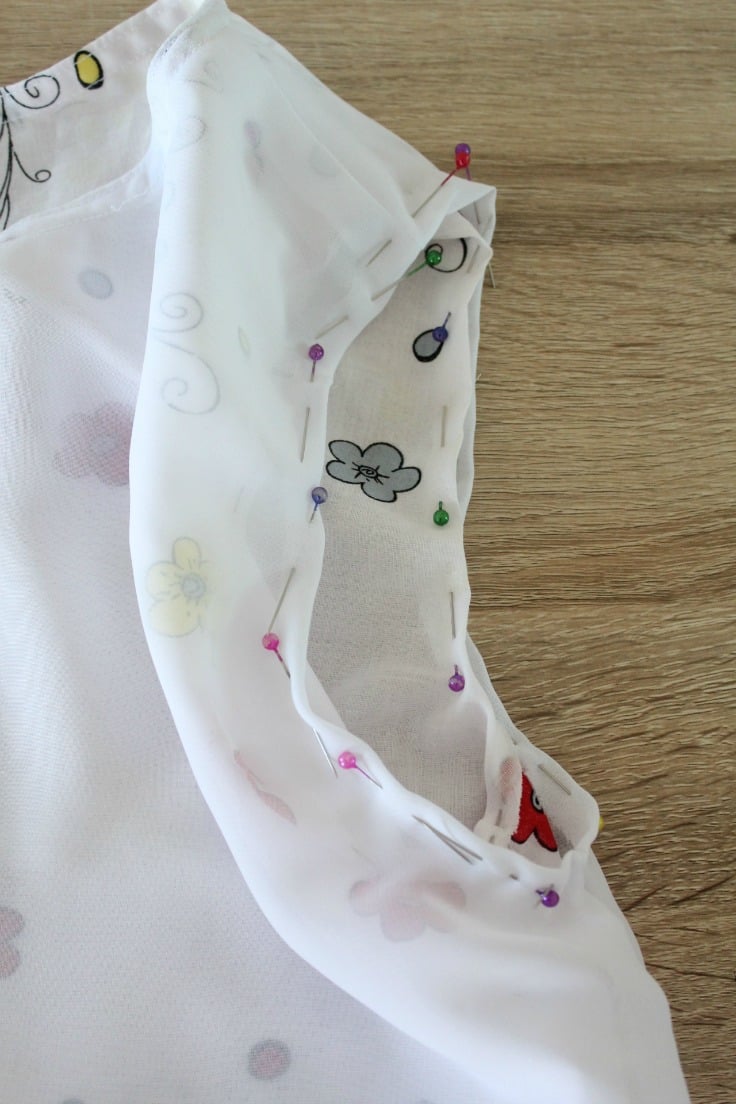
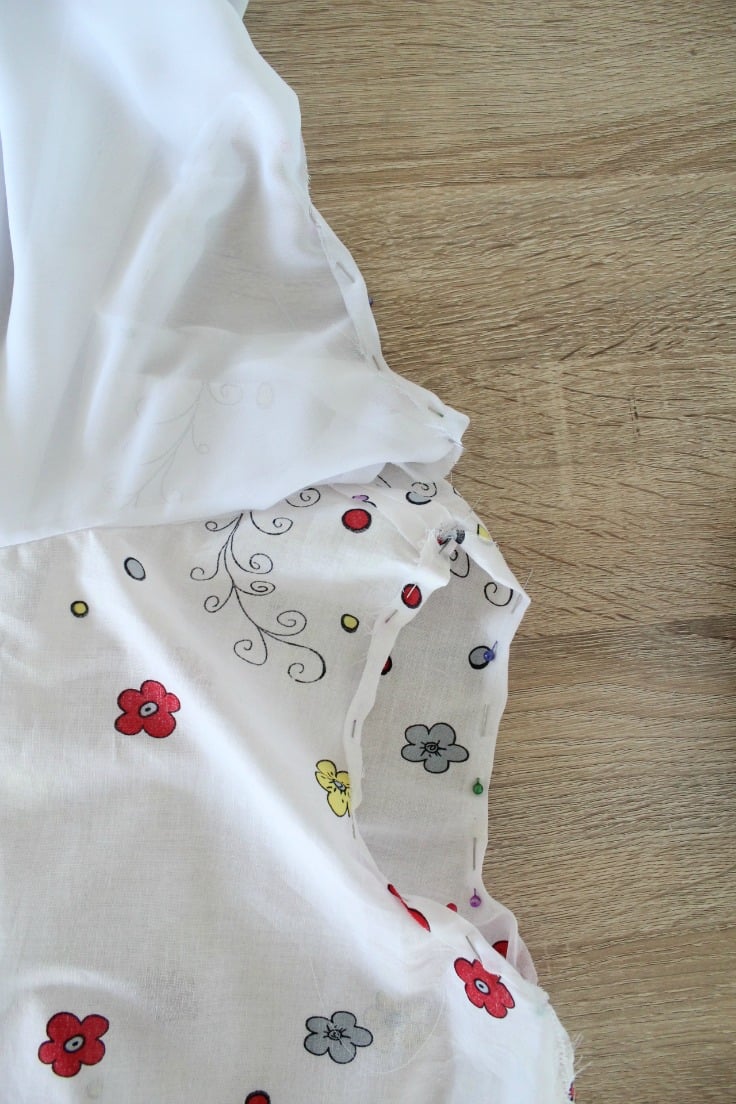
- Match the dress and the lining at armhole, pin together and sew on the seam you just made before, when sewing the armhole towards the inside. Then do another stitch as close to the edge as possible.
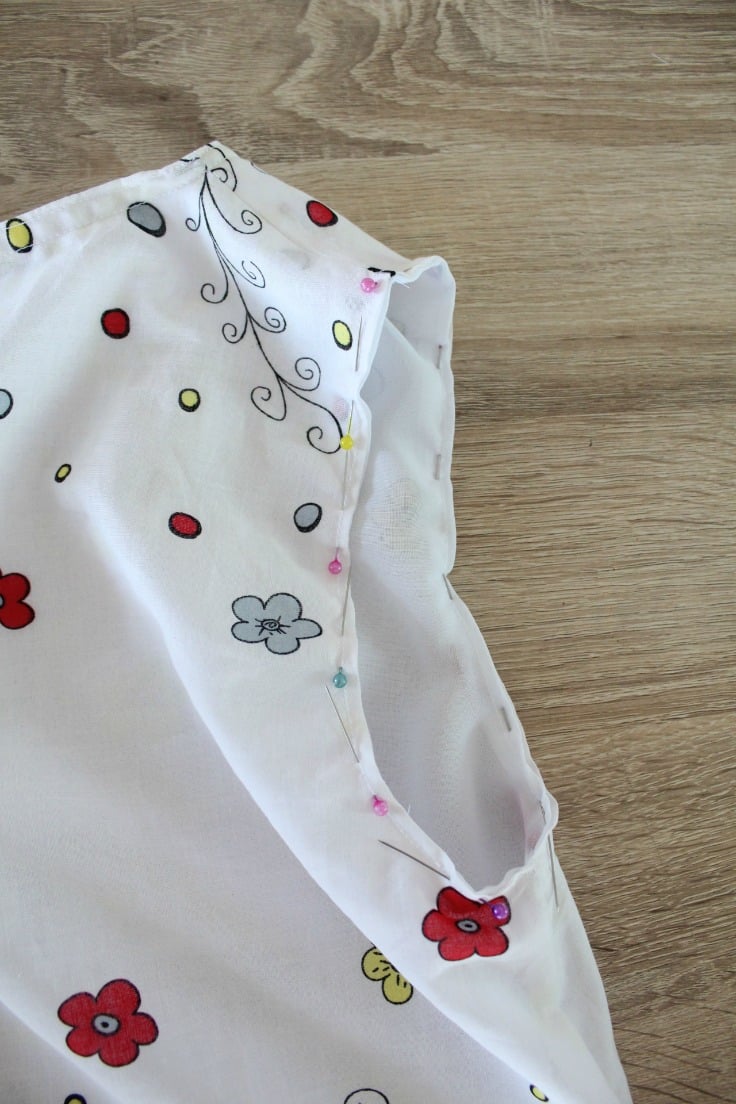
Make the gathered waist
- Measure 7″ down the armhole and make horizontal marks on the dress. This will be the waist. Then pin all the way around the waist making sure to catch both the dress and the lining.
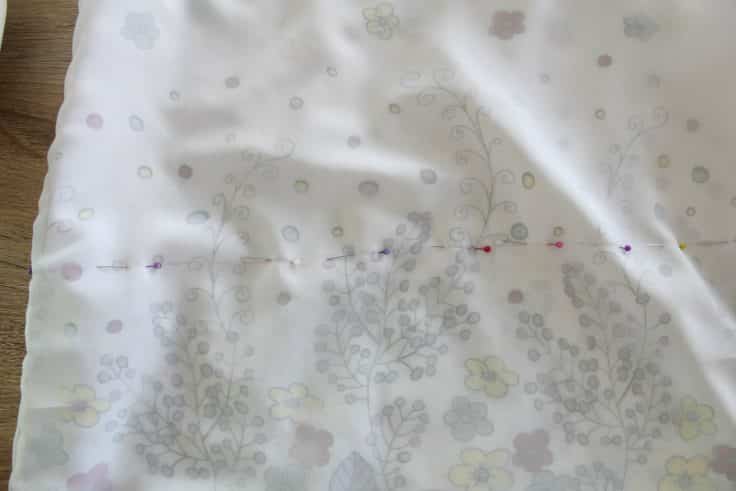
- Fold the dress inside, following the pins mark, then remove the pins and pin a shown below
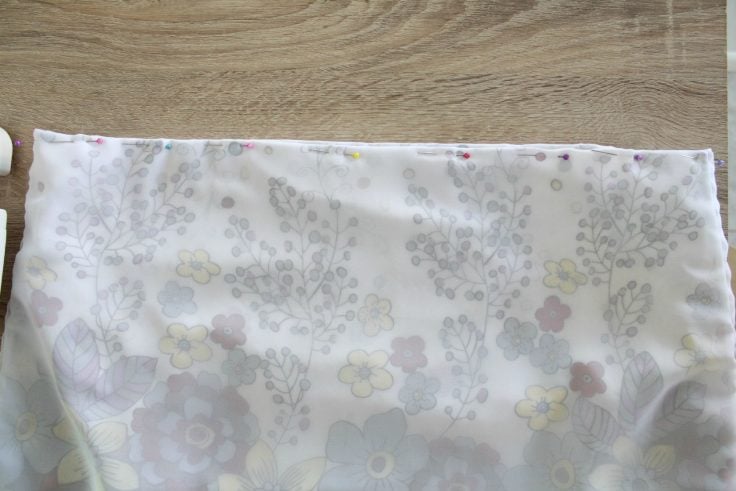
- Make sure the dress and the lining are aligned at the hem before proceeding to the next step.
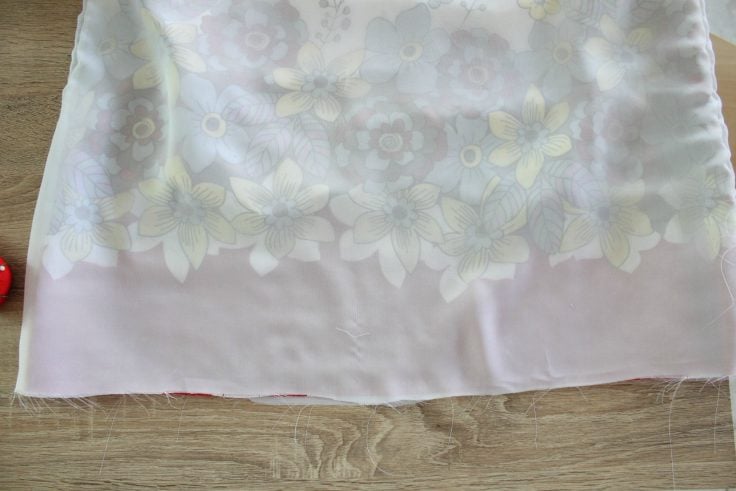
- Sew a 1/4″ seam all around the waist following the pins mark, leaving a 2″ opening.
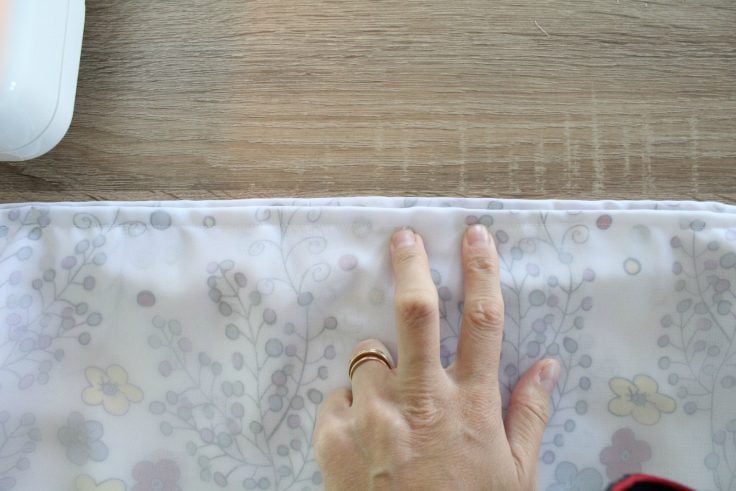
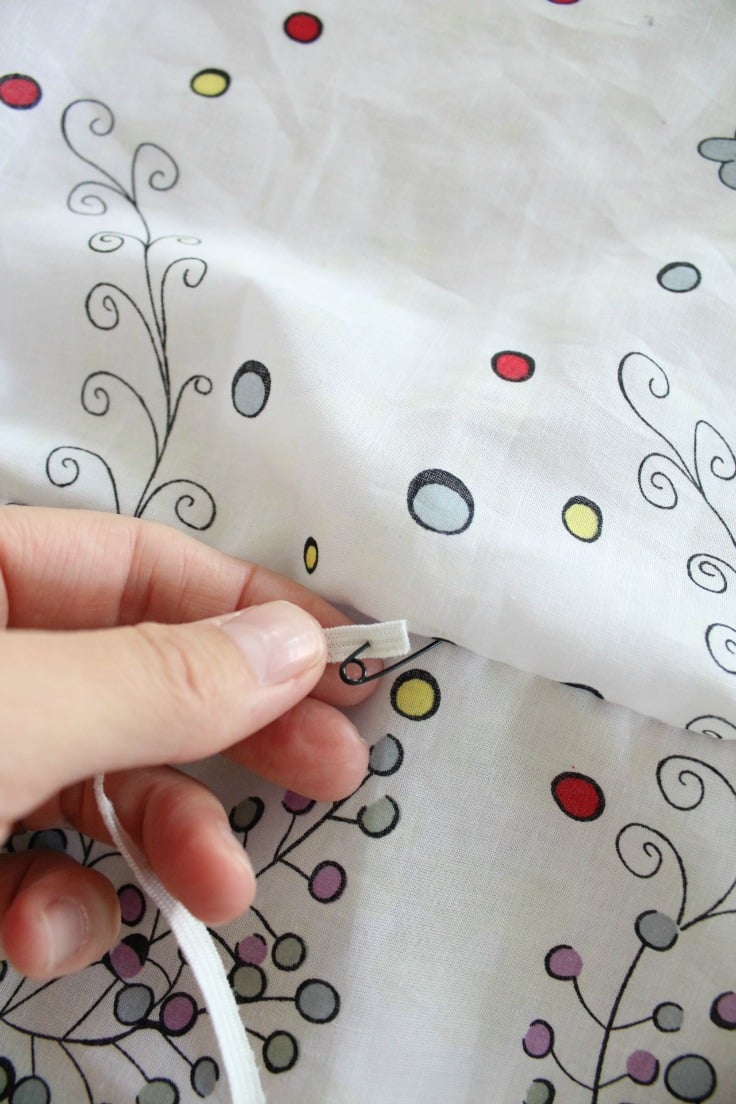
- Thread the elastic through the waist, using a safety pin, then sew the opening closed.
- Your waist should look like this now. Spread the gathers nicely so they’re even all around the waist line
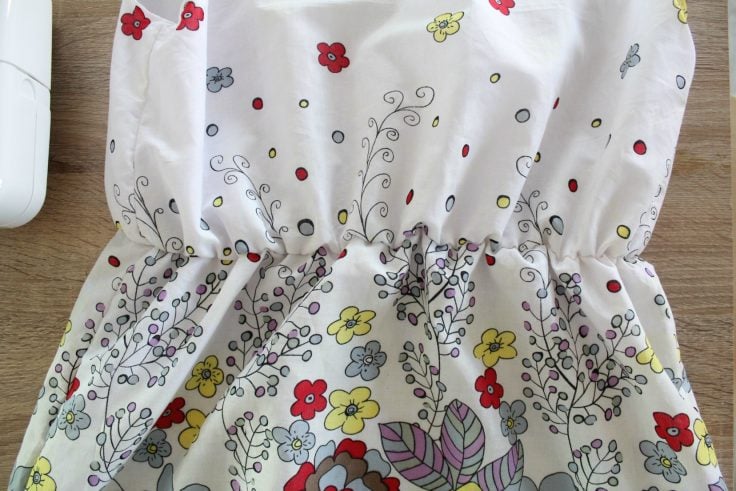
Finish hem & button
- Now all you have to do is make the hem on both the dress and the lining. Because the fabric was so thin, I wanted to make a narrow hem and I used this method here.
- Add the button and you’re done! Enjoy your beautiful summer dress!
Pin to save for later
Most popular sewing articles:
Article may contain Amazon & affiliate links. As an Amazon Associate I earn from qualifying purchases at no additional cost to you.


ABOUT PETRO
Hi, I’m Petro, author and founder of Easy Peasy Creative Ideas. Sewist, crafter, avid DIY-er, foodie, photographer, homemaker and mommy to one. I’m an expert at coming up with quick, clever sewing tips, recycling crafts and simple, easy recipes! You can find my ideas featured in reputable publications such as Country Living, Good House Keeping, Yahoo News, WikiHow, Shutterfly, Parade, Brit & Co and more. Thanks for stopping by and hope you’ll stay for a while, get to know me better and come back another time. Stick around for real fun projects! Read more…