Cotton stems DIY farmhouse decor
Are you on the lookout for beautiful farmhouse decorating ideas that you can whip up in just minutes? You can easily create a fabulous DIY farmhouse décor with these adorable cotton branches!
DIY Cotton branches
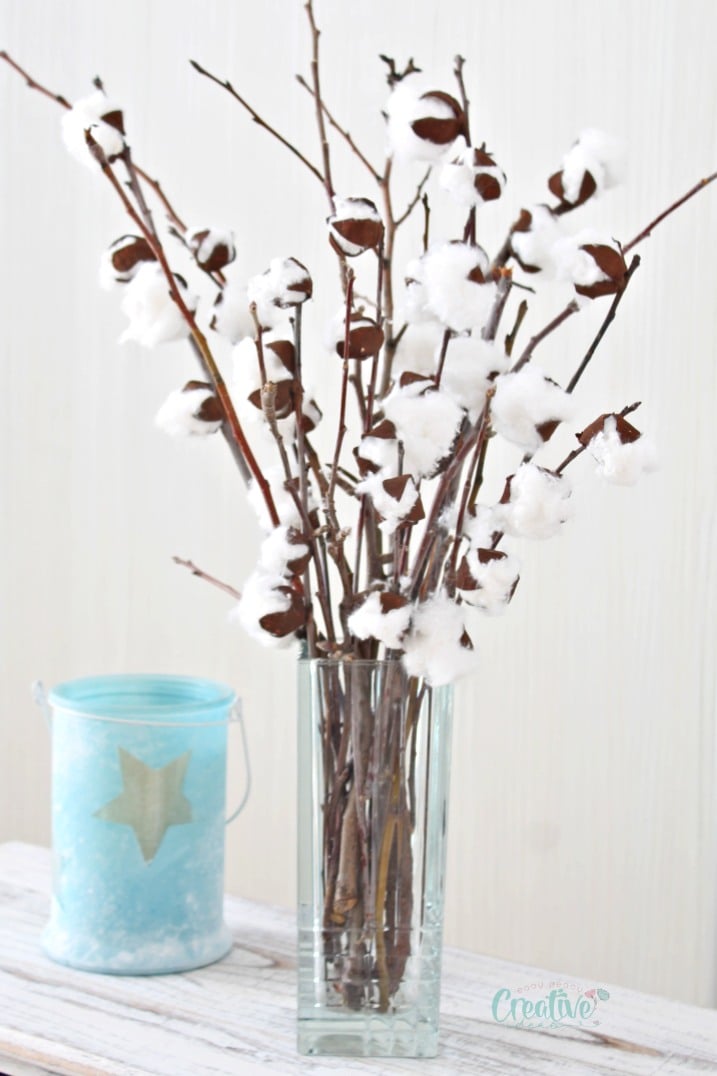
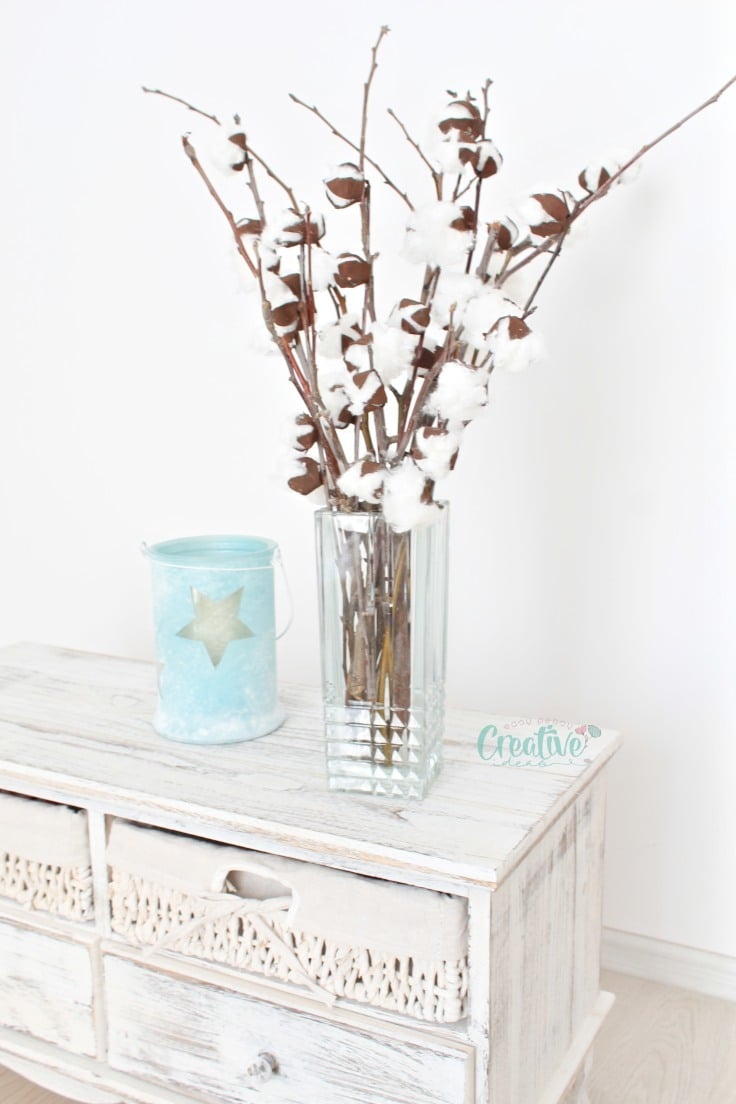
I’m so excited about these cotton branches! They were one of the easiest projects I ever did and by far the most enjoyable. And to be honest, quite soothing (I’ll get to this in just a minute). I know many people think of fall when it comes to cotton branches but to me, these lovely DIY cotton stems are a great craft to do all year round! It brings so much personality to any place and comes together in no time!
Need more rustic décor ideas?
- Twigs photo frame
- Rustic twig flower pot
- Reversible throw blanket with ruffles
- Farmhouse ruffled pillowcase
- Jute table runner idea
- Wine bottle art home decor
- DIY outdoor rug with rope
- Aged terracotta flower pots
- Twine decorated candles
- DIY wool ball garland
- Farmhouse book stack décor idea
- DIY tile vase farmhouse decor
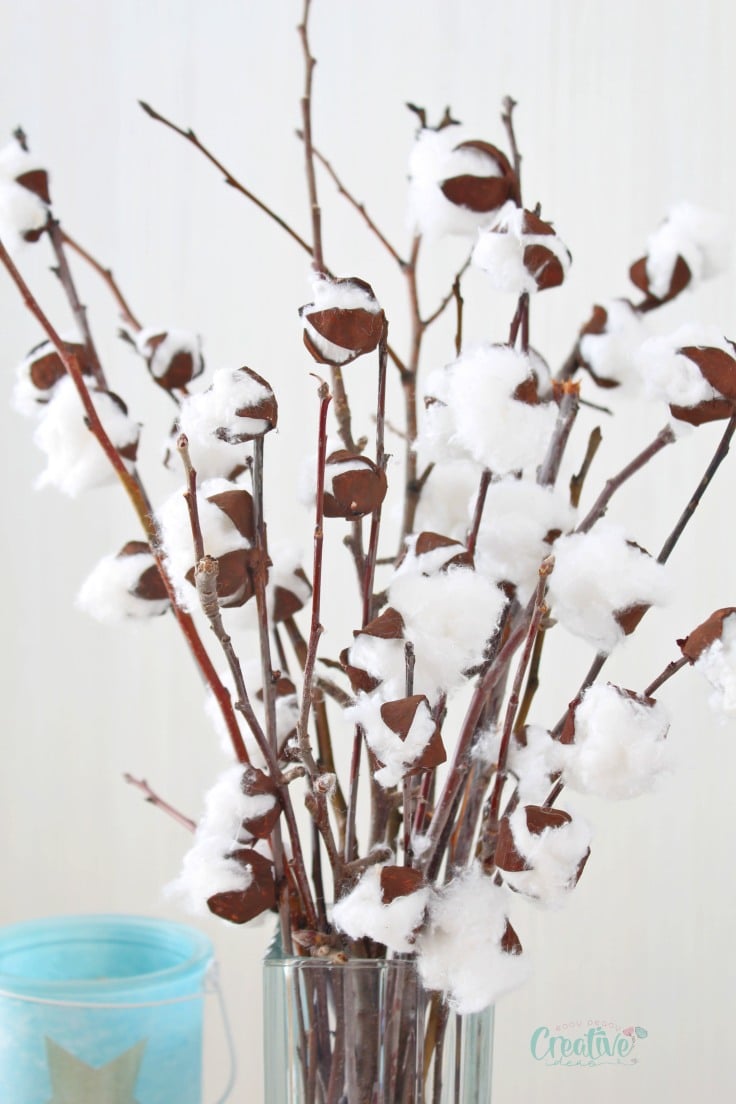
These cotton boll stems add a touch of warmth to your place especially if your décor is mainly neutral and on the modern side. Even if your home décor is predominantly rustic, these cotton branches will add more country-chic charm to the coziness of your home!
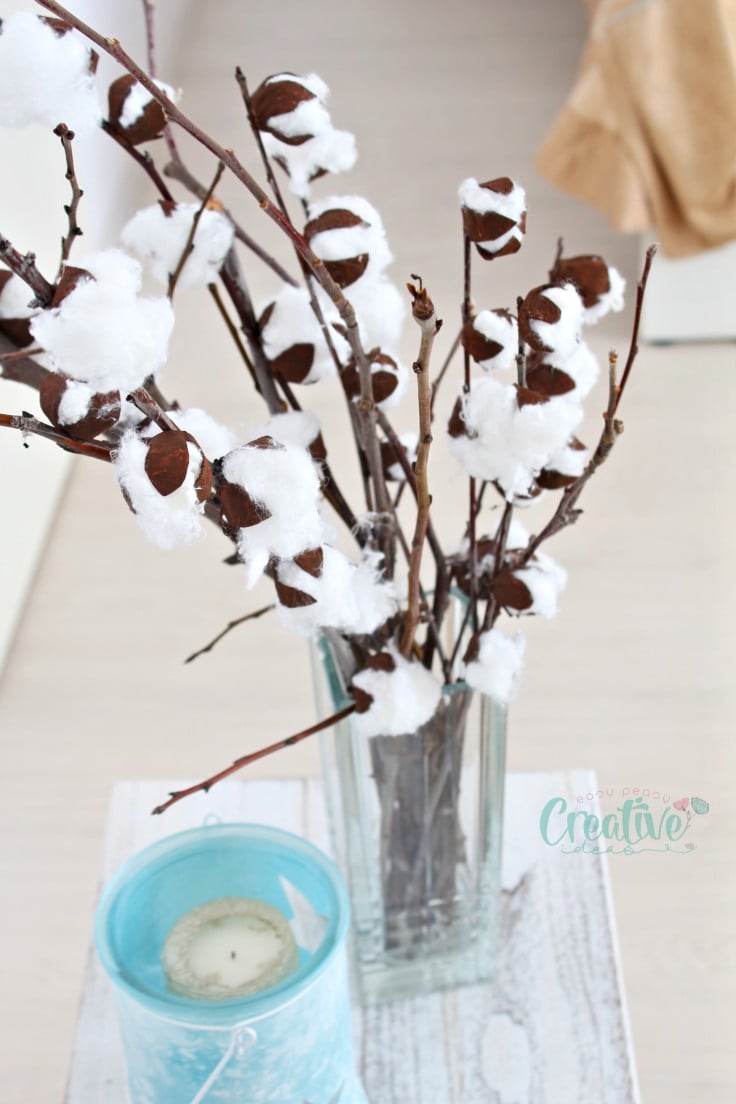
This cotton décor looks realistic without being “real” which is very nice as you won’t get that fake feeling every time you take a look at your gorgeous cotton branches. These cotton stems are made with real branches from my fall clippings but the actual cotton bolls are fake.
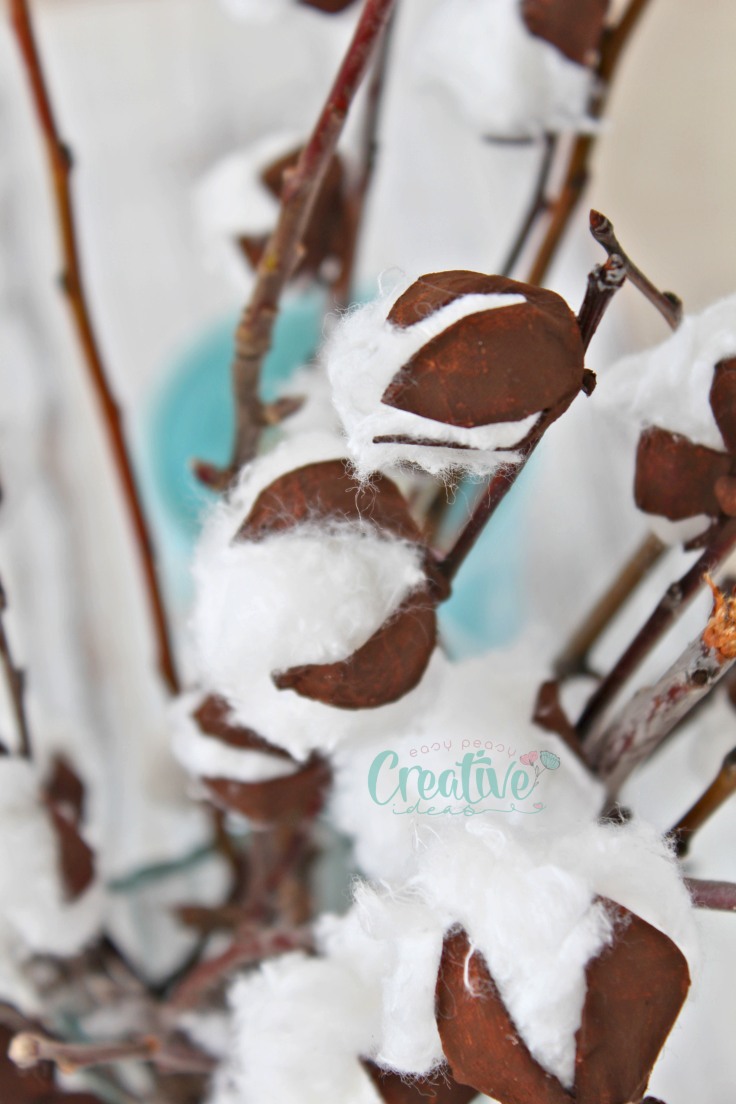
I made these in such an easy and convenient way and I truly enjoyed working on my faux cotton stems. The cotton stems are made out of old egg cartons and surgical cotton which was already loose and easy and fast to work with. I felt so much at peace and relaxed when cutting, shaping, coloring and filling the egg cartons! It was such a soothing activity that I ended up making more cotton bolls than I planned so I had to go out and look for more branches.
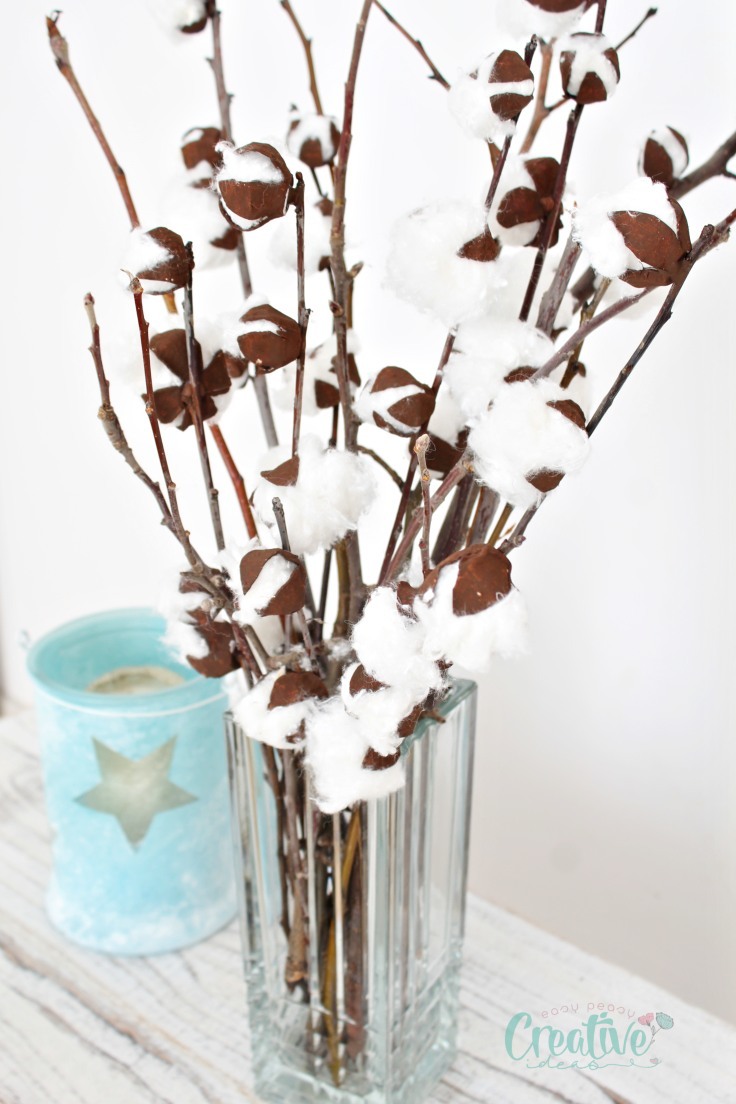
These cotton branches literally cost me nothing as I already had all of the supplies on hand. And they look stunning in any of the rooms of my house (I tried! every room warms up instantly!). So why spend a ton of money on home décor items when you can make your own for the fraction of the cost!
How to make cotton branches
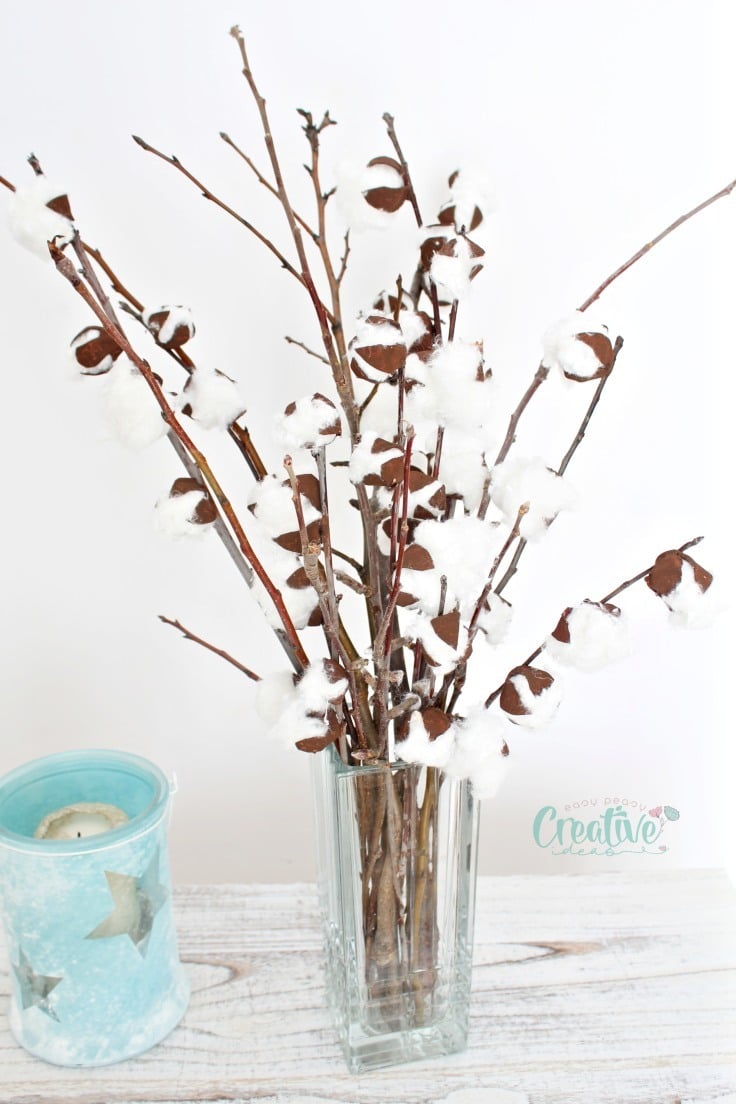
Materials:
- empty egg cartons
- sharp scissors
- acrylic paint in brown (you can use 2-3 shades of brown for a more realistic look; I realized that after I finished my cotton stems)
- paintbrush
- cotton balls (you’ll need to pull the fibers apart) or use surgical cotton wool which is already loose
- long, thin branches or sticks
- low heat glue gun
- glue sticks
Directions:
Prepare the pods
- Make sure your egg cartons are clean (I had a few stained by broken eggs and had to get those out of the way as they were pretty smelly).
- Separate each egg cup from the carton by cutting them with scissors.
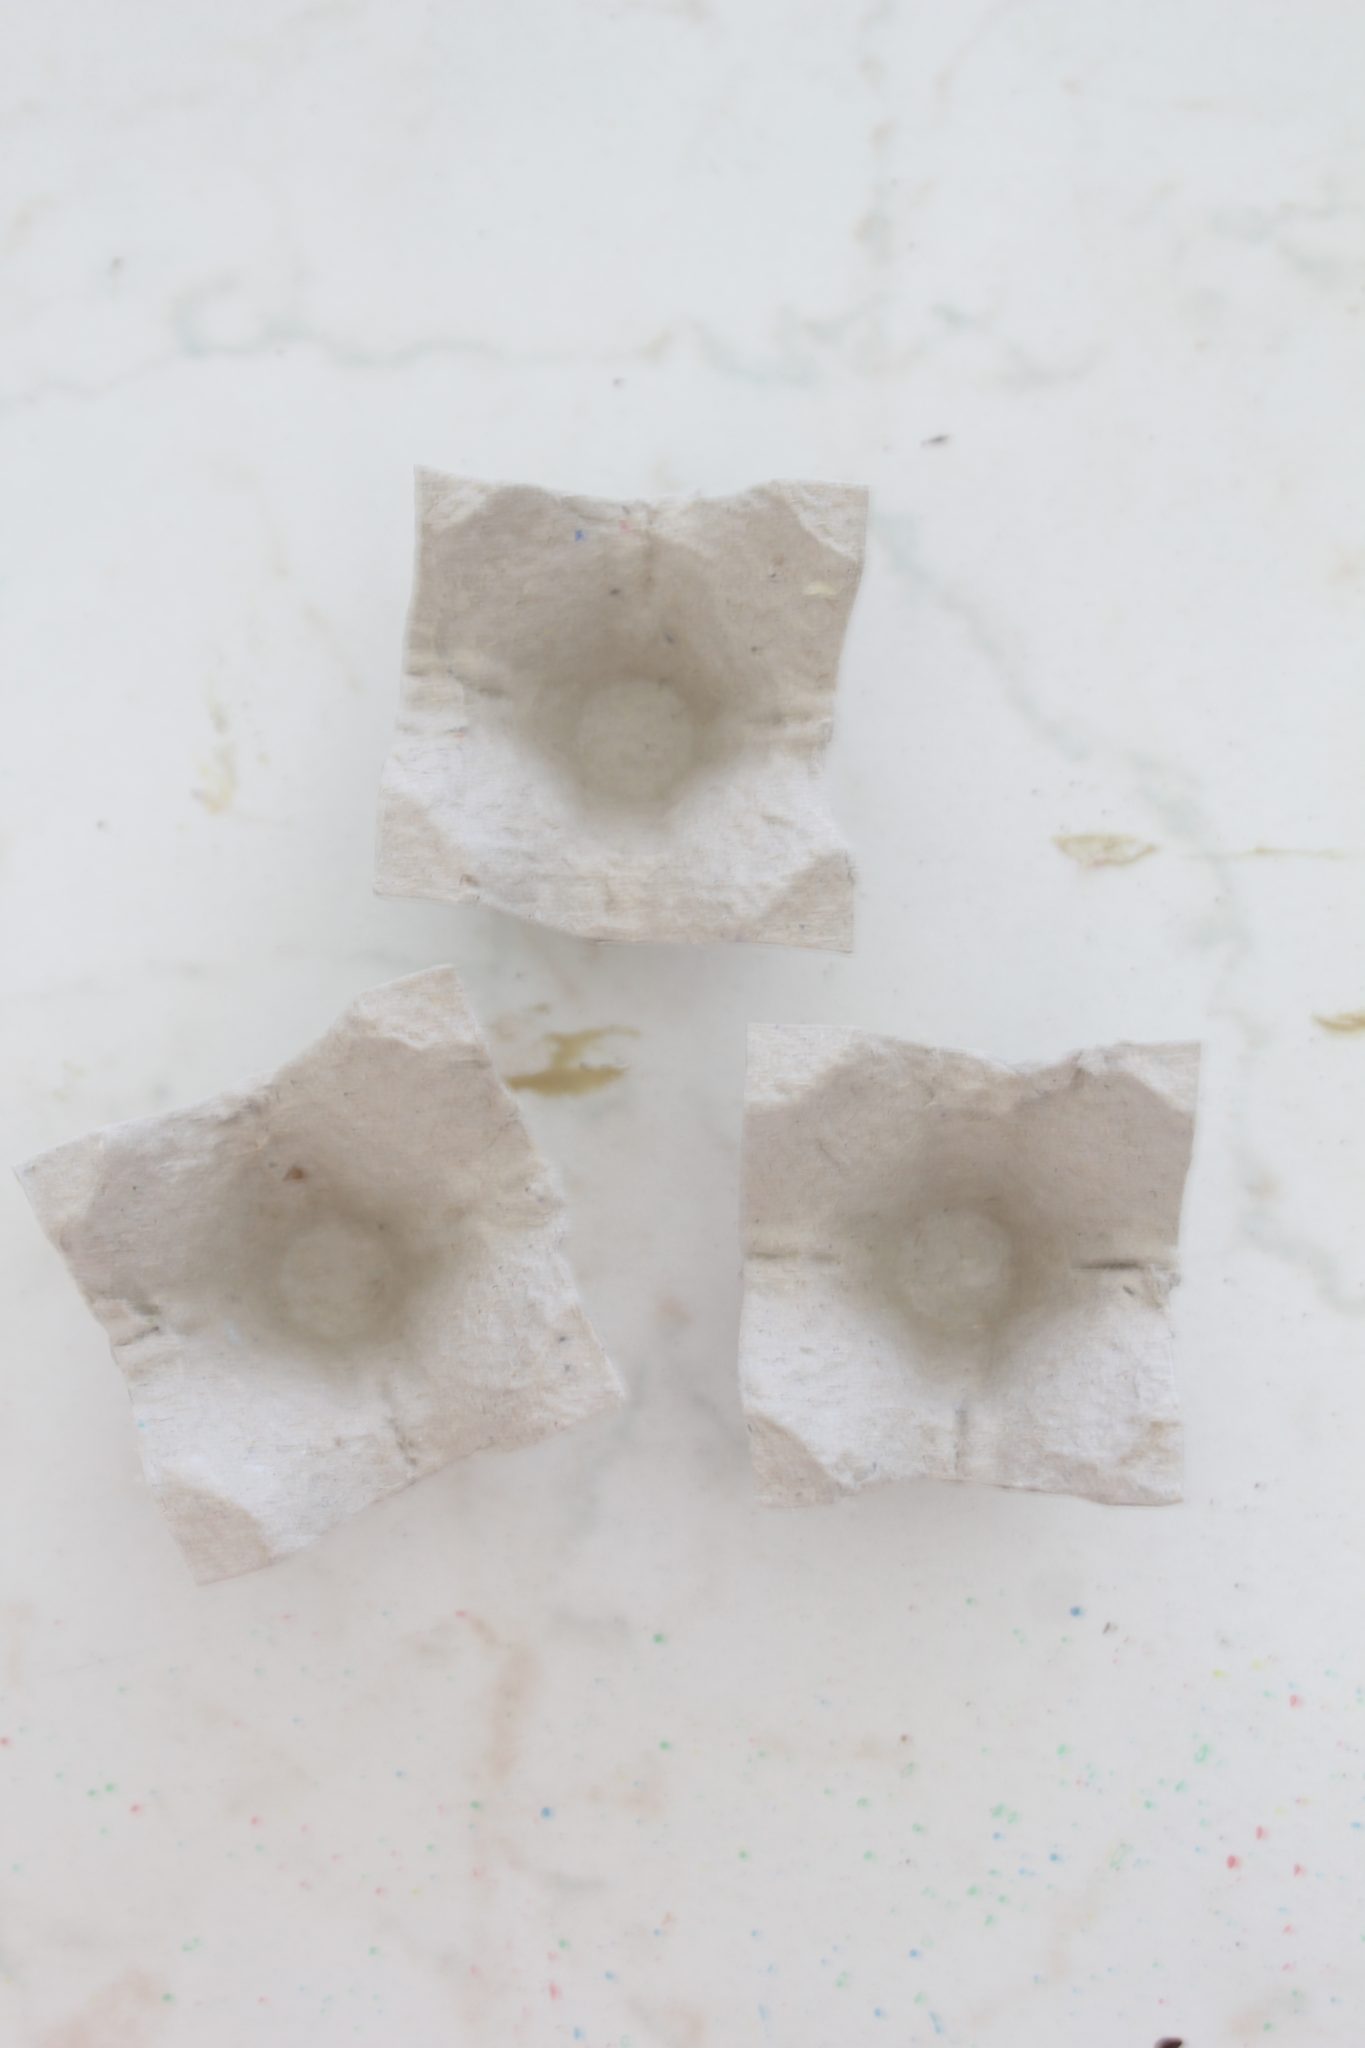
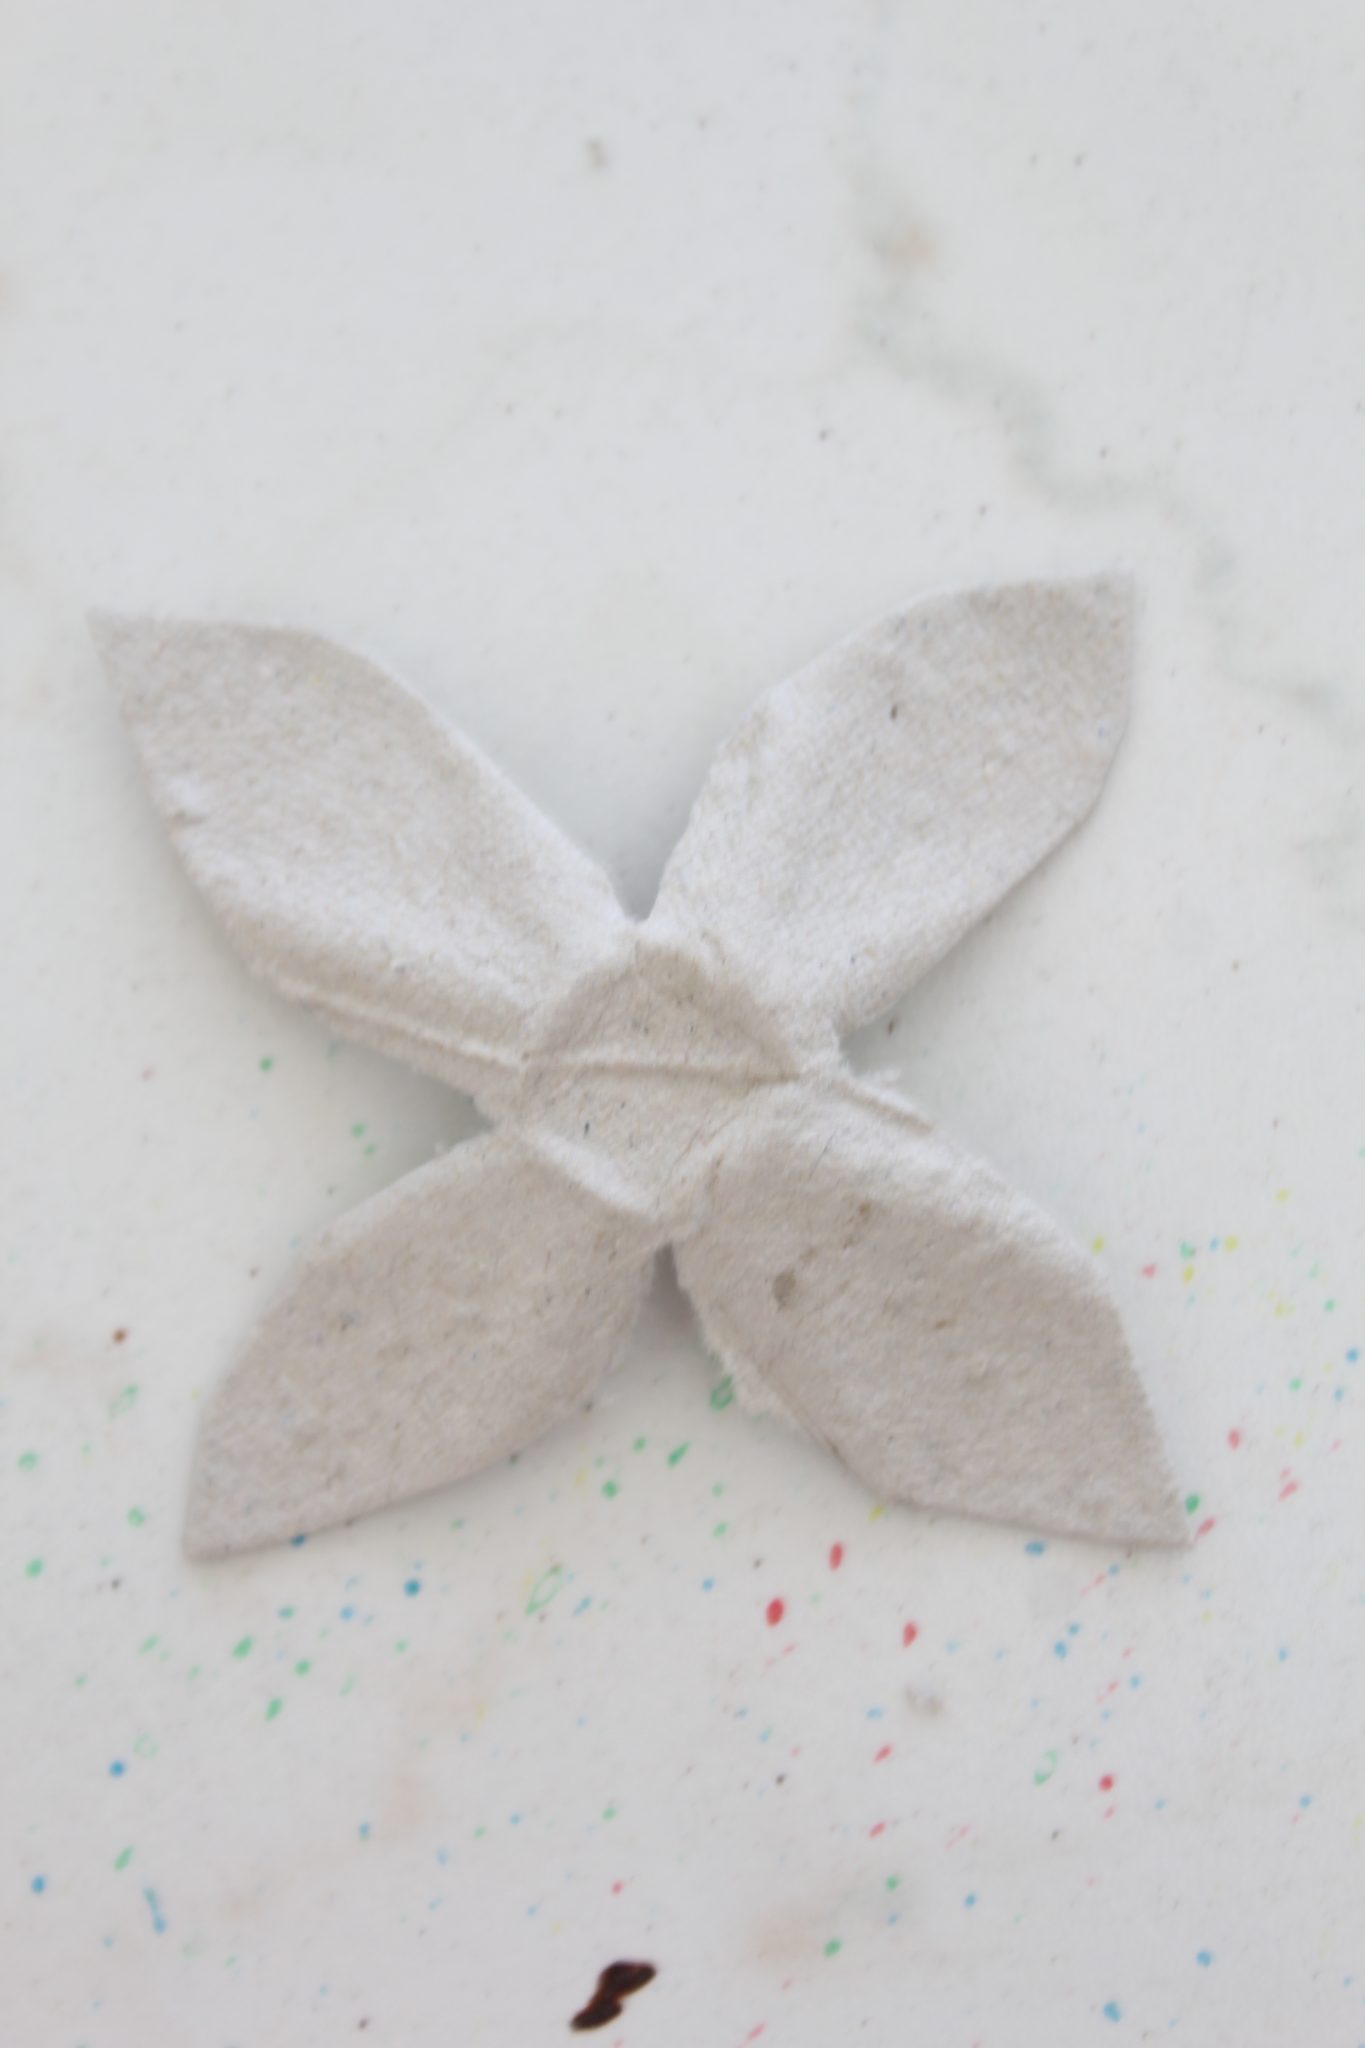
- Clip through the four indentations with your scissors
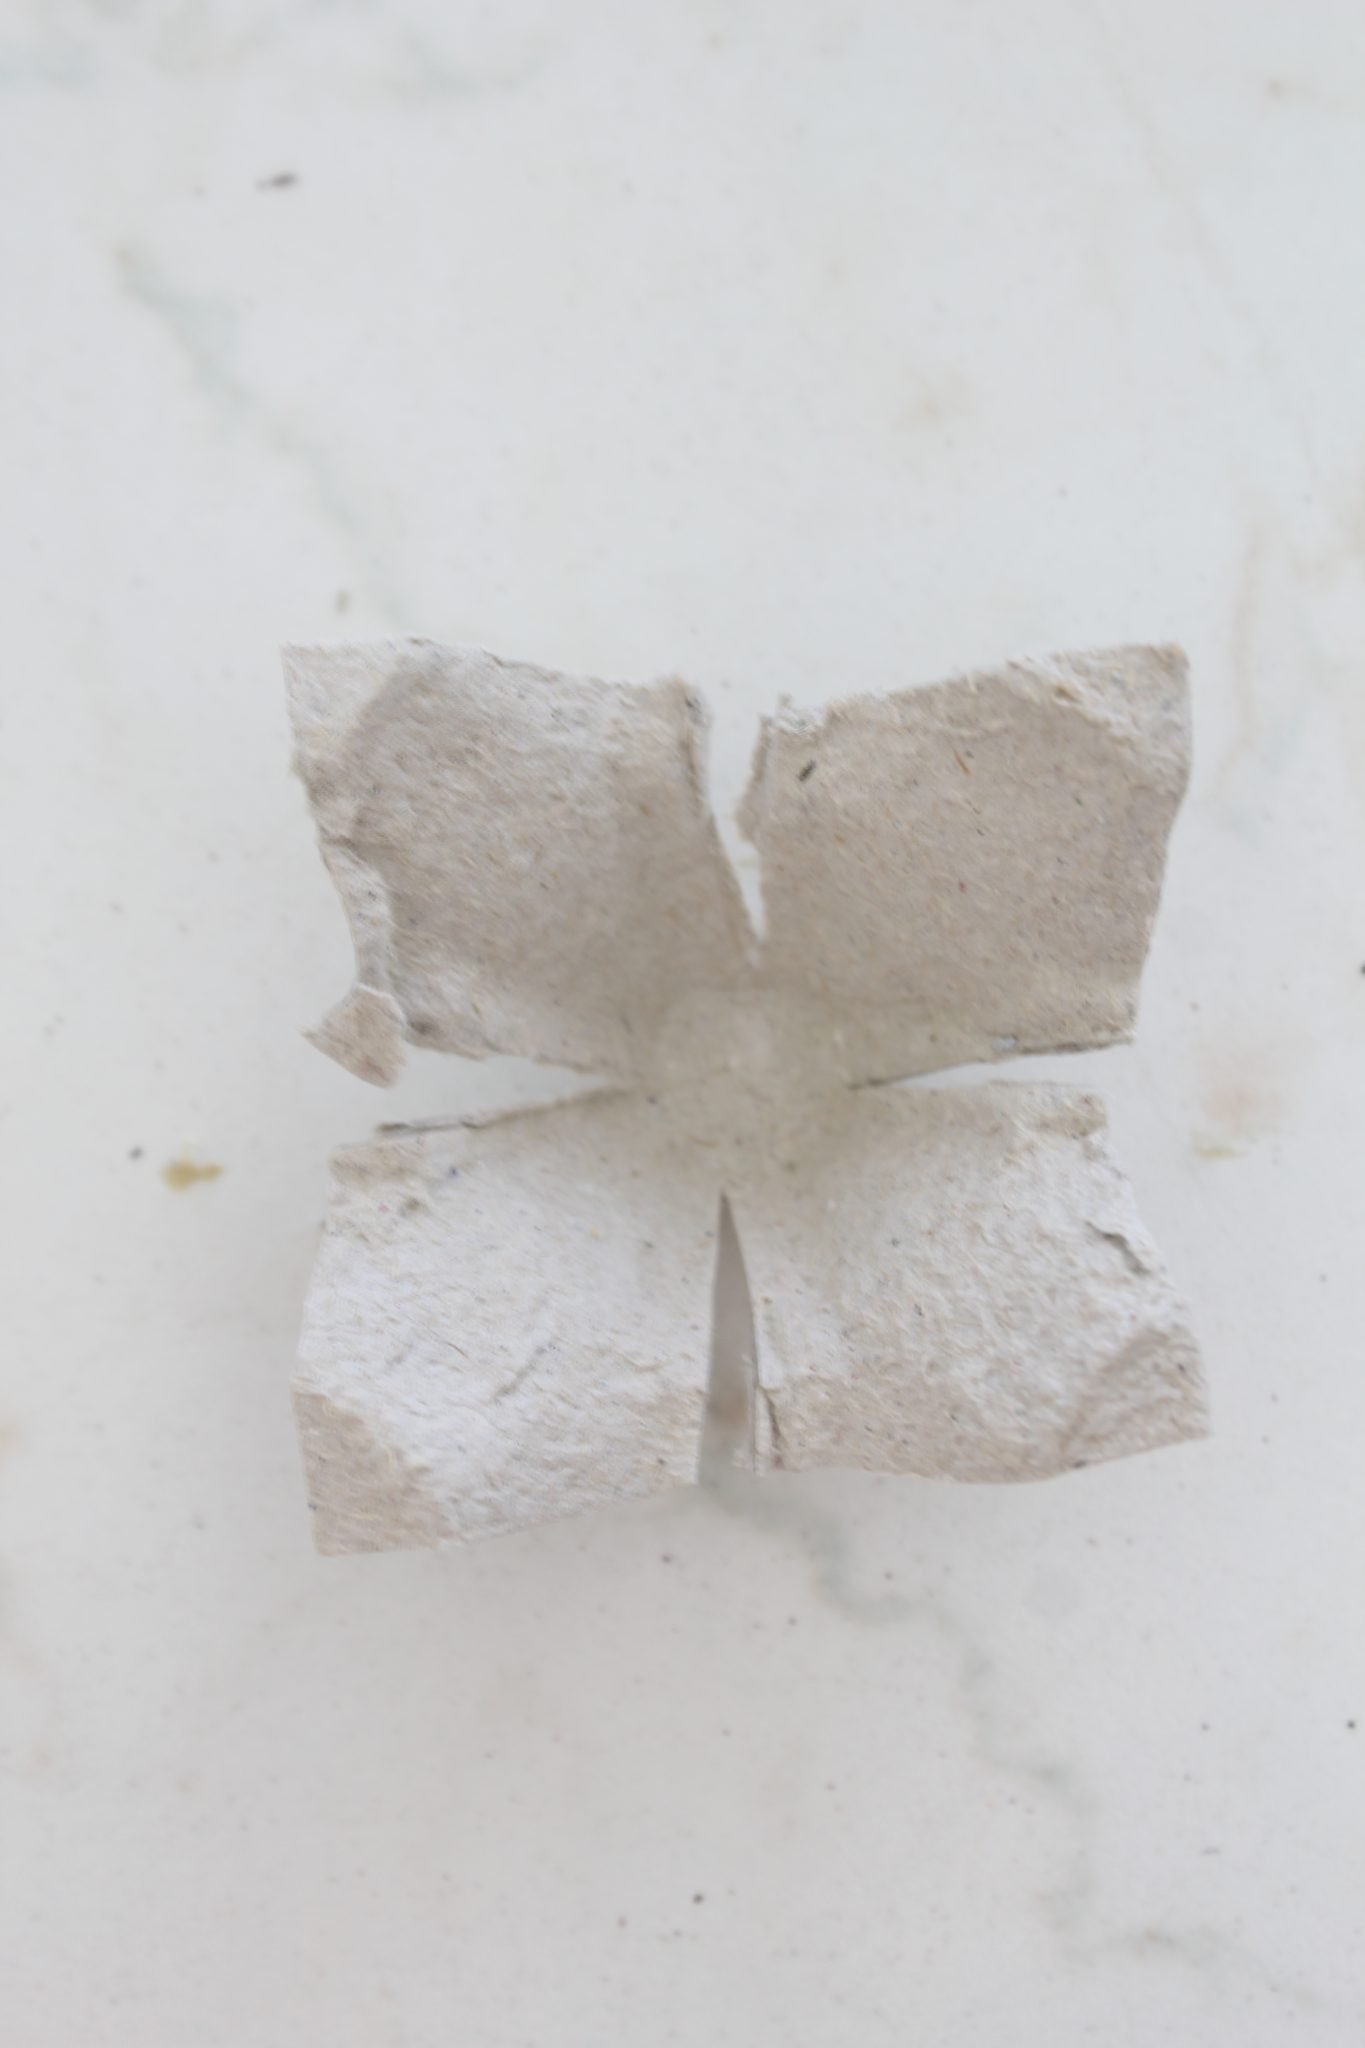
- Trim the tip of each segment
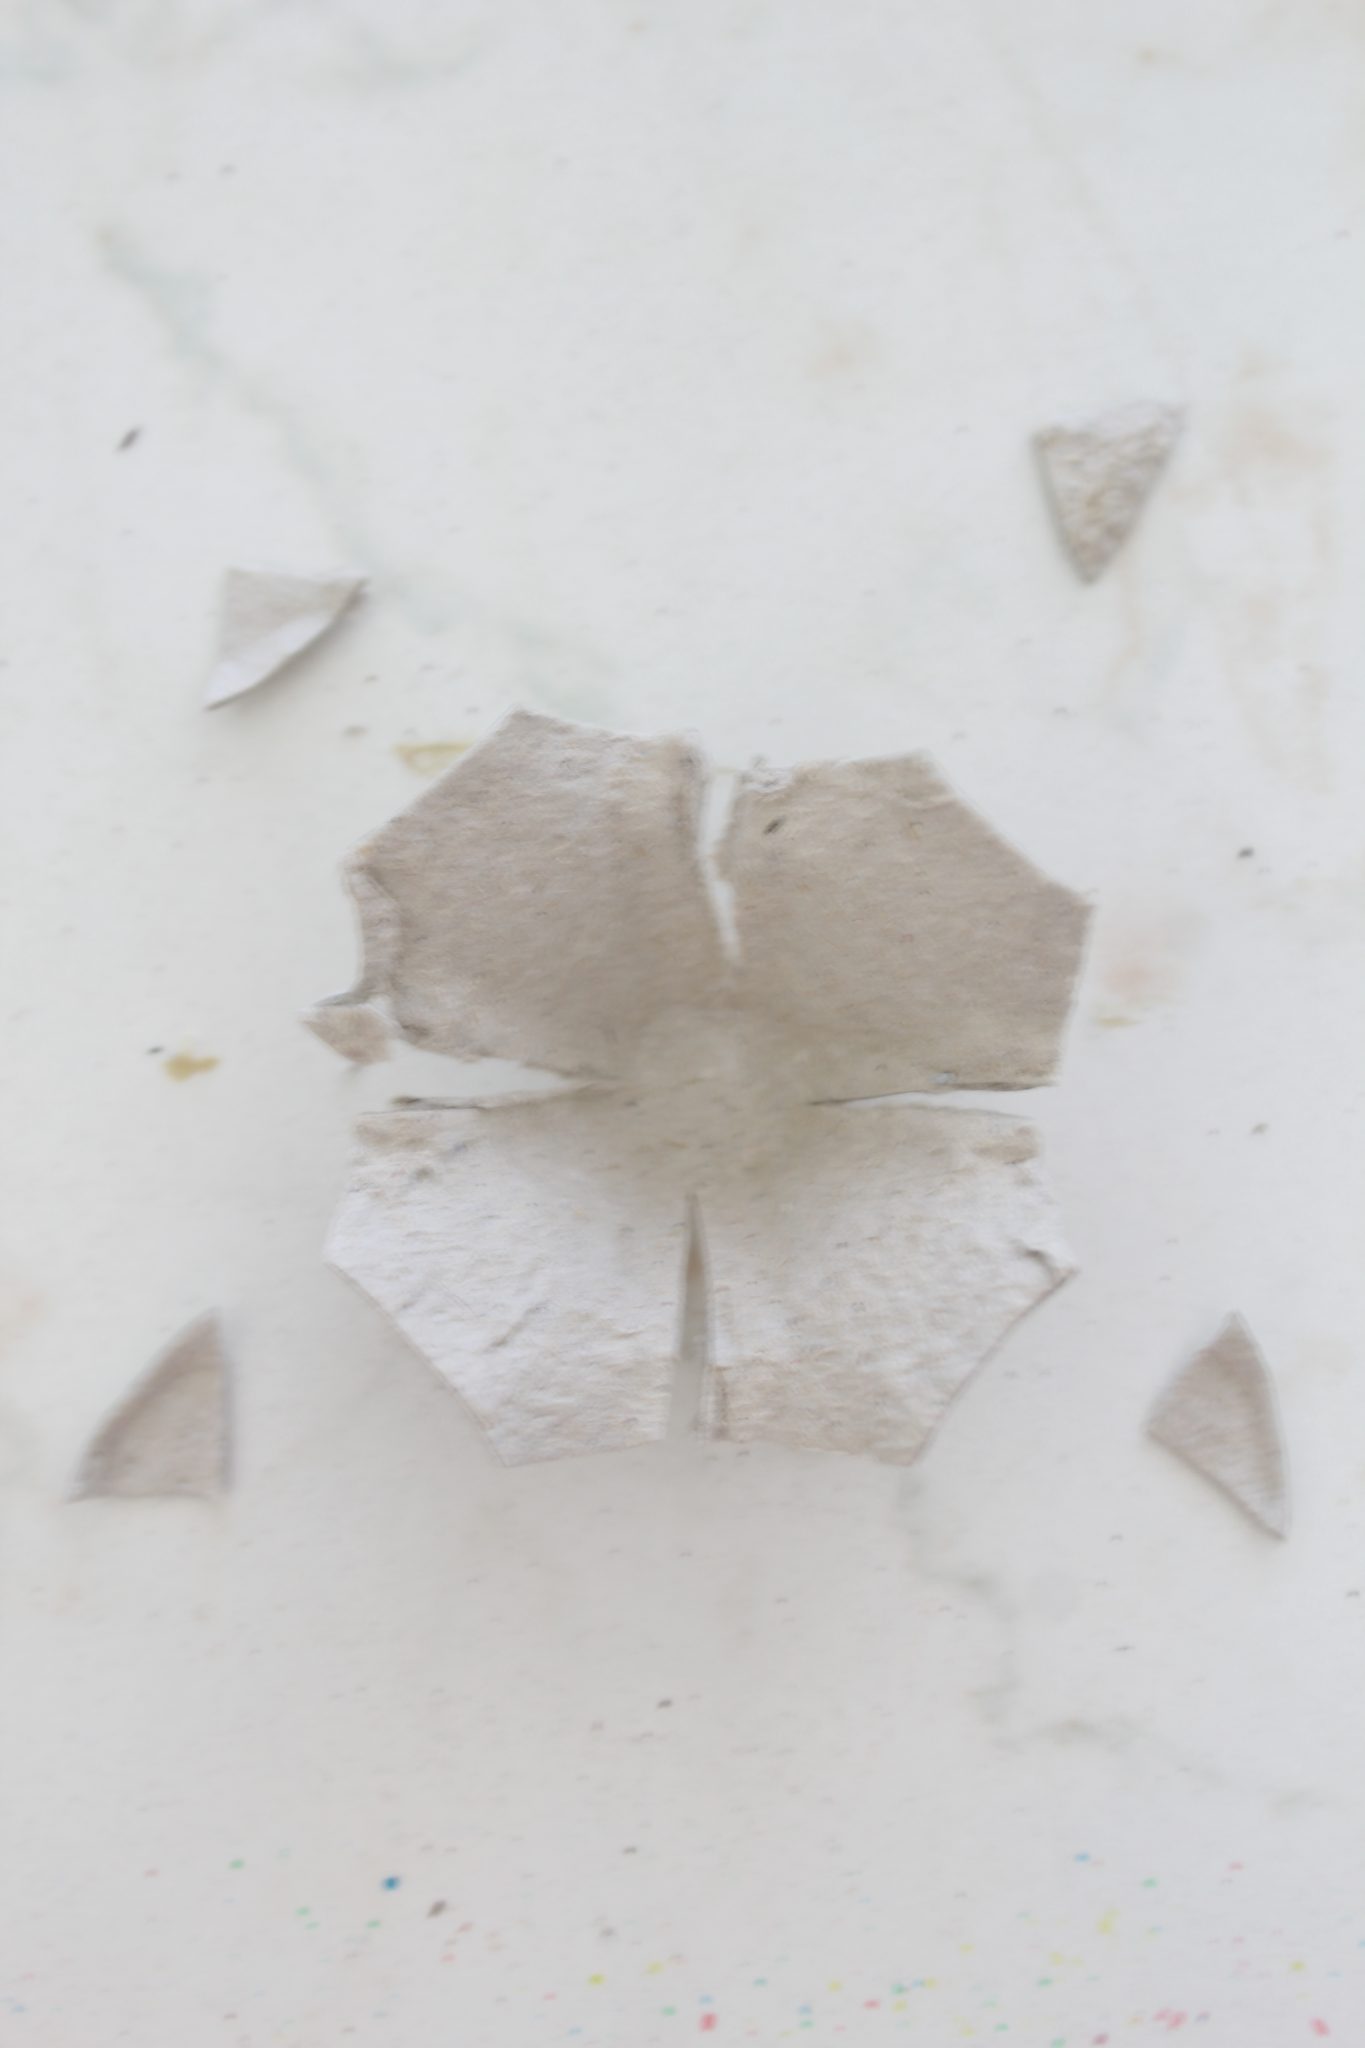
- Cut petal-like shapes around the egg cups to form the pods of the cotton boll.
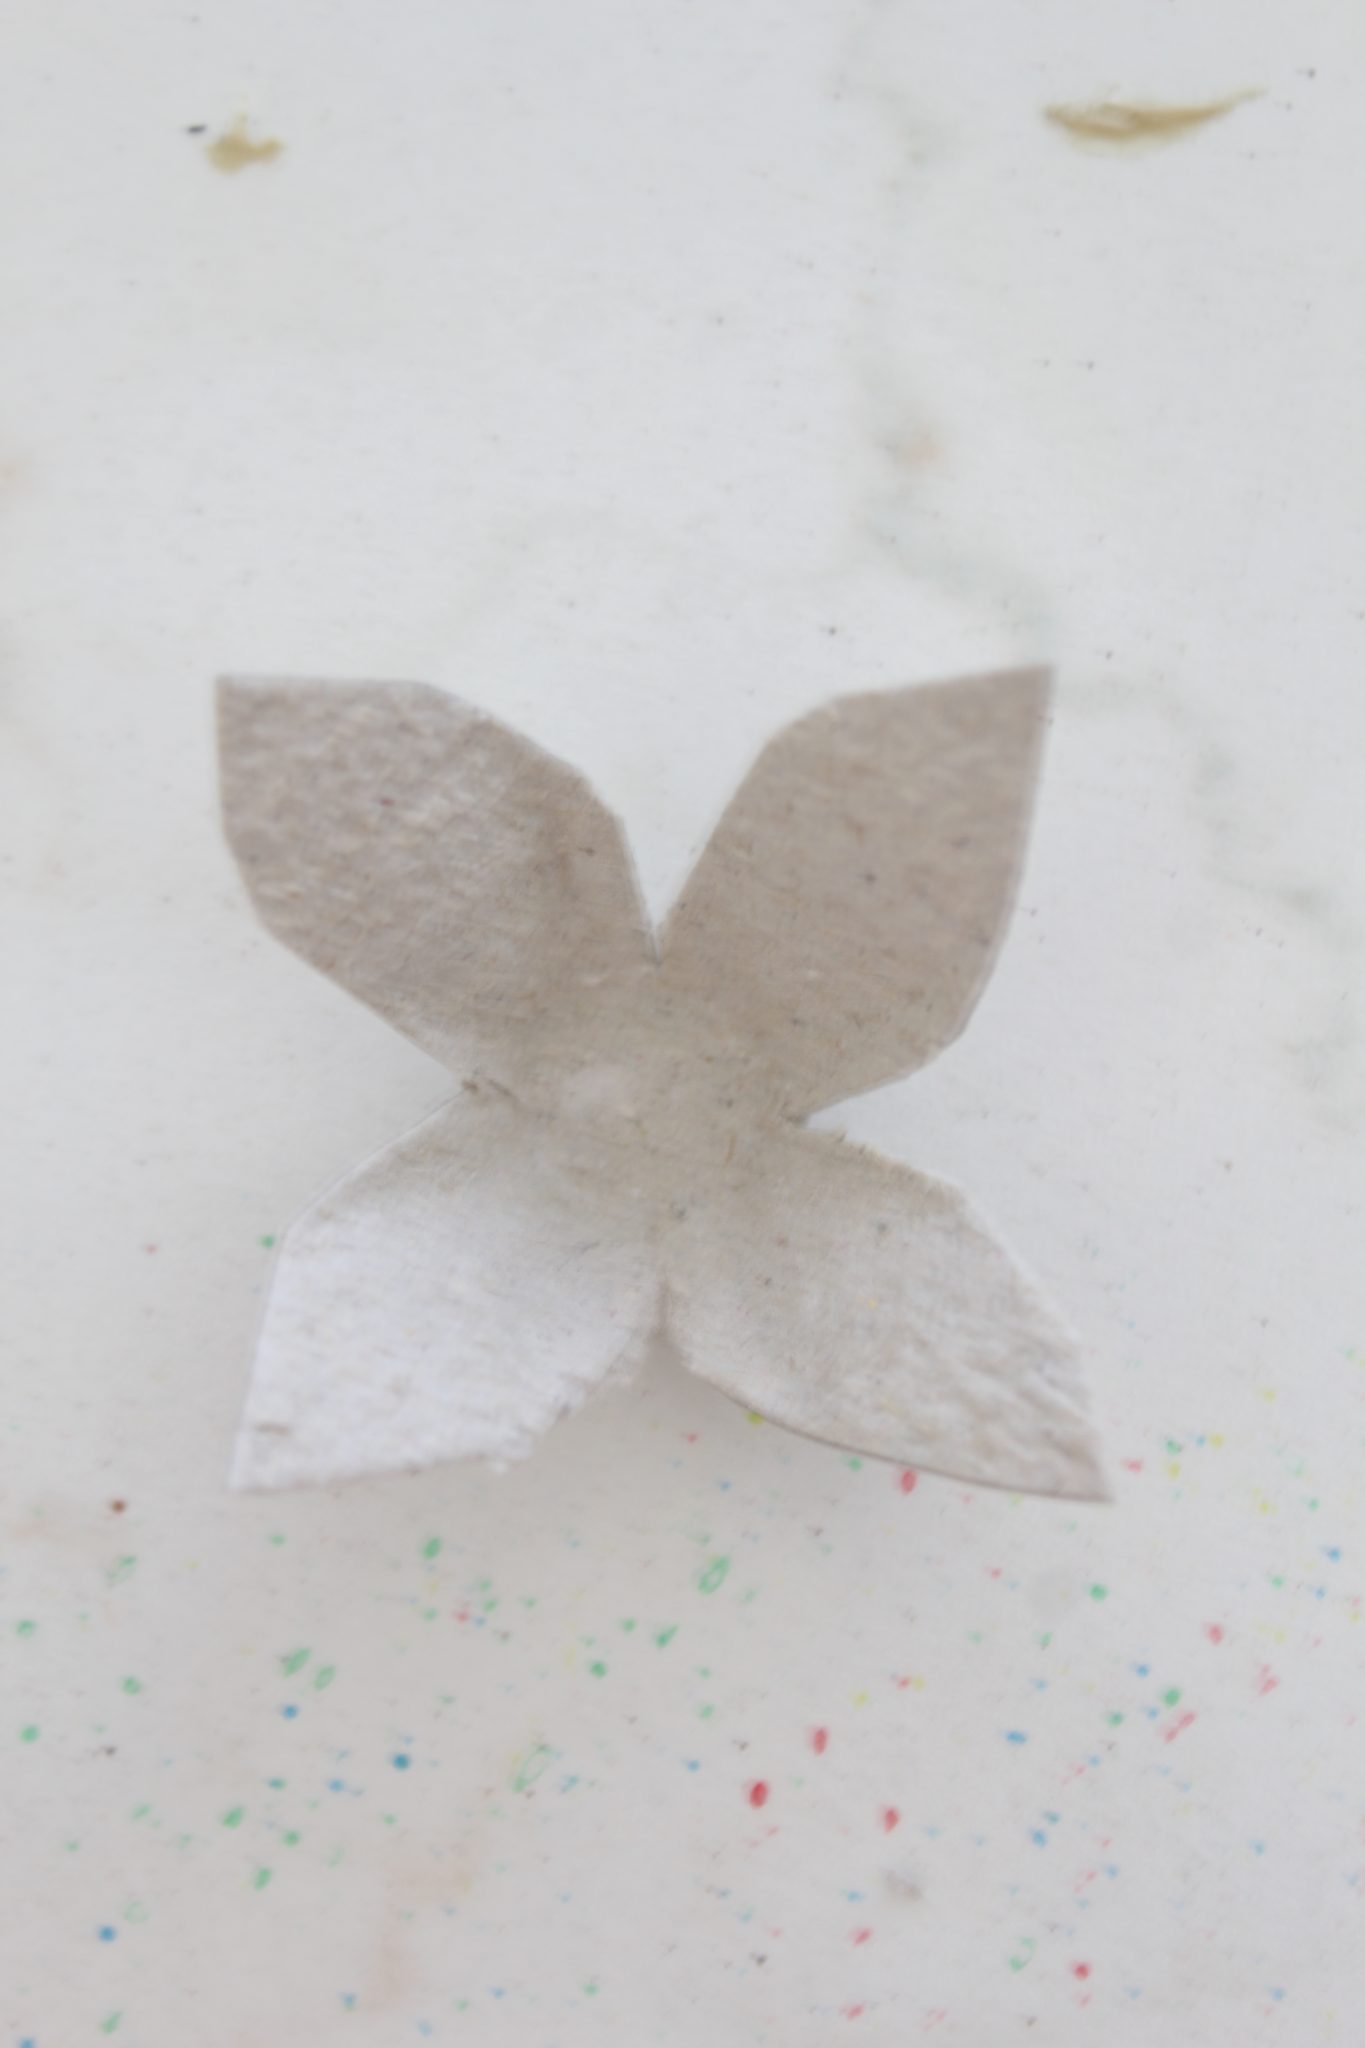
Shape the pods
- I used two slightly different methods to form the pods.
- For method one, after shaping the egg cartons as above, I proceeded to painting the egg carton pods as they were. I grabbed the paint brush and painted the pods on the inside and outside. Then I gently bent the petals towards the center of the pods. These pods ended up looking like closed cotton bolls that have just started to “bloom”
- For the second method, after shaping the petals, I first pressed the petals flat.
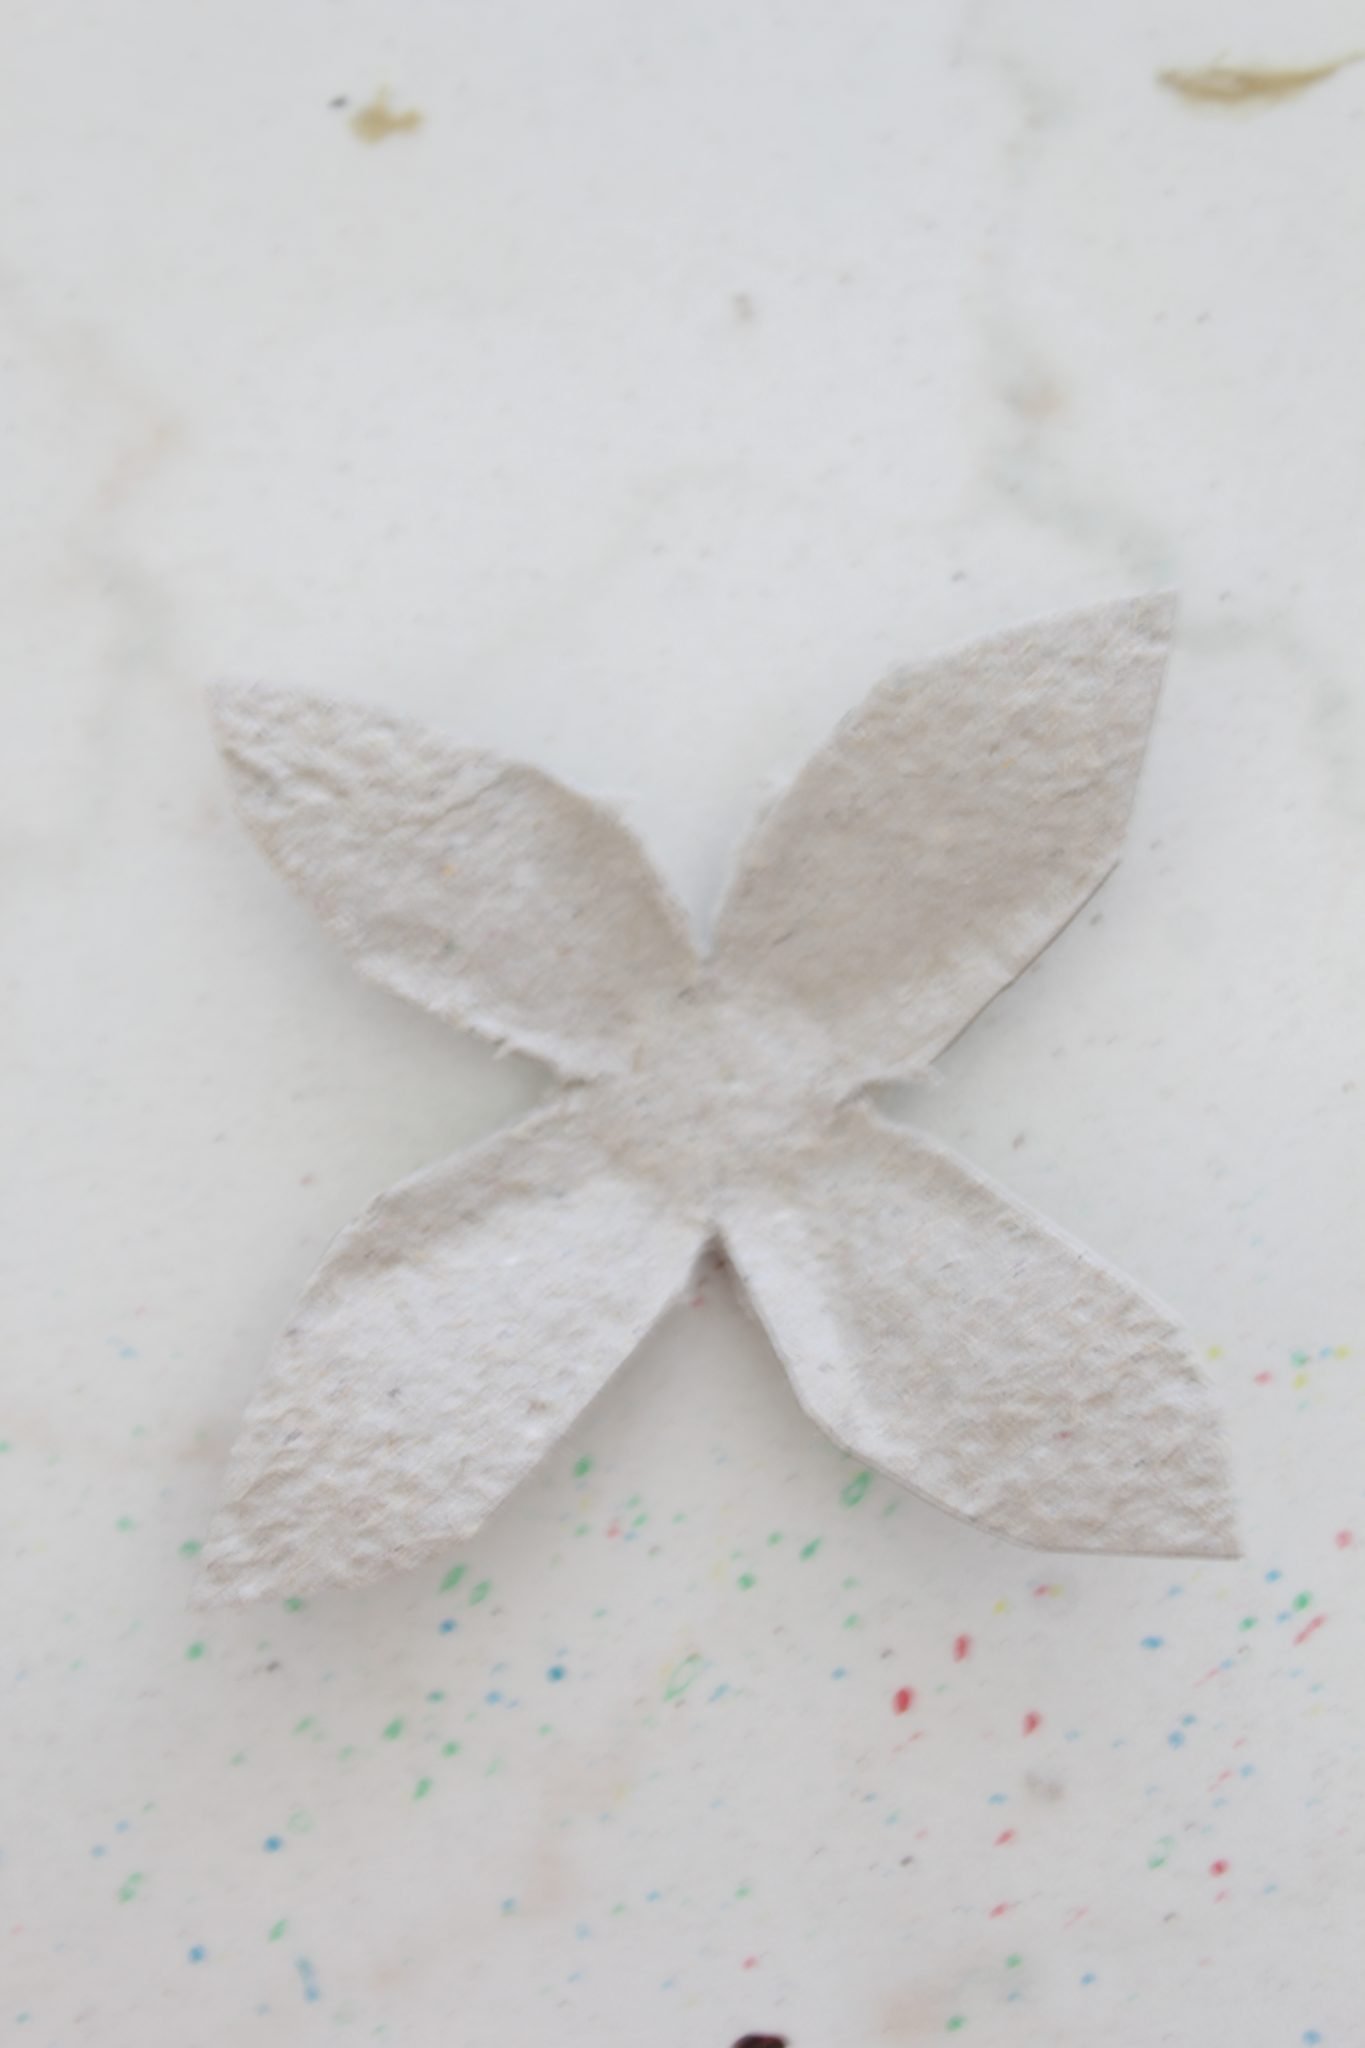
- Then I folded them to the back, towards the back side of the pod.
Paint and fill the pods
- I painted them brown and then bent the petals towards the middle. These pods ended up looking like cotton bolls in full bloom after I filled them with surgical cotton wool.
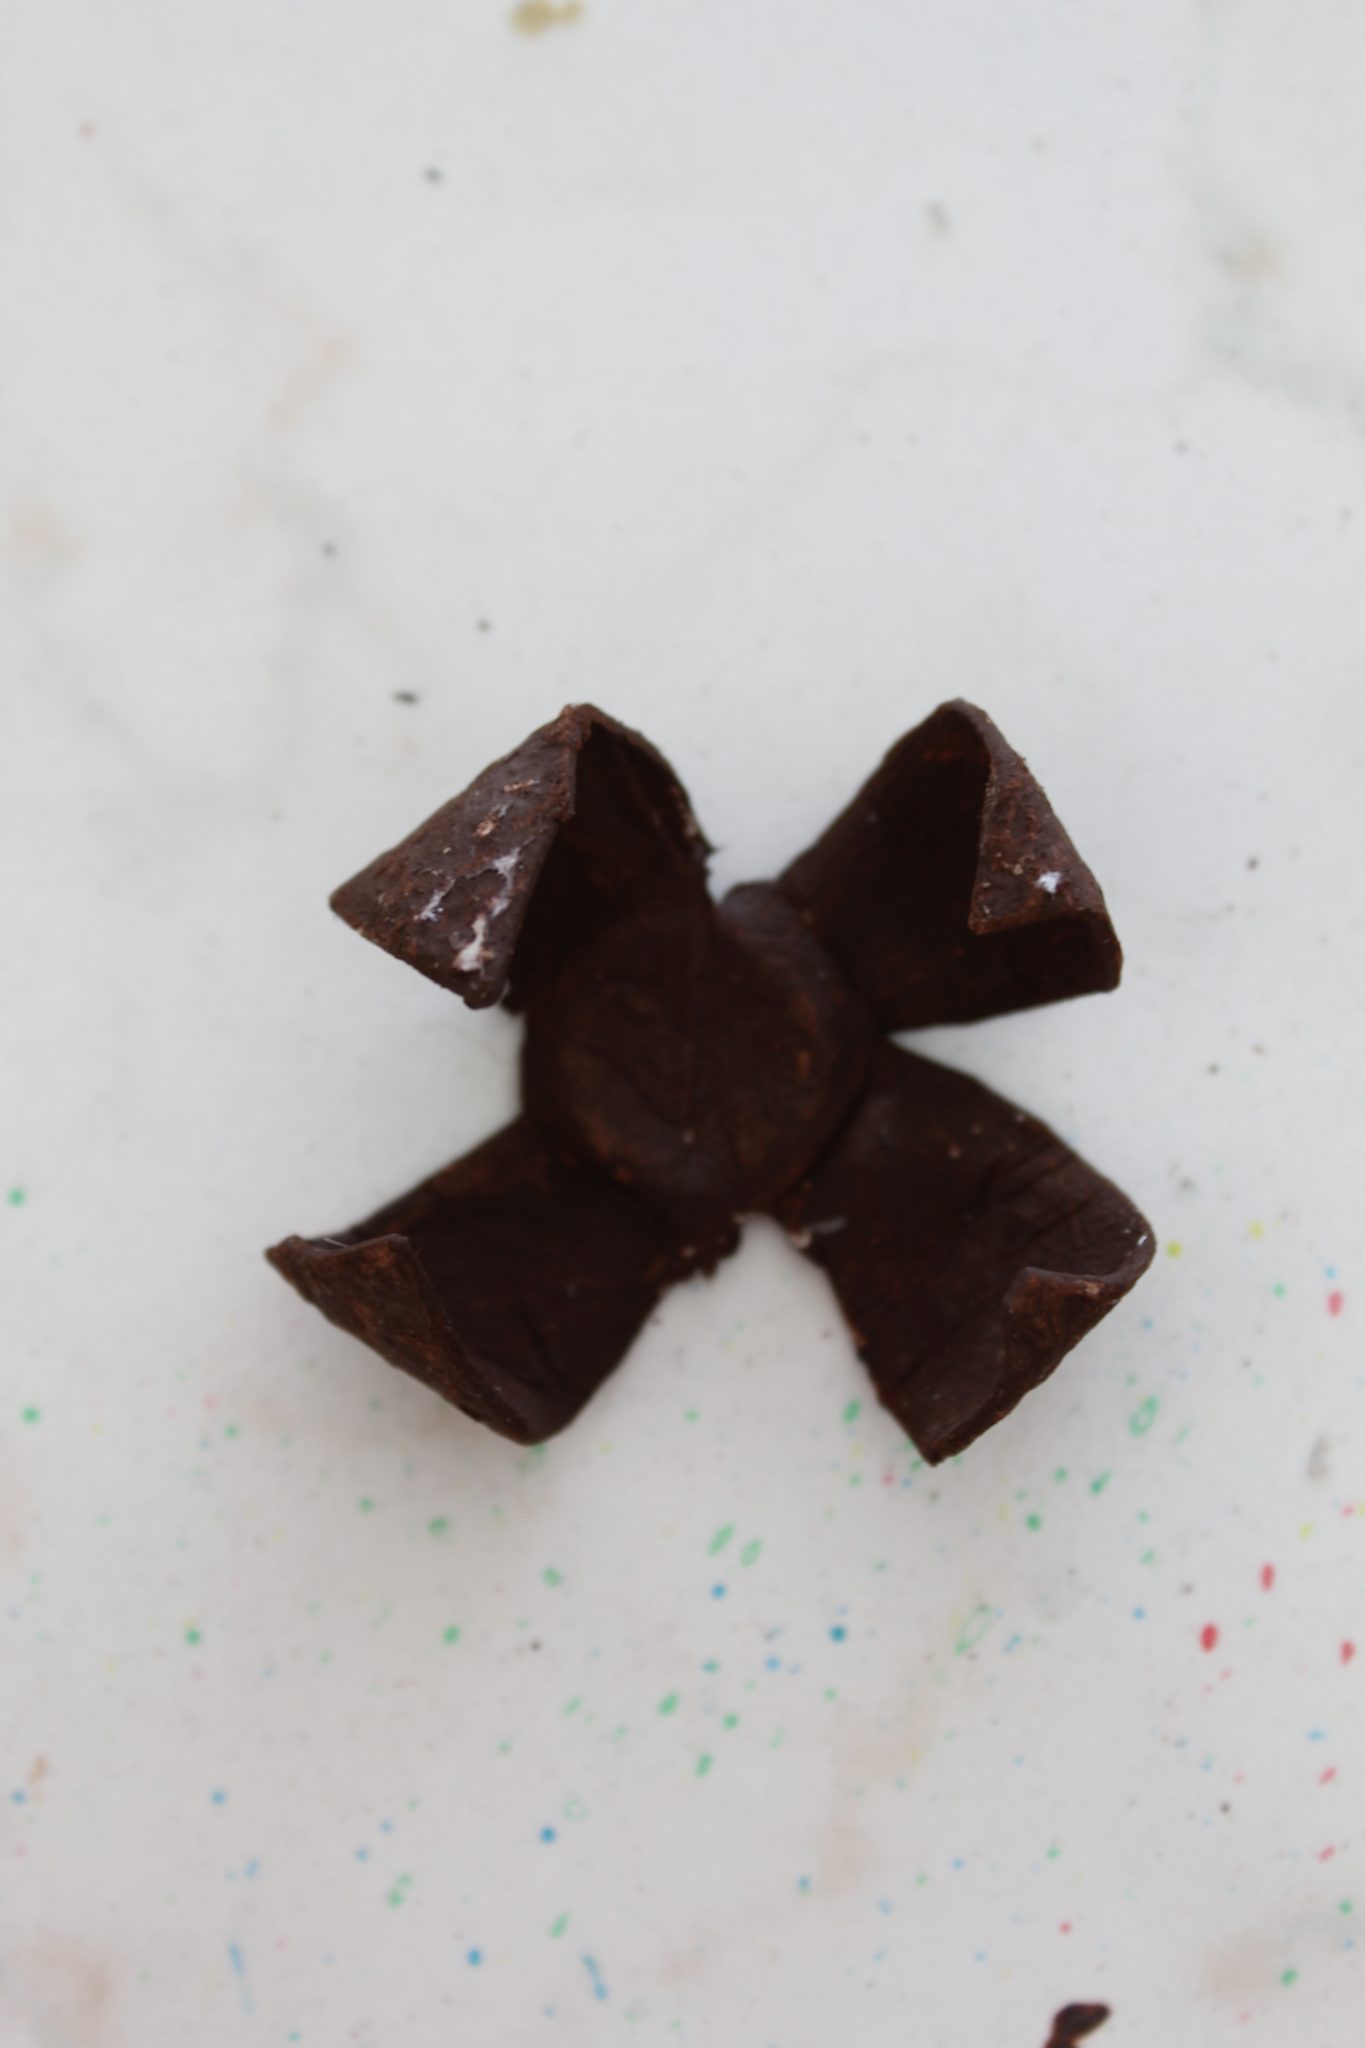
- After painting your pods, leave them to dry completely (I left them overnight), preferably face down (top of the petals facing the working surface).
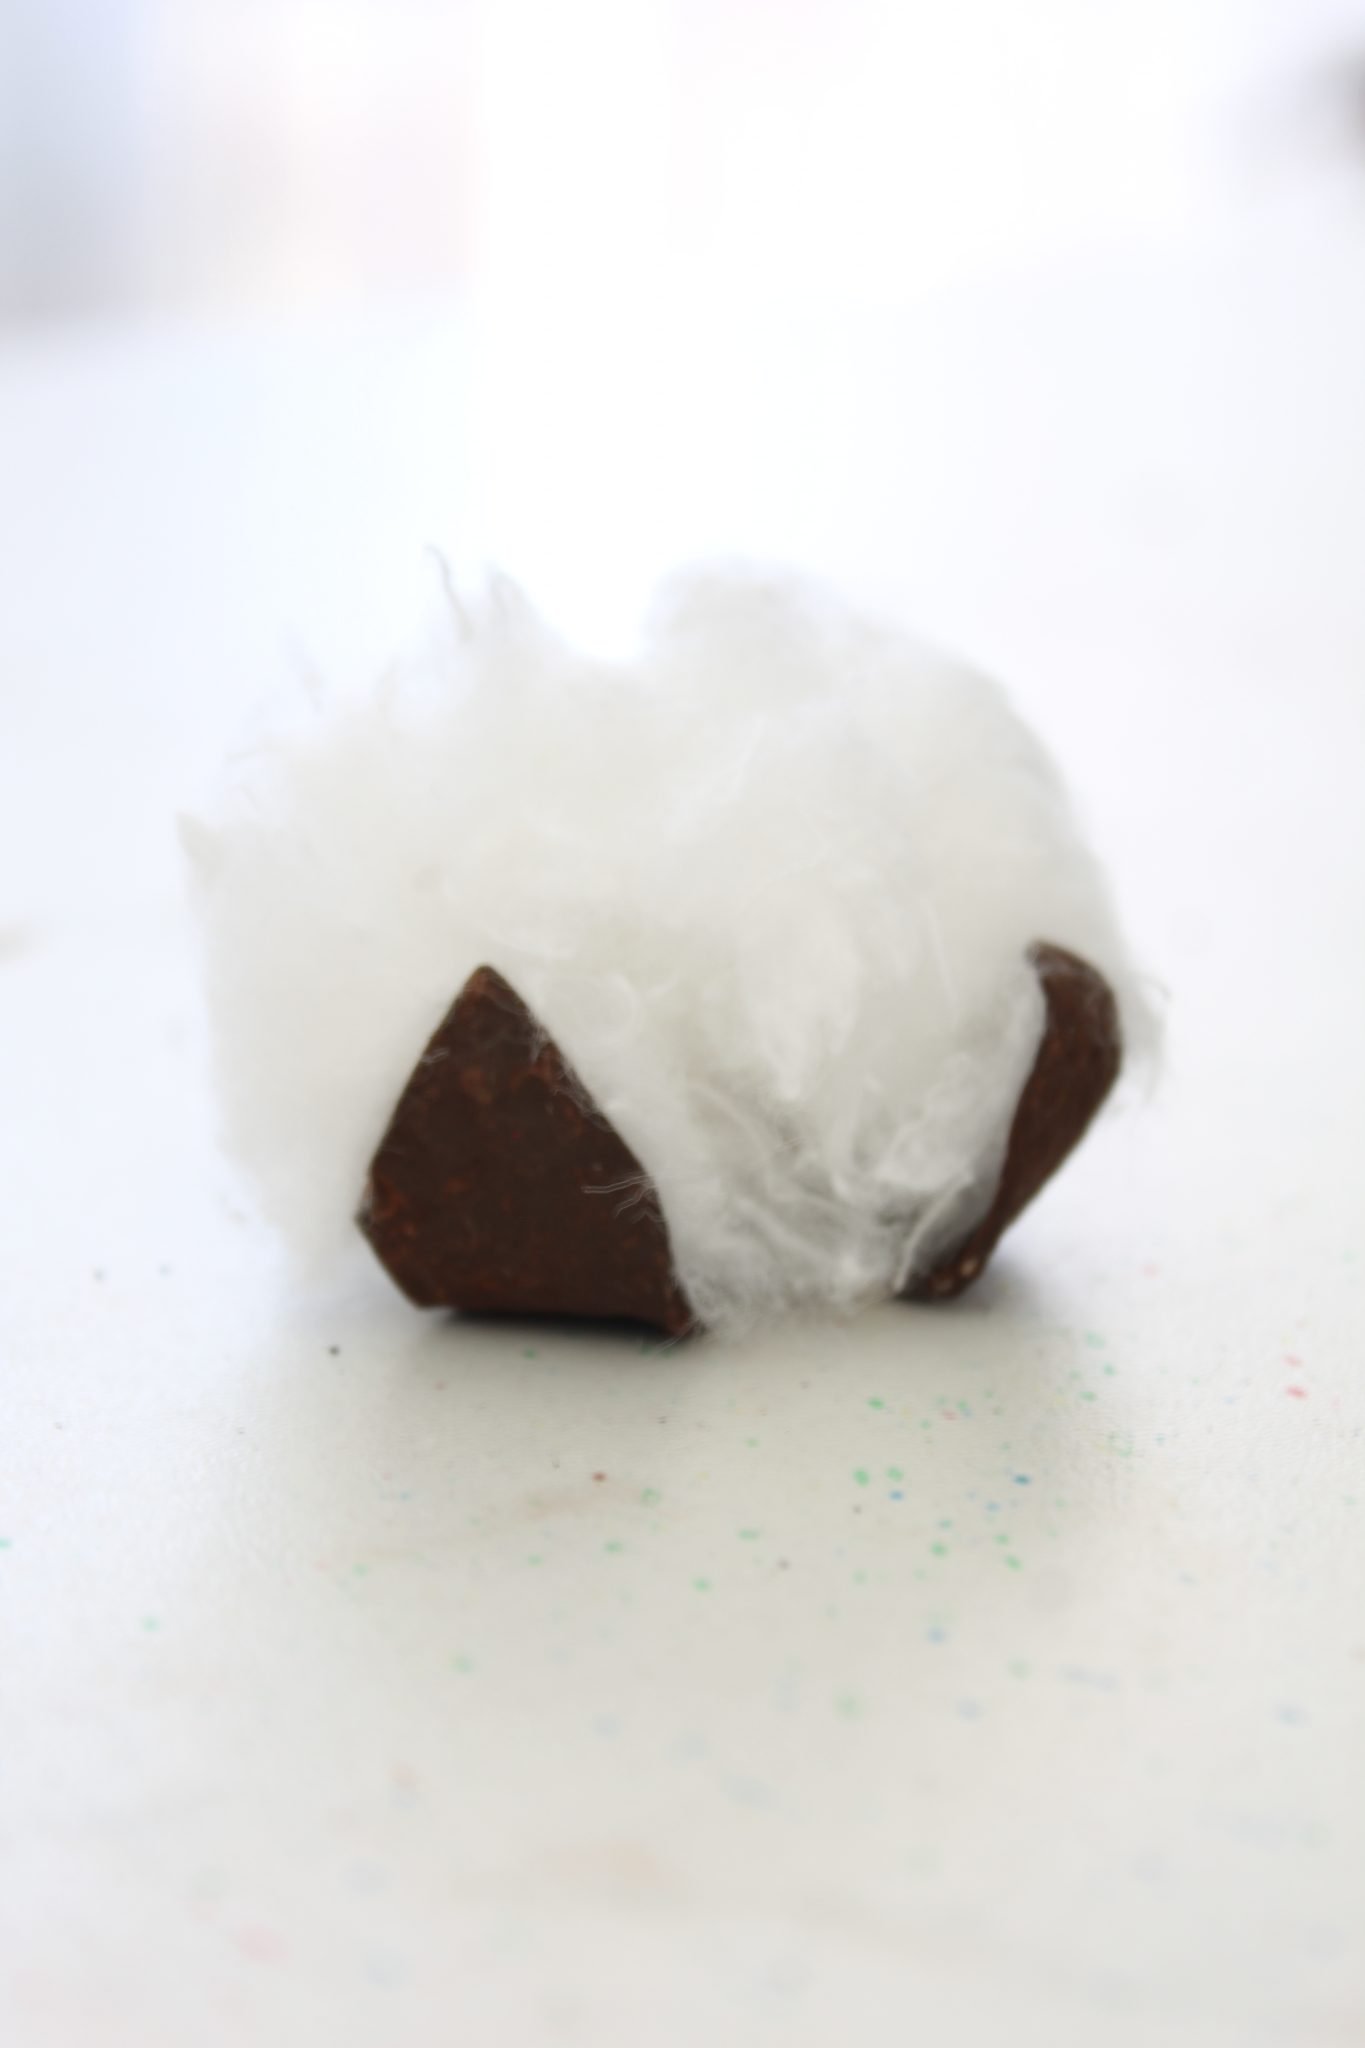
- When the pods are dry, stuff with surgical cotton wool. If using cotton balls, pull the fibers apart and make the balls as fluffy as possible before filling the pods. You may need to use 2-3 cotton balls per pod.
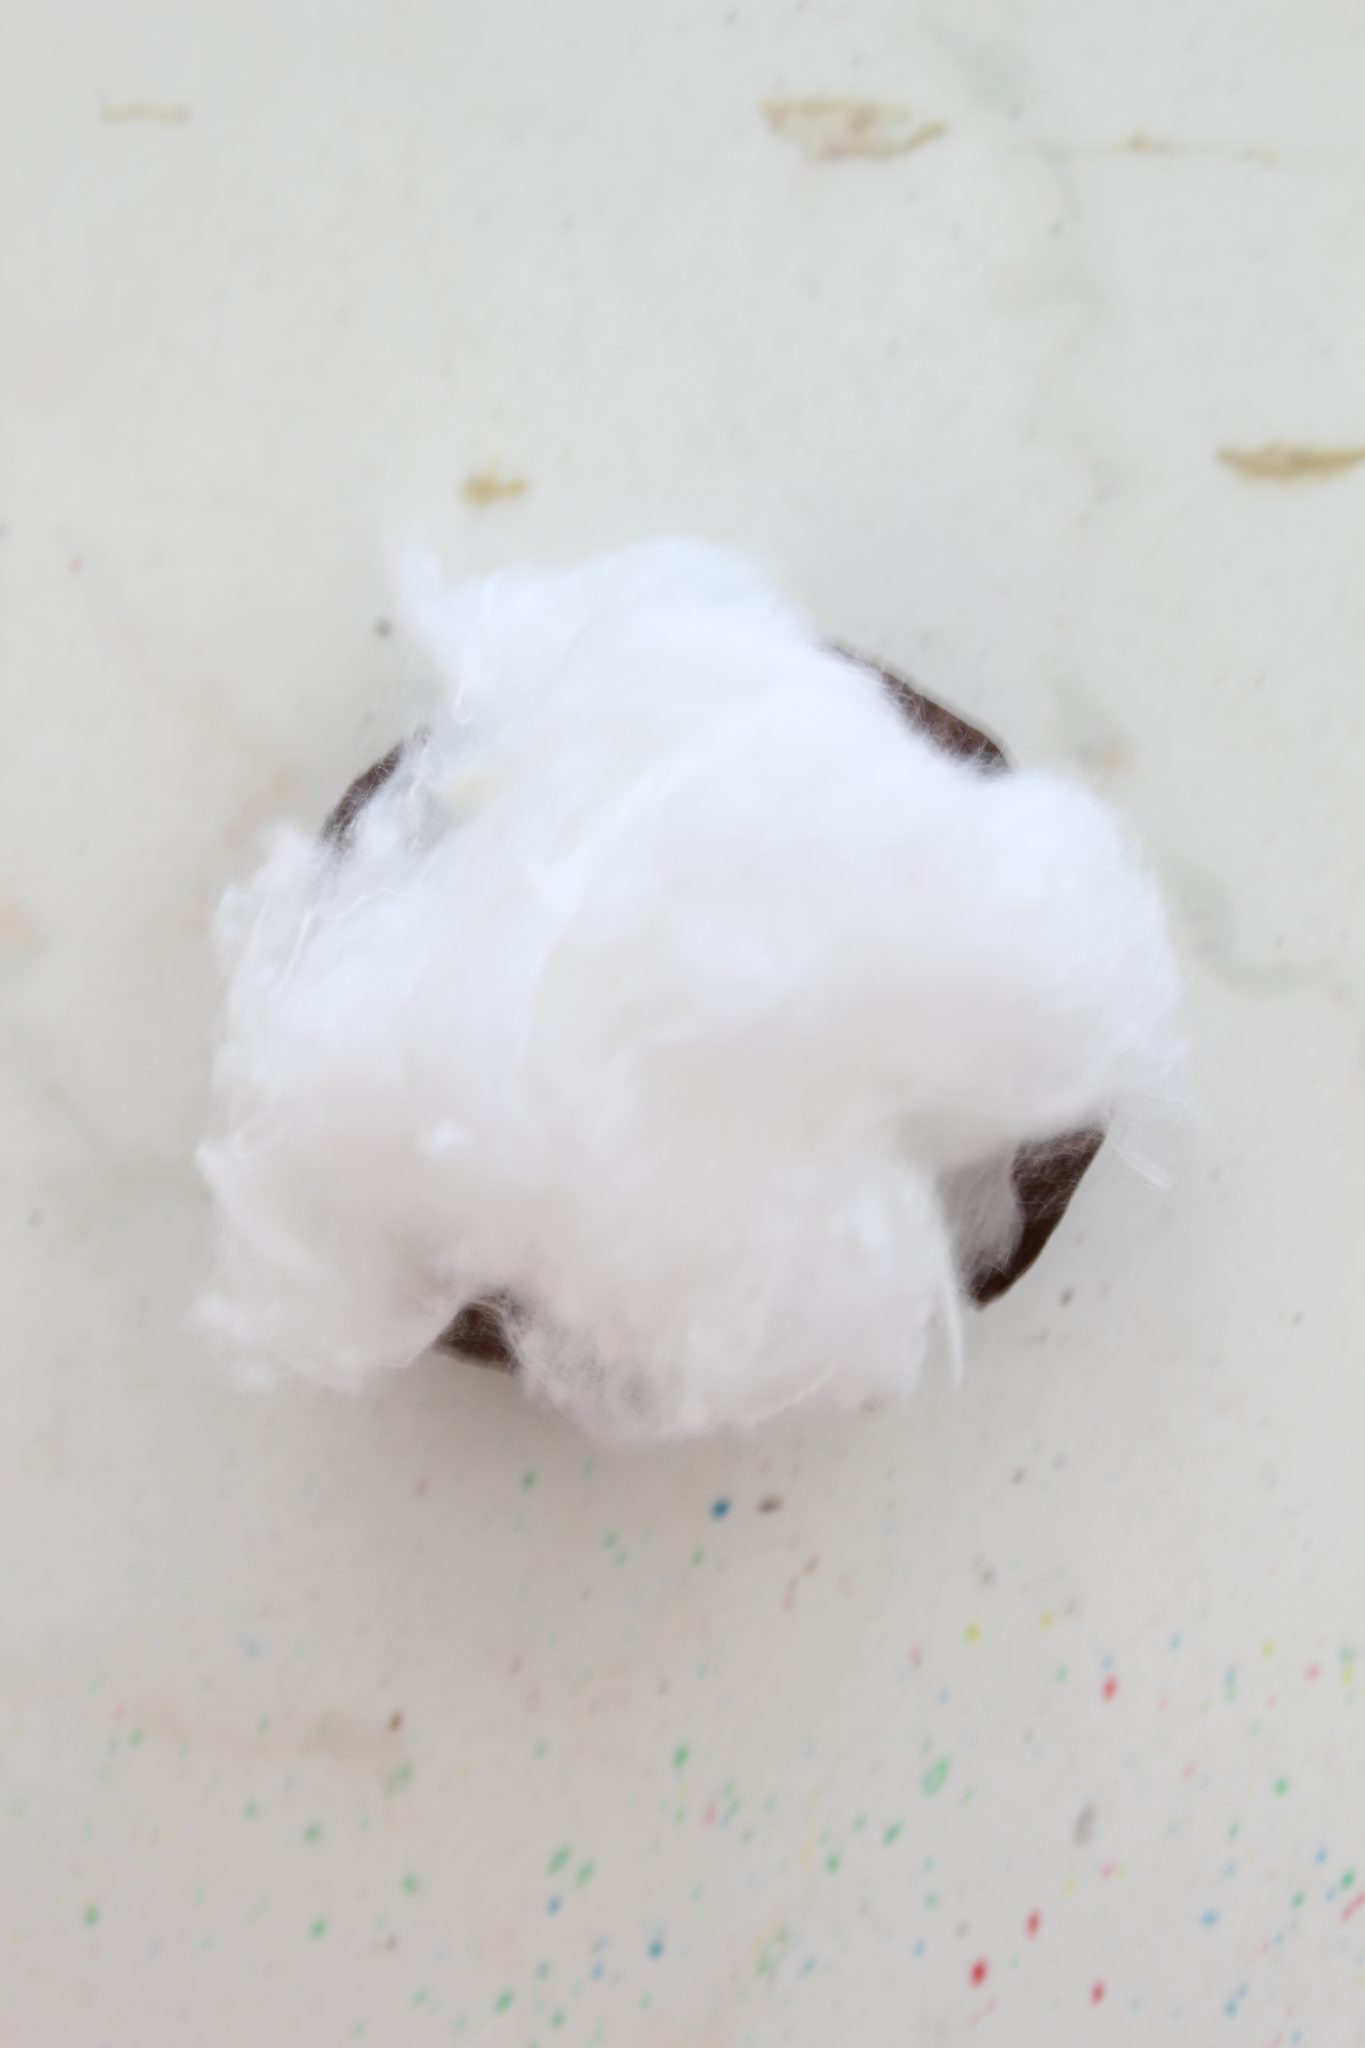
- The surgical cotton wool I used seem pretty sticky so I didn’t feel the need to hot glue it to the pods. But you may need to if using cotton balls so test first, before filling all your pods. If the cotton balls fall out of the pods you need to hot glue them to the inside of the pods using a couple of drops of hot glue applied to the bottom of the pods.
Glue the pods to the branches
- When all pods are filled with cotton balls or surgical cotton, use your glue gun to apply glue to the back of the pods, on the bottom and glue them to the branch.
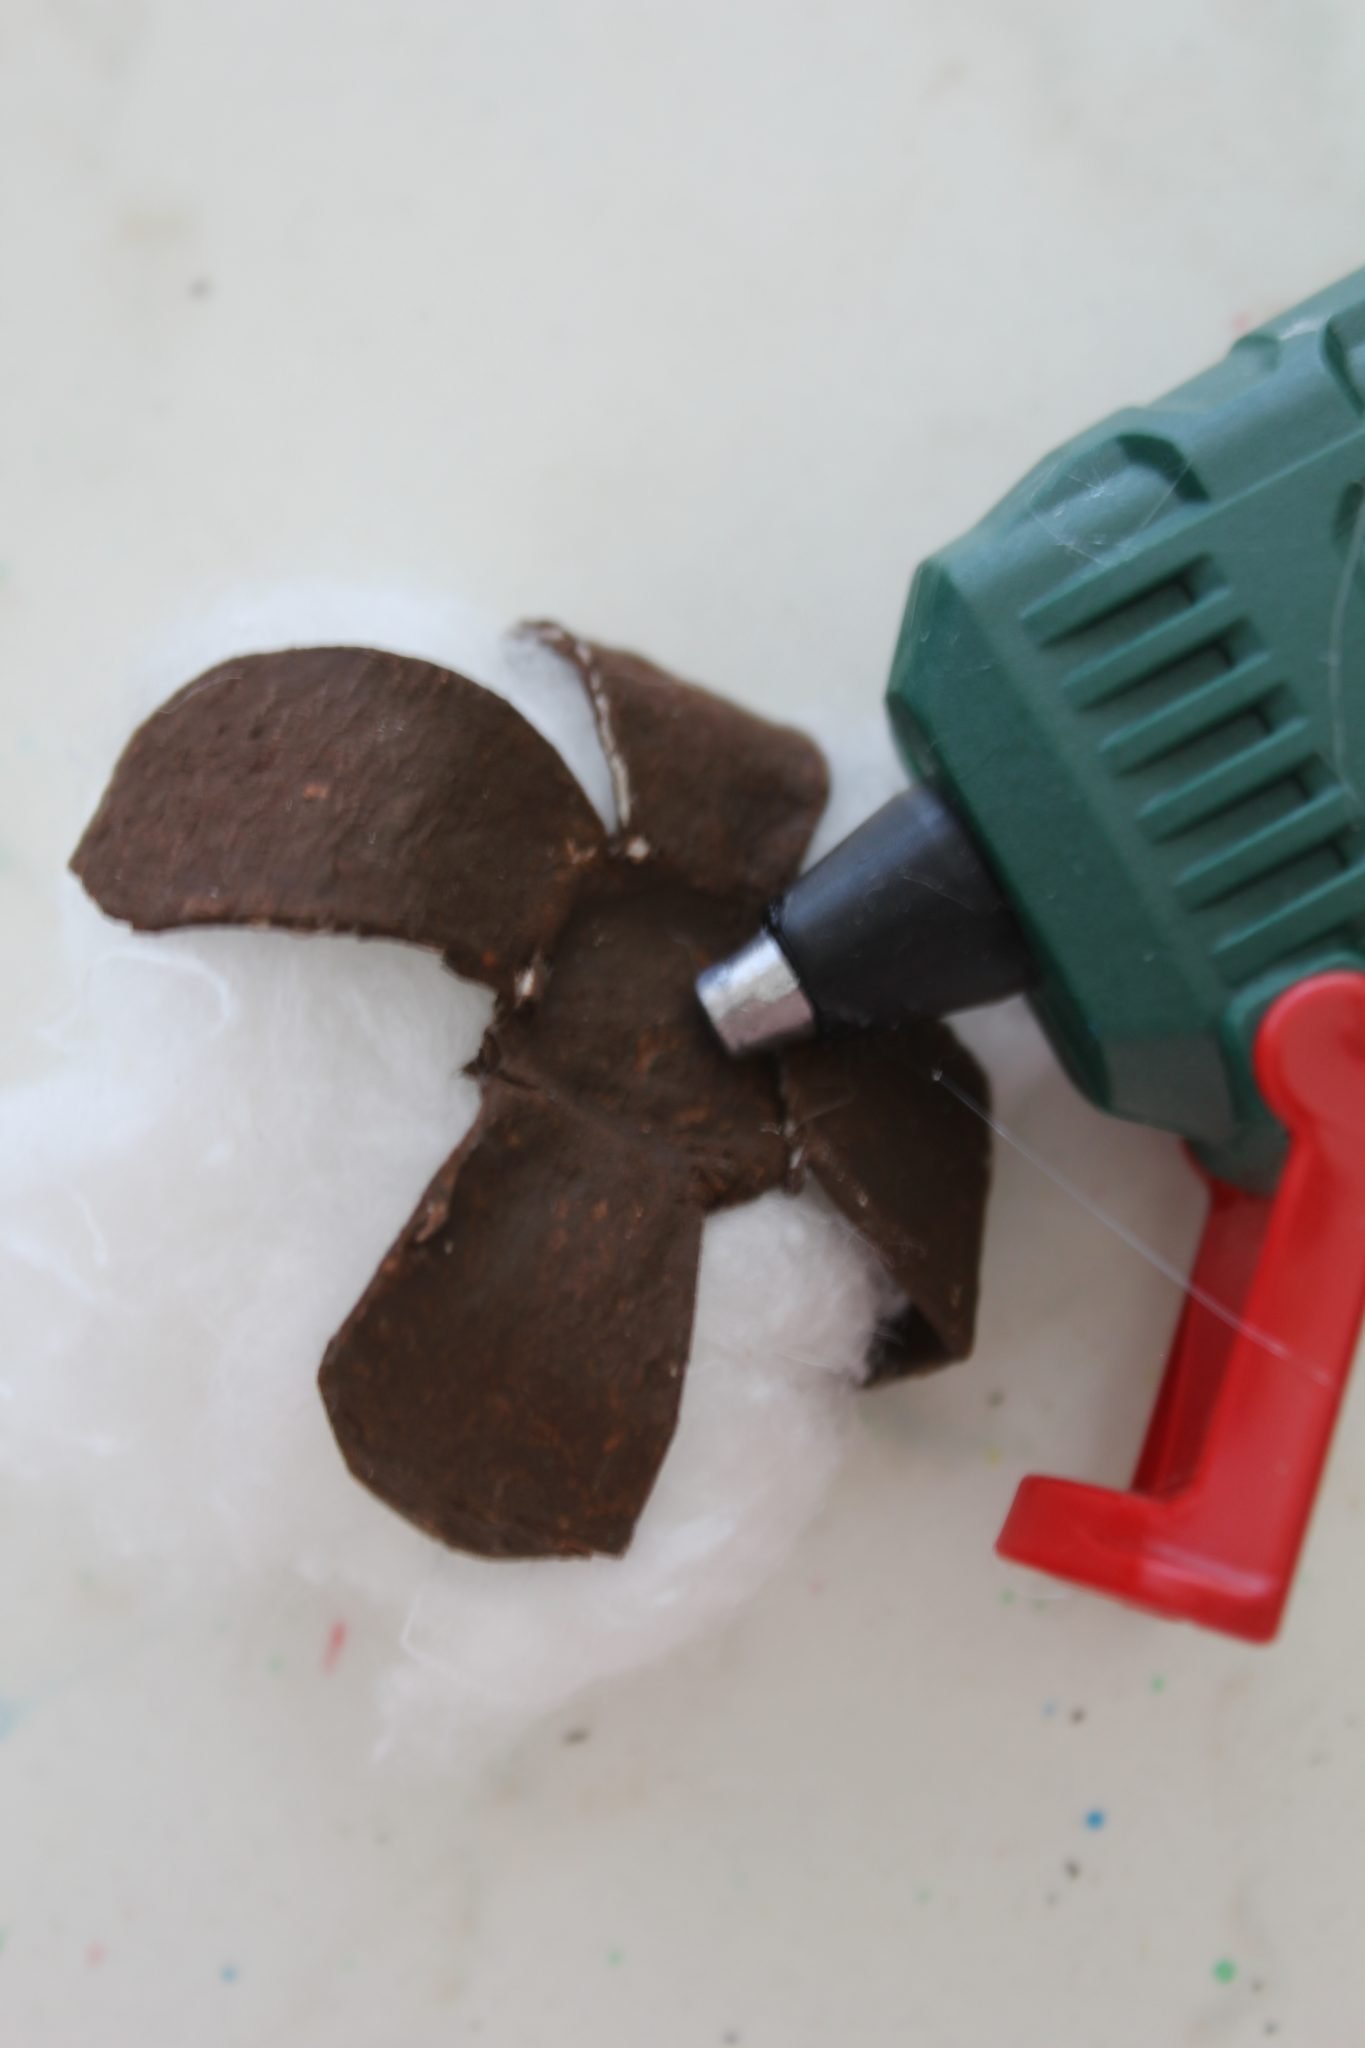
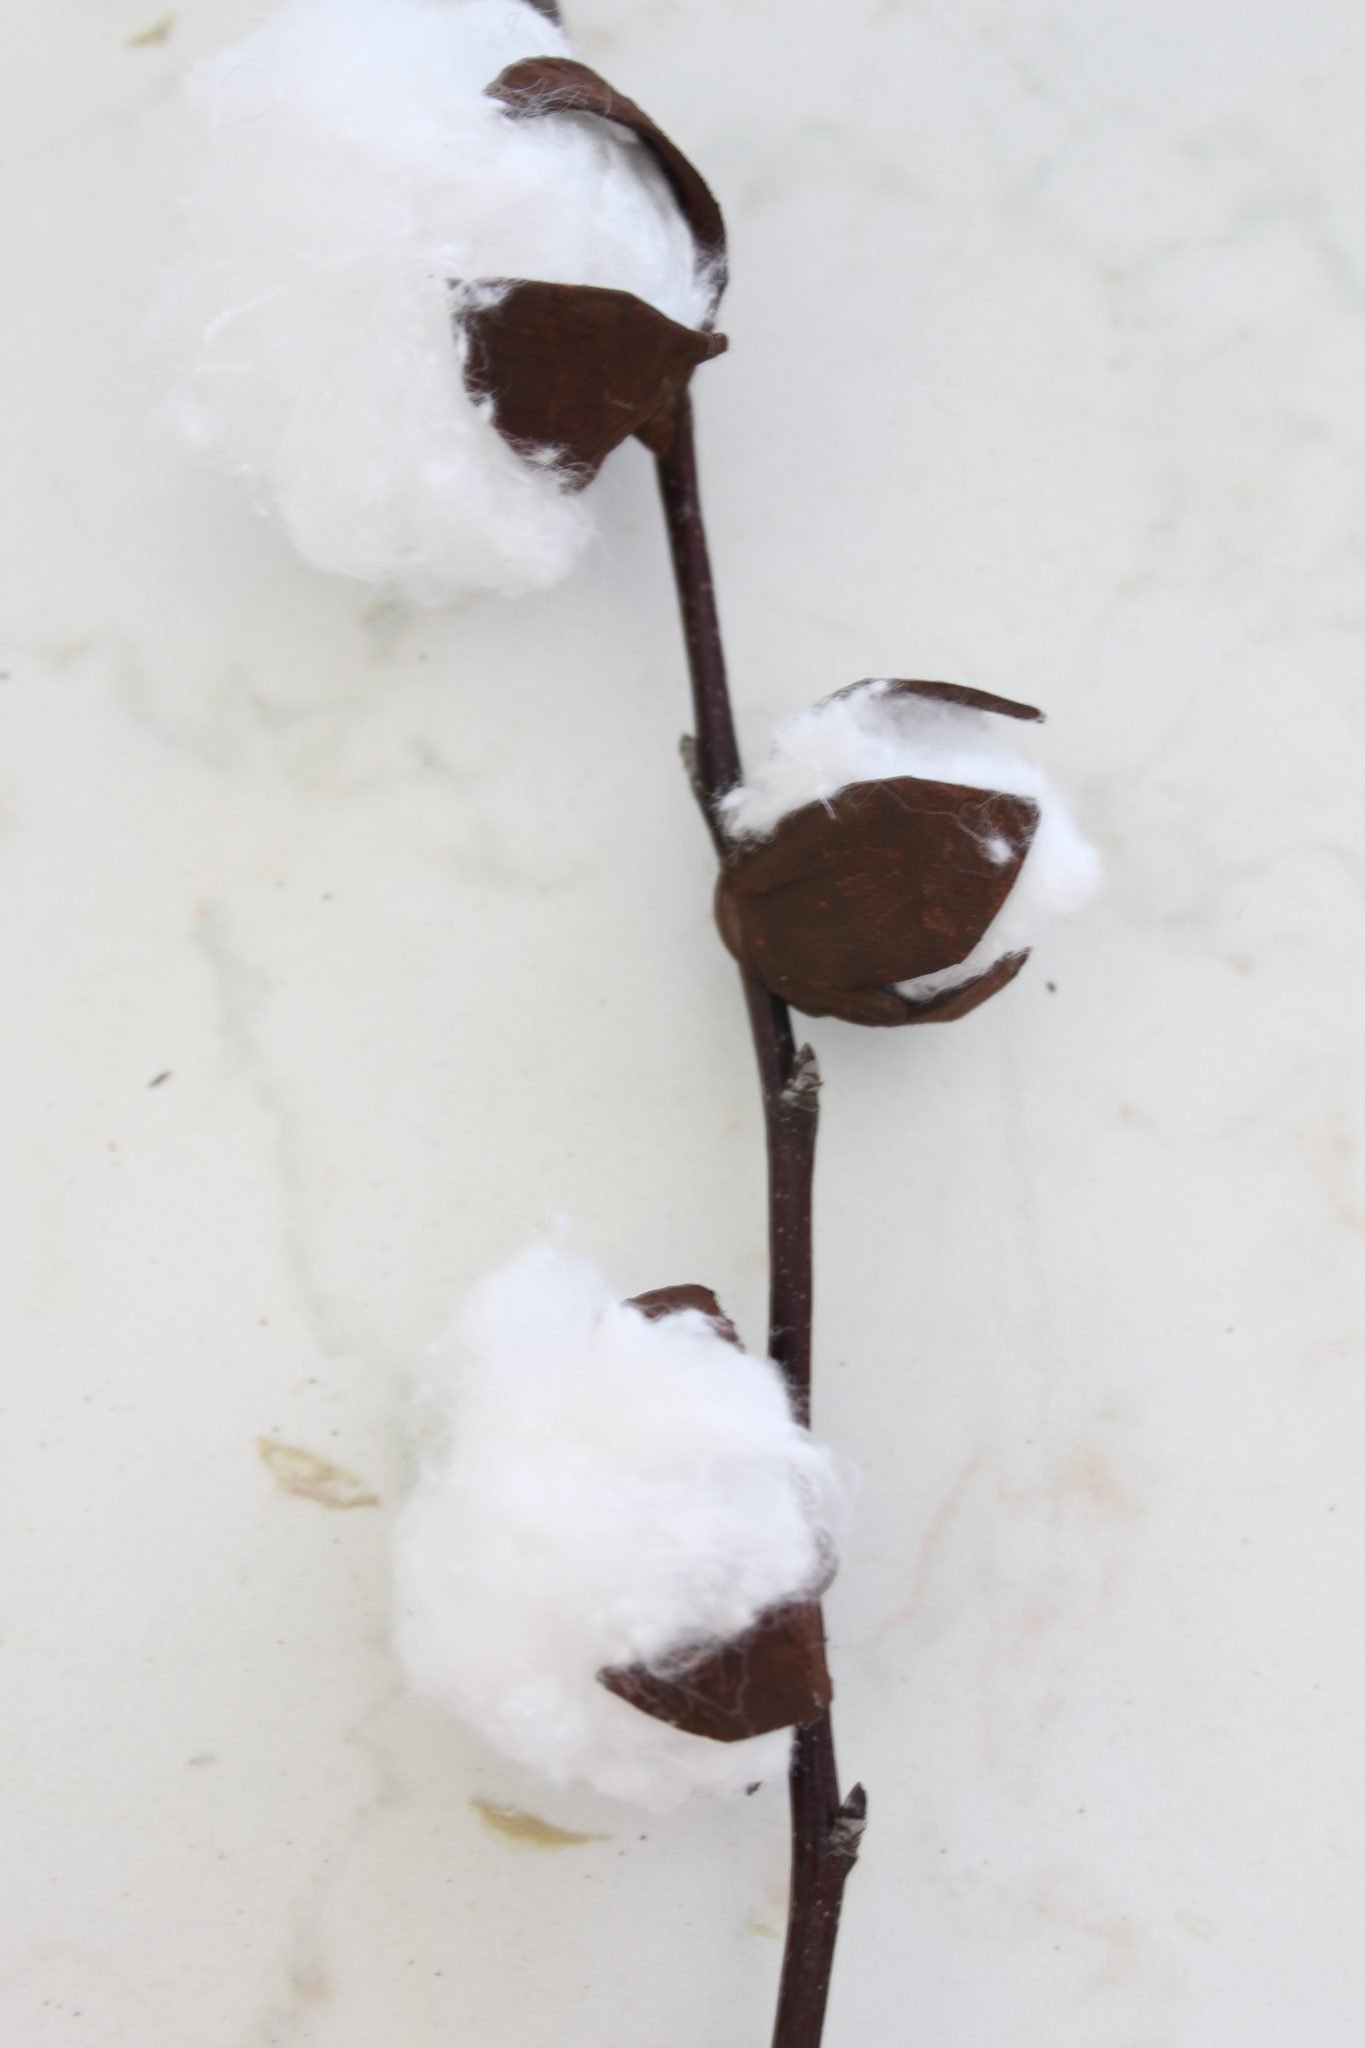
- If you have a branch with more sticks, attach the pods to the tip of each of these sticks. If your branch is thinner, apply the pods along the branch as I did and use a few good branches to decorate your vase.
- Paint the glue spots in brown to mask and blend with the branch. Although you might be tempted to skip this step, this final touch truly makes your cotton branches looking less handmade!
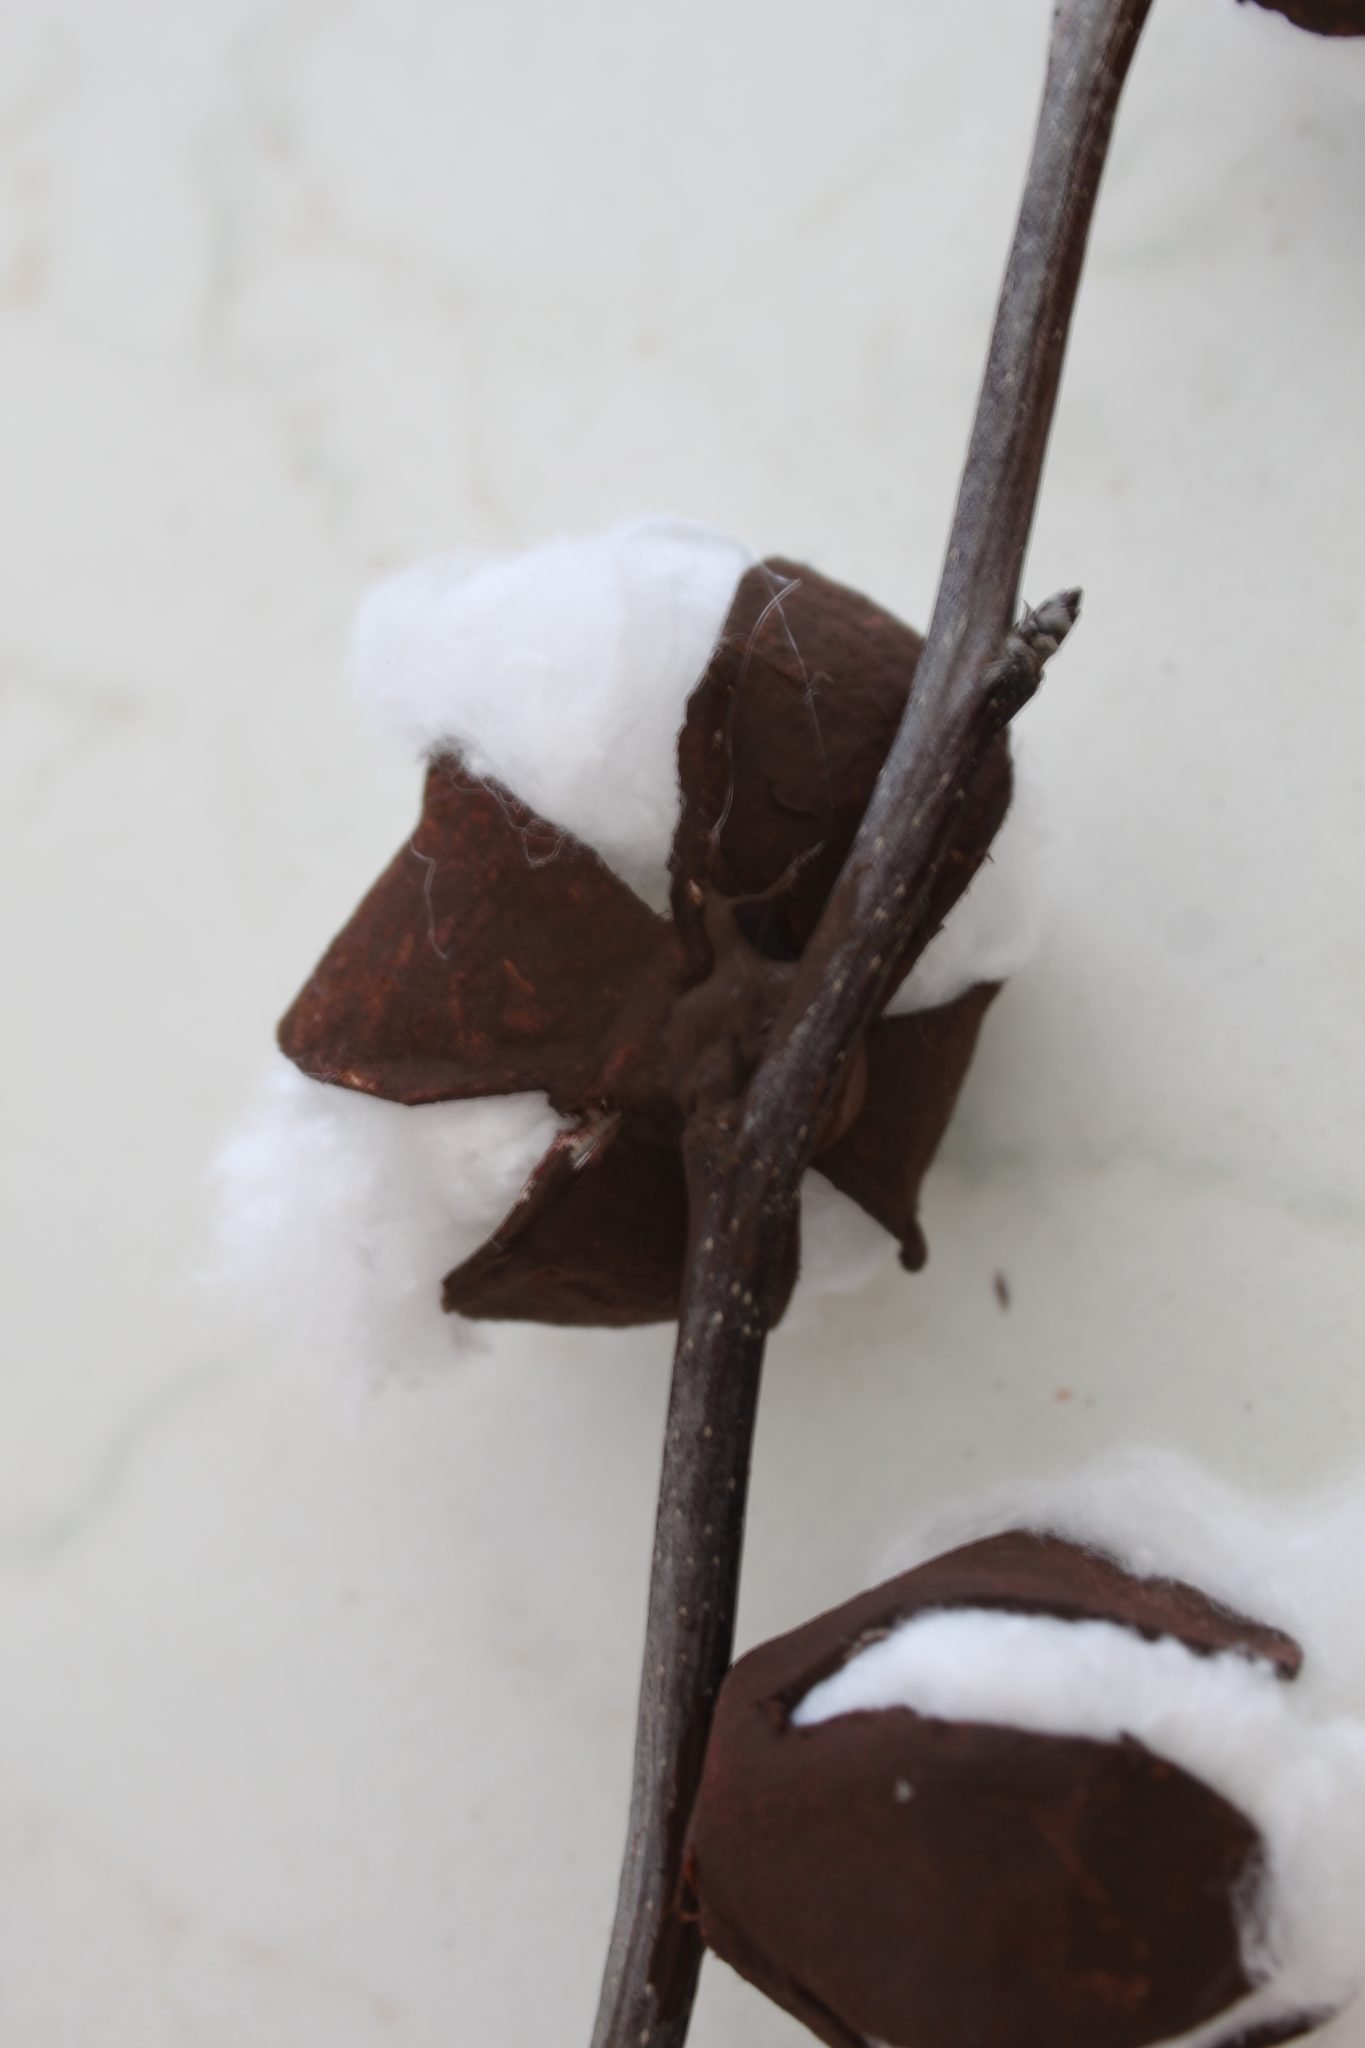
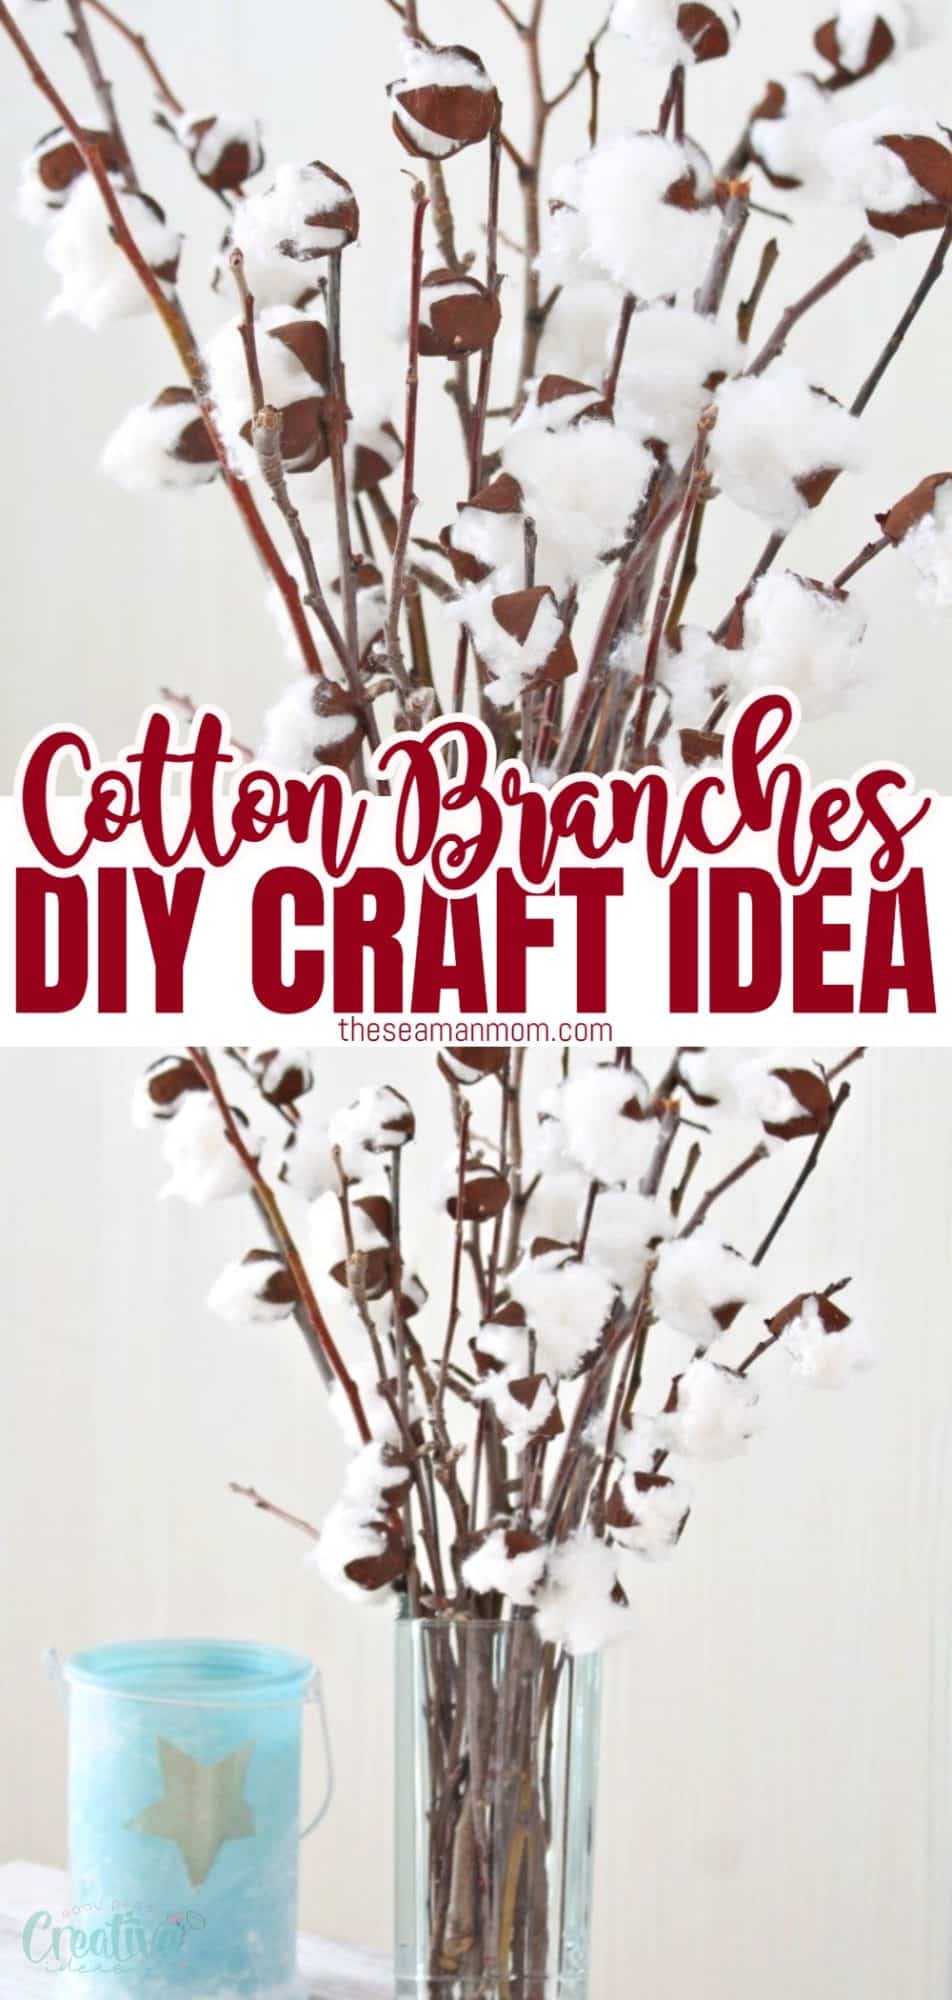
- Gather your faux cotton ball stems and place them in a vase and start admiring your beautiful rustic decor!
If you liked this tutorial please let me know in the comments section below! Thanks!
Pin to save for later
Print the craft card
DIY cotton branches
Materials
- empty egg cartons
- cotton balls pull the fibers apart or use surgical cotton wool which is already loose
- long thin branches or sticks
Tools
- acrylic paint in brown use 2-3 shades of brown for a more realistic look
- low heat glue gun
Instructions
- Make sure your egg cartons are clean (I had a few stained by broken eggs and had to get those out of the way as they were pretty smelly).
- Separate each egg cup from the carton by cutting them with scissors.
- Clip through the four indentations with your scissors
- Trim the tip of each segment
- Cut petal-like shapes around the egg cups to form the pods of the cotton boll.
- I used two slightly different methods to form the pods.
- For method one, after shaping the egg cartons as above, I proceeded to painting the egg carton pods as they were. I grabbed the paint brush and painted the pods on the inside and outside. Then I gently bent the petals towards the center of the pods. These pods ended up looking like closed cotton bolls that have just started to "bloom"
- For the second method, after shaping the petals, I first pressed the petals flat.
- Then I folded them to the back, towards the back side of the pod.
- I painted them brown and then bent the petals towards the middle. These pods ended up looking like cotton bolls in full bloom after I filled them with surgical cotton wool.
- After painting your pods, leave them to dry completely (I left them overnight), preferably face down (top of the petals facing the working surface).
- When the pods are dry, stuff with surgical cotton wool. If using cotton balls, pull the fibers apart and make the balls as fluffy as possible before filling the pods. You may need to use 2-3 cotton balls per pod.
- The surgical cotton wool I used seem pretty sticky so I didn't feel the need to hot glue it to the pods. But you may need to if using cotton balls so test first, before filling all your pods. If the cotton balls fall out of the pods you need to hot glue them to the inside of the pods using a couple of drops of hot glue applied to the bottom of the pods.
- When all pods are filled with cotton balls or surgical cotton, use your glue gun to apply glue to the back of the pods, on the bottom and glue them to the branch.
- If you have a branch with more sticks, attach the pods to the tip of each of these sticks. If your branch is thinner, apply the pods along the branch as I did and use a few good branches to decorate your vase.
- Paint the glue spots in brown to mask and blend with the branch. Although you might be tempted to skip this step, this final touch truly makes your cotton branches looking less handmade!
- Gather your branches and place them in a vase and start admiring your beautiful work!
Video
Article may contain Amazon & affiliate links. As an Amazon Associate I earn from qualifying purchases at no additional cost to you.


super cute and adorable… being a northern country girl, this was the perfect craft to place on my Spring Equinox table I did a mix of daffodils and narcissus with the cotton branches – so easy to find the skinny branches on my lawn. thanks for this easy to follow craft & directions
Thanks for your kind comment, Tanya! So happy you enjoyed this craft! 🤗
When I saw this I immediately thought about using the pecan husks that litter my yard. I use the cardboard egg cartons in my arsenal for starting seedlings but this is so cute, and cost efficient as well. Decisions decisions!
Cotton branches
What a wonderful idea I have branches in a container in the corner of my room did you set up that spot and I think adding the cotton pods were really set it off thank you for the great idea Nancy
Great job. I’m definitely going to do this.
These are so pretty and your directions sound easy. Hope to make these. Thanks, Linda
Hi Petro,
Loved the tutorial on the cotton branches. Always thought that they were under used for decor. I prefer rustic decorations. Glad you showed how to do the pods, and to use the paper egg crates. It looks all so easy. I have everything already except the egg crate. Can’t wait to try my hand at making these. Thanks!
The next time the farmer a few miles from me harvests his cotton, I will go pick up any left overs, with his permission anyway. These are really nice looking and true to life. The best I’ve seen yet! I had the same idea in mind but I’m not ready for them yet so haven’t made any.
Thanks so much, Shirley! I truly appreciate your feedback and the nice comment on my tutorial! xoxo
Love the cotton stems. I “plan” to make some today ????
Thanks so much, Ann! Enjoy making yours, I’m sure they’ll look amazing!
These look just as good as ones I have seen in stores and on line. They cost nothing to make, except a bag of cotton balls, and look really fun and easy to make. aren’t you the clever one!
Aww, thanks so much, Melanie! I’m really glad you like my cotton branches and find them looking as “genuine” as the store bought ones!
Such a sweet idea! Up here in the cold northern climes of Alberta- this is the closest I’ll get to cotton stems !
I love our resourcefulness !
Thanks so much, Laura! These cuties will totally warm up your home decor!
I’ve seen two other ways of creating cotton bolls and I have to say this is the one that looks most real and is simplest. This is the method I’ll use when I’m ready to go. Thanks for sharing!
Aww! Thanks so much, Jan! I’m really happy you liked my tutorial! Making the bolls looking less fake was my main goal!