How to sew a purse from a placemat
Make your own evening purse with minimal sewing! This fun bag is so easy to sew from a placemat or simply a round piece of fabric!
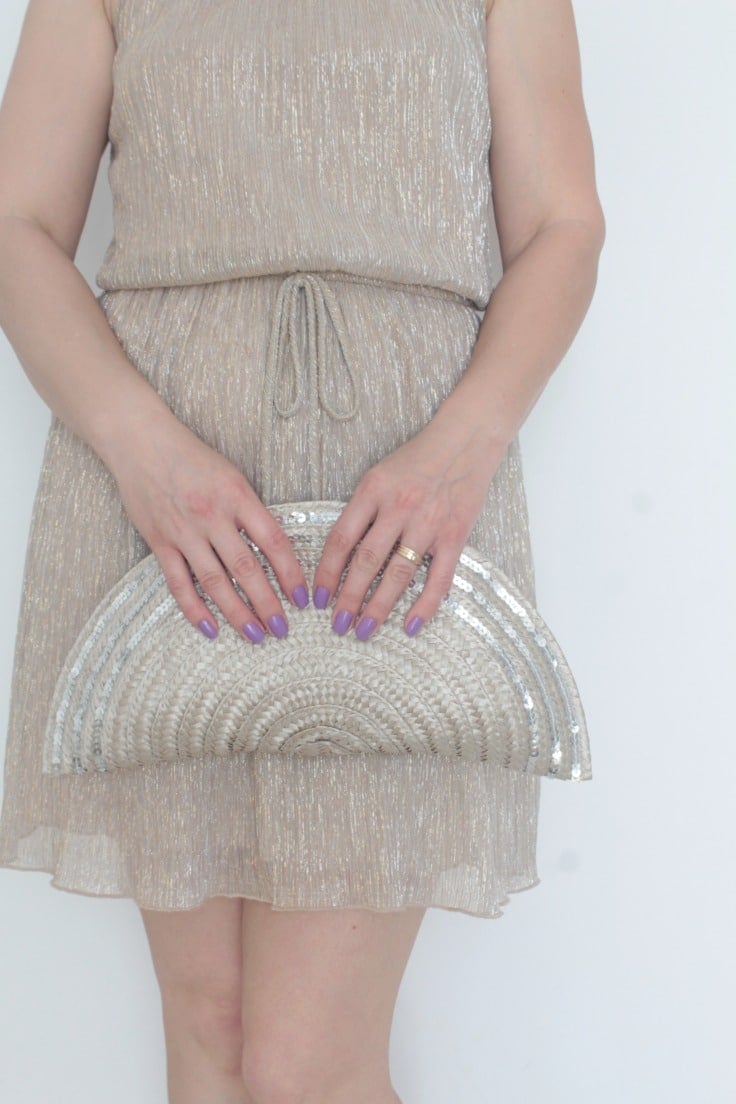
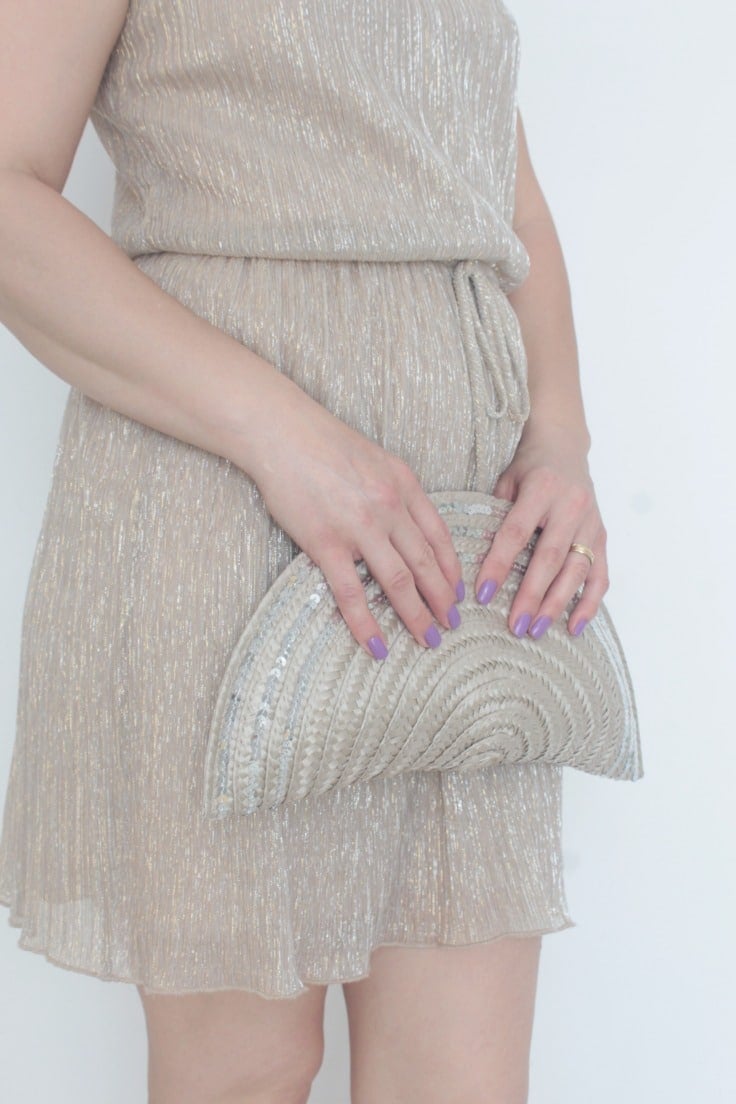
This little evening purse is not only super fun and crazy quick to sew but it’s practically ready in just a blink of an eye! 30 minutes, the most! Perfect project for beginners and a great way to practice your zipper or magnetic snap skills. I used magnetic snaps for my purse but a zipper would do well too, it just takes a little longer to sew a zipper so I couldn’t be bothered.
I’m completely in love with this evening purse I’m actually considering making a couple more for every day use! This placemat bag is perfect for storing the stuff I carry with me on a daily basis: phone, house and car keys, ID’s, tissues and a lip gloss.
I added lining to my bag but if you want yours to be super quick, skip the lining. The purse will look just as great!
How to sew an evening purse
Materials:
- woven placemat with sequins (or any placemat with a little bling)
- optional – fabric for lining
- fabric marker
- scissors
- 2 magnetic snaps
- clips
- jeans needle
- matching thread
- sewing machine
- pressing iron
Directions:
- If adding lining, place the mat over the lining fabric and trace around the placemat with the fabric pen.
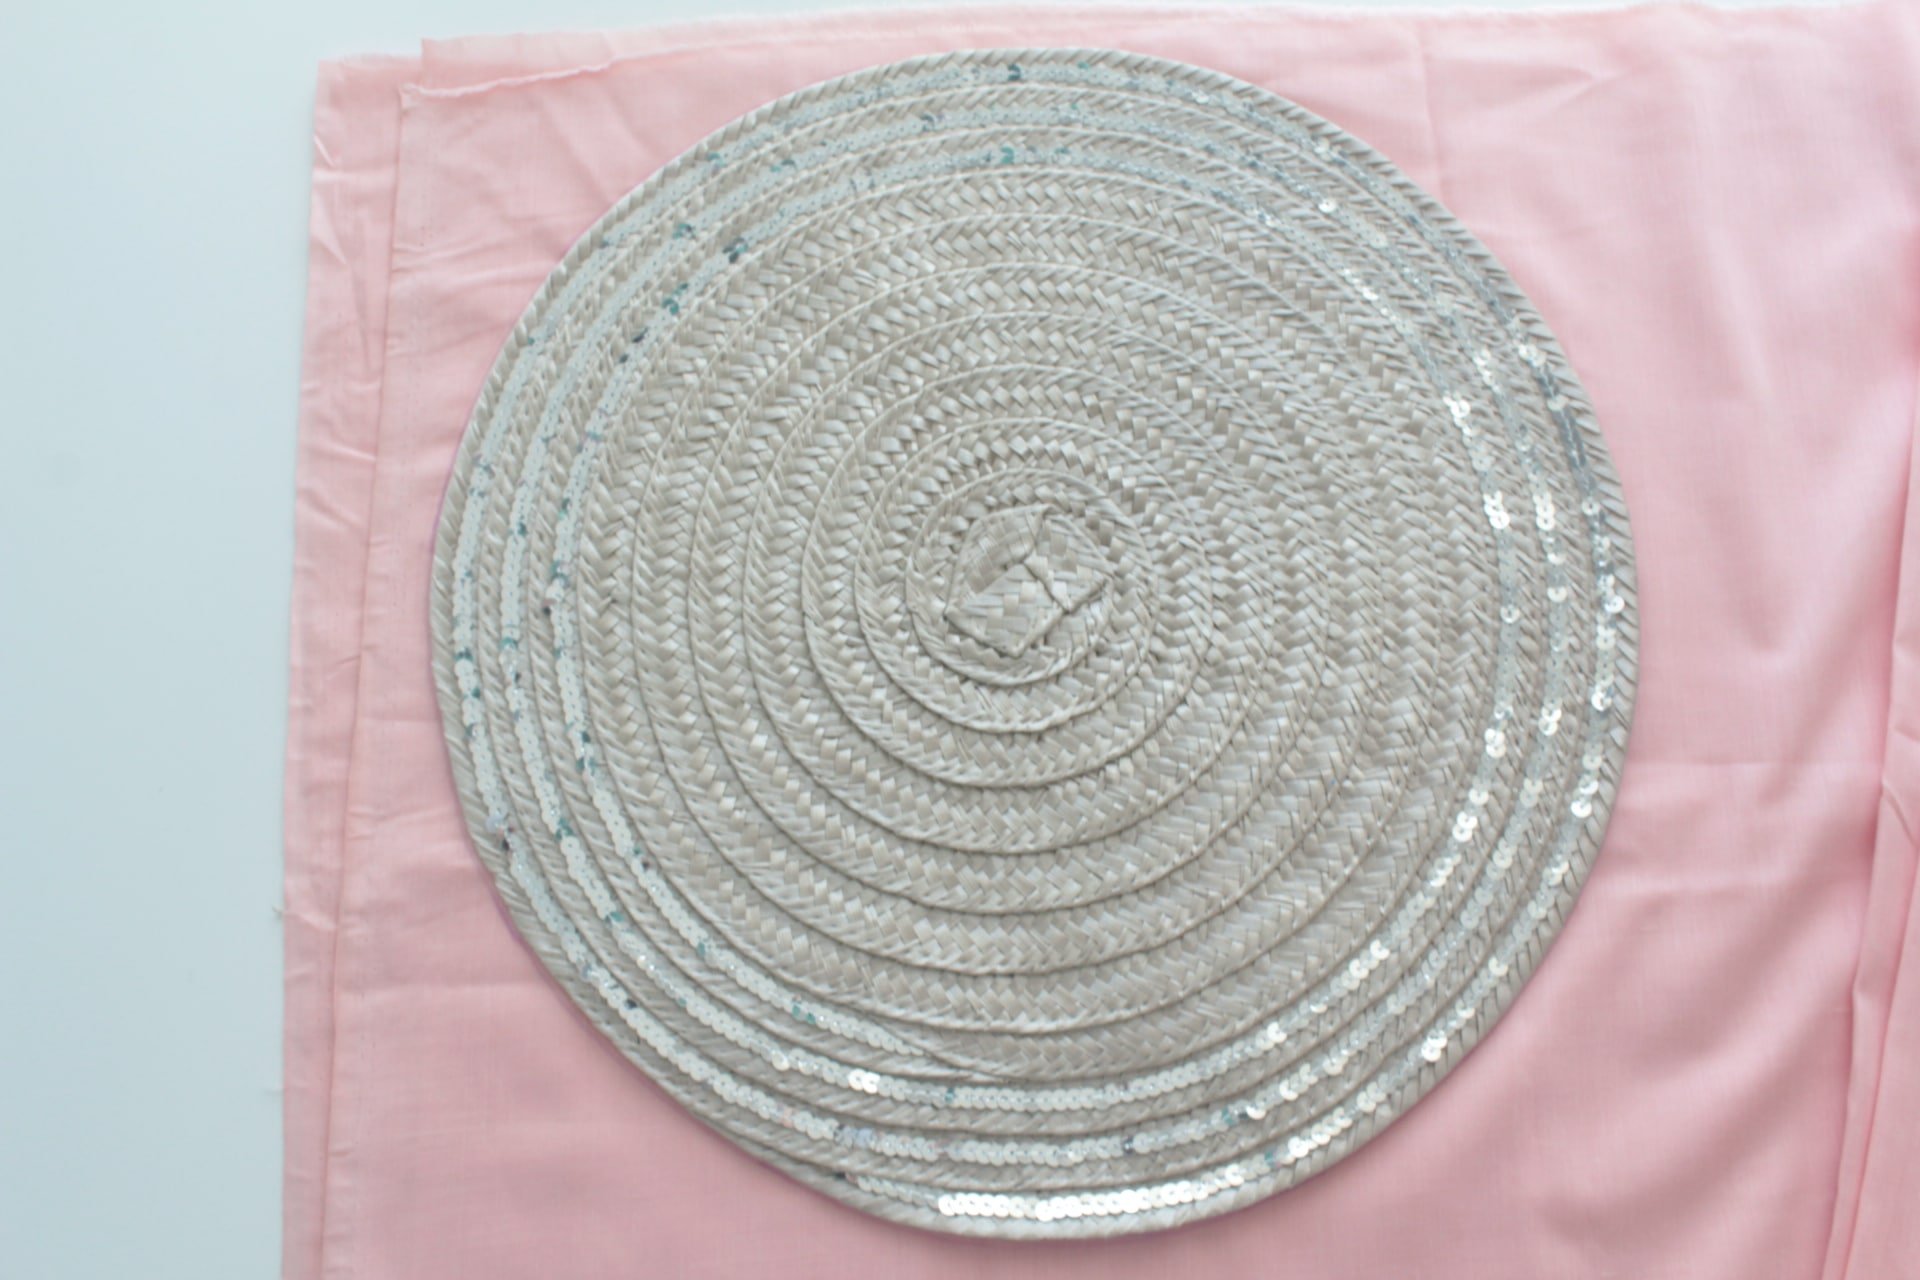
- Cut out leaving 1/2″ allowance.
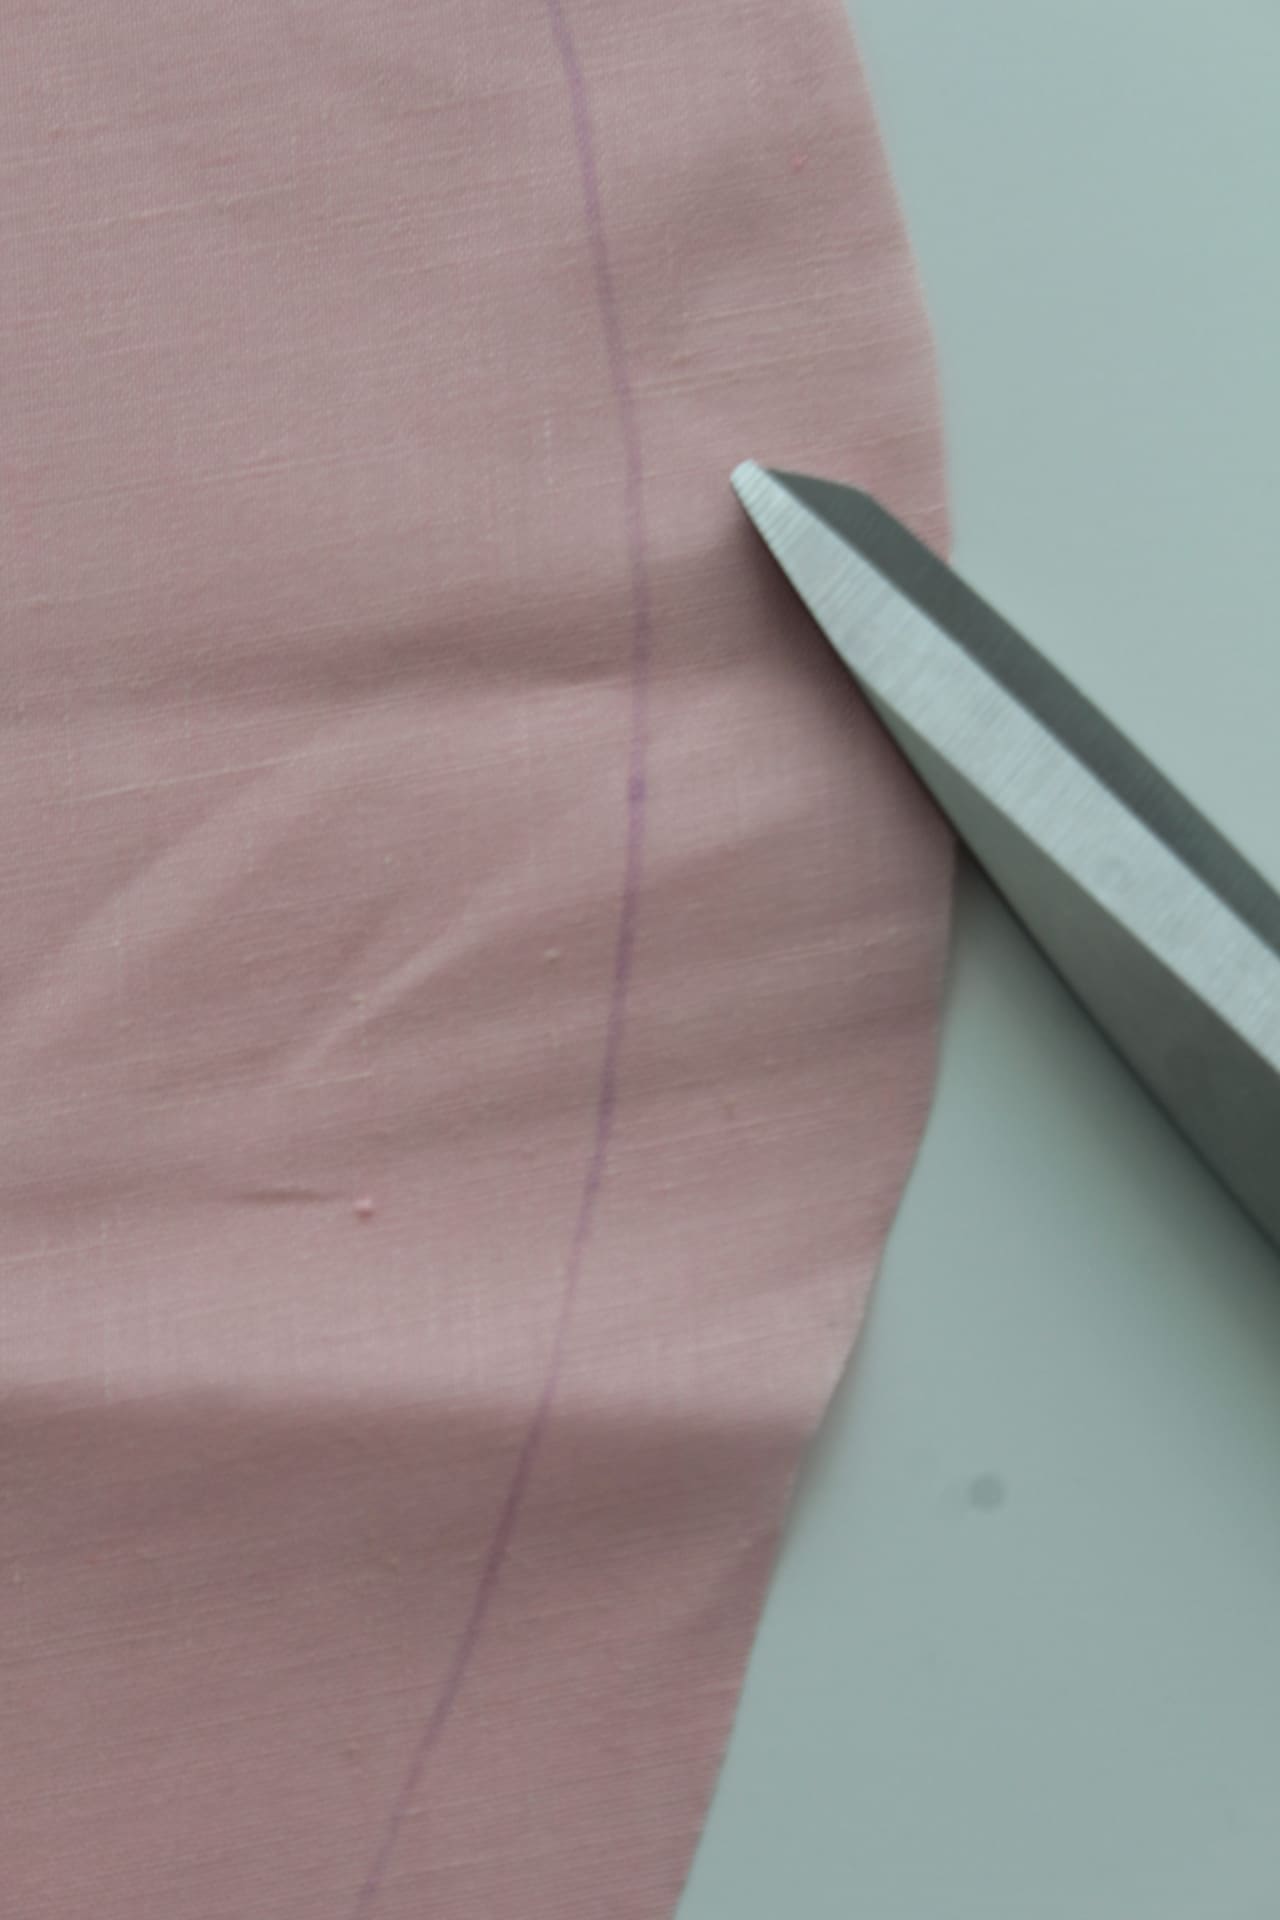
- Cut notches into the allowance.
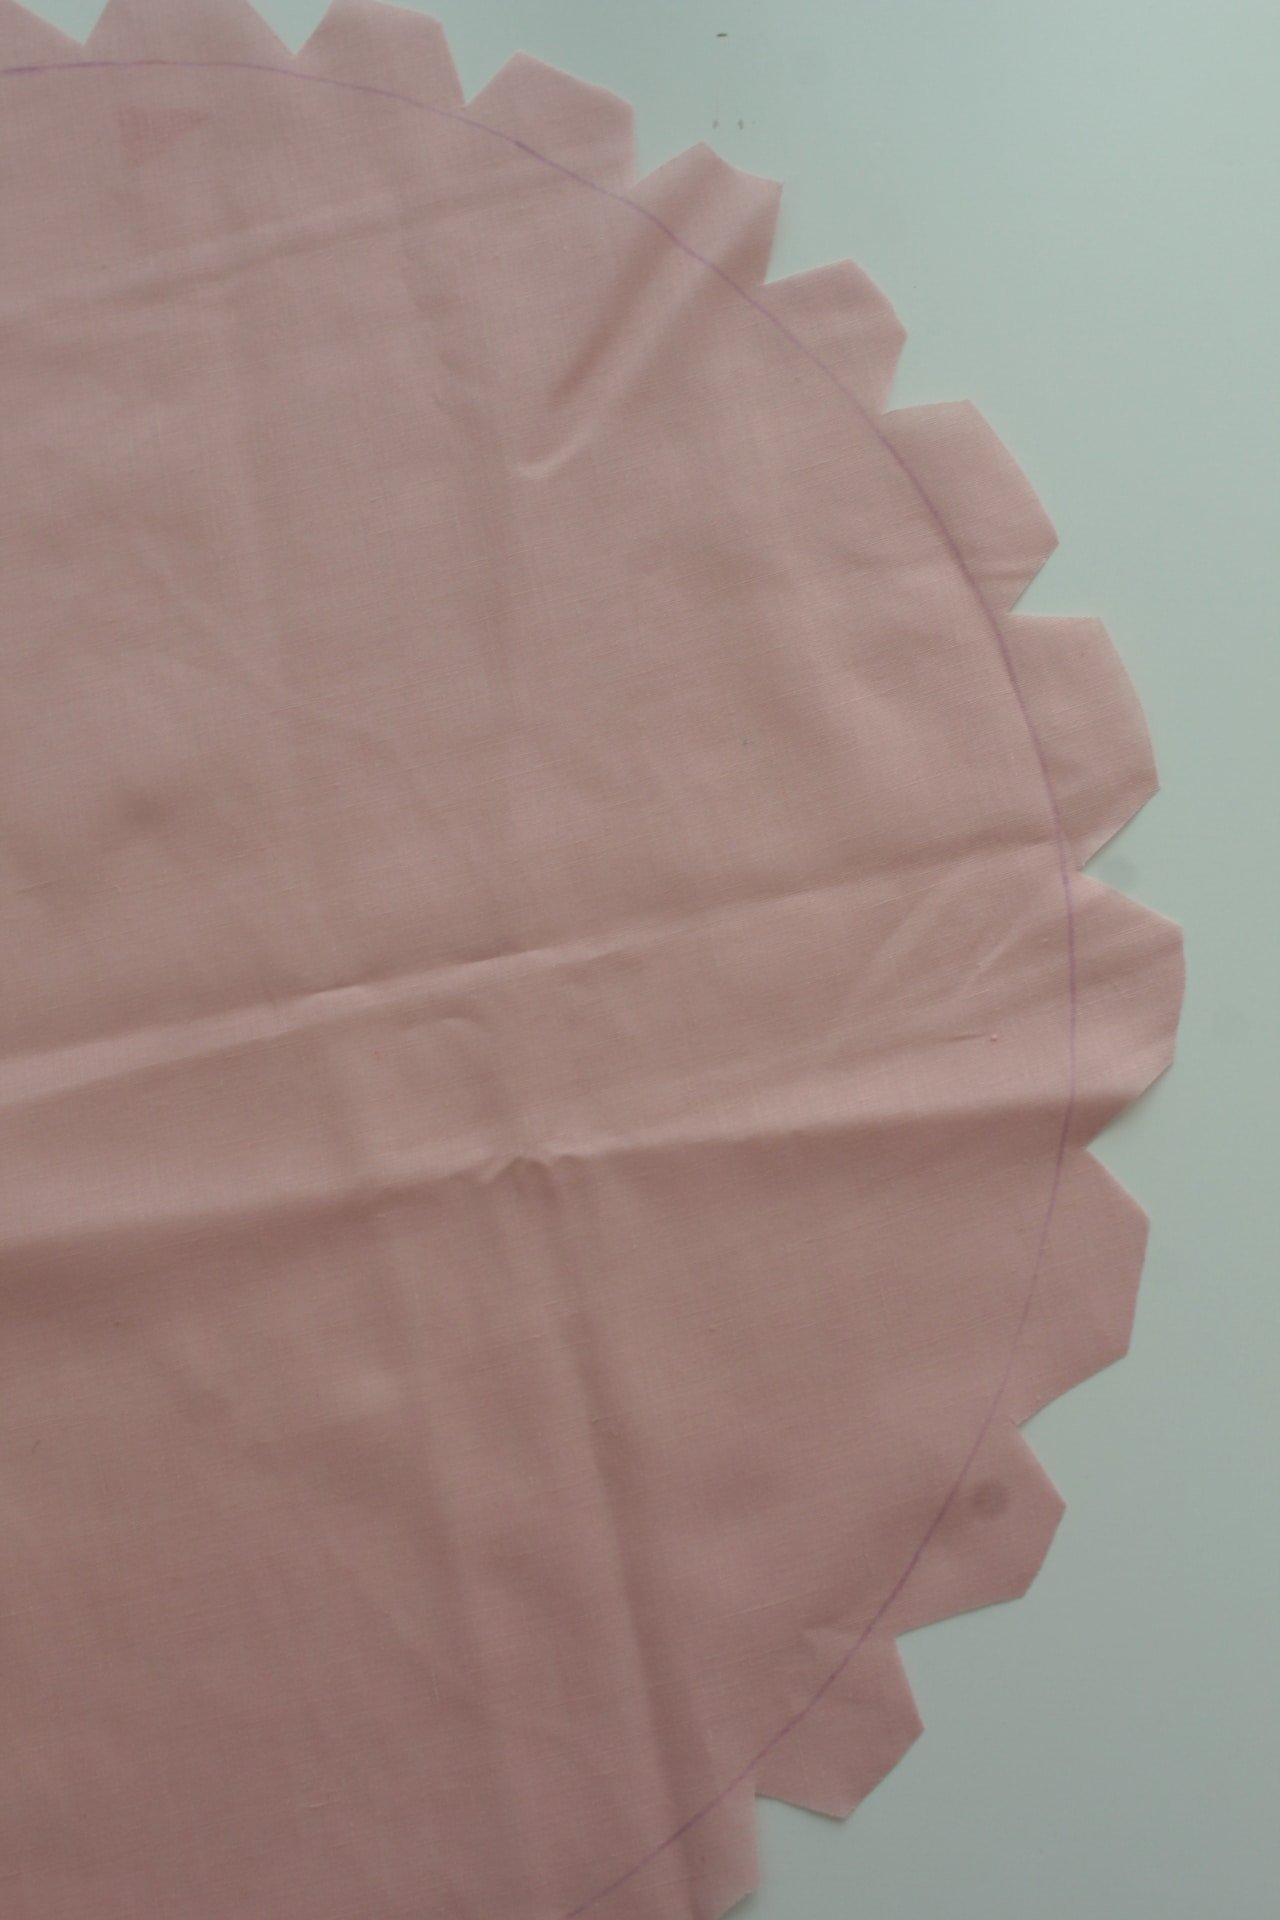
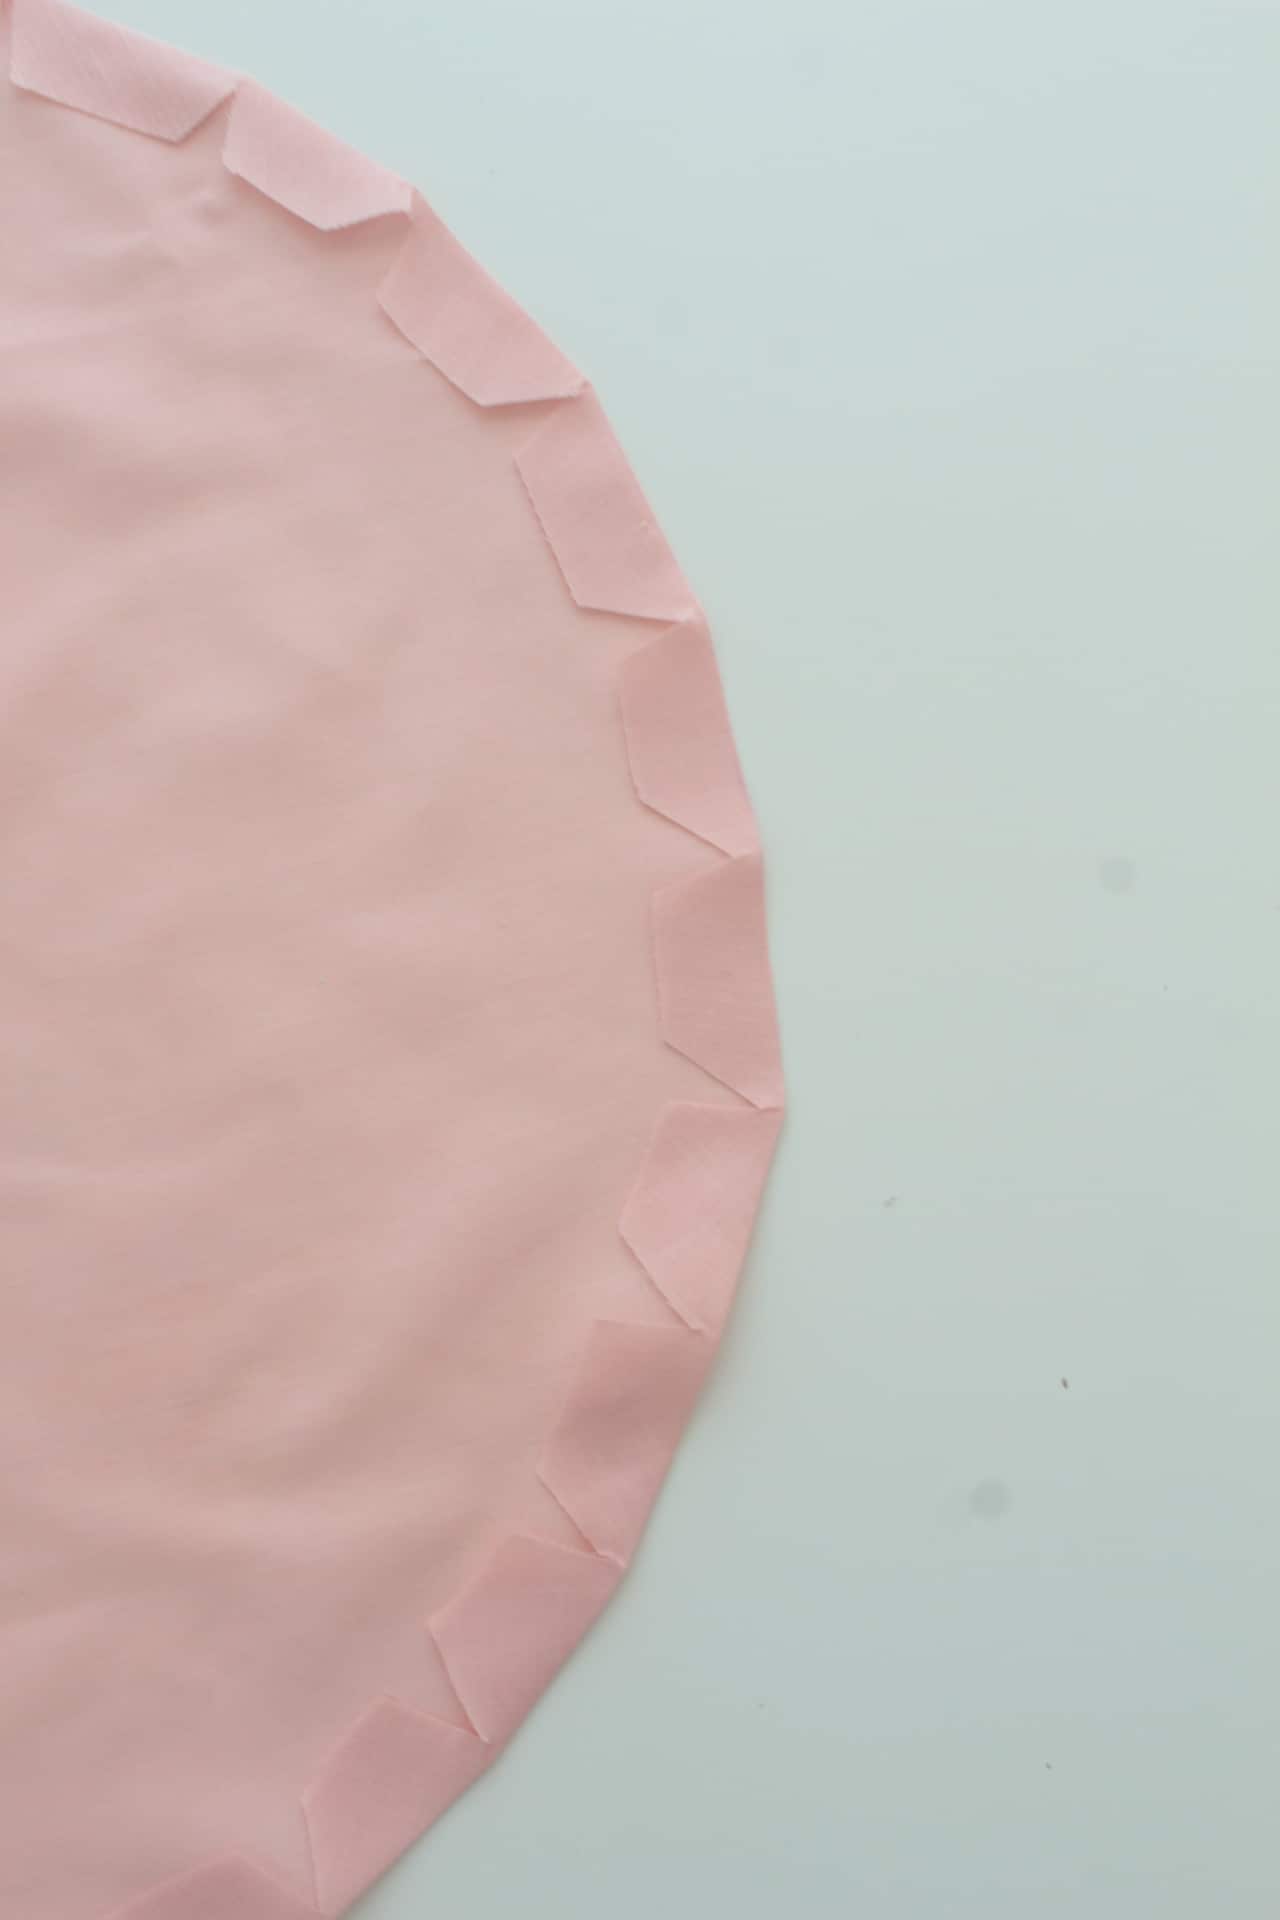
- Press the allowance towards the wrong side of the fabric, with your iron on steam, using the circle you traced above as a guide.
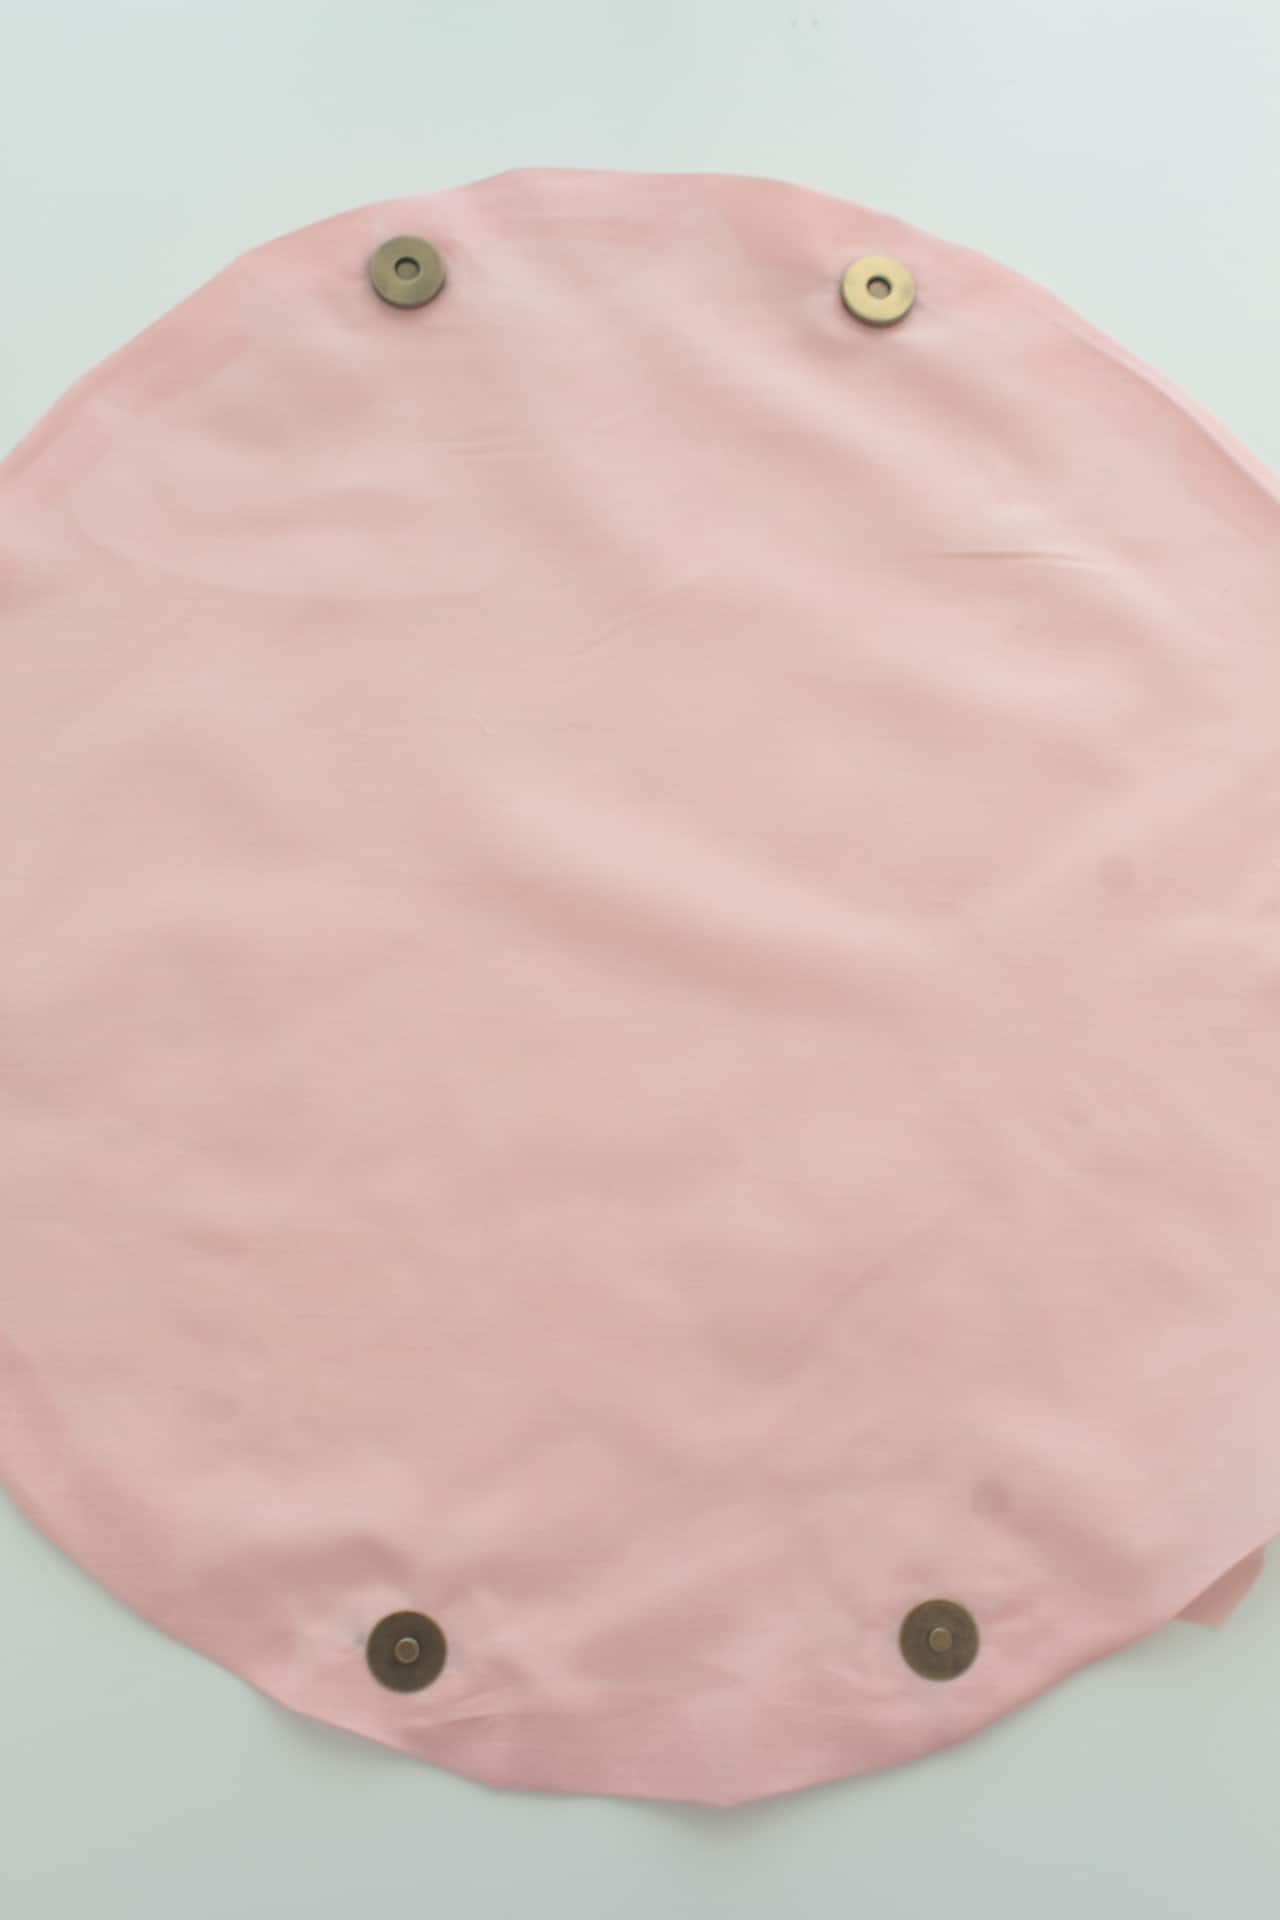
- Mark where you want to add the closure and attach the magnetic snaps (use this tutorial if you need to learn how to attach magnetic snaps)
- Place the placemat wrong side up and the fabric circle right side up and clip the two together.
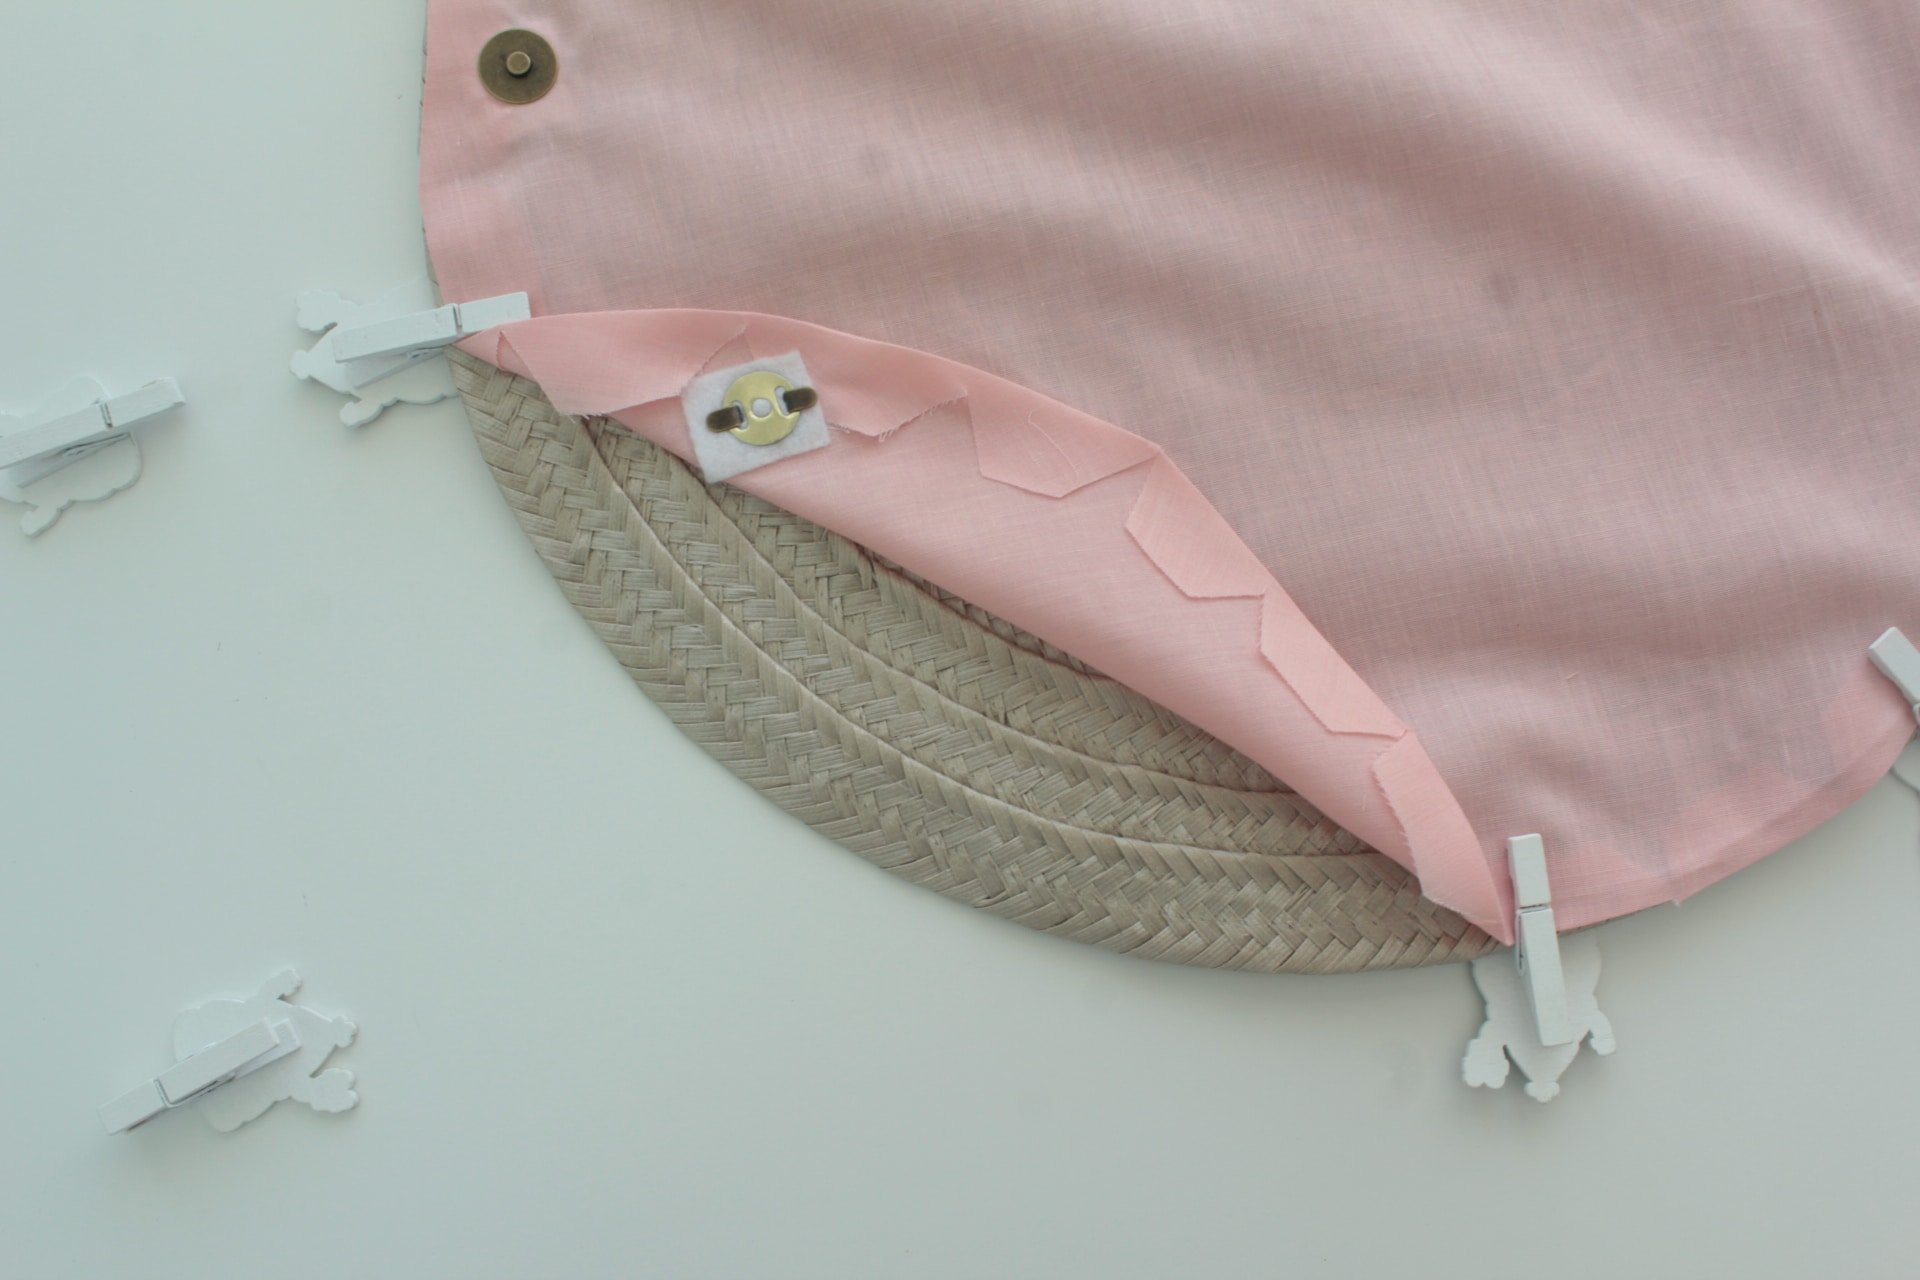
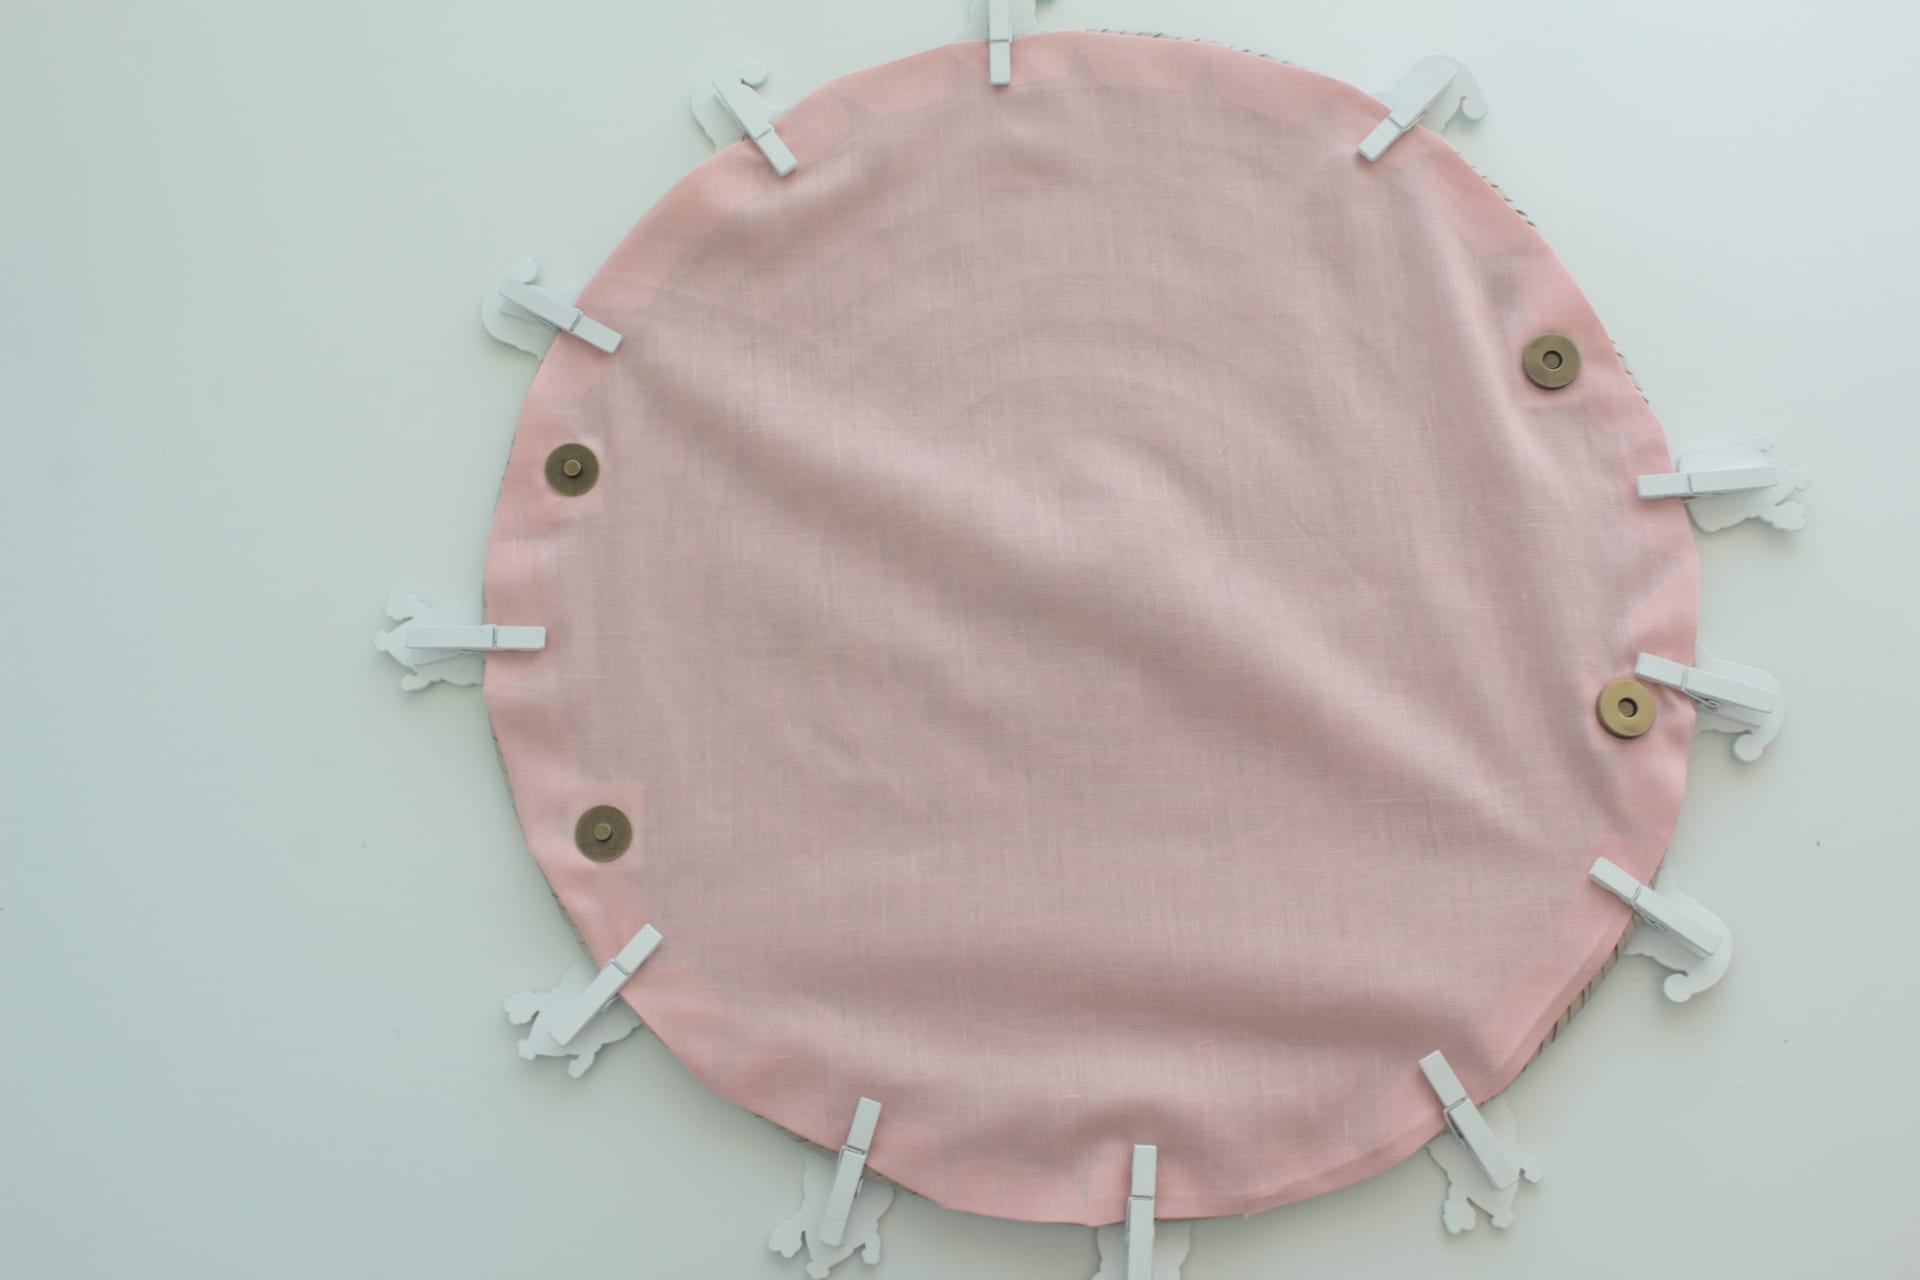
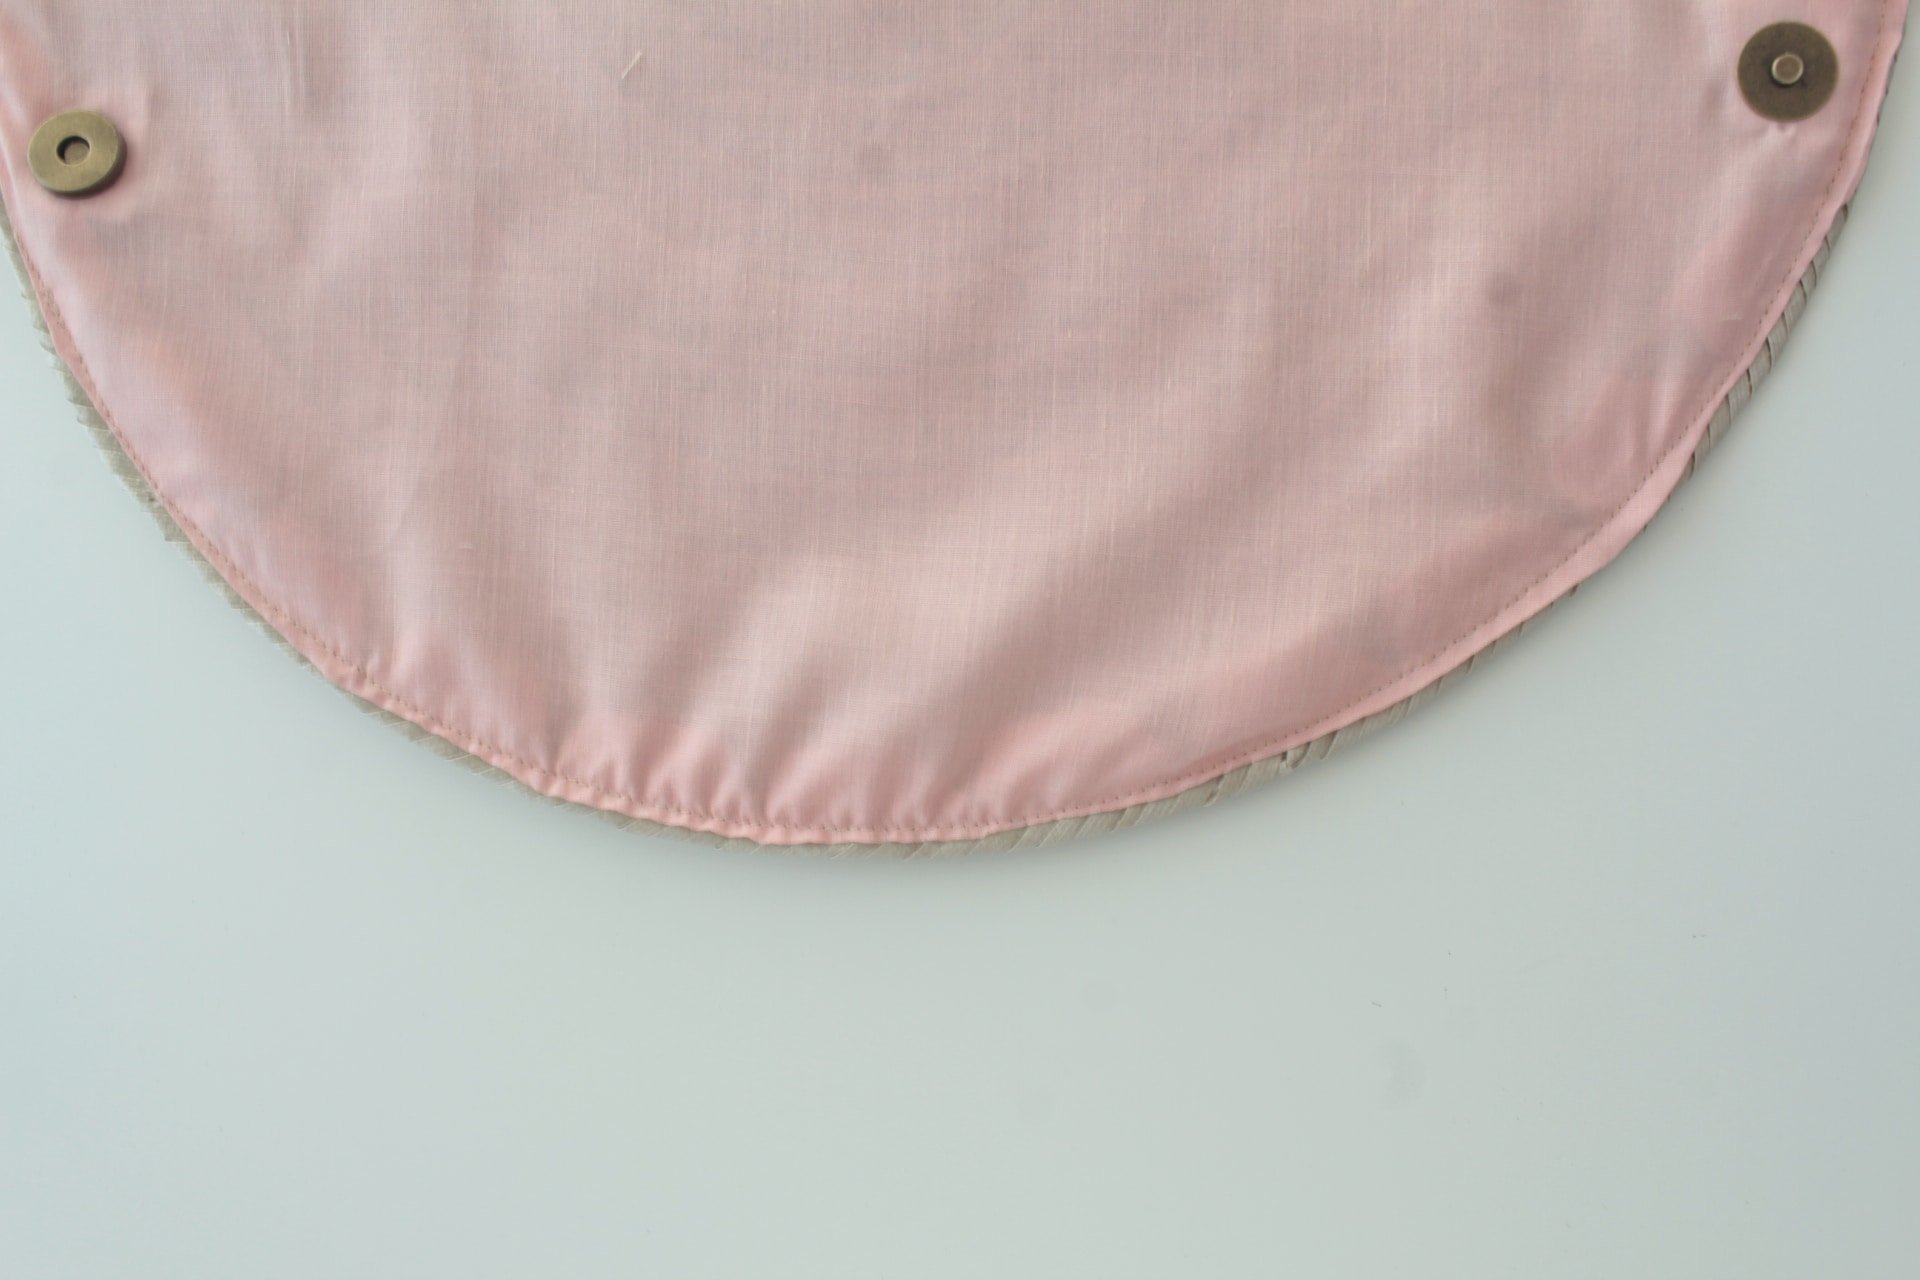
- Sew around the circle with 1/8″ allowance.
- Fold the purse and close the snaps.
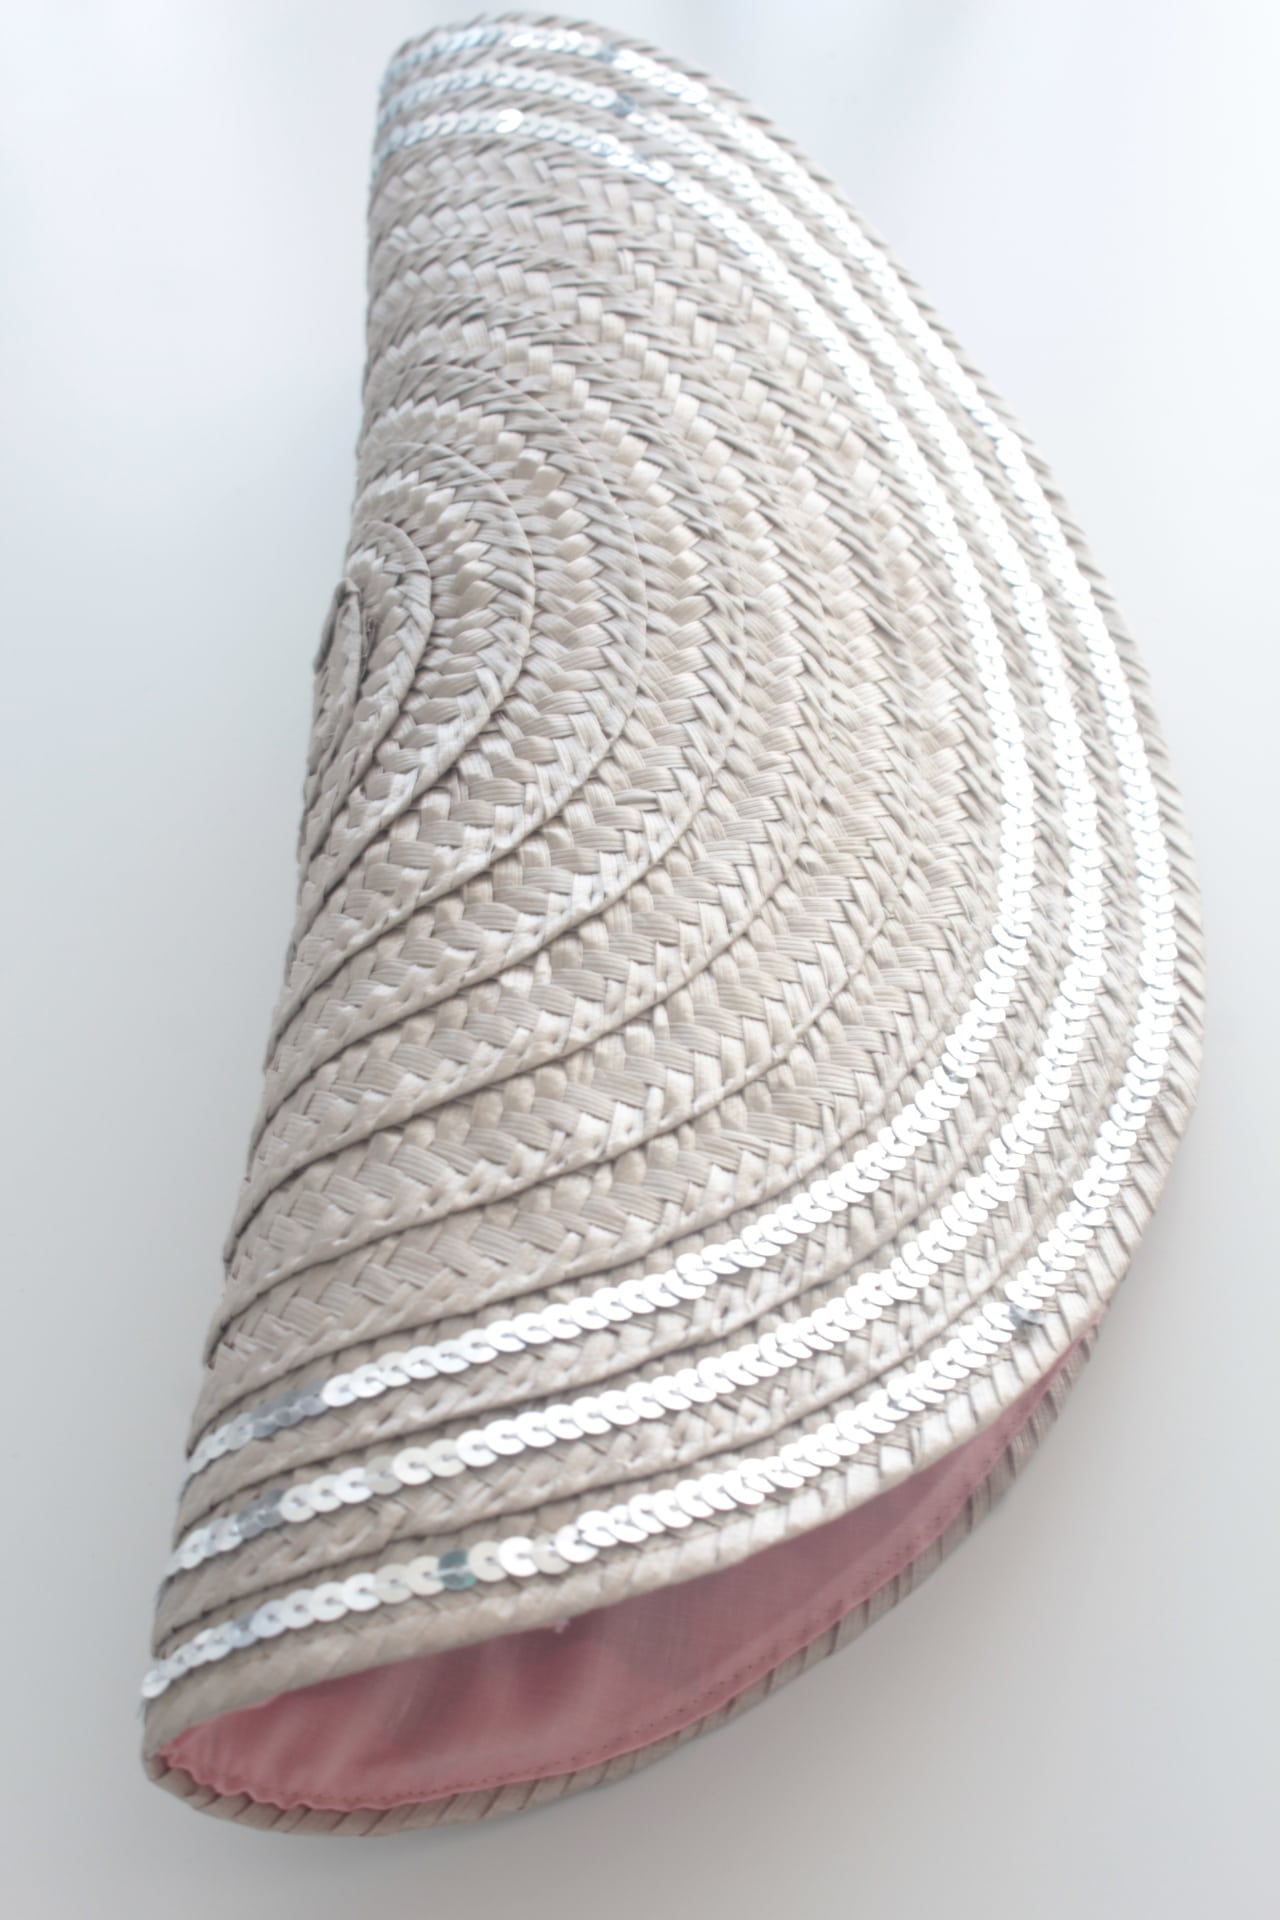
- Sew the sides about couple of inches on each side.
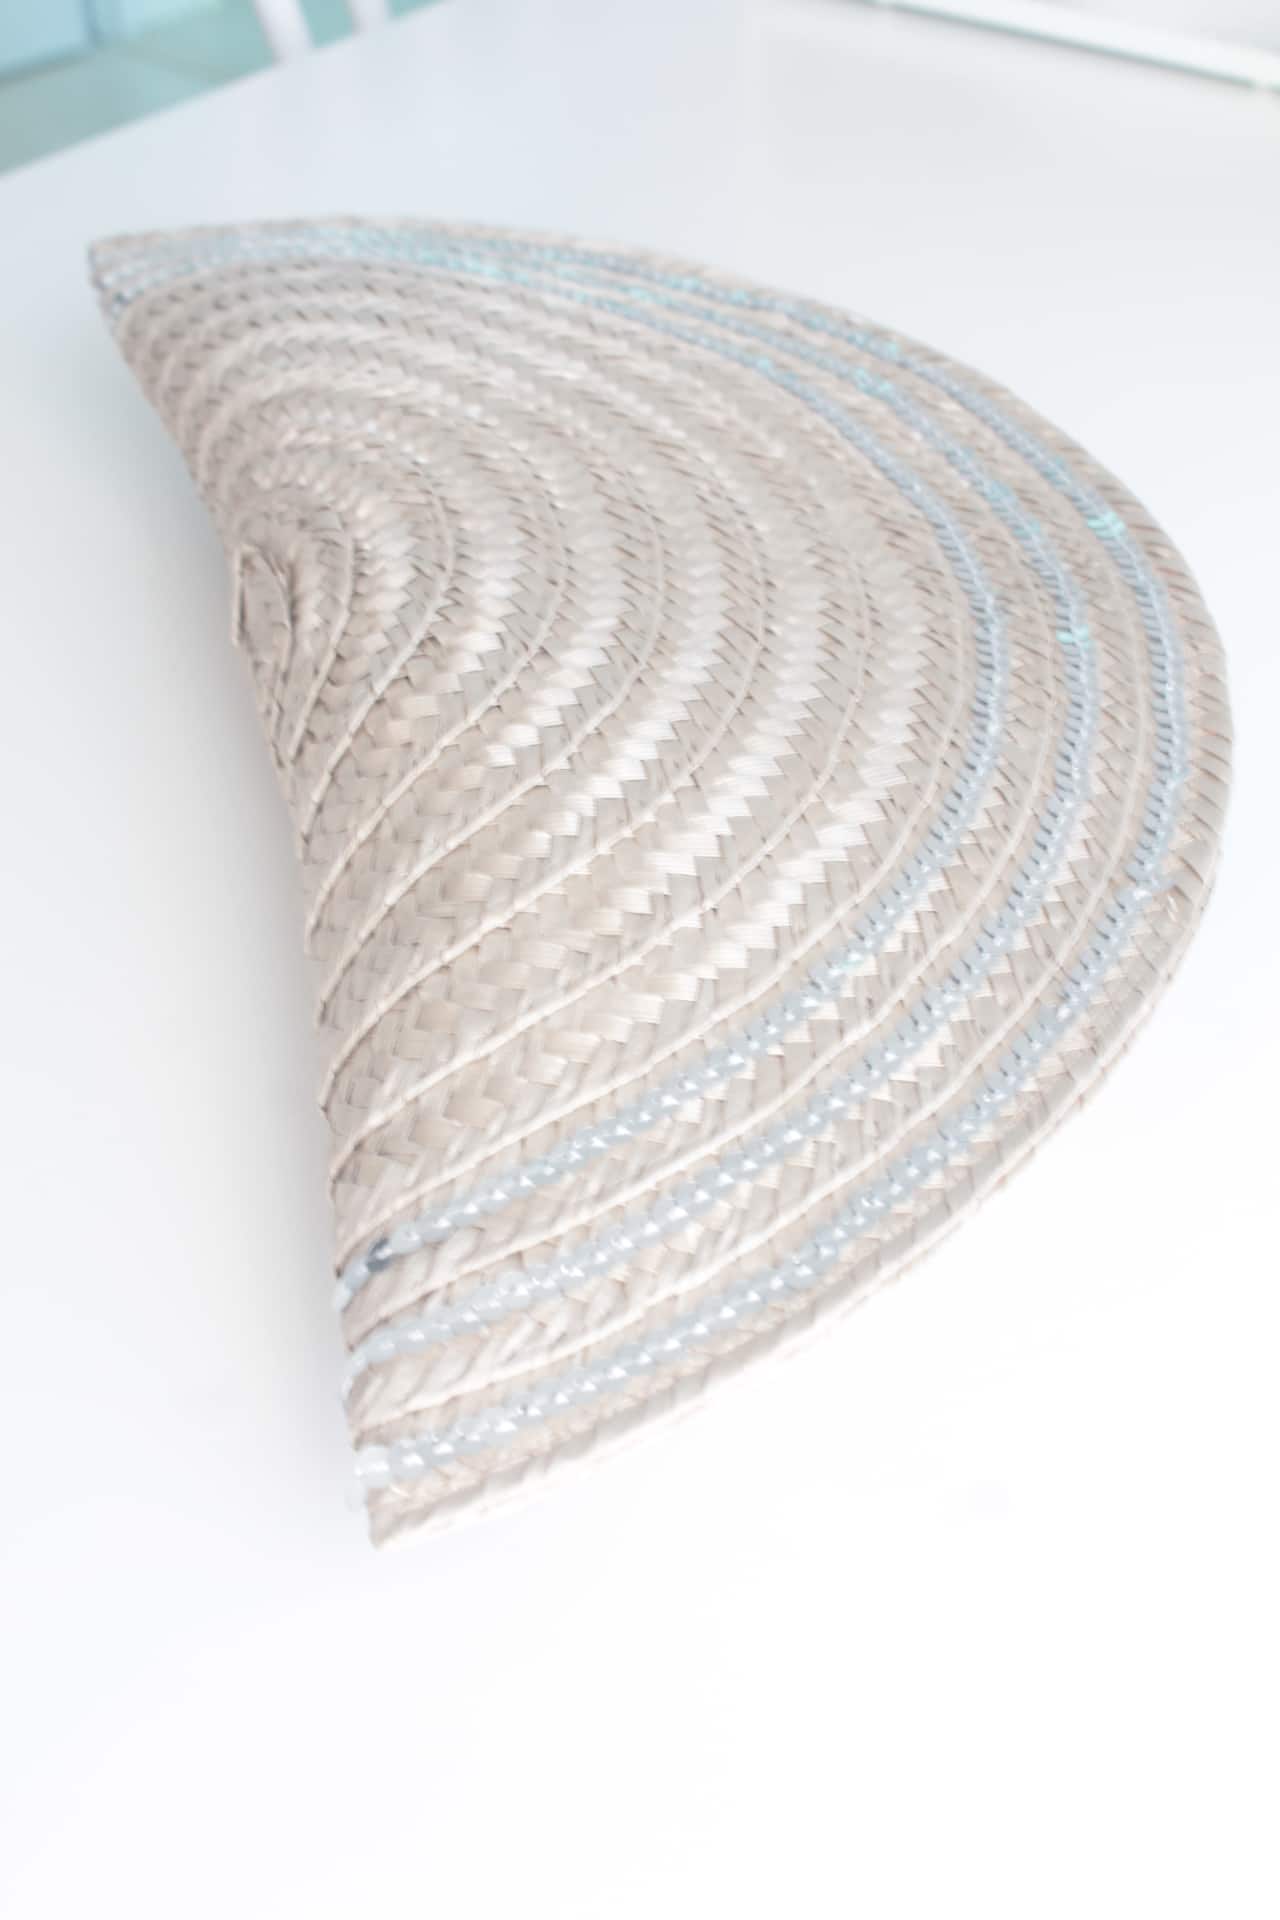
- And that is all, your beautiful evening purse is done!
How to add more interest to your placemat clutch
- If you like rectangular purses, you can always use a square or rectangular placemat.
- Take your clutch to the next level by making it as an envelope. In this case, use a square or round placemat and fold it.
- To spice it up a bit, you can always add a nice bow, a sparkly brooch you’ve been keeping forever without a use, or a beautiful strap or chain to wear it on your shoulder.
- For canvas placemats, you can also add some cute embroidery if you want to add some color to your clutch.
- Try adding a small pocket just in case you need to put something in a separate place. It’s just an extra 2 minutes of basic sewing.
- To make a bigger everyday or beach purse, use two placemats and sew them together, one for each side of the purse.
- Be creative: add seashells, fringe, colored buttons or flowers to embellish your new bag.
- If you don’t have a placemat or don’t want to use one, you can use an satin fabric or a special brocade to make an elegant evening purse. The great thing is: you won’t need a lot of fabric to make it, as evening purses are small and you only need to carry essential stuff (difficult to choose, I know). Felt is another great fabric to use for less formal clutches, and they will look just as cute!
Don’t just think of a clutch or a small bag. Use the same building method to make a makeup pouch, a gift bag or an everyday bag for a small girl. My daughter just loves the design of this bag, so she asked me to make one for her, too.

Other creative placemat ideas
Placemats are not only great to make purses or bags. Here are some other cute placemat crafts you can try:
- Crayon, makeup brushes, tools or travel cosmetics rolled holder;
- Purse organizer – just fold in two and sew pockets;
- Jewelry roll. Add a few snaps or buttons to be able to hand your necklaces, chains and bracelets.
- Diaper and wipes holder;
- Children’s aprons;
- Fabric baskets;
- Tray decorations;
- Throw pillow cases;
- Casserole dish covers;
- Photo frames;
- Bedside or couch caddy for your magazines, remotes and glasses;
- Sewing machine cover or caddy.
Placemats are so cheap and come in so many shapes and colors, they can really save a lot of time and money. The Dollar store has lots of different kinds of placemats, and you can also find really cheap ones at thrift stores, garage sales and flea markets. This way it would be impossible not to find something you love and can turn into an interesting object. They also come in so many sizes it’s easy to use them for lots of projects. Bonus – they are already hemmed, so you won’t have to worry about this as well.
More bag ideas you will enjoy:
- Round crossbody bag pattern for girls
- Rope Bag Sewing Tutorial
- Reversible Rope handled canvas bag
- Reusable Snack Bag Sewing Tutorial
- Hello Kitty Coin Purse
- Color block burlap tote bag
- Reversible shopping bag pattern
- Small crossbody bag pattern
If you liked this tutorial or made a version of this purse, please let me know in the comment section below! Thanks!
How to sew an evening purse from a placemat
Materials
- woven placemat with sequins or any placemat with a little bling
- optional - fabric for lining
- 2 magnetic snaps
- matching thread
Tools
- scissors
- clips
- jeans needle
- pressing iron
Instructions
- If adding lining, place the mat over the lining fabric and trace around the placemat with the fabric pen. Cut out leaving 1/2" allowance.
- Cut notches into the allowance.
- Press the allowance towards the wrong side of the fabric, with your iron on steam, using the circle you traced above as a guide.
- Mark where you want to add the closure and attach the magnetic snaps (use this tutorial if you need to learn how to attach magnetic snaps)
- Place the placemat wrong side up and the fabric circle right side up and clip the two together.
- Sew around the circle with 1/8" allowance.
- Fold the purse and close the snaps.
- Sew the sides about couple of inches on each side.
Video
Article may contain Amazon & affiliate links. As an Amazon Associate I earn from qualifying purchases at no additional cost to you.


ABOUT PETRO
Hi, I’m Petro, author and founder of Easy Peasy Creative Ideas. Sewist, crafter, avid DIY-er, foodie, photographer, homemaker and mommy to one. I’m an expert at coming up with quick, clever sewing tips, recycling crafts and simple, easy recipes! You can find my ideas featured in reputable publications such as Country Living, Good House Keeping, Yahoo News, WikiHow, Shutterfly, Parade, Brit & Co and more. Thanks for stopping by and hope you’ll stay for a while, get to know me better and come back another time. Stick around for real fun projects! Read more…