

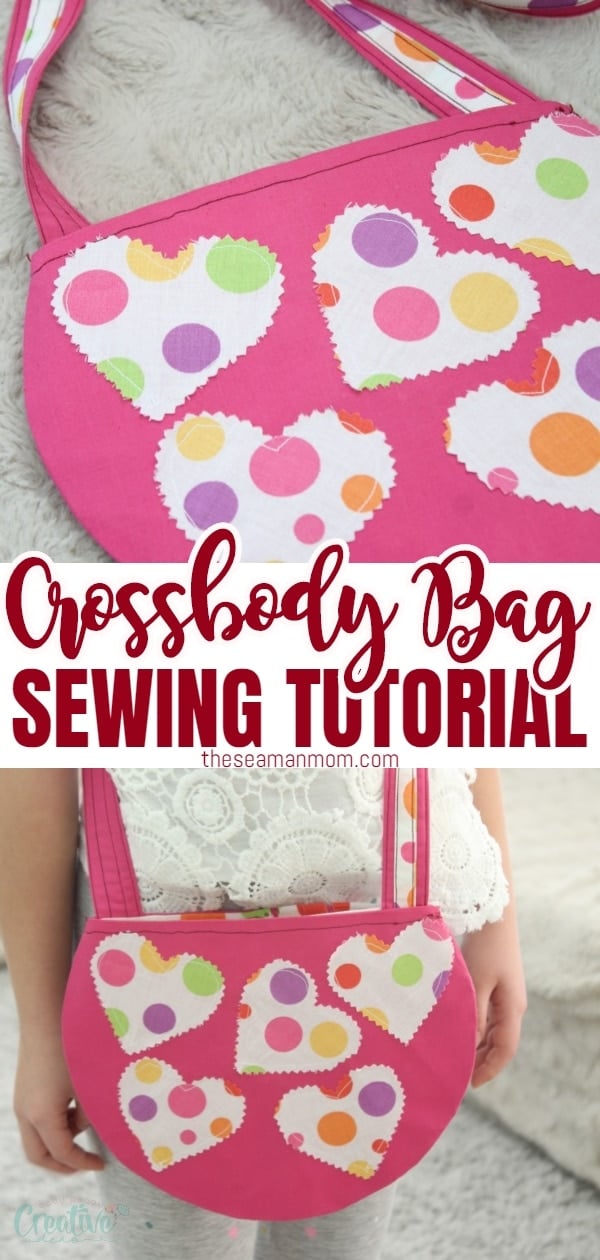
Make this easy and quick crossbody bag for little girls
Need an awesome gift idea to impress a little girl in your life? Make this cute crossbody purse and she’ll love you forever! This crossbody bag pattern makes a very simple and easy to make round bag, perfect for carrying toys, small coloring books, pens & crayons etc
Little girl purse
You probably know already that I have a thing for cute fabrics (who doesn’t?). I buy fabrics with absolutely no purpose in mind simply because I find it too cute to pass. The same thing happened to the fabrics used in this crossbody bag pattern!
And I’m not worried when I buy fabric without any project in mind! I know that some day something really cute and irresistible will cross my mind or maybe I’ll dream about it (as it happened on several occasions) and that fabric will find it’s purpose in life! And that’s what happened here.
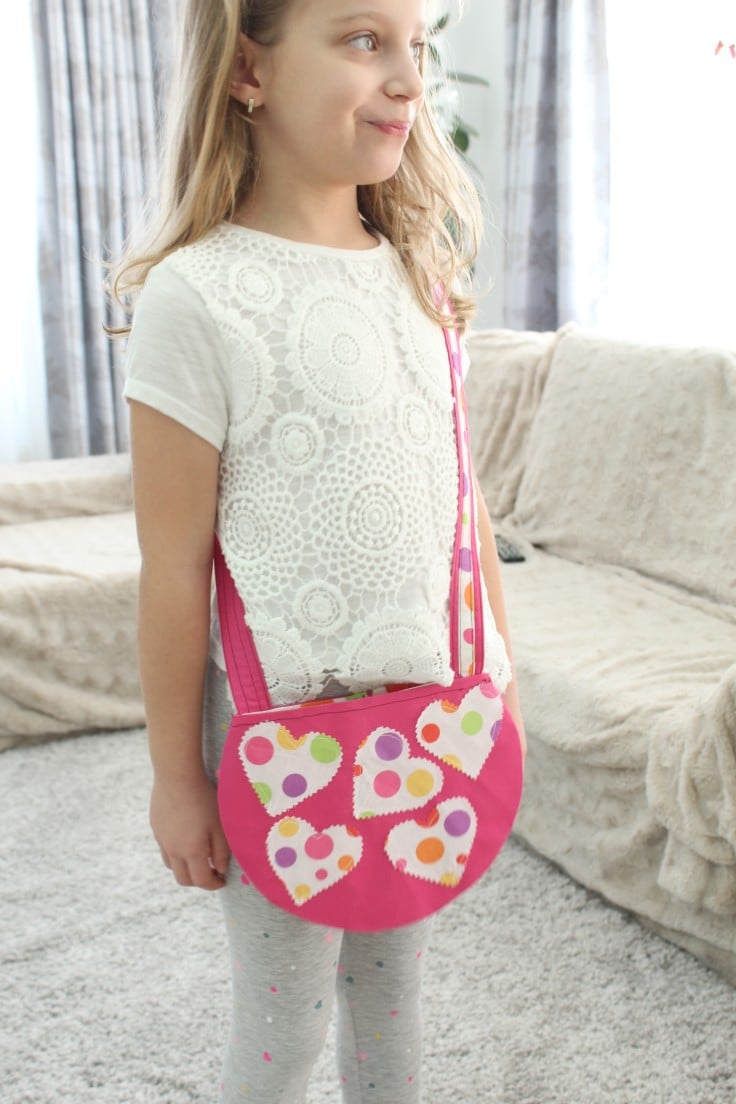
I had no plans for making this adorable Valentine bag but after making so many cute things for Valentine, I thought I should pack them all in this cute crossbody bag pattern and give them to Ellie on Valentine’s day!
Want more Valentine ideas?
- Valentine fabric heart garland
- Half apron with heart pockets
- Heart fabric bookmarks
- Valentine fabric envelopes
- Heart and ruffles mug rug

This round bag pattern was very simple to make and I finished it all in about couple of hours but only because I had to take the step by step photos and made a video too. So you’ll probably be able to make your round bag in about an hour or so.
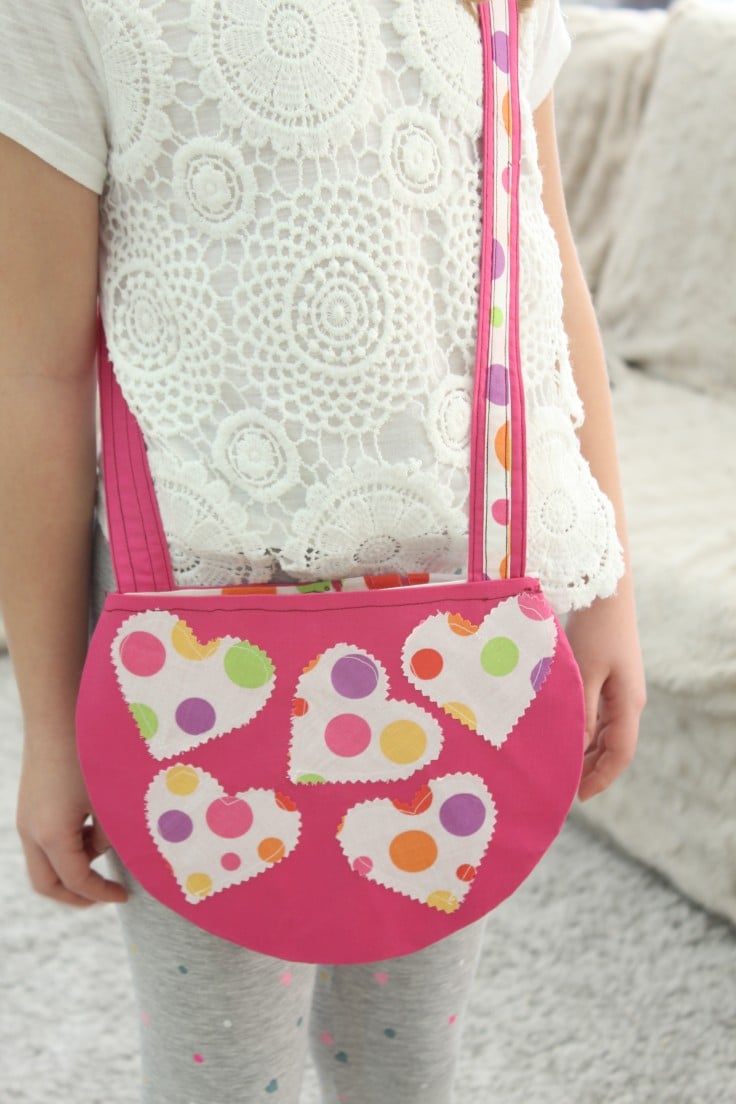
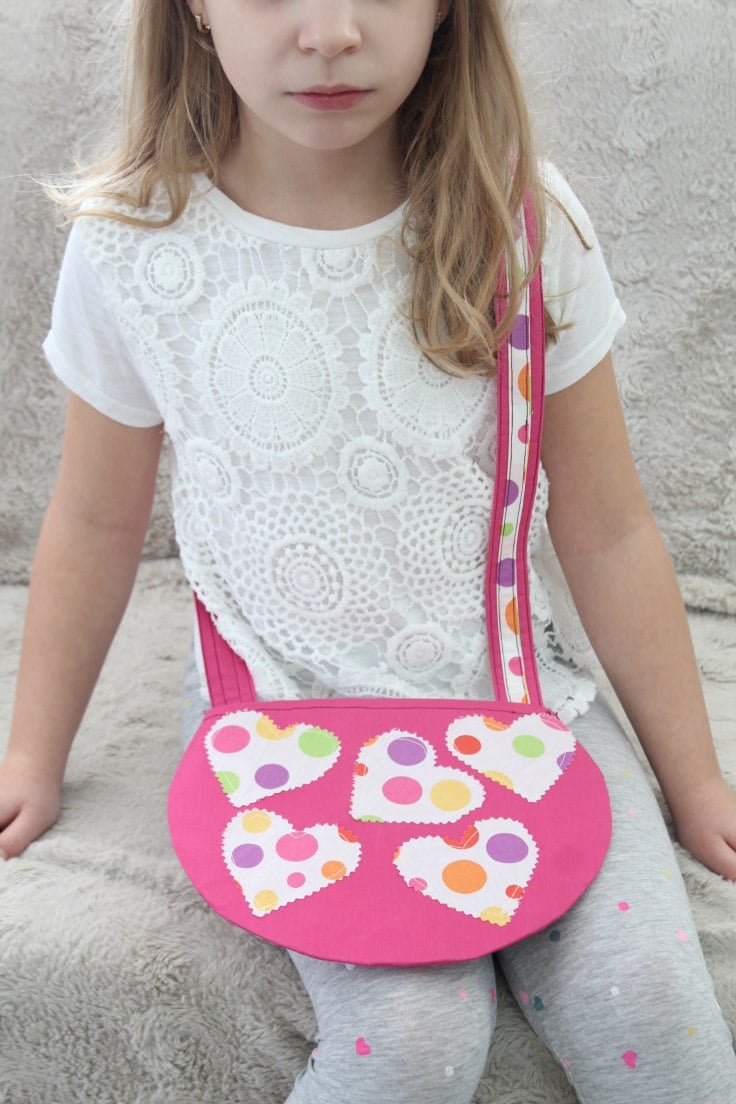
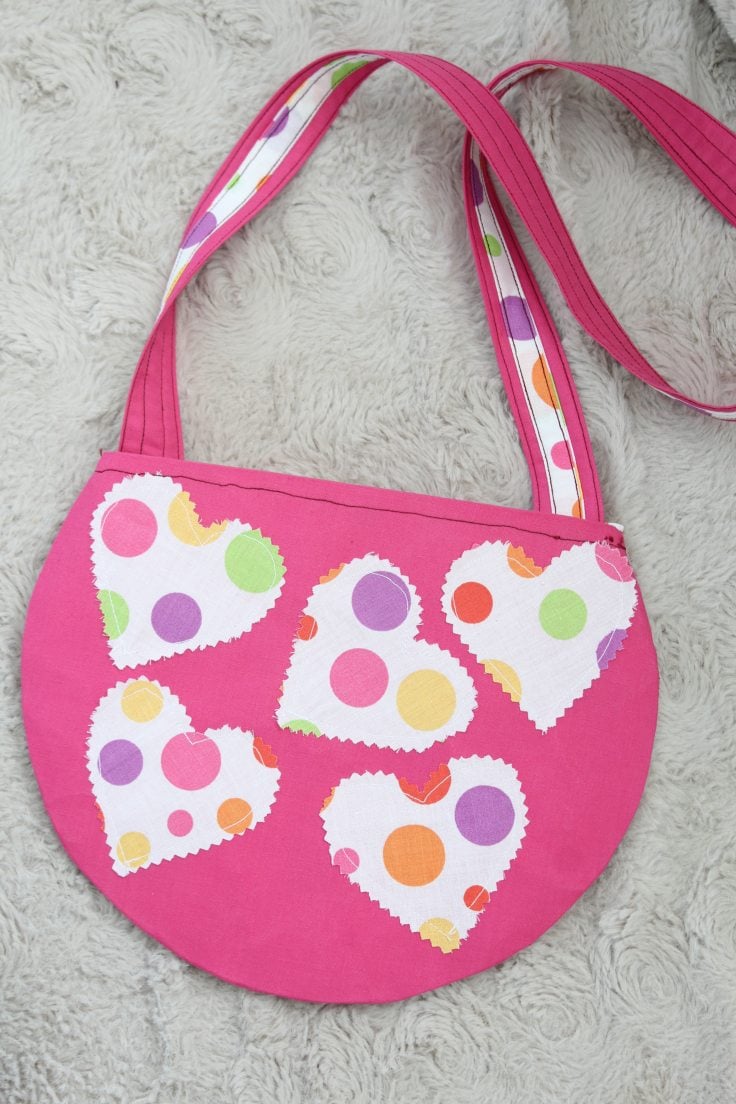
My adorable crossbody bag pattern has a very simple shape, no bottom or sides, just two 3/4 circles sewn together. It’s lined and has a cute pocket in the back and on the inside and also has some cute hearts on the front that every little girl will absolutely love! This little girl purse also has a fun strap which I made with two straps in different colors joined together on the middle. I think this feature adds even more cuteness to my crossbody bag pattern and it’s definitely an eye catching detail!
I used interfacing on the outer fabrics, both front and back, and on the outside pocket. My interfacing was really stiff (I used it to make this round top canvas bag) but I had some troubles turning the fabrics right side out so I wouldn’t recommend using extra stiff interfacing for such a small project.
This crossbody bag pattern is available for purchase here!
Crossbody Bag Pattern
Materials:
- pattern for round bag, pocket and hearts
- cotton fabric for the outer bag and the widest strap
- cotton fabric for the lining, pockets, hearts and the narrow strap
- interfacing for outer fabrics and one side of the outside pocket
- fabric pen
- scissors
- pinking shears
- pins
- sewing machine
- pressing iron
Directions:
Cutting the fabric pieces
- You will work with these pieces: 2 x outer bag, 2 x lining, 4 x pockets, 1 x wide strap, 1 x narrow strap, 5 x heart appliques
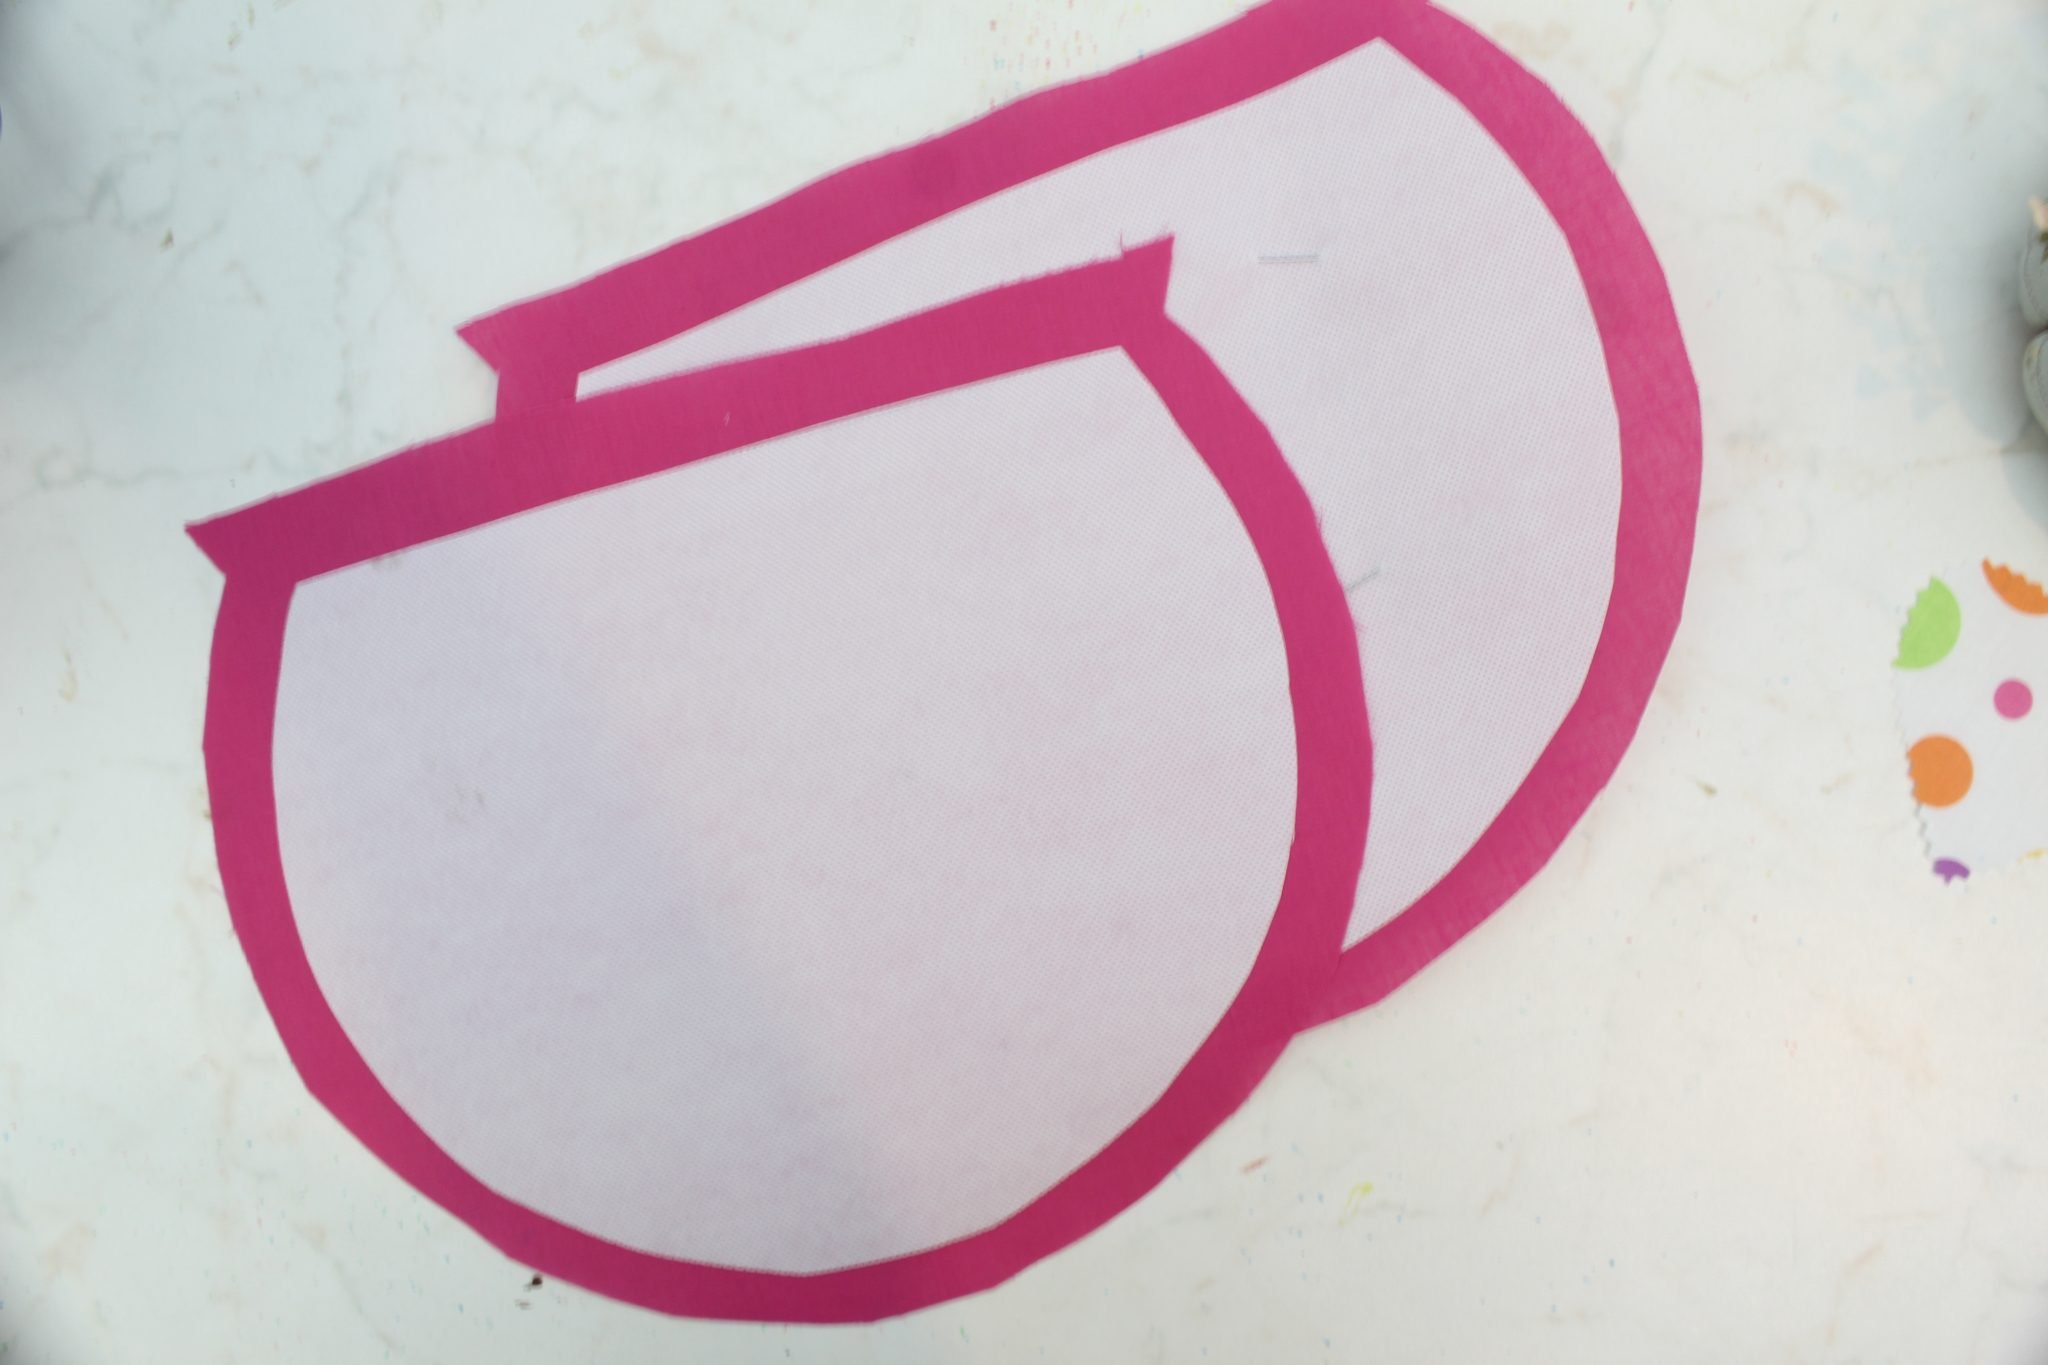
- Cut 2 rectangles of 11″x 11″ from the outer fabric.
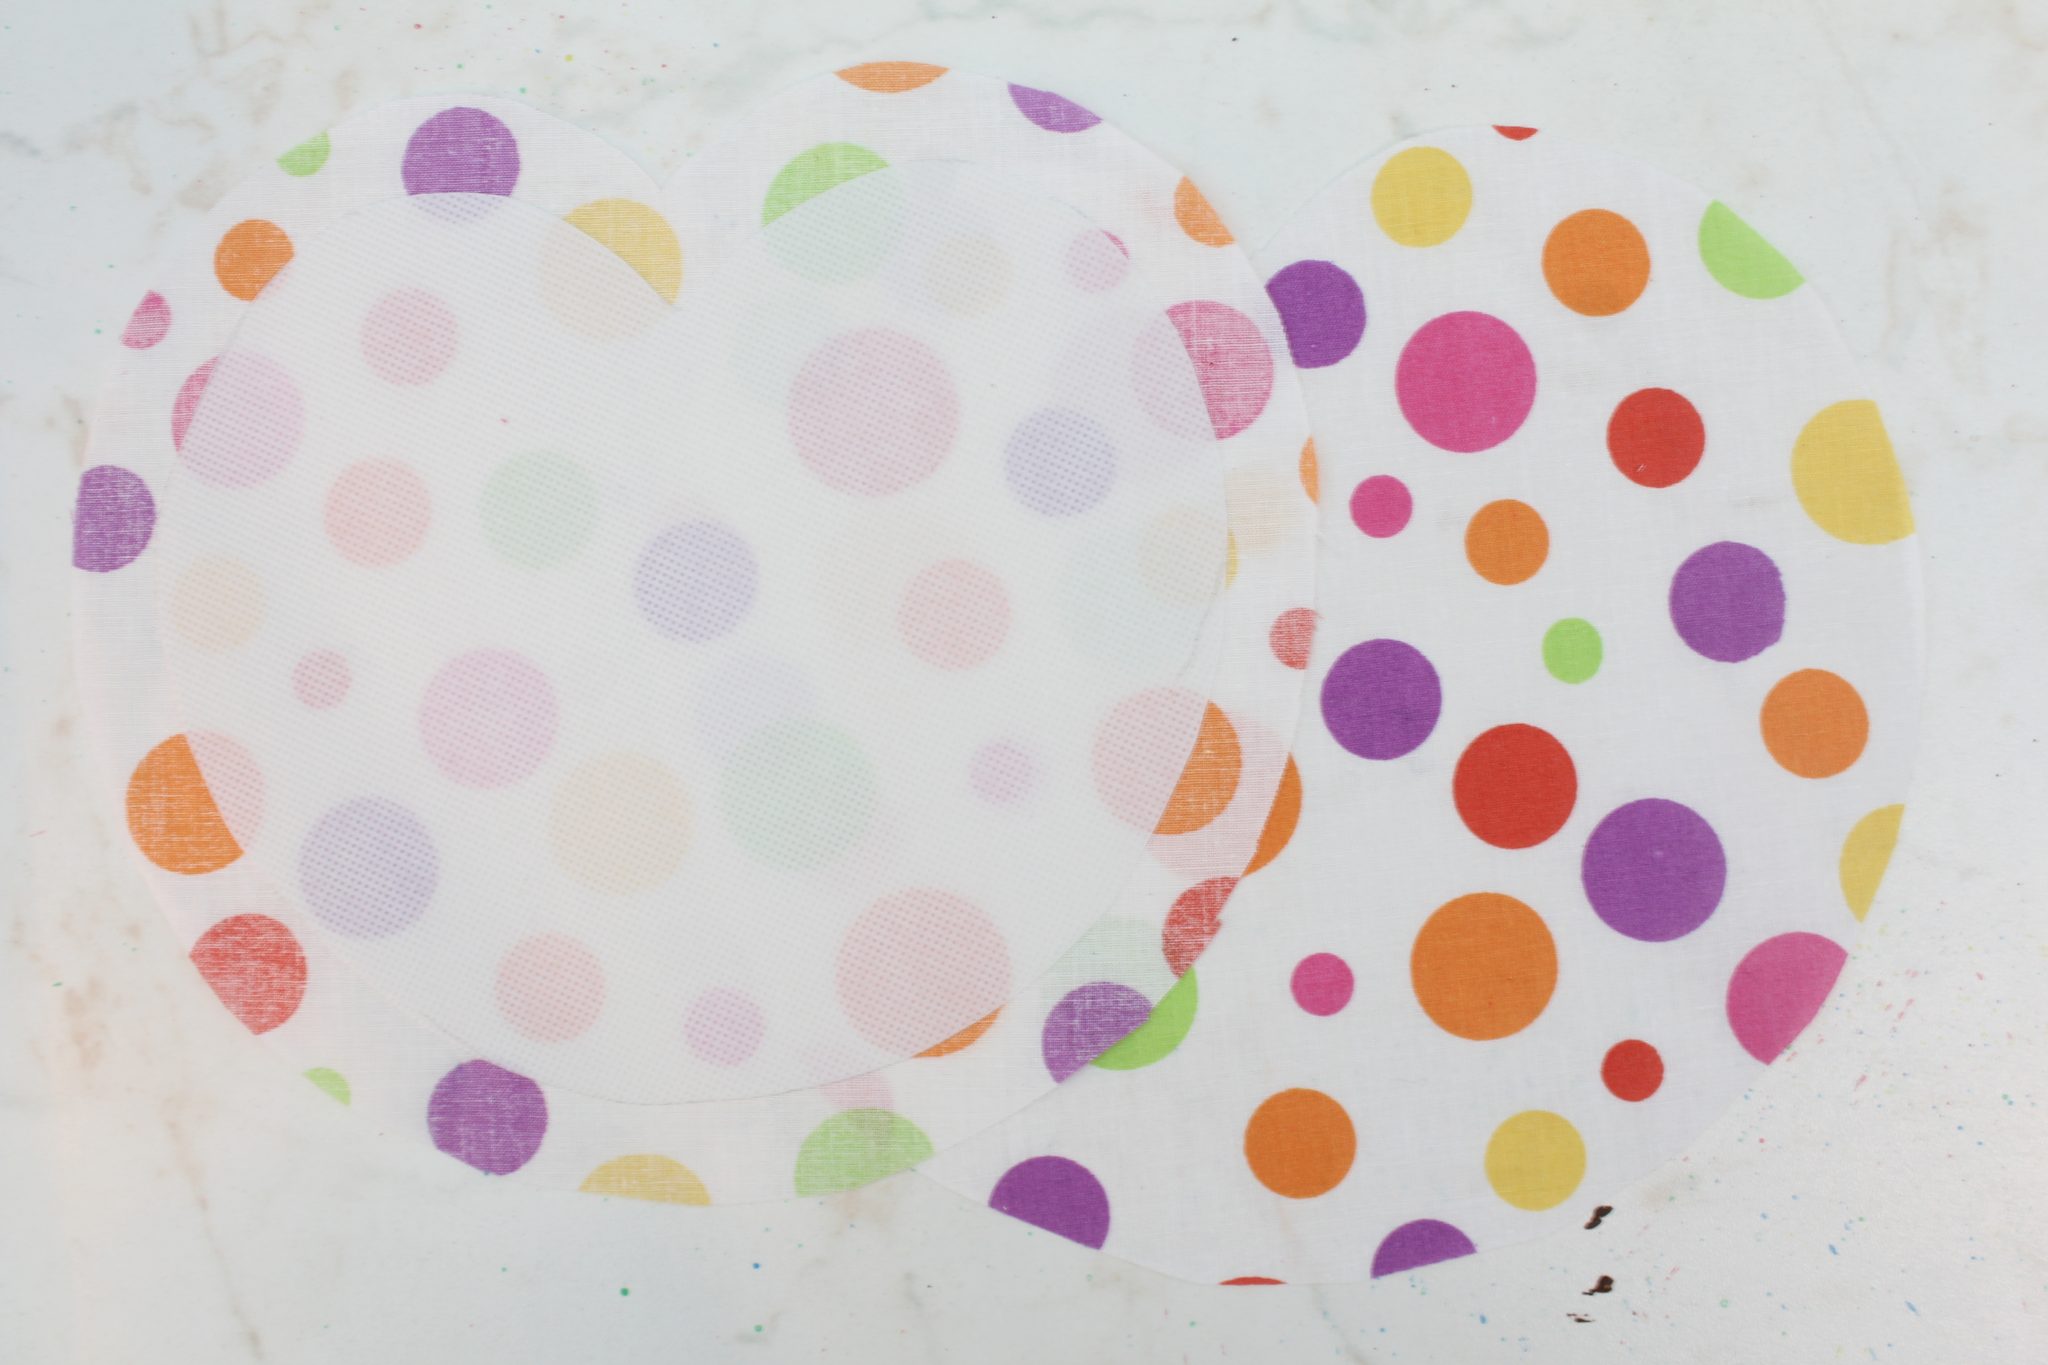
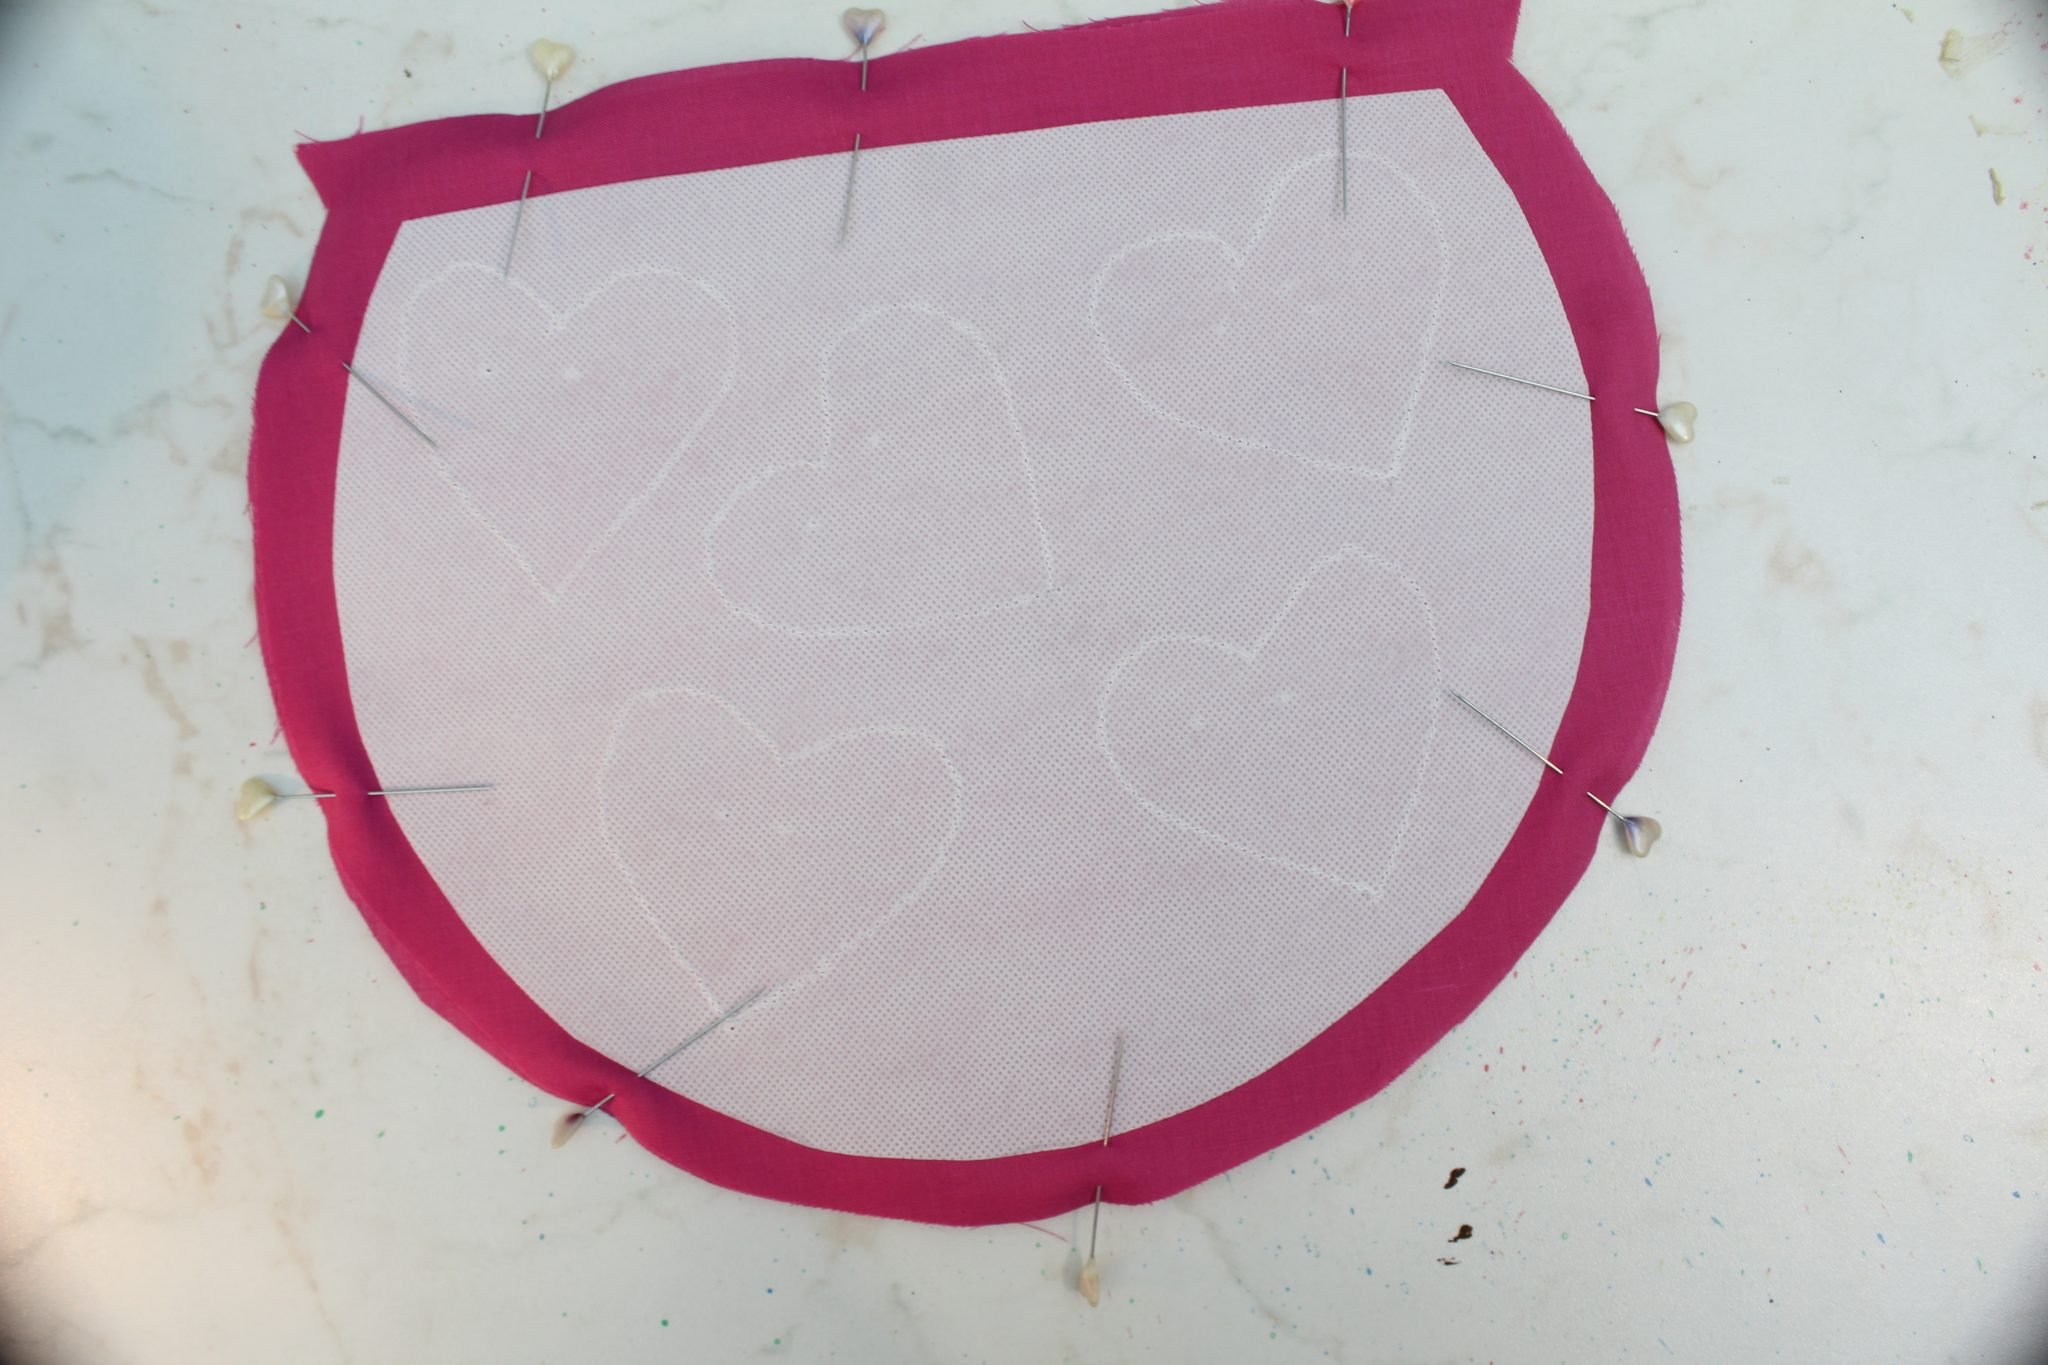
- Place the rectangles right sides together and top with the bag pattern.
- Trace around the pattern using your fabric pen.
- Remove pattern and pin the fabrics together with 3-4 pin then cut out.
- Repeat for the lining fabric.
- Cut 4 rectangles of about 10″x 10″ from the pocket fabric.
- Place two of them right sides together and do the steps above to cut your pockets. Repeat for the other two pieces.
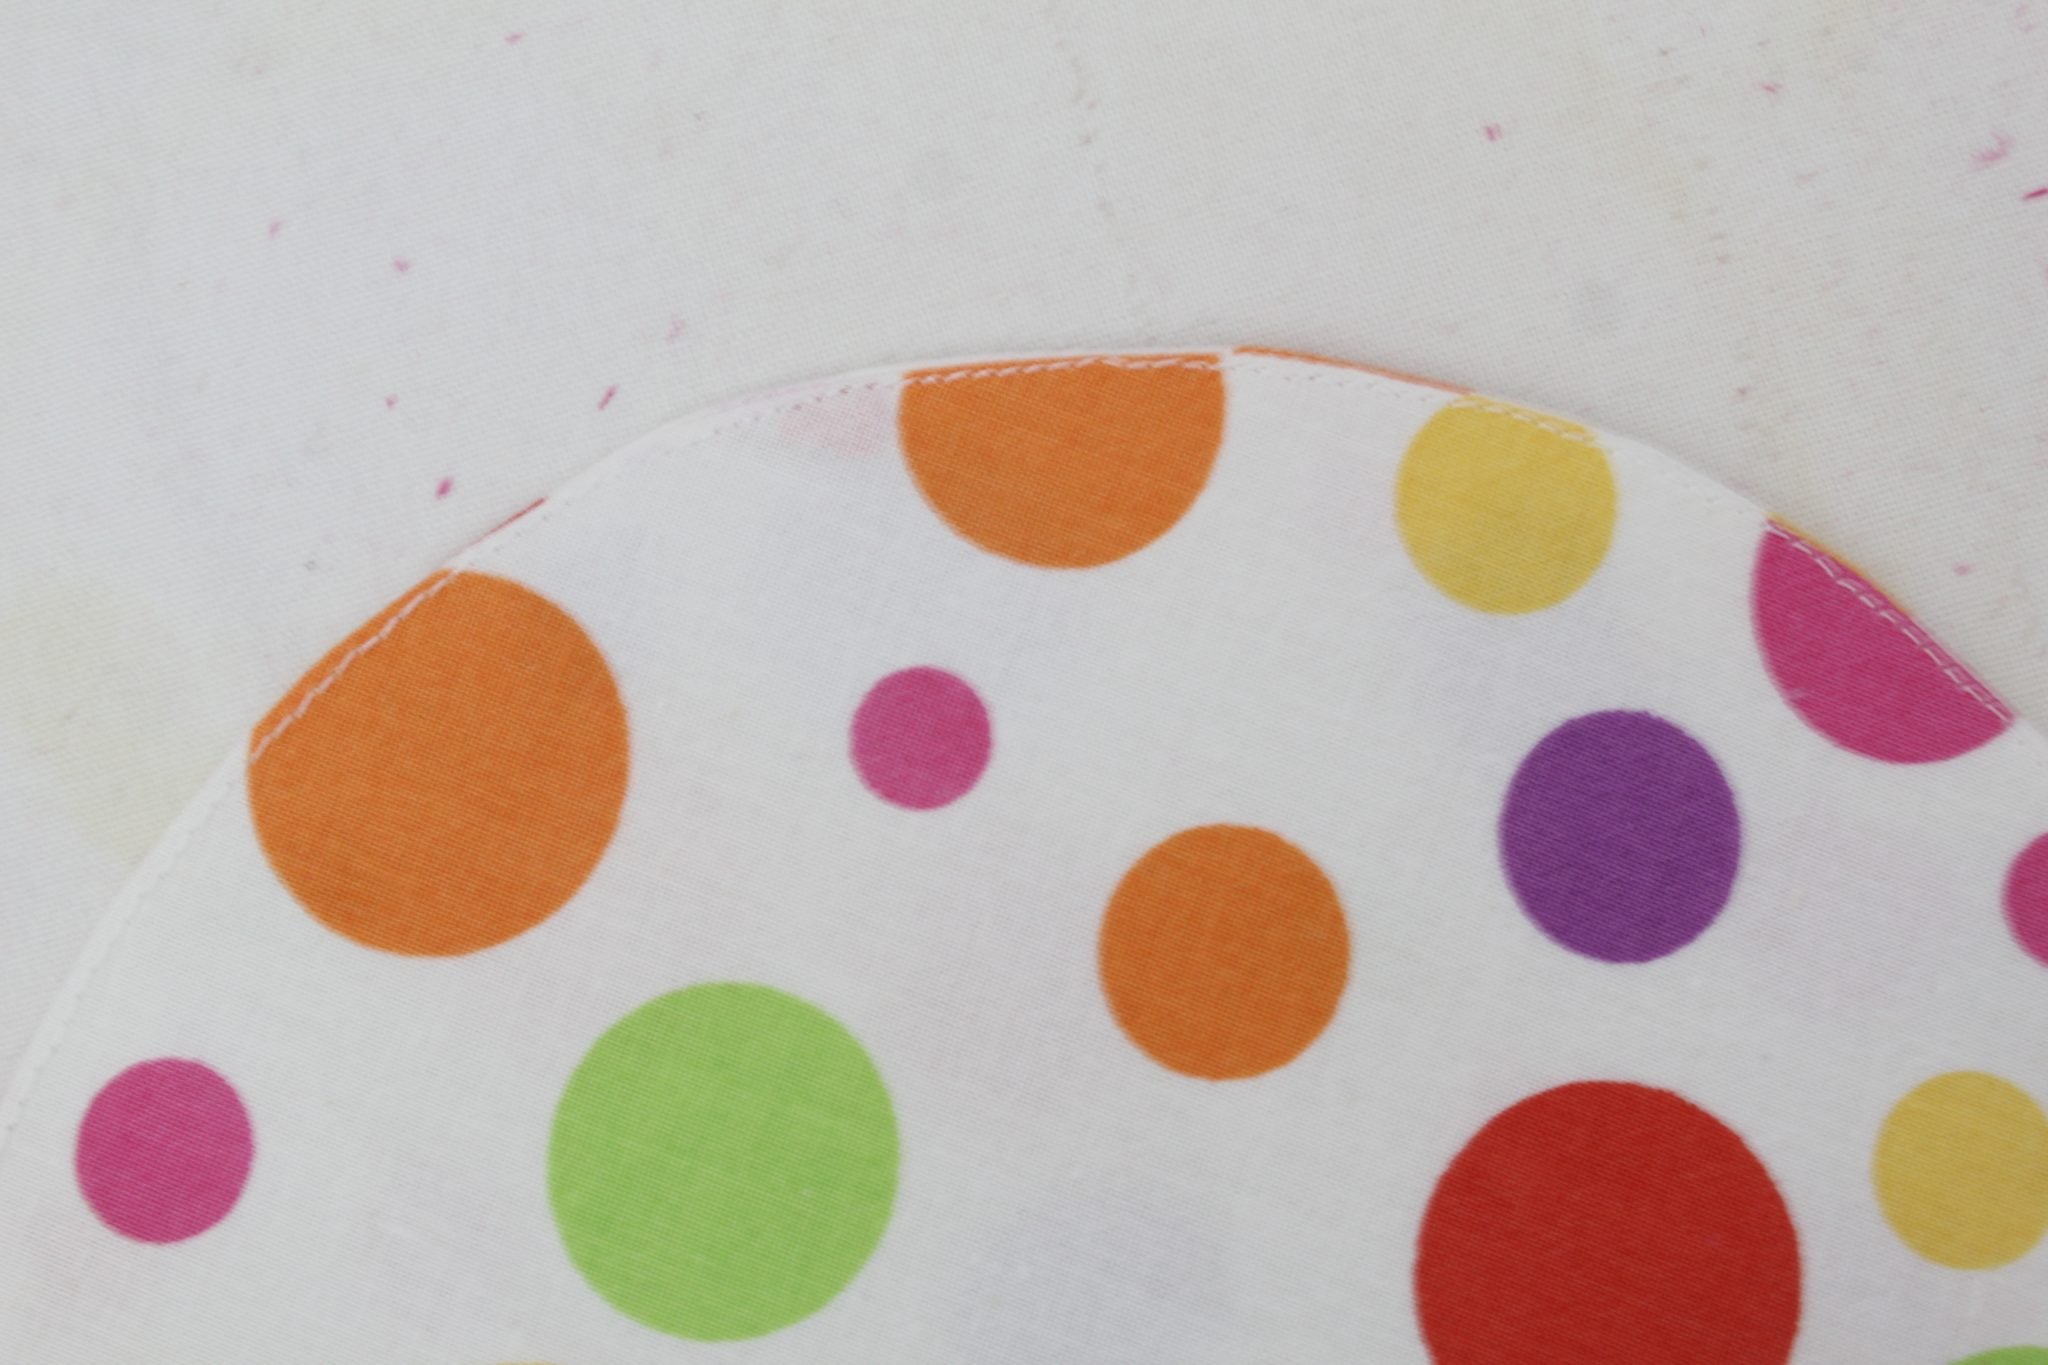
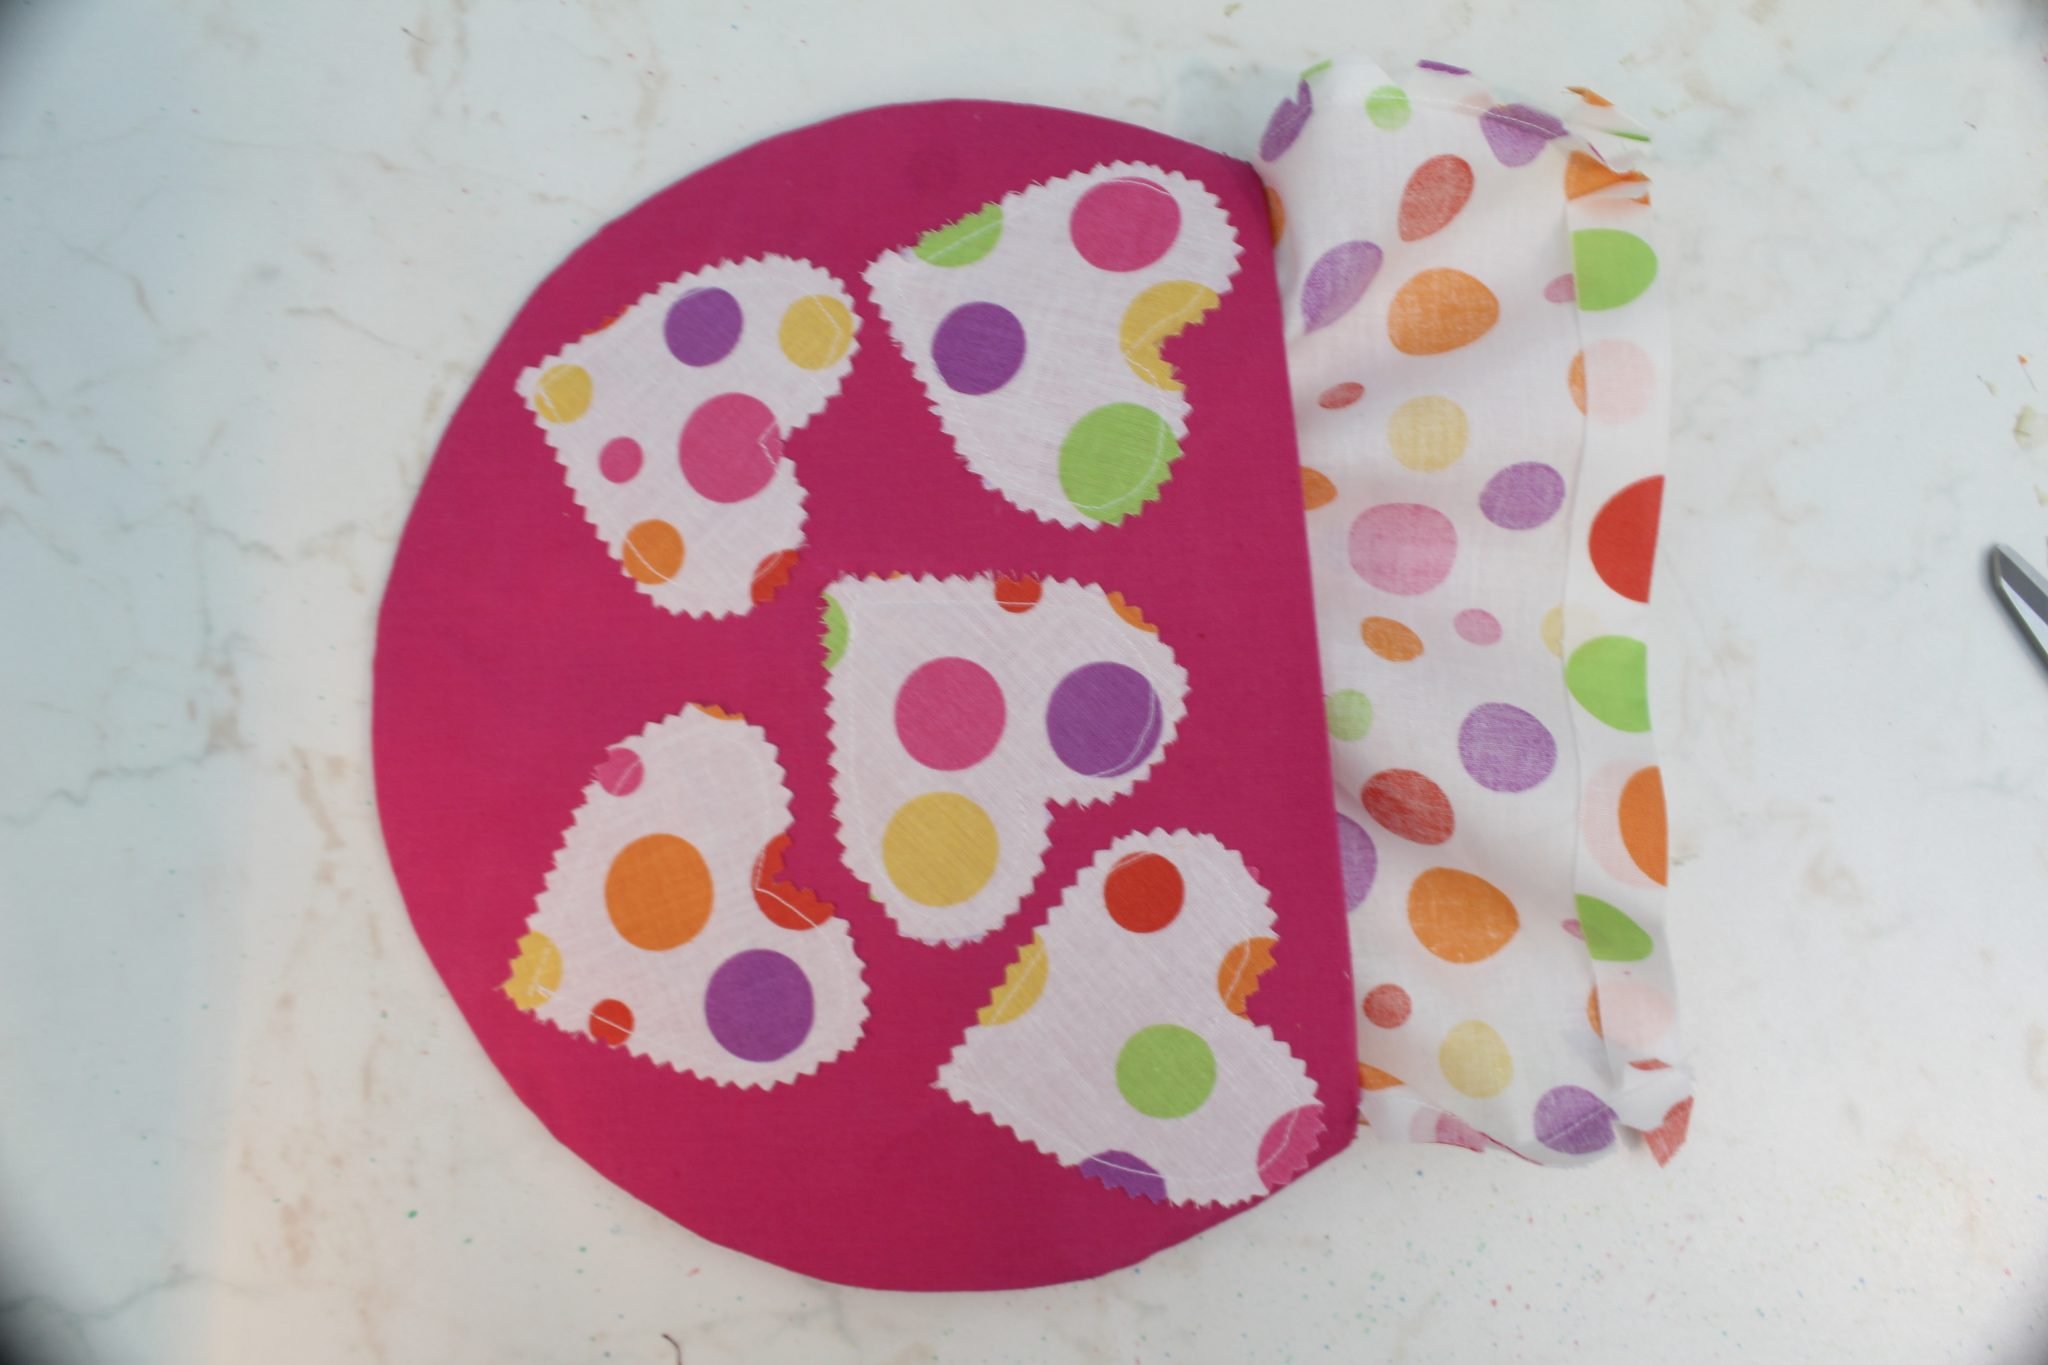
- Using the heart template, trace and cut 5 hearts out of the fabric used for lining, using your pinking shears.
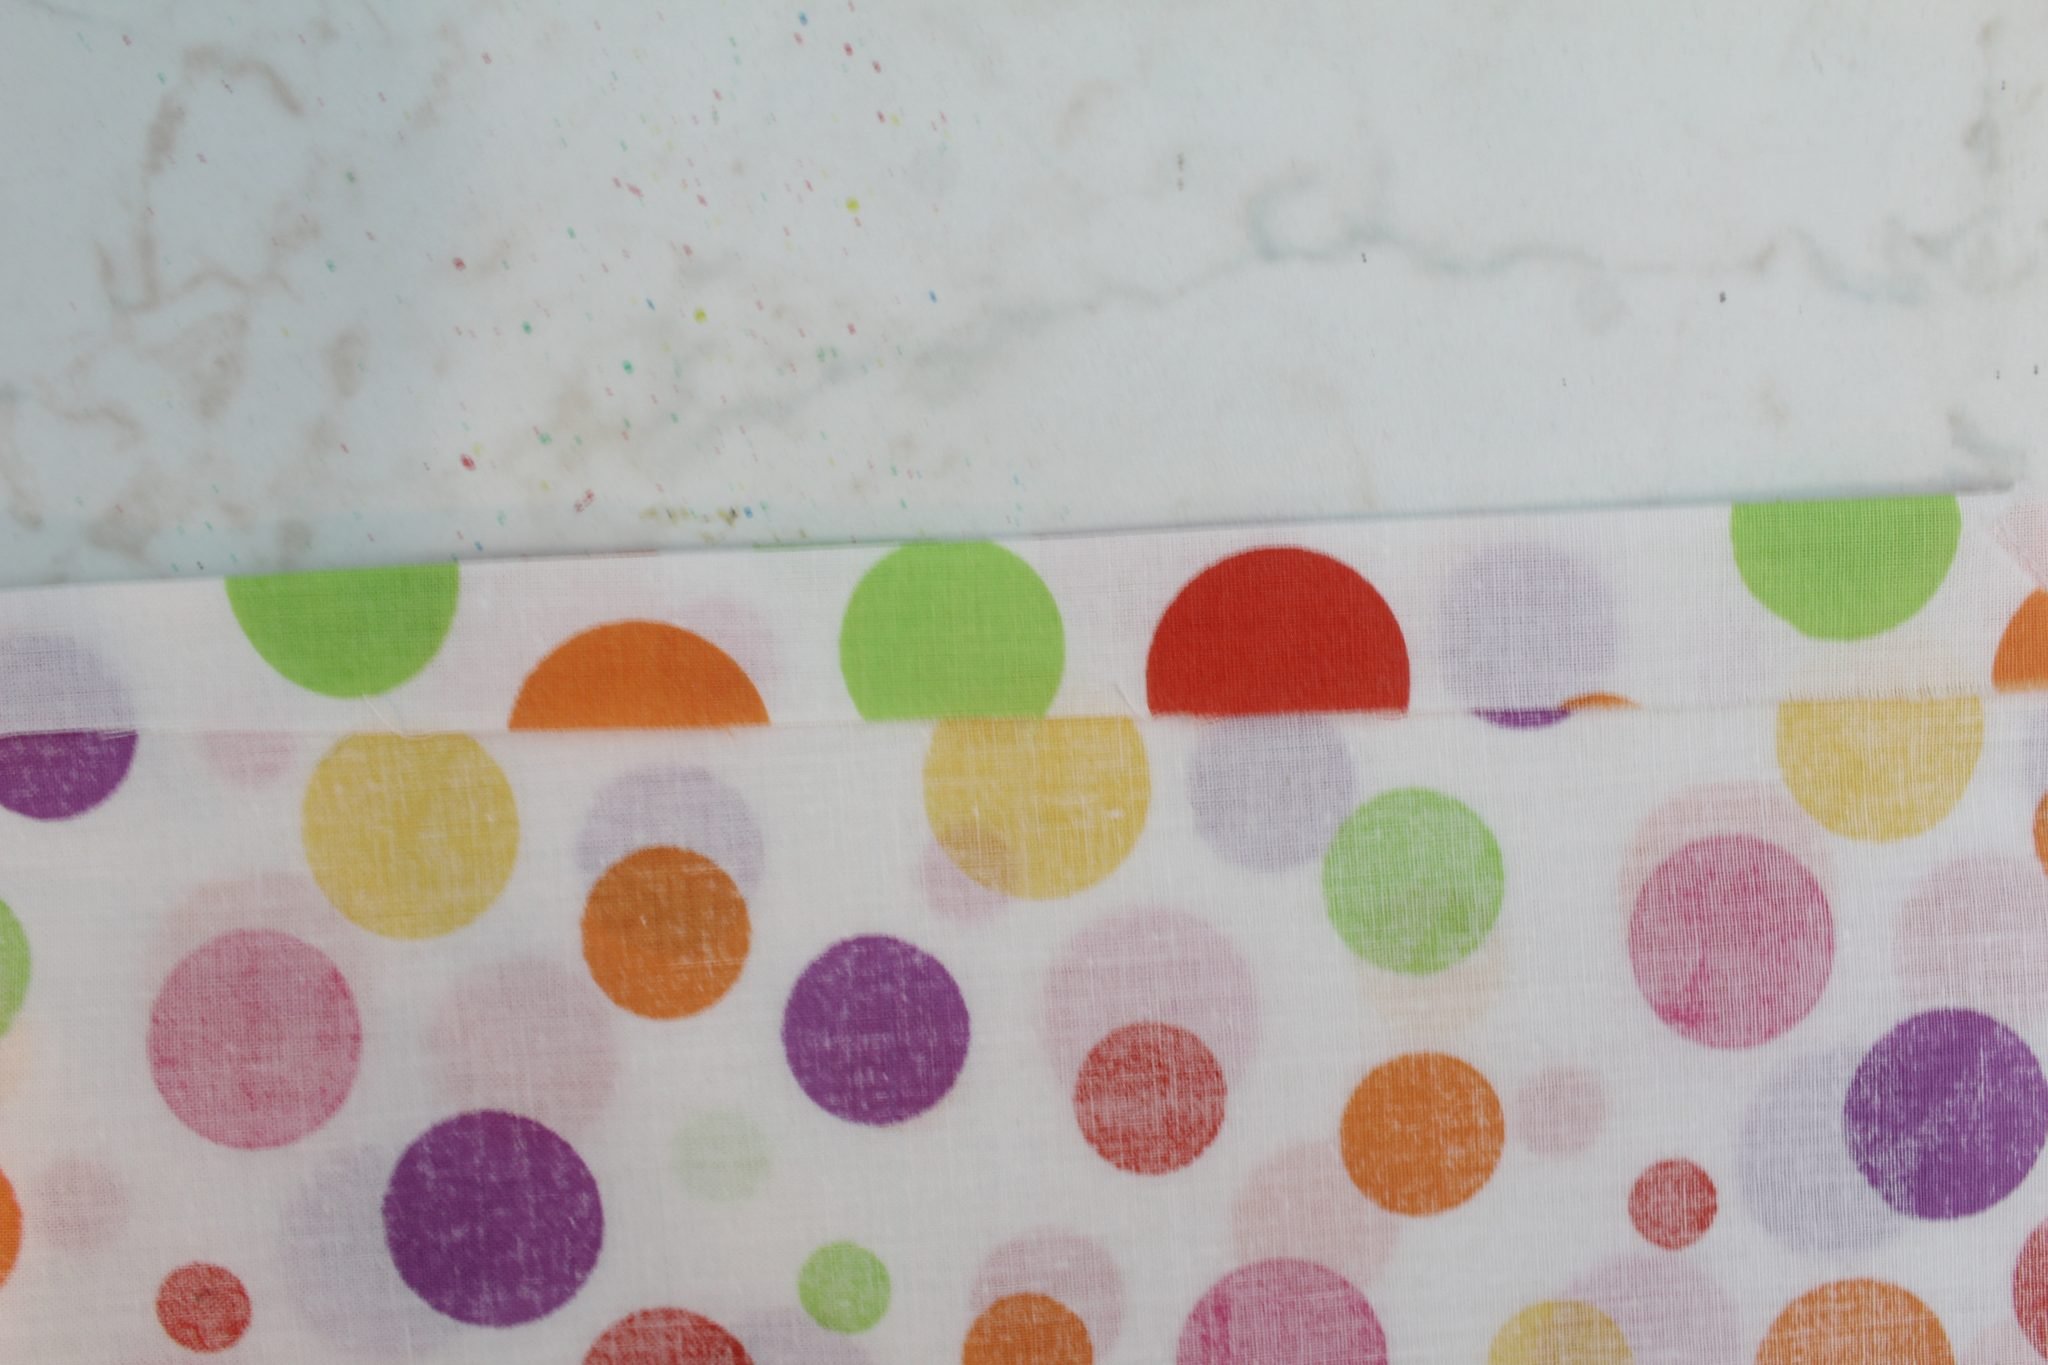
- From the outer fabric, cut a strip of 36″ x 4″
- From the lining fabric, cut a strip of 36″ x 2″
- Take your interfacing and place the bag pattern on top. Trace around the pattern but when cutting, go about 1/2″ smaller than the pattern. You’ll need to cut 2 patterns from the interfacing.
- Repeat these steps to cut interfacing for the outer pocket. The inside pocket will not need to be interfaced.
Preparing the pockets
- Take one of the outer pocket fabrics and interface it.
- Place it right side up and top with the other outer pocket fabric, wrong side up.
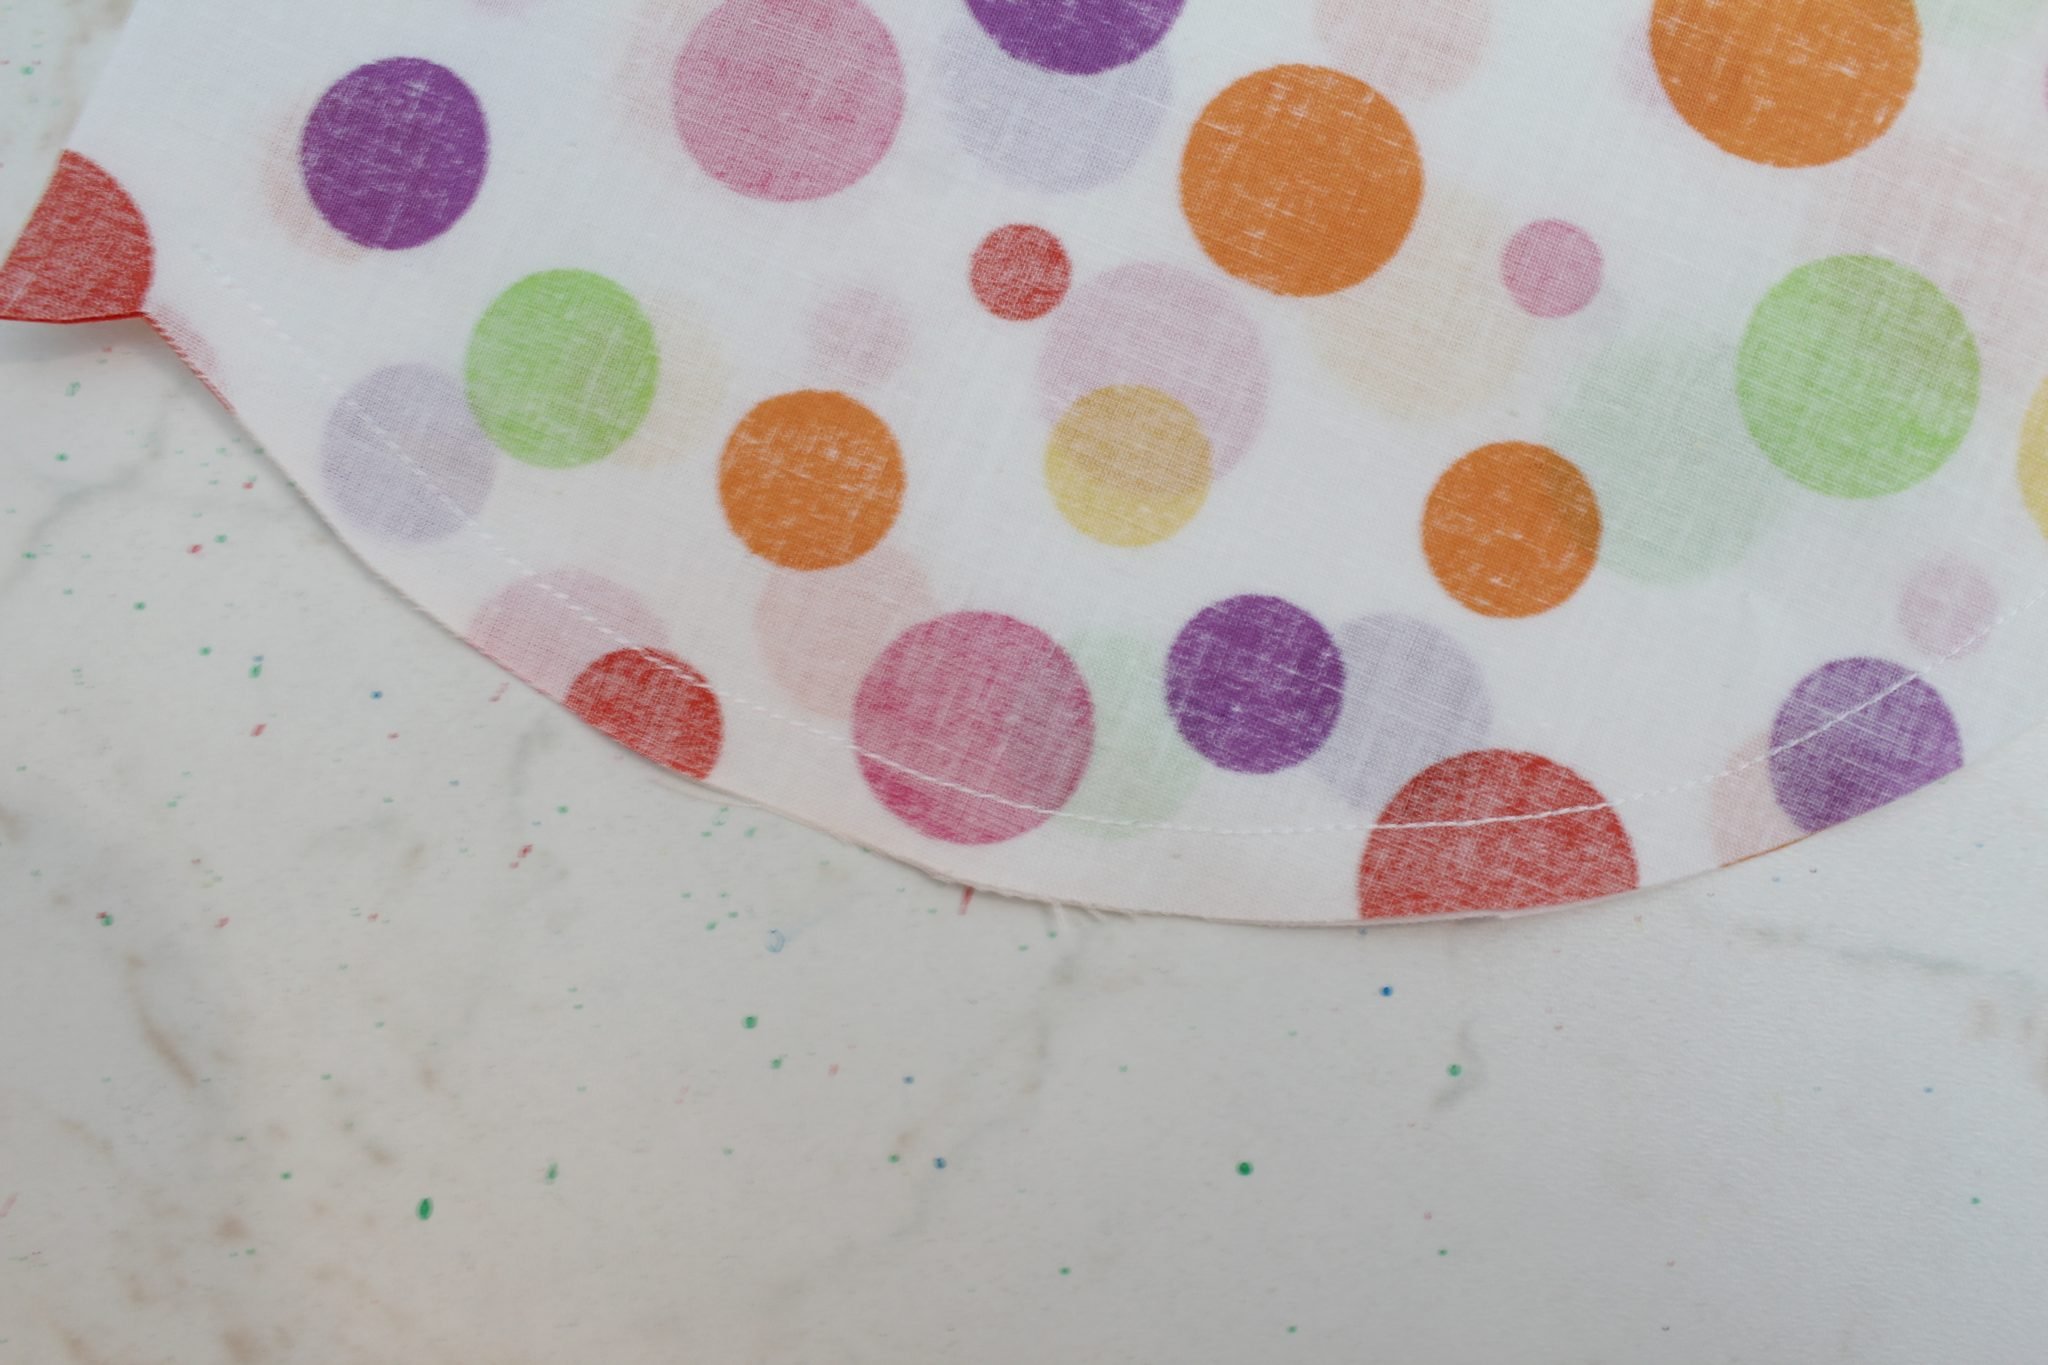
- Pin around the edges and sew with 1/4″ allowance, just outside the interfacing.
- Leave a gap to turn the fabrics right sides out.
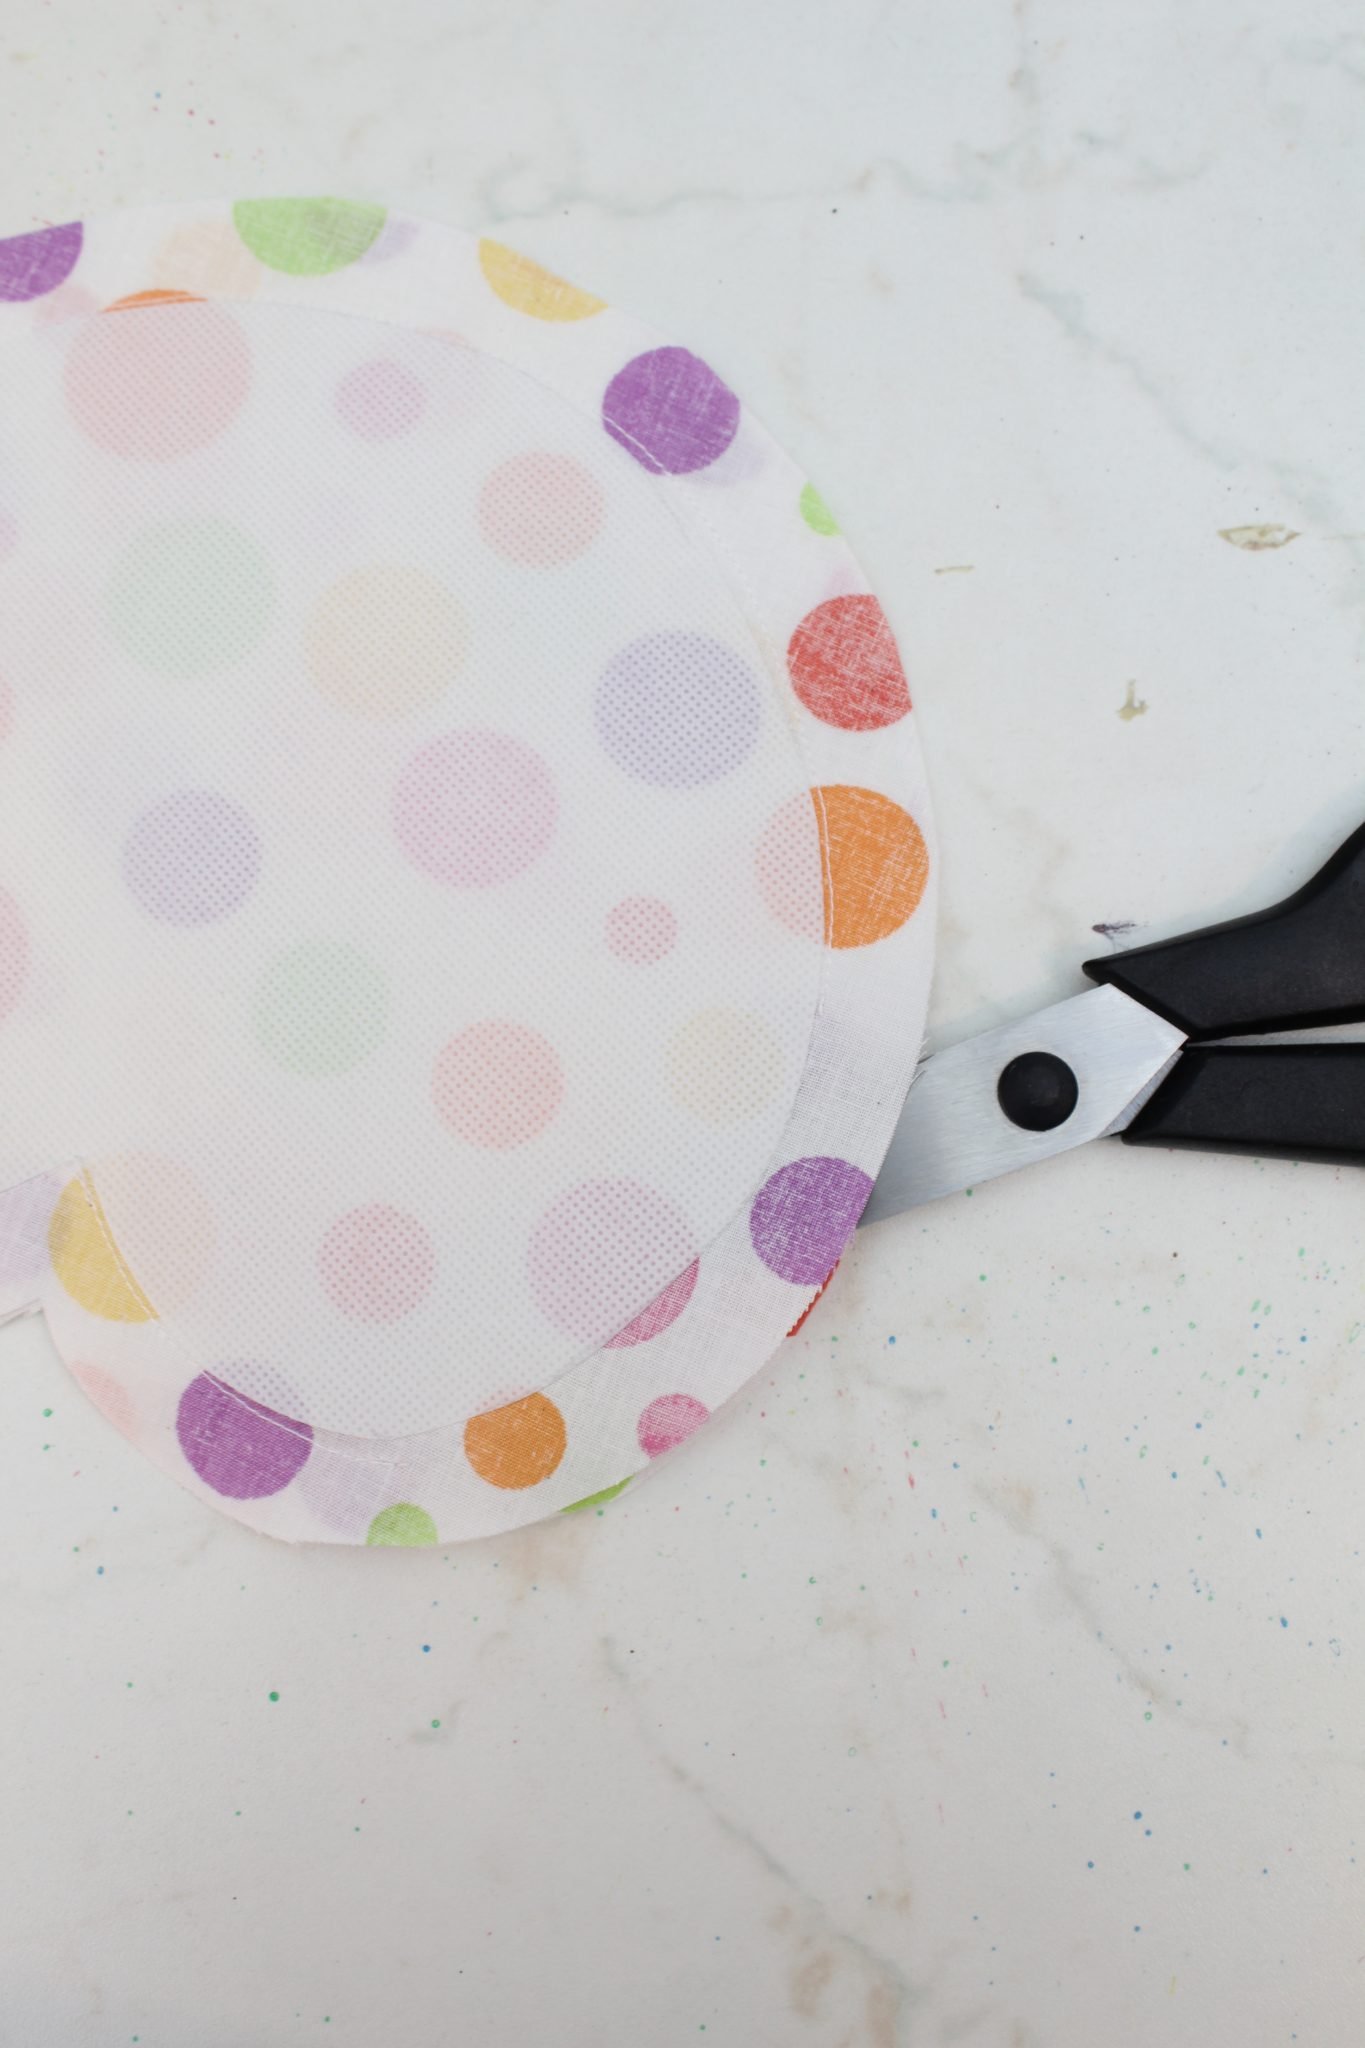
- Clip the top and cut notches around the pocket.
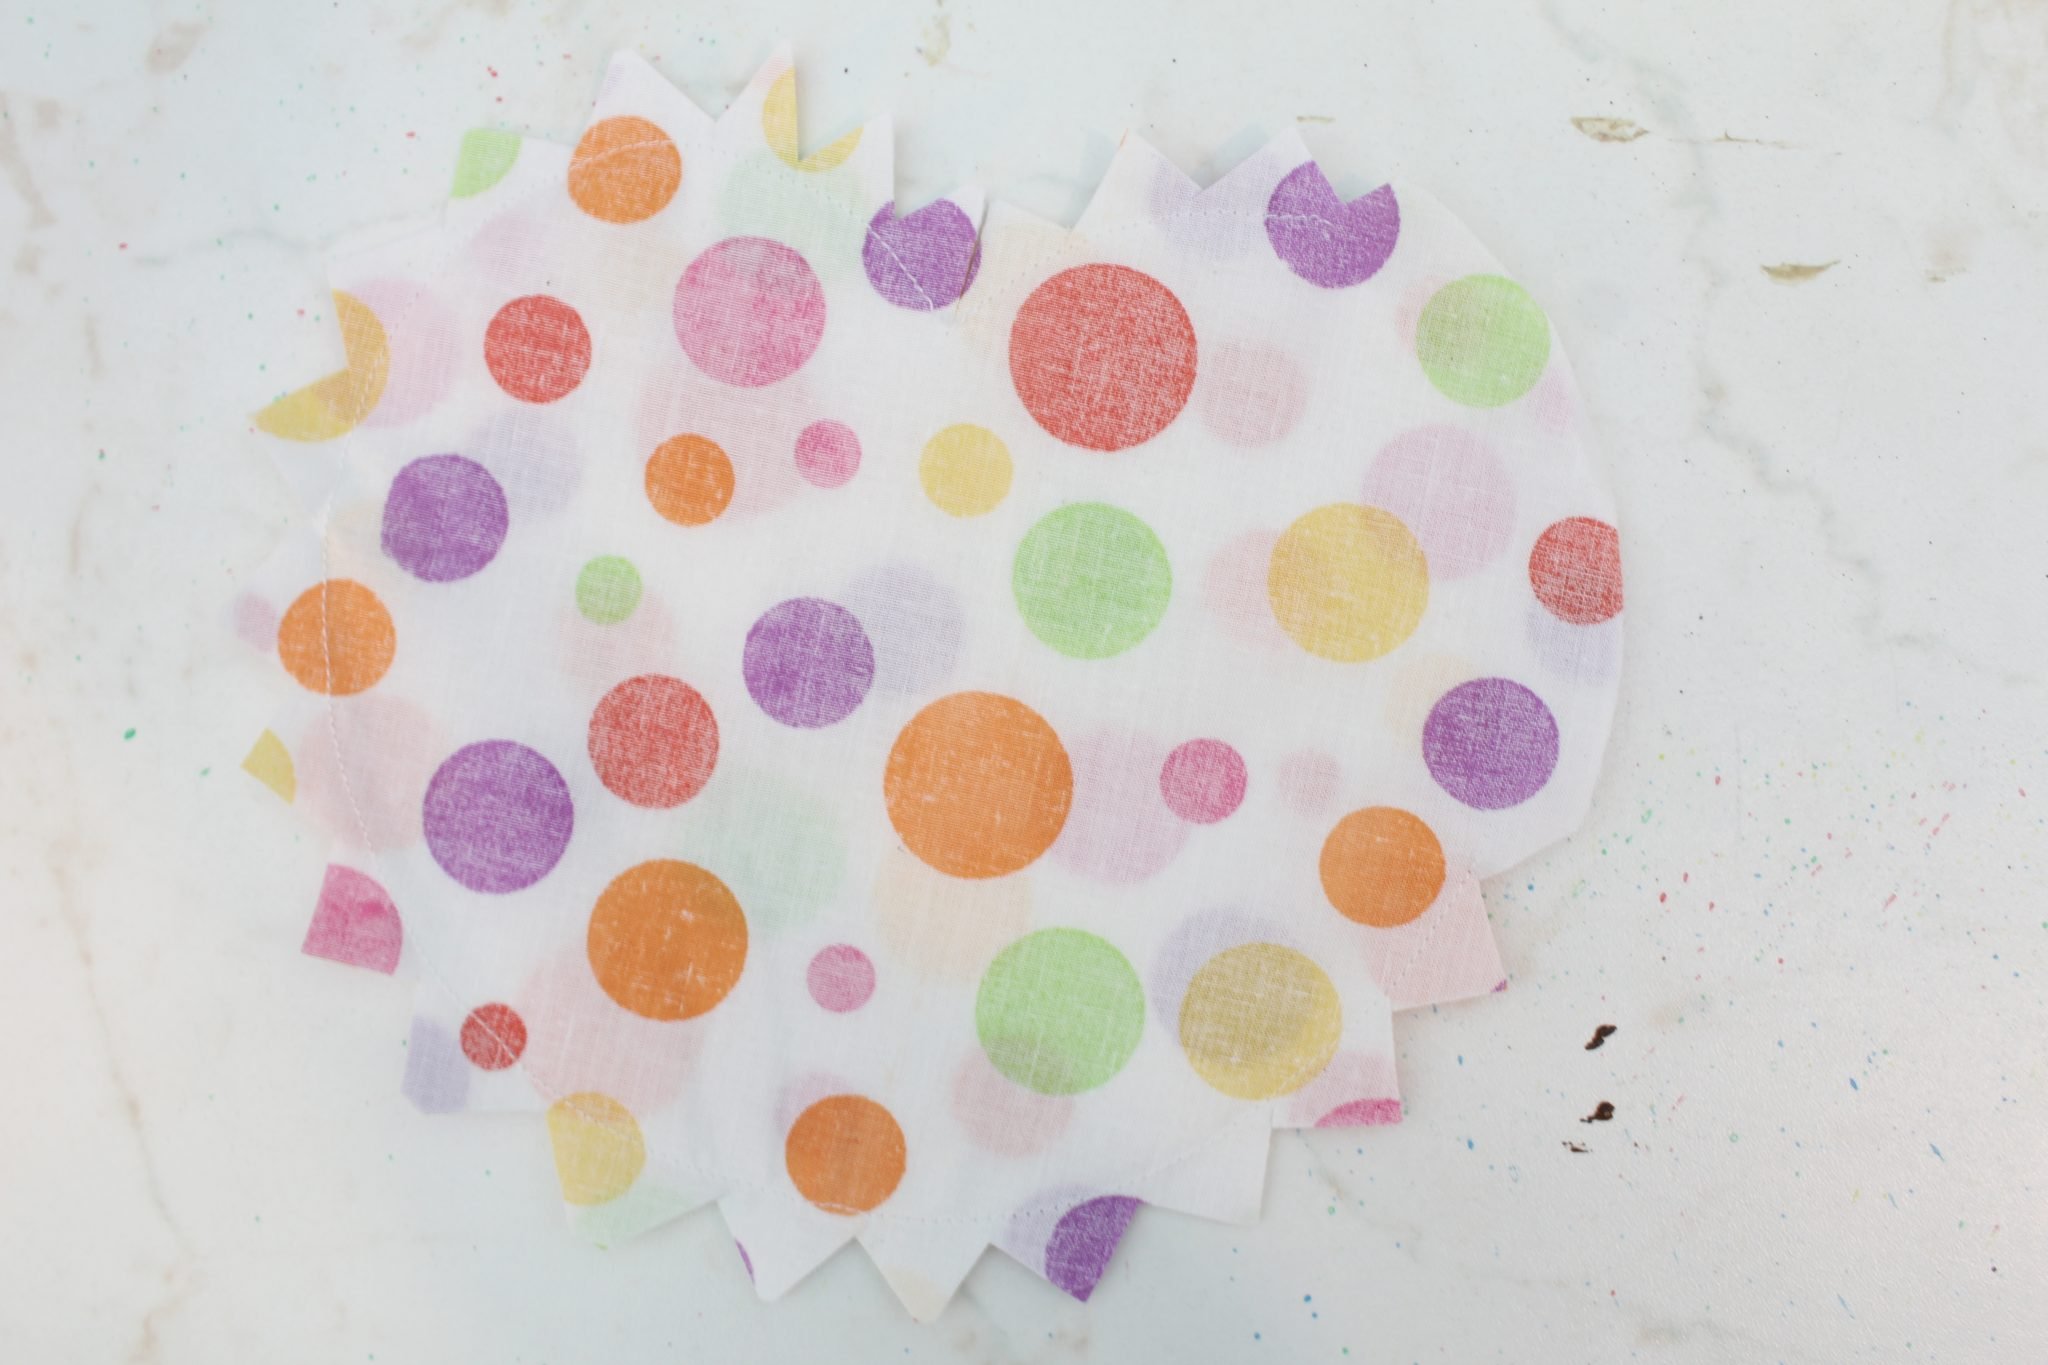
- Turn the fabrics out.
- Fold the gap inside and press the whole pocket with your iron.

- Edge stitch all around the pocket piece.
- Then set the pocket aside
- Repeat for the inside pocket except that you won’t need to interface this pocket.
Preparing the outer bag
- Interface each of the outer fabrics.
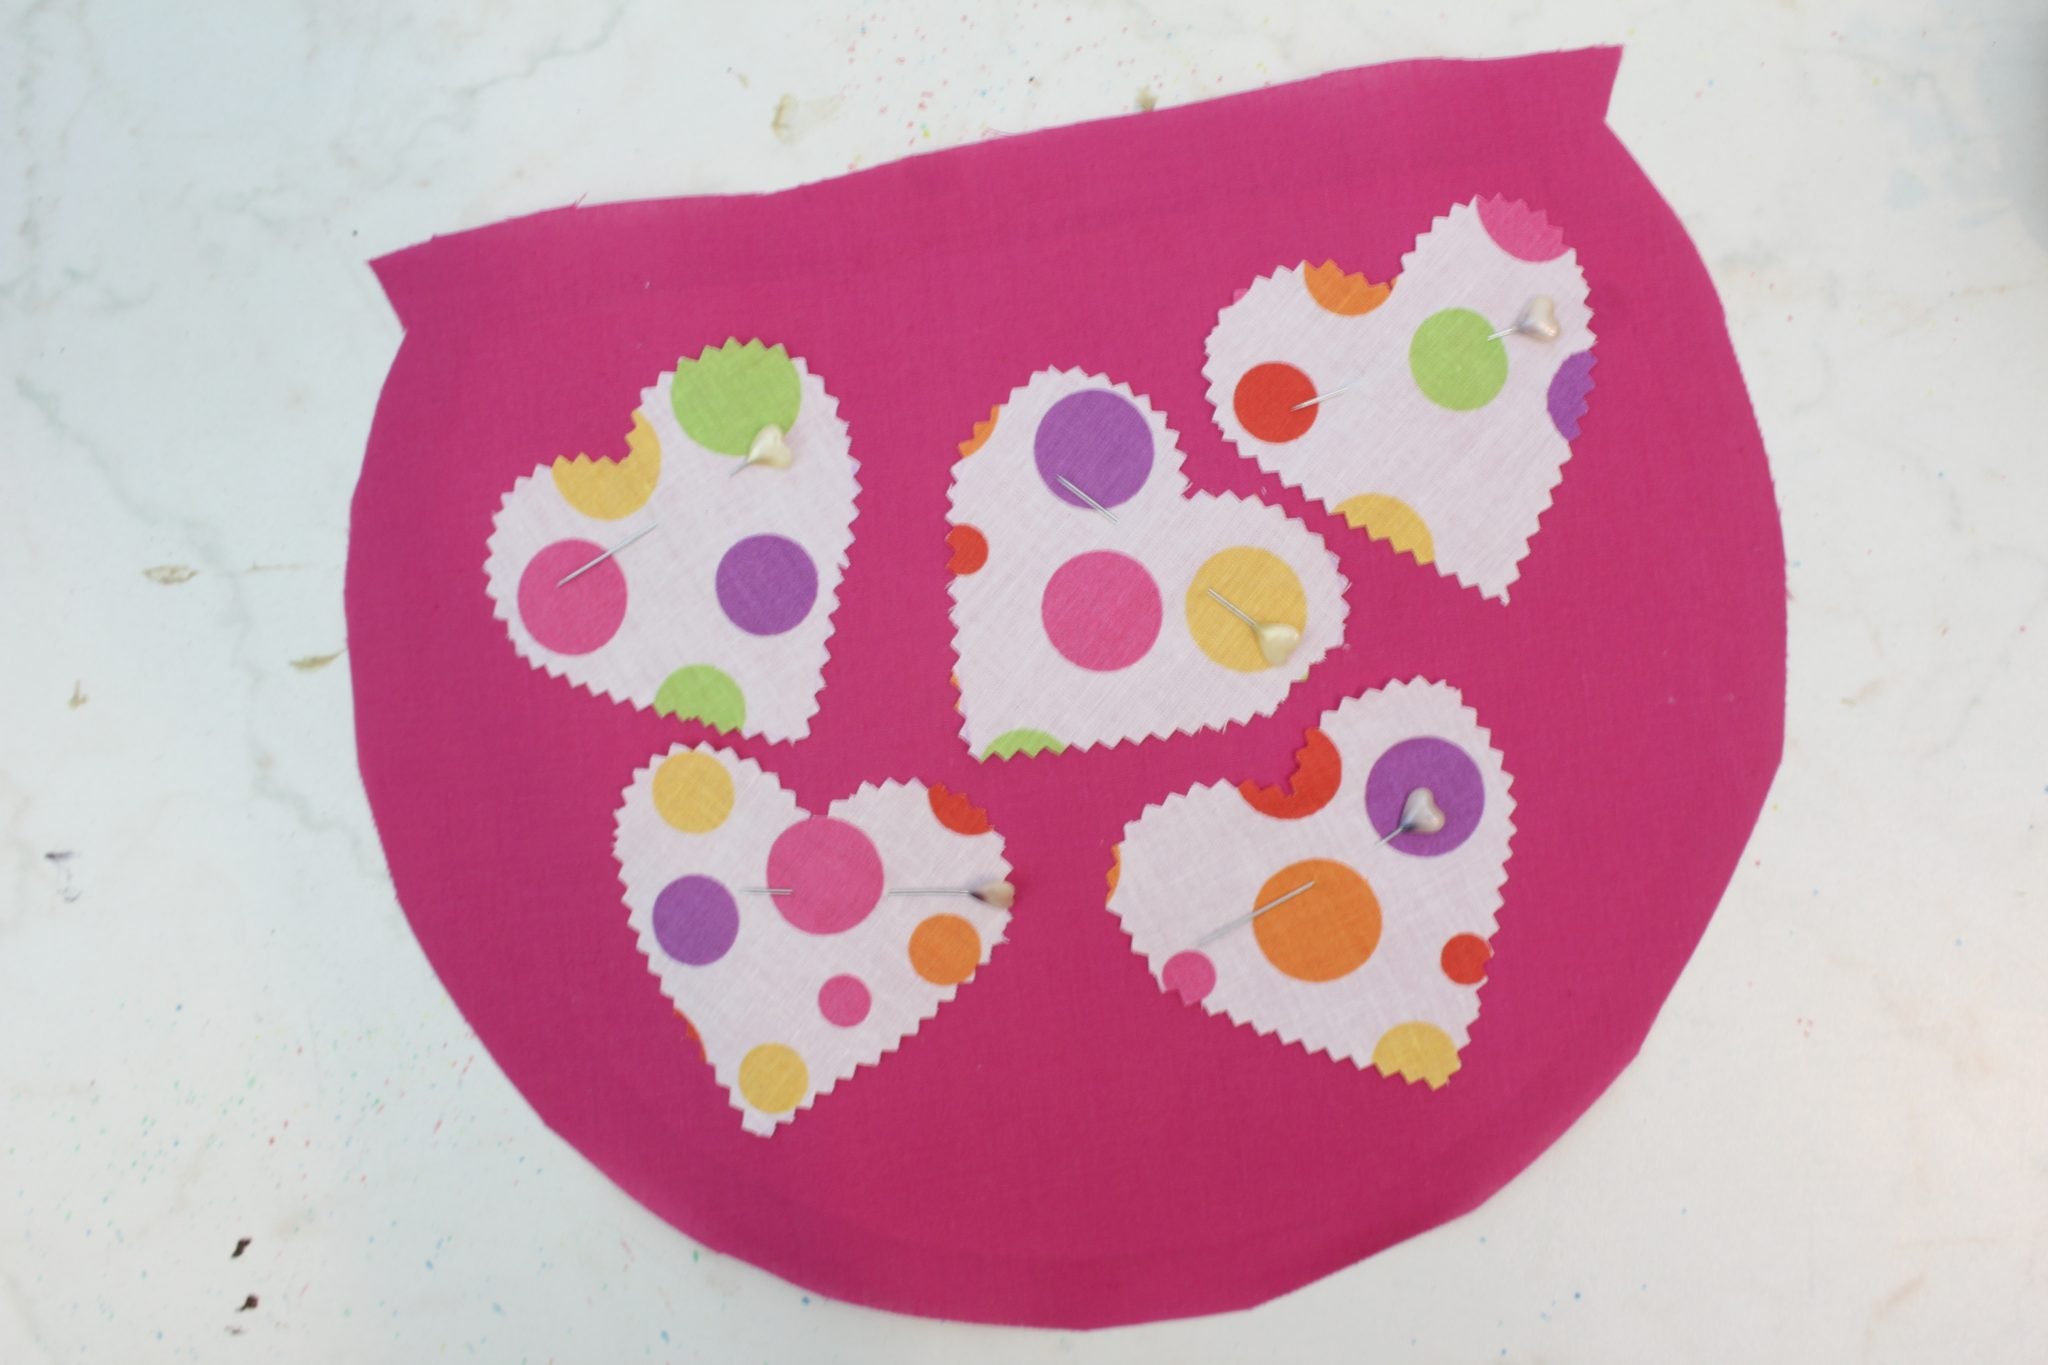
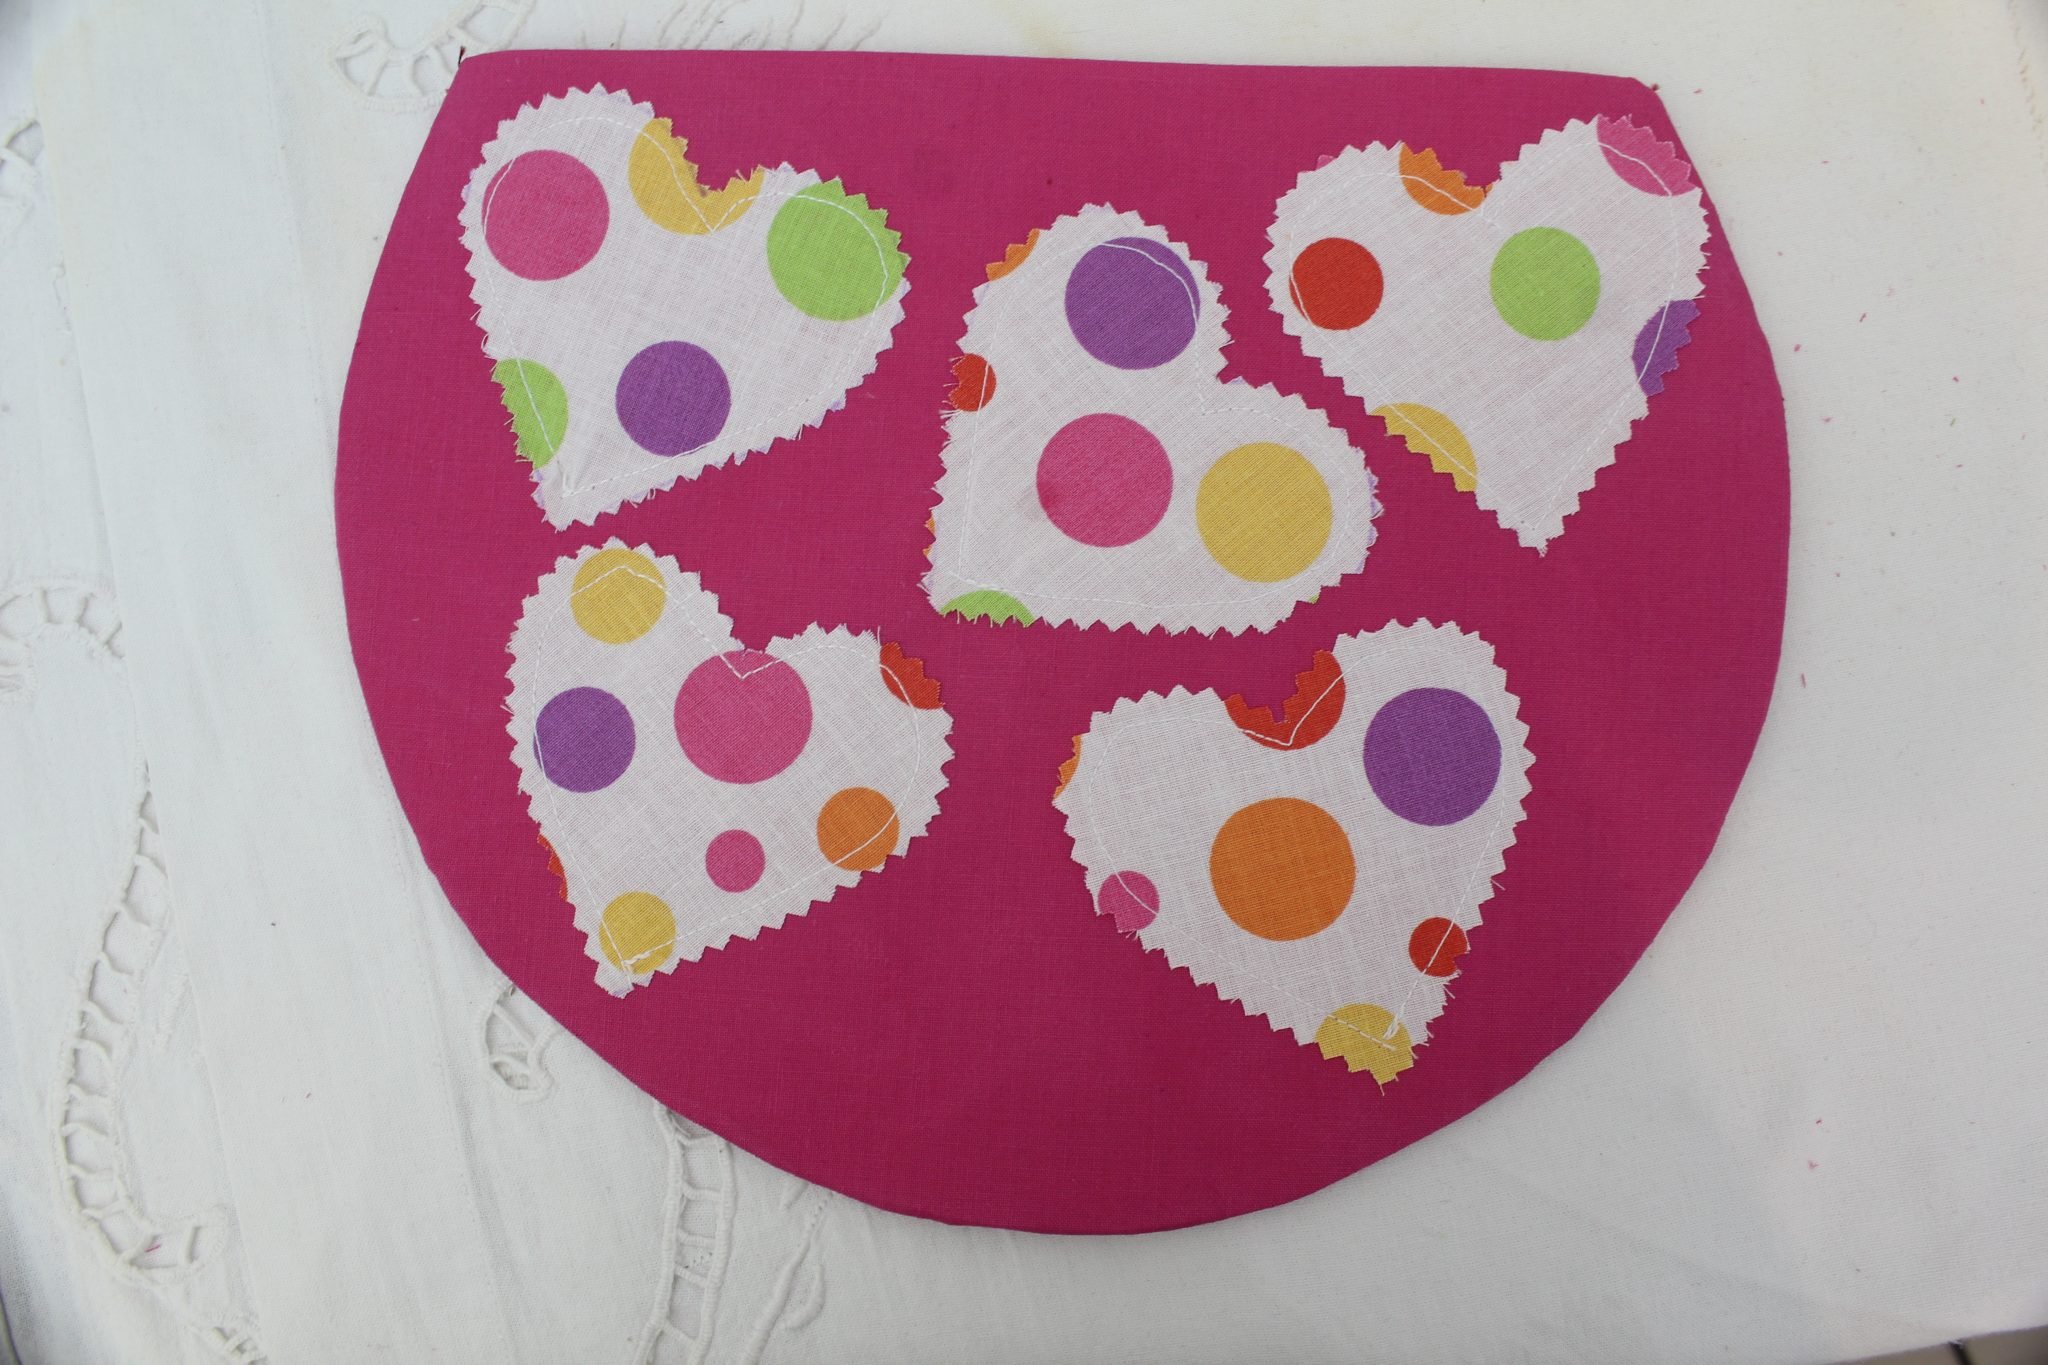
- Pin the 5 little hearts onto the right side of the front piece and edge stitch.

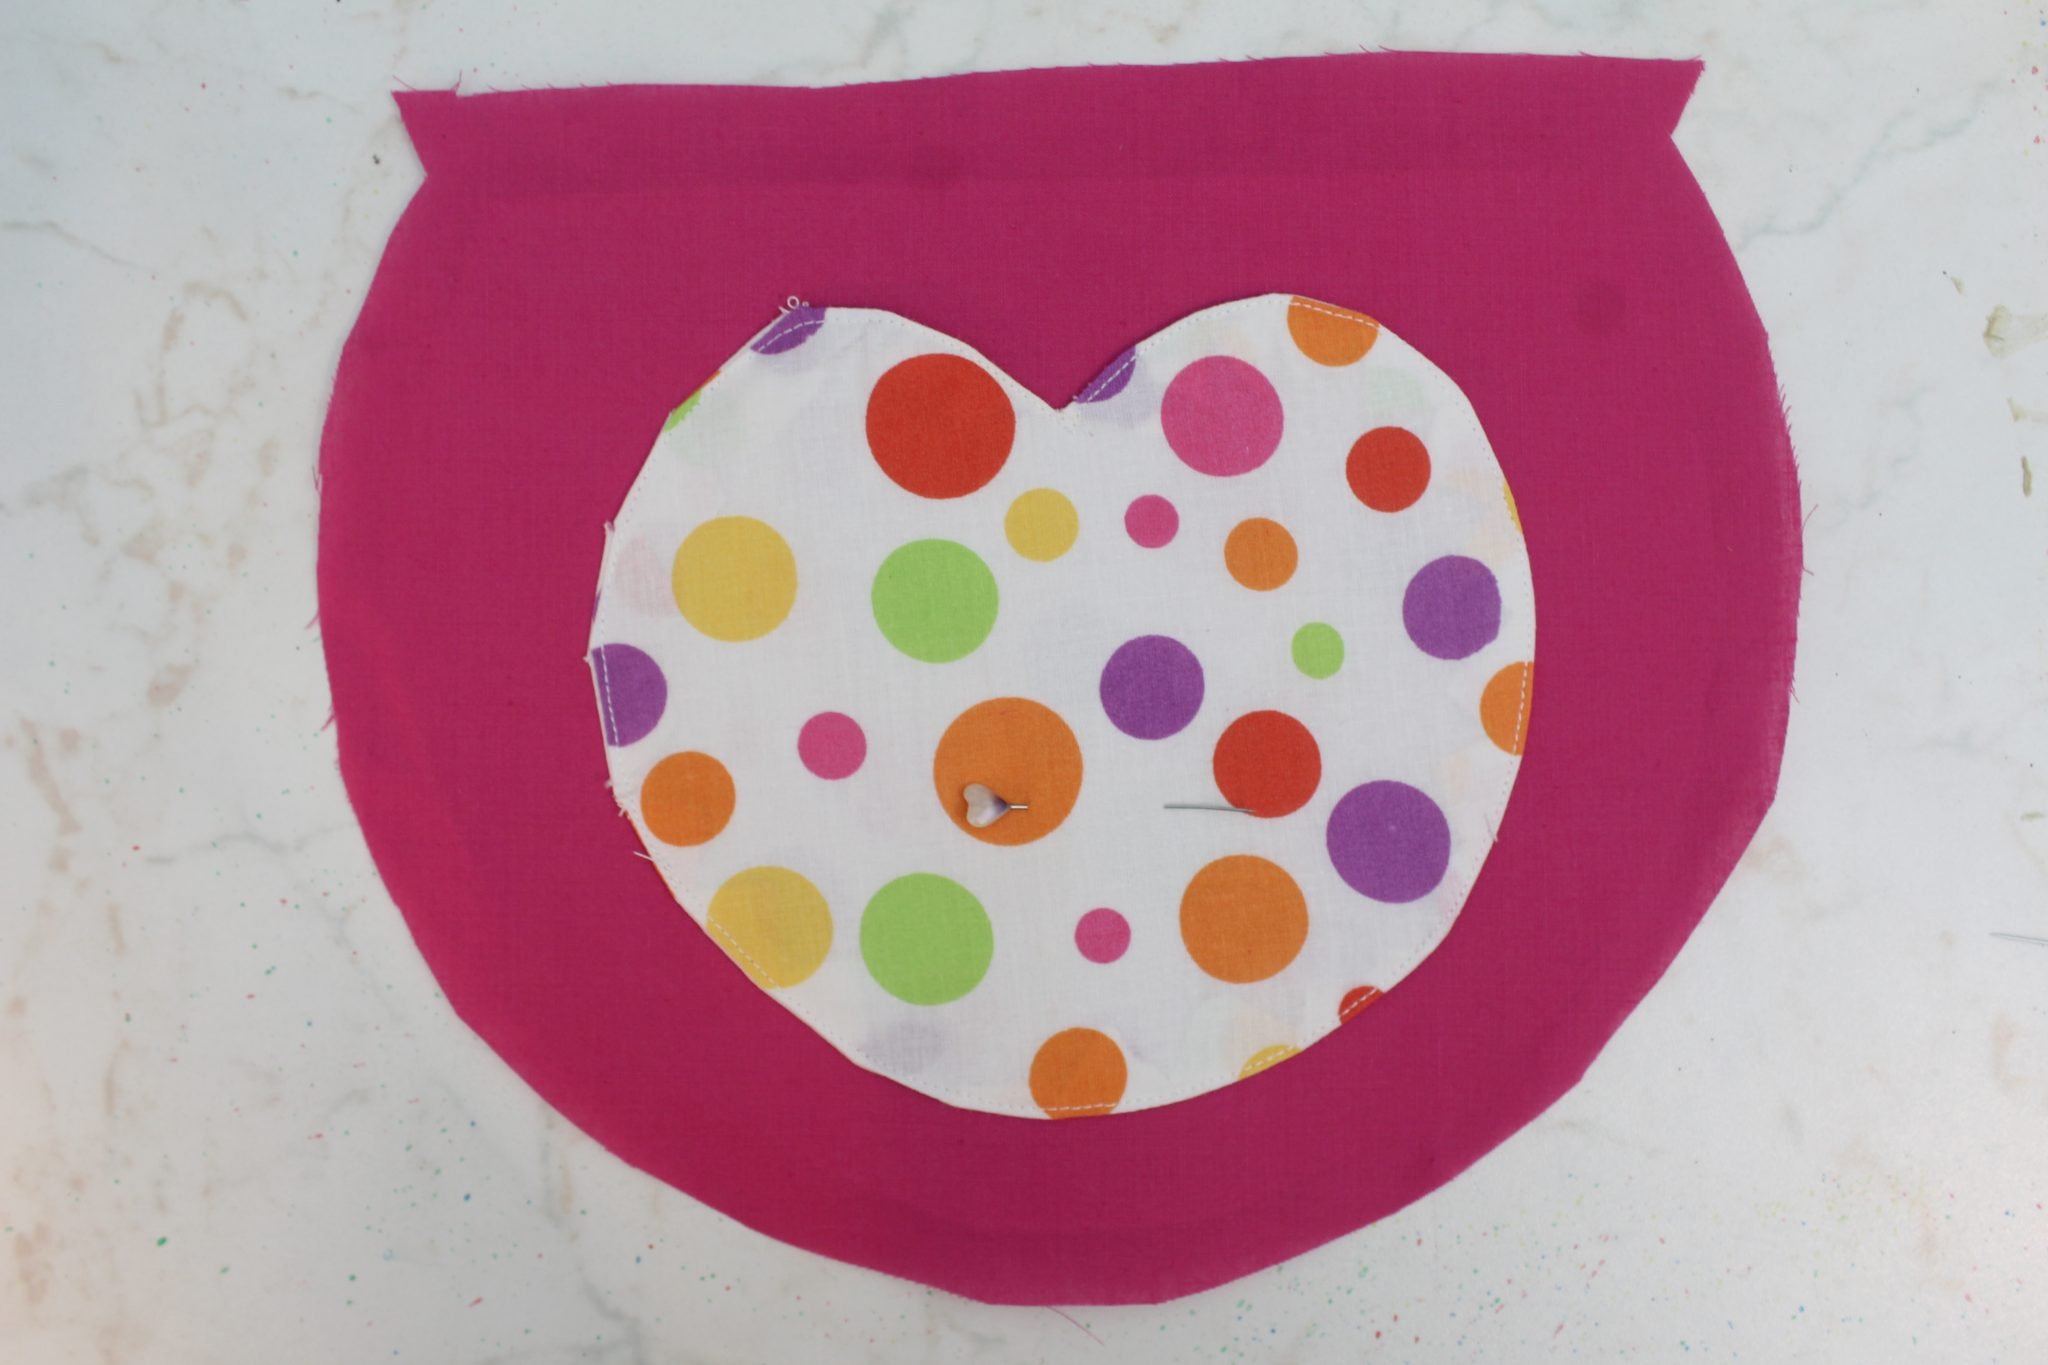
- Pin the outer pocket onto the right side of the back piece and sew right on top of the the edge stitch. Sew the sides only.
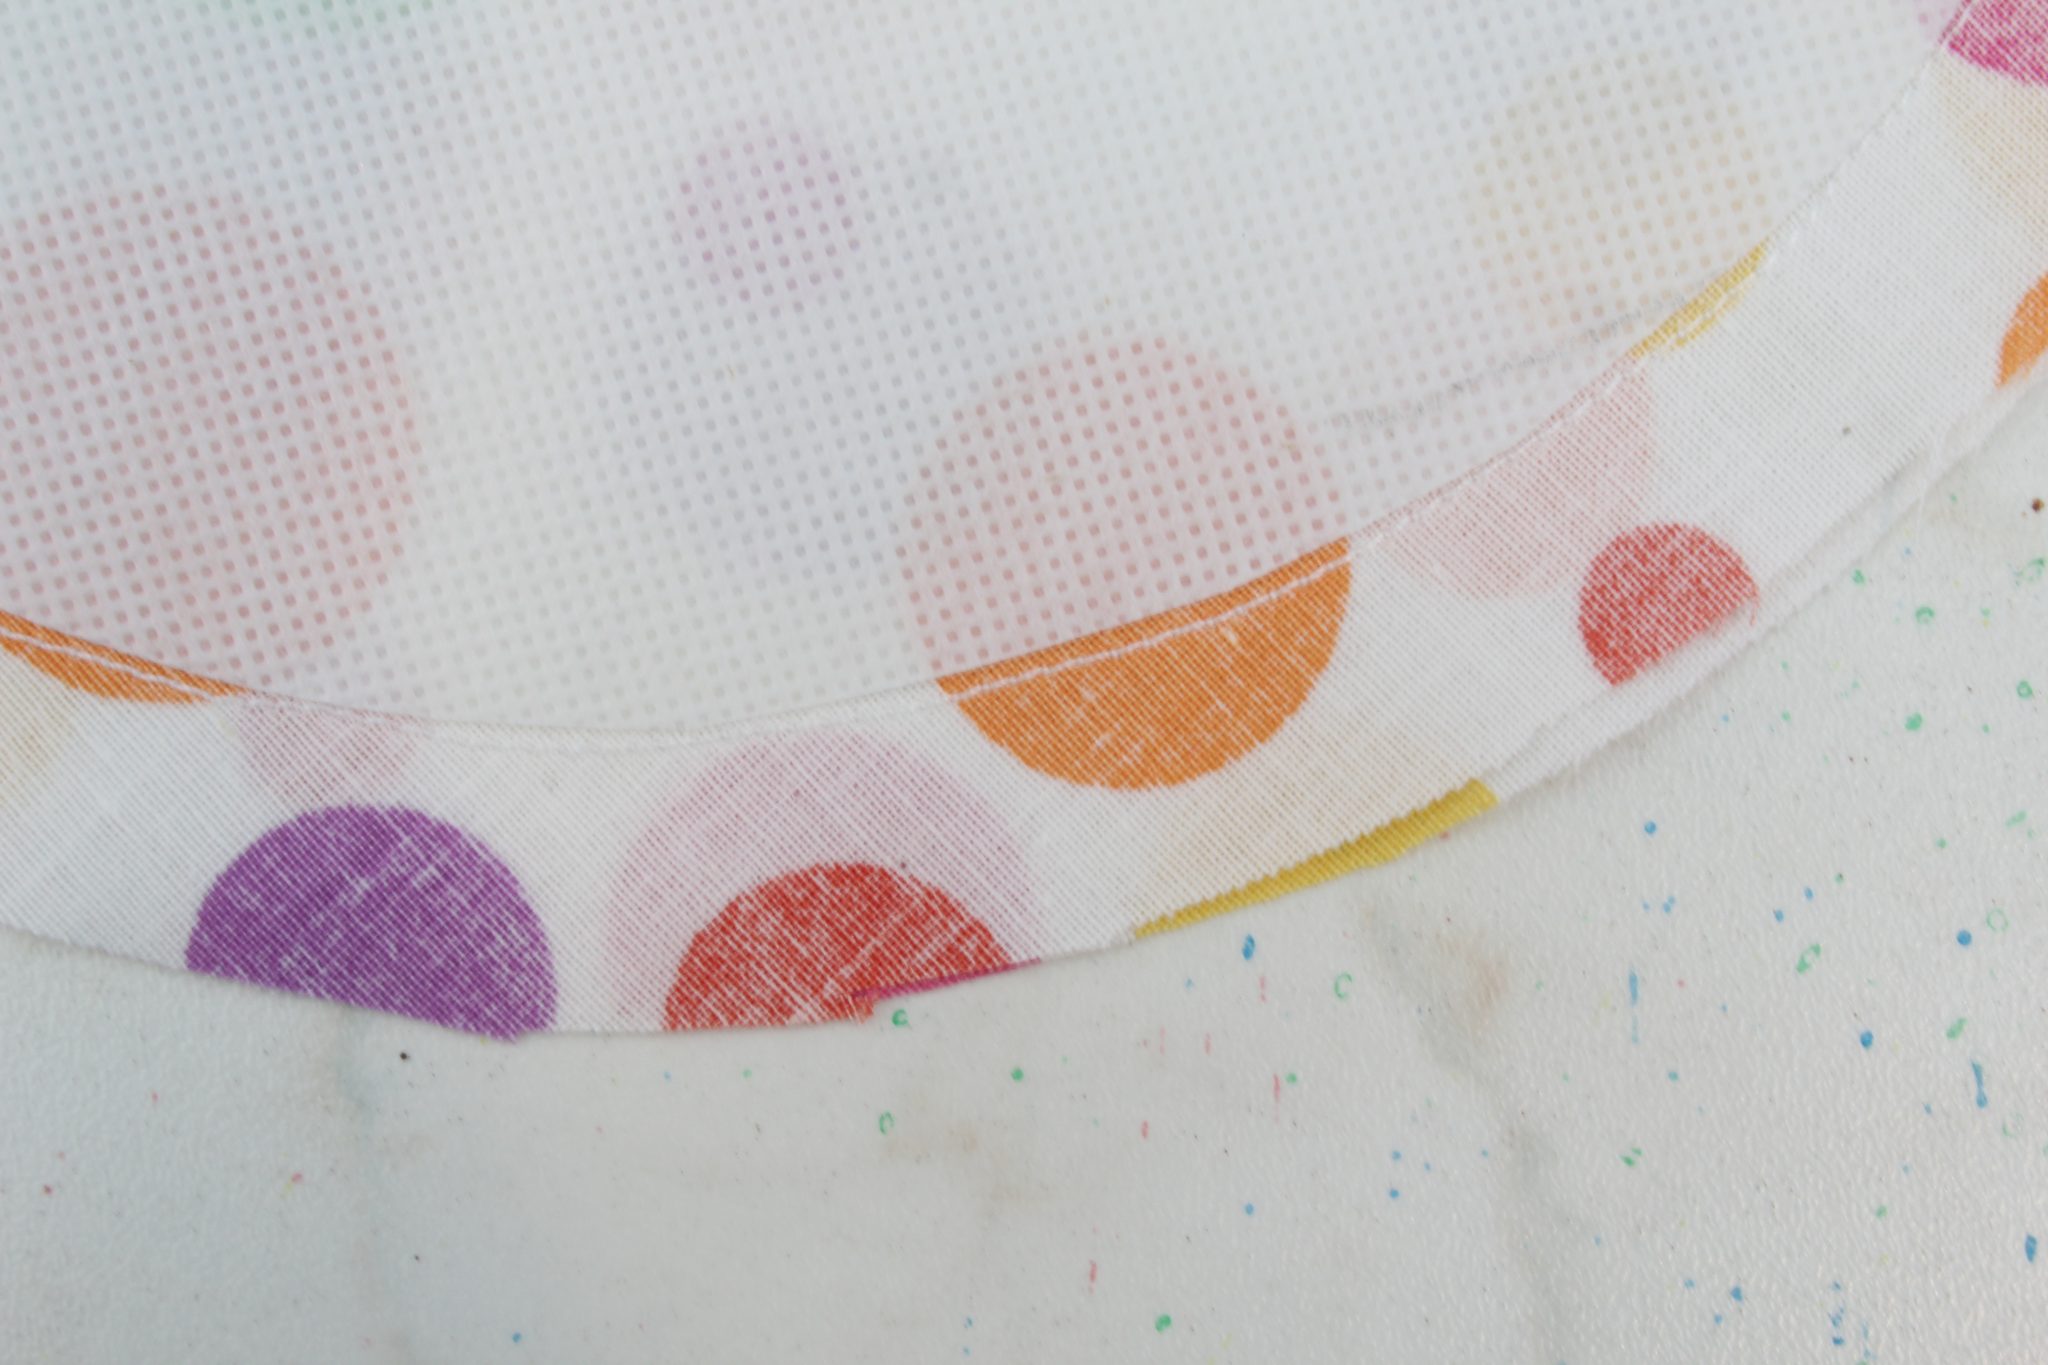
- Place bag pieces right sides together, pin the sides and sew with about 1/2″ allowance, right outside the interfacing. Stop sewing just where the curve ends and leave the top open.
- Cut notches around the bag.
- Turn fabrics right side out and fold the top in.
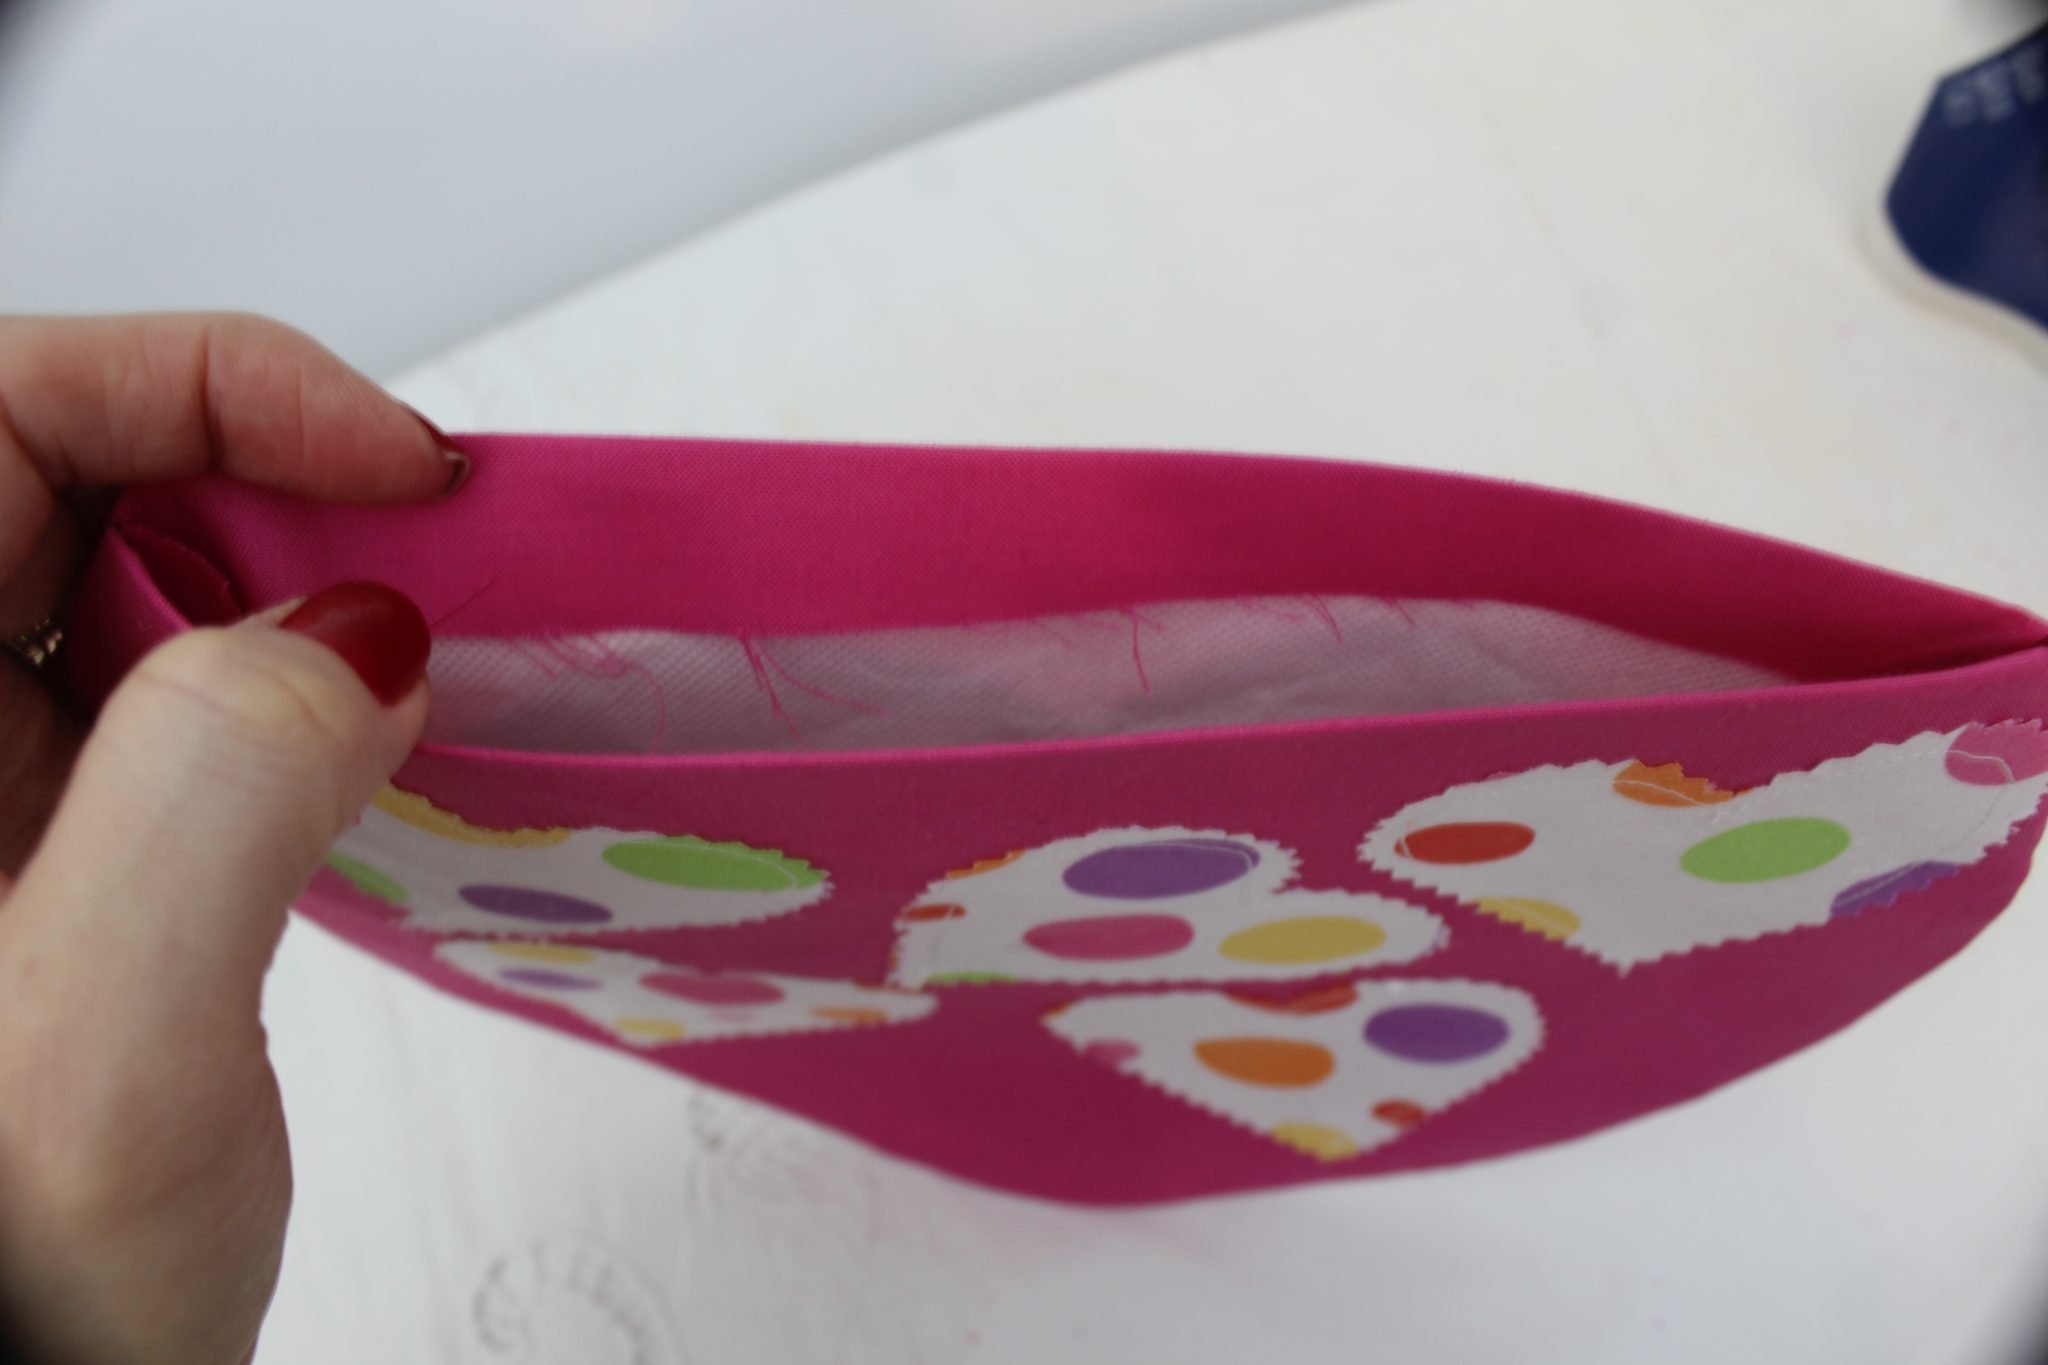
- Press well.
Preparing the lining
- Take the lining pieces and put them right sides together. Lining doesn’t need interfacing (unless your interface is super thin).
- Pin the sides and sew with 1/2″ allowance. Leave the top open.

- Don’t turn the lining right side out!
- Fold the top out and press.
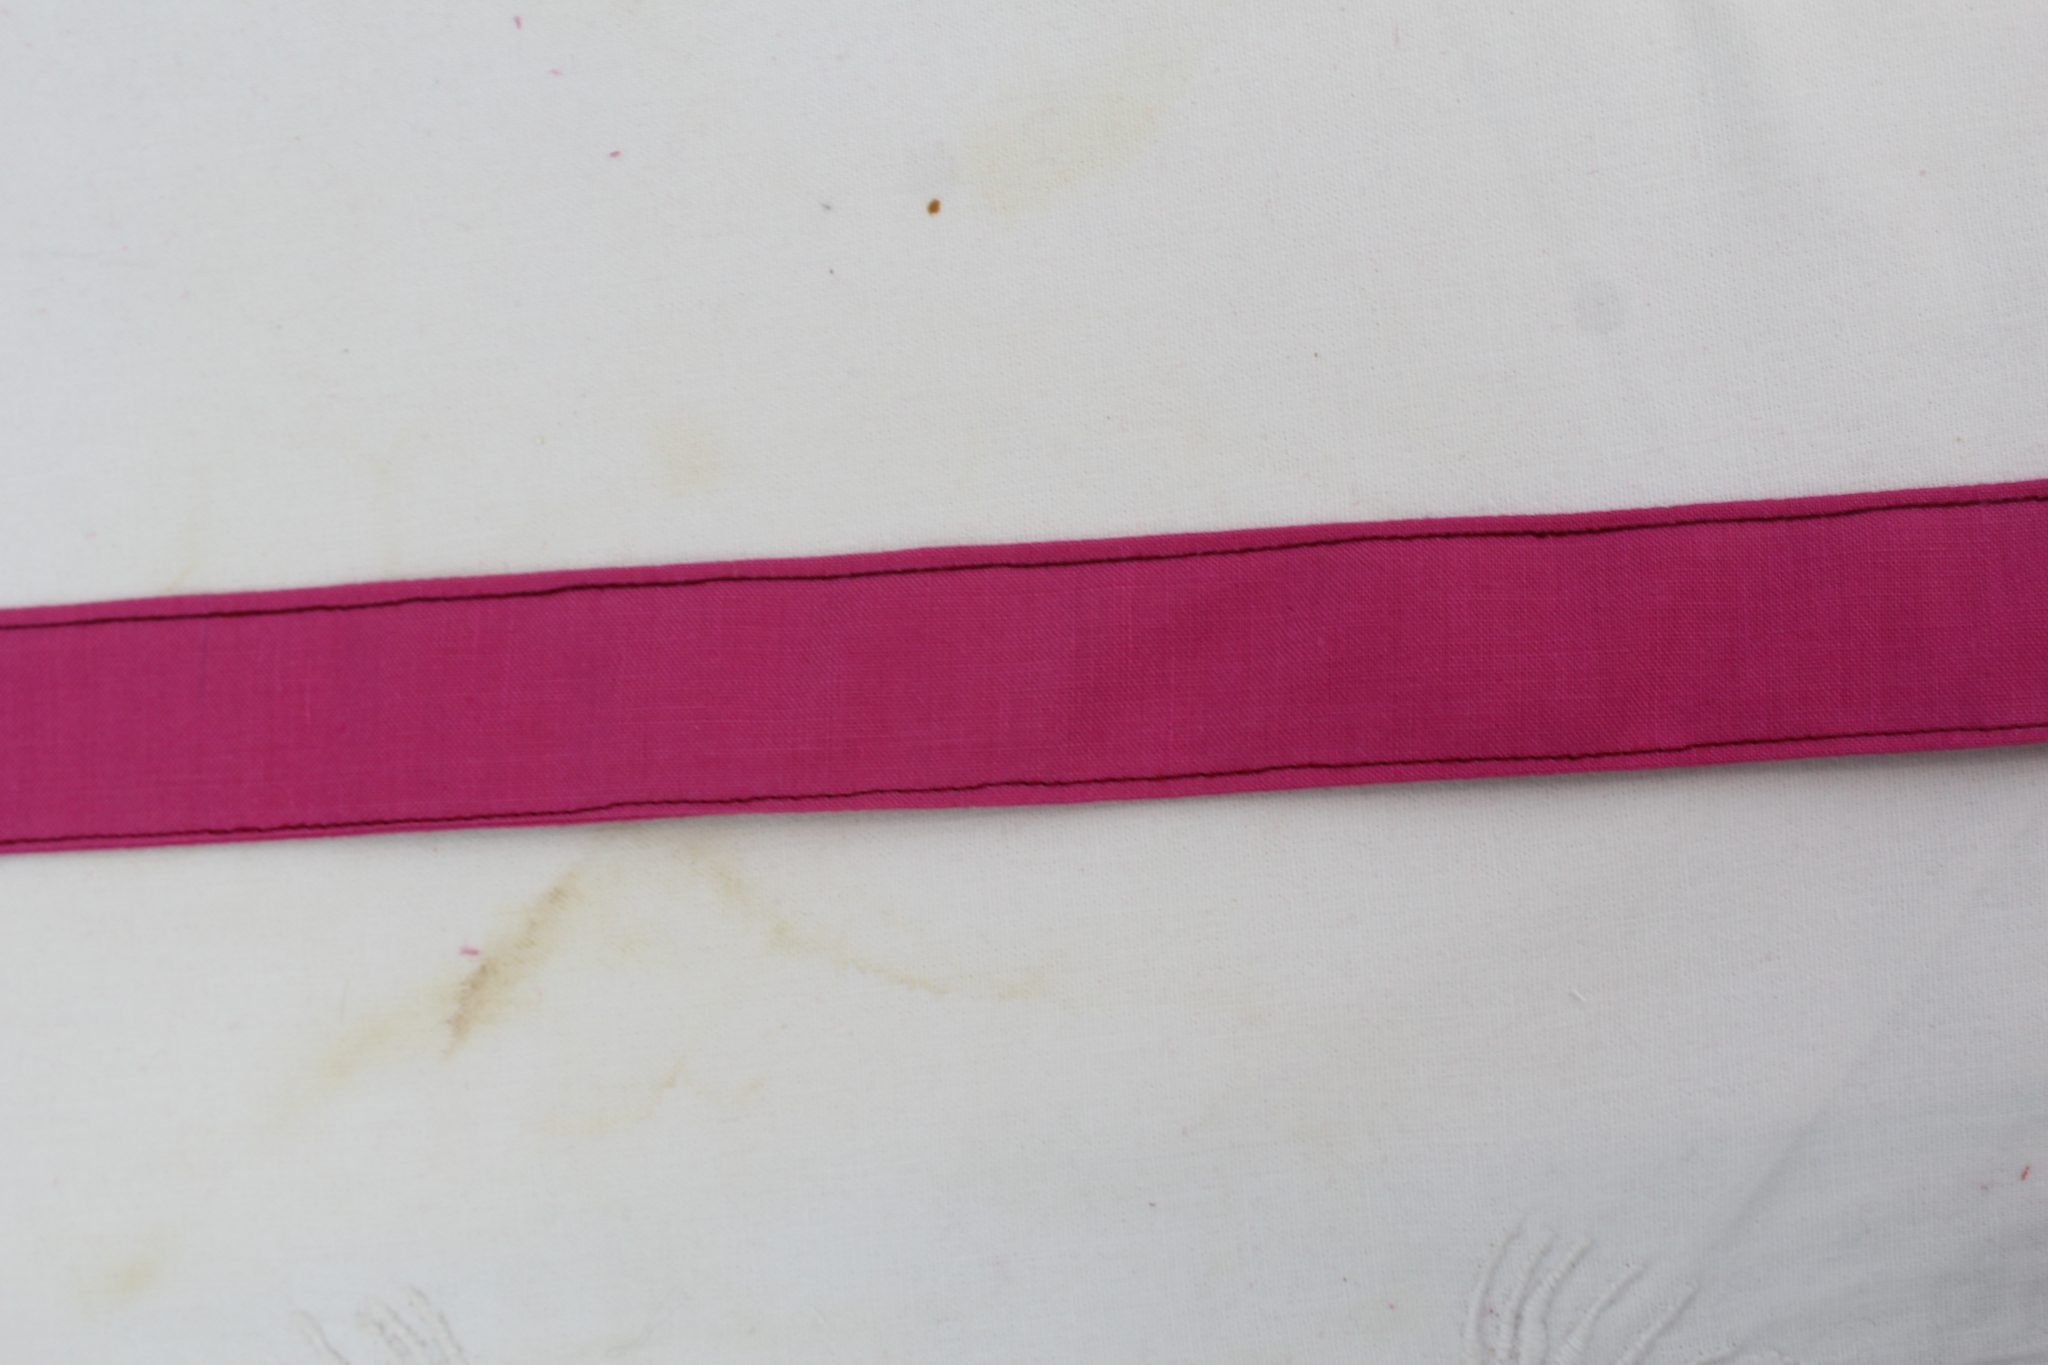
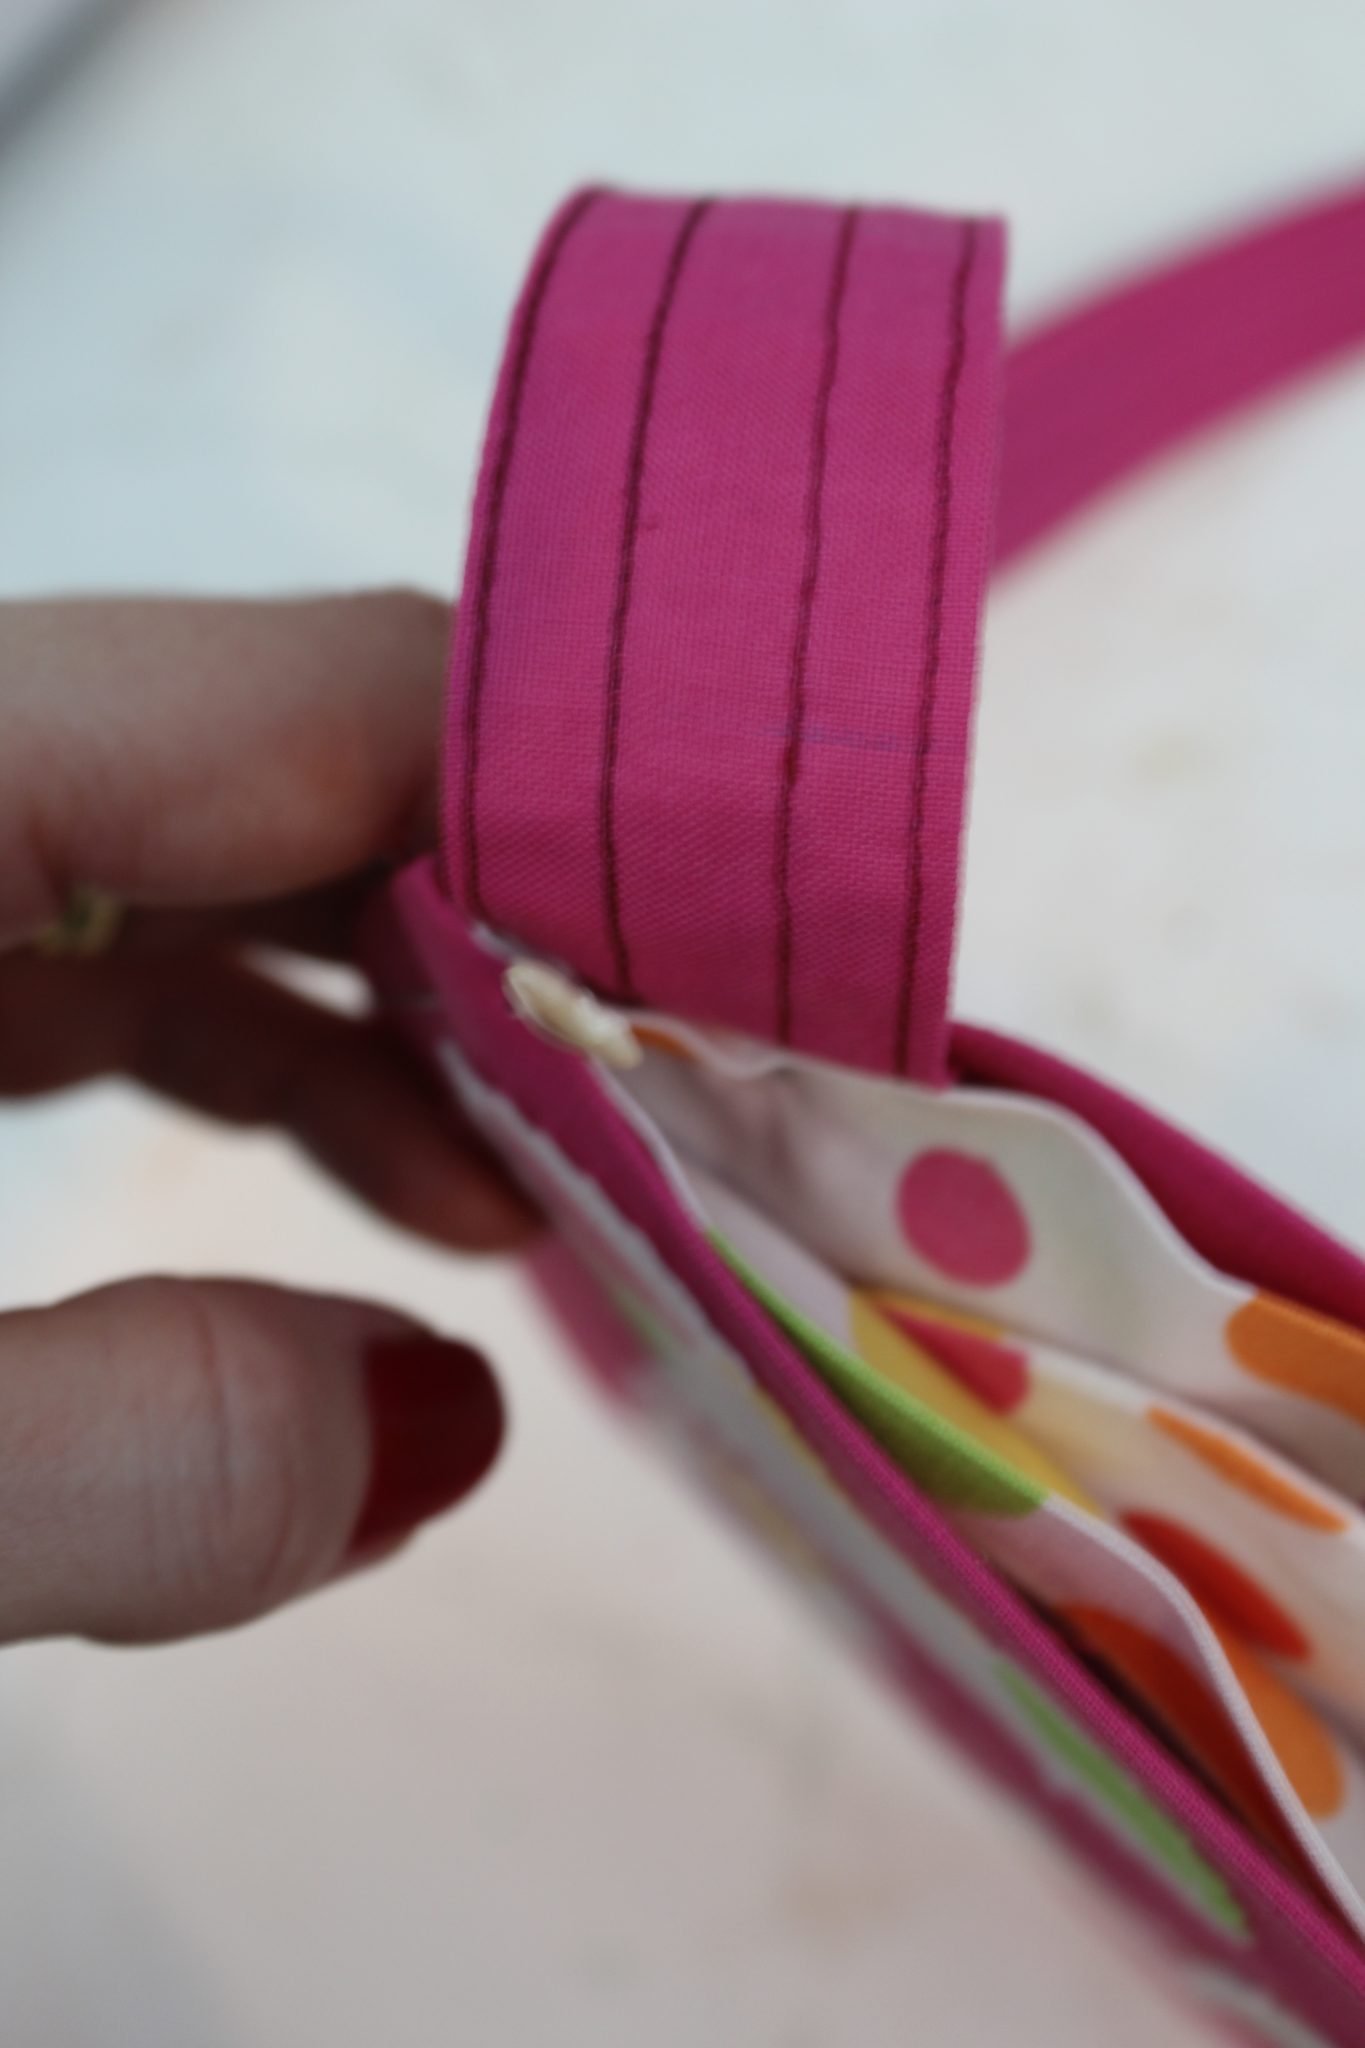
Making the strap
- The process is the same for both the wide and the narrow straps.
- Fold the strip in half and press well with your iron.
- Open the strip, fold the halves in and press.
- Fold the strip again and press.
- Edge stitch along both edges.
- Set aside and repeat for the narrow strap, except that you won’t edge stitch this strap yet.
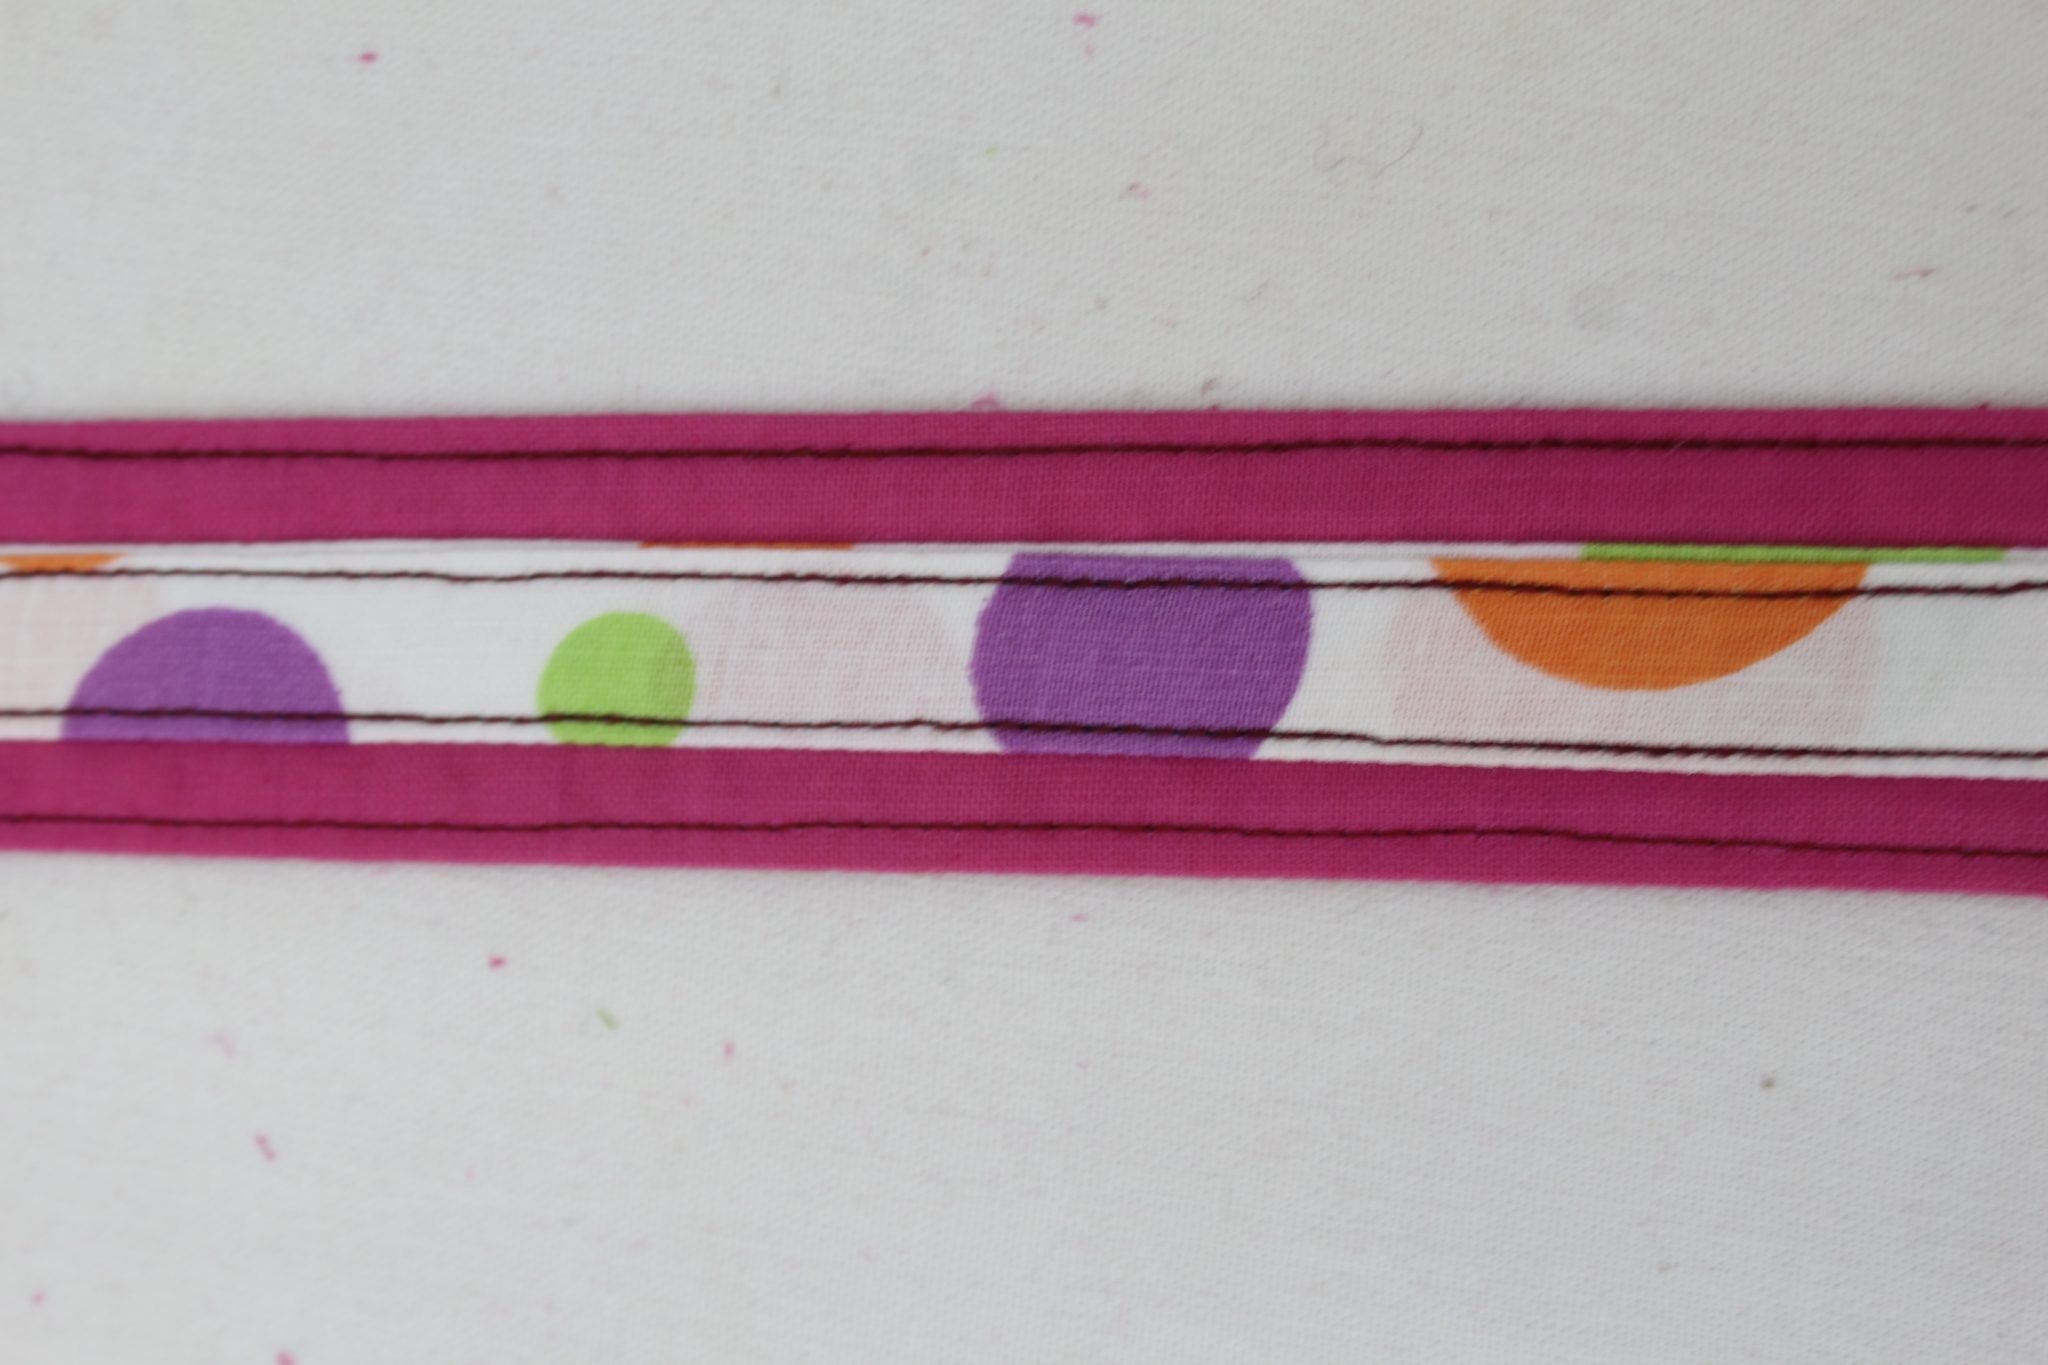
- Pin the narrow strap onto the wider strap, the middles of both matching lengthwise.
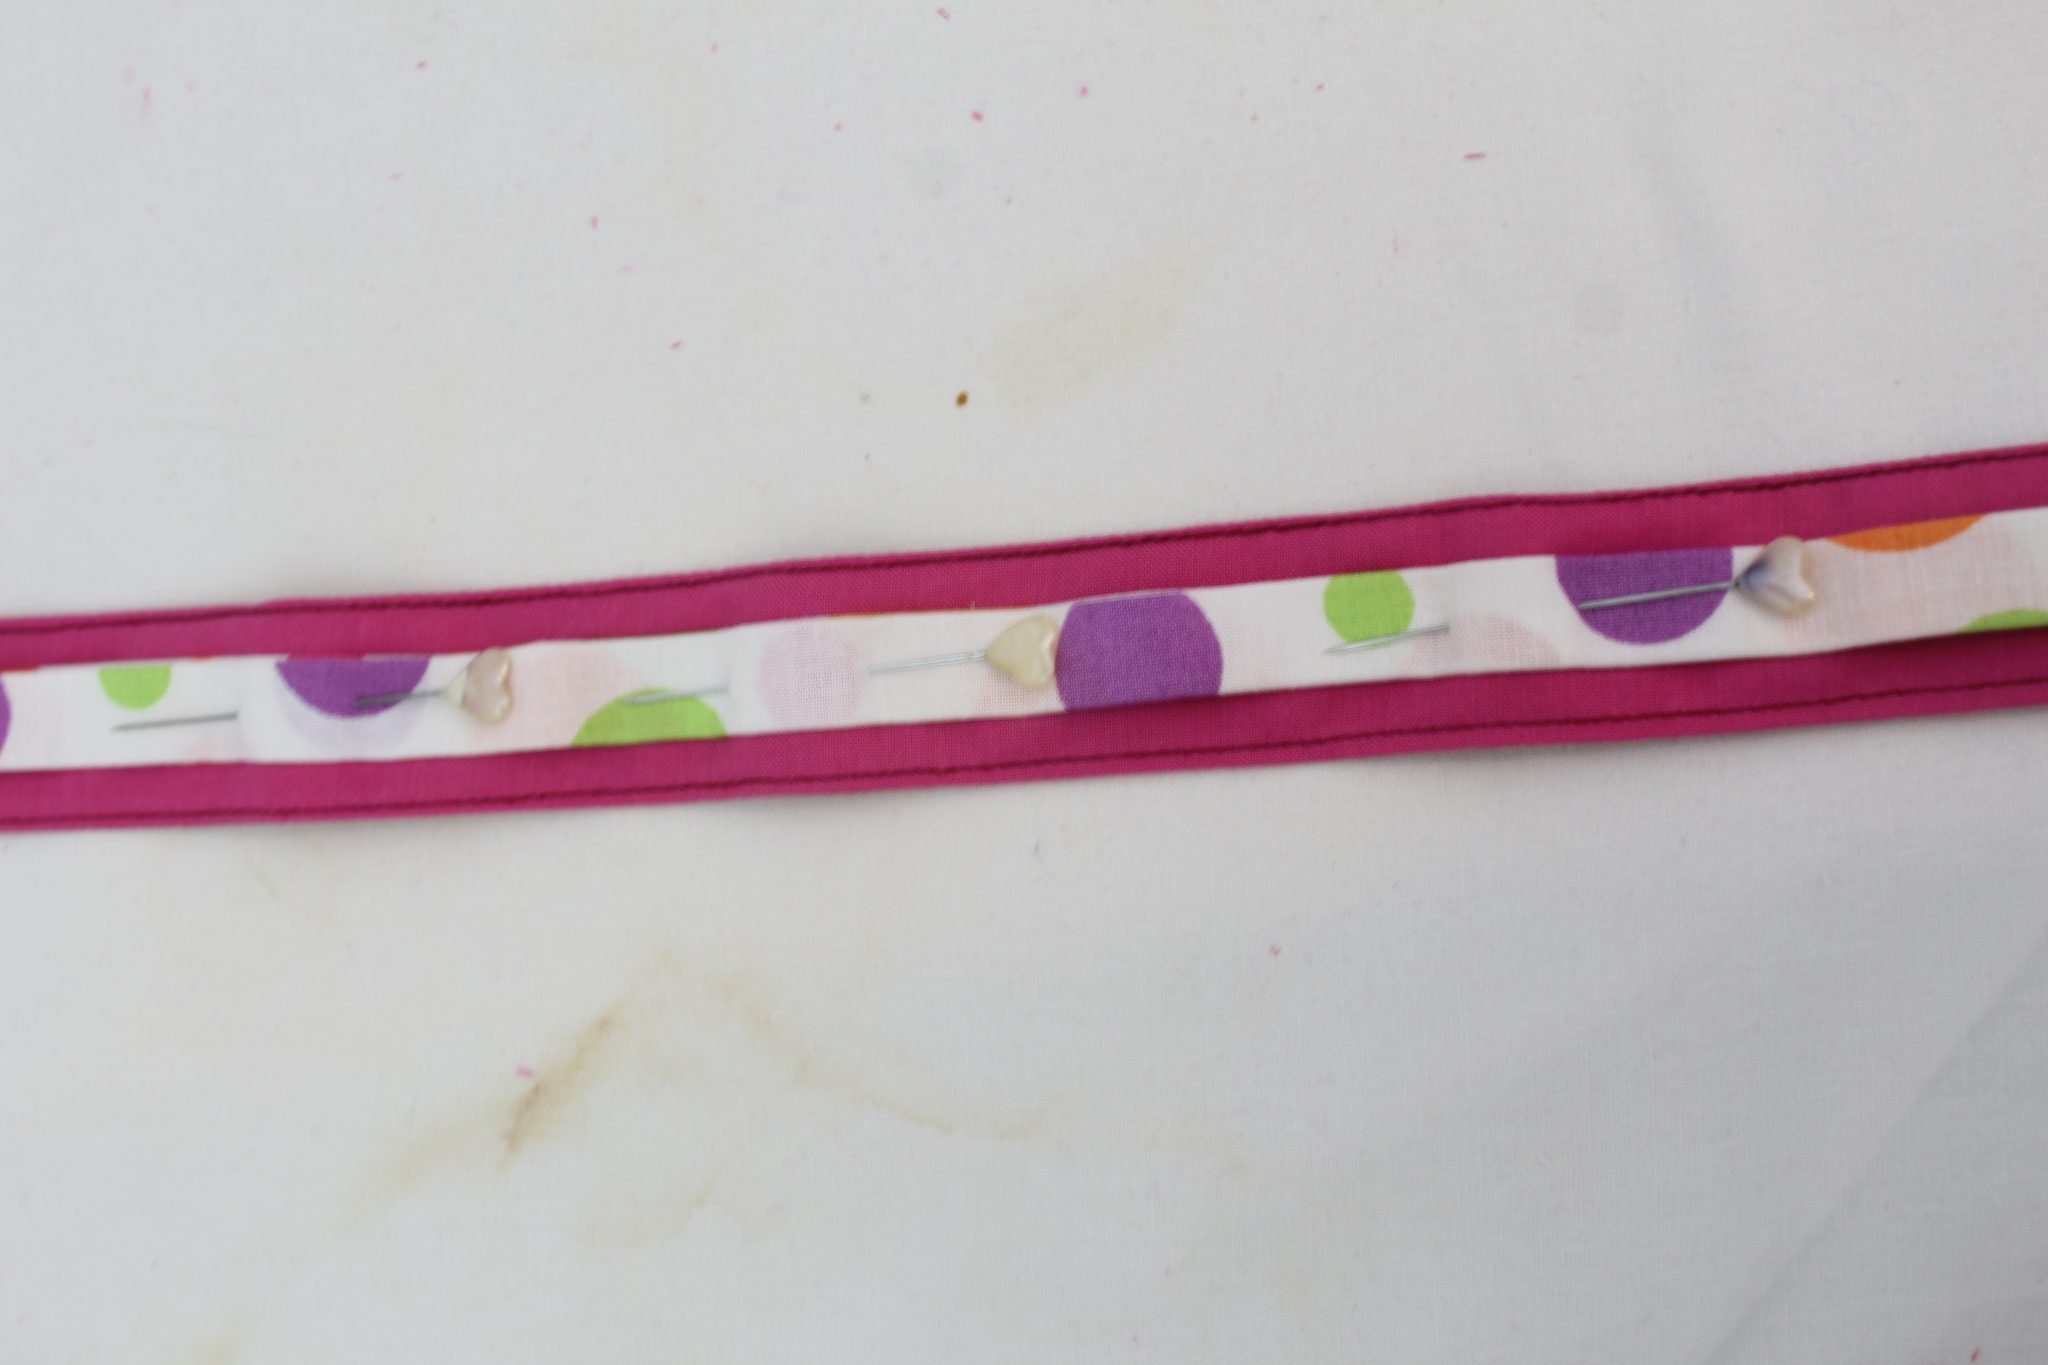
- Edge stitch along both sides of the narrow strap.
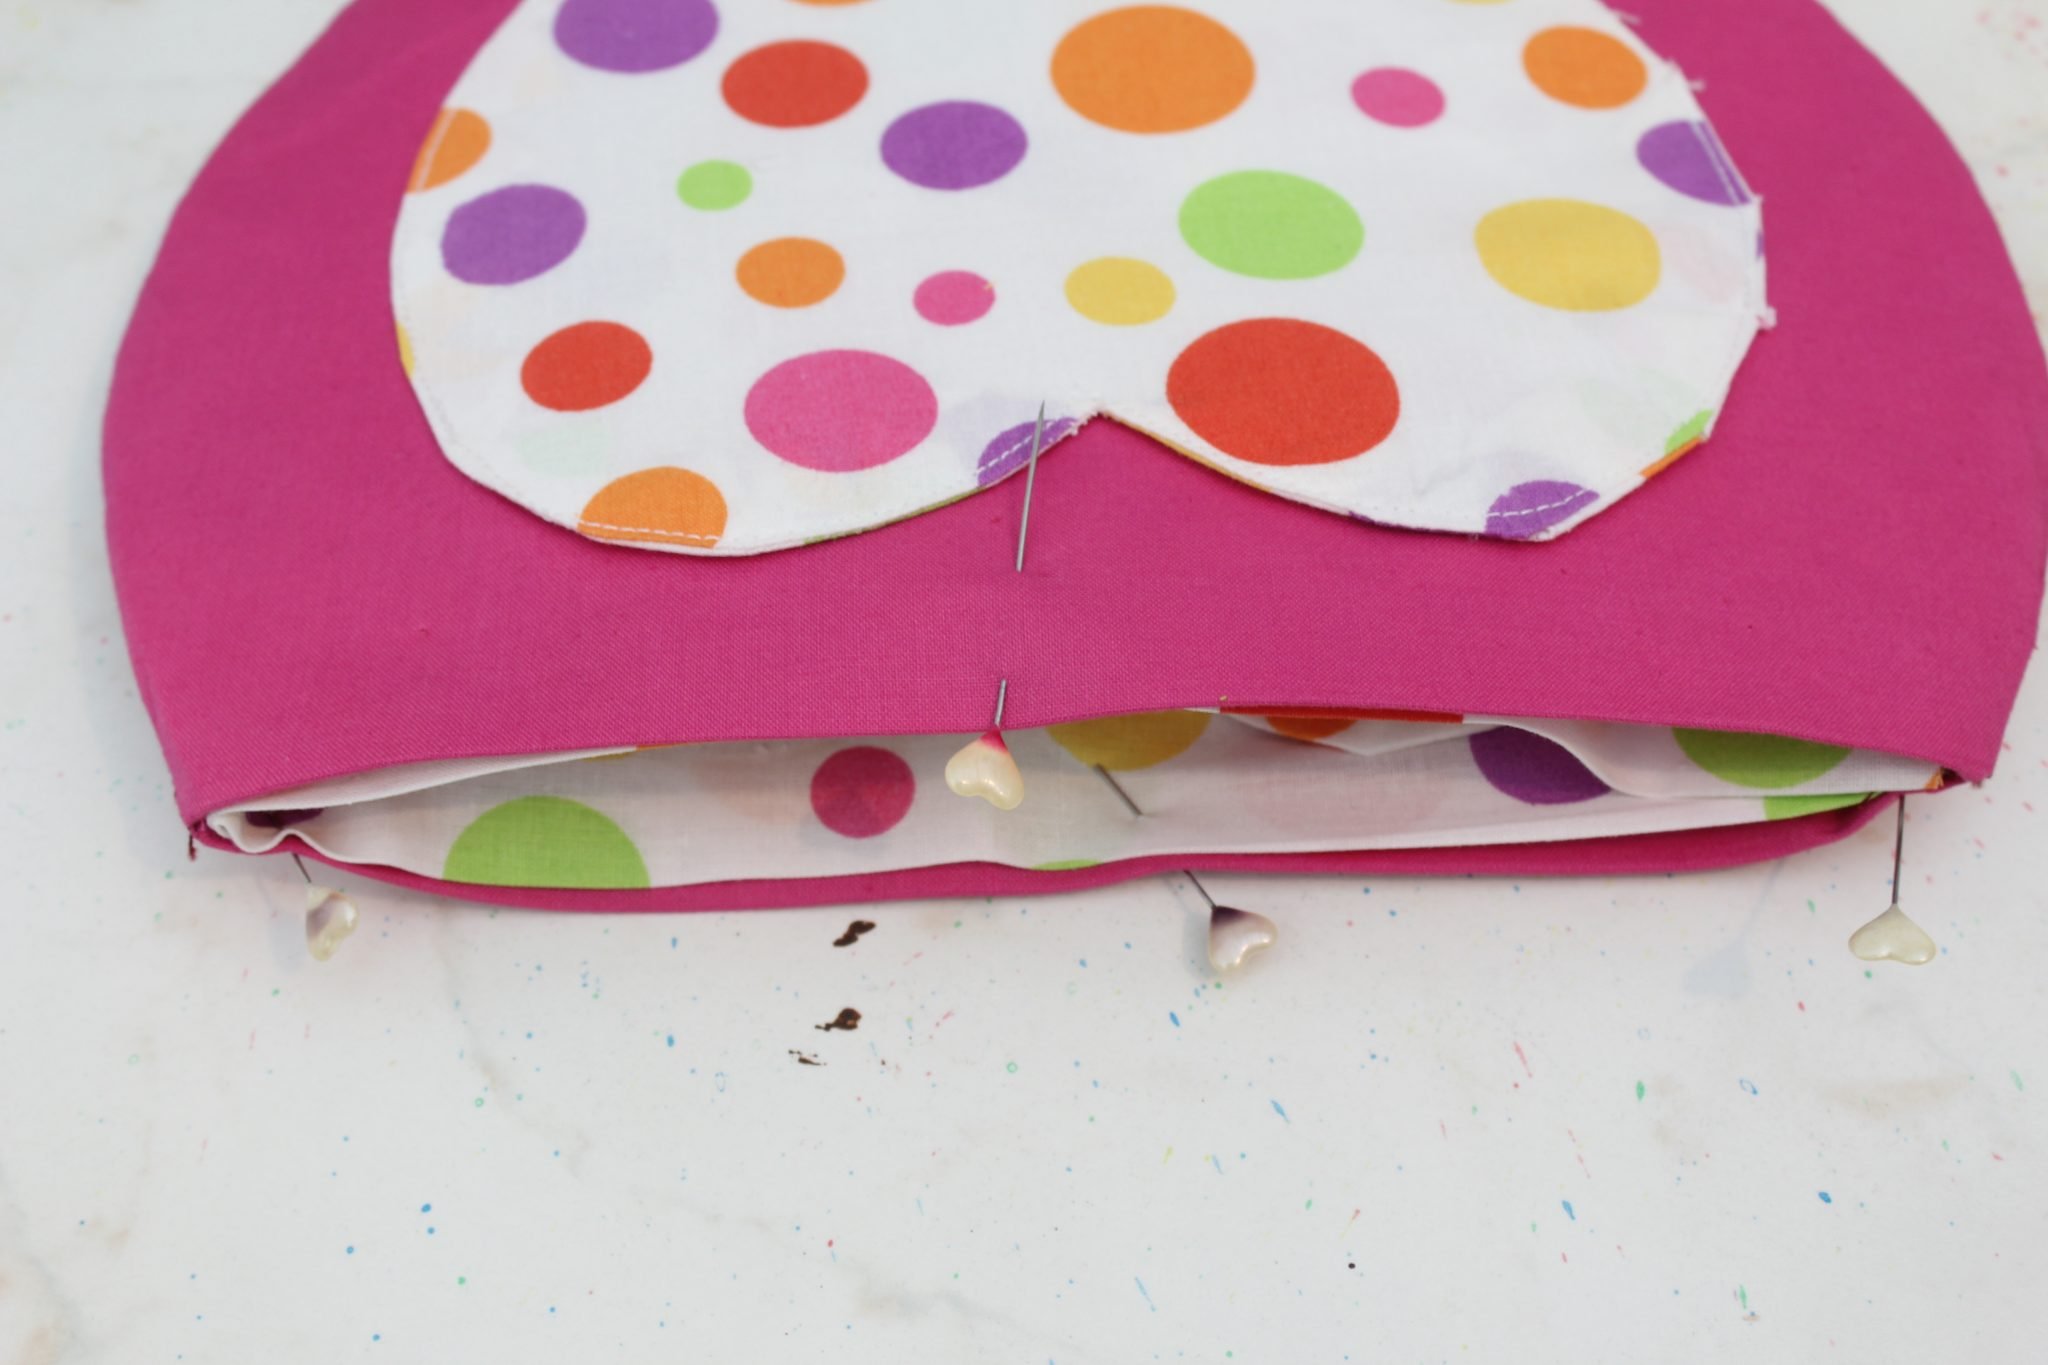
Putting the pieces together
- With the outer bag right side out and lining wrong side out, slide the lining inside the outer bag.
- Match the tops and make sure the side seams align.
- Pin the tops in 2-3 spots to keep pieces together.
- Insert one end of the strap about 1″ between the outer bag and lining, on one side of the bag and pin.
- Repeat for the second end, this time on the other side of the bag, opposite from the first strap end.
- Sew around the top of the bag with 1/4″ allowance.
Your bag is now done and you can take a step back and admire your amazing work! If you liked this tutorial, please let me know in the comments below and don’t forget to rate it! Thanks!
Pin to save for later
Most popular sewing projects:


Article may contain Amazon & affiliate links. As an Amazon Associate I earn from qualifying purchases at no additional cost to you.

How do I get this Pattern for this Purse/
Hi Kathryn. The link is right above the materials section.
I love this purse pattern! I was looking for a purse pattern for my granddaughter. It has been 15 years since I used to sew. I can’t wait to start on it. I have made her a bandanna dress with matching bloomers and headband. I am making matching shoes and now a matching purse! Thank you for sharing this pattern 🌸