DIY fall leaves garland
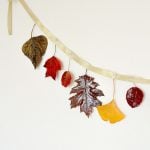
Spruce up your house for the fall season with this fall leaves garland! Easy and simple to make, this lovely DIY fall garland made with natural leaves in fall colors is super affordable and looks amazing as wall décor! A great addition to a Thanksgiving table setting too.
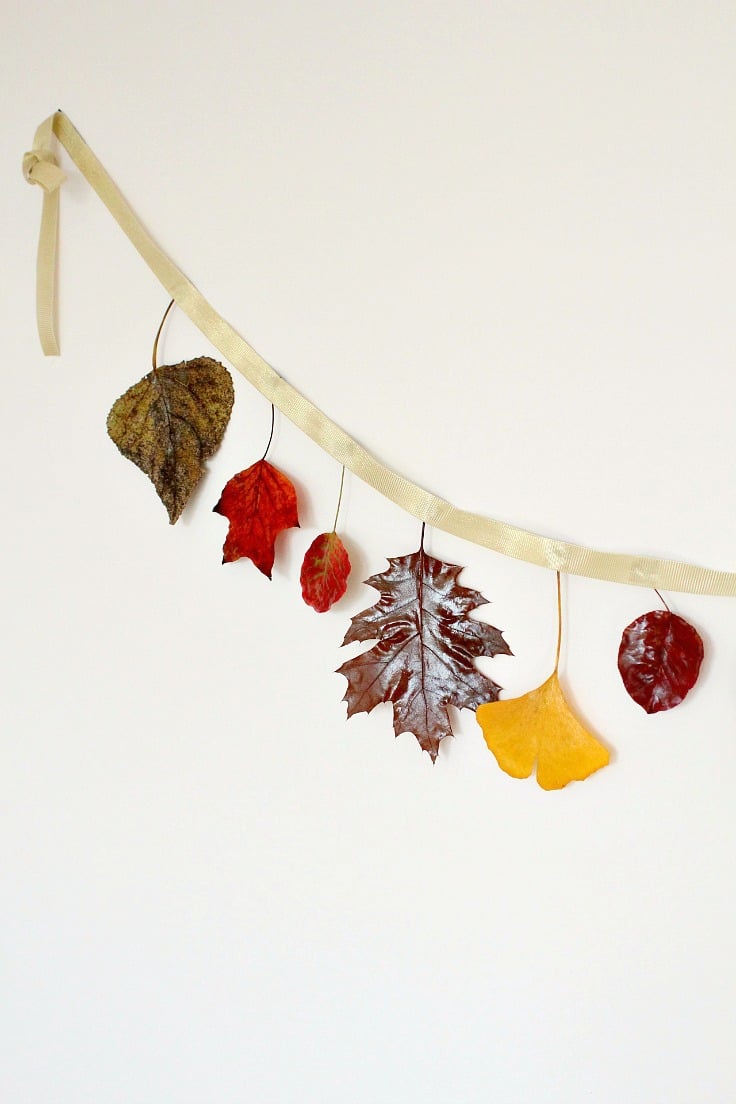
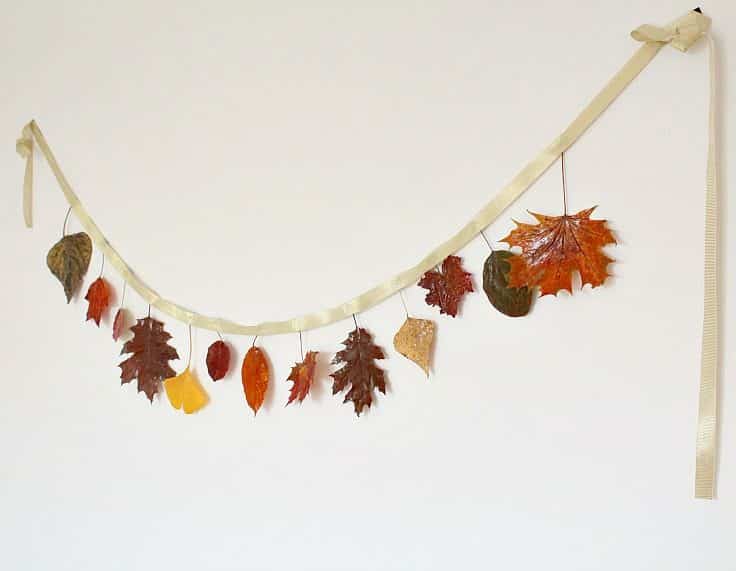
This fall leaves garland is ridiculously easy and quick to make, I can barely call this a tutorial! I bet you’ve already figured out how to make your own fall garland by yourself just by looking at the photos. Once you’ve got your supplies together, making this super simple autumn garland should take you less than 10 minutes. You could then display this pretty fall leaf garland across a fireplace, or along an empty, white wall as I did.
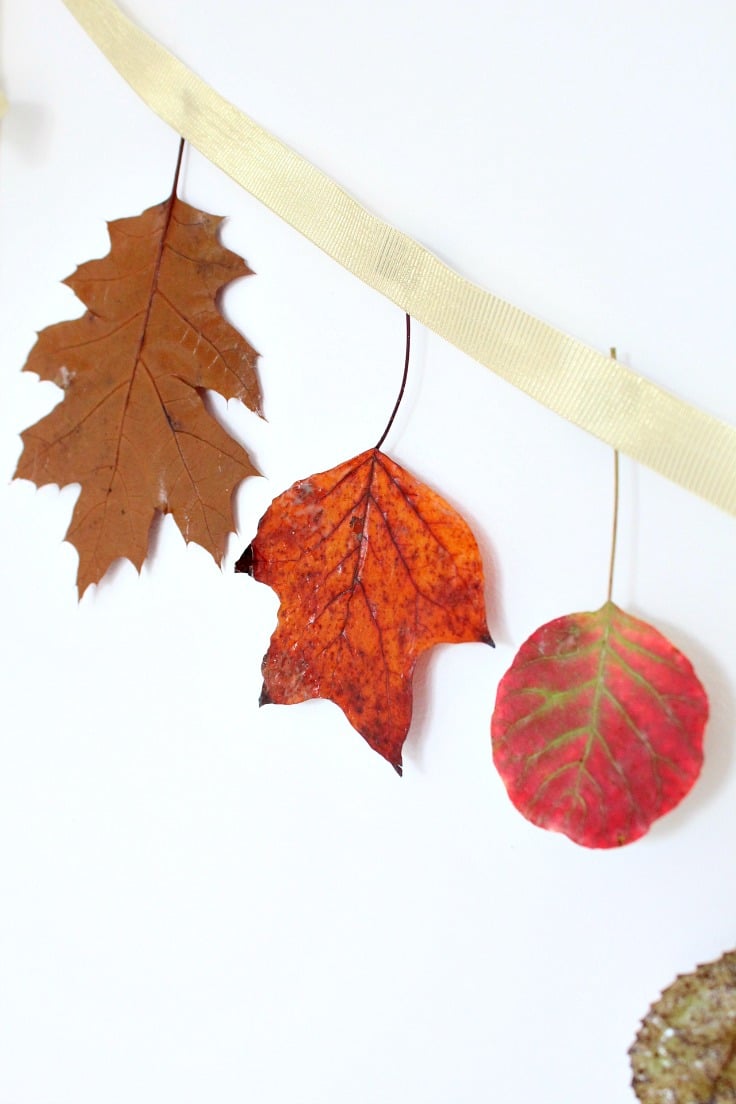
For your leaves garland you can use real leaves from your backyard or the park or you can purchase artificial ones and then paint them in the colors you like. But in my personal opinion, this fall leaf garland looks better with natural leaves, they give your garland a more authentic look.
And if you love rustic home décor, you’ll enjoy working with natural leaves as they add a touch of warmth to any house. If you’re feeling adventurous you can always spray some glitter on the leaves before adding them to your leaves garland, instead of going “au naturelle” as I did!
How to make a fall leaves garland
Materials:
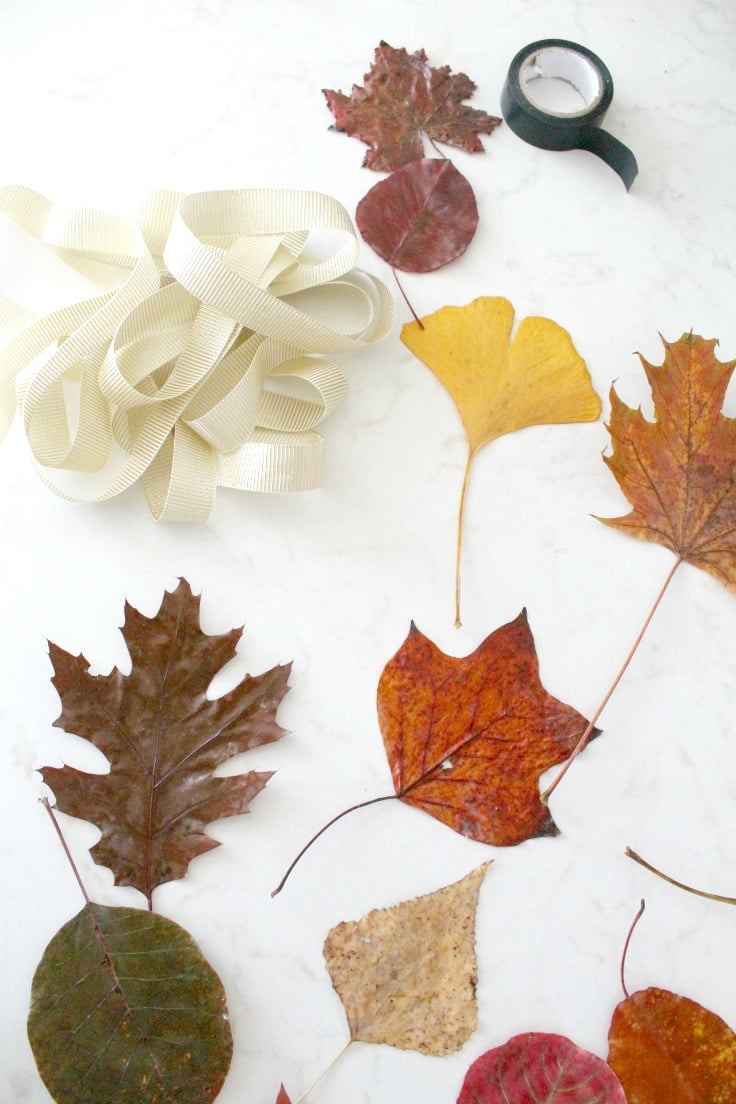
- Leaves in various fall colors.
- Ribbon.
- Strong adhesive tape or glue (I used tape as the leaves will eventually dry and crumble and I didn’t want to stain the ribbon as it would go to waste once the leaves are gone; I wanted to reuse it cause I’m cheap like that!).
- Clear acrylic paint spray.
- Scissors.
Directions:
- Pick only the healthy looking leaves and place them under a book overnight. Don’t pick fully dried leaves, they’ll crumble. You need leaves with some moisture in.
- Spray all leaves on the front (the “right side”) with acrylic paint. This will help them last a little longer. Once dry, spray on the back. Leave to dry.
- Lay your ribbon on a flat surface and distribute the leaves evenly, face down, mixing the shapes and colors.
- Apply small strips of tape (make sure you get a strong tape) to the stems. Press on the tape to make sure both the ribbon and the stems are attached.
- Your easy peasy autumn leaves garland is ready! Hang on a wall, above a Thanksgiving table or across a fireplace.
Tips
- If you’re using real leaves, keep in mind that they will eventually dry out and become fragile. It might be helpful to reinforce the leaves with some sort of clear sealant to help them hold their shape and color for longer.
- Once you’re done using the fall leaves garland, you can repurpose the ribbon and any artificial elements for future fall decorations or craft projects. This DIY project is not only easy and affordable, but also sustainable!
- To preserve the vibrant colors of the natural leaves for as long as possible, keep your garland out of direct sunlight and away from sources of heat.
Craft variations
- For a little extra flair, try incorporating small pinecones, acorns, or even twigs between the leaves on your garland. These additional elements can enhance the natural aesthetic and give your garland more texture and visual interest.
- Don’t be afraid to experiment with different types of leaves and colors to create a unique and personalized fall garland that matches your home décor. You can even mix in some artificial leaves or flowers for added dimension.
- For a more vibrant look, consider painting the edges of some leaves with metallic paint or glitter. This simple technique can elevate your garland and add a touch of sparkle to your décor.
- You could also add small strings of fairy lights throughout the garland to make it truly stand out, especially during evening gatherings or cozy nights at home. The lights will illuminate the leaves, creating a warm and inviting atmosphere.
- If you’re making this garland with kids, let them personalize it by adding their names or small hand-drawn decorations on the leaves before adding them to the garland. This could become a cherished family activity and a wonderful way to engage children in seasonal crafts.
Frequently asked questions
How long will a fall leaves garland last?
The lifespan of a fall leaves garland largely depends on the materials used and the care given to it. If you’ve opted for natural leaves, the garland may last a few weeks to a couple of months, depending on the environment. Keeping it away from direct sunlight, moisture, and heat sources will help maintain its appearance longer. Using the acrylic spray for preservation can extend its life, but over time, natural leaves will still dry out and become fragile.
Can I use fresh leaves without preservation?
While it’s possible to use fresh leaves without any preservation spray, be aware that they will swiftly dry out and lose their vibrant color. They may start to crumble within days, especially if the room is warm and dry. It’s generally advisable to at least flatten the leaves and give them a protective spray to ensure they retain their beauty a little longer.
Are there alternatives to adhesive tape?
Yes, instead of tape, you can use a hot glue gun for more secure attachment, especially if the garland is made with artificial leaves or if you are adding elements like pinecones or twigs. Just be cautious with real leaves, as excessive glue might damage them, and removal could become challenging when the garland is disassembled.
Can I create a longer garland?
Absolutely, you can craft a garland as long as you need by simply adding more ribbon length and ensuring an adequate supply of leaves and other decorations. When creating lengthy garlands, it’s advisable to have sturdy support in place during assembly to avoid overwhelming the base material, ensuring each leaf and decorative element remains well-secured.
What are some storage tips for a garland?
If you plan on reusing your garland or its components, store it in a cool, dry place away from direct sunlight. For artificial decorations, gently coil the garland and place it in a storage box to prevent tangling or damage. If real leaves are being stored, consider discarding them at the end of the season since they’ll likely have deteriorated.
More fall décor you will enjoy:
- DIY yarn wall hanging
- Stick shelves DIY
- Fabric bunting Christmas décor
- Honeycomb craft with recycled paper tubes
- Sun and feather wall décor
- Fall centerpiece with twigs and leaves
- Peanut bird feeder wreath
- Jute table runner Thanksgiving table idea
- DIY t-shirt pumpkins
- Burlap toilet paper pumpkins
Making a fall leaves garland is a simple and fun DIY project that can add a touch of autumn to your home décor. In just a few minutes you can create a beautiful and sustainable decoration that will impress your guests and last throughout the season. So give it a try and don’t forget to share this tutorial with friends and family, as it’s an excellent way to bond over seasonal crafts. Happy crafting!
Fall leaves garland
Materials
- Leaves in various fall colors
- Ribbon
Tools
- Strong adhesive tape or glue
- Clear acrylic paint spray. or sealant of choice
- scissors
Instructions
- Pick only healthy looking leaves and place them under a book overnight. Don't pick fully dried leaves, they'll crumble. You need leaves with some moisture in.
- Spray all leaves on the front (the "right side") with acrylic paint. This will help them last a little longer. Once dry, spray on the back. Leave to dry.
- Lay your ribbon on a flat surface and distribute the leaves evenly, face down, mixing the shapes and colors.
- Apply small strips of tape (make sure you get a strong tape) to the stems. Press on the tape to make sure both the ribbon and the stems are attached.
Article may contain Amazon & affiliate links. As an Amazon Associate I earn from qualifying purchases at no additional cost to you.


ABOUT PETRO
Hi, I’m Petro, author and founder of Easy Peasy Creative Ideas. Sewist, crafter, avid DIY-er, foodie, photographer, homemaker and mommy to one. I’m an expert at coming up with quick, clever sewing tips, recycling crafts and simple, easy recipes! You can find my ideas featured in reputable publications such as Country Living, Good House Keeping, Yahoo News, WikiHow, Shutterfly, Parade, Brit & Co and more. Thanks for stopping by and hope you’ll stay for a while, get to know me better and come back another time. Stick around for real fun projects! Read more…