

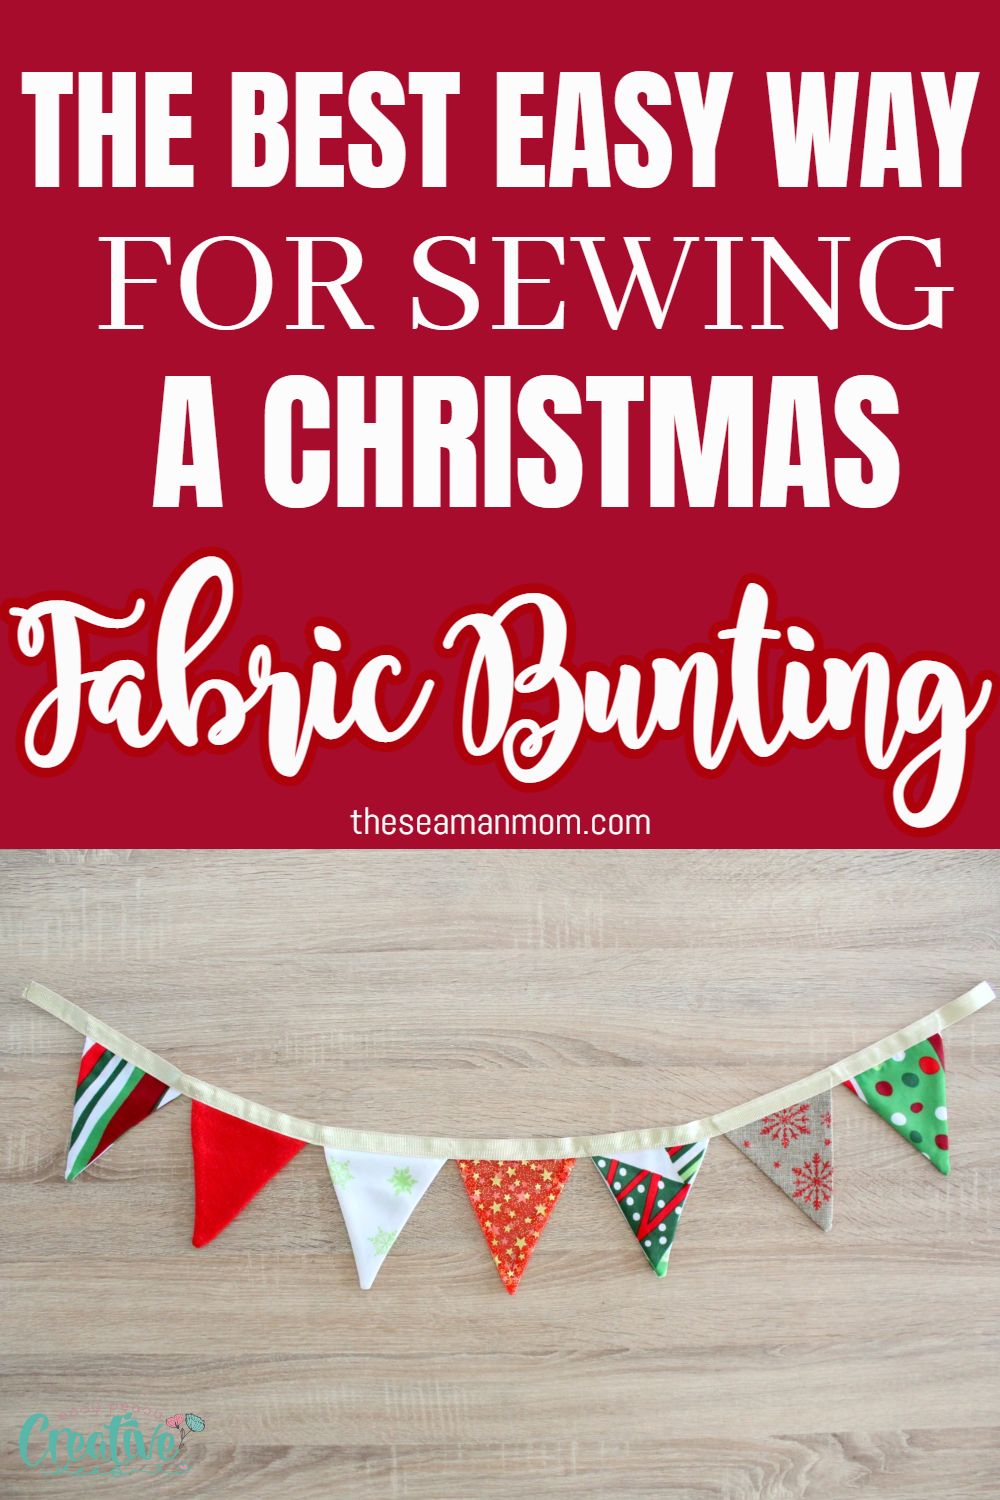
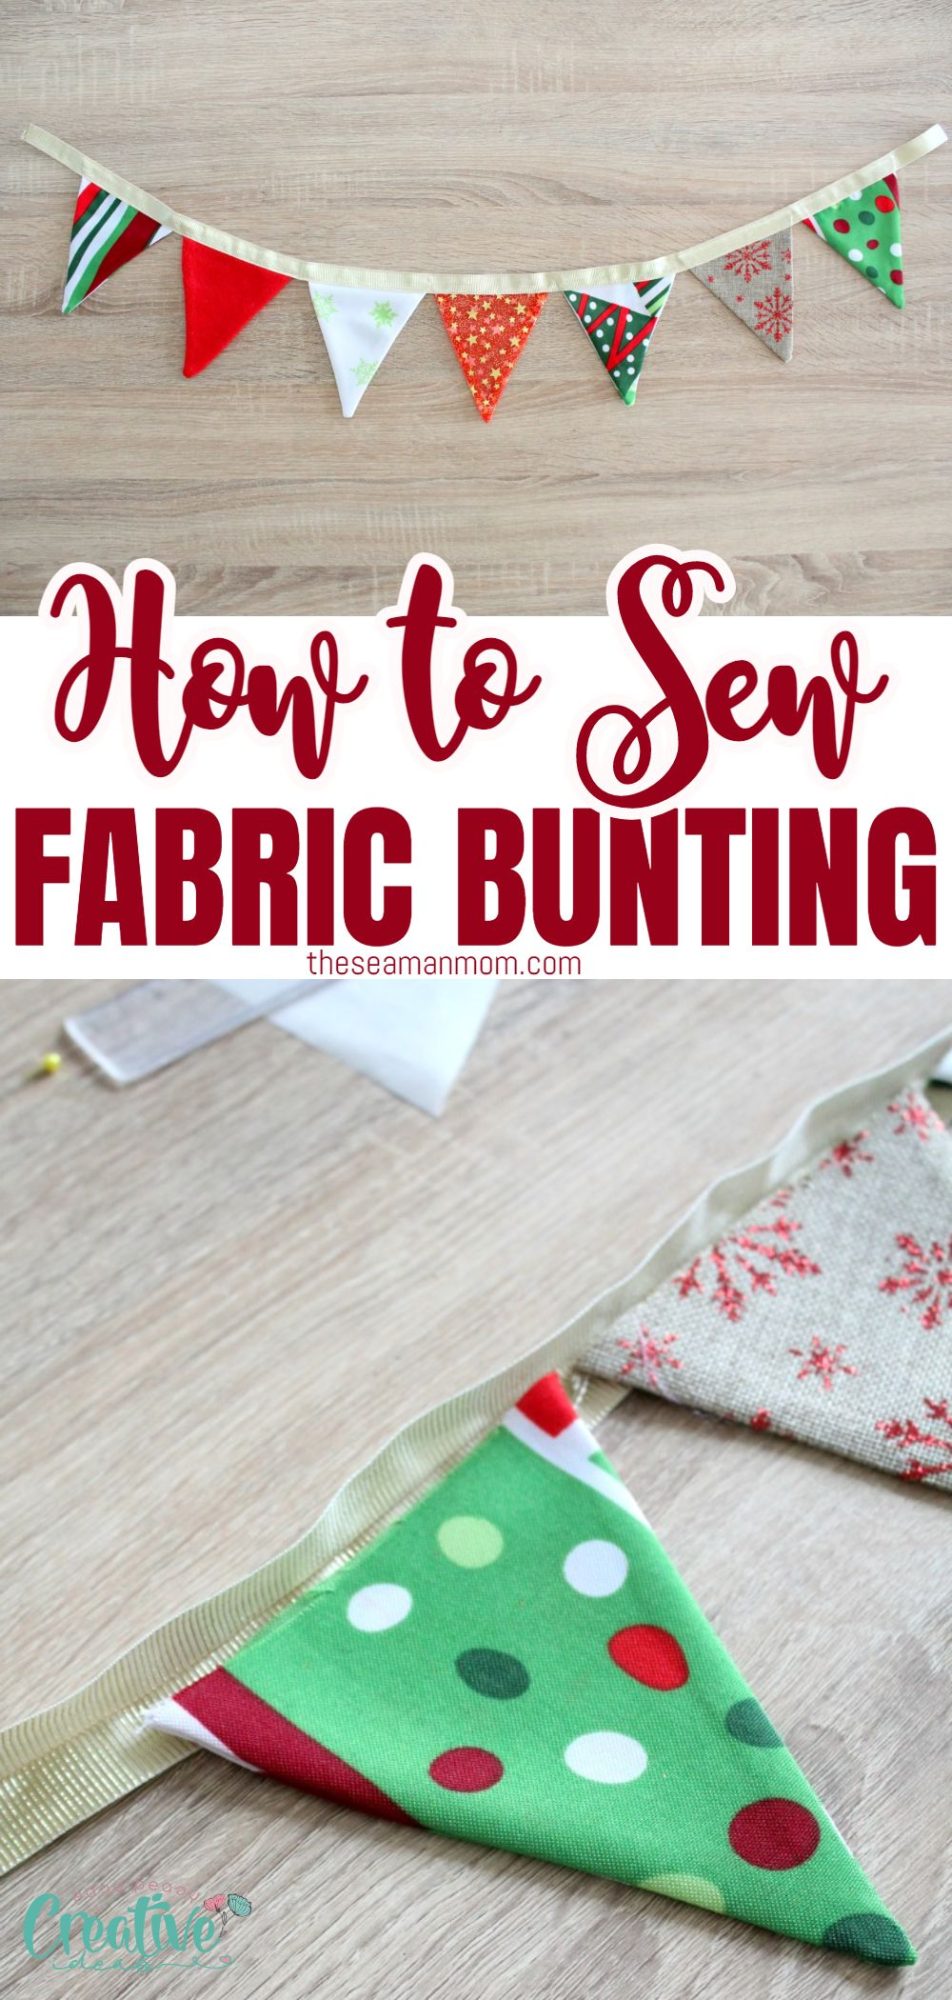
How to Make a Fabric Bunting for a Fun Christmas Party
With endless color choices, Christmas fabric buntings are an excellent way to add color and texture to a room, the easy and quick way. Make your own DIY Christmas bunting in just a few steps with this easy fabric bunting tutorial.
Fabric bunting sewing craft
Wondering how to make an inexpensive party decoration? Learn how to make your own fabric bunting with these step-by-step instructions. Have fun with fabric bunting! Not all parties need to be fancy, costly and time-consuming to be memorable. Get inspired with these easy-to-make DIY fabric bunting decorating ideas.
What is a fabric bunting?
A fabric bunting is a pennant-like banner made of fabric, often hung outdoors or indoors as decoration. Fabric bunting can be used to celebrate any type of event, such as patriotic holidays, weddings, birthdays and more.
This simple and super quick fabric bunting is cute enough to spruce up any room for any occasion but I’m particularly fond to these flags at Christmas! I don’t normally like home decor on my walls as I’m super minimalist but Christmas is contagious, can’t help but to decorate anything in sight! And this festive decoration is just perfect!
Fabric bunting can add color, texture, and style to any space in your home. It’s also simple to make, inexpensive and very customizable. Add some color to your Christmas party with this easy fabric bunting. Make your holiday party festive by adding other elements, such as table decor, to match. Invite the neighbors over to enjoy the festivities with you. It’s easy to create your own garlands to adorn your home for an affordable price.
More Christmas sewing ideas:
- Simple stocking pattern
- Elf stocking pattern
- DIY cutlery holder sewing tutorial
- Fabric tree ornaments
- Christmas tree pillows
- Yoyo trees decorations
- Mini mitten ornaments
I have this little empty corner in my living room, where I try to grow a ficus plant. The plant looks quite lonely over there and I thought I would make something cute to keep it company. And what’s best than a little Christmasy fabric bunting? This DIY fabric bunting is also an excellent way to find a good use for all those fabric scraps I keep stashing!
And because it’s made with fabric and sewn, this garland is more durable than a paper or cardboard one. So simple to make too, just a straight stitch here and there and you’re done!

This Christmas bunting is a great beginner sewer project since it’s super-easy and no complicated skills are involved! And it looks very pretty hanging on walls, in trees, in your kid’s rooms, the nursery or even on a fence. If you’ve ever wondered how to make fabric bunting, now is the perfect time to learn and make a couple for yourself or even give these as gifts. Celebrate the holidays with a quick and easy last minute holiday fabric bunting!
How to make fabric bunting without sewing?
Not everyone is a skilled sewist. If you’re looking for an easy way to make fabric bunting without sewing, using double sided fusible interfacing is a great option. Fusible interfacing is a type of interfacing that can be ironed to fabrics. It’s available at most fabric stores in either a roll or a sheet form. It help preventing the raw edges of the fabric from fraying.
How to make buntings with pinking shears
If you’re looking for a quicker way to make fabric buntings, try using pinking shears. Pinking shears are scissors that have teeth-like edges, which help to prevent the fabric from fraying.
To make a fabric bunting with pinking shears, follow these simple steps:
- Cut your fabric into triangles
- Hem all cut edges with pinking shears instead of sewing them if possible. This will prevent the edges from fraying.
- Use a hot glue gun to adhere the fabric to the ribbon or hand sew them. Just be careful not to burn yourself with the hot glue!
- Hang your fabric bunting with pride!
What type of fabric should I use for my bunting?
The sky’s the limit when it comes to fabric choices. You can use solid color fabrics or patterns. When choosing the type of fabric to use, keep in mind that it should be lightweight for easy tying and hanging.
How many triangles should I add to my bunting?
Depending on the size of your fabric and if you want a small or a medium pennant banner, you may need between three-four and six-seven triangles for each bunting flag. For large banners use at least 10 pennants.
Tips for making fabric bunting:
- If you’re using a lightweight fabric, you may want to weight the bottom of the triangles with a few small beads or stones to prevent them from blowing away in the wind if using the fabric bunting outdoors.
- If you’re looking for a quick and easy party decoration, choose a fabric that has a festive design on both sides.
- When choosing fabric for your bunting, keep in mind that light colors show dirt and stains more easily than darker colors.
- Use a rotary cutter, quilting ruler and cutting mat to make quick and accurate cuts for your fabric bunting.
- Don’t have a sewing machine? No problem! You can hand sew the fabric triangles together using a simple running stitch.
- For a fun variation, try making your fabric bunting in different shapes, such as circles, squares or triangles.
Fabric bunting Decoration suggestions:
- Try using a different type of fabric for each flag on your bunting.
- Add a special touch to your flaf by using ric rac as trim for the pennants.
- Add embroidery or other details to your fabric bunting flags with a needle and thread.
- Hand stitch or glue shapes or letters to add some more fun to your bunting triangles!
- Use fabric paints to paint your pennants.
- Add pom poms or tassels for a fun embellishment.
- Try using lace or other pretty fabrics for a more delicate look.
Similar posts you might like:
Make your own bunting in no time before the guests arrive if you host a party and you’re not quite finished decorating! Just in time for Christmas! While super easy to make on your own, you can get my template here if you need help with that aspect.
Fabric Bunting is used for all kinds of occasions. If you are hosting a party, then it will bring color, fun and excitement to your party. Below are easy to follow instructions.
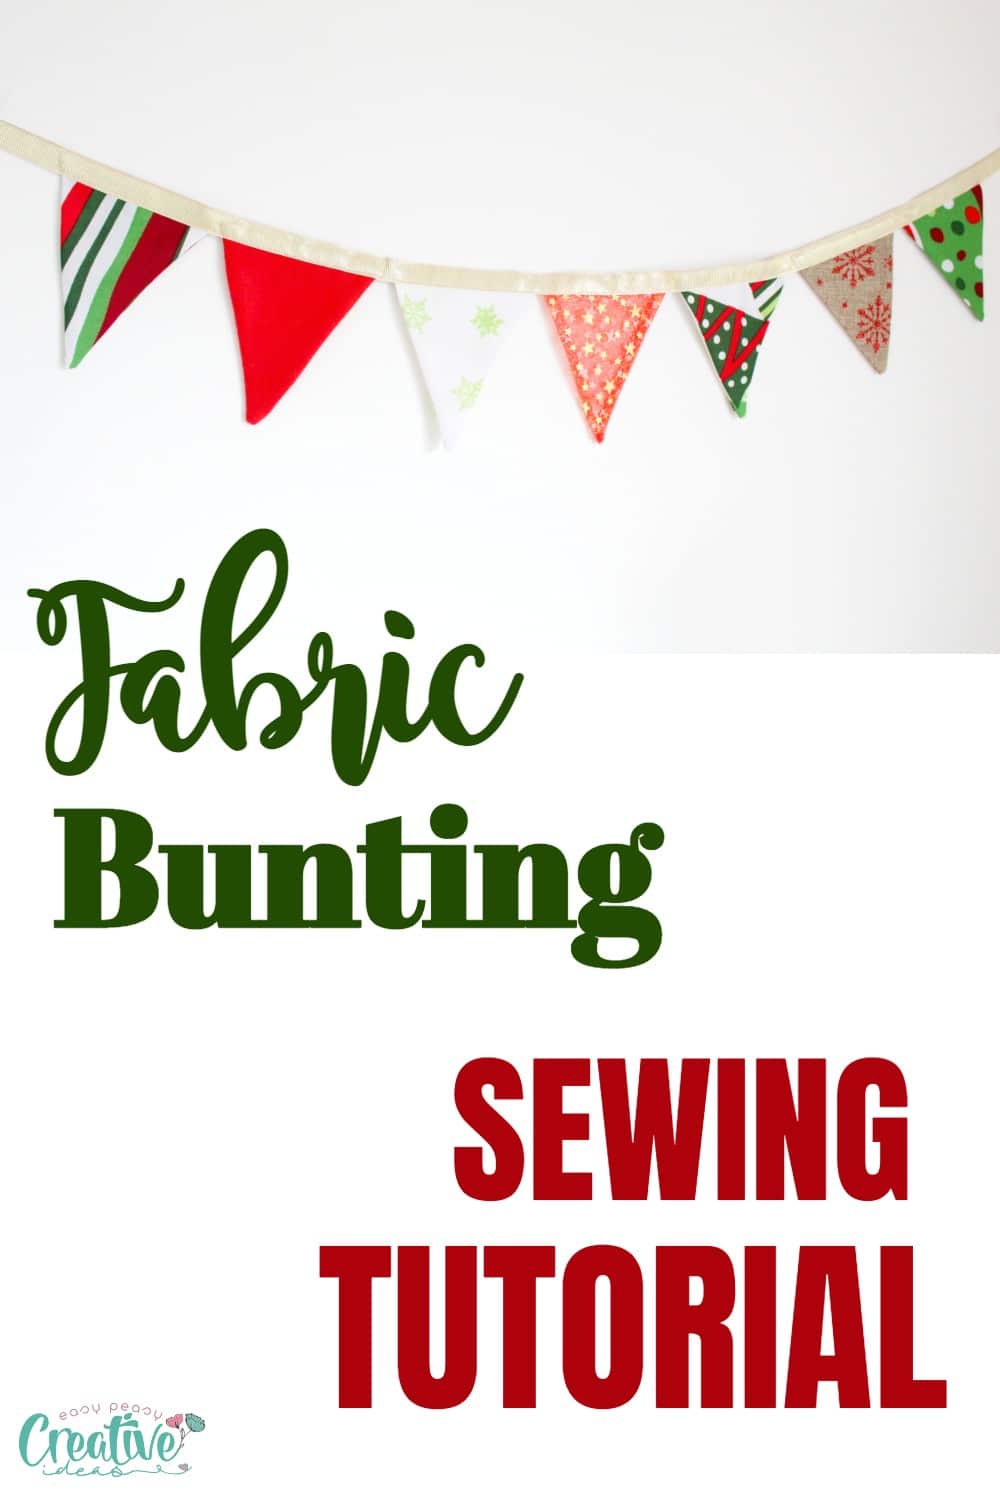
How to make fabric bunting
Materials:
- A few pieces of fabric in various colors, patterns and textures (I used cotton fabrics, burlap, soft felt and organza)
- Ribbon (I used golden ribbon I’ve got from this Burlap table runner project) – 2 strips. Alternatively, use bias tape.
- thread
- bunting Template (get it from here if you don’t want to make your own)
- Cutting mat
- Rotary cutter
- Ruler
- sewing machine
Step by step guide:
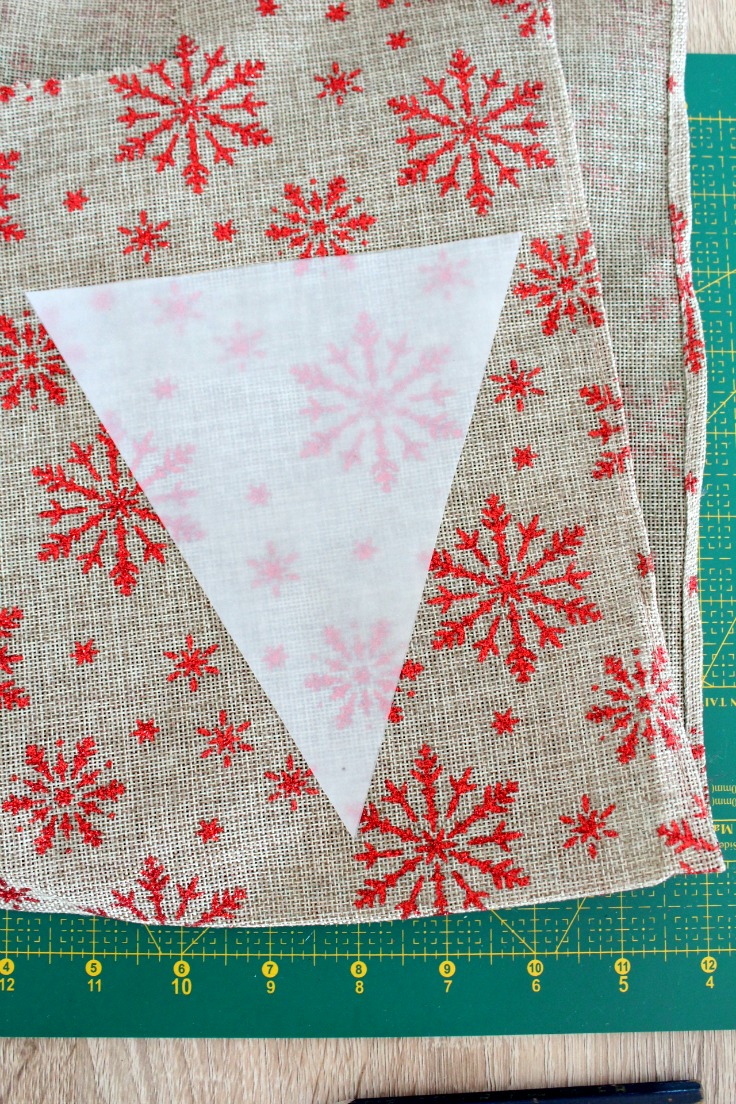
Step 1: Preparation
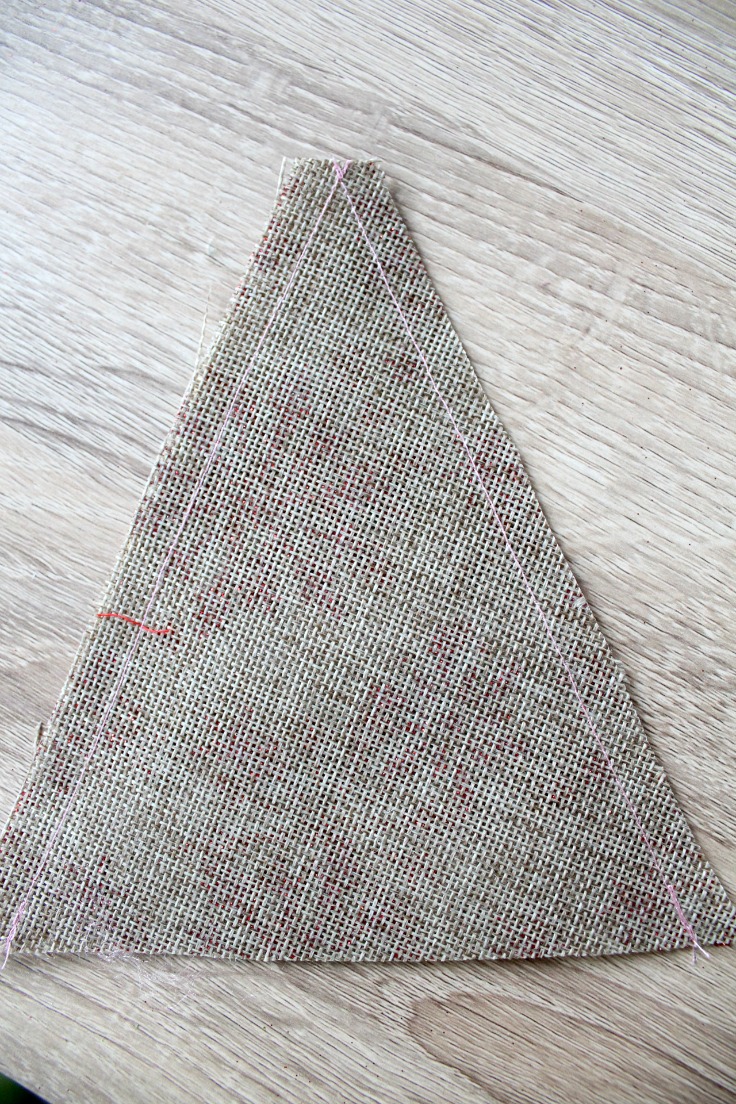
- Print out your template for the flag bunting.
- Fold fabric pieces in half and cut around the template. This way you’ll have two layers of fabric at the same time. Use the ruler to cut straight lines.
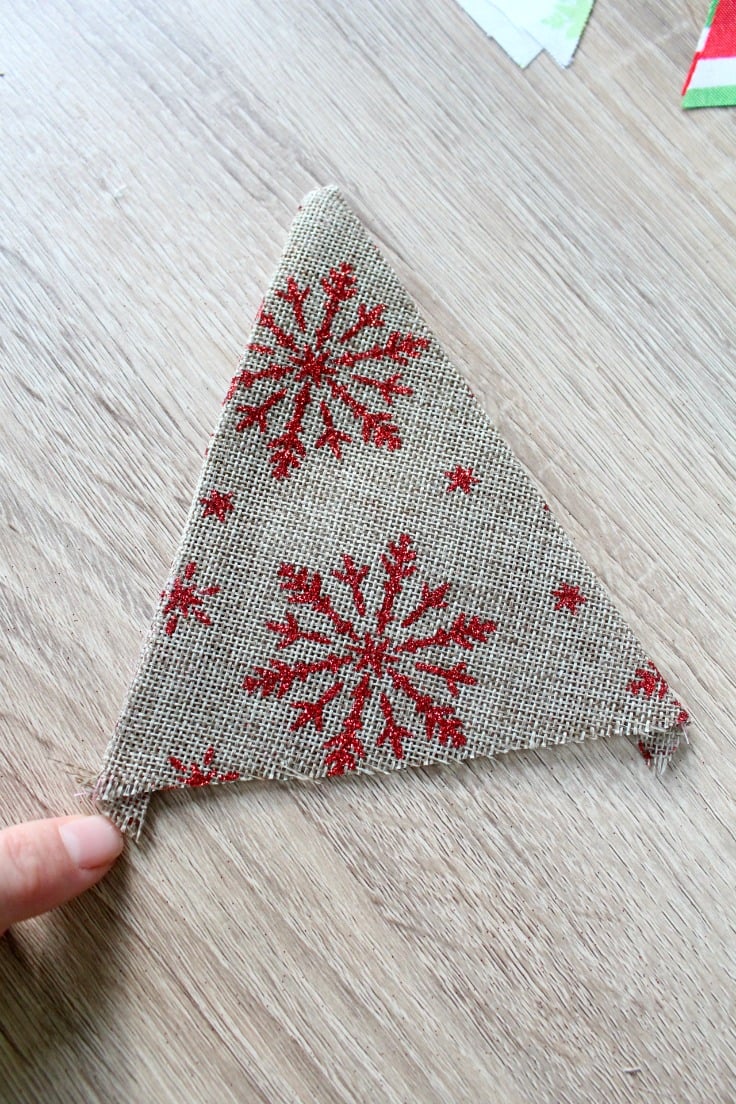
Step 2: Sewing the triangles
- Put the fabric triangles right sides together and stitch down the long sides.
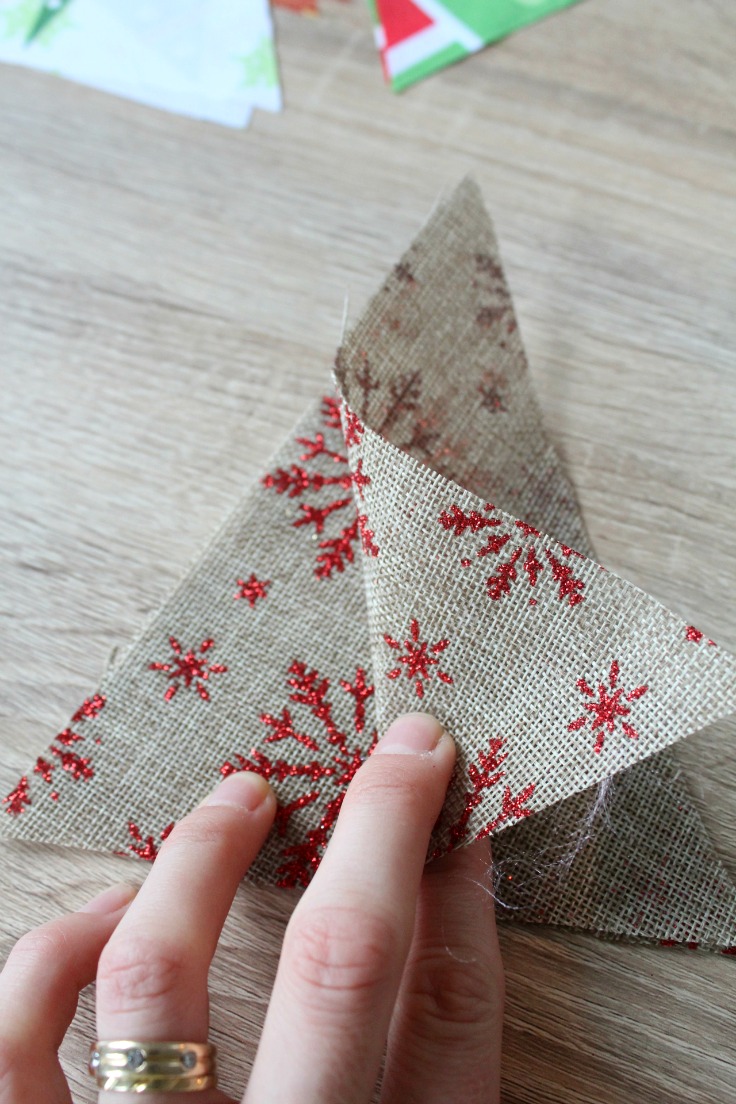
- Trim excess fabric at the tip.
- Turn the triangle right side out and using a pointy tool (but not too sharp) push the tip of the triangle (I used a crayon) to get a nice sharp point.
- Do as many triangles as you like then press them all.
- Trim the seam that’s sticking out.
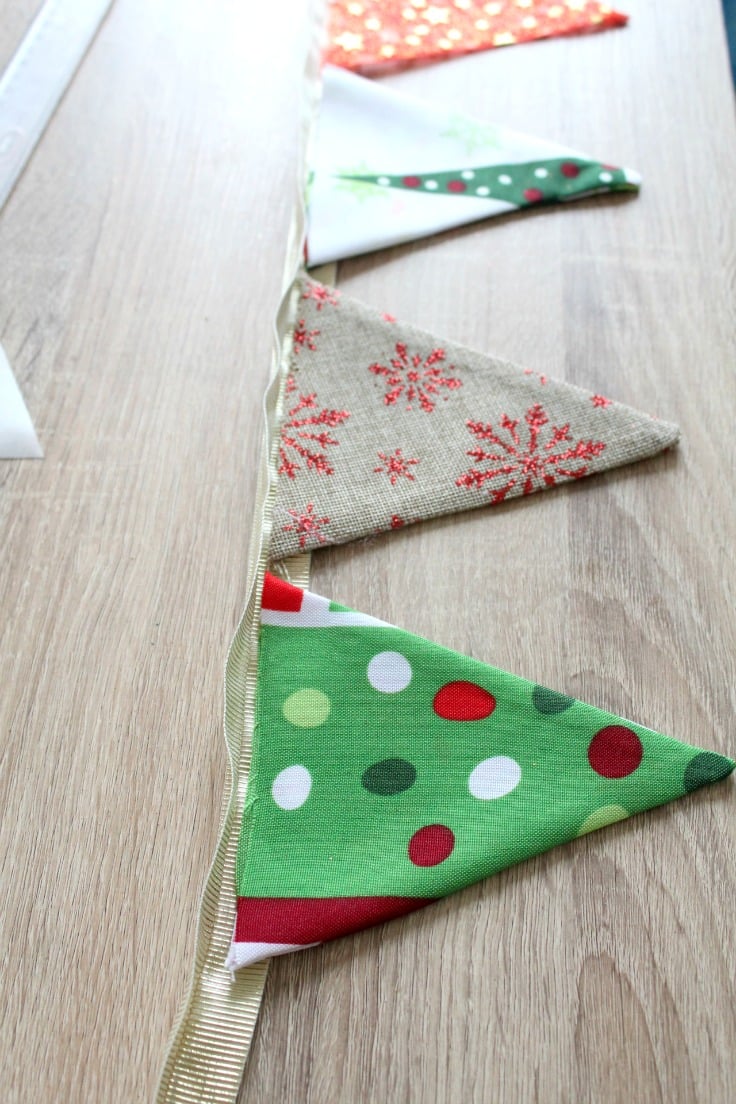
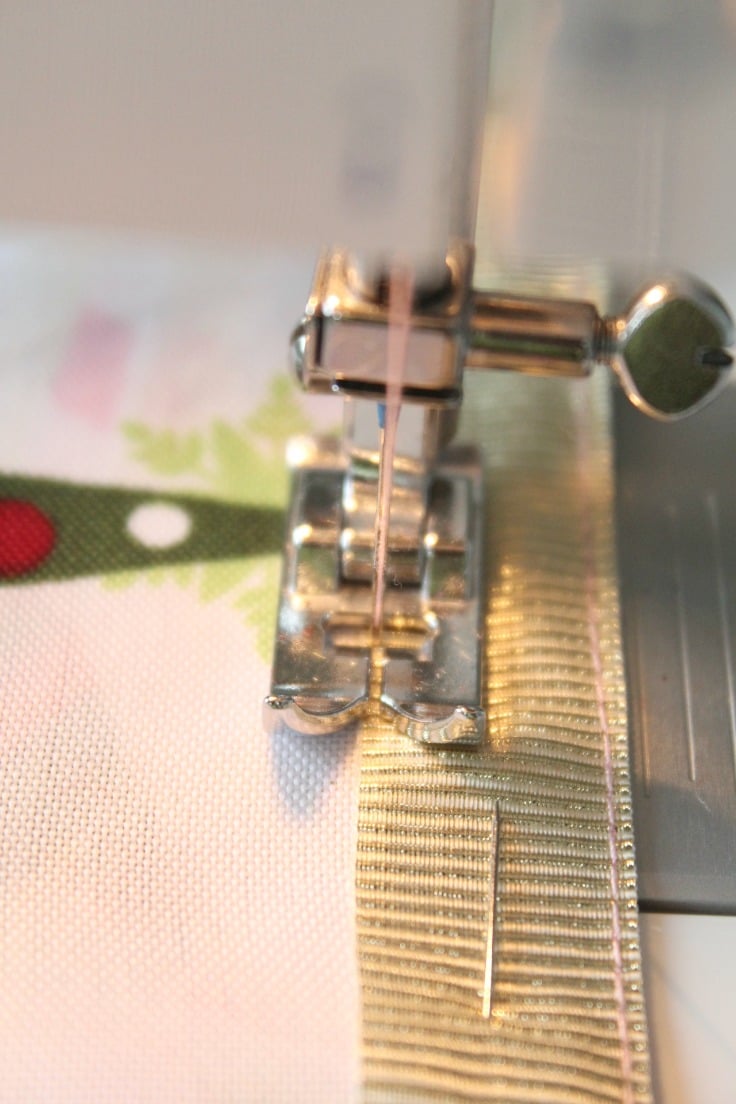
Step 3: Attaching the triangles to the ribbon
- Time to attach the triangles to the ribbon. Put the 2 ribbon strips right side together and sew down on one side, as close to the edge as possible.
- Open up the ribbon casing and arrange your fabric triangles as you like.
- Close the ribbon casing and pin
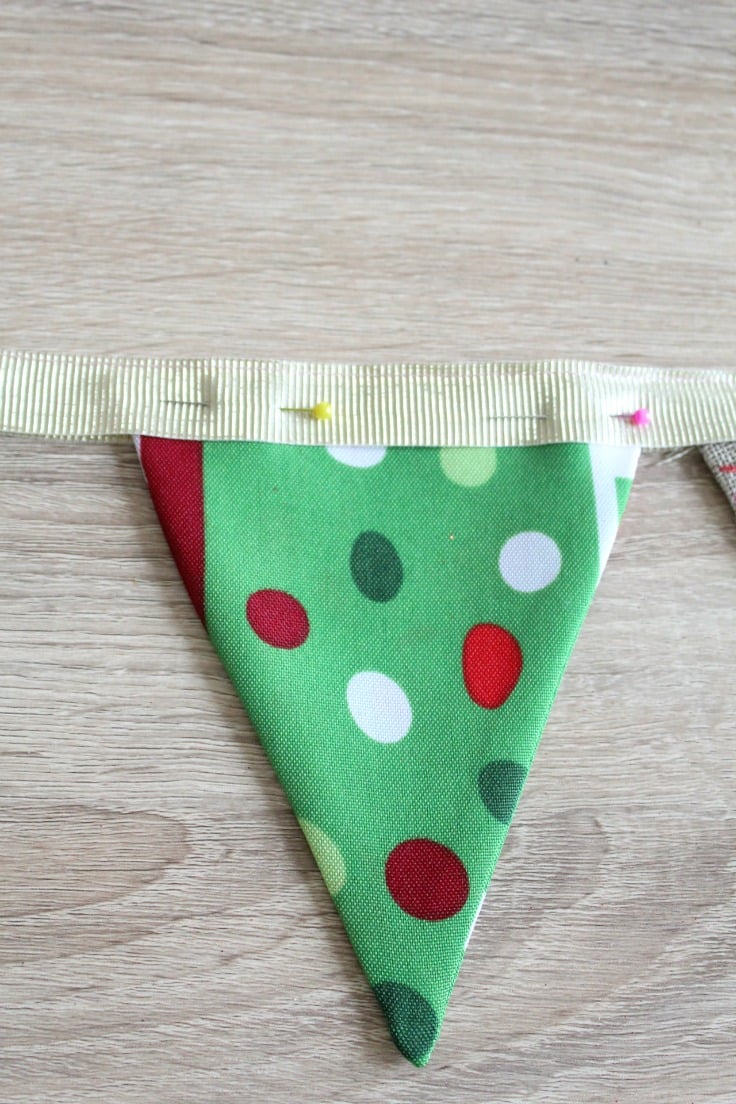
- Sew down as close to the the edge as possible, making sure to catch through both sides of the ribbon with the needle.
- Press again and hang your fabric banner on a wall, the mantle, Christmas tree or a fence.
Now that you know how to make your own first fabric flag, you’ll probably want to keep making these cuties over and over again, for every occasion! But for now, let the celebration begin!
Pin to save for later
Most popular sewing projects:
- Tips for sewing a round hem
- Corded bag handles
- Flutter sleeve dress pattern
- How to laminate cotton fabric


Article may contain Amazon & affiliate links. As an Amazon Associate I earn from qualifying purchases at no additional cost to you.

This is really easy! It’s the best way to make some new Christmas decorations!
Oh my! This is so cool and so creative! I would really love o try making this with my kids!
Wow! This is so creative! I’m sure my kids would love and enjoy making these! So cute!
I love this idea. It’s easy and beautiful. I will make this to add for our Christmas decor.
This is such a great idea. I love how festive it is too. I have never actually made one of these before. I love it.
This is adorable. I have never sewn a bunting before and it is nice to have some crafts that aren’t disposable.
This is very creative! This is something I can do with the kids. It will definitely make our home brighter and more christmasy
Wow, what a neat concept! This actually looks like something I could do—maybe? lol
That sounds like a great arts and crafts project for myself and the kids. We’ve only made bunting with paper before.
How cool. I wish I were more crafty. I will have to show my daughter. She loves to make things.
You make sewing look so easy. I will have to try this craft.