

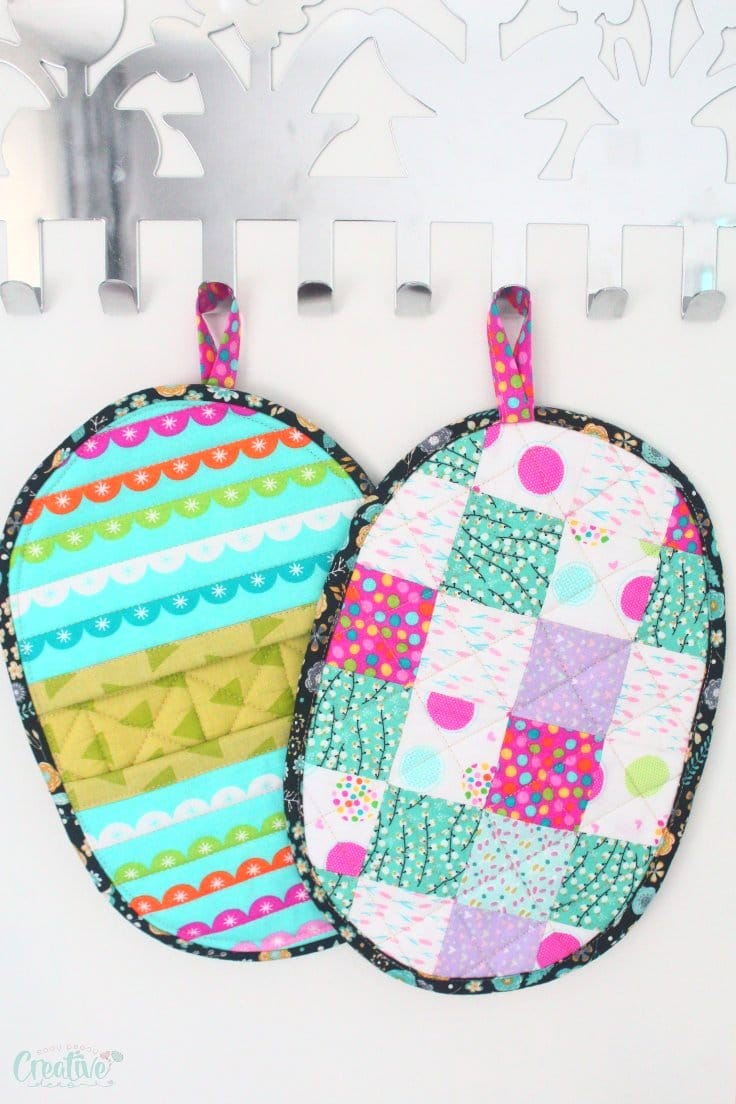
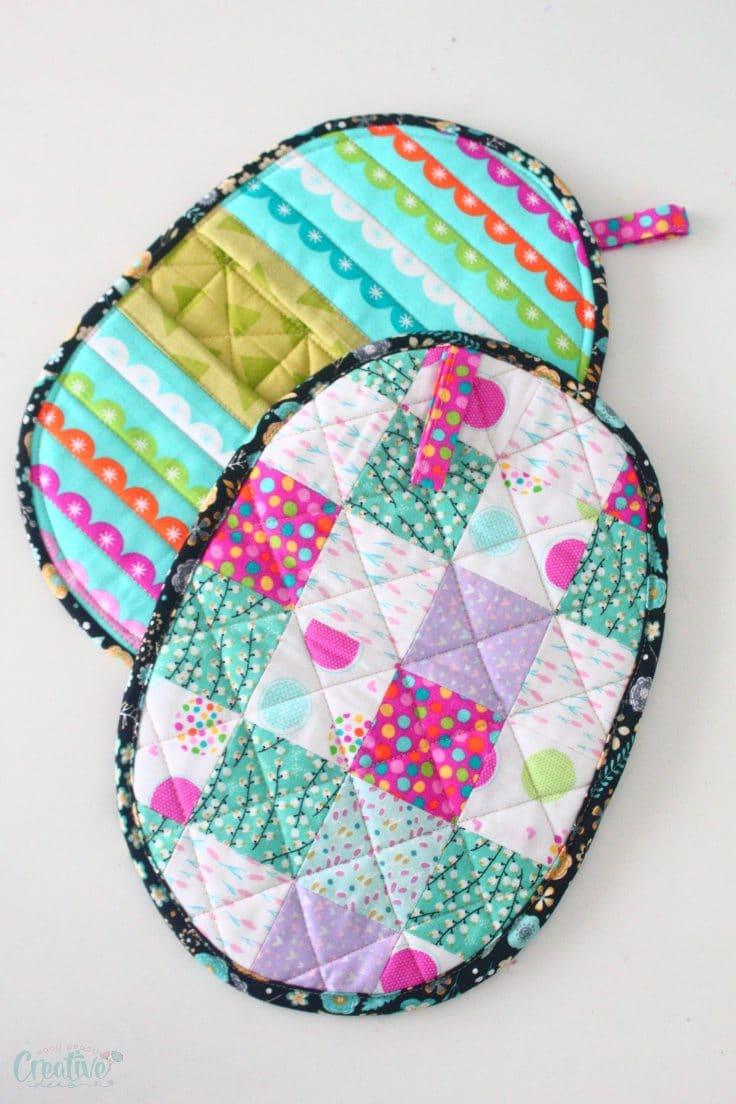
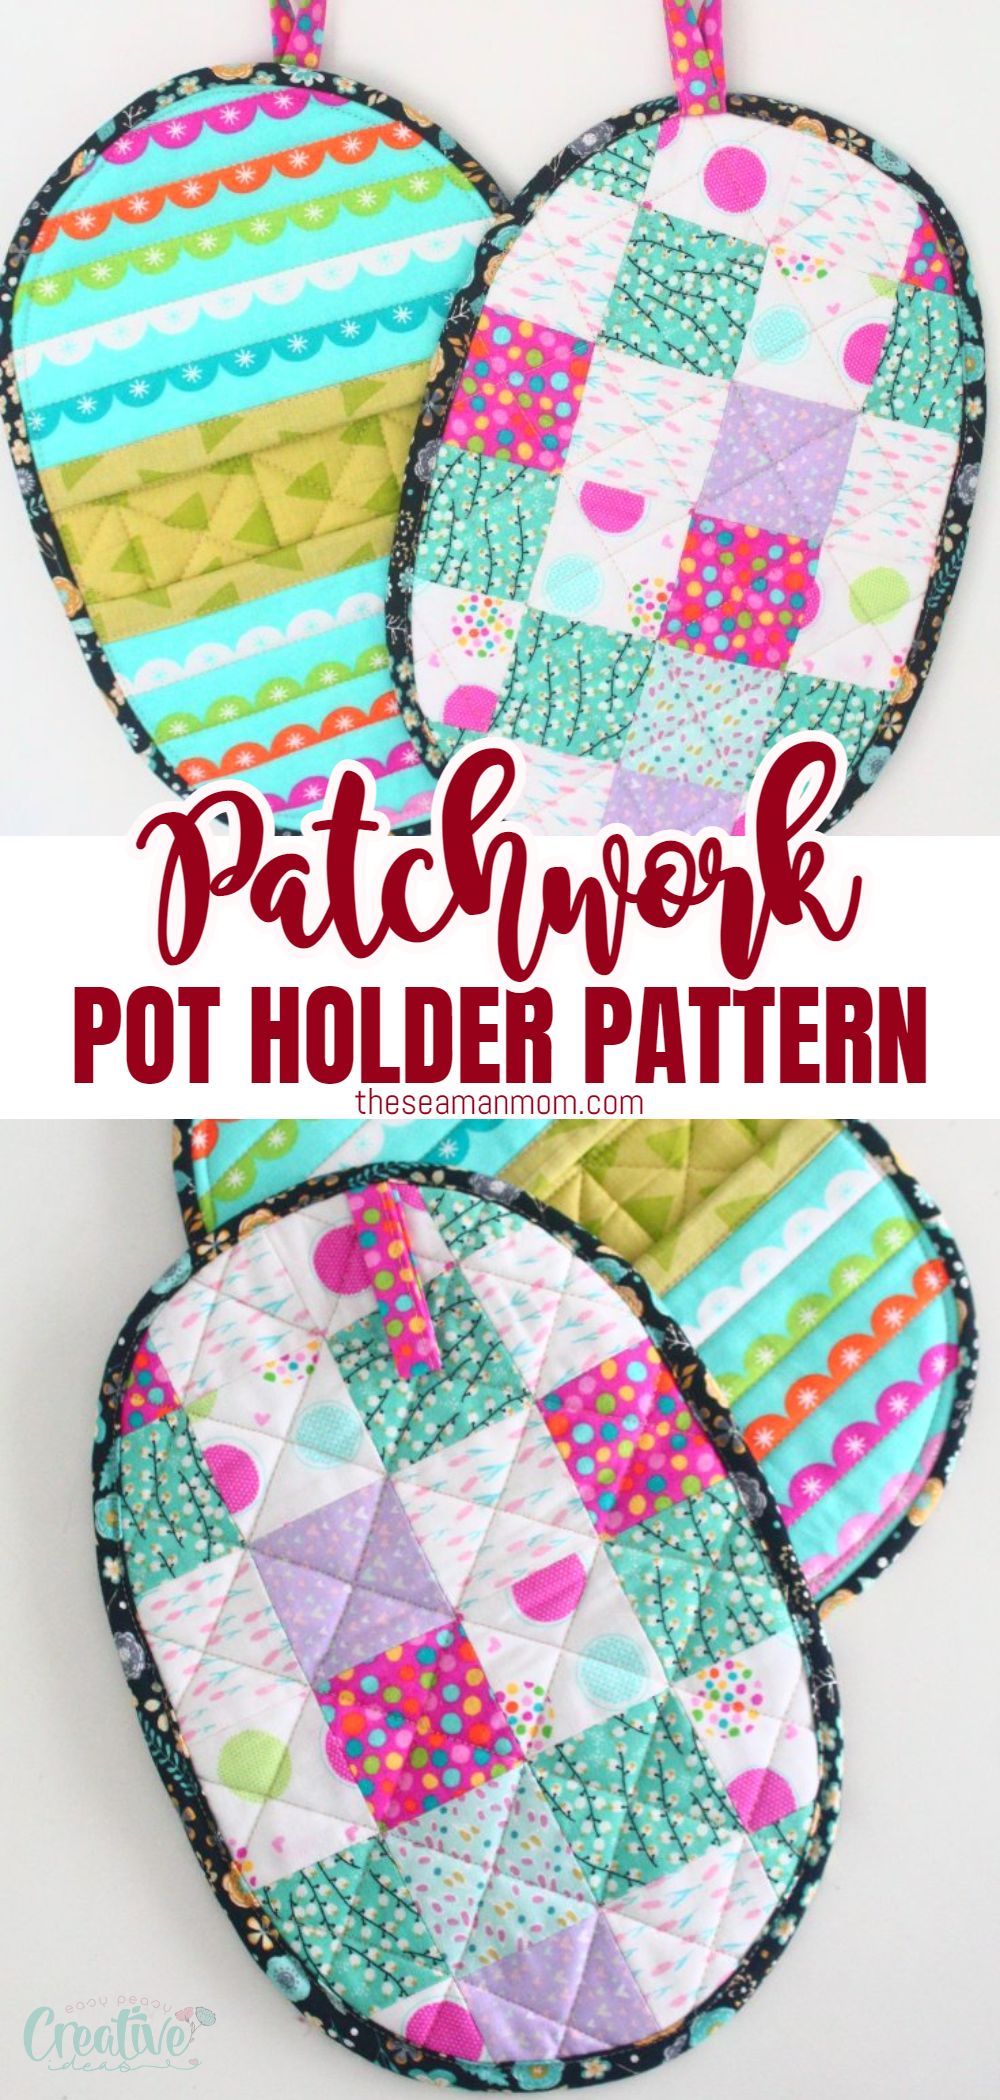
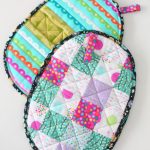
Easy patchwork potholders
Those of us who love cooking know how important it is to have a good potholder on hand, especially if your pots have metal handles which heat up a lot! This is a quick an easy tutorial for making your own rounded patchwork quilted potholders at home.
Quilted potholders
I love finding new projects that help me use up my fabric scraps, and quilted potholders are great scrap busters! Also, you can never have enough potholders, as they constantly get dirty and need to be replaced.
Other quilting projects you will love:
- Quilted snap bag
- Quilted sewing mat with thread catcher
- Round pot holders
- Quilted zipper pouch
- French braid sewing mat
- Quilted tablet case
- Fabric cone hanging basket
- Oval pocket potholders
- Square kitchen potholders
- Quilted mug shaped containers
- Pinwheel hot pads
These rounded patchwork potholders are a good beginner’s and kids’ project, as it’s only a small piece of patchwork and is a great opportunity to practice this technique. The same goes for the quilting. You don’t need to start with a large quilt if you’ve never made one, these pot holders with pockets are a great place to start before moving to larger projects.
When doing patchwork, it’s extremely important to square up the fabric correctly, so that you can work on the grain. Small projects are a bit more forgiving, but in larger ones, you can get some serious distortions from your original pattern and the finished piece won’t look as professional. You can have a look at this tutorial to see how you can square up larger pieces of fabric the super easy way.
If you can’t or just don’t want to make a patchwork potholder, you can just use a whole piece of fabric and just quilt it the same way. It will also cut down the working time if you’re in a hurry. Though, quilting is necessary and it will make the potholder a bit sturdier and more stable and will keep the batting from shifting while in use.
These rounded patchwork potholders will need a bias to cover the edges, but don’t fear, as bias tapes/bindings are sooo easy to make and sew. You can check out this tutorial I made for applying single fold bias tape to your rounded projects if you’re thinking about adding bias tape instead of bias binding to your potholders.
Why potholders are such a popular item?
Potholders are not only so efficient in the kitchen but also fun to make and everyone loves them! Here are some reasons you should make more quilted potholders
- These quilted potholders are a great project to make as a gift for your fellow cooks or for your mother on her birthday or mother’s day. They will be more than happy for not getting their hands burnt anymore.
- Take the project a little further and make a whole set of matching small, medium and large holders for the whole kitchen. Sounds like a great gift idea also, isn’t it?
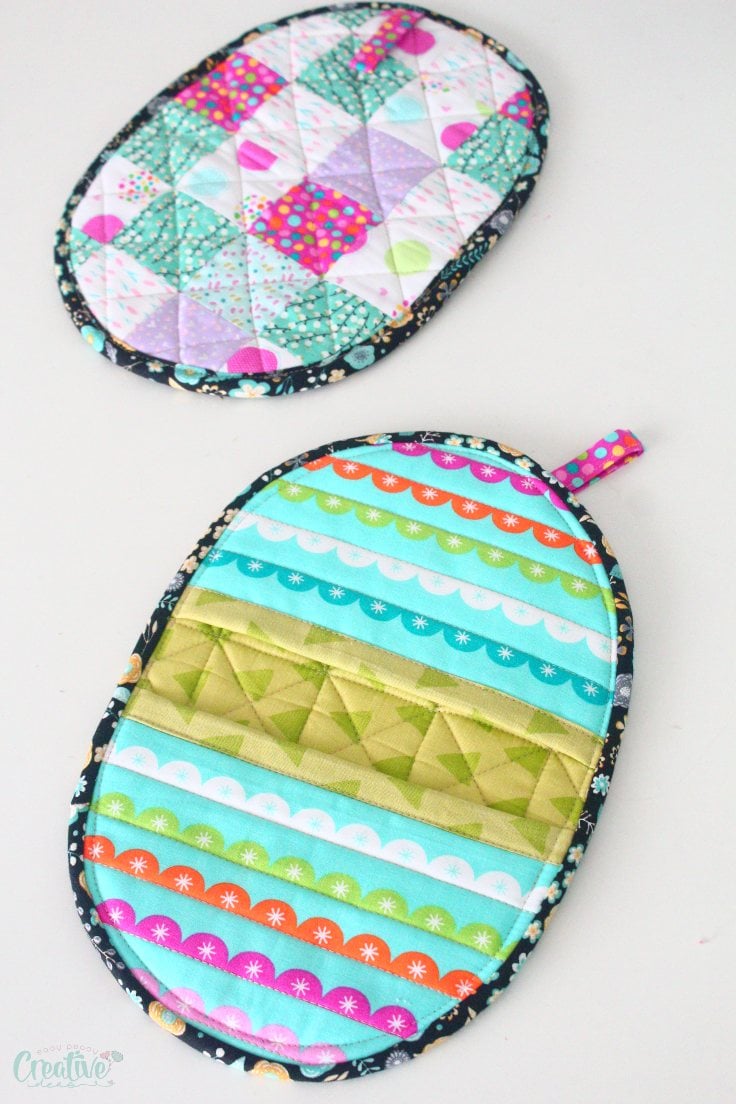
- Also, you can make themed patchwork potholders to use during the holiday season or for each season throughout the year. Seeing all those pastel tones in the spring will surely bring up a lot more joy than just a plain colored piece of cloth hanging around the kitchen.
- Make a small loop to be able to hang them somewhere near the stove and grab them as you need them. When in a hurry, there’s nothing more annoying than having to search in a drawer for a pot holder.
- With the same technique, you can make larger patchwork potholders to use on the counter or on the table, so that the hot pot bottom won’t damage the surfaces. Also, you can make larger square or rectangular holders to use them for baking sheets and larger pans.
I’m sure you found this project as useful and fun as I did, so share your thoughts in the comments section below.
Quilted potholders pattern
Materials:
- pot holders pattern
- scrap fabric
- batting (here’s what to do with the scraps)
- bias binding for the bottom edge of the pockets and for the entire potholder
- scissors
- quilting clips
- pins
- fabric marker
- matching thread
- sewing machine
Directions:
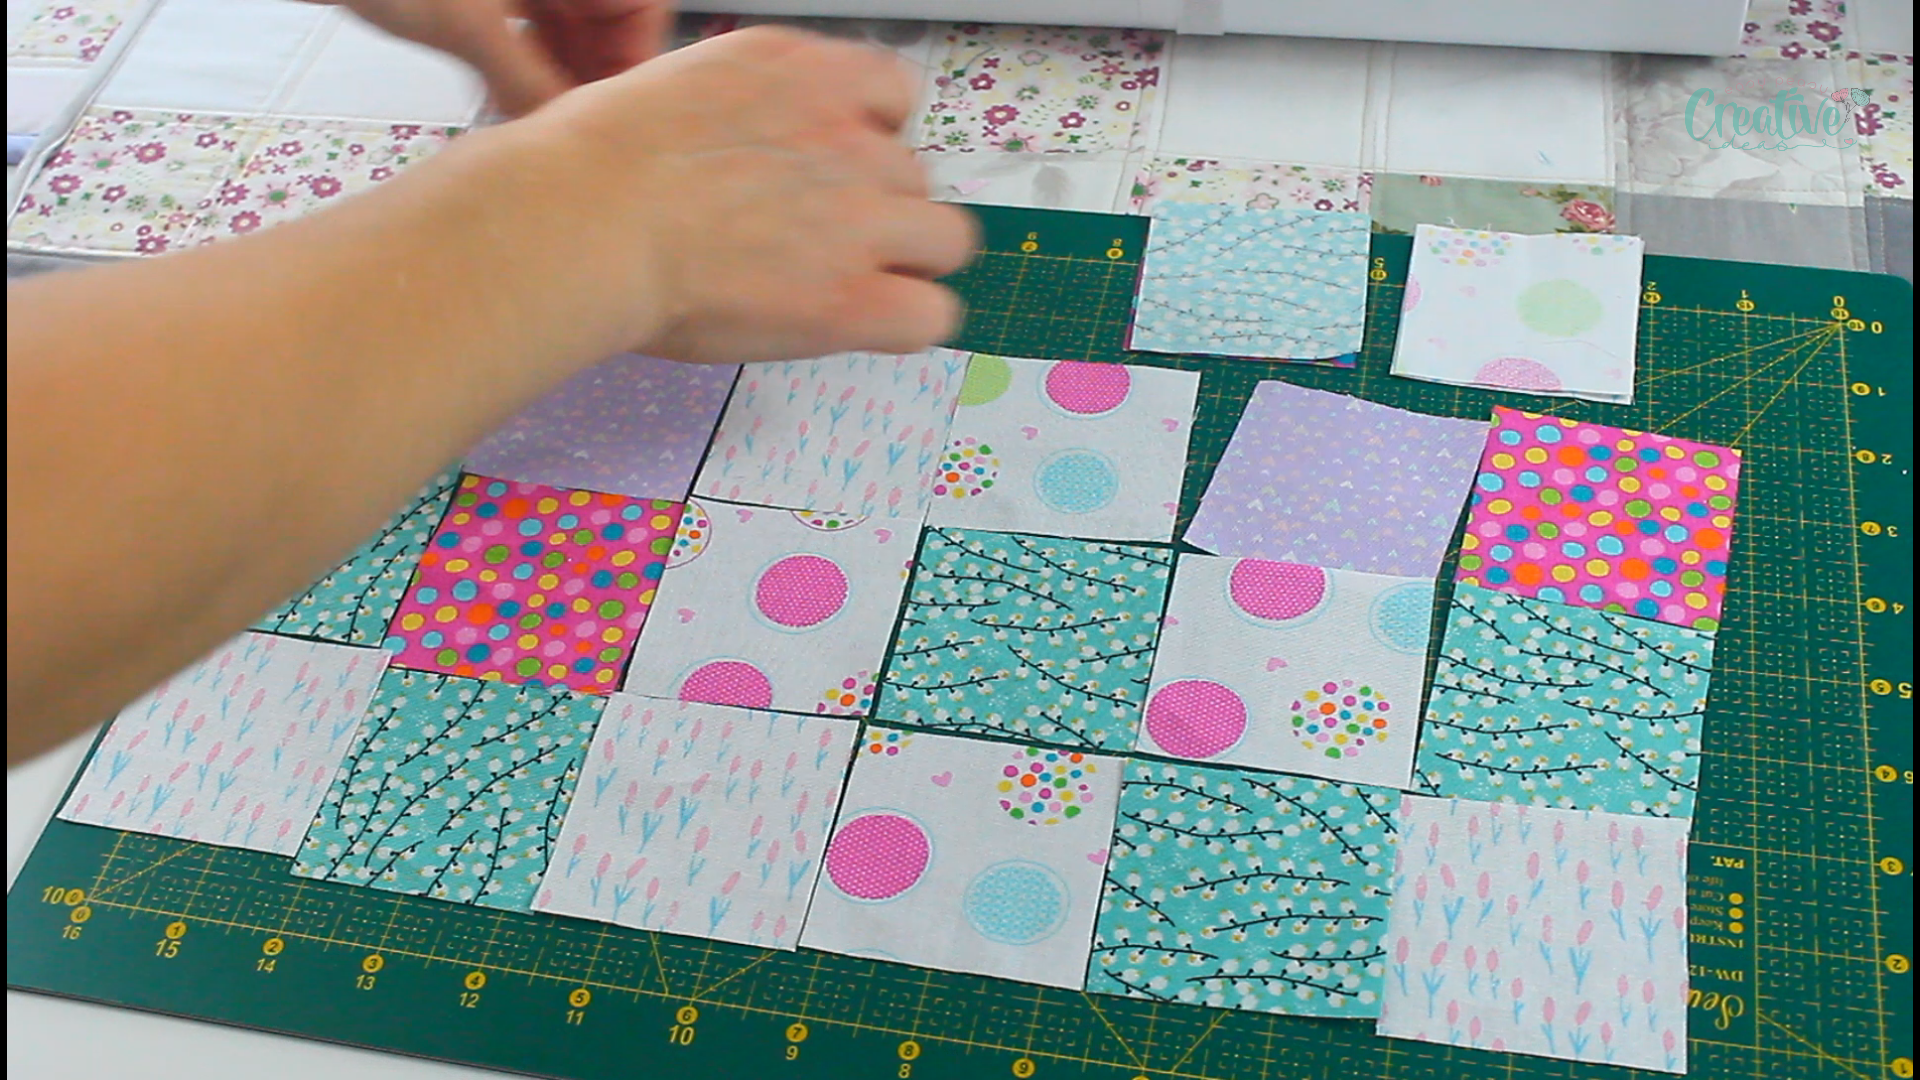
Sew the patchwork panel
- Start by cutting your fabrics into 2 1/2″ squares. I used about 24 squares but if you want to have a little more room to work when quilting the potholder add 6 more squares.
- Match the squares in pairs, right ides together.
- Chain sew all pairs with 1/4″ allowance then separate the pairs by cutting the thread with small scissors.
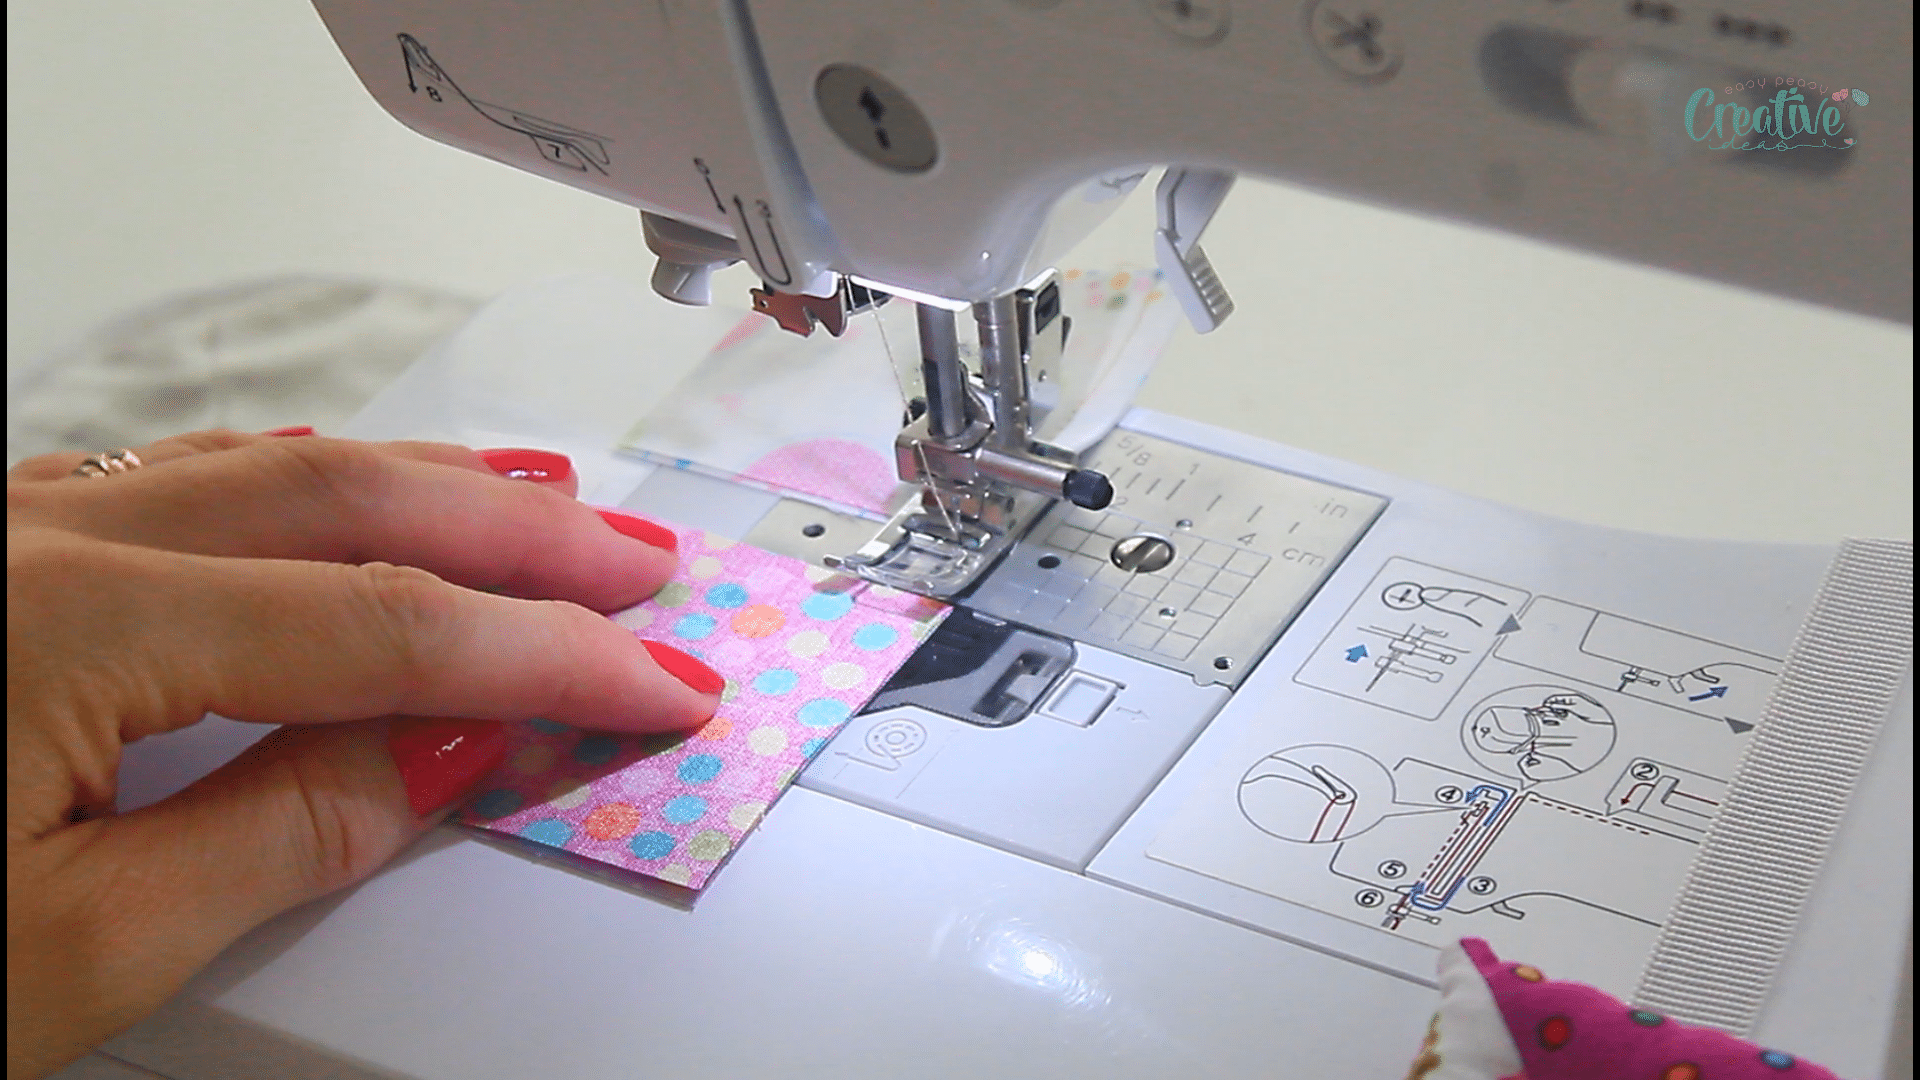
- Finger press the seams open then press well with the iron on steam.
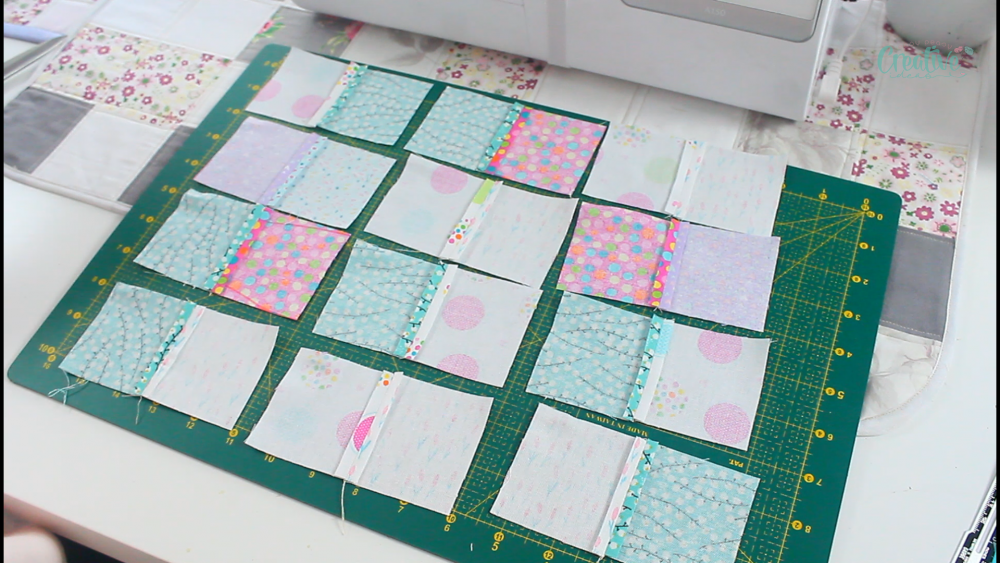
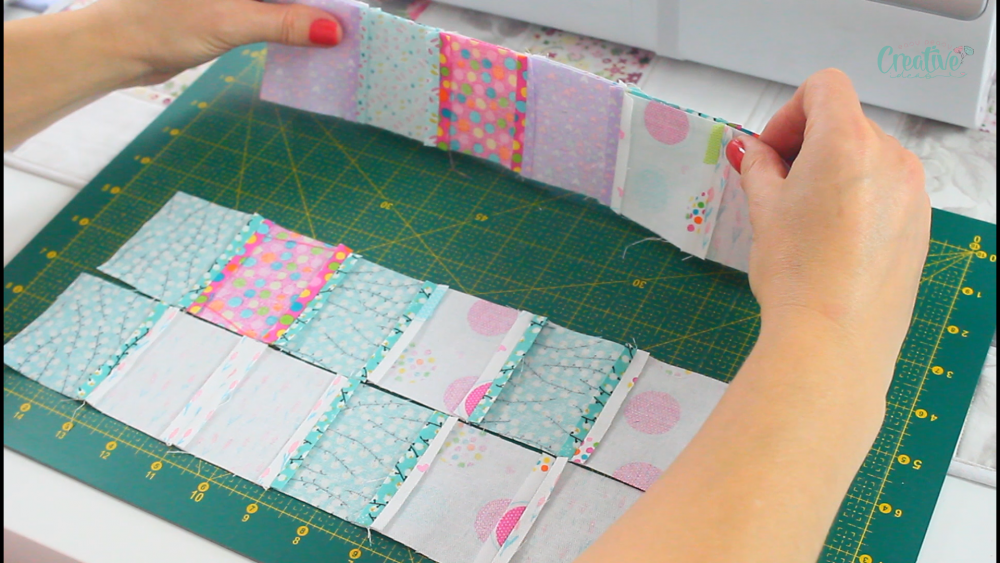
- Then continue pairing the fabrics, right sides together until you form rows of squares. Press the seams after each step.
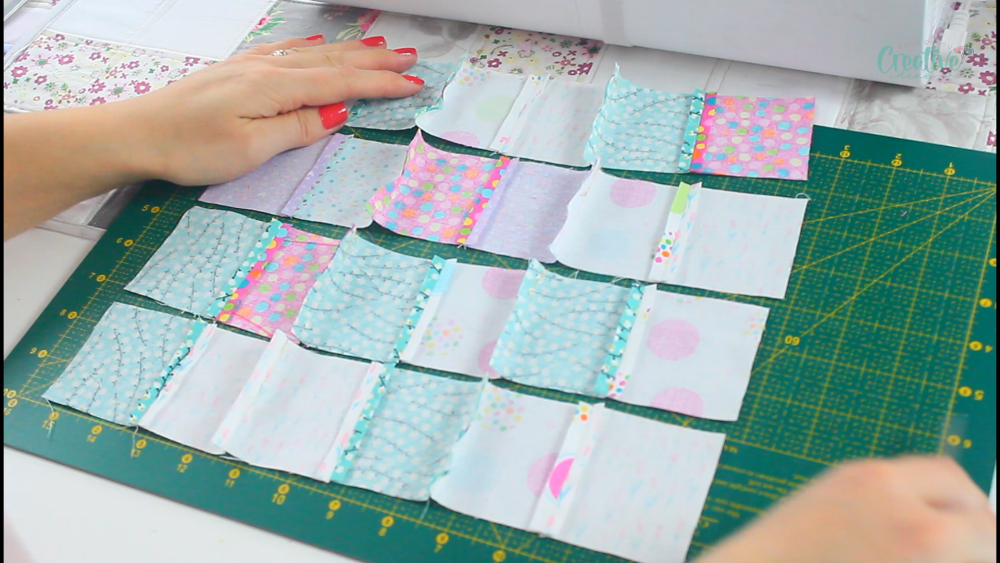
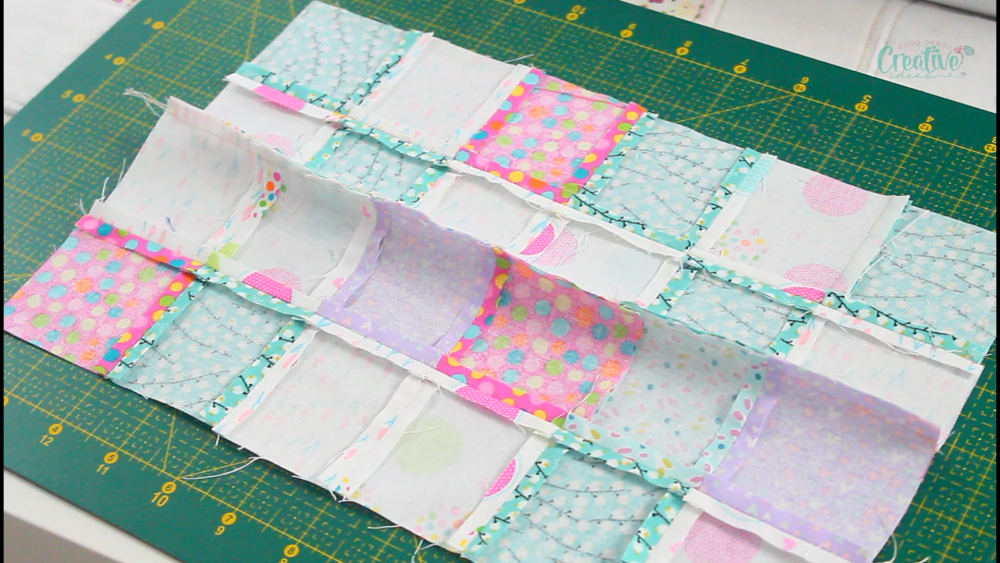
- Once the rows are formed, match them in pairs, right sides together to form the patchwork panel.
- Cut the batting, in the same size as your fabric panel. You need 2 pieces of batting for each potholder.
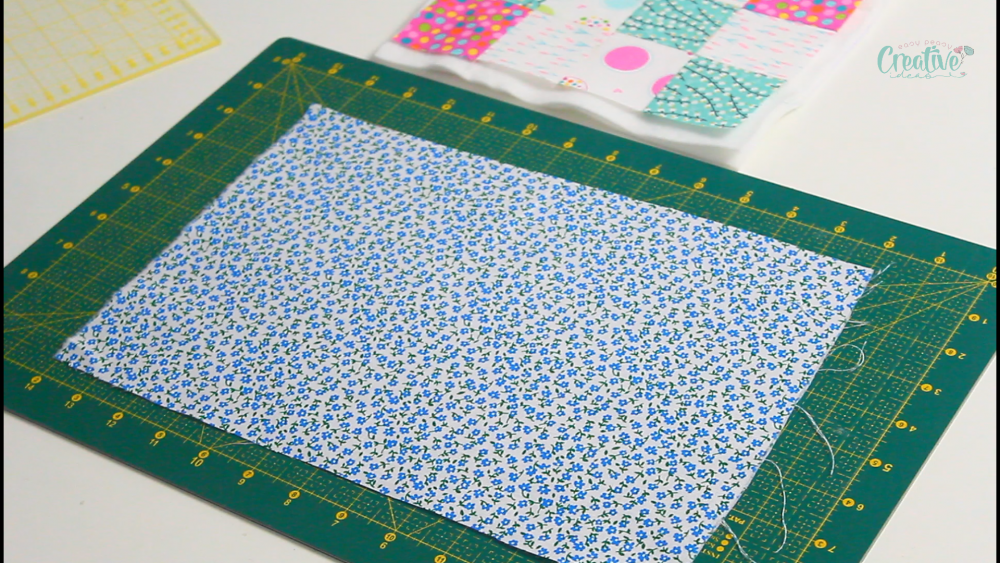
- Cut a piece of fabric for the backing, in the same size as the patchwork panel.
Quilt the patchwork panel
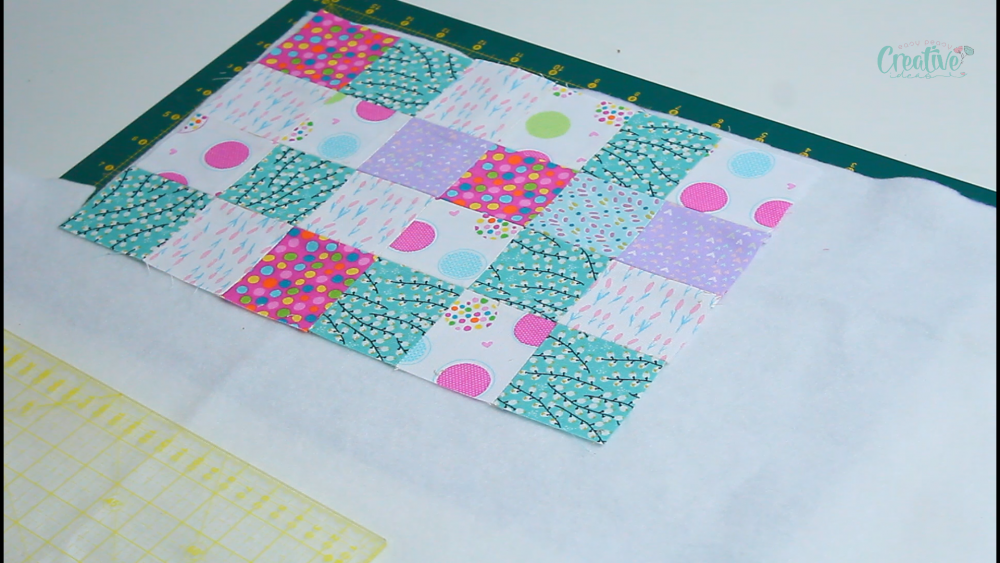
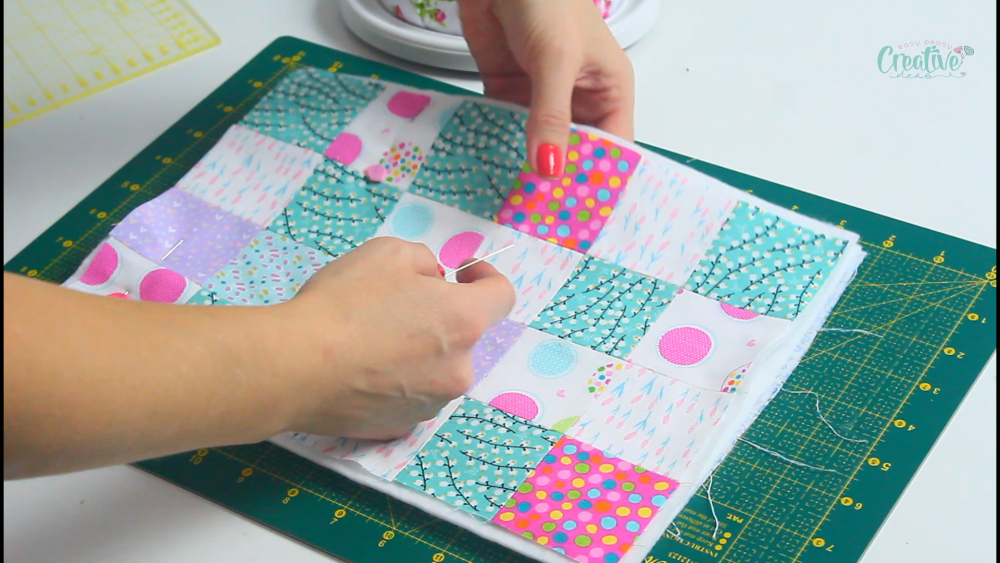
- Sandwich the 2 pieces of batting between the front panel and the backing fabric. Add a few pins through all layers or use basting spray to keep the layers together and prevent them from moving when quilting. I didn’t have any at this time but using enough pins helped me manage this issue pretty well, the fabric shifting was minimal.
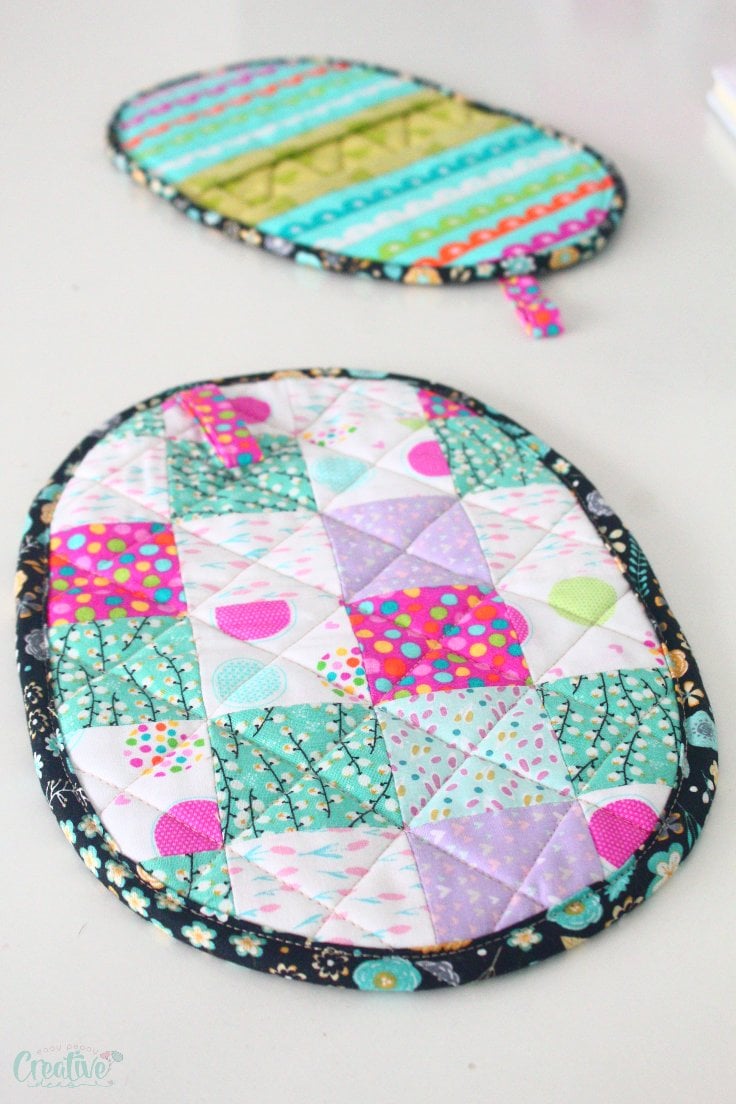
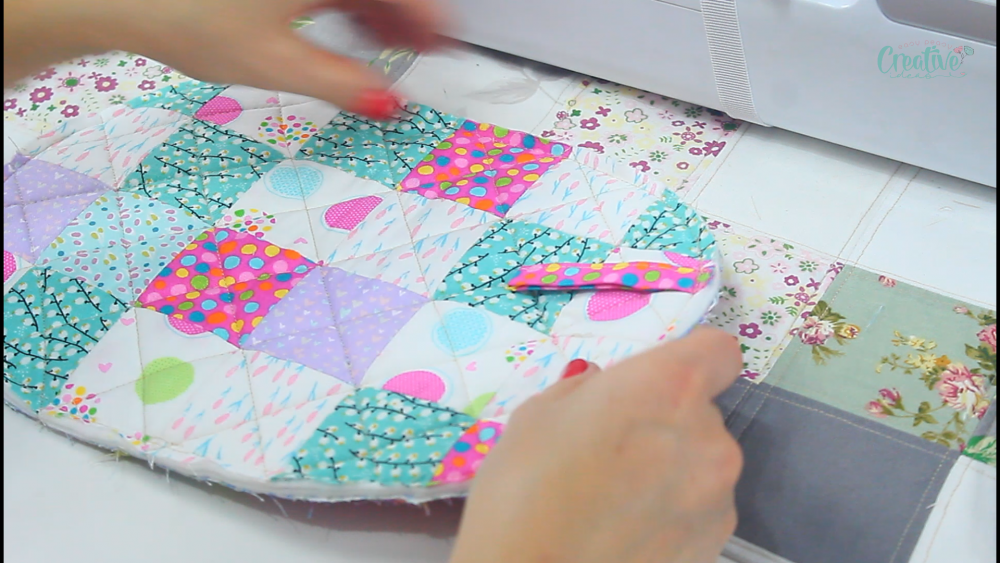
- Trace diagonal lines across the front panel, using the corners of the fabric squares as guides.
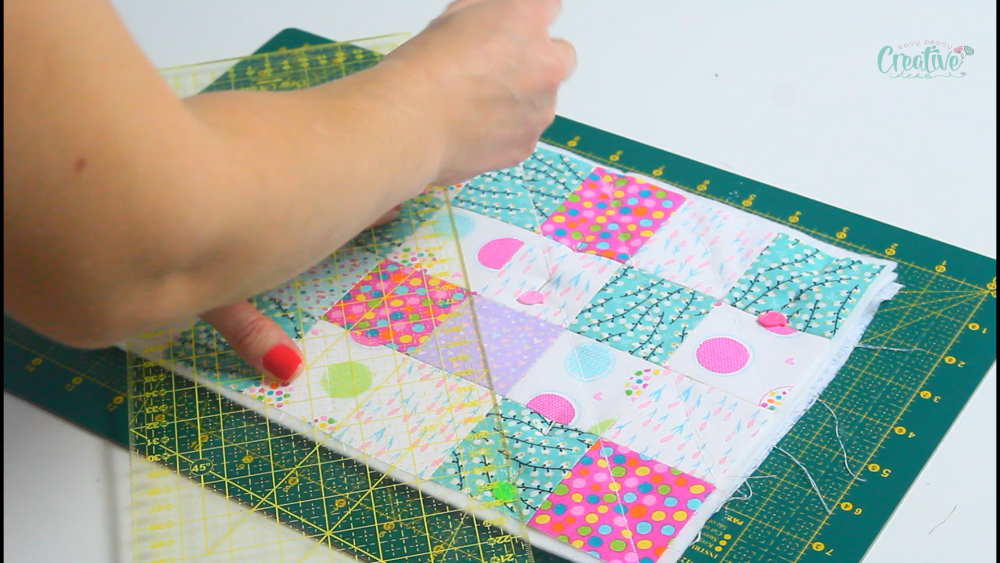
- Sew these lines from left to right and again from right to left (so that you quilt rhomboid shapes across the patchwork panel).
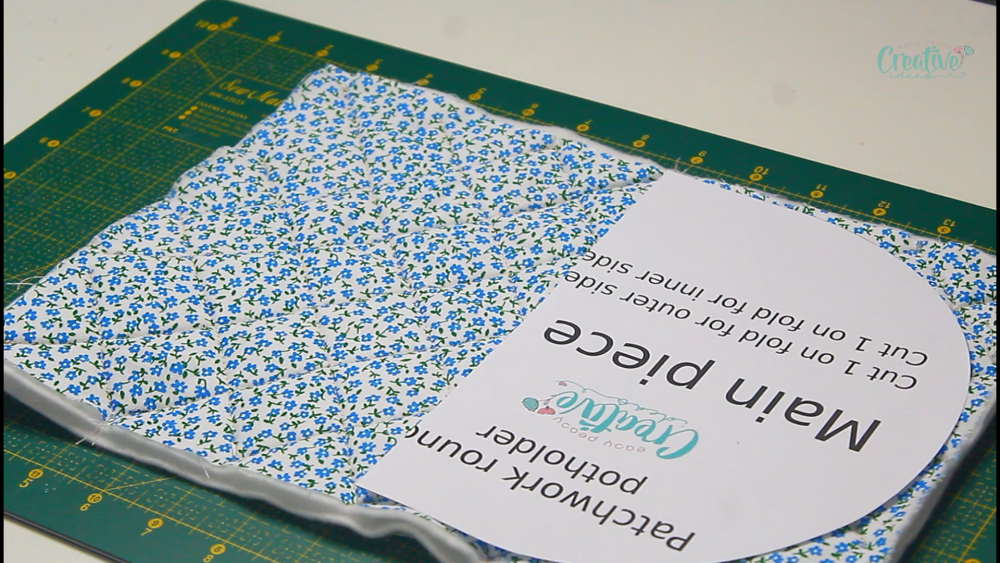
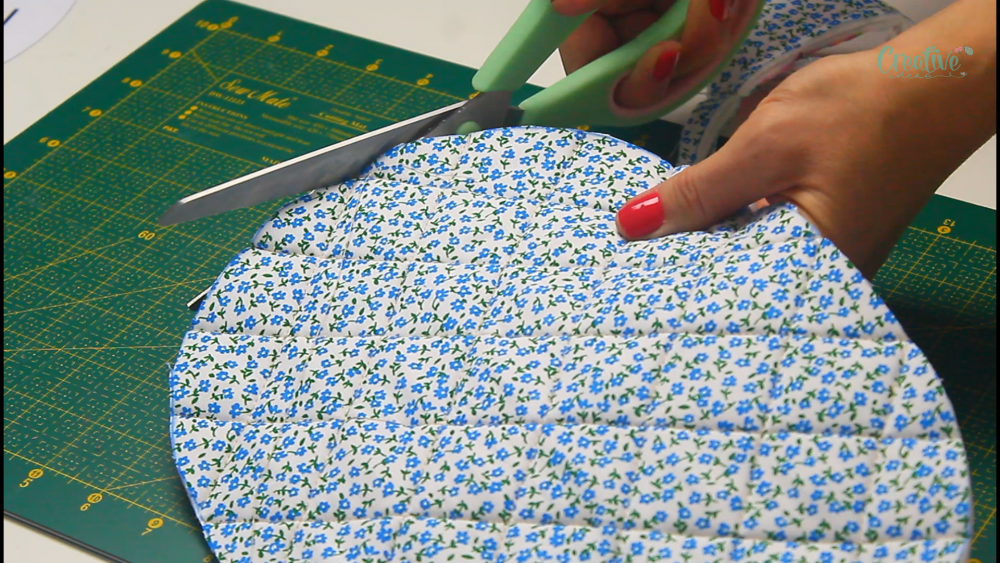
- Transfer the pattern onto the quilted potholder and cut out.
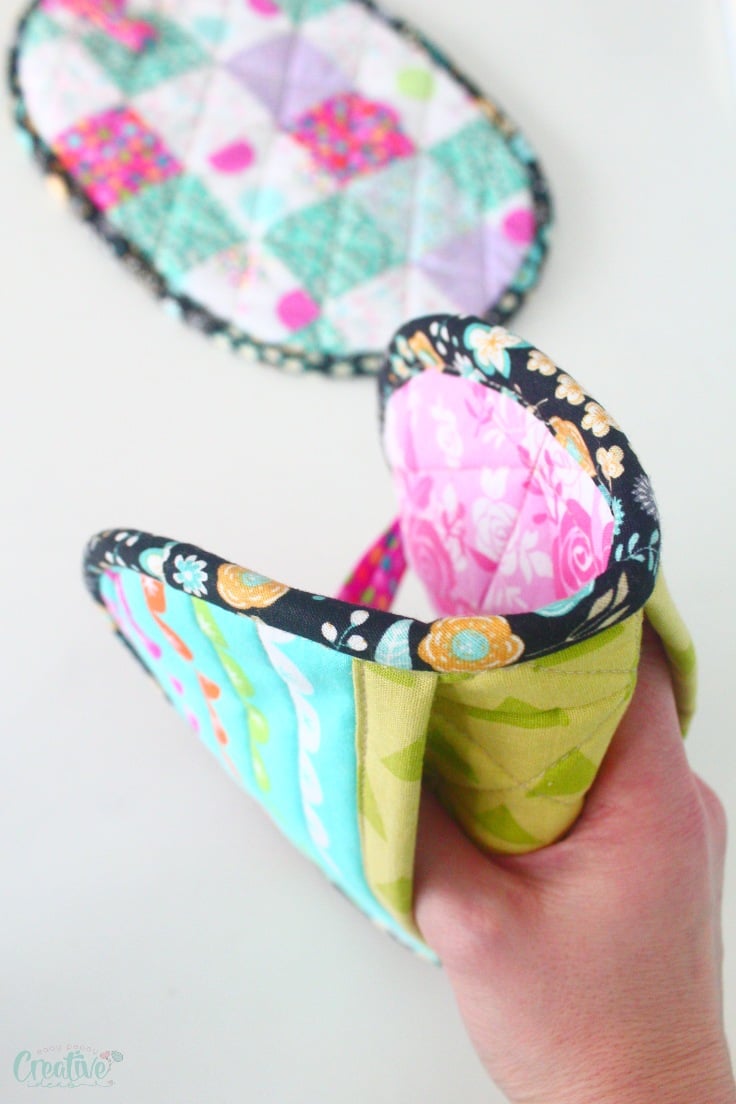
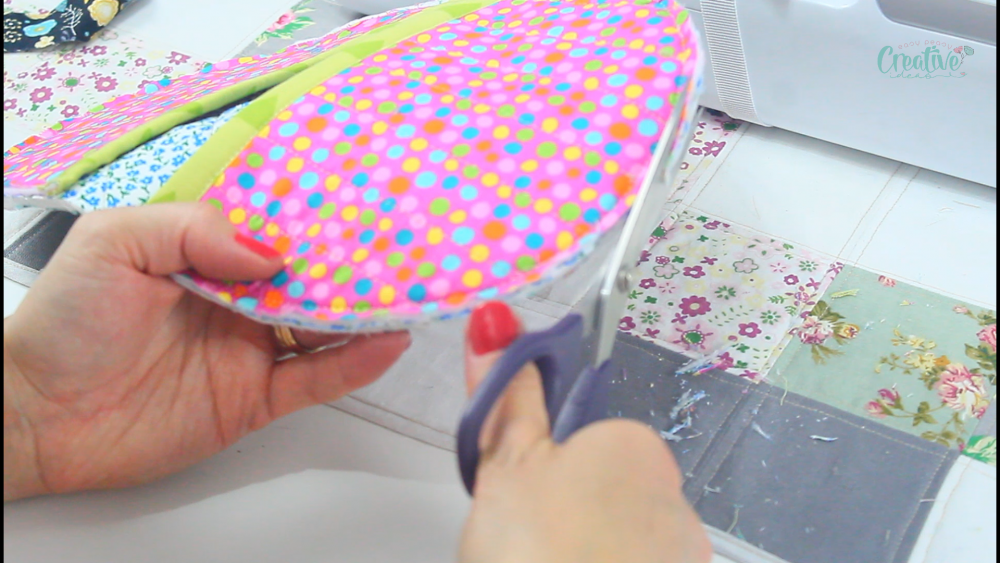
Make the pockets
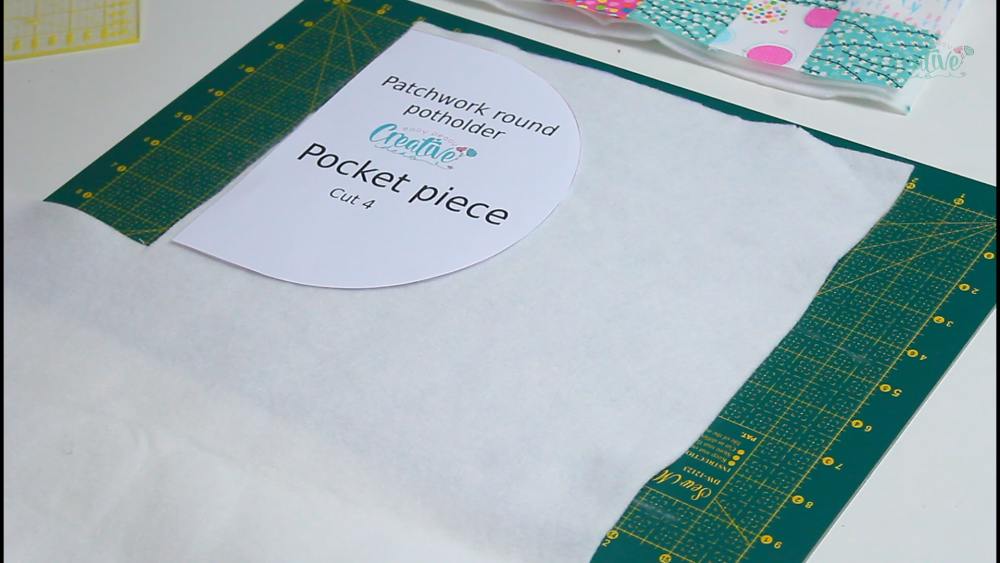
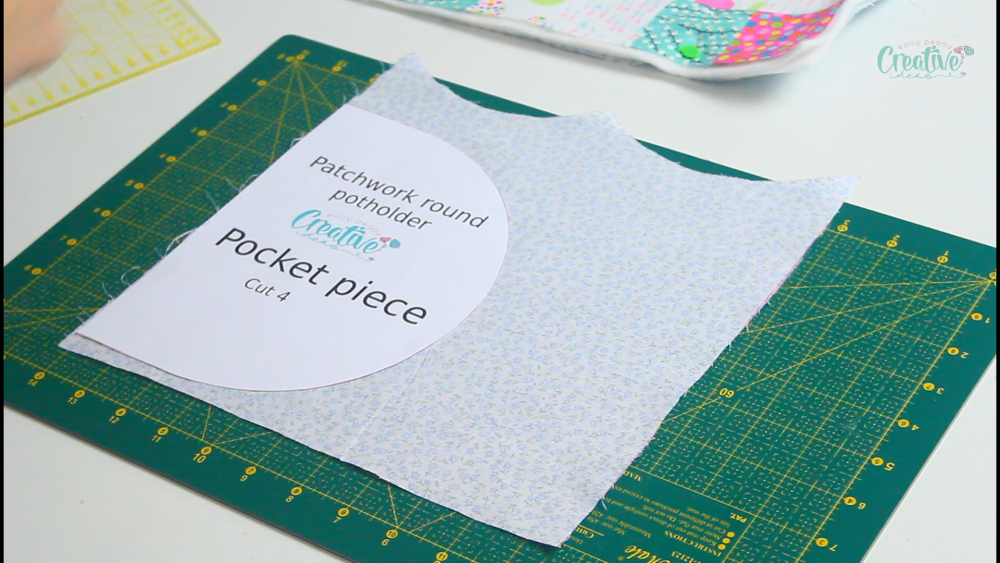
- To make the pockets you’ll need one piece of batting and 2 pieces of fabric for each pocket (so 2 battings and 4 fabrics in total). I used different fabrics for the front and back of the pockets.
- Sandwich 1 piece of batting between 2 pieces of fabric to form a pocket then repeat for the second pocket. Pin through all layers or use basting spray to keep the layers together while sewing.
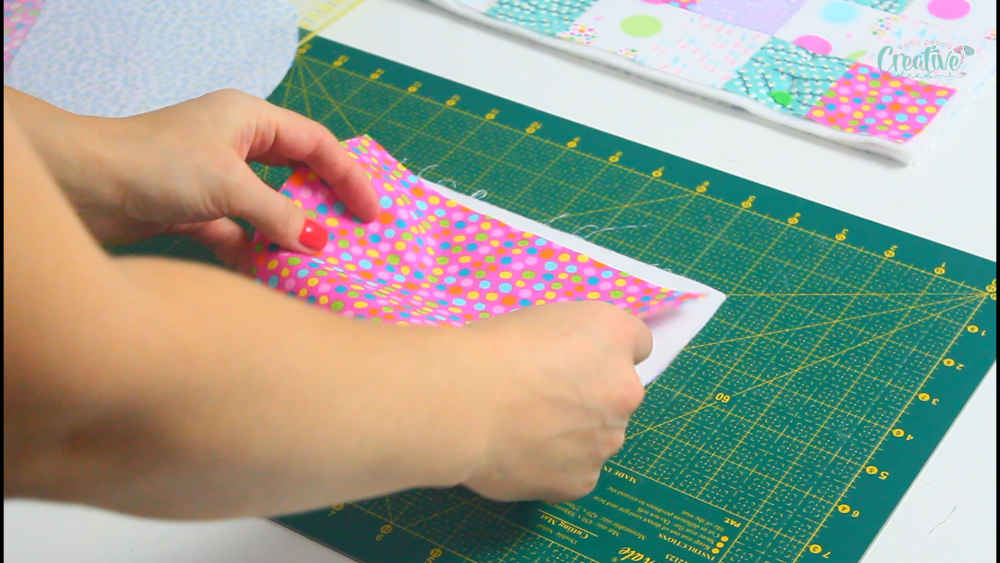
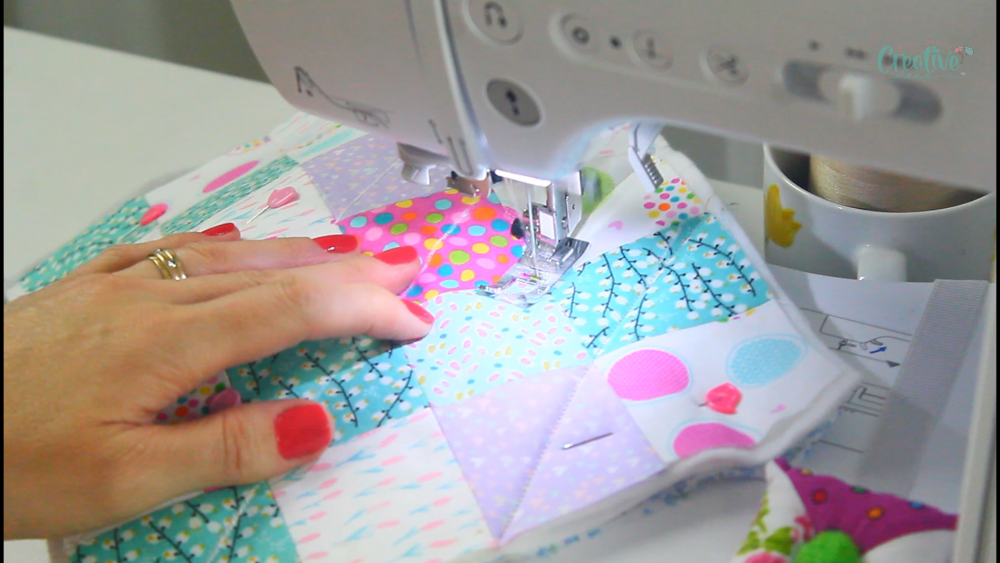
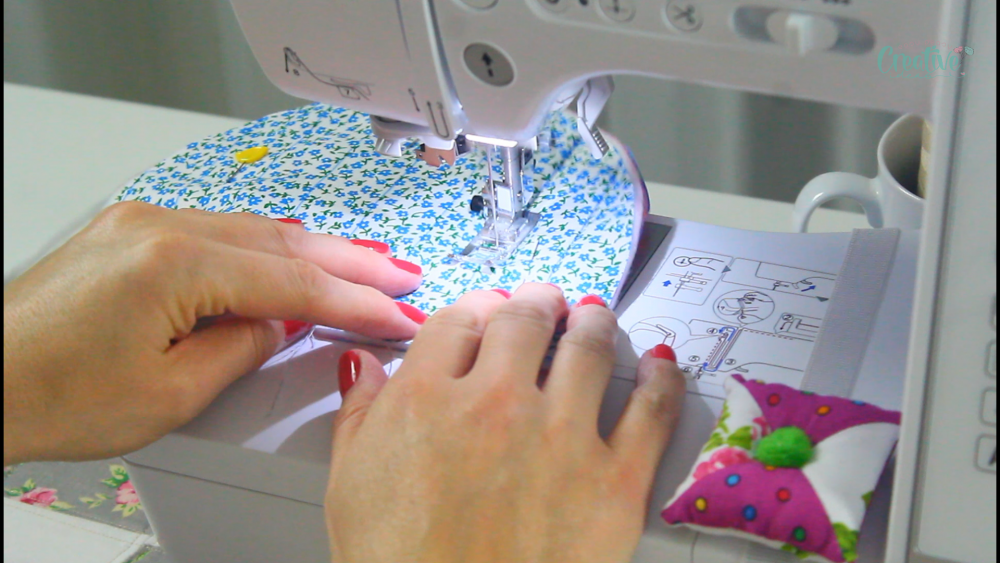
- Quilt the pockets using straight stitches, sewing squares across the entire surface of each pocket.
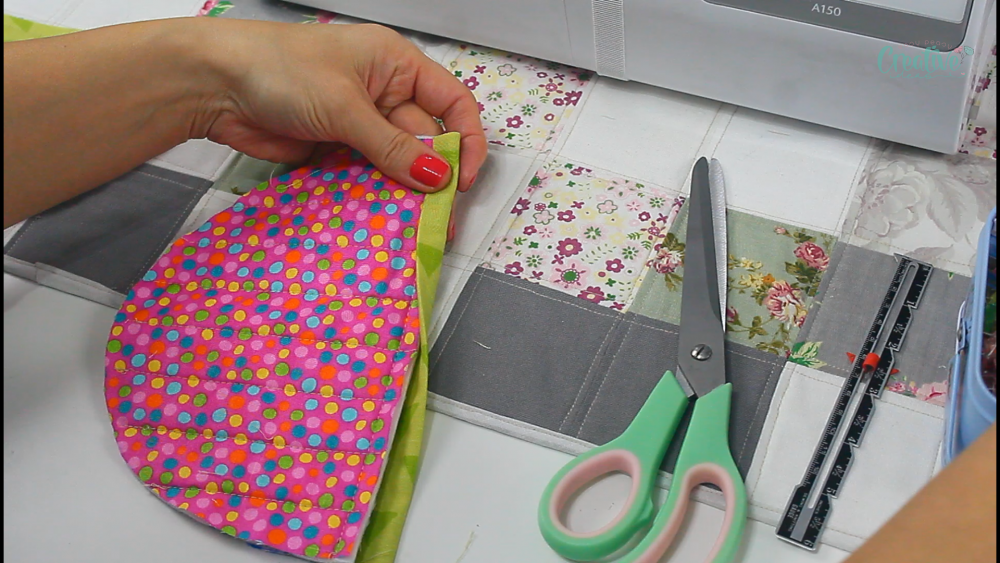
- Attach bias binding to the bottom raw edge of each pocket.
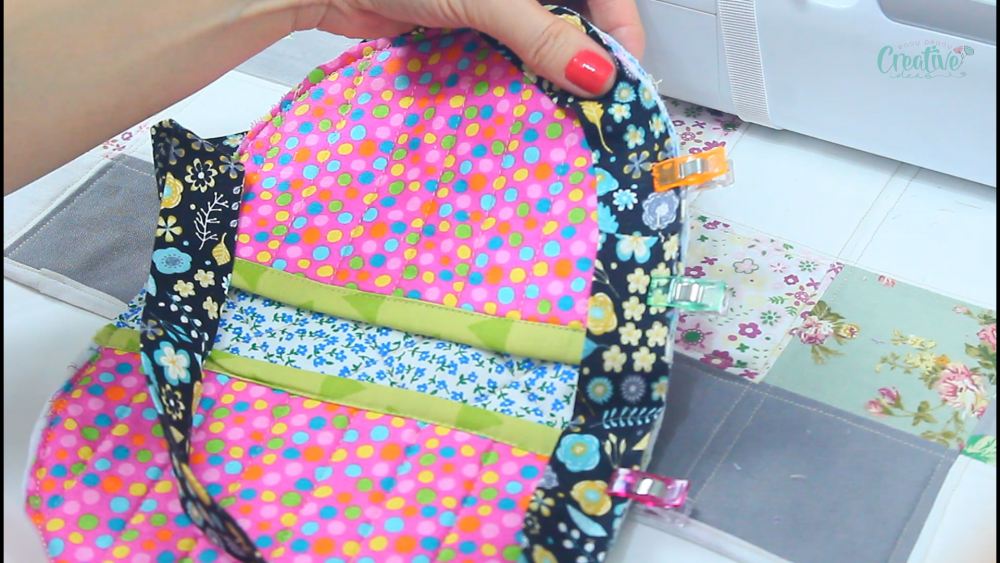
Attach the pockets to the potholder
- Clip the pockets to the back side of the potholder (the one that is not patchworked). Sew around the entire potholder with 1/4″ allowance. This will help with keeping all pieces together later when you’ll apply bias binding to the potholder.
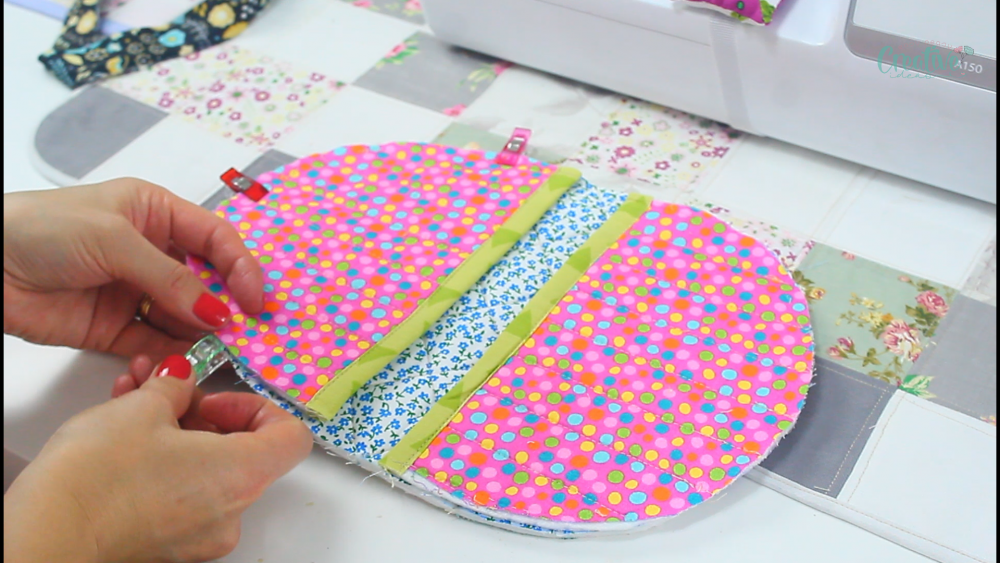
- Attach a small loop (this will be used to hang the final potholder when not in use). To make this loop, simply fold a small rectangle of fabric in half and press. Then open the strip, fold each half and press, then fold back to the initial fold. Sew the strip to the open side, then fold it i half, lengthwise.
- Trim the seam to half.
Finish the potholder
- All that is left to do now is covering all the raw seam in bias binding. I used 2 1/2″ bias binding, folded in half to 1 1/4″.
And you’re done making one beautiful quilted potholder! Most people use them in pairs so if you’re one of them, you’ll repeat the process for the second one. Otherwise you’re ready to put your gorgeous pot holder to work in the kitchen! Enjoy!
Pin to save for later
Print the craft card
Patchwork pot holders
Materials
- pot holders pattern
- scrap fabric
- batting
- matching thread
- bias binding
Tools
- scissors
- quilting clips
Instructions
Sew the patchwork panel
- Start by cutting your fabrics into 2 1/2" squares. I used about 24 squares but if you want to have a little more room to work when quilting the potholder add 6 more squares.
- Match the squares in pairs, right ides together.
- Chain sew all pairs with 1/4" allowance then separate the pairs by cutting the thread with small scissors.
- Finger press the seams open then press well with the iron on steam.
- Then continue pairing the fabrics, right sides together until you form rows of squares. Press the seams after each step.
- Once the rows are formed, match them in pairs, right sides together to form the patchwork panel.
- Cut the batting, in the same size as your fabric panel. You need 2 pieces of batting for each potholder.
- Cut a piece of fabric for the backing, in the same size as the patchwork panel.
Quilt the patchwork panel
- Sandwich the 2 pieces of batting between the front panel and the backing fabric. Add a few pins through all layers or use basting spray to keep the layers together and prevent them from moving when quilting. I didn't have any at this time but using enough pins helped me manage this issue pretty well, the fabric shifting was minimal.
- Trace diagonal lines across the front panel, using the corners of the fabric squares as guides.
- Sew these lines from left to right and again from right to left (so that you quilt rhomboid shapes across the patchwork panel).
- Transfer the pattern onto the quilted potholder and cut out.
Make the pockets
- To make the pockets you'll need one piece of batting and 2 pieces of fabric for each pocket (so 2 battings and 4 fabrics in total). I used different fabrics for the front and back of the pockets.
- Sandwich 1 piece of batting between 2 pieces of fabric to form a pocket then repeat for the second pocket. Pin through all layers or use basting spray to keep the layers together while sewing.
- Quilt the pockets using straight stitches, sewing squares across the entire surface of each pocket.
- Attach bias binding to the bottom raw edge of each pocket.
Attach the pockets to the potholder
- Clip the pockets to the back side of the potholder (the one that is not patchworked). Sew around the entire potholder with 1/4" allowance. This will help with keeping all pieces together later when you'll apply bias binding to the potholder.
- Attach a small loop (this will be used to hang the final potholder when not in use). To make this loop, simply fold a small rectangle of fabric in half and press. Then open the strip, fold each half and press, then fold back to the initial fold. Sew the strip to the open side, then fold it i half, lengthwise.
- Trim the seam to half.
- All that is left to do now is covering all the raw seam in bias binding. I used 2 1/2" bias binding, folded in half to 1 1/4".
Most popular sewing projects:
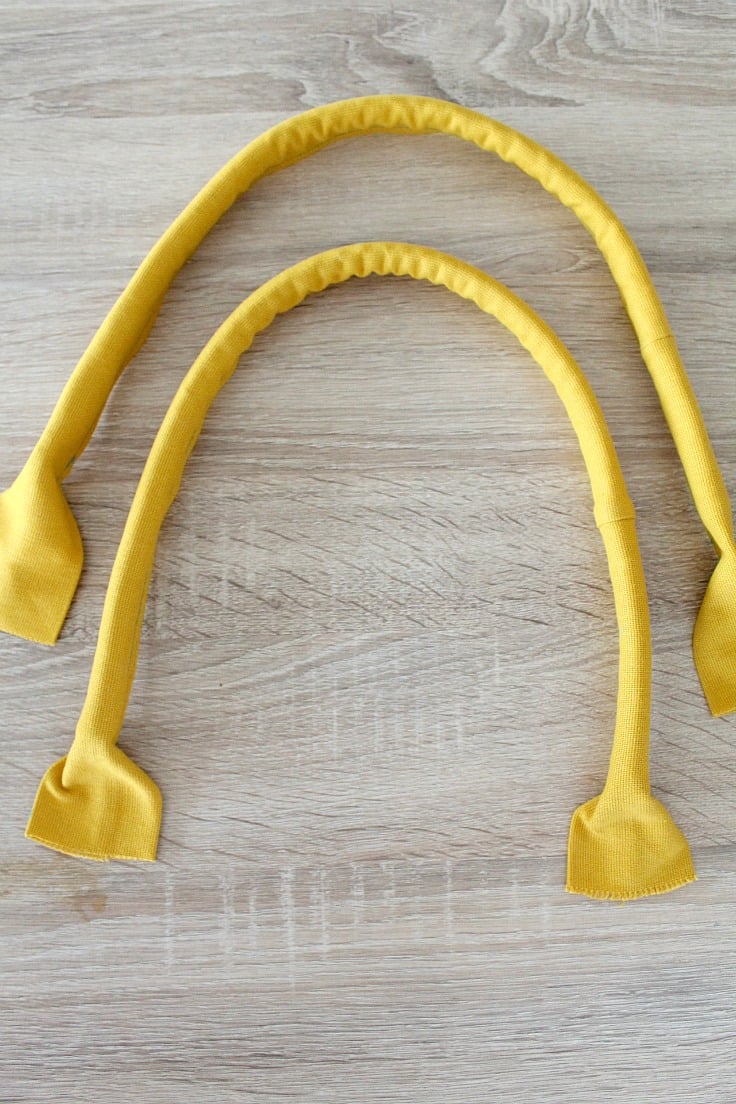
- Corded bag handles tutorial
- How to sew a round hem
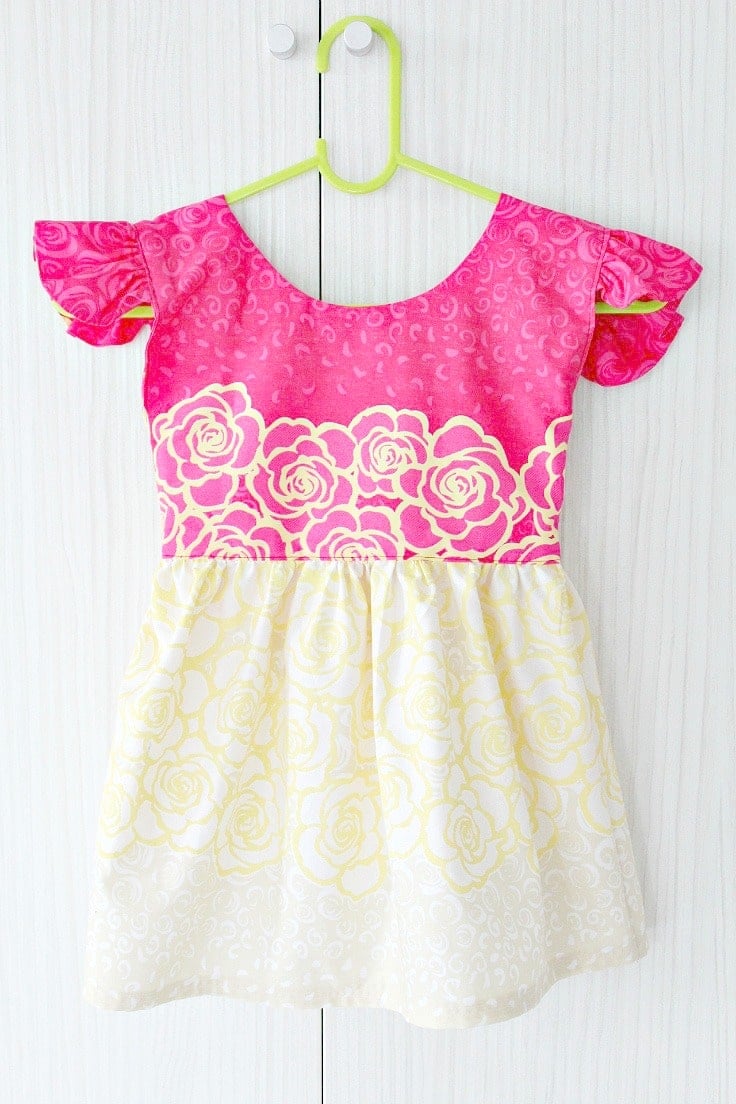
- Flutter sleeve dress pattern
- Laminating cotton fabric


Article may contain Amazon & affiliate links. As an Amazon Associate I earn from qualifying purchases at no additional cost to you.

Ouch! Not made for HOT items. Is there a way to make them heat resistant?
Hi Patty. For hotter pans use Insul-bright as insulation
Live