

How To Make Bias Tape Without Bias Maker
Why spend money on bias tape you’re really not crazy about when you could create your own in the fabric size and length you need? Making bias tape at home could not be easier so you won’t need to compromise anymore and use bias binding that’s simply not perfect for your project! Here’s how to make bias tape, in a simple and easy tutorial that covers both single fold bias tape and double fold bias tape!
How to make bias tape

Bias tape is such a wonderful way to finish sewing projects and it works particularly exceptional in blouses and dresses, if you ask me. Even if you’re brand new to sewing chances are you’re already been to a sewing store and noticed bias tape. But did you know store bought bias binding is not your only option? In this article I’ll show you how to make bias tape at home, using a super easy method that’s also pretty quick and affordable and your own handmade DIY bias tape maker.
This tutorial has been converted to a PDF file, available to purchase here. This article is completely free to read.
Bias binding series:
- How to make continuous bias binding
- Calculating bias tape
- Making bias tape with a bias maker
- How to sew single fold bias
- How to sew double fold bias
- Joining bias ends
- Mitered corners with bias tape
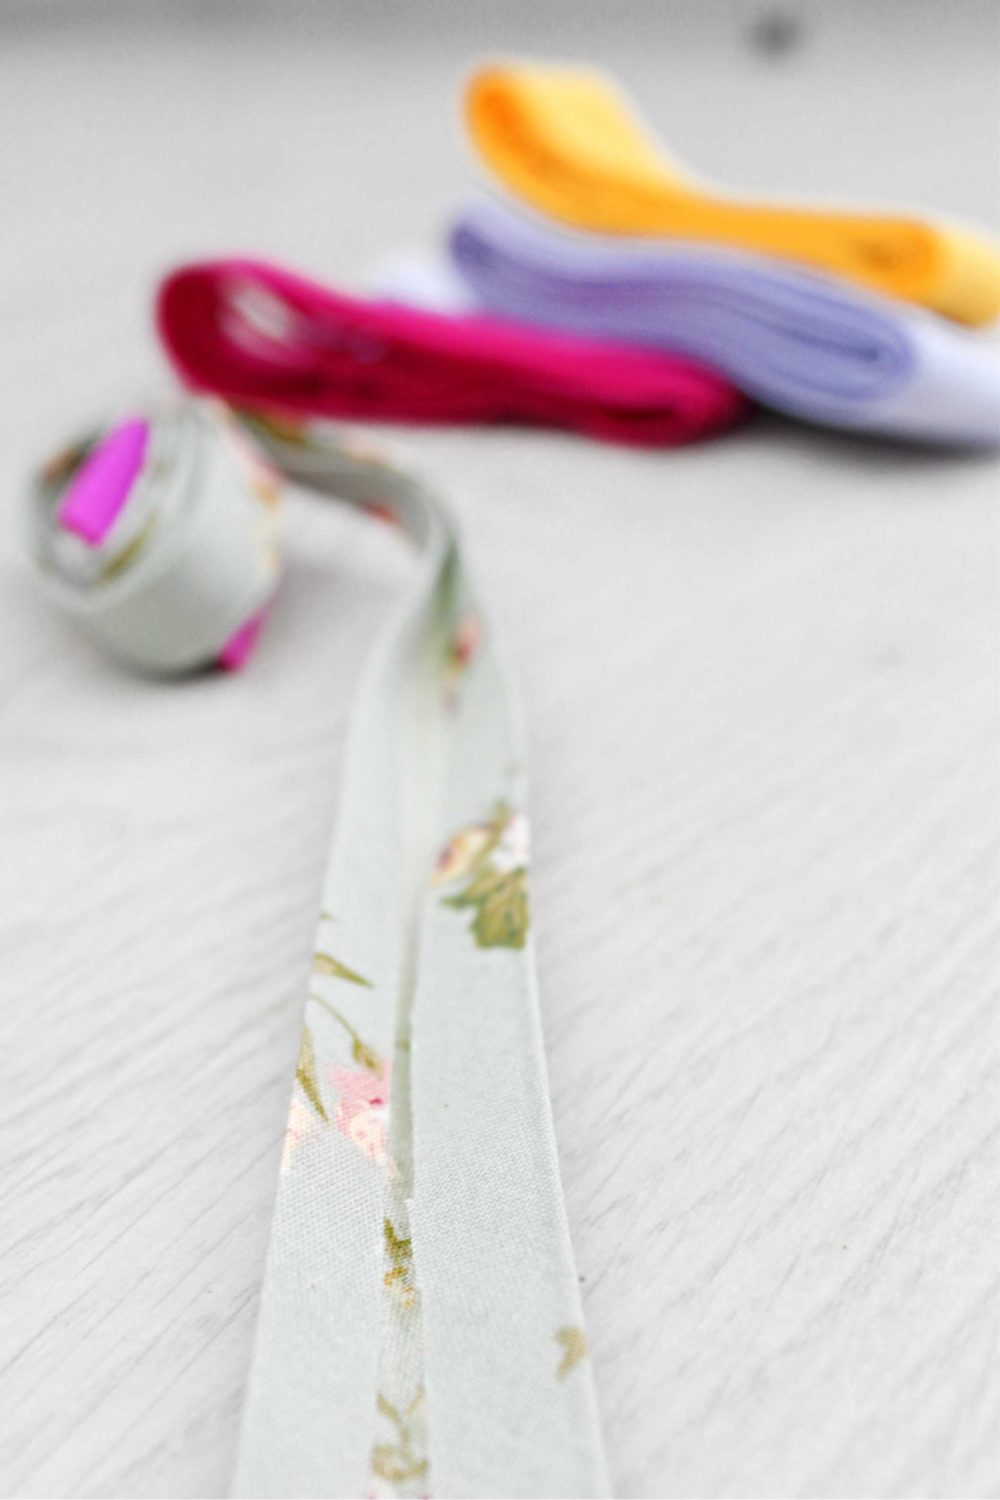
Learning how to make bias tape without a bias maker will help you save money, find a nice use for your fabric scraps so no more fabric waste and greatly contribute to improving your sewing skills and knowledge. All while making your own DIY bias tape that you actually love as it will fit your sewing projects perfectly! So you won’t need to compromise anymore and use store bought bias binding tape that you don’t absolutely love!
If you’re an ultimate beginner and never heard about bias tape, below you’ll find some information that will help you understand why bias is so important in sewing and why you should absolutely learn how to make bias tape!
FAQ about making bias tape you might find useful
What is bias binding in sewing?
First you should know that bias tape is also known as bias binding and bias binding tape, to avoid confusion in the future tutorials you might find around the internet. Bias tape is made our of a few strips of fabric, cut on the bias and joined together in a 90° angle to form a long, continuous strips of fabric. Because the fabric is cut on the bias, it becomes a bit stretchier and more flexible, making it easier for the bias binding to be applied to all sorts of projects, including round or curvy edges.
What is the bias of a fabric?
All fabrics have a warp and a weft (you can read more about the warp and weft and how to perfectly cut fabric on the grain in this article). When the fabric’s warp and weft are at 45° angle, this is how the bias of a fabric is formed. In simpler words, to make bias tape, you will have to cut diagonally across the grain of the fabric.
What do you use bias tape for?
As I just mentioned above, bias tape is used to finish raw edges on a variety of projects, in both sewing and quilting, as well as binding seams and even finish hems as a trim. Bias binding tape is used for finishing quilts, mats, blouses and dresses around armhole and neckline instead of applying facing (which can be a bit trickier). Some sewers even like to use bias tape to finish the hems as a way to add contrast to a sewing project and a simpler way to finish round hems. I sometimes like to use bias binding as a decorative touch or to enclose raw seams. The possibilities are endless!
Here are a few example of items where I used bias to finish my sewing projects, to give you a clearer idea.
- I used bias tape to finish the armholes in this super easy and quick Pillowcase Dress. In this tutorial I’ll also show you how to sew the single fold bias.
- For this Girls Peasant Top, bias has been used to finish the neckline and the sleeves. It also adds a nice decorative touch to the blouse and that’s why I chose contrast tape. In this article, I show you how to use the single fold bias as a double fold and how to sew it using the double fold technique.
- These cute Reusable Snack Bags have also been finished with bias tape.
- In this Paper Bag Skirt I used bias tape to finish the waist seam, on the inside of the skirt.
- The raw edges on the inside of this sweet Vintage Apron have also been finished with bias tape.
Can you make your own bias tape?
Yes, you certainly can and in a few minutes I’ll show you how to make bias through the easiest method I found. You won’t need fancy machinery or tools, just a handful of items you most likely have on hand: fabric, cutting mat, rotary cutter, ruler, fabric marker, a pin and sewing machine. You basically create your own homemade bias tape maker with these simple items!
Making your own DIY bias tape is not only super easy and pretty quick but enjoyable and in my opinion quite satisfying. It’s a great way to finish your sewing projects using the exact same fabric you used for the main garment piece, giving it a neat, clean, professional look.
How to cut bias strips the easiest way?
I’ve outlined the easiest way to cut bias strips in my video below but here it is:
- Take a rectangular piece of fabric and fold one edge over the other to get a 45° angle.
- Cut along the fold.
- Trim the excess fabric.
- Fold the triangle again.
- Move the triangle to your cutting board and place it with the folded edge on the bottom and the bias edge to the left.
- Decide how wide you want your strips. For ease of reference, I made my tape 1″ wide so I had to cut 2″ wide strips. Grab your ruler and mark every 2″ on the folded edge.
- Grab your rotary cutter and start cutting vertical strips following these marks
- You will want to discard the last 1 or 2 columns of strips as they’re typically too small to use
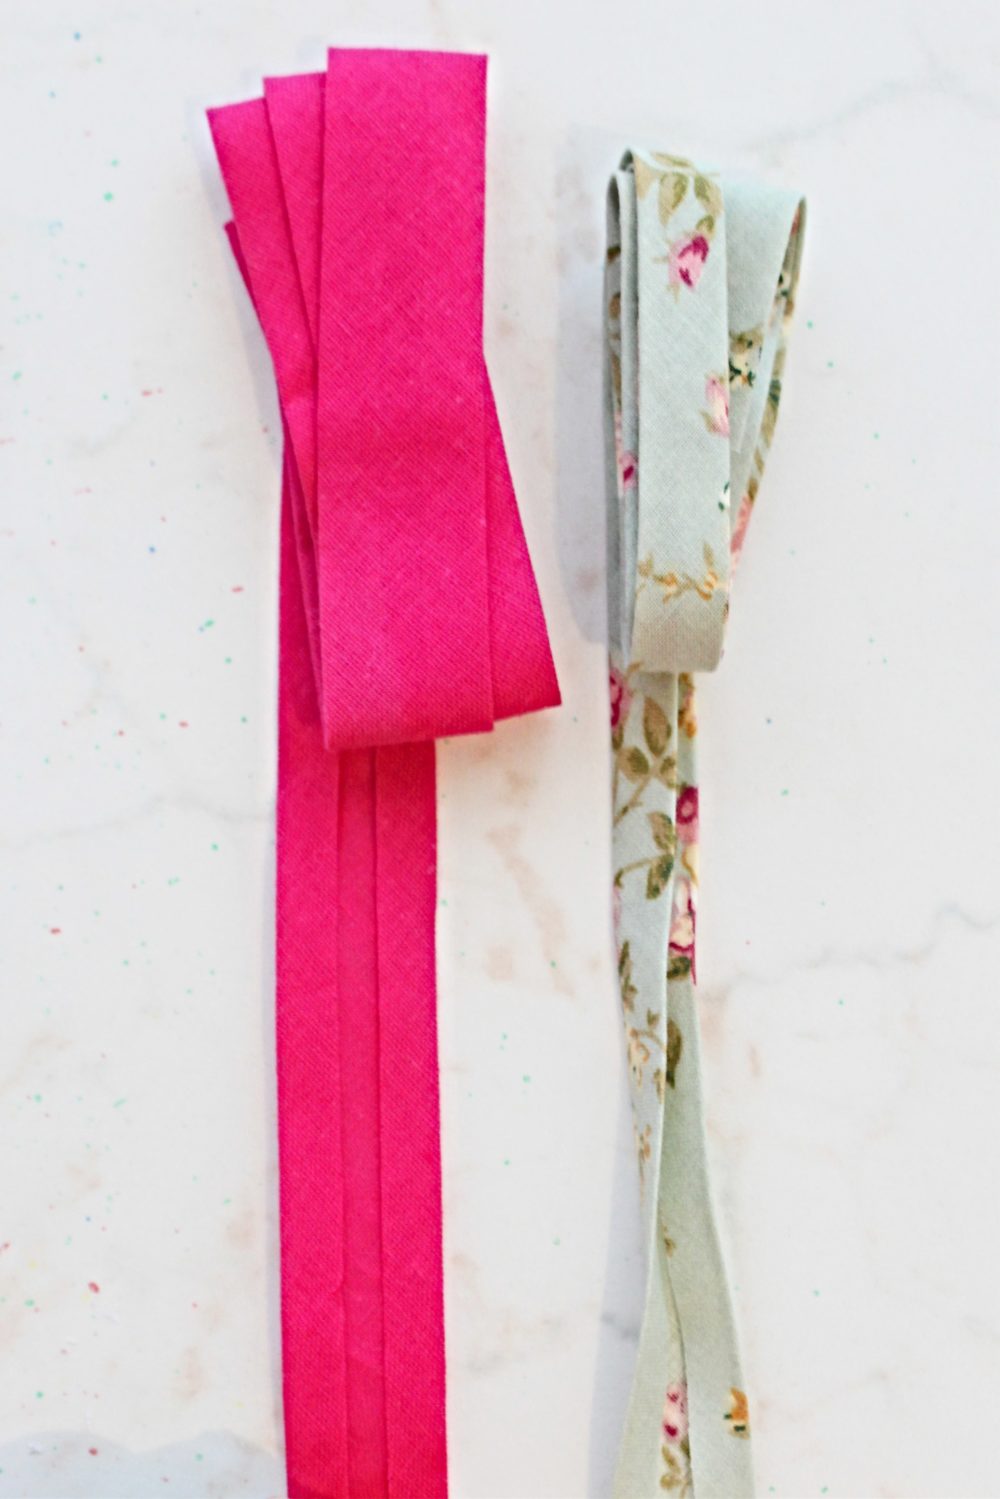
- The resulted strips are now cut on bias and thus more stretchy and flexible, even in stiffer fabrics like cotton
How do you make bias tape from fabric?
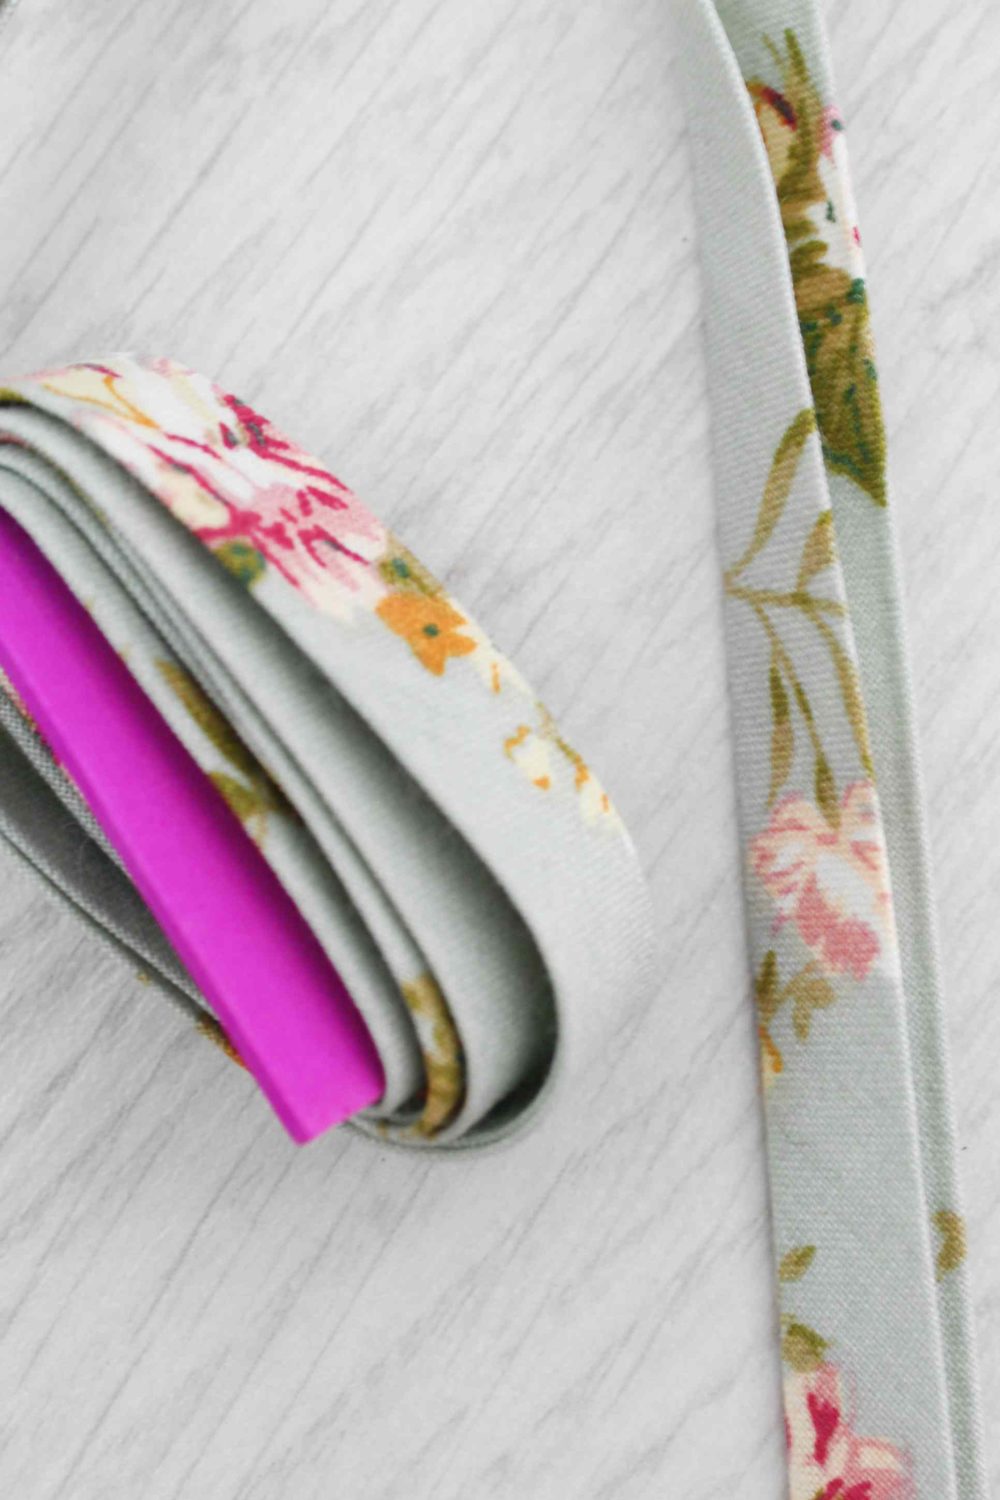
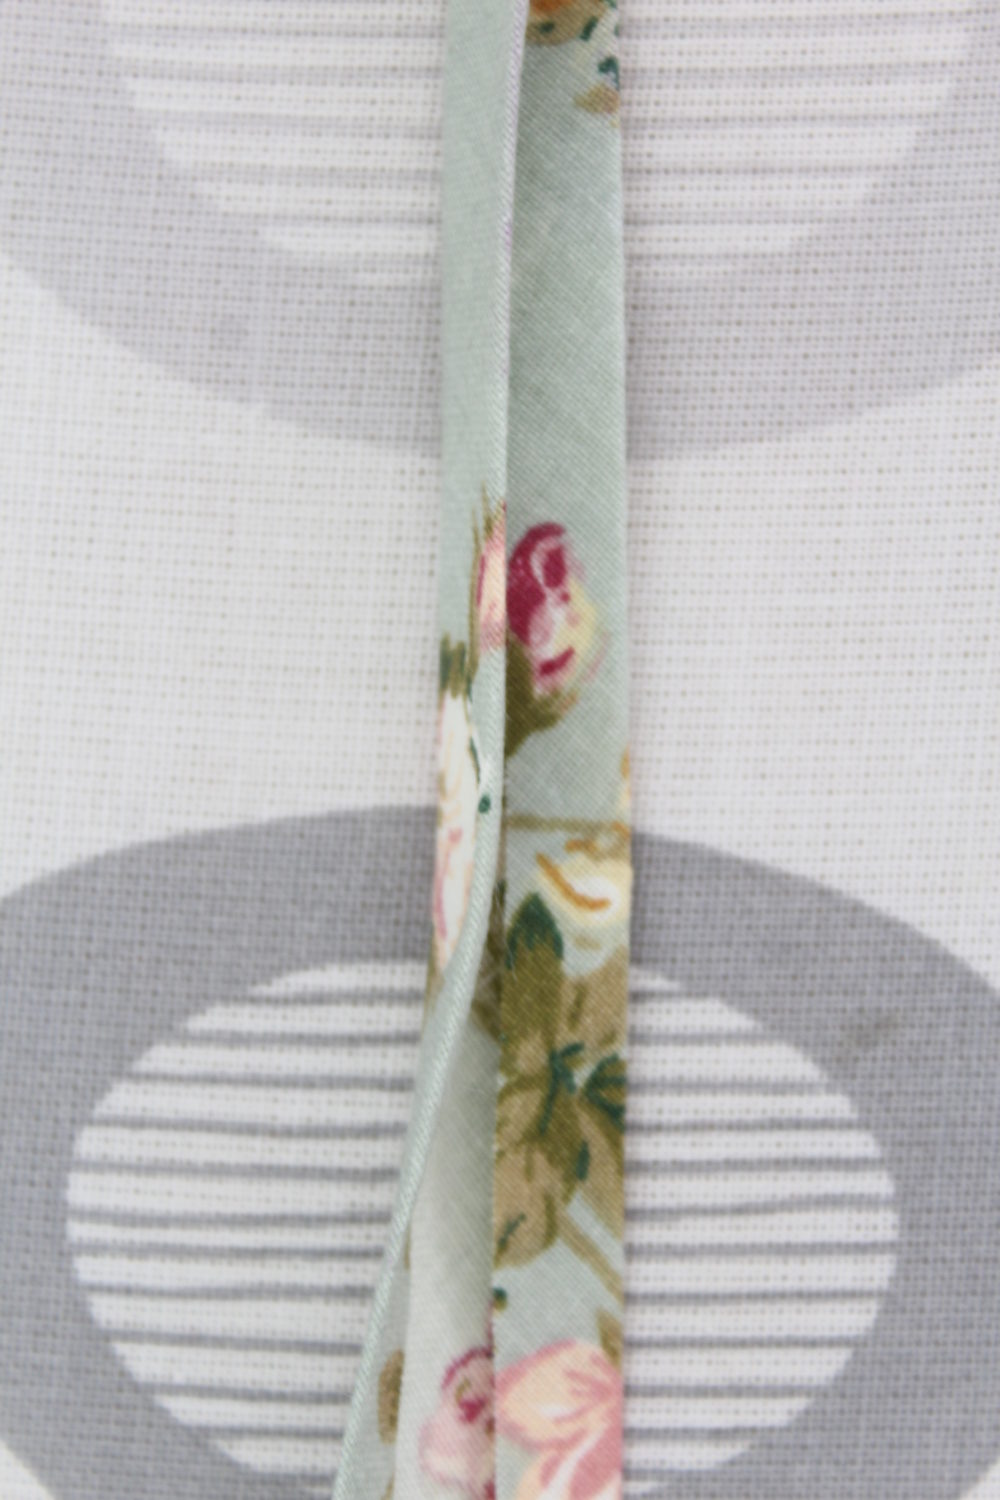
Very easy! You cut fabric strips on bias, join the strips together in such a way that they form a long strip, fold the edges in on that long strip and press with your iron. Folding goes slightly different for single fold and double fold bias.
What is single fold bias tape?
Single fold is flat bias, something that you would use as a trim or decorative touch to your projects. Typically, single fold bias does not show on the outside of the garment (like the one I used for the pillowcase dress I mentioned above), but you can easily use it as a replacement for double fold bias as I did on the peasant top above.
What is double fold bias?
Double fold bias is basically single fold bias, folded in half and is the most used type. You would typically use this type of bias for necklines. Double fold tape is also sewn slightly different than single fold.
Here is an image of the two types of bias tape together
How wide is bias?
Both store bought and handmade versions come in various widths, with standard sizes being 1/4″, 1/2″ and 1″ when folded, with the most used width being the 1/2″.
Other sewing tips you might like:
Making bias tape
Materials:
- rectangle of fabric (find similar fabric here)
- scissors
- rotary cutter
- self healing cutting mat
- quilters ruler
- seam gauge (optional but very useful)
- fabric marker
- large pin
- sewing machine
- pressing iron
Directions:
Cutting the bias strips
- For this tutorial I’m making 1″ tape (or 1/2″ double folded tape) so the measurements used here are for this particular width. To make your own size, remember your bias strips have to be double the finished width.
- Grab your fabric and place it on a table or a large cutting mat
- Fold one edge over the other
- Cut along the fold
- Trim the extra fabric to the right
- Fold triangles one more time
- Place the triangles on the cutting mat with the folded edge at the bottom and the bias edge to the left.
- Using your ruler, measure every 2″ and cut vertical strips using your rotary cutter. You can use scissors too but it won’t cut strips as perfect as a rotary cutter does.
- Discard the right side corner as it will produce strips that are too small to use in making bias.
- With this method you’ll get stretchy strips that are now ready to be joined together
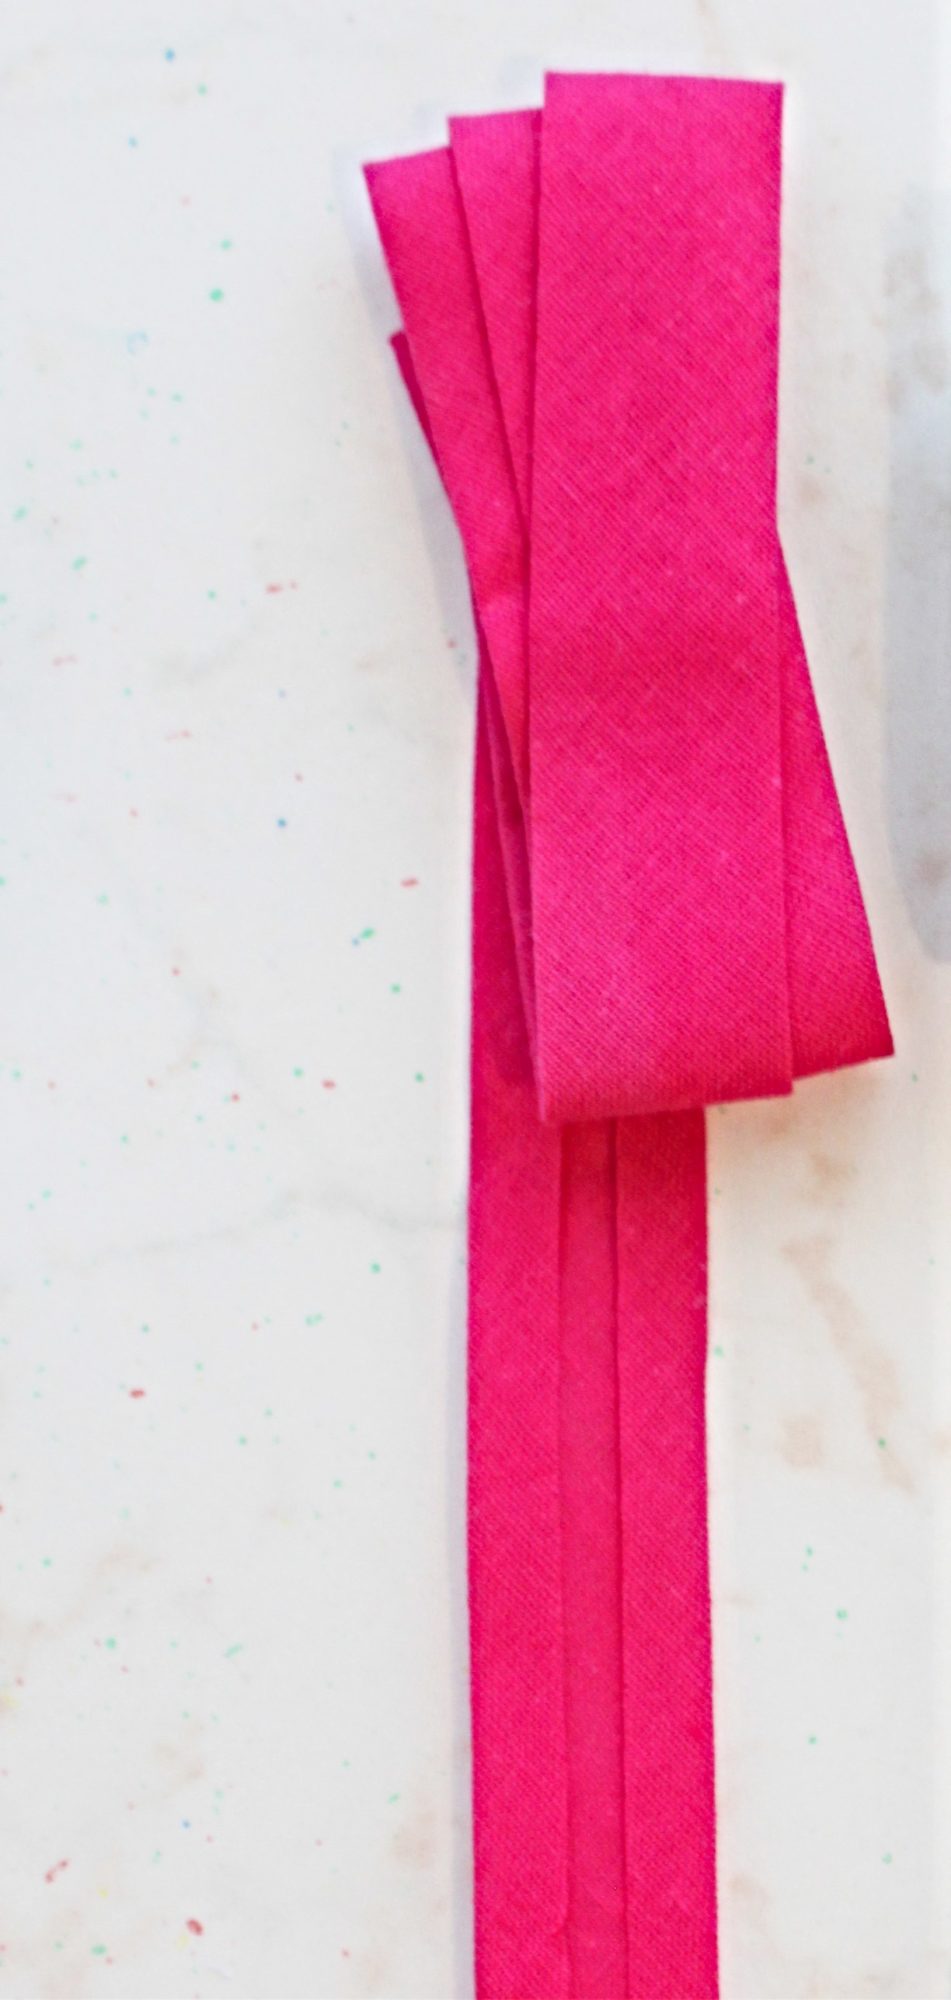
Joining the bias strips together
- Take 2 of the bias strips.
- Place one on the table, right side up, with the long edge up and short edge down.
- Take the second strips and turn it the other direction, wrong side up. Place it over the left hand side end of the first strips so they form a 90° angle. Let them slightly overhang by 1/4″.
- Measure and trace a 1/4″ seam over the strips then sew down.
- When done sewing, fold the top strip to the left to get one continuous line of fabric.
- Trim the little corner that’s sticking out (remember you left the strips overhanging and forming a tiny corner?)
- Flip the strip to the wrong side, press the seam open and trim the other tiny corner
- Continue these steps until you’ve gone through all the fabric strips.
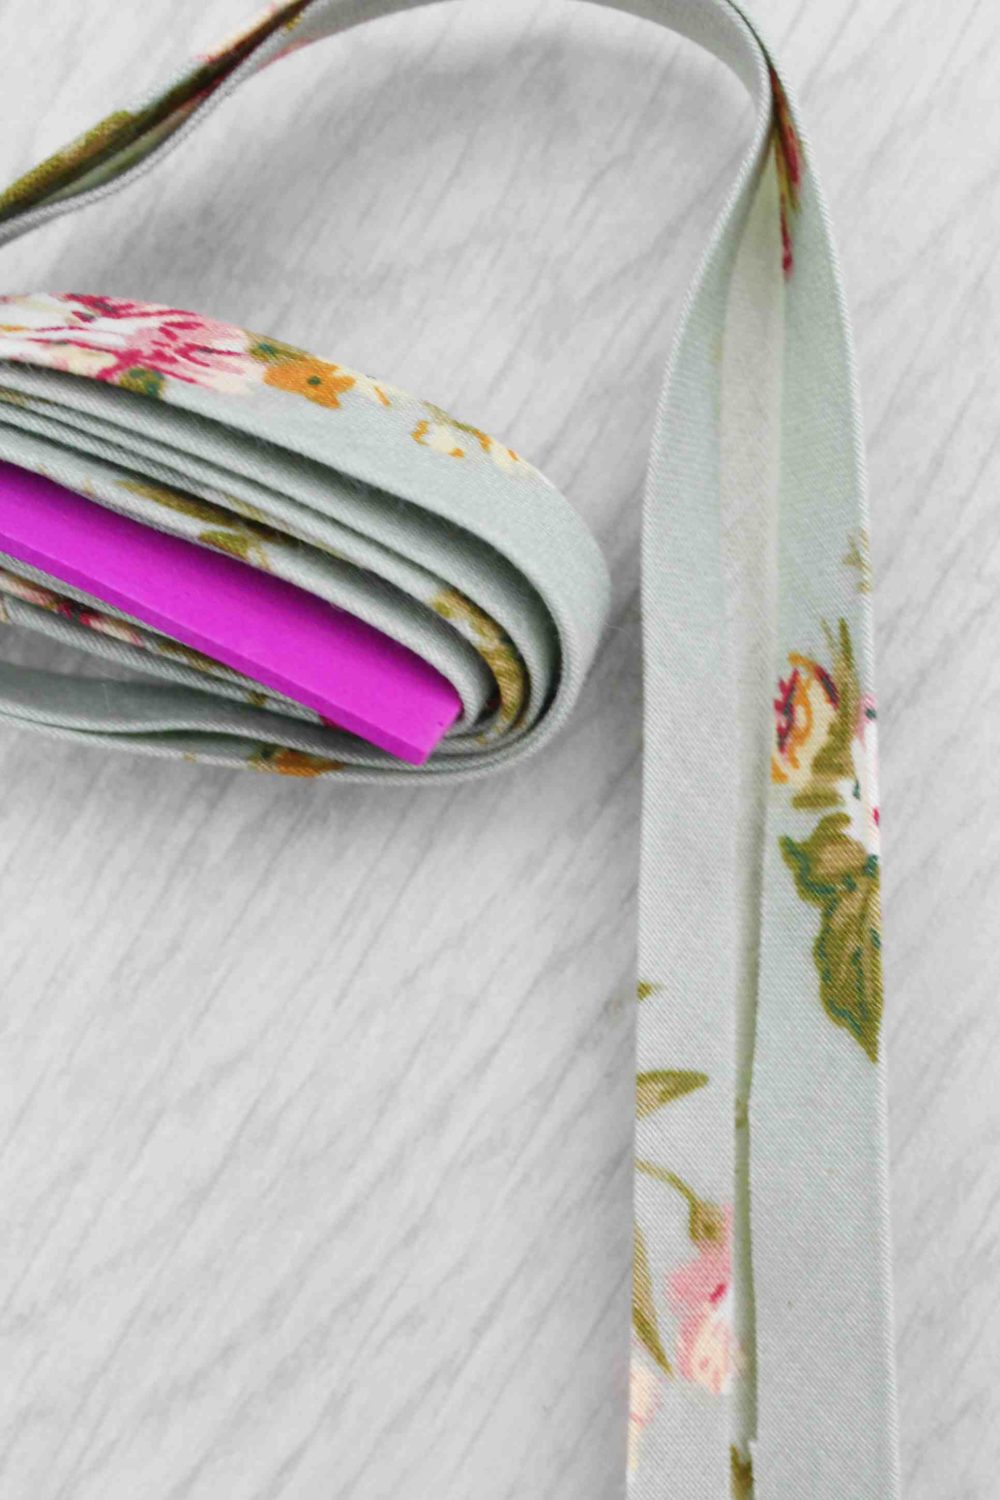
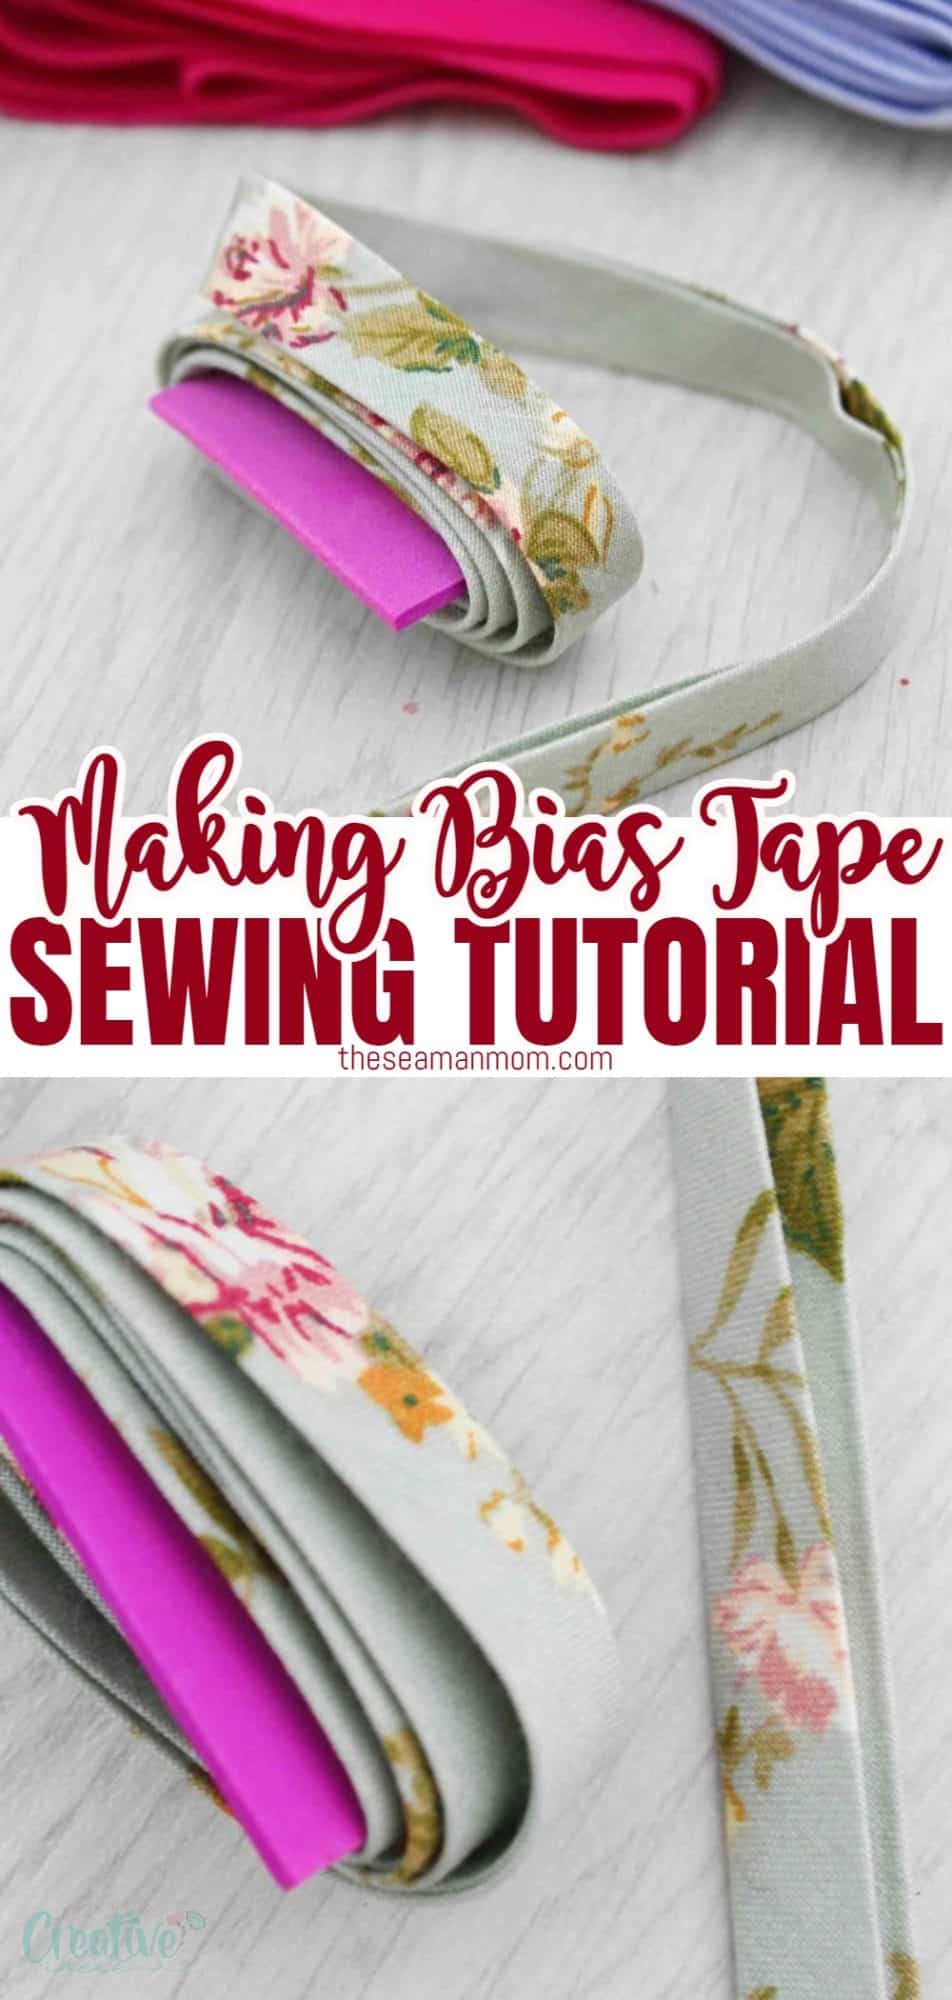
How to make single fold bias tape without a bias tape maker?
- Move to your ironing board.
- Using the fabric marker mark the width of 1″
- Insert a large pin between these marks
- The fabric strip will slide under the pin when starting to make the tape
- Mark and fold 1/2″ from one side, pressing with your fingers. Repeat for the other side.
- Pass folded strip under the pin about 3″ and start pressing with your iron. Make sure the steam is on.
- Work in small sections at a time, about 2-3″ or so, pulling the folded strip and ironing
- Trim the ends
How to make double fold bias tape without a bias tape maker?
- Simply fold single fold tape in half, but it’s imperative to make sure that you leave one side slightly smaller than the other. This will ensure even sewing when using double fold bias on actual sewing projects.
- Press with your iron as you fold until the whole strip is done
That was pretty much it! Now that you know how to make bias binding, go make tons for all your sewing projects!
I hope you found this tutorial useful and informative and if you decide to make your own tape, please let me know. I would love to see your beautiful work!
Pin to save for later
Most popular sewing projects:
- Tips for sewing a round hem
- Corded bag handles
- Flutter sleeve dress pattern
- How to laminate cotton fabric


Article may contain Amazon & affiliate links. As an Amazon Associate I earn from qualifying purchases at no additional cost to you.

Sorry, unless I’m missing something, I believe some of the measurements are inaccurate. I followed directions: cut stripes 2″ wide and marked 1″ width on ironing board & used straight pin to guide fabric underneath. However, when folding over 1/4″ on each side, that leaves fabric 1 1/2″ wide, which doesn’t slide under the straight pin. I had to fold over 1/2″ on each side, then I ended up with 1″ wide bias tape.
Hi Linda. Thanks for the heads up! Yes, your correction is right! It should read fold over 1/2″ on each side.
This is a great tutorial. Easy to follow all of the steps. I’ve been sewing for years and always made a trip to the fabric store to buy matching bias for my projects. No more! Guess you can teach an old dog new tricks. Thanks.
Thanks so much, Diane! I’m so happy you found my tutorial informative and easy to follow :)
So interesting. It’s a really complete post, I’ve already learned so much by reading it. Thanks!
Thank-you for your tutorial! Until now I have never successfully made bias tape with the tape maker. Imagine my surprise, following your directions, usable bias tape resulted. So, now I know I can make it in the wee hours of the morning… will I be able to duplicate this feat by the harsh light of day??
Zuzannah, wishing you beautiful creative day tomorrow, er, today!
Aww! Thanks so much Zuzannah! I’m so happy you found my tutorial informative and useful! Have a wonderful day! xoxo