How to make stunning easy and quick fabric yoyos
These pretty fabric yoyo flowers are super easy to make and a great project for beginners. Also a perfect way to update your wardrobe on a budget!
Fabric yoyo
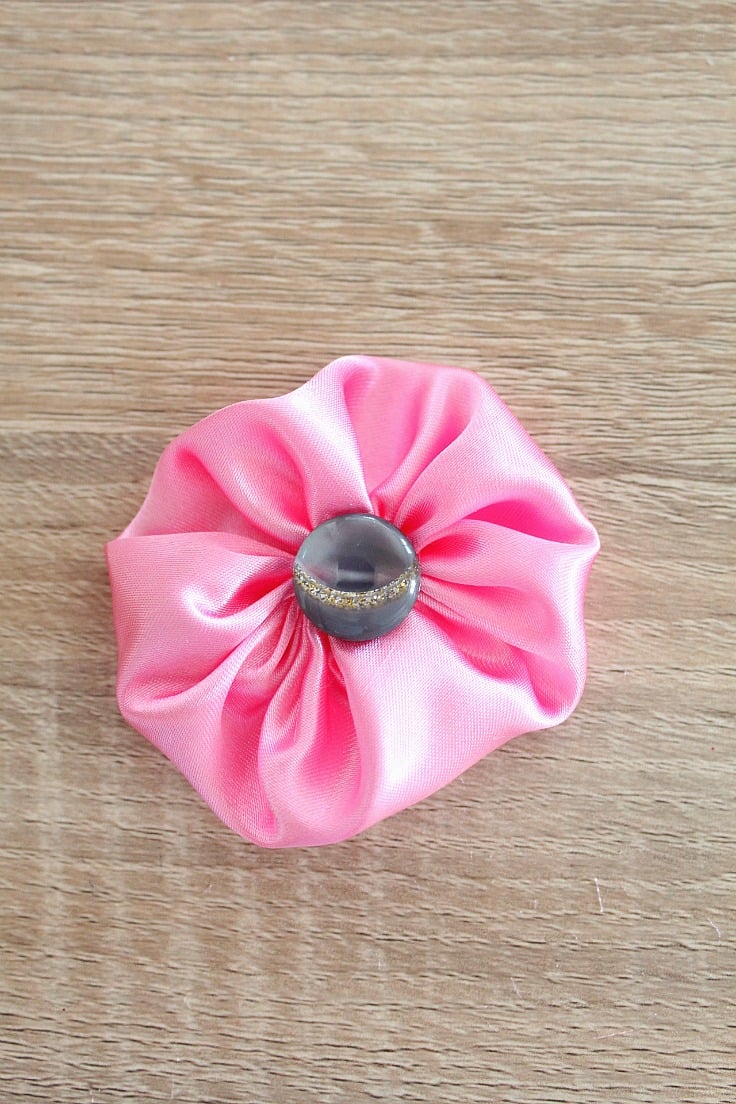
Ever wondered how to make fabric flowers the easy way? These little fabric yo yo flowers are insane! So easy and quick, you’ll be done making one in just a couple of minutes! Seriously!
I’ve kind of developed an addiction to these pretty fabric Yo Yo flowers, right after I made this lovely and insanely easy hearts and flowers wreath for V Day. After seeing how pretty they made the wreath look, I decided to incorporate more yo yo flowers into my crafts. I made a slight variation for this headband project but soon I’ll be making something for my daughter using this tutorial for fabric yo yo, hopefully I’ll find time to make a post about it.
More scrappy projects you will love:
- Chicken fabric weights
- Fabric twine trivets
- Triangle fabric weights
- Zipper tabs tutorial
- Quilted snap bag
- DIY infinity scarf
- Fabric wine glass coasters
These little gems would make a pretty hair band with some small ones attached and are an amazing fabric scraps project! Even better, old clothing can be your fabric supply if you love recycling! These fabric yo yo flowers are also a great craft for older kids as will provide practice for kids learning to sew! Try stacking them for a fun look, add to jackets and sweaters, pin onto totes and purses or use them as applique, the possibilities are endless! Here’s how to make fabric yo yo flowers!
YoYo Flowers

Materials:
- Cardstock
- Fabric scraps
- Scissors or Shears (optional)
- Washable fabric marker
- Needle and thread
- Buttons, flowers or baubles for the yo-yo centers
- Hot glue gun and hot glue sticks (optional, if you use flowers or bubbles)
Directions:
- Make a template on the cardstock for the desired size. When making your yo-yo pattern, keep in mind that it needs to be twice as wide as your intended yo-yo, plus about 1/2″ for seam allowances.
- Using the fabric marker, trace the template onto the wrong side of a scrap of fabric.
- Cut your circle out using scissors or shears.
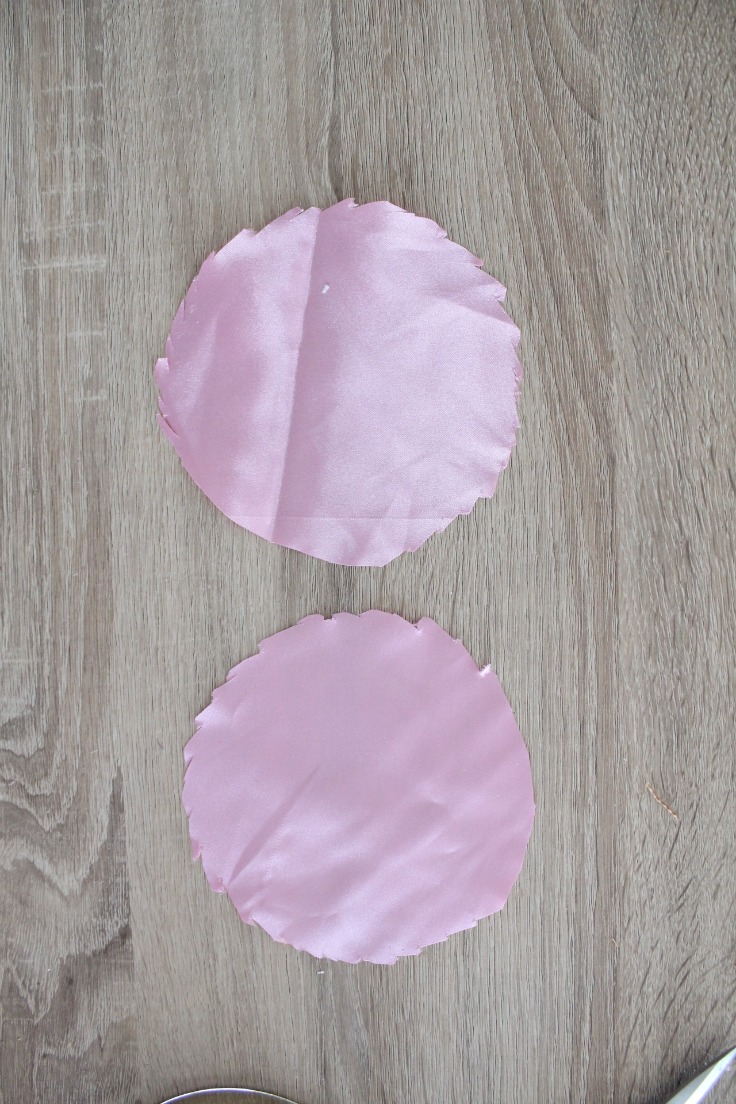
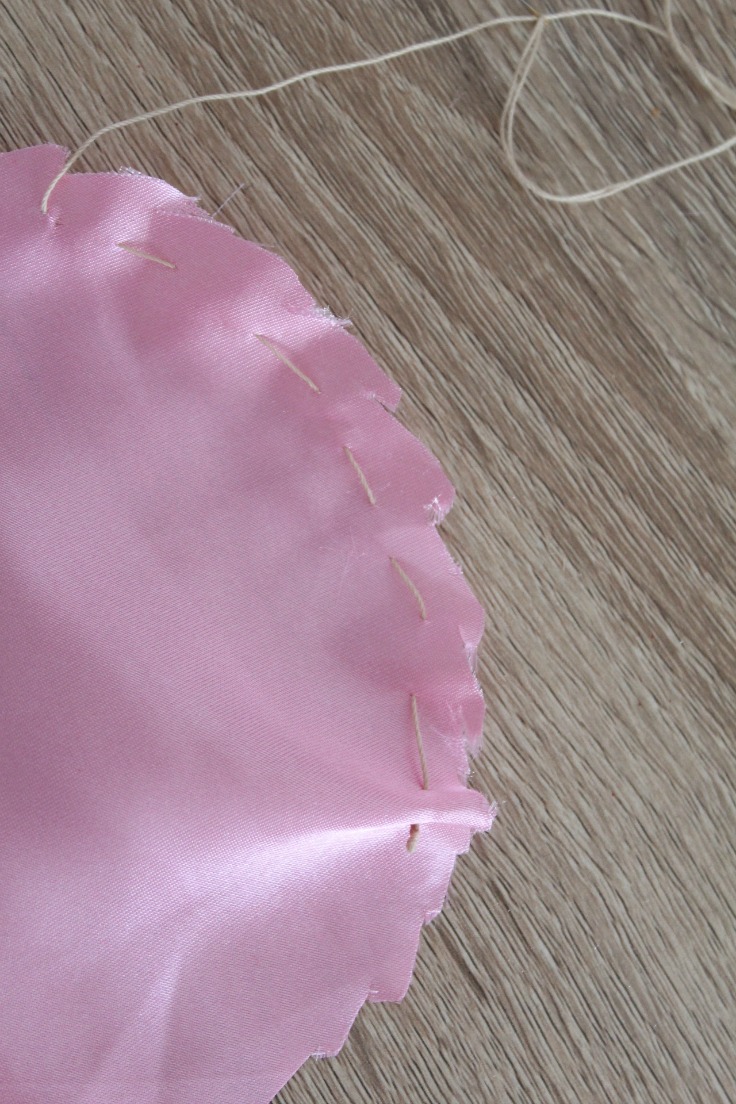
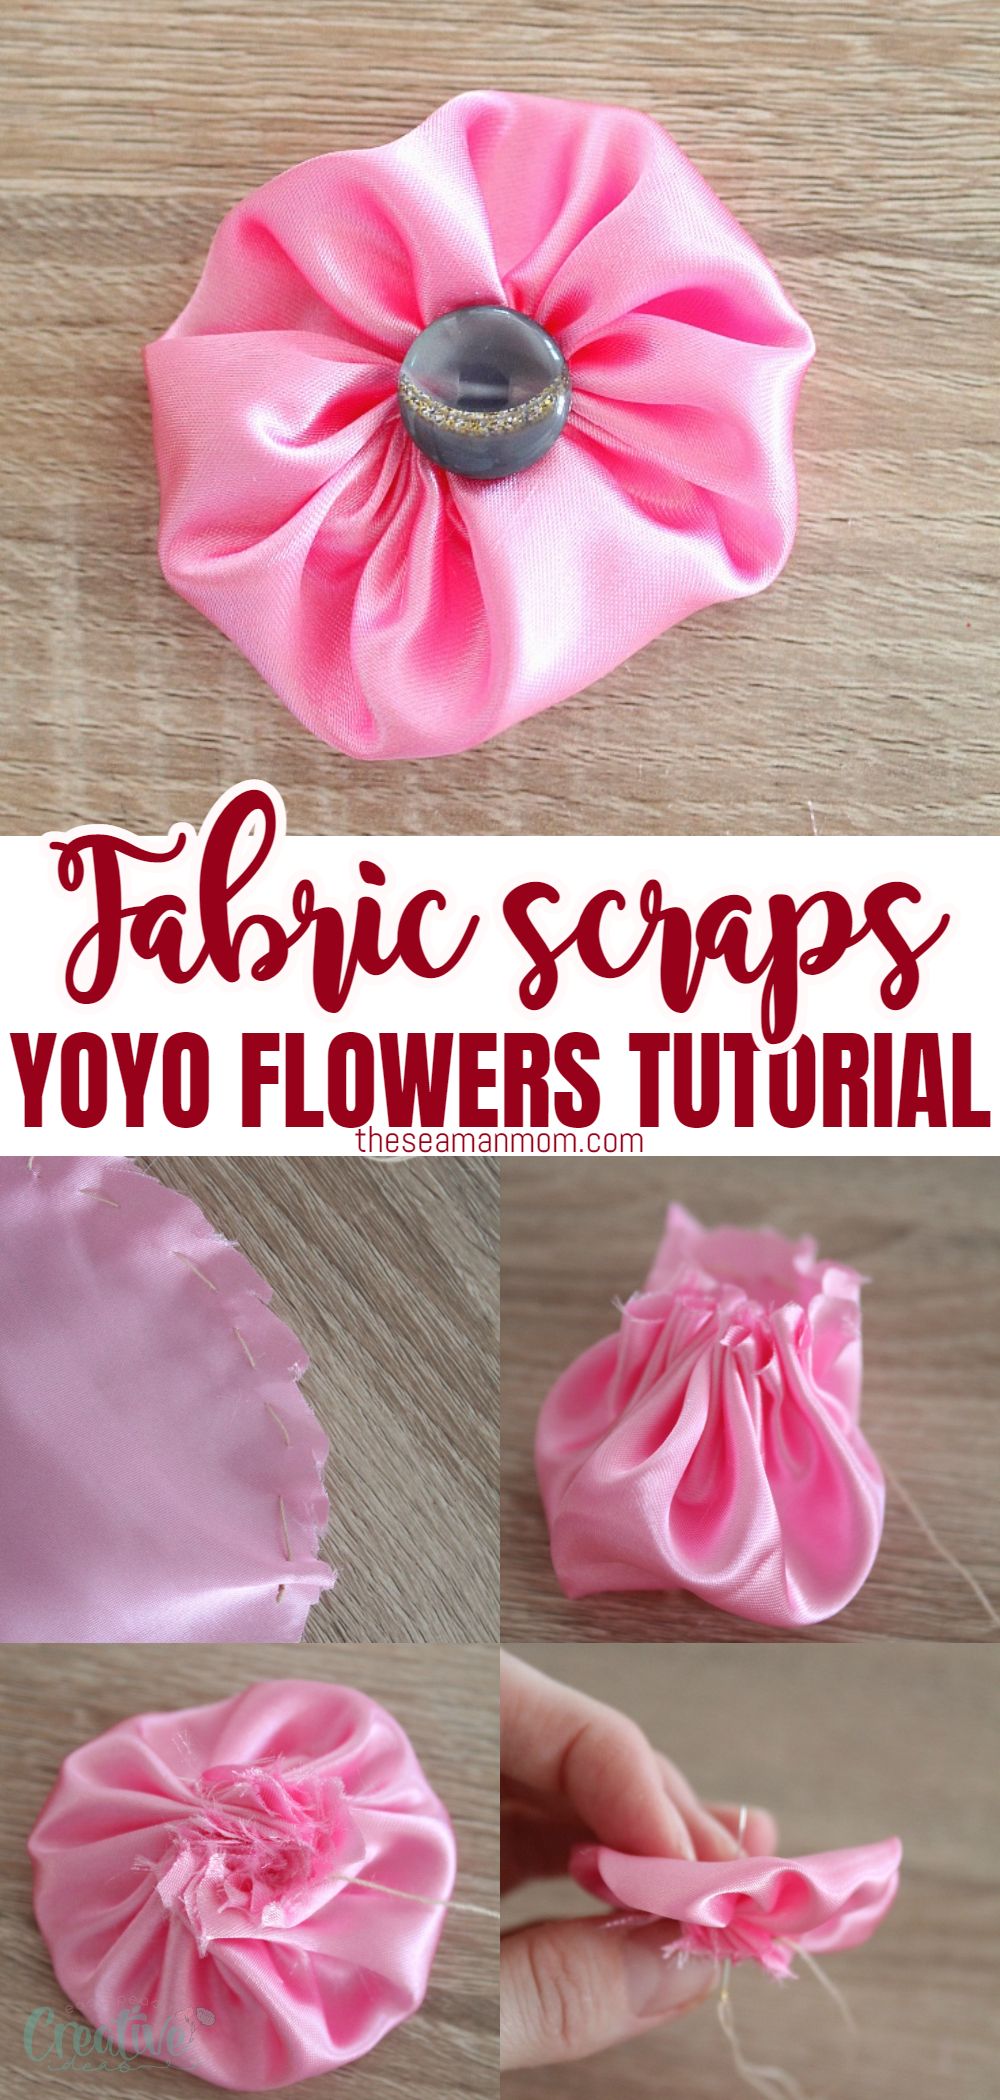
- Thread the sewing needle with a double strand of thread or use one strand of a thicker thread and knot the end. Stitch along the outer edge about 1/8″ from the edge. The longer the stitch length used, the smaller the center opening will be in your finished yo-yo. Alternatively you can fold under the outer edge by 1/4″ and stitch around the outer edge until you’ve gone around the entire perimeter of the fabric circle.
- Pull the thread gently to gather the piece at the center.
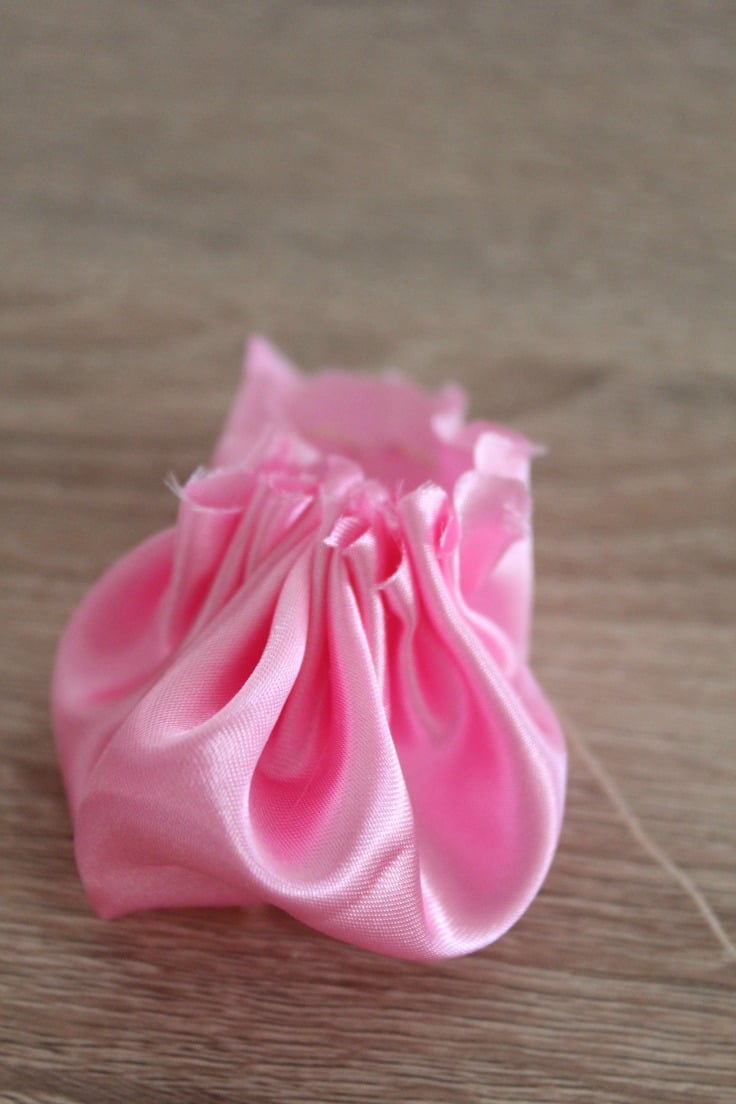
- Press the fabric gently with your hand to flatten and adjust the gathers as necessary to create a uniform circle.
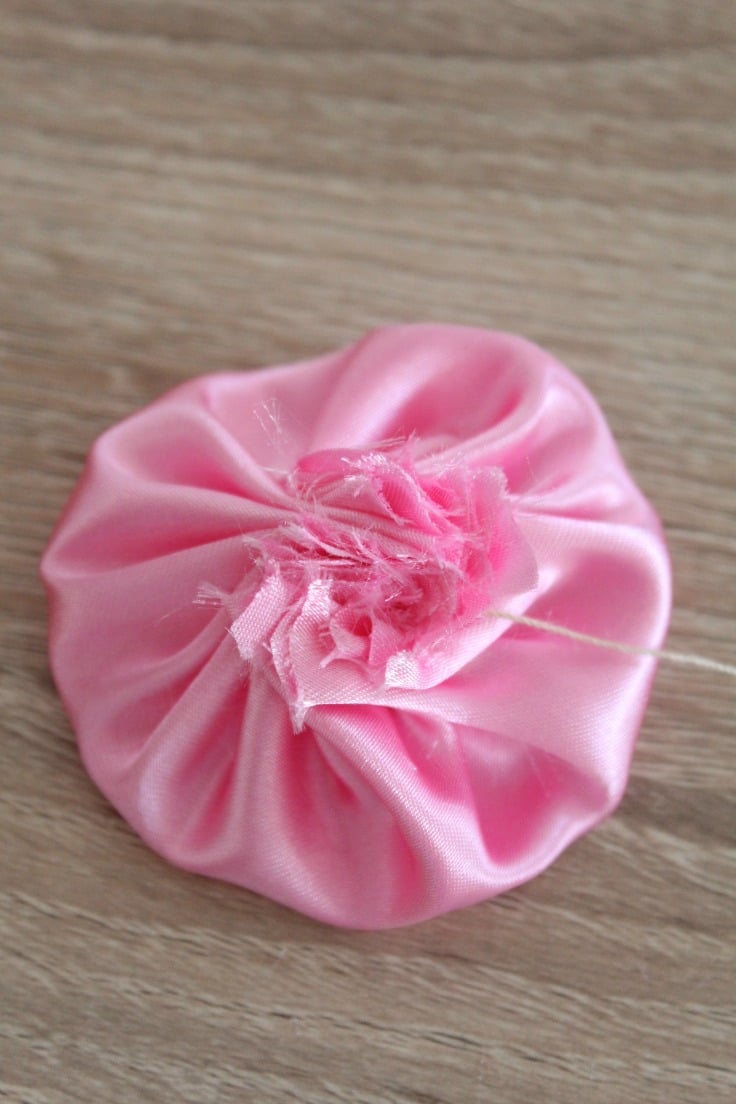
- Secure the flower by stitching through the gathers, in the center, 2-3 times. Make a knot at the end, and snip the thread.
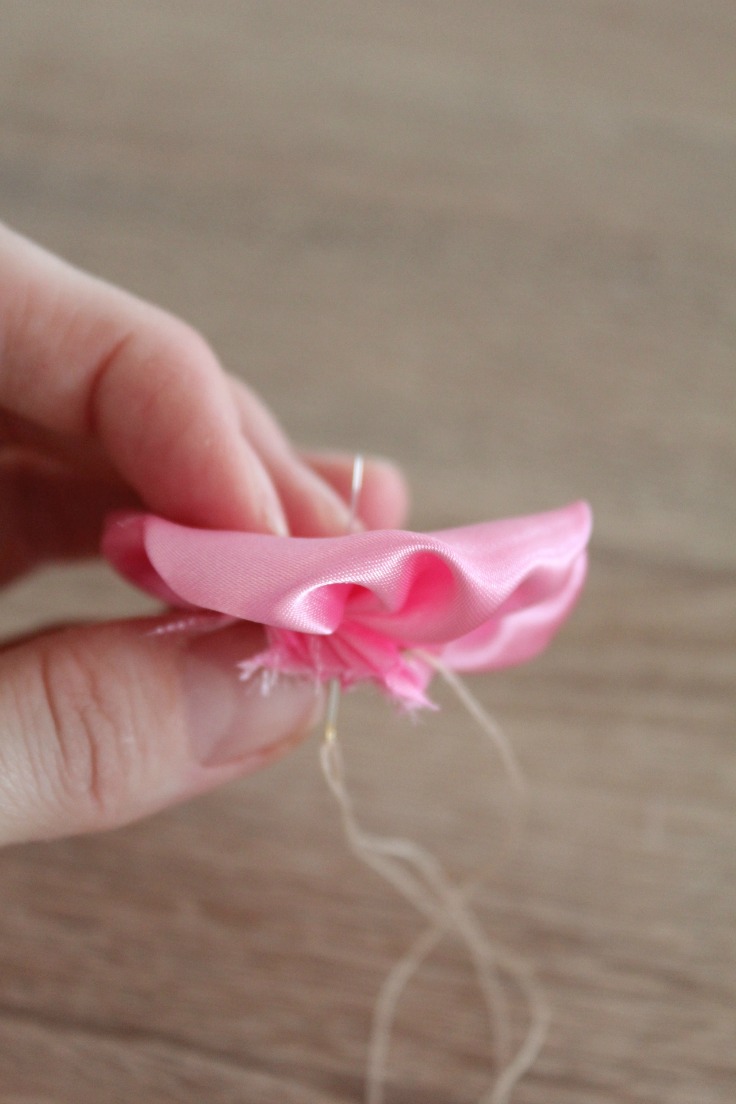
- Add some flair to your yo yo with a cute center. I used a button so I needed to stitch that in place but you can use flowers or bubbles and you’ll need a hot glue gun and hot glue sticks to fix those to the flower.
Pin To Save For Later
Most Popular Sewing Projects:
- How to sew a curved hem
- Flutter sleeve dress pattern
- How to laminate cotton fabric at home
- DIY corded bag handles
Article may contain Amazon & affiliate links. As an Amazon Associate I earn from qualifying purchases at no additional cost to you.



This page is wonderful! Thank you so much!
Thanks, June! xoxo